Jun 26, 2019 | Cards, Gallery, Guest Stamper |
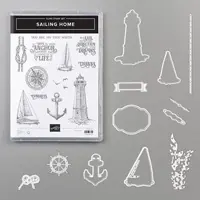
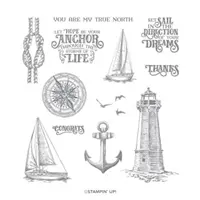
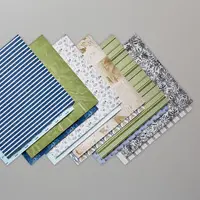
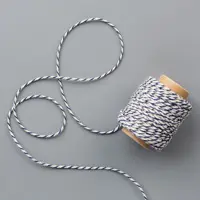
I’m always excited to share a project made by one of my wonderful Candy Hearts team members. Today’s card was made by Judy Newsome for our May team meeting card swap. She used the Come Sail Away suite, including the Sailing Home stamp set, Smooth Sailing Dies, Come Sail Away Designer Series Paper, and Night of Navy/Sahara Sand Baker’s Twine.
Here’s what she made:
S

Here’s what she did:
Cut and scored with her paper trimmer:
- Night of Navy card stock (CS) cut to 5-1/2″ x 8-1/2″, then scored in half at 4-1/4″
- Come Sail Away Designer Series Paper (DSP) layer cut to 5-3/8″ x 3″ (sail boats)
- DSP layer cut to 5-3/8″ x 1″ (compass)
- DSP layer cut to 5-3/8″ x 3/4″ (rope)
- Whisper White CS cut to 5-1/4″ x 4″ for the inside of the card
Stamped with the Sailing Home stamp set:
- sailboat and sentiment in Night of Navy ink onto a scrap of Balmy Blue CS
Cut using the Smooth Sailing Dies:
- helm from a scrap of Night of Navy CS
- sentiment using the stitched label die
Assembled the card:
- burnished the fold in the card base with a Bone Folder
- sailboats DSP layer glued onto the front of the card base, lined up at the top
- compass DSP layer glued onto the front of the card base, lines up at the bottom
- rope DSP layer glued onto the seam where the two other DSP layers meet
- sentiment glued onto the DSP layer (sailboats)
- helm glued onto the DSP layer, overlapping the sentiment
- sailboat glued over the rope DSP, sentiment, and helm
- twine tied around the front of the card base, at the top, and tied in a knot
- Whisper White CS glued onto the inside of the card base
S
Here are today’s colors:
You can click on each one to see all the products that come in that color!
S
Here’s what I used:
Click on these images for more details and to purchase.
Supply List <– Click here for a clickable and printable list!
S
LAST DAY to preorder the Sailing Home Online Class!
- Make 6 cards at home in your PJs!
- 2 each of 3 designs
- Features the Come Sail Away Suite on pages 144-146 of the 2019-2020 Annual Catalog
- I’ve done the trimming and scoring for you!
- You’ll receive all you need to make the cards, including the stamp set, dies, pre-cut/pre-scored/pre-embossed card kits, and 6 Whisper White envelopes.
- Full detailed instructions
- Limited spots available
Click on the image below for details and class options, or copy and paste this link into your browser:
S
Here are some helpful links:
S
Thanks for stopping by today, and Sweet Stamping!

Apr 19, 2019 | Boxes, Events, Food, Gallery, Gift Wrap, Gifts, Guest Stamper |
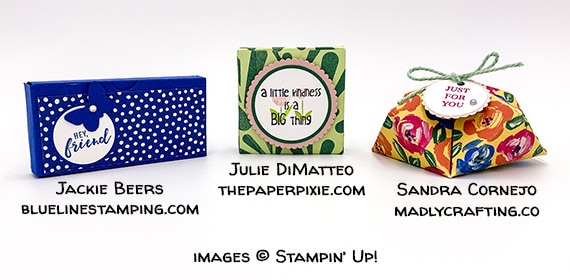
Today I’m sharing with you three adorable treats I received from friends and fellow demonstrators last weekend at Stampin’ Up!’s event called OnStage. There were multiple locations around the world, and we attended the one in Charlotte, NC. I didn’t participate in any swaps this time, but these three ladies brought gifts for everyone on the team. I’m thrilled to get to share these with you today! (A couple of them got a little squished on the way home, so they may not look quite as good here as they did when I got them.)
S
This one was made by Jackie Beers. It contained a small Hershey bar. It’s based on one made by Julie DiMatteo, and I’ve included the link to her instructions below.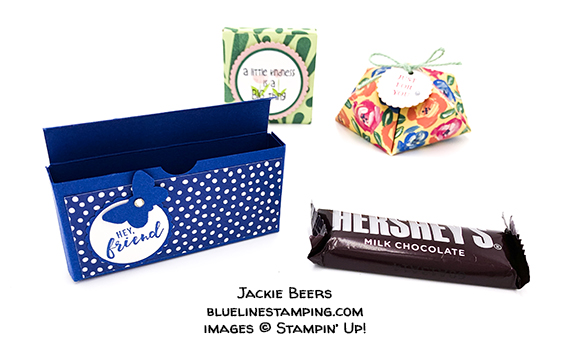
S
This adorable little thing holds a peppermint pattie, and was made by the adorable Paper Pixie herself, Julie DiMatteo. I’ve included the link to her instructions below.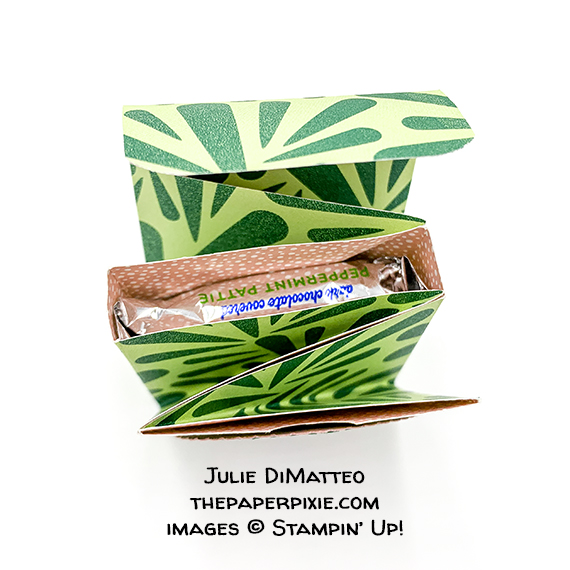
S
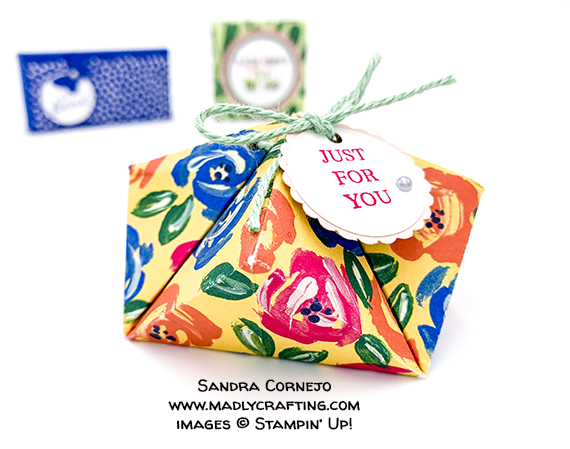
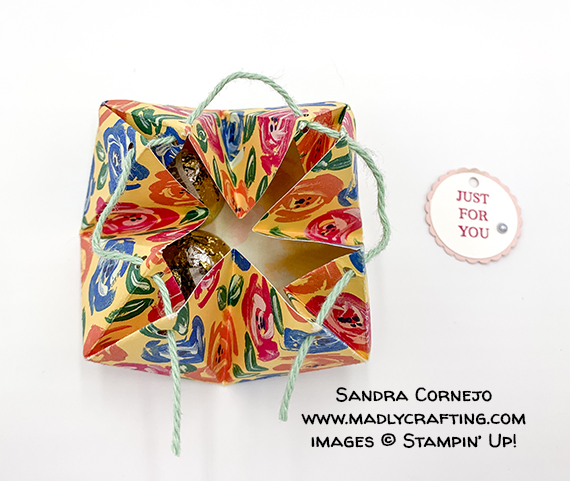
Wow, this one, made by Sandra Cornejo, is amazing! It has four little sections inside to hold small treats – this one came with Hershey’s Kisses. I haven’t found the instructions to this one yet, but I’ll keep looking.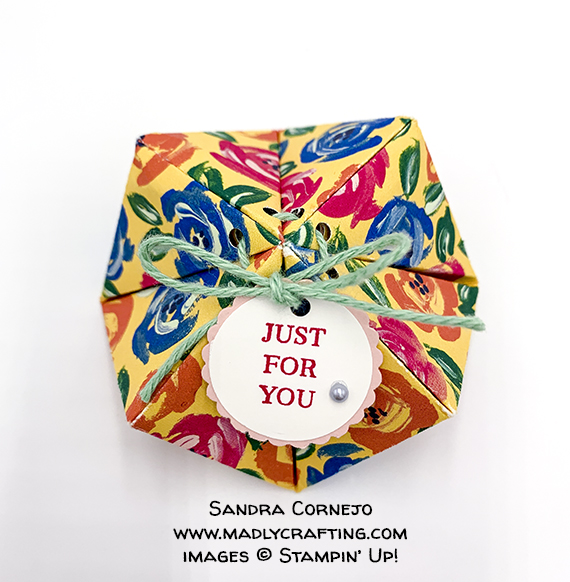
Here are the instructions to Jackie’s box. She modified it a bit to close by tucking in the flap, instead of using a magnet closure. I believe she said she had to trim a little bit off the flap so it wasn’t quite so long.
Ghirardelli Bunny Treat Box
Here are instructions to Julie’s little treat holder. She made a lot of these for OnStage!
Charlotte OnStage 2019 General Swap
S
Preorder the Sweetest Thing Online Card Class by April 24:
- Make 6 cards at home in your PJs!
- 2 each of 3 designs
- Features the Sweetest Thing Bundle and the How Sweet It Is Designer Series Paper
- Featured colors: Melon Mambo, Coastal Cabana, Gorgeous Grape, Pineapple Punch, Whisper White
- I’ve done the cutting, scoring, and embossing for you!
- You’ll receive all you need to make the cards, including the stamp set, dies, ink pad, the precut/prescored/pre-embossed card kits, and 6 Whisper White envelopes.
- Limited spots available
Click on the image below for details and class options, or copy and paste this link into your browser: https://stampcandy.net/online-classes/sweetest-thing-card-class-preorder/

S
Here are some helpful links:
S
Thanks for stopping by today, and Sweet Stamping!
Apr 3, 2019 | Cards, Gallery, Guest Stamper, Occasions |
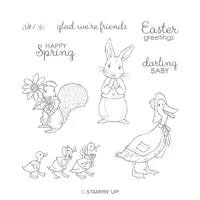
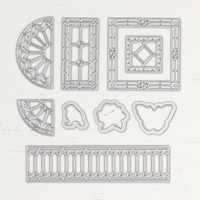
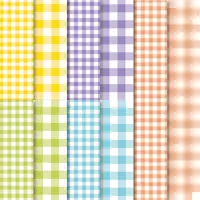
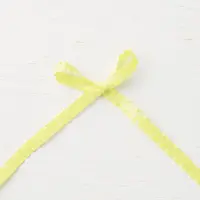
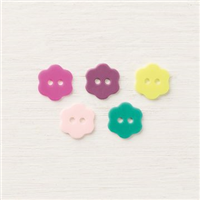
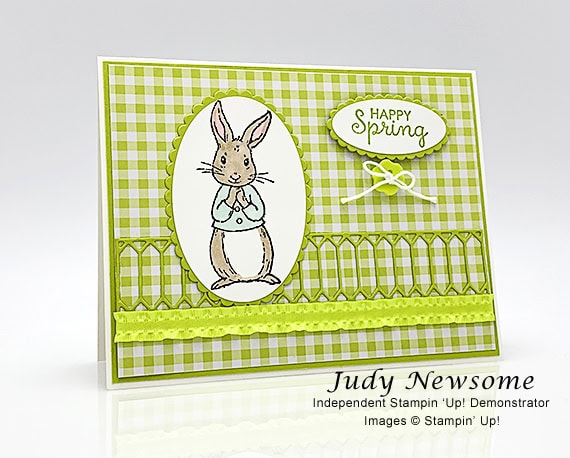
Candy Hearts team member Judy Newsome made today’s card. She used the Fable Friends stamp set withe the Gingham Gala Designer Series Paper to create an adorable Happy Spring card. She also used the Layering Ovals Framelits Dies, Stained Glass Thinlits Dies, Lemon Lime Twist 3/8″ Mini Ruffled Ribbon, and 2017-2019 In Color Flower Buttons, and Stampin’ Blends Markers. That little bunny is just too, too sweet in its little blue jacket, don’t you think so?S
S
Here’s what she made:
 Spring

S
Here’s what she did:
Cut and scored with her Stampin’ Trimmer:
- Whisper White Thick card stock (CS) cut to 5-1/2″ x 8-1/2″, then scored in half at 4-1/4″
- Lemon Lime Twist CS cut to 5-3/8″ x 4-1/8″
- Gingham Gala Designer Series Paper (DSP) cut to 5-1/4″ x 4″x
Stamped with the Fable Friends stamp set:
- bunny in Memento black ink onto a scrap of Whisper White CS
- sentiment in Lemon Lime Twist ink onto a scrap of Whisper White CS
Colored using Stampin’ Blends Markers:
- bunny in Crumb Cake, Pool Party, and Flirty Flamingo (ears, nose, buttons)
Die cut using the Layering Ovals Framelits:
- sentiment
- bunny
- two scalloped ovals, to fit around the stamped pieces, from a scrap of Lemon Lime Twist CS
Die cut using the Stained Glass Thinlits:
- “fence” shape from a scrap of Lemon Lime Twist CS
Assembled the card:
- burnished the fold in the card base with a Bone Folder
- Lemon Lime Twist CS layer glued onto the front of the card base
- “fence” glued onto the DSP layer
- ribbon adhered onto the DSP layer, along the bottom edge of the “fence,” using Tear & Tape, wrapping the ends around to the back
- DSP layer glued onto the Lemon Lime Twist CS layer
- bunny glued onto its coordinating Lemon Lime Twist CS scalloped oval
- sentiment glued onto its coordinating Lemon Lime Twist CS scalloped oval
- bunny glued onto the DSP layer, over the fence
- sentiment adhered onto the DSP layer using Stampin’ Dimensionals
- twine tied in a bow through a button, and the button adhered onto the DSP layer using a Stampin’ Dimensional

S
Here are today’s colors:
You can click on each one to see all the products that come in that color!
S
Here’s what she used:
Click on these images for more details and to purchase.
S
Today’s is the last day to preorder the Wonderful Moments Wedding Card Online Class!
Need some cards for all those weddings and showers that inevitably come up this time of year? This class is for you.
- Make 6 gorgeous cards at home in your PJs!
- 2 each of 3 designs
- perfect for weddings and showers
- I do all the cutting and embossing. You just stamp, color, and assemble!
- Limited spots available
Click on the image below for details and color options (Lovely Lipstick was used in the sneak peeks below, though it looks darker in the photos.) Also options for skin and hair color.

S
Preorder the Vibrant Vases Online Class April 4 – 10:
- Make 6 gorgeous cards at home in your PJs!
- 2 each of 3 designs
- perfect for assorted occasions including love, celebration, and thanks
- You’ll receive all you need to make the cards, including the stamp set, punch, and the precut/scored/embossed card kits and envelopes
- Limited spots available
Click on the image below for details and class options:

Here are some helpful links:
S
Thanks for stopping by today, and Sweet Stamping!
Apr 2, 2019 | Cards, Gallery, Guest Stamper |
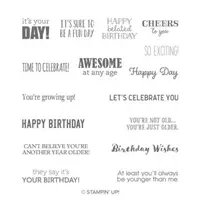
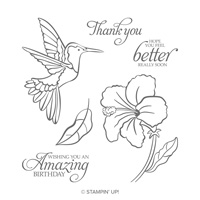
Today’s card was made by the lovely and talented Debbie Catlett, a member of my Candy Hearts team from Chattanooga, TN. She used the Enjoy Life and Itty Bitty Birthday stamp sets, Subtle Dynamic Textured Impressions Embossing Folder, Stitched Shapes Framelits Dies, and Garden Impressions Designer Series Paper.
S
Here’s what she made:
S

Here’s what she did:
Cut and scored with her Stampin’ Trimmer:
- Whisper White Thick card stock (CS) cut to 8-1/2″ x 5-1/2″, then scored in half at 4-1/4″
- Soft Sea Foam CS layer cut to 4″ x 5-1/4″
- Garden Impressions Designer Series Paper (DSP) cut to 4-1/4″ x 3″
Stamped with the Enjoy Life stamp set:
- butterfly and large plant in Shaded Spruce ink (stamped off) onto a scrap of Whisper White CS
- small plant in Shaded Spruce ink (stamped off) onto the inside of the card base, near the bottom right corner

Stamped with the Itty Bitty Birthdays stamp set:
- sentiment in Shaded Spruce onto a scrap of Soft Sea Foam CS
Die cut using the Stitched Shapes Framelits:
- sentiment using a small circle die
- butterfly/large plant using a large circle die
Embossed using the Subtle Dynamic Textured Impressions Embossing Folder:
- Soft Sea Foam CS layer (with lines going horizontally)
Colored using a Stampin’ Blends Marker:
- a small pearl in Shaded Spruce
Assembled the card:
- burnished the fold in the card base with a Bone Folder
- embossed layer glued onto the front of the card base
- DSP layer glued onto the embossed layer
- large die cut circle glued onto the DSP and embossed layers
- sentiment adhered onto the DSP layer using Stampin’ Dimensionals
- Whisper White Solid Baker’s Twine tied into a bow and adhered onto the edge of the large die cut circle using a Mini Glue Dot
- colored pearl applied onto the stamped butterfly
S
Here are today’s colors:
You can click on each one to see all the products that come in that color!
S
Here’s what she used:
Click on these images for more details and to purchase.
S
Preorder the Wonderful Moments Wedding Card Online Class by April 3!
Need some cards for all those weddings and showers that inevitably come up this time of year? This class is for you.
- Make 6 gorgeous cards at home in your PJs!
- 2 each of 3 designs
- perfect for weddings and showers
- I do all the cutting and embossing. You just stamp, color, and assemble!
- Limited spots available
Click on the image below for details and color options (Lovely Lipstick was used in the sneak peeks below, though it looks darker in the photos.) Also options for skin and hair color.
S
Here are some helpful links:
S
Thanks for stopping by today, and Sweet Stamping!
Mar 13, 2019 | Cards, Gallery, Guest Stamper, Occasions |
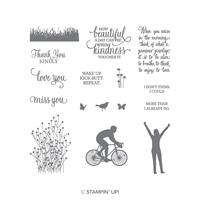
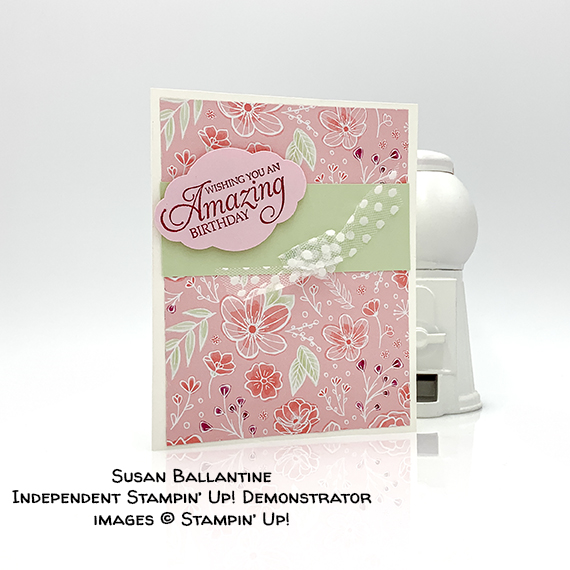
Today I get to share a card made by one of my wonderful Candy Hearts team members, Susan Ballantine, of Decatur, GA. Susan used the Humming Along stamp set and the Pretty Label punch along with the All My Love Designer Series Paper to create a beautiful pink birthday card.
S
Here’s what Susan made:

Here’s what Susan did:
Cut and scored with her Stampin’ Trimmer:
- Whisper White Thick card stock (CS) cut to 8-1/2″ x 5-1/2″, then scored in half at 4-1/4″
- All My Love Designer Series Paper (DSP) layer cut to 4″ x 5-1/4″
- Soft Sea Foam CS cut to 4″ x 1-1/4″
Stamped with the Humming Along stamp set:
- sentiment in Lovely Lipstick ink onto a scrap of Powder Pink CS
Cut using the Pretty Label Punch:
Assembled the card:
- burnished the fold in the card base with a Bone Folder
- DSP layer glued onto the front of the card base
- Soft Sea Foam CS layer glued onto the DSP layer
- sentiment adhered onto the Soft Sea Foam CS layer using Stampin’ Dimensionals
- Polka Dot Tulle Ribbon tied in a knot and adhered onto the Soft Sea Foam CS layer using Mini Glue Dots
S
Here are today’s colors:
You can click on each one to see all the products that come in that color!
S
Here’s what she used:
Click on these images for more details and to purchase.
S
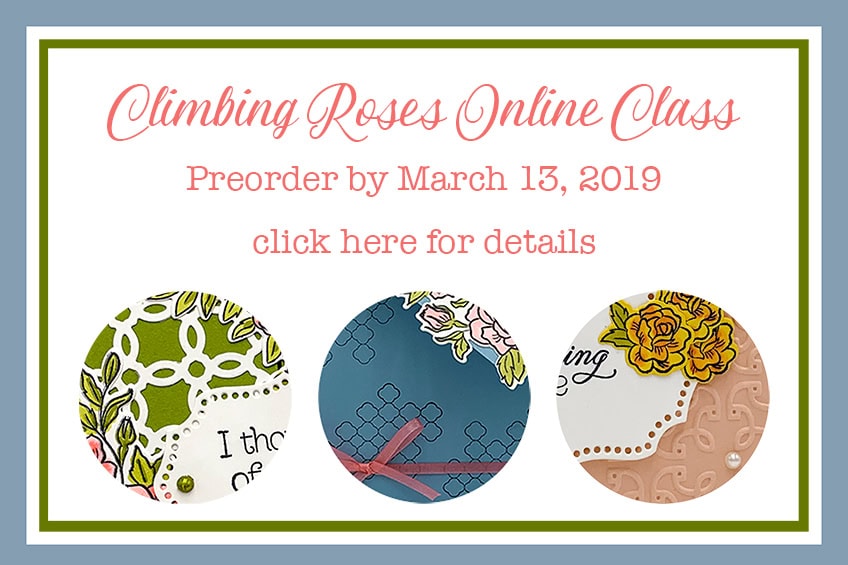
Today is the last day to preorder the Climbing Roses Online Class!
- Make 6 beautiful cards at home in your PJs!
- 2 each of 3 designs
- perfect for anyone, including for Mom on Mother’s Day!
- Limited spots available!
Click on the image below for details:
S
Here are some helpful links:

S
Thanks for stopping by today, and Sweet Stamping!
Mar 11, 2019 | Cards, Gallery, Guest Stamper, Wedding |
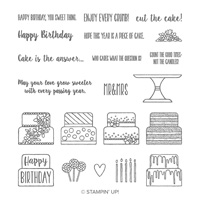
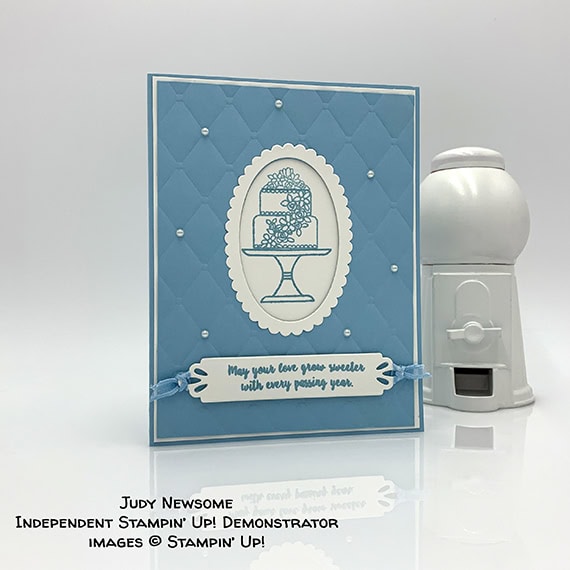
Judy Newsome made this lovely window card for our Candy Hearts card swap last month. The theme was wedding/anniversary. She used the Piece of Cake stamp set for the sentiment and for inside the window. The background texture comes from the Tufted Dynamic Textured Embossing Folder, and it’s highlighted by some Pearl Basic Jewels. You can see how she made it and what she used below.
S
Here’s what I made:

S
Here’s what Judy did:
Cut and scored with her Stampin’ Trimmer:
- Balmy Blue card stock (CS) cut to 8-1/2″ x 5-1/2″, then scored in half at 4-1/4″
- Whisper White CS cut to 4-1/8″ x 5-3/8″
- Balmy Blue CS cut to 4″ x 5-1/4″
- Whisper White CS cut to 4″ x 5-1/4″ for the inside of the card base
Die cut using the Layering Ovals Framelits:
- center from Balmy Blue CS layer using a plain oval die
- same plain oval die to cut a scrap of Whisper White CS, then cut around that hole using a scalloped oval die, to create the white frame
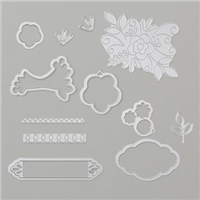
Die cut using the Needlepoint Elements Framelits:
Stamped with the Piece of Cake stamp set:
- sentiment in Balmy Blue ink onto a scrap of Whisper White CS
- cake stamp, cake, and cake topper in Balmy Blue ink onto the larger Whisper White CS
- NOTE: lay the Blamy Blue CS layer with the oval cut out over the Whisper White CS layer to determine where the images should be stamped. The Stamparatus makes easy work of getting the images in just the right place.
Embossed using the Tufted embossing folder:
Cut using the Detailed Trio Punch:
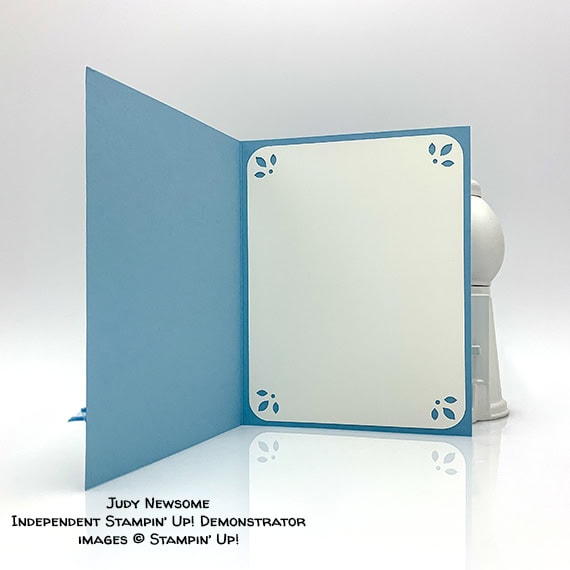
- all four corners of the Whisper White CS for the inside of the card base with the floral design and with the rounder
Assembled the window card:
- burnished the fold in the card base with a Bone Folder
- Whisper White CS layer glued onto the front of the card base
- embossed Balmy Blue CS layer glued onto the Whisper White CS layer, making sure the cake image shows through
- Whisper White frame glued around the oval window in the Balmy Blue CS layer
- tied a piece of ribbon through each end of the die cut sentiment
- NOTE: She used Balmy Blue ribbon from the Organdy Ribbon Combo Pack, which is a Sale-a-bration item that has sold out. If you didn’t get that ribbon, you can use any Whisper White Ribbon, or even leave the ribbon off.
- adhered the sentiment onto the Balmy Blue CS layer using Stampin’ Dimensionals
- applied pearls to the Balmy Blue CS layer in the corners of some of the tufts
- punched Whisper White CS glued onto the inside of the card base
S
Here are today’s colors:
You can click on each one to see all the products that come in that color!
S
Here’s what Judy used:
Click on these images for more details and to purchase.
S
Preorder the Climbing Roses Online Class by March 13!
- Make 6 beautiful cards at home in your PJs!
- 2 each of 3 designs
- perfect for anyone, including for Mom on Mother’s Day!
- Limited spots available!
Click on the image below for details:
S
Here are some helpful links to check out:
S
Thanks for stopping by today, and Sweet Stamping!