Aug 24, 2016 | Blog Hop, Cards, Gallery, Halloween, Holiday, New Products, Open House, Sales, Techniques |

Welcome to InKing Royalty’s August Blog Hop! Stampin’ Up! demonstrators have been actively ordering from the 2016 Holiday Catalog, before it opens to customers on September 1. We are excited to share some of our new goodies with you today! Today’s Blog Hop is filled with inspiring projects that feature each artist’s take on the Fall months – Halloween and Thanksgiving are just around the corner. After you read my post, I hope you’ll hop over to the next person on the list at the base of this post.
I’m always honored and humbled to participate in a blog hop with this amazing group. Today I am especially excited to participate in a blog hop with the fabulous Louise Sharp. I met Louise on the incentive trip in May, and just fell in love with her. She is adorable and sweet, and a very talented paper artist. Thank you, Louise, for joining us today!
Anyone who knows me knows that I love Halloween. It’s always been one of my favorite holidays. So today I’m sharing a Halloween card made with one of my favorite new stamp sets in the 2016 Holiday Catalog, Jar of Haunts. I knew I had to have it as soon as I saw the dripping ooze and the floating eyeballs!

And it coordinates perfectly with the Everyday Jars Framelits Dies.

Here’s what I came up with:

I love old horror movies. Not the gory slasher movies of today, but the old monster movies. With this card I was going for a mad scientist’s laboratory feel, with old wood, cob webs, and jars with icky oozy contents. This is the second day in a row I’ve made a 4″ x 8″ card. It just happens to be the size I needed to create the scenes of these two cards. You can see the other one here.
Here’s how I did it:
I stamped the mummy jar in Early Espresso ink onto Very Vanilla card stock. I used a Blender Pen to smear the ink a bit for shading. I used the Framelits to cut the stamped image, and to cut the jar shape from a Window Sheet. I then covered the image with glue from the Fine-Tip Glue pen and pressed the clear jar onto it. I did this on a Silicone Craft Sheet to catch the glue that oozed out. I held it for a moment, then curved it with my fingers and wrapped a small rubber band around it. I let it sit this way until the glue dried. This is how I got the rounded jars on the card. The glue made the ink run a bit, but I like the effect on this one.
For the jar of blood, I cut the jar shape from a Window Sheet and from Cherry Cobbler card stock. I glued the two pieces together, curved them, and let it sit with a rubber band wrapped around it, as I did the previous one. I stamped the ooze in Cherry Cobbler ink onto Cherry Cobbler card stock, lined it up with the jar die and cut it out, then used Paper Snips to cut away the part of the jar below the ooze. I covered this with the same glue and let it sit on the Silicone Craft Sheet until it was dry. It curled a bit on its own, which helped when I glued it onto the full jar.
For the green jar, I stamped the eyeballs in Smoky Slate ink onto Shimmery White card stock. I used this paper because I knew I wanted to watercolor. I lined up the jar die with the eyeball image and cut it out. I used the same die to cut a Window Sheet. I colored the eyeballs with Stampin’ Write Markers in Pacific Point, Cucumber Crush, Soft Suede, and Cherry Cobbler. I used an Aqua Painter and Old Olive ink to color the liquid in the jar. I used my Paper Snips to cut away the part of the jar above the eyeballs and waterline.
I was afraid to use the glue on this one, because I really didn’t want the colors to run like they did on the mummy. So I covered the image completely with Fast Fuse adhesive, then stuck on the clear jar. Again I curved it with my fingers and let it sit for a while with a rubber band wrapped around it.
While the jars sat curling, I made the jar lids. I stamped the image from the Jar of Love stamp set in Versamark ink onto a Gold Foil sheet, then heat embossed it in copper. I used the corresponding die to cut them out. I used a Sponge Dauber to apple black Staz-On ink to make them look old and rusty. I used Fast Fuse to adhere the lids onto the jar of eyeballs and the mummy jar. I used a Real Red Stampin’ Write Marker to add some “blood” to the rim of the third lid, and set it with the heat tool.
For the card, I cut a piece of Halloween Night Designer Series Paper (silver cobweb on black) to 4″ x 8″ and glued it to the front of a Basic Black card base the same size (8″ x 8″ scored at 4″.) I used the Hardwood stamp with Basic Black ink on Basic Grey card stock to create the dark wood. I cut the image in strips and glued them around the edges of the card front. I made the bottom wider to look like a window sill, and adhered it with Foam Adhesive Strips.
I put a line of Stampin’ Dimensionals down the center of each jar, three layers thick, and adhered them to the card to look like they’re sitting on the sill. I used Foam Adhesive strips to adhere the last jar lid next to the bloody jar.
I hope you can come to my Open House and BOGO Sale this Sunday to see this card in person. Photos really don’t do it justice. See the event details here.
Everything I used on today’s card is listed at the bottom of this post.
I hope you’ll hop along to the next stop on the blog hop, Karen Browning at StampWithMeKZB. There’s a lot of inspiration to be found in this group, and you don’t want to miss it!
Thank you for hopping along with us. If you get stuck during the Blog Hop, please use this line-up as a guide:
- Brian King at Stamp with Brian
- Imogene Thomas at MomoMakes.com
- Lynn Kolcun at Avery’s Owlery
- Louise Sharp at Louise Sharp.com
- Shawn de Oliveira at ShawnStamps
- Robin Myren at Songbird Designs by Robin
- Candy Ford at Stamp Candy <– YOU ARE HERE
- Karen Browning at StampWithMeKZB
- Becky Volpp at InkBlossom with Becky
- Jennifer Spiller at Westside Paper Creations
Here’s what I used today:
The holiday items will be available to purchase September 1, but you can look at them in my online store now. You can purchase everything else now by clicking on the images below!
Thanks for stopping by today, and Sweet Stamping!

Aug 20, 2016 | Cards, Gallery, Halloween, Holiday, New Products |
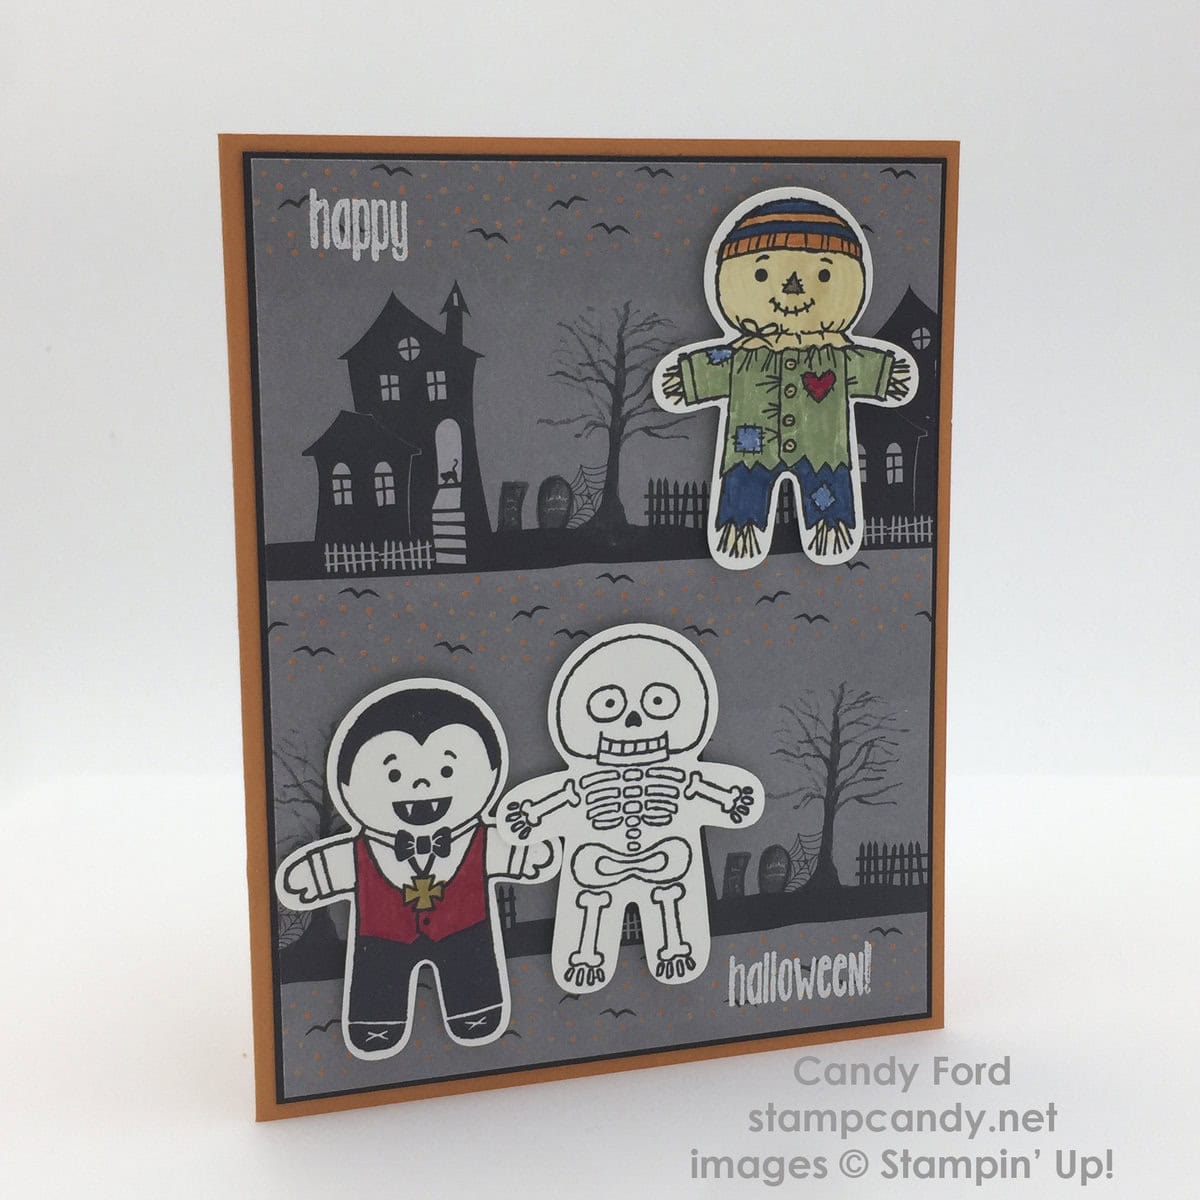
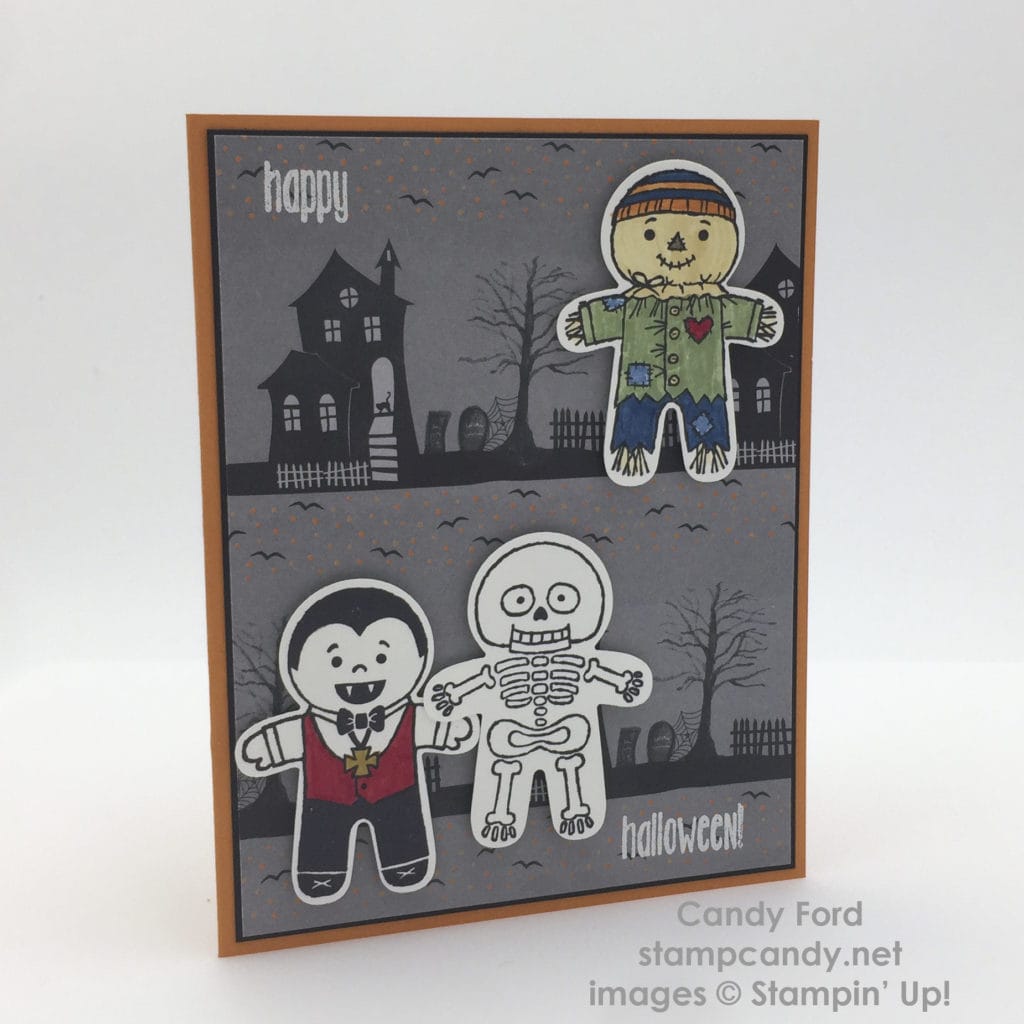
This is another card I’ve made with the Cookie Cutter Builder Punch. The Cookie Cutter Halloween stamp set is so stinkin’ cute! I love that Stampin’ Up! has given us two stamp sets to go with the punch. The other one, Cookie Cutter Christmas, is available in a bundle with the punch to save 10%!
Here’s how I did it:
The card base is Pumpkin Pie card stock. I cut a piece of the new Halloween Night Designer Series Paper to 4″ x 5-1/4″, and matted it with a piece of Basic Black card stock that is just barely larger. I glued this to the card base.
I stamped the sentiment from the new Spooky Fun stamp set in Versamark ink directly onto the DSP, then heat embossed it in white.
I stamped the three Trick or Treaters in Memento black ink onto Whisper White card stock, then punched them out. (Don’t stamp them too close together, or the other shapes on the punch will get cut from the ones beside what you’re cutting.)
I used stampin’ Write Markers to color the vampire (Real Red, Delightful Dijon) and the scarecrow (Pumpkin Pie, Dapper Denim, Marina Mist, So Saffron, Old Olive, Real Red.) I adhered them to the card front with Stampin’ Dimensionals.
Here’s what I used:
The first 7 items will be available to purchase on September 1. Everything else is available now!

If you are in the Atlanta area on August 28, noon – 4 PM, please stop by for my
Open House & BOGO Sale
See all the details here.
Use your Bonus Days coupons by August 31!
In July you earned a $5 coupon code for every $50 you spent. Now it’s time to redeem those coupon codes!
Click here to shop now!
The Thoughtful Branches bundle is only available until August 31, unless it sells out first. Don’t miss out on this extremely versatile stamp set and die set!
Click here to get it now!
Thanks for stopping by today, and Sweet Stamping!
Nov 19, 2015 | Decor, Events, Halloween, Parties |
THE INVITATION:
This year the theme of our Halloween party was Outer Space. The invitations were made of Stampin’ Up! products old and new.

The card base and alien were made from Old Olive card stock (or Pear Pizzazz when I ran out of Old Olive.) The background is from the Happy Haunting Designer Series Paper in the current Holiday Catalog. The flying saucer body is made from Silver Foil Sheets cut with the Ovals Collections Framelits Dies. The bubble is made from Window Sheets cut with the Circles Collection Framelits Dies. The inside floor of the flying saucer is Silver Shimmer Paper (retired) – not to be confused with Silver Glimmer Paper which is still available.
The alien is from a retired stamp set called Make a Monster – I stamped it on several sheets of the Old Olive or Pear Pizzazz card stock, about 25 aliens per sheet. There were way too many to fussy cut, so I used my Brother Scan ‘n Cut, which did a pretty good job. I glued on the little googly eyes and assembled the card.
For the inside, I printed the invitation info on 8-1/2″ x 11″ sheets of card stock, then scored them and cut them in half for two invitations from each sheet.
Here are the current products I used:
THE DECOR:
We decorated the house with lots of blue lights and silver lamé to give the feel of a UFO. Our patio has brick walls but no roof, so we rented a large tent. That’s where the food was. We hung long silver foil fringe around the tent with blue lights. We made UFOs out of aluminum pie pans and hung them with clear fishing line. The long center food table was covered in silver lamé and had lots of tiny battery operated blue lights strewn on it. My nephew graciously offered his huge Lego Star Wars Death Star as the centerpiece. At the far end you can see the chafing dishes for the hot food. There were ice buffets at the other end for sushi and other cold foods.

The Lego Death Star.

Here’s a photo of the stamping studio turned bar area, before we dimmed the lights. The whole place had silver lamé and blue fairy lights, giving it an eery glow.

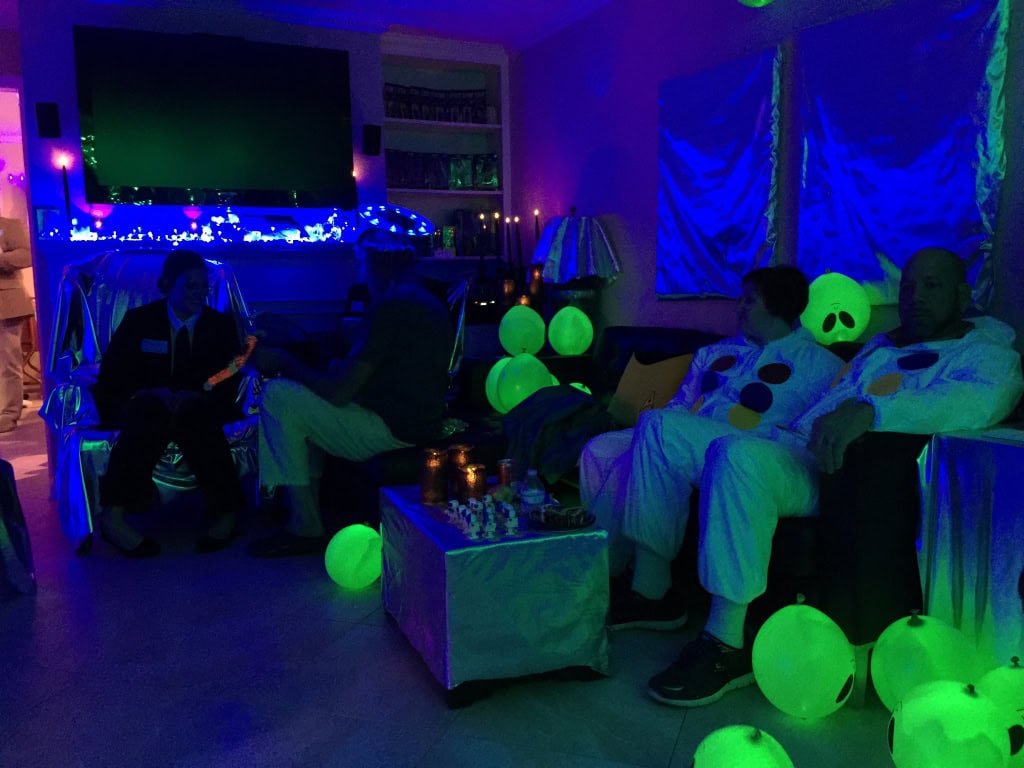
Here’s a snapshot of the living room. Most of the furniture was covered in, you guessed it, silver lamé. We had alien balloons that had lights inside. They were filled with helium, but didn’t stay afloat very long, so they just piled up. They did stay inflated for days afterward.

THE CAKE:
Every year we get our cake from Mark & Becky Brickman of Bakers Man, Inc. in Alpharetta, GA. Here they are delivering it. Their wonderful assistant Elizabeth did most of the designing on this one. She did a phenomenal job! It’s a flying saucer that has crashed in the desert and there’s an alien hiding behind a rock. Essentially everything you see is edible, including the alien, the mountains and rocks, and the top half of the flying saucer.
If you’re in the Atlanta area, I highly recommend Bakers Man. Their cakes are always delicious, but the carrot cake is amazing. Not only is it the best carrot cake I’ve ever had, it’s probably the best cake period.

Here’s a close up of the flying saucer. Everything from the widest part up to the top was cake.

And here’s the alien made of sugar. The detail on this little guy was astounding.

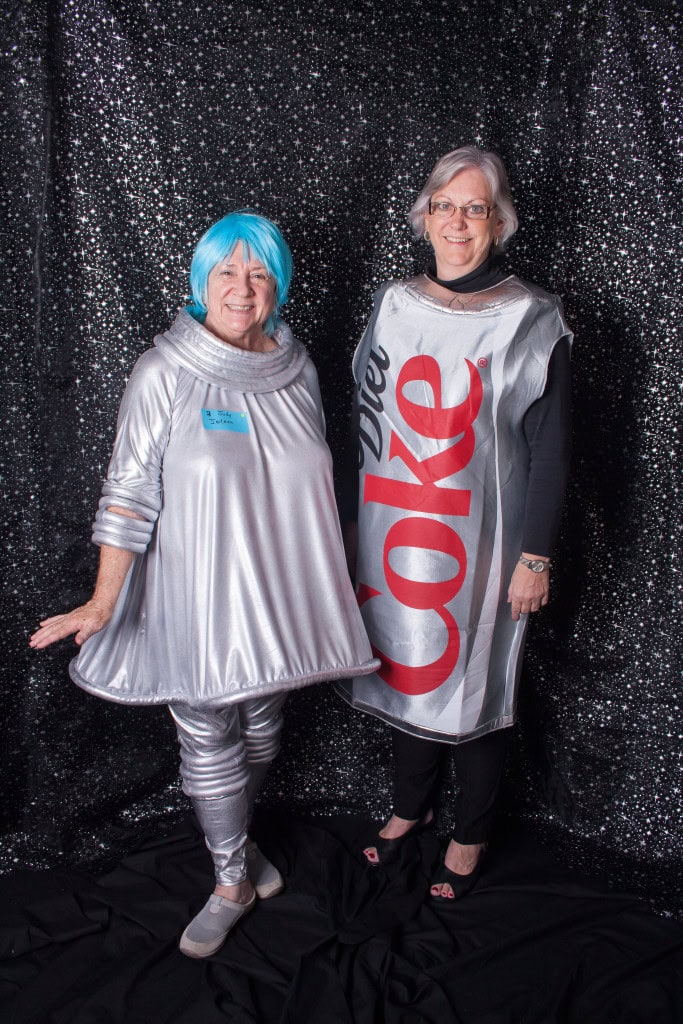
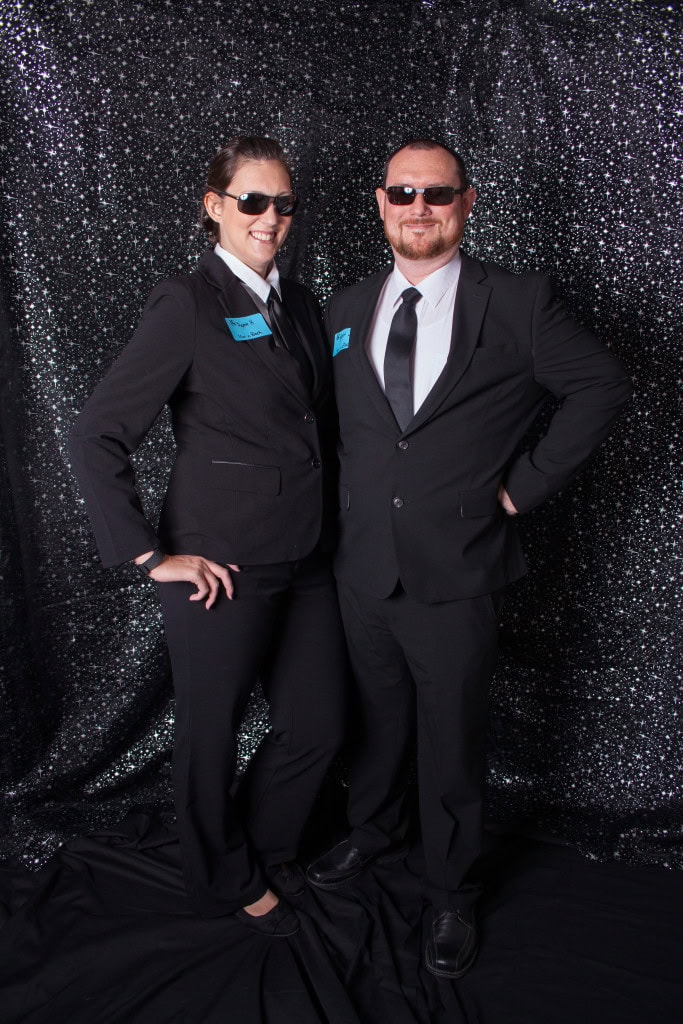
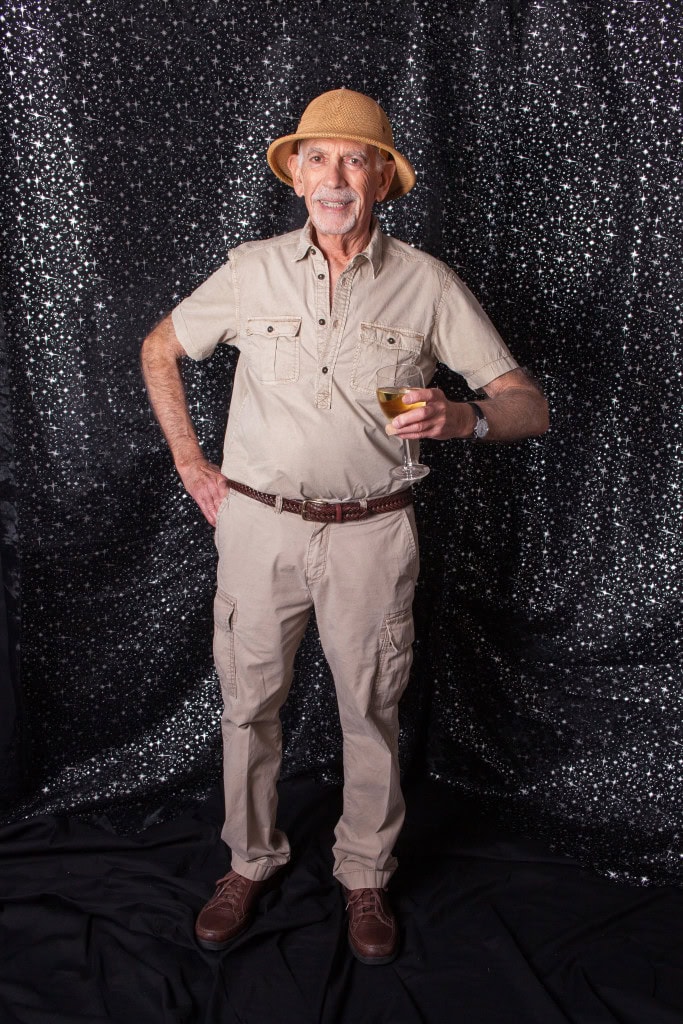
THE PEOPLE:
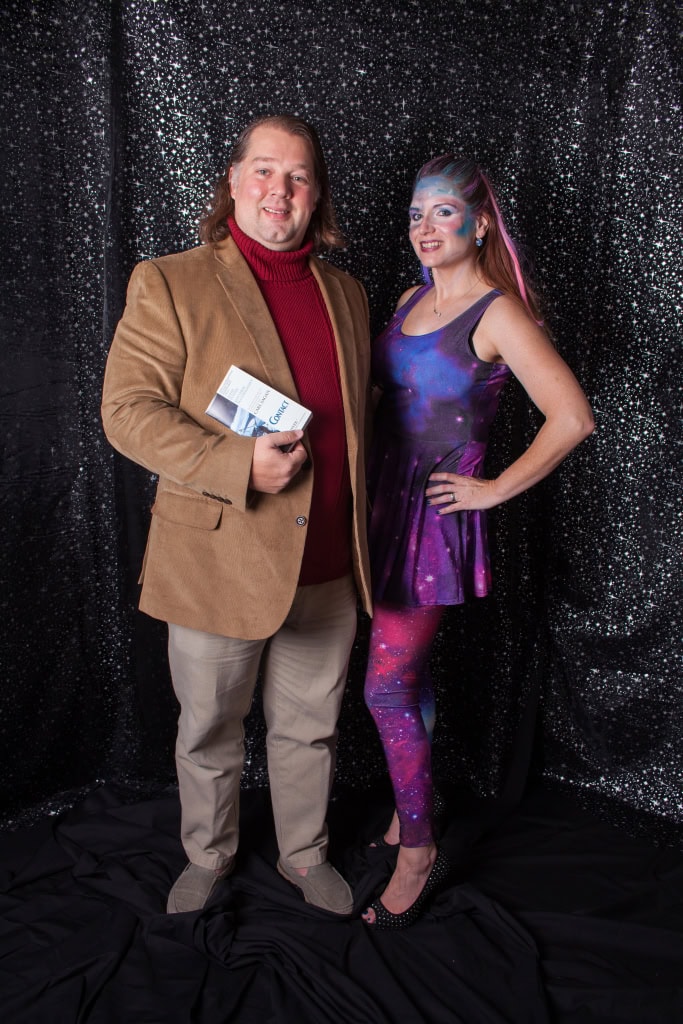
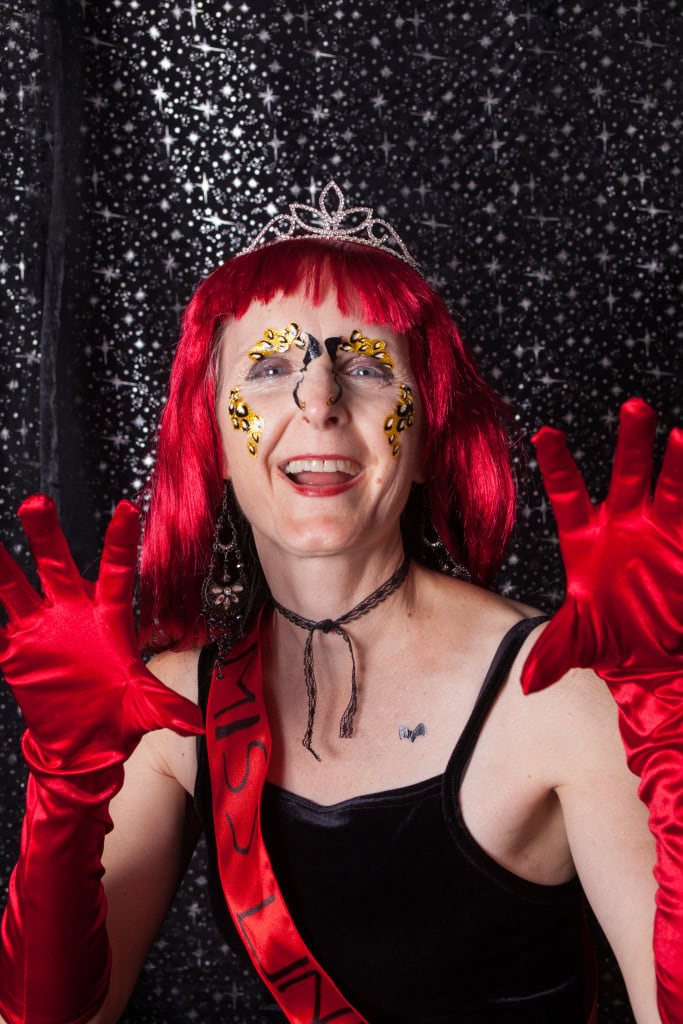
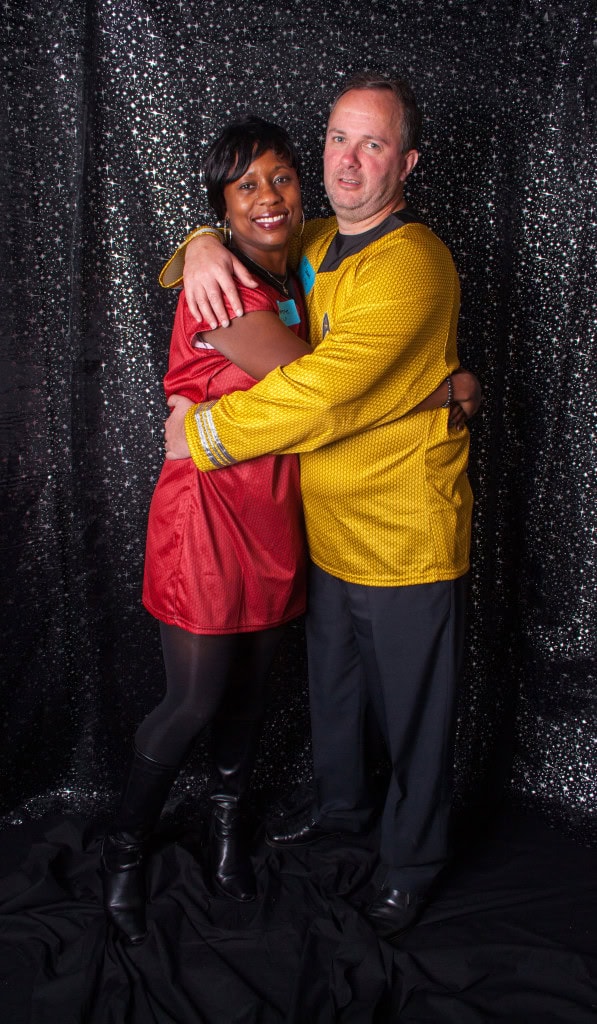
There were some great costumes. Here are just a few: Space Chick, Diet Coke, Twister game, One-Eyed One-Horned Flying Purple People Eater, Soylent Green cracker, Men In Black, guy on safari, Carl Sagan and the Cosmos, Star Trek characters, binary star, a couple dressed in bubble wrap, the constellation Orion, black hole, Saturn, and the Big Dipper.


Neal and I were Mal & Kaylee (older, chubbier, bespectacled versions) from the Firefly TV show.

Okay, so that was the first event in the last month that took my time away from my blog. Next was the Stampin’ Up! Rising Star Retreat in Utah….to be continued.
Thanks for stopping by today, and Sweet Stamping!

Nov 12, 2015 | Decor, Events, Halloween, Parties, Retreats |

image © Stampin’ Up – from the Traveler stamp set
Hello, Sweet Stampers!
I haven’t forgotten you! Of course, I had the best intentions of prescheduling blog posts for all the time I would be away from home, but alas, I just didn’t get it done. Between traveling, recuperating from traveling, traveling more, recuperating,… – you get the idea – I’m afraid my energy for blogging has been lacking.
It’s been a wacky few weeks, and the wackiness continues. As it has turned out, mid-October through late November is just a crazy chunk of time in my 2015 schedule. While I’m extremely grateful for the opportunities I have had to travel, spend time with friends, and attend wonderful events, I’m pooped! And I’m afraid my blog has suffered for it.
I plan to post photos from my adventures. First was our huge annual Halloween party – it took weeks to put together, and then a week to recuperate afterward. Here’s a sneak peek of the invitation and the living room:
Then I got to attend Stampin’ Up’s Rising Star Retreat in Utah, where five fabulous demonstrators from around the country and myself were pampered and trained and given an inside look at Stampin’ Up! Then I went on a week long crafting cruise around the Caribbean.
I’m on my way now to attend Stampin’ Up’s OnStage Local event in Tampa, FL. Then there’s another cruise, a family gathering at my brother’s house in the Smoky Mountains, and Thanksgiving with my husband’s family at the Georgia coast. Phew!
I’m looking forward to December when I can sit in my stamping studio with my cats and make stuff!
Thanks for stopping by today, and Sweet Stamping!
Oct 11, 2015 | Challenges, CYCI, Food, Halloween, Holiday |
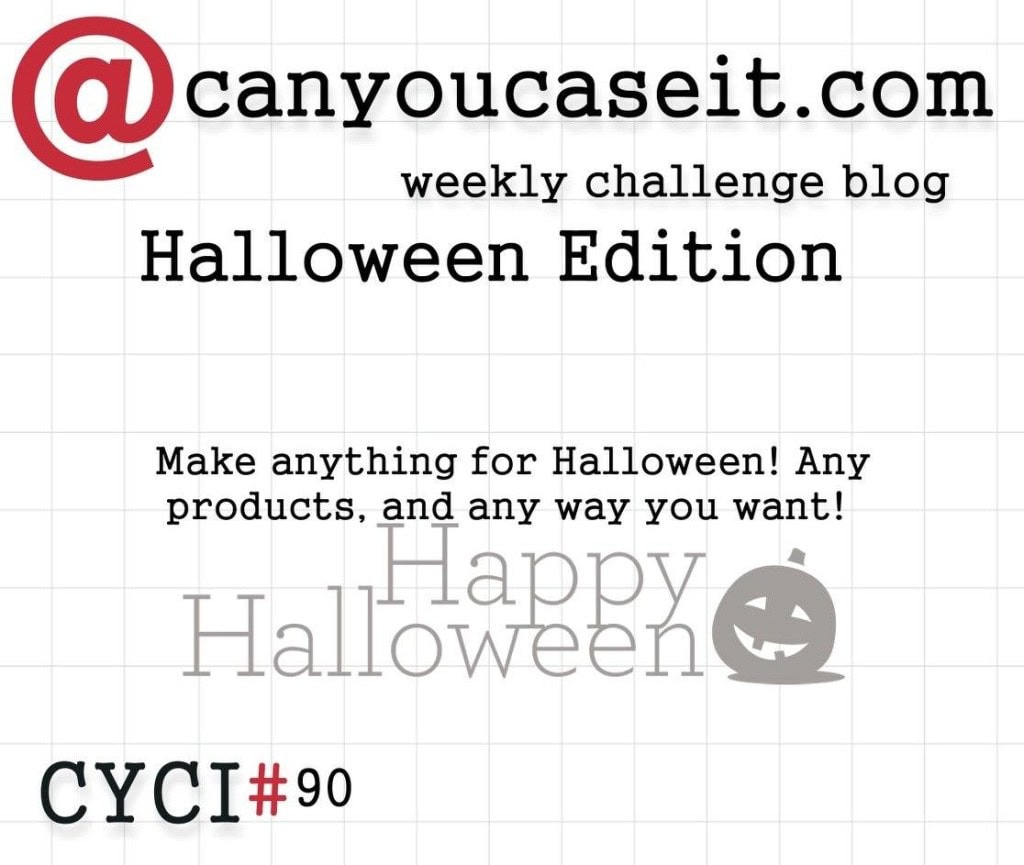
This week at CanYouCaseIt.com, we have a themed challenge:
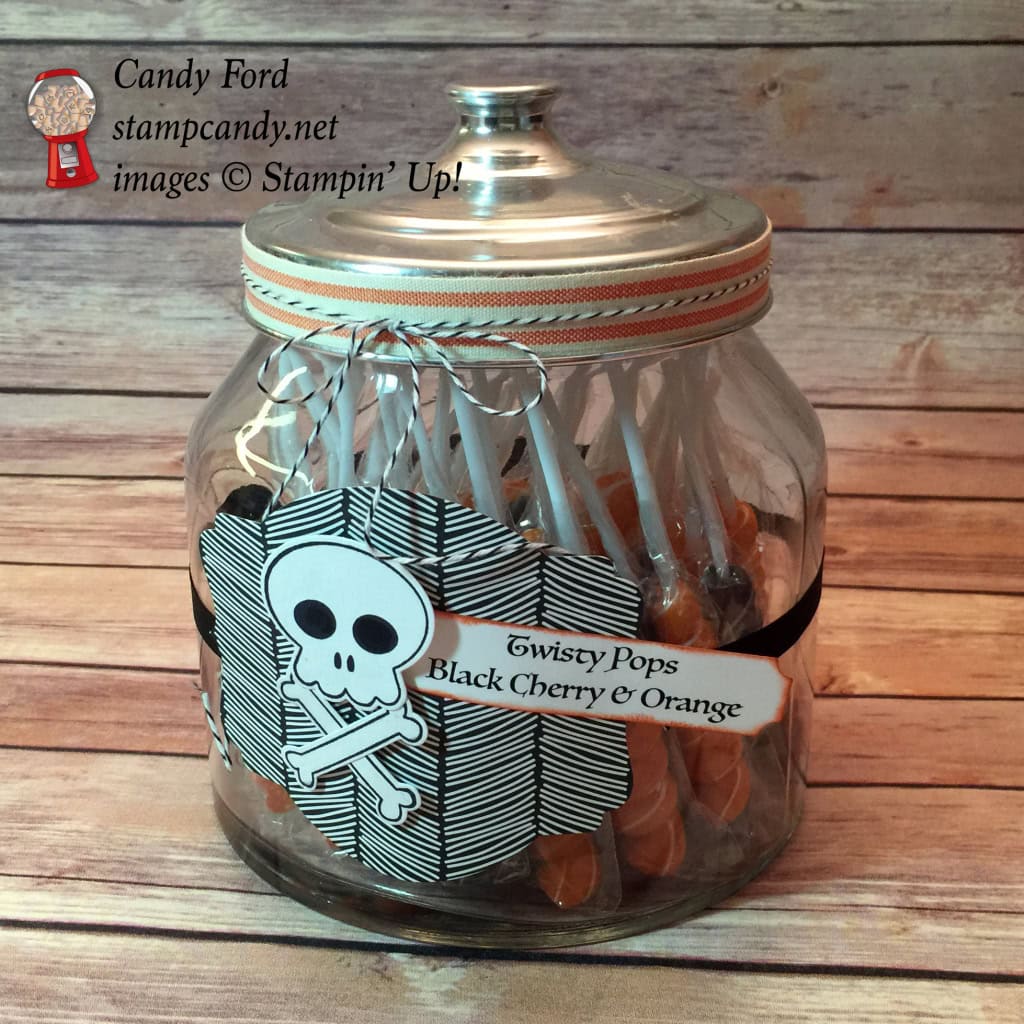
I was asked to do a Halloween presentation at the World Card Making Day event I attended last weekend. Today I’m sharing one of the projects I made for that.
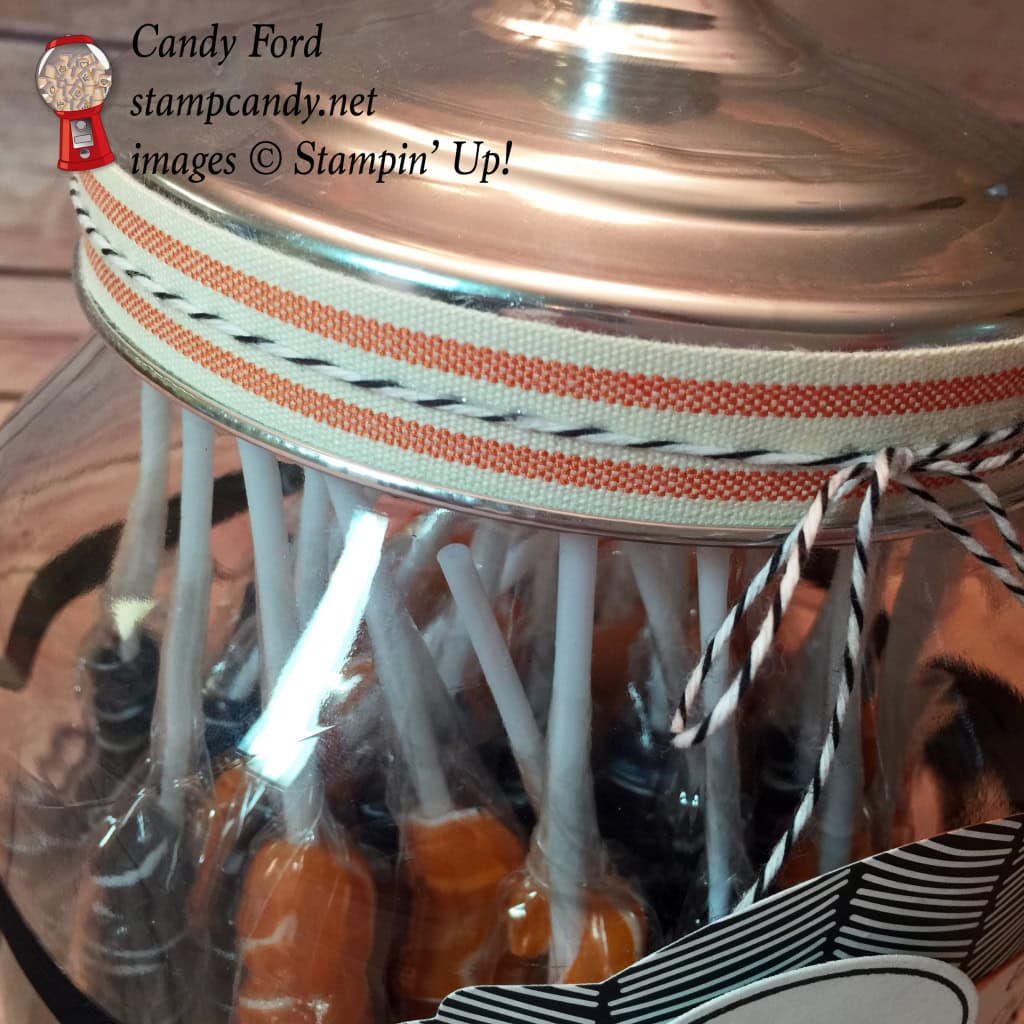
I already had this big jar with a metal lid. I filled it with black and orange Twisty Pops, then decorated it with ribbon, baker’s twine, and a label made from Everyday Chic Designer Series Paper, Howl-o-ween Treat stamp set, Boo To You Framelits Dies, Deco Labels Collection Framelits Dies, and Project Life Cards & Labels Framelits Dies.
For the words, I ran Whisper White card stock through my printer. The font is Luminari. I used a Sponge Dauber to ink the edges in Tangelo Twist.
I chose this piece of DSP because I think it looks “boney” behind the skull and crossbones.
I used a tiny bit of Fast Fuse adhesive to hold the ribbon in place around the lid. I used a skinny line of Multipurpose Liquid Glue to hold the twine in place on the ribbon.
Be sure to check out all the other projects at canyoucaseit.com!
Here’s what I used:
Be sure to check out the Weekly Deals…
…and the Clearance Rack.
___________________________________
New Class!
Come to my Nutty Notecards Class
Oct 30 at 6:30 PM
You’ll make 4 notecards and matching envelopes, and an adorable box to keep them in!
PLUS
You get to take home the Acorny Thank You stamp set, the Acorn Punch, and the Into the Woods Designer Series Paper pack! All this for only $45!
Email me today for payment information: candy@stampcandy.net.
Hurry! Seating is limited!
___________________________________
I love hearing from you! Please leave your questions and comments below.
Thanks for stopping by today, and Sweet Stamping!
Sep 30, 2015 | Blog Hop, Decor, Halloween, Holiday, Kits, New Products |

Welcome to InKing Royalty’s September Blog Hop. We are helping to prepare you for October with super-fun Tricks OR Treats. Our projects center around fun techniques (tricks) or creative ways to package up Halloween goodies (treats.) In some cases you might get BOTH! What fun! After you read my post, I hope you’ll hop over to the next person on the list at the base of this post.
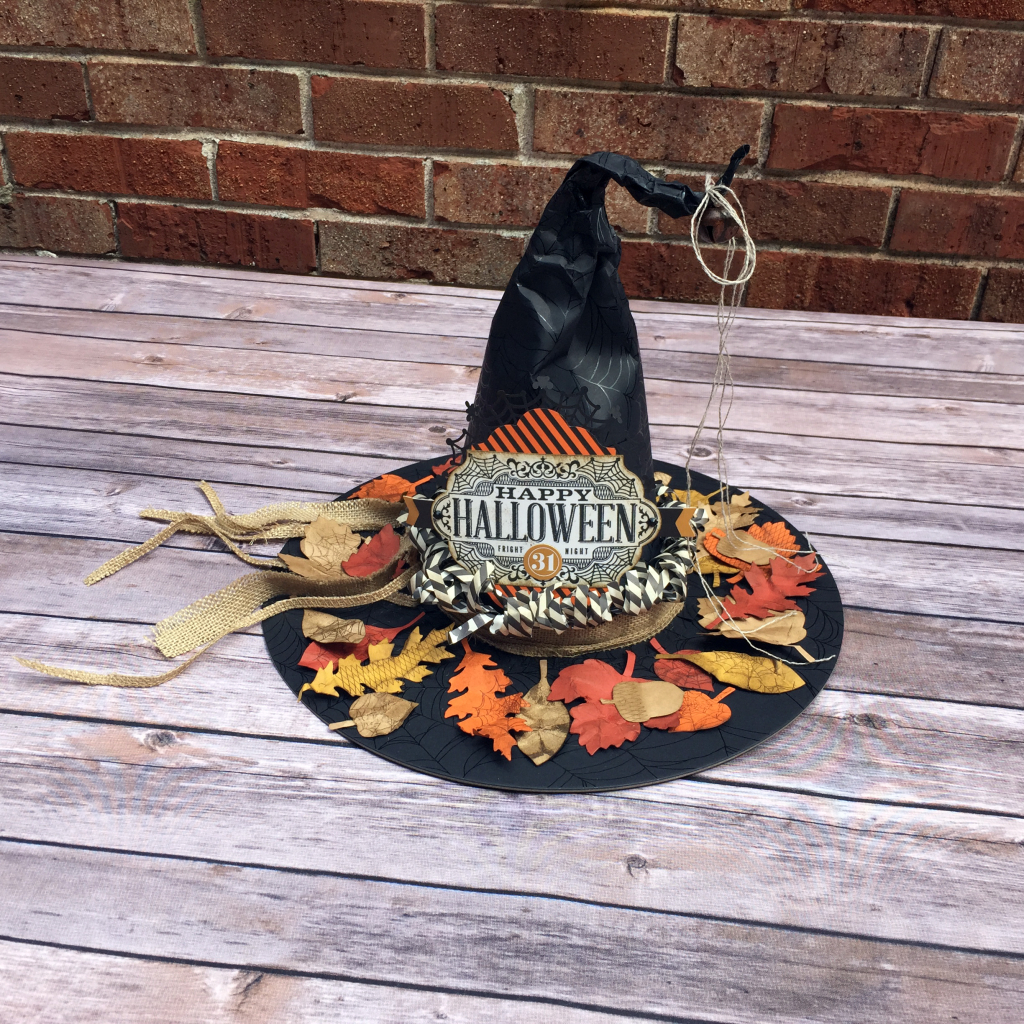
I’ve used a few tricks (sponging, heat embossing, crumpling) and leftovers from the Witching Decor Project Kit, to create this candle label. The candle itself is a battery operated black candle from the local Halloween store.
For the label, I used four leaves, a label, and a Spider Web Doily from the kit. I flipped the black doily over to the white side and inked it up in Cajun Craze.
I sponged the label in Delightful Dijon, Cajun Craze, Tangelo Twist, and Soft Suede inks to create a mottled effect. I thought about embossing in clear and inking in Basic Black or Early Espresso – the Joseph’s Coat technique. But then I decided to heat imboss the image in gold.
I crumpled the leaves with my hands and inked them up in Soft Suede.
I glued all the parts together and glued the label onto the card stock belly band.

The raven’s eye is a Pearl Basic Jewel colored with a black Sharpie marker

And here’s my completed Witching Decor Project kit, whose leftovers I used.
Thank you for hopping along with us. If you get stuck during the Blog Hop, please use this line up as a guide.
- Brian King at Stamp with Brian
- Candy Ford at StampCandy <— YOU ARE HERE
- Lynn Kolcun at Avery’s Owlery
- Lydia Fiedler at Understand Blue
- Shawn de Oliveira at ShawnStamps
- Lisa Pretto at InkBig Academy Stamps
- Sharon Walker at Stamp with Sharon W
- Jennifer Spiller at Westside Paper Creations
- Becky Volpp at Ink Blossom with Becky
Here’s what I used:
Thanks for stopping by today, and Sweet Stamping!