Mar 4, 2016 | Boxes, Cards, Club, Occasions, Sale-A-Bration |
Easter is on its way! At this month’s Stamp Club, we made three adorable Easter projects. I’m sharing one of them with you today.
I got so excited when I learned you can color the new Glitter Tape to match any of your Stampin’ Up! supplies. I was inspired by this photo from the newest Sale-a-bration brochure:
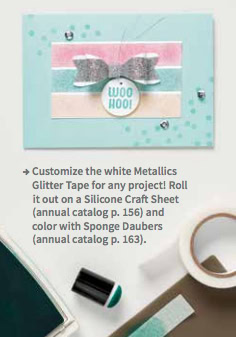
You can get the Metallics Glitter Tape FREE! Add Item # 141020 to any order of $50 or more by March 31, when Sale-a-bration ends.
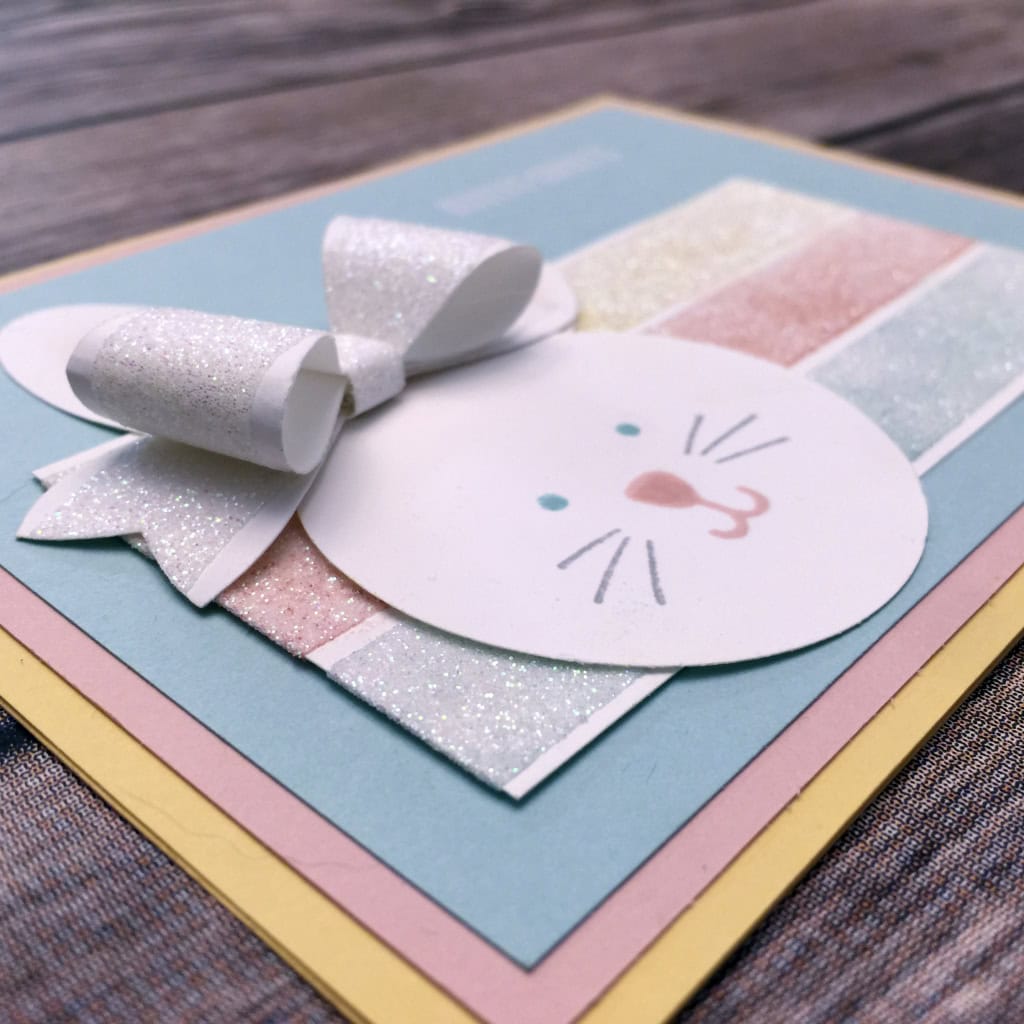
This is the first project we began, and the last project we finished, at Stamp Club. We put three strips of the white Glitter Tape on a Silicone Craft Sheet. We used Sponge Daubers to color the pieces of white Glitter Tape in Blushing Bride, So Saffron, and Pool Party, then set them aside to dry.
After completing the other projects, we used the dry tape to finish this card.
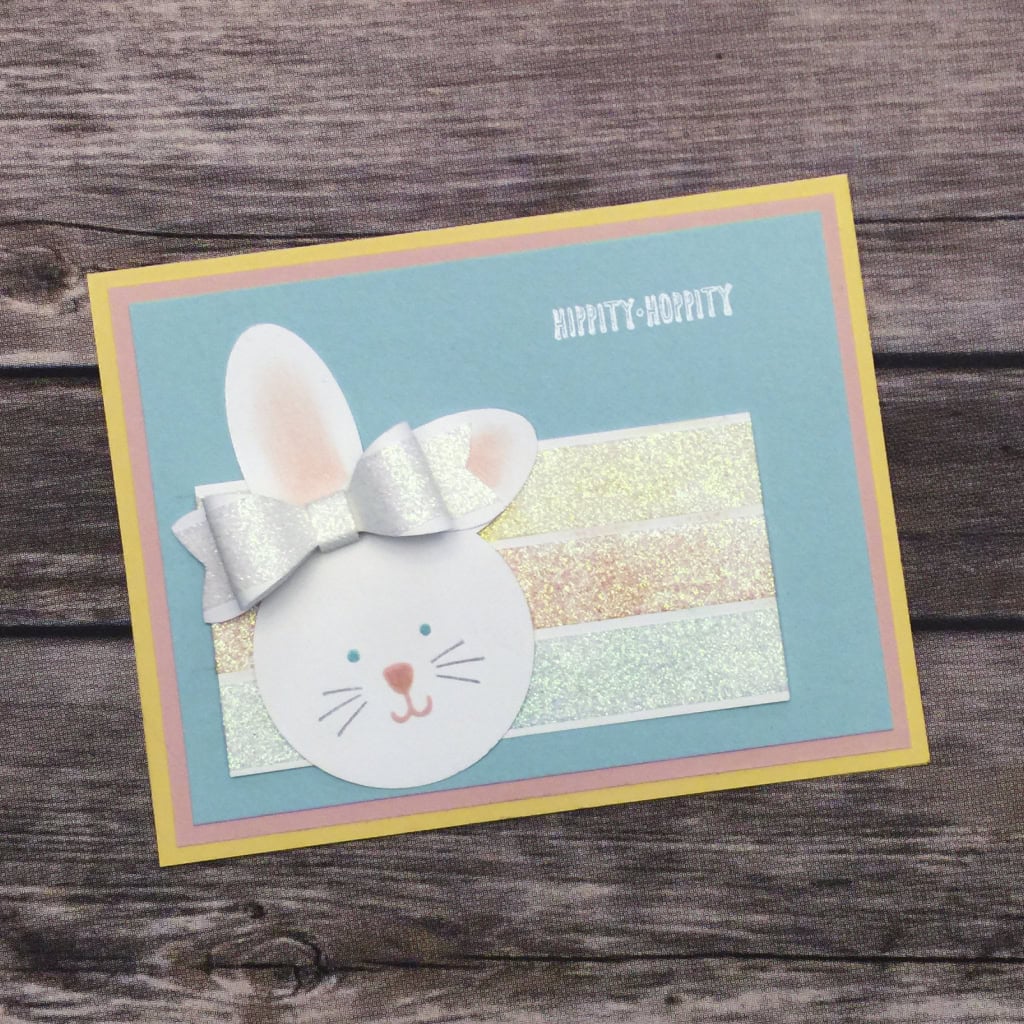
The card base is So Saffron card stock, with layers in Blushing Bride and Pool party.
We heat embossed the sentiment from the And Many More stamp set in white on the Pool Party layer.
We put the three pieces of tape on a piece of Whisper White CS and adhered it to the card front.
We punched the bunny out of Whisper White CS with the 2″ Circle Punch and the Large Oval Punch. We stamped the face in Blushing Bride, Pool Party, and Smoky Slate with the Playful Pals stamp set. We used a sponge dauber to add Blushing Bride to the oval pieces, then adhered them to the back of the head. Then we adhered the bunny to the card
We put white Glitter Tape on Whisper White CS, then cut it with the Bow Builder Punch. We used Glue Dots to build the bow and to adhere it to the card.
I’m sorry the color on the Glitter Tape doesn’t show up very well in this photo. I just couldn’t seem to get the lighting right.
Check back for more Stamp Club projects!
Here’s what we used:
A Nice Cuppa Bundle Class
Tuesday is the deadline to prepay for my March 22 Bundle Class. We’ll create some great projects using the A Nice Cuppa stamp set and coordinating Cups & Kettle Framelits Dies. Only $50 and you get to keep the projects, the stamp set, and the dies! This is a prepaid class. I must receive payment by Tuesday, March 8, so I’ll have time to order your supplies. Click here for more information and to sign up now!
Thanks for stopping by today, and Sweet Stamping!

Stamp Candy
Atlanta, GA
84 Paper Crafters
I’m an Independent Stampin’ Up Demonstrator and I love to share my passion for paper crafting. I offer classes and parties to teach about products and techniques. Whether you’…
Check out this Meetup Group →
Mar 2, 2016 | Cards, Events, Occasions |
Today I’m sharing the fourth and final birthday card designed by Monika Davis that I copied for my team meeting. Click to see the first, second, and third cards.

Candy Ford – stampcandy.net – card design by Monika Davis – images © Stampin’ Up!
We notched the end of a 1″ strip of Sahara Sand CS with the Banner Triple Punch, then glued it to the Whisper White card front.
We adhered six 1″ squares cut from the It’s My Party Designer Series Paper Stack onto the card front with Stampin’ Dimensionals.
We stamped the sentiment from the Party With Cake stamp set in Basic Black directly onto the card front.
We tied a piece of Mint Macaron/Basic Black Baker’s twine around the card front, then glued the whole thing to the Mint Macaron card base.
Done!
Here’s what we used to make this card:
I’d like to thank Monika again for her brilliant designs. If you’d like to sit down and make a lot of birthday cards at one time, this is a great way to do it. All you need are the It’s My Party DSP, the It’s My Party CS Pack, Basic Black and Whisper White CS, the Party With Cake and the Suite Sayings stamp sets, a few punches, twine, ink pads, markers, and adhesives.
Check out the Weekly Deals! Save 25% off these products through Monday, March 7.

Thanks for stopping by today, and Sweet Stamping!
Feb 29, 2016 | Cards, Events, Occasions |
CASE = Copy And Share Everything
Today I’m sharing the second birthday card from Monika Davis that I copied and used for my team meeting Make & Takes. To see the first one, click here.

Candy Ford – stampcandy.net – card design by Monika Davis – images © Stampin’ Up!
The card base is Crushed Curry card stock. You can buy a pack of Crushed Curry CS, or you can buy a pack of It’s My Party Designer CS and get Crushed Curry, Mint Macaron, and Melon Mambo.
On the Whisper White card front we glued three strips from the It’s My Party Designer Series Paper Stack, and tied a piece of Crushed Curry Baker’s Twine around it. We glued it to the card base.
We stamped the sentiment from the Suite Sayings stamp set in Basic Black on a piece of Whisper White CS cut with the 2-1/2″ Circle Punch. We used the confetti stamp from the Party With Cake stamp set to stamp in Crushed Curry, Mint Macaron, Melon Mambo, and Basic Black – being sure to clean the stamp well between ink colors.
We adhered the circle to the card front with Stampin’ Dimensionals.
Easy peasy lemon squeezy!
Here’s what we used:
Thanks for stopping by today, and Sweet Stamping!
Feb 27, 2016 | Cards, Events, Occasions |
CASE = Copy And Share Everything
They say imitation is the highest form of flattery. Monika Davis had four birthday cards prepared for us to make at her team meeting last Saturday. I thought they were so brilliant that I dispensed with the Make & Takes I had planned for my own team meeting on Sunday and used her designs instead. Today I’m sharing one of those cards.

Candy Ford – stampcandy.net – card design by Monika Davis – images © Stampin’ Up!
The card base is Basic Black card stock, with a piece of Whisper White CS glued to the inside. The circles are all cut from the It’s My Party Designer Series Paper Stack with Circle Punches in 1-1/2″, 2″, and 2-1/2″.
Both sentiments from the Party With Cake stamp set are stamped in Basic Black. We used the Banner Triple Punch to notch the end of the strip for the card front.
It’s such a quick and easy card to make, but the design has a lot of impact. Thanks again, Monika!

Candy Ford – stampcandy.net – card design by Monika Davis – images © Stampin’ Up!
Here’s what we used:
Thanks for stopping by today, and Sweet Stamping!
Feb 21, 2016 | Cards, Challenges, CYCI, Occasions |
I try to stay organized and ahead of the game, but sometimes (okay, most times) I lose track. I had to have this post ready by Friday night so the organizer of canyoucaseit.com, Eva Bussom, could get everything set up for the challenge post. Pretty late Friday evening I realized I hadn’t made a card for this week’s challenge. First I panicked, as one does. Then I thought to look through the cards I’ve made but haven’t gotten around to posting yet. Voila! This card that I made at the Rising Star Retreat in Utah fit the sketch to a tee. Problem solved. Well, except for actually getting the post done. Which, obviously, I did, if you’re reading this.
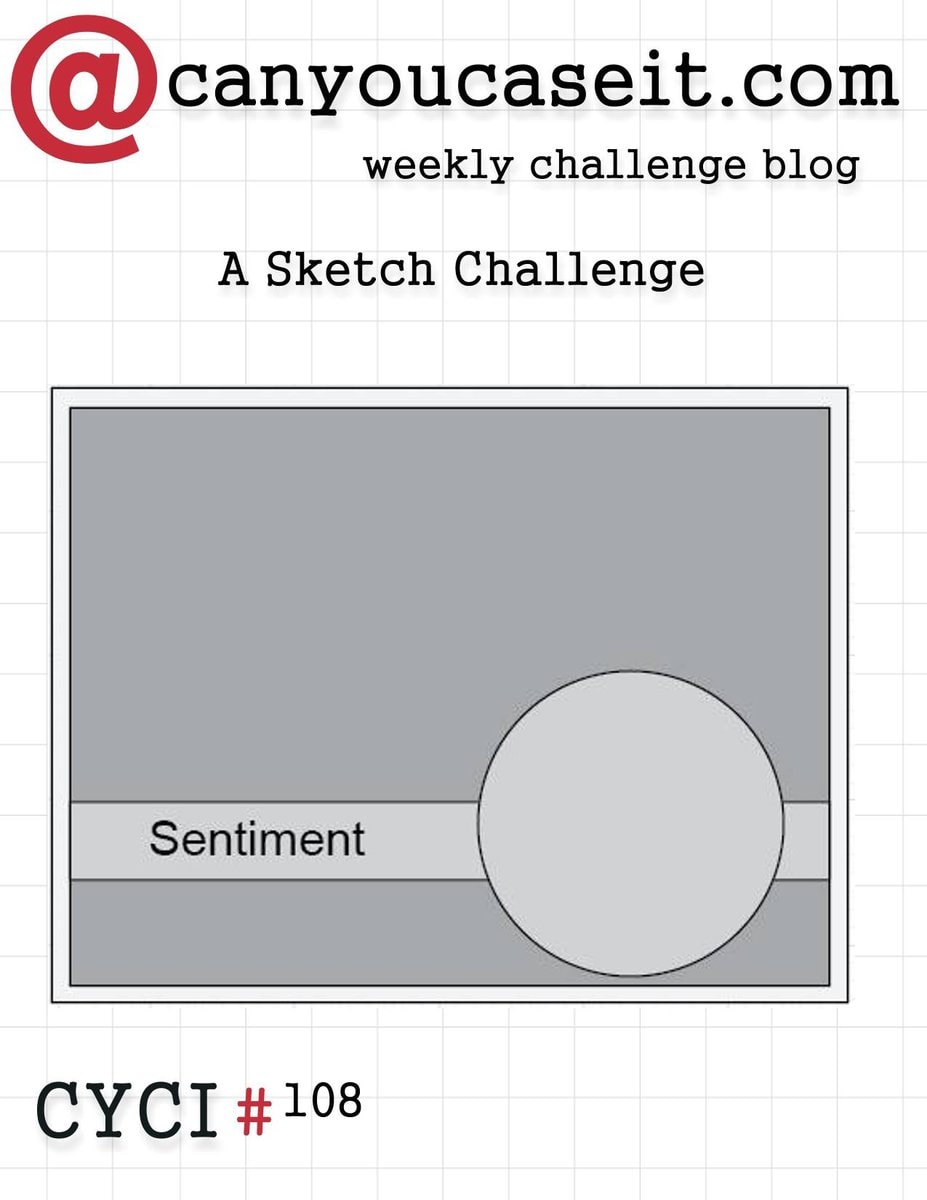
Here is this week’s sketch challenge…
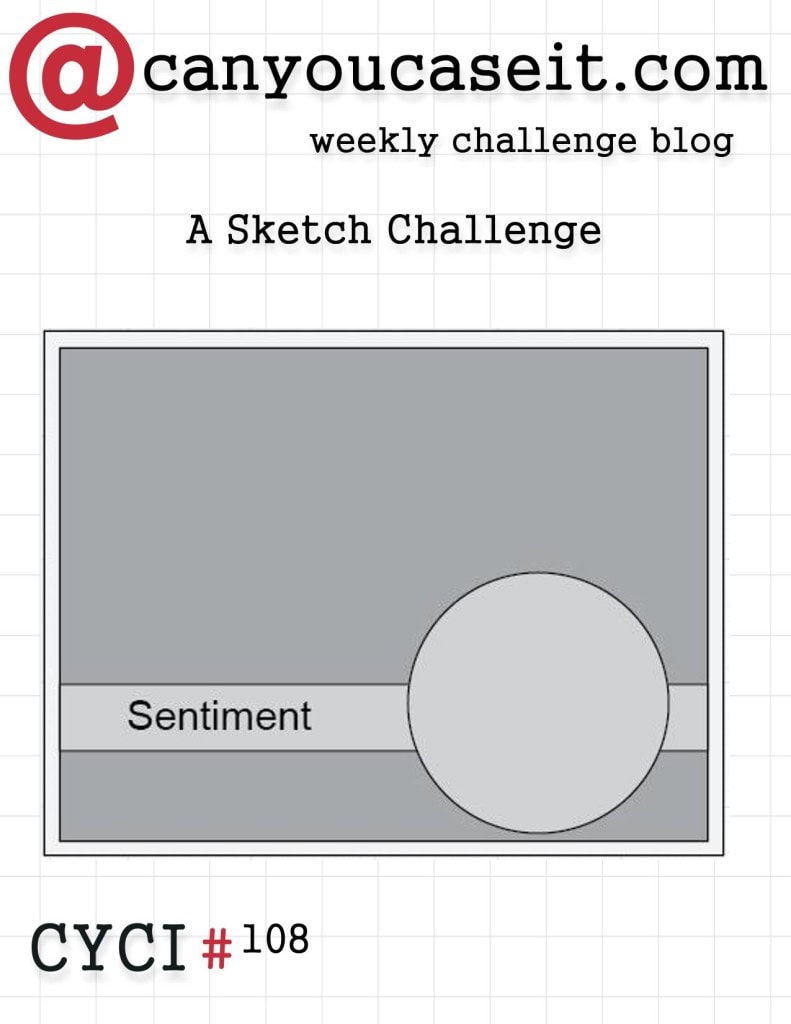
…and here’s my card.
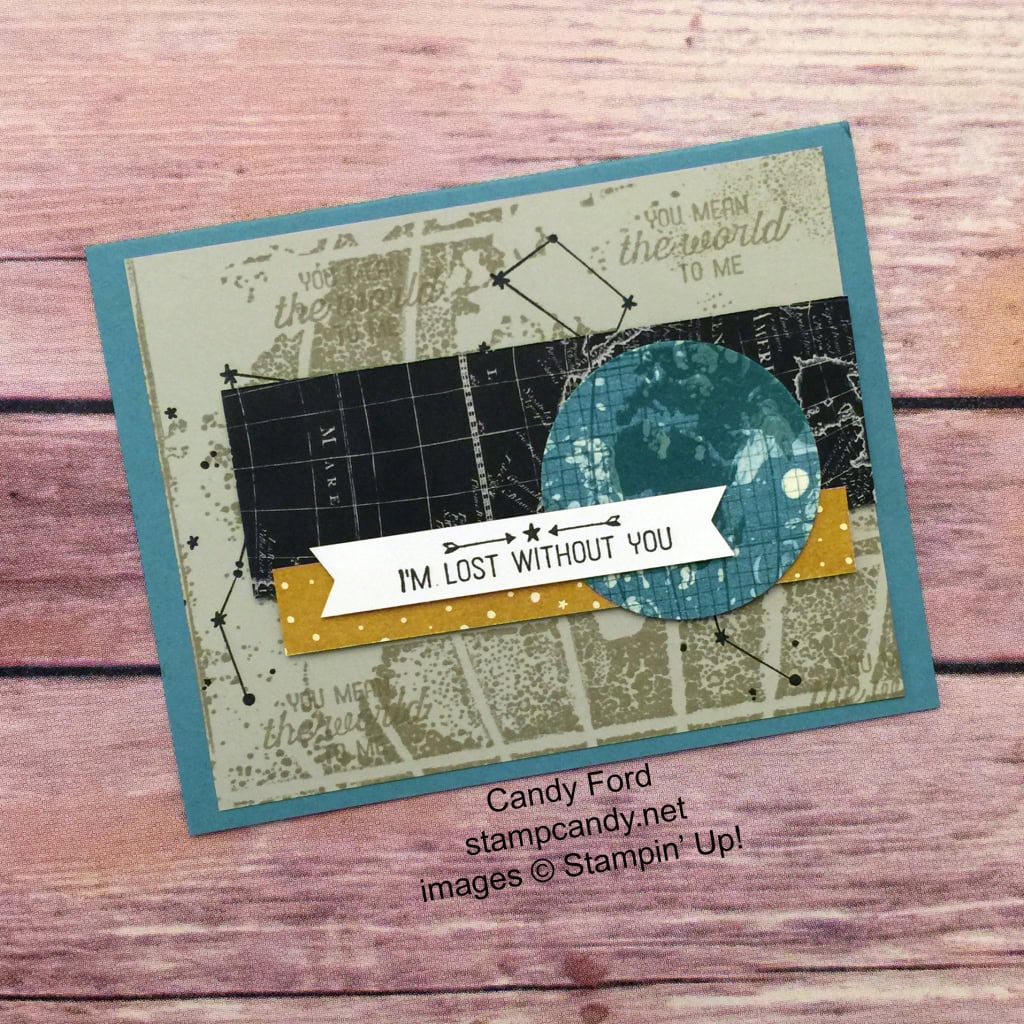
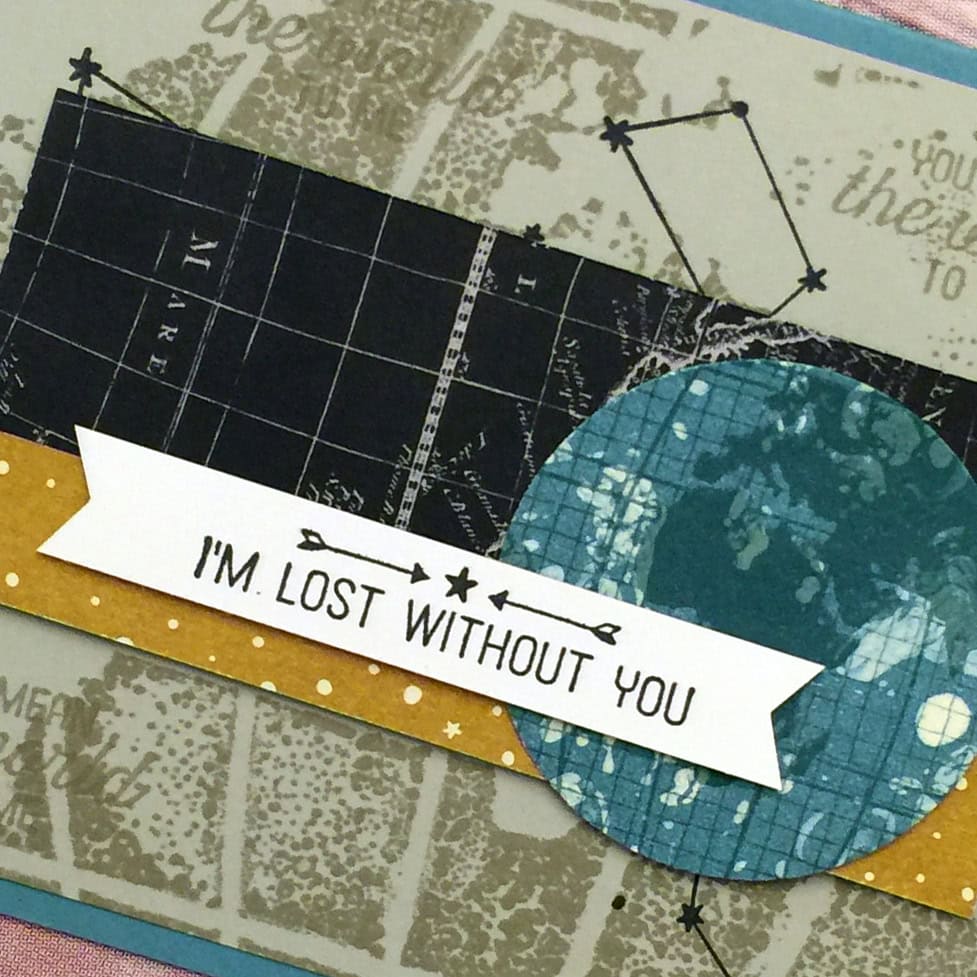
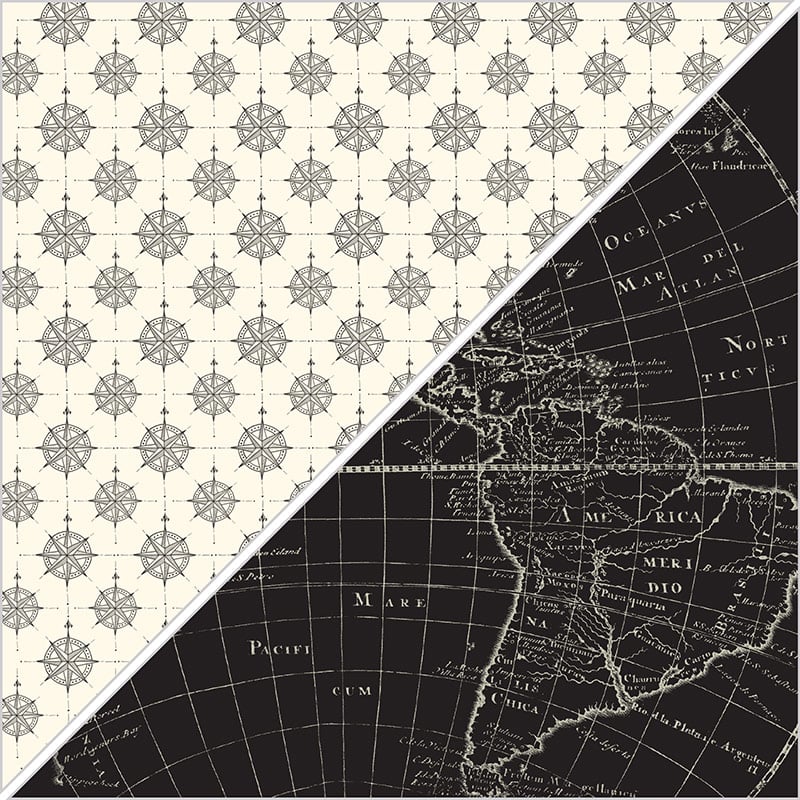
This card showcases the Going Places suite of products in the 2016 Occasions catalog.
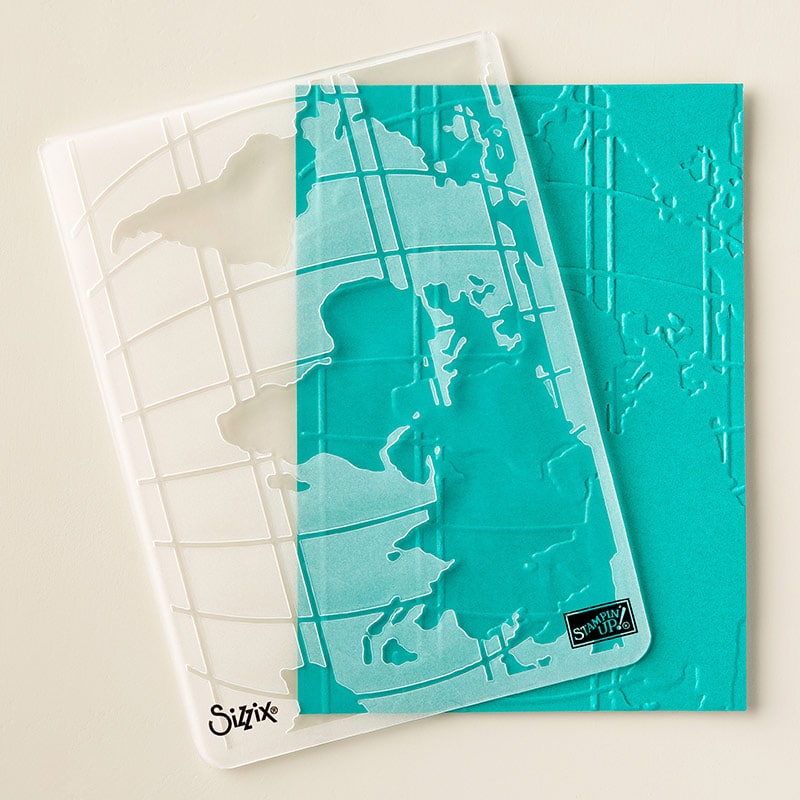
The card base is Lost Lagoon card stock. The next layer is Sahara Sand CS that I stamped by inking up the World Traveler embossing folder with Sahara Sand ink, putting the CS inside, and rubbing it with my hand. It isn’t embossed, only stamped. The hand rubbing is what gives it the worn look, since I didn’t use enough pressure to transfer the ink in some places.
I also stamped this layer with the constellation stamp from the Going Global stamp set in Archival Basic Black ink, and with the You Mean the World to Me stamp in Sahara Sand ink.
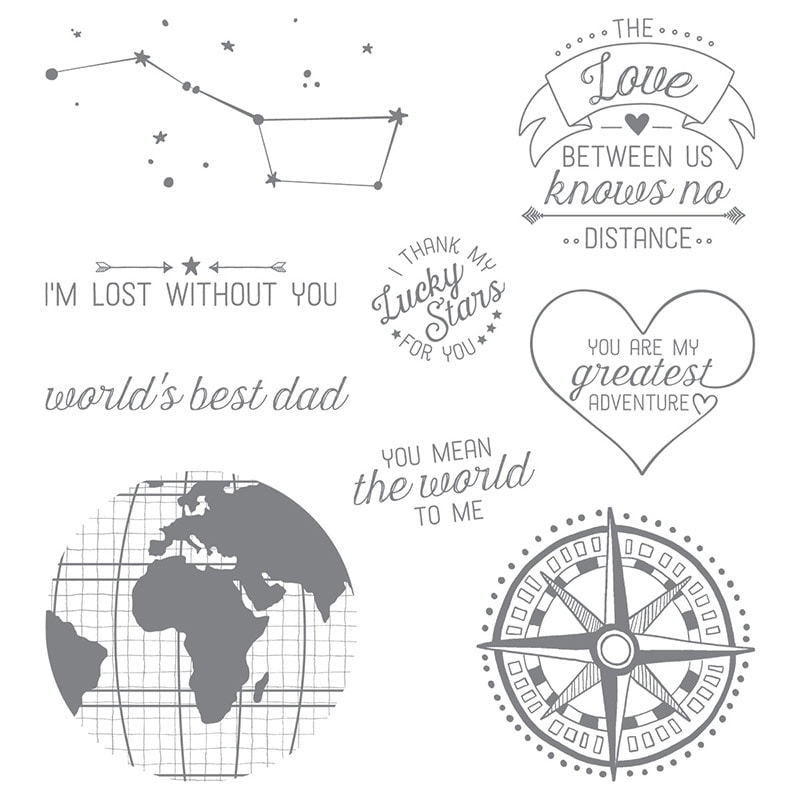
The three pieces of Designer Series Paper are from the Going Places DSP stack. I stamped the globe in Lost Lagoon ink directly onto the DSP and cut it with the 2″ Circle Punch. The two DSP strips are adhered with Stampin’ Dimensionals, and the globe is glued onto them.
I stamped the main sentiment with Basic Black on a strip of Very Vanilla CS, then notched the ends with the Banner Triple Punch. I adhered it to the DSP pieces with Stampin’ Dimensionals.
Here’s what I used:
Be sure to check out all the great projects at canyoucaseit.com this week, and play along with us by posting your own project!
Thanks for stopping by today, and Sweet Stamping!
Feb 20, 2016 | Cards, Club, Occasions |
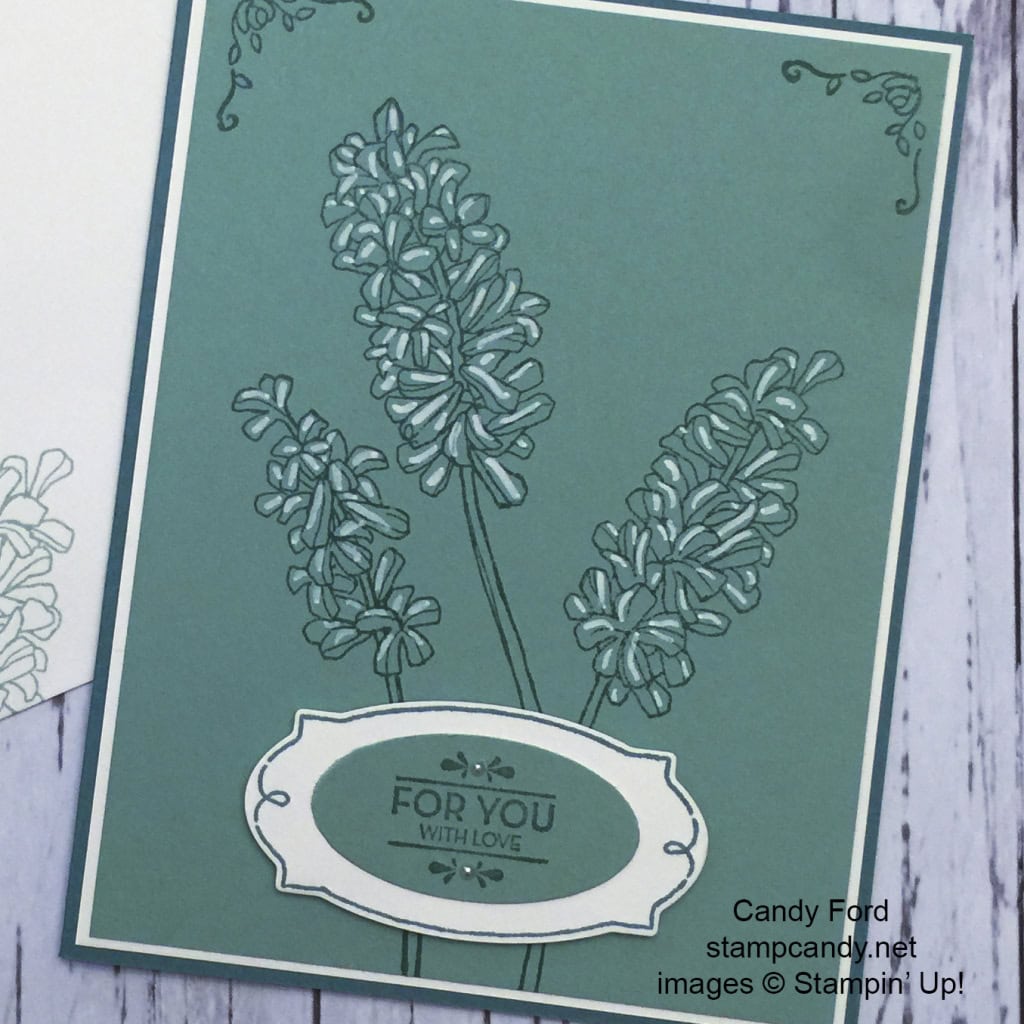
Today I’m sharing with you one of the projects I designed for our February Stamp Club meeting.
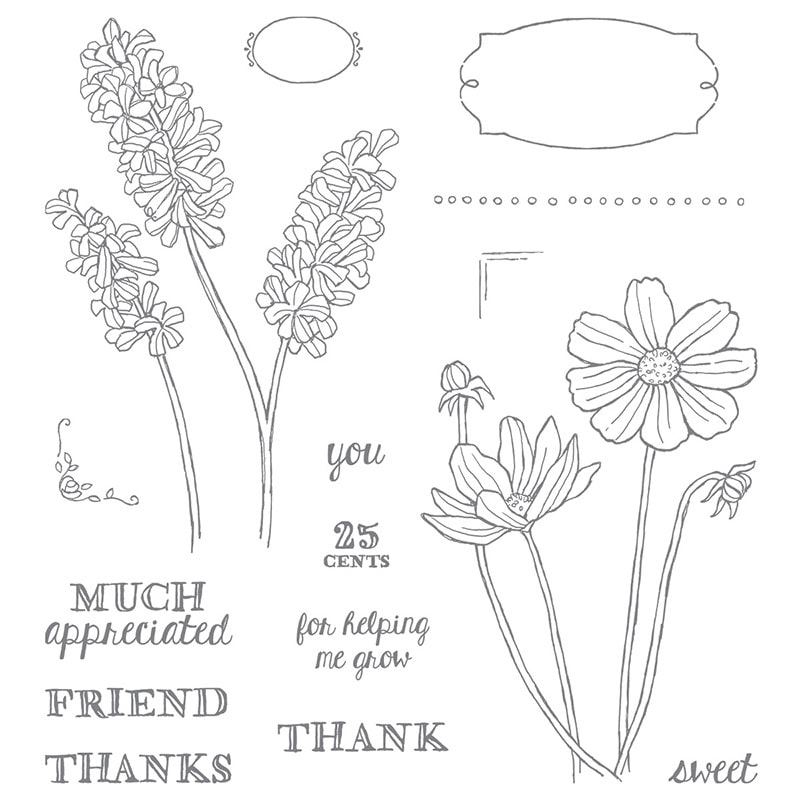
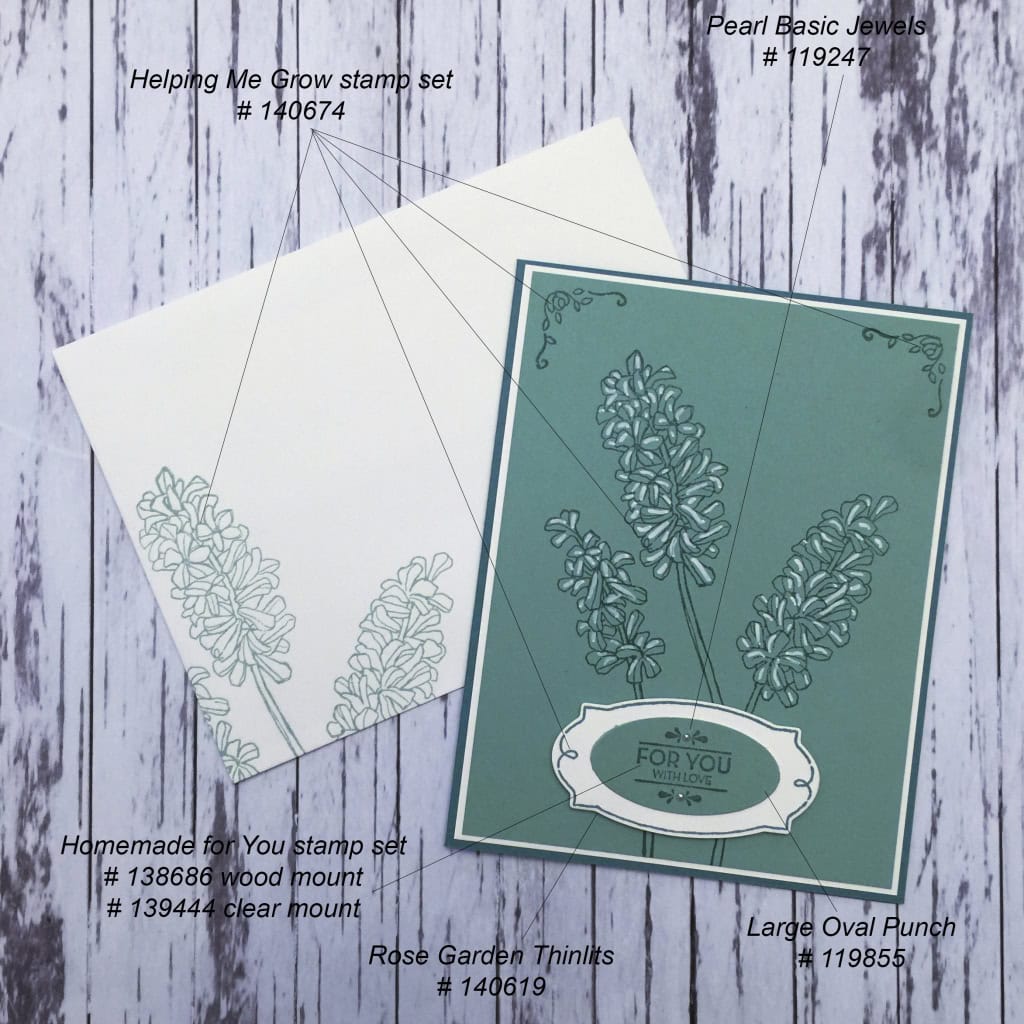
I think this was the first time I had used the Helping Me Grow stamp set from the 2016 Occasions catalog, which is a shame because it’s a beautiful set.
The card base is Lost Lagoon card stock, and the middle layer is Whisper White CS. The card front is Mint Macaron CS stamped with Lost Lagoon ink. I used a White Stampin’ Chalk Marker to add highlights to the petals.
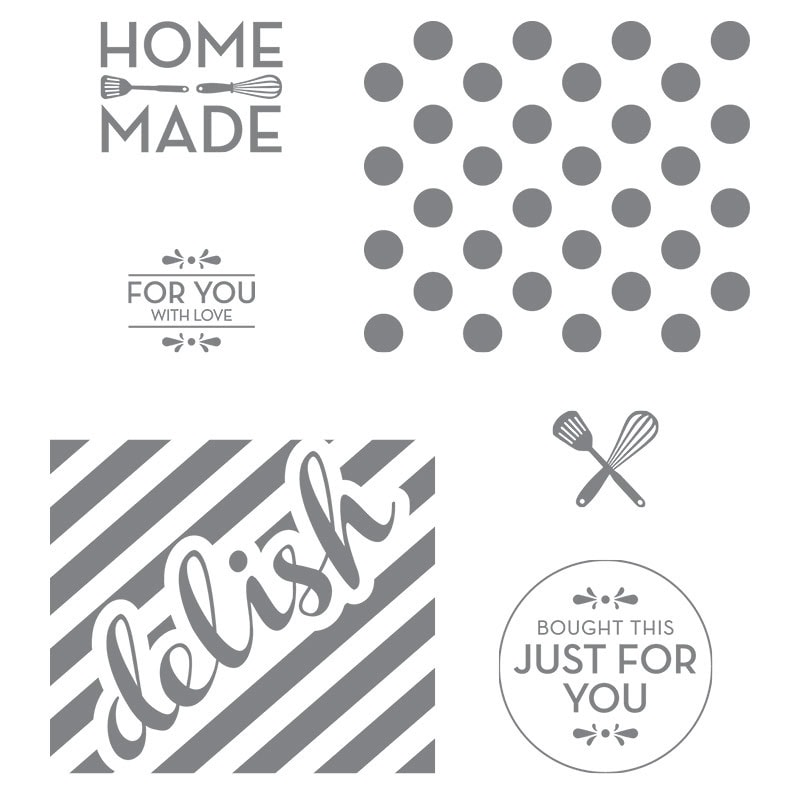
There are some lovely sentiments in the Helping Me Grow stamp set, but I opted for a sentiment from the Homemade For You stamp set from the Annual catalog.
I stamped it in Lost Lagoon on Mint Macaron CS, then cut it with the Large Oval Punch. I added two tiny Pearl Basic Jewels to the design. I glued that on top of a piece of Whisper White CS that I had stamped in Lost Lagoon and cut with the coordinating die from the Rose Garden Thinlits Dies. I attached this to the card front with Stampin’ Dimensionals.
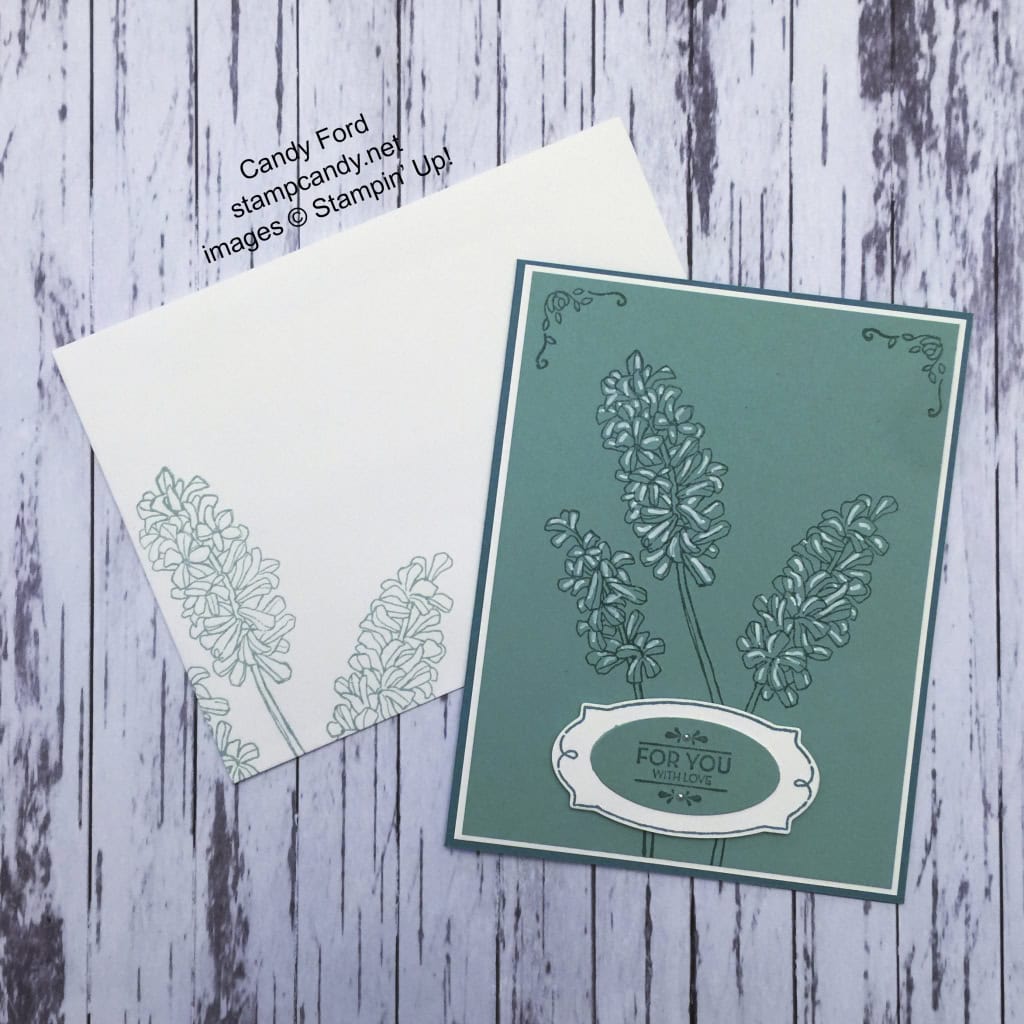
I wanted to keep using this flower stamp, because it’s just so pretty, so I stamped the envelope with it in Mint Macaron ink. There’s still plenty of room for the addresses and postage.
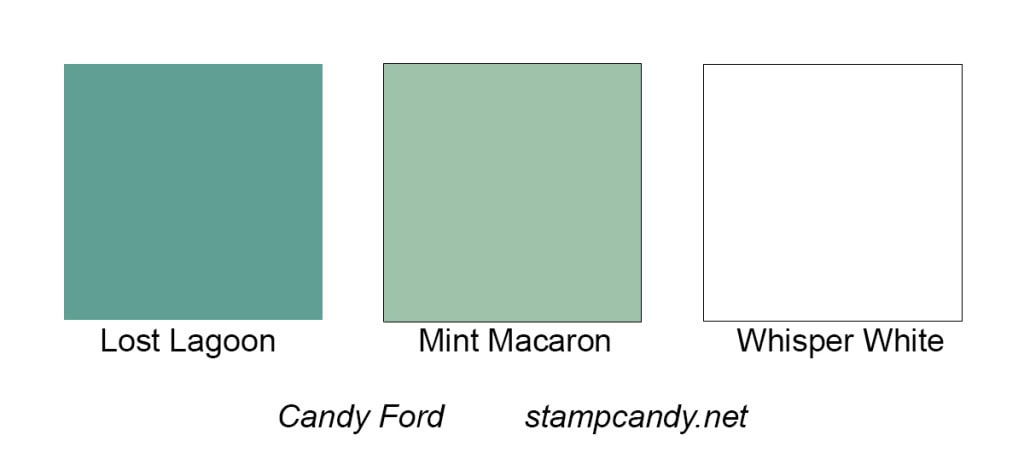
About the colors: Some people store their Stampin’ Up! products alphabetically by name, and some by color family (Brights, Regals, et.c) I store mine by color because that’s just what makes sense to my brain. I have all the pinks together, then the reds, oranges, yellows, greens, etc. In this organization, Mint Macaron is next to Lost Lagoon. To me they seem like different shades of about the same dusty blue-green. As I was looking at my card stock for inspiration, I thought these two would look nice together, especially with some crisp Whisper White to break them up. If you like this color combo, feel free to copy this for future reference:
Here’s what I used:
And here’s where to get your:
Thanks for stopping by today, and Sweet Stamping!