Jun 1, 2015 | Cards, Catalogs, Events, Food, Kits, New Products, Open House, Paper Pumpkin |
The new 2015-2016 Stampin’ Up! Annual Catalog goes live tomorrow! To celebrate, this weekend I hosted an Open House to feature some of the new products. Everyone in attendance said they had a really fun time. I know I sure did!
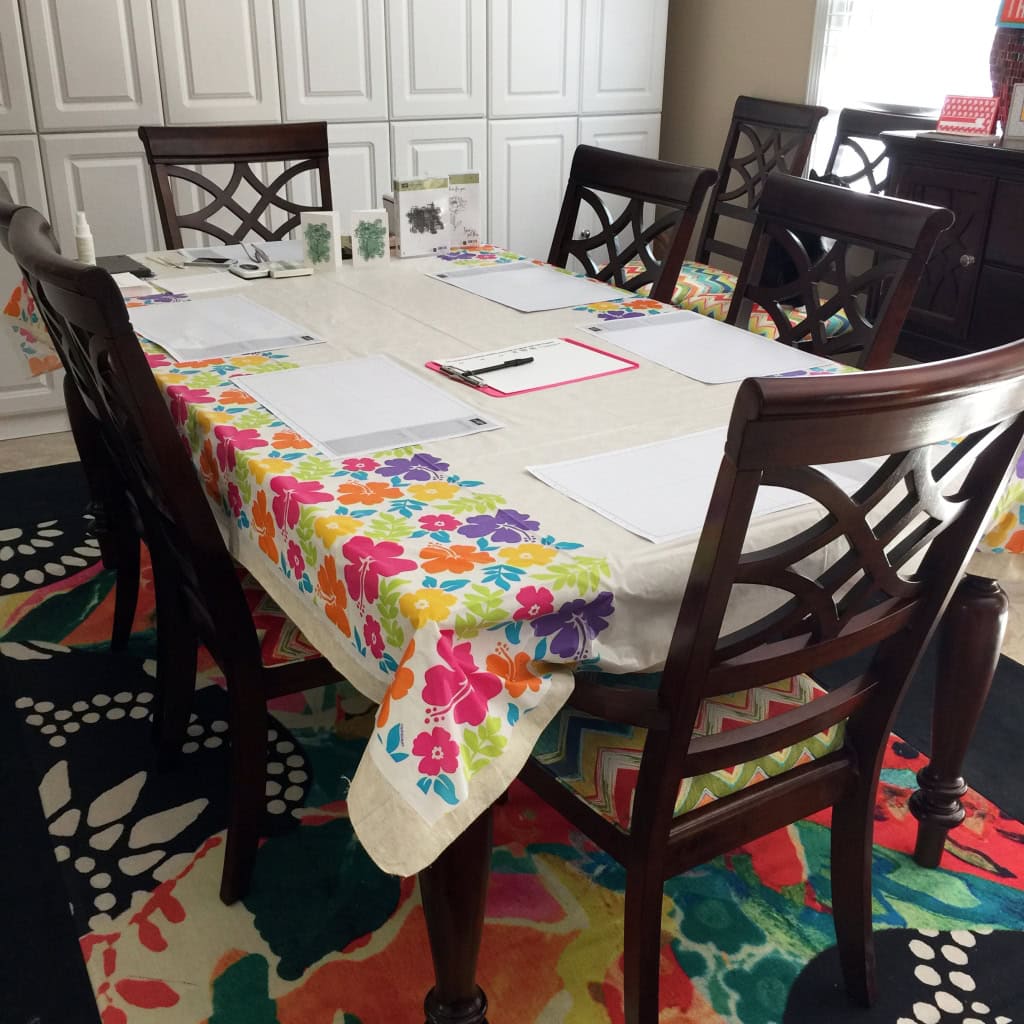
THE LAY OUT
The dining table was set up for the Make & Take.
Some of the new papers: Cherry on Top DSP Stack, Envelope Paper, Cotton Paper, and Bohemian DSP. (The double Thanks sign is from a Paper Pumpkin kit.)

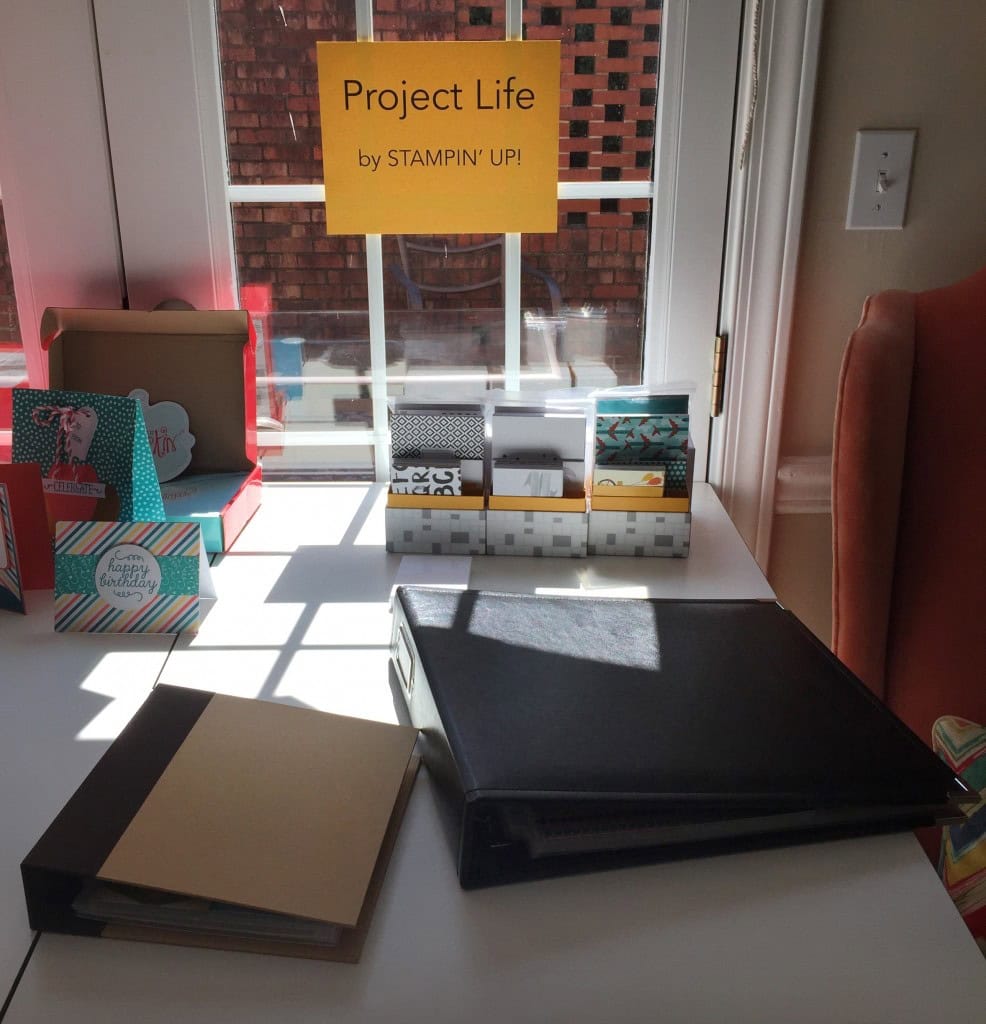
This table had a display of Paper Pumpkin kits…

…and Project Life.
Big Shot station display.
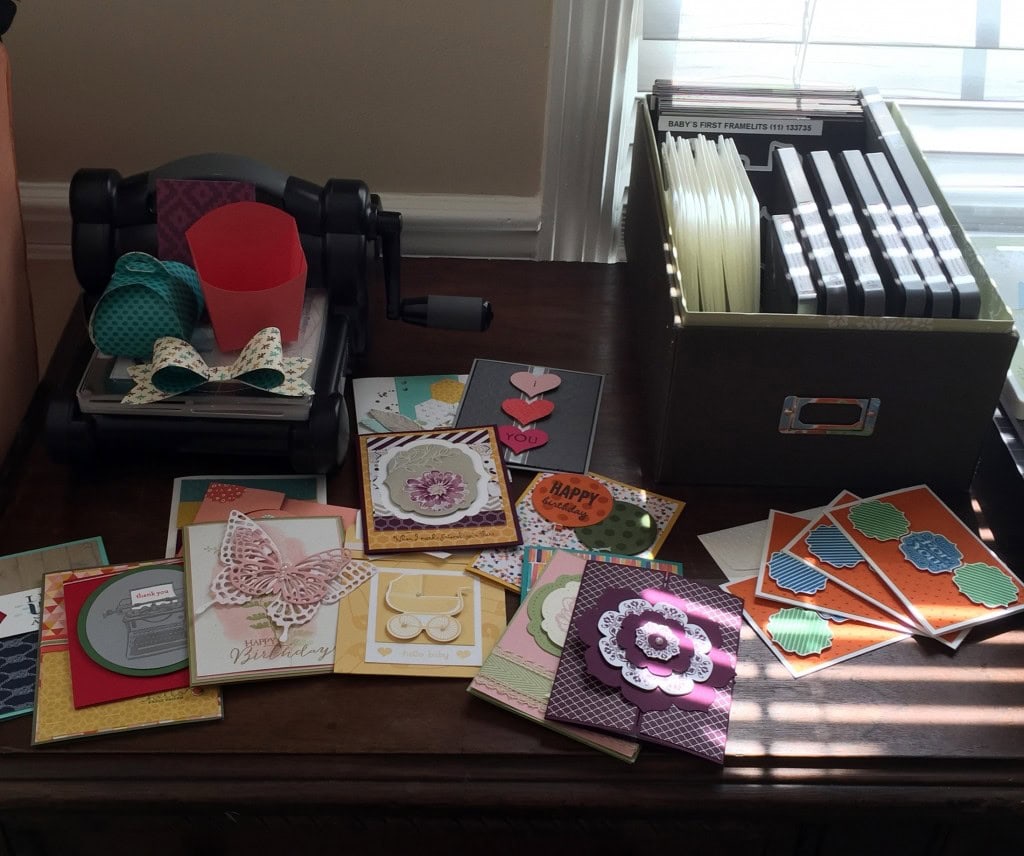
The bottom drawer of the Big Shot station was full of kits for sale. There was a box of adhesives for sale as well.

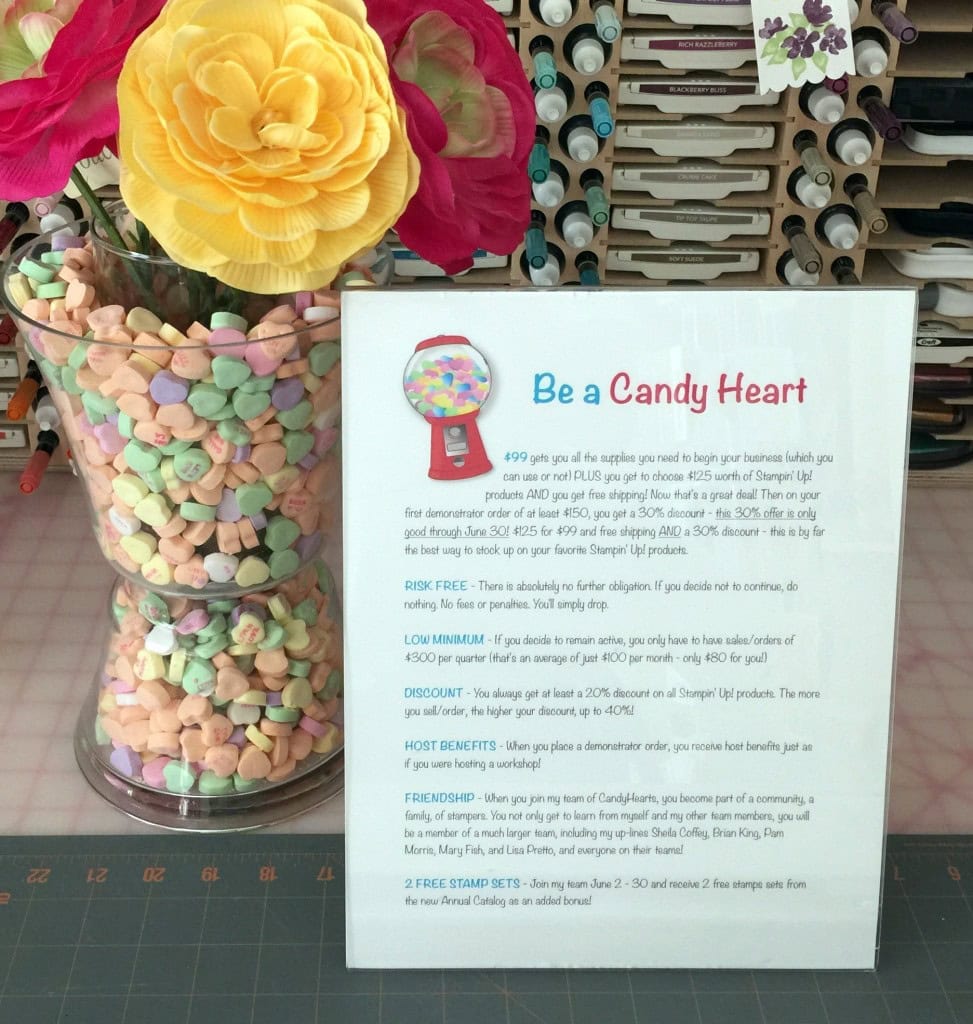
And of course, there was an area where guests could sign up to join the Candy Hearts team.
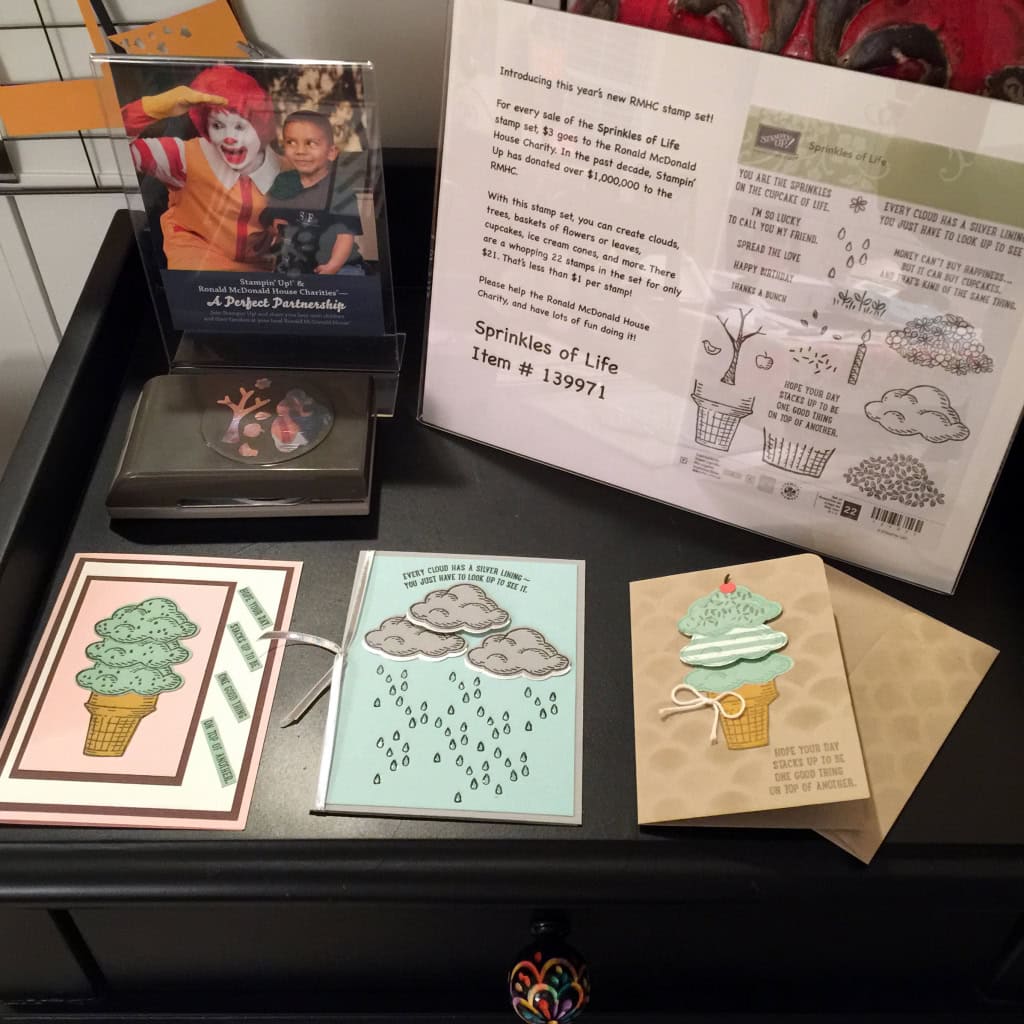
The Ronald McDonald House Charity stamp set, Sprinkles of Life is a wonderfully versatile – and adorable – stamp set, and $3 from every sale goes to the RMHC. Did you know that Stampin’ Up! has donated over $1,000,000 to the RMHC in the last decade? The coordinating Tree Builder Punch makes it even more versatile.
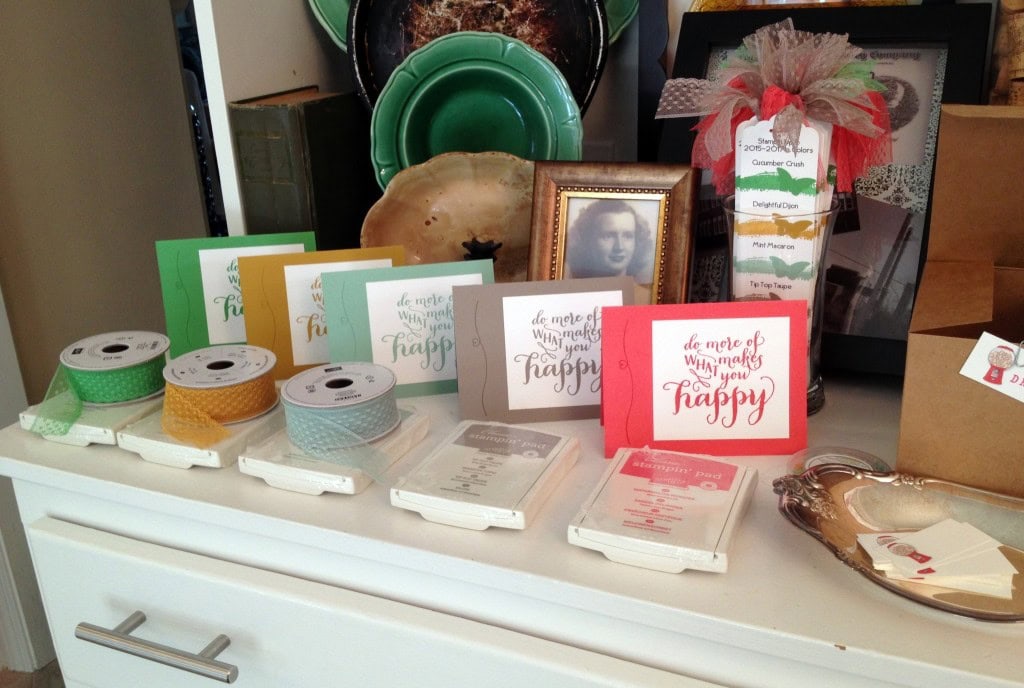
Here are the 2015-2017 In Colors: Cucumber Crush, Delightful Dijon, Mint Macaron, Tip Top Taupe, and watermelon Wonder. I’m afraid I used all my Tip Top Taupe and Watermelon Wonder 1″ Dotted Lace Trim on the bookmarks (top right.) At the far right, you can just see the prize drawing area. Five prizes were awarded at the end of the Open House, including kits and stamp sets!
THE PEOPLE (Unfortunately I did’t get a photo of everyone who attended, but here are few snapshots.)
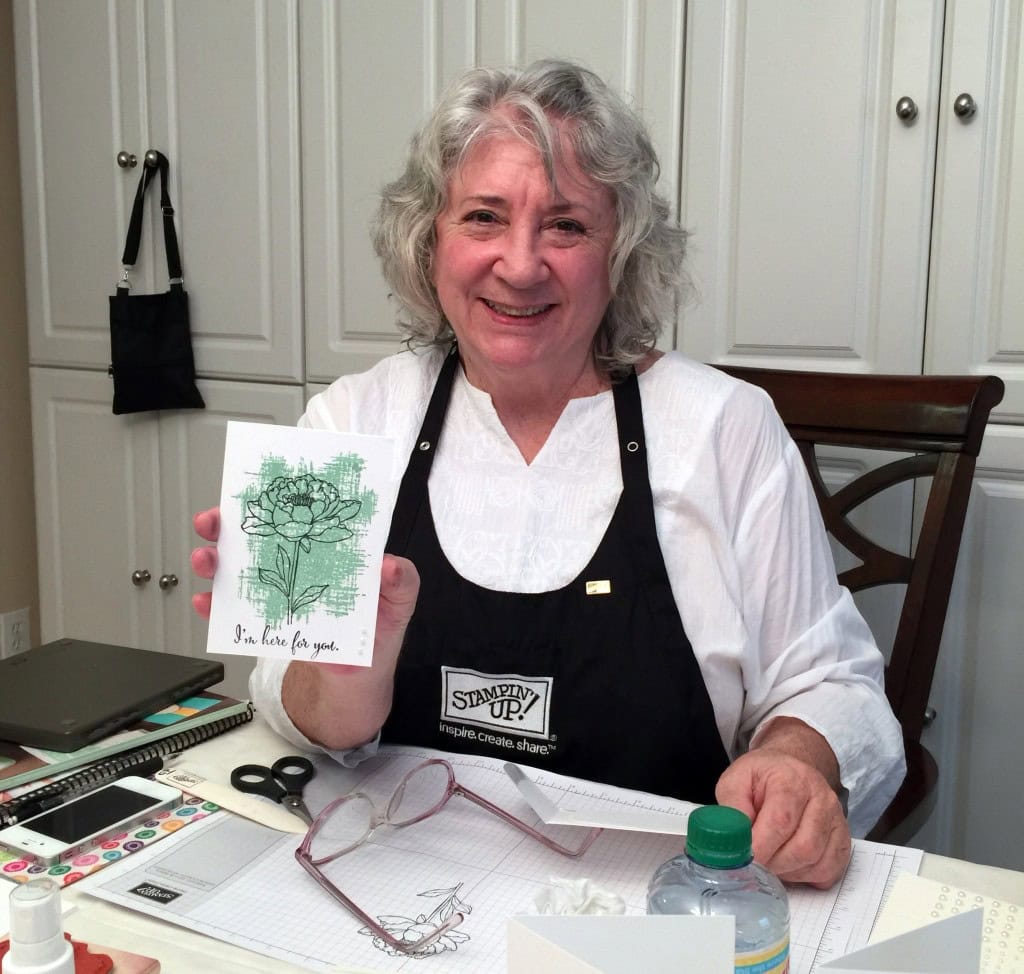
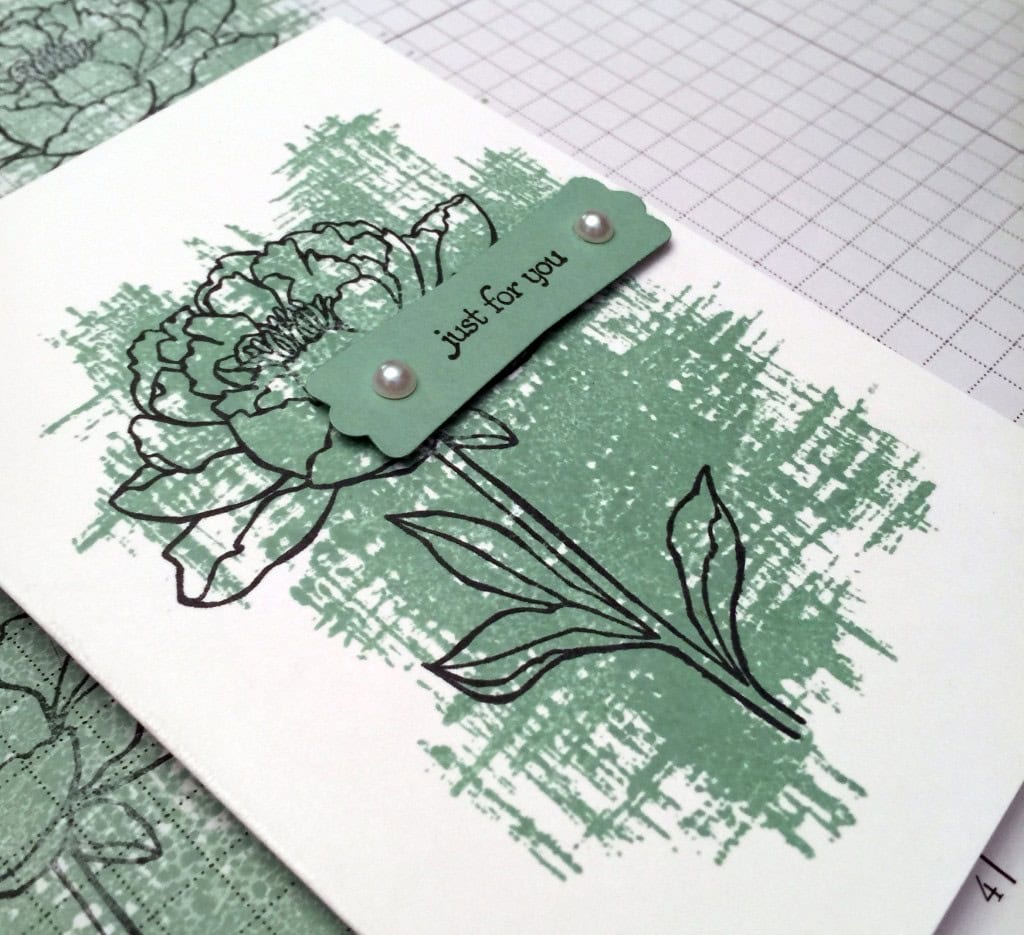
My team member (and dear sister) Judy guided the Make & Take. Guests made a cards using Whisper White Notecards & Envelopes, the new You’ve Got This stamp set, Mint Macaron ink pad, black Memento ink pad, and Pearls Basic Jewels.
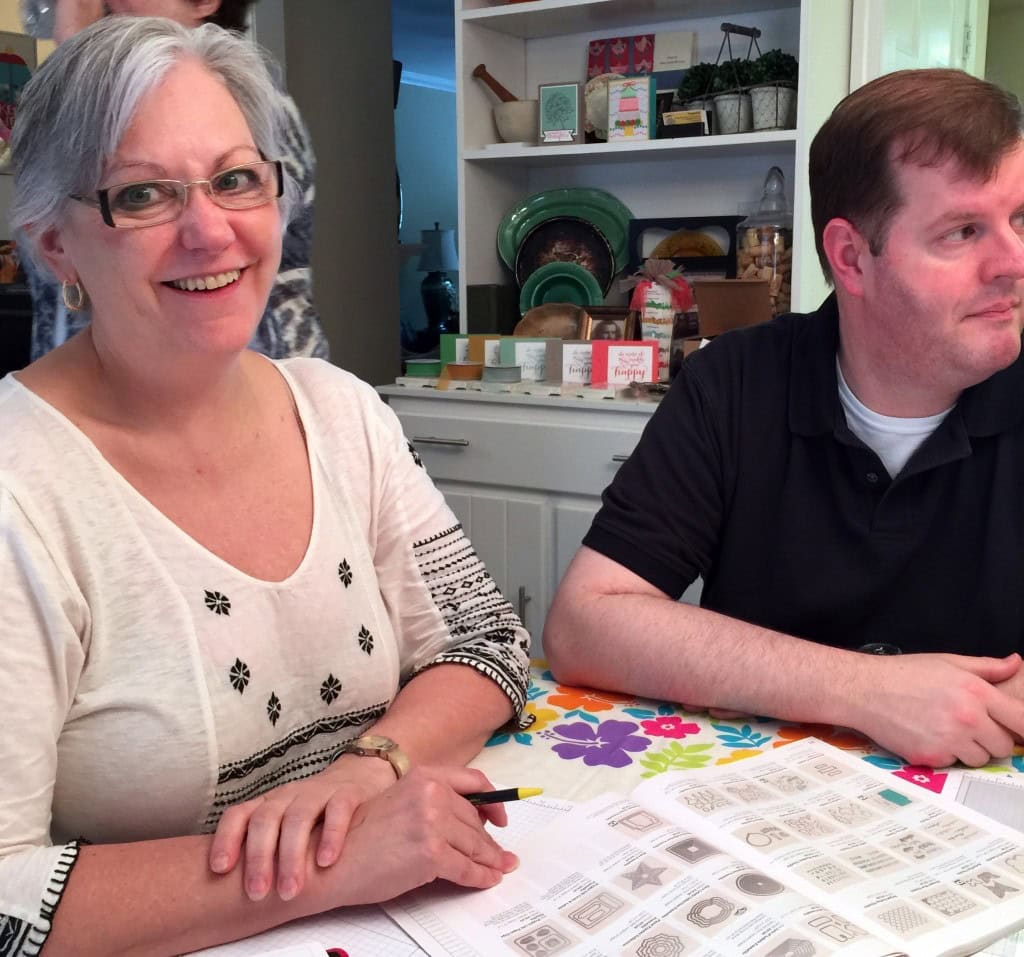
Here’s Linda working on her order, with the assistance of the handsome Brian King. (I caught him unawares.)
Donica made two cards. She wasn’t happy with the stamping job on the one on the right, so she covered the offending area with a sentiment (from the Teeny Tiny Wishes stamp set) stamped on Mint Macaron card stock, cut with the Modern Label punch, adorned with Pearls Basic Jewels, and attached to the card with Stampin’ Dimensionals.

This is a perfect example of the saying, “it isn’t a mistake; it’s an opportunity to embellish.” I think it looks awesome.
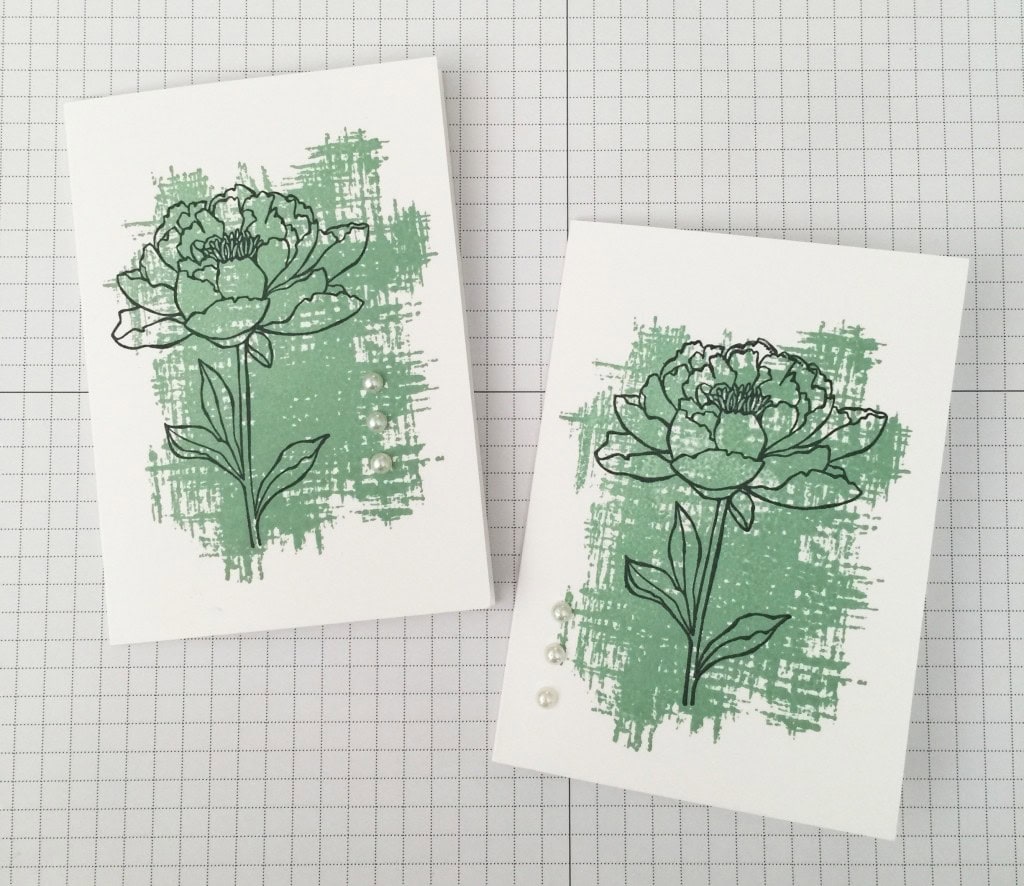
Here are a couple more examples of the Make & Take card, showing how you can use the same simple supplies to make different cards just by changing the placement of the components.
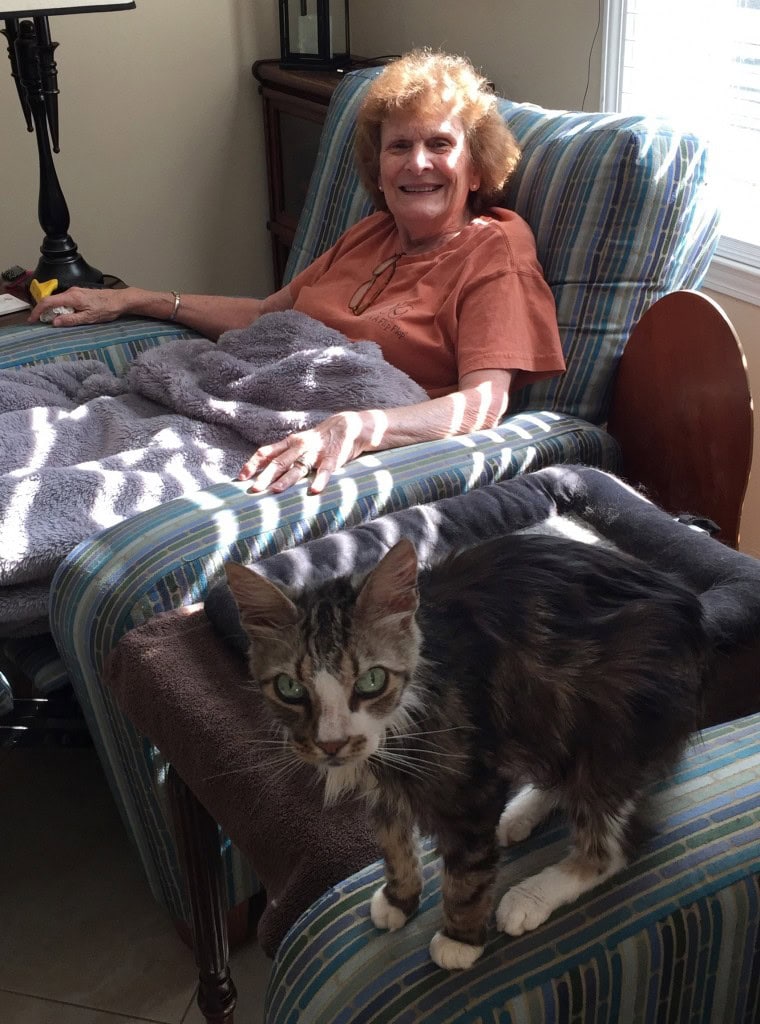
Margie stayed for the Open House and the Paper Pumpkin Party that evening. Here she is relaxing between events with little Winston.
Parker was also on hand to supervise and lobby for rubbies from guests.

THE REFRESHMENTS – the new In Colors were the inspiration.
Thanks to Brian King for photos of the food!
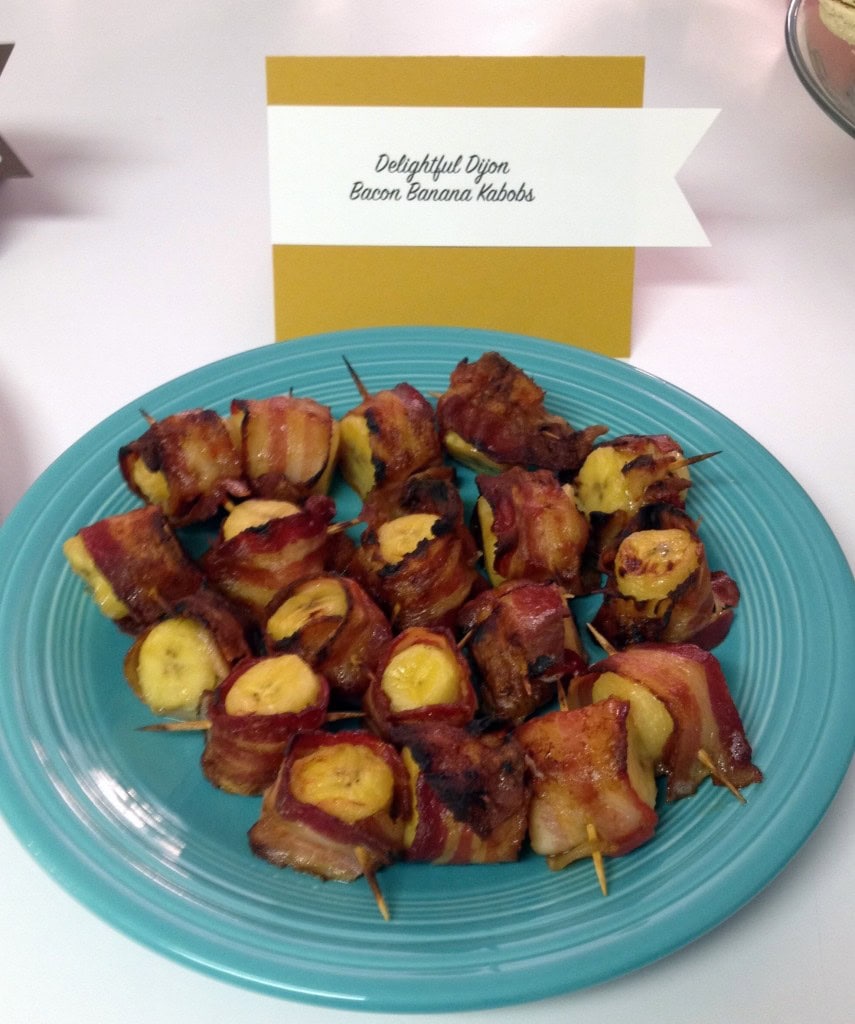
Delightful Dijon Bacon Banana Kabobs (recipe below) were by far the most popular dish of the day.
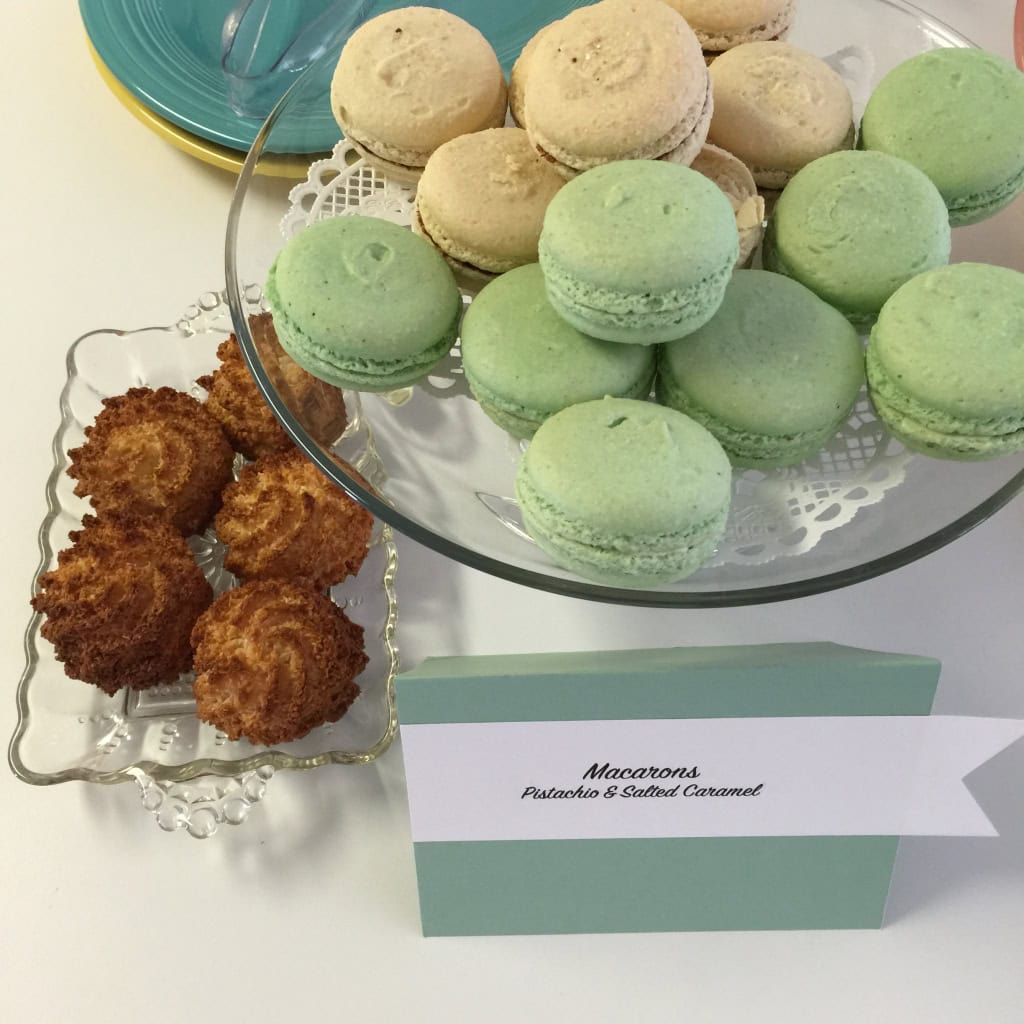
I didn’t find Mint Macarons, so I got Pistachio, which were a similar color. I also added in some Salted Caramel ones. The items on the left are Coconut Macaroons. (My attempt to show the difference between the two.)
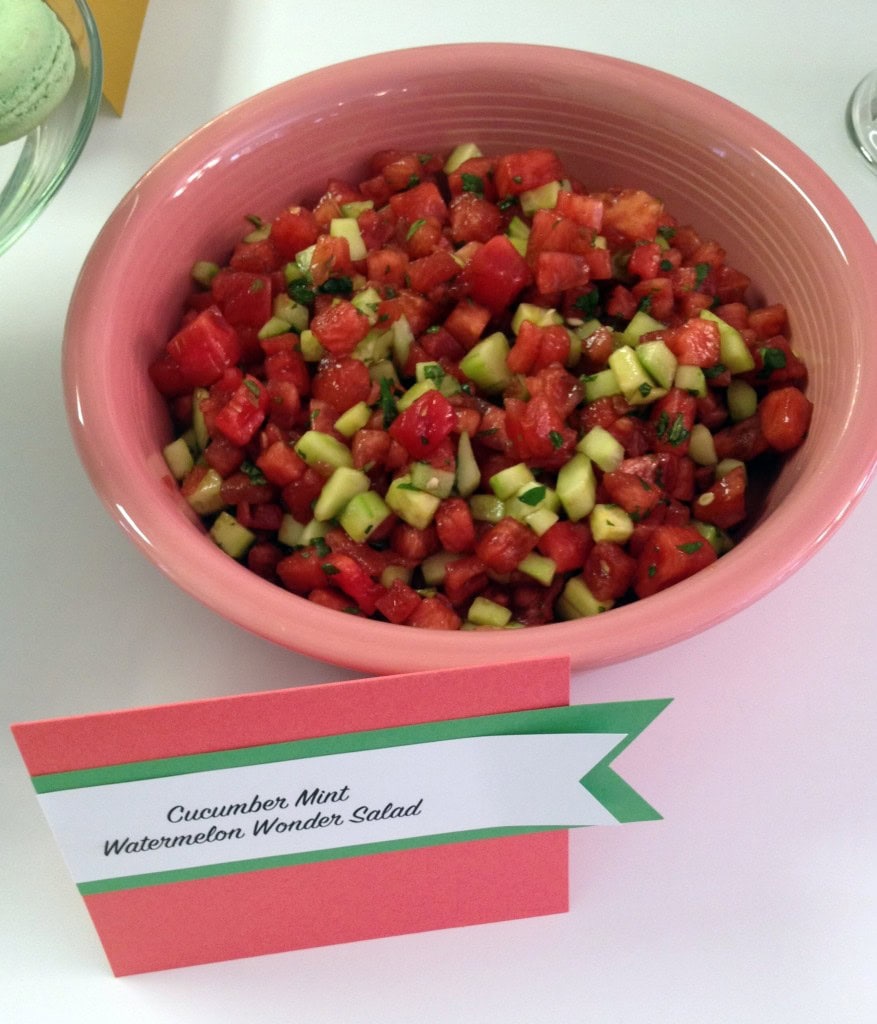
I found a recipe online for Cucumber Mint Watermelon Salad, representing the colors Cucumber Crush, Mint Macaron, and Watermelon Wonder. It was dressed with Balsamic vinegar, sugar, and salt.
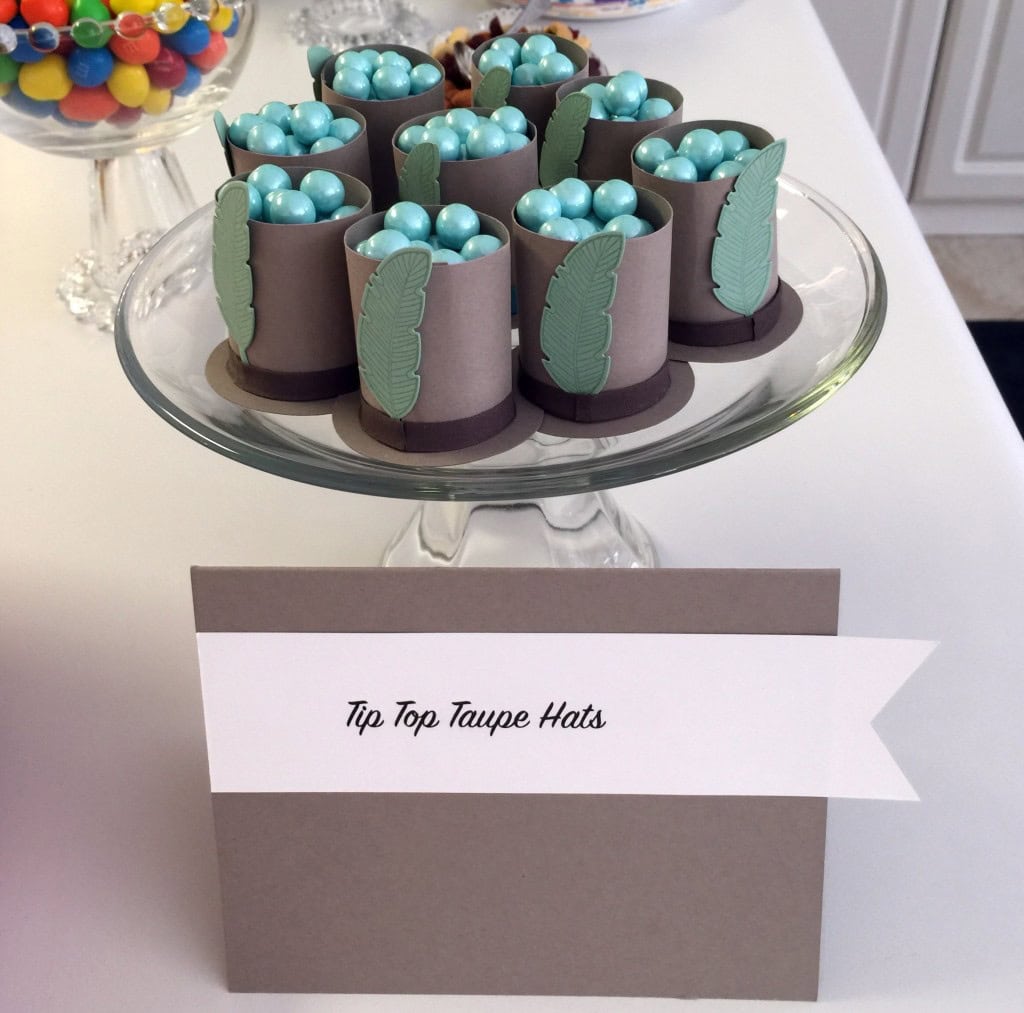
Taupe food didn’t sound very appetizing, so instead I made little top hats and filled them with candies. I used Tip Top Taupe and Mint Macaron card stocks, two sizes of Circle Punches, Early Espresso Cotton Ribbon, Mint Macaron ink, the Four Feathers stamp set, and the Feathers Framelits Dies. Multipurpose Liquid Glue holds it all together.
While Cherry Cobbler and Chocolate Chip aren’t new Stampin’ Up! colors, they do make a tasty combination. These are super simple: phyllo cups, cherry pie filling, and mini chocolate chips. Yum!

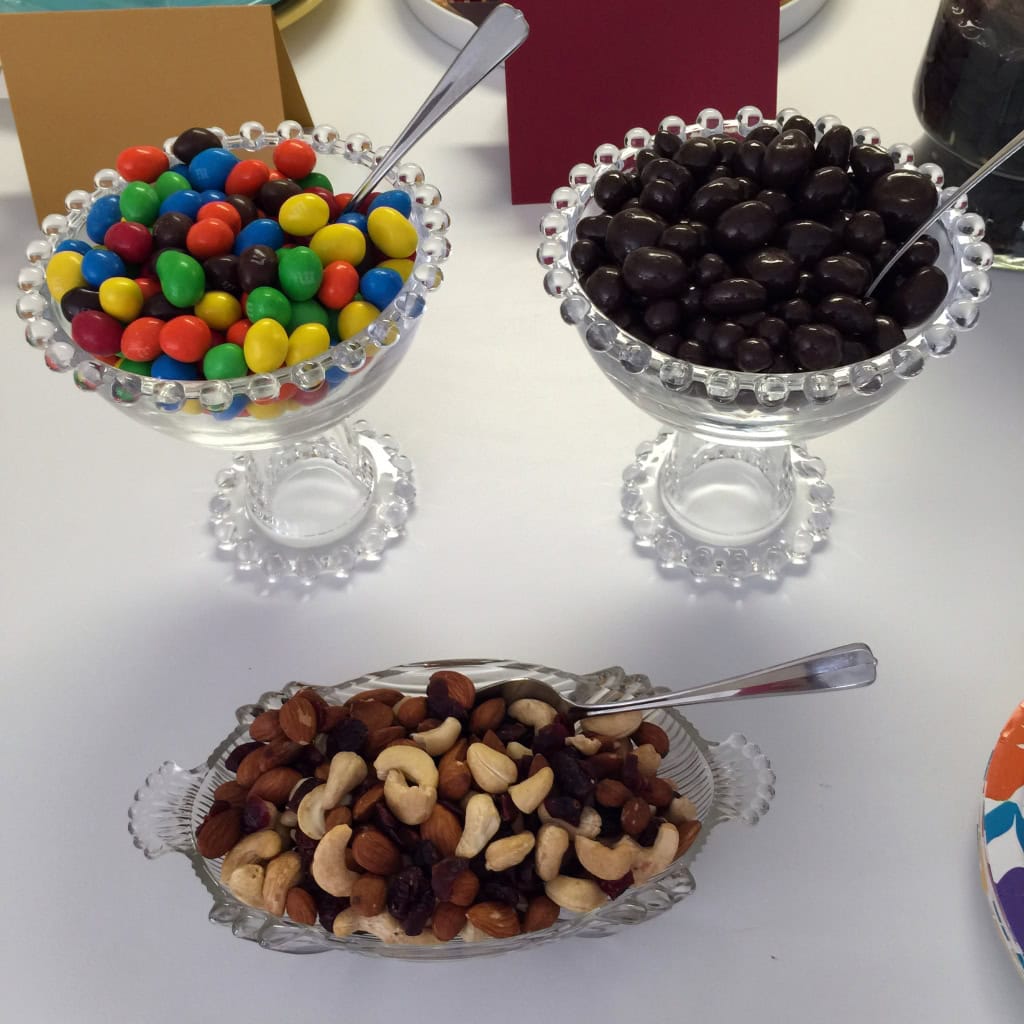
Assorted nuts and candies.
I printed these labels on 8-1/2″ x 11″ paper, cut them apart, and adhered them to the water bottles. Easy Peasy.

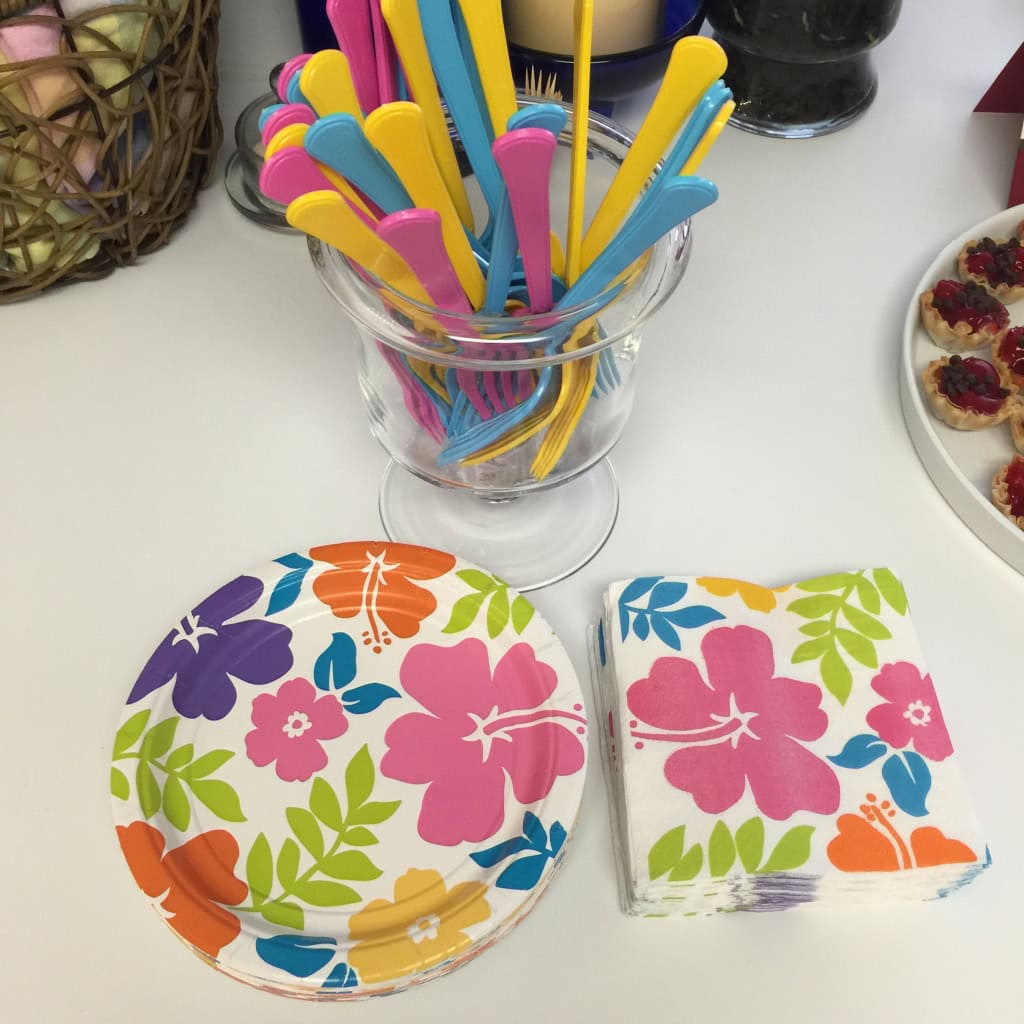
Brightly colored plates, napkins and flatware added to the festive atmosphere. These were the closest to Melon Mambo, Tempting Turquoise, and Daffodil Delight (my blog and logo colors) that I could find.
RECIPE
Delightful Dijon Bacon Banana Kabobs (I made 2-3 times this amount.)
2 Tbsp. fresh lemon juice
1 Tbsp. Dijon style mustard
2 large firm-ripe bananas
8 slices lean bacon
In a bowl, whisk together the lemon juice and dijon mustard.
Slice each banana crosswise 1″ pieces. Add them to the lemon mustard mixture and stir gently to coat. Let them marinate for 15 minutes, turning them occasionally.
Cook the bacon until cooked but still limp. I prefer to bake it on a jelly roll pan, but you can cook it in a large skillet on the stove. Transfer it to paper towels to drain. Halve each slice crosswise.
Wrap each piece of banana in a piece of bacon and stick a wooden toothpick through to hold it together. Broil on the rack of a broiler pan about 4 inches from the heat, turning once, for 6 – 8 minutes, or until the bacon is crisp.
Serves 8 as an hors d’oeuvre.
Thanks for stopping by today, and Sweet Stamping!
May 27, 2015 | Classes, Open House, Paper Pumpkin |
You still have time to RSVP for the Open House and Paper Pumpkin Party this Saturday! If you’re in the Atlanta area, you don’t want to miss it!
Open House!
Featuring products from the brand new
Stampin’ Up! 2015-2016 Annual Catalog
Saturday, 30 May 2015
Noon until 4:00 pm
1621 Executive Park Lane NE
Atlanta, GA 30329
RSVP: candy@stampcandy.net, subject line “Open House”
Please respond by 27 May so I will know how many projects to have prepared.
There is no fee to attend!
Pick up your new 2015-2016 Annual Catalog! (If you already have a Demonstrator, please get your catalog from them.)
See new products, including the new 2015-2017 In Colors!
Bring a friend (new to me) and receive a free gift!
Make & Take – whether you’re crafty or not, you’ll enjoy playing with the products!
Light refreshments provided.
Learn about
– card making
– memory keeping
– creating custom home and party décor
– Project Life by Stampin’ Up!
– Paper Pumpkin kit subscription
– monthly Stamp Club
– classes
– workshops/home parties
– how to receive free products
– how to join my team, the CandyHearts
___________________________________________
Paper Pumpkin Party!
Saturday, 30 May 2015
6 PM until 8 PM
RSVP: candy@stampcandy.net, subject line “PPP”
Please respond by 29 May so I’ll know how many people to set up for.
After the Open House on the 30th, we’ll take a break, then have our monthly Paper Pumpkin party, where we’ll assemble our kits together.
Bring your latest Paper Pumpkin kit, scissors, adhesive, and the acrylic block that came in your first kit. (I have adhesive you can buy if you need it.)
If you are one of my subscribers or one of my team members, it’s free! Otherwise, there is just a $5 fee to attend.
Light refreshments provided.
Pumpkin what?
Are you wondering just what the heck Paper Pumpkin is? Well, it’s a little box of crafting goodness that comes to you in the mail each month. Each kit includes everything you need to complete that month’s project, except scissors and adhesive – sometimes they even include adhesive! In your first kit, you get a clear acrylic block to use with all future kits. Everything is cut and measured for you so all you have to do is stamp and assemble it. The stamp sets that come with the kits are exclusive to Paper Pumpkin. You’ll never see them again. And did I mention that subscribers, and only subscribers, may purchase past kits and kit refills? So many perks to subscribing! If you’re not yet a Paper Pumpkin subscriber, and would like to see what all the fuss is about, come to the party and you can play with mine!
How do I get it?
Subscribing is very easy.
Prepaid –
1) Add a prepaid subscription to any online order here. It applies toward your host rewards!
2) You’ll receive a confirmation email with a redemption code.
3) Go to the Paper Pumpkin web site here and enter the code. This is where you will enter your mailing address, etc.
4) You will soon begin receiving your kits in the mail. They usually ship mid-month.
Month to Month Special –

Offer Dates: May 12-June 10, 2015
Offer Details: Use the code SAVE50 to join Paper Pumpkin before June 10, 2015, and get 50% off the first two months! After that, keep the creativity coming for only $19.95 + tax per month (shipping included).
The Fine Print:
- For new subscribers only.
- Available for month-to-month subscriptions, not prepaid subscriptions.
- Discount applied to one kit per month for the first two months of a new subscription. After the first two months, the price for each month’s kit will go to the regular price: $19.95.
- Enter the Promo Code, SAVE50 when you sign up.
- New subscribers must join by Wednesday, June 10, 2015; 10:50 PM (MT).
- Click here to join!
___________________________________________
Get a free pack of retiring DSP!
Place a $75 order through my online store here and I’ll send you a pack of the retiring Designer Series Paper for free!
$75.00 minimum order, before tax and shipping (For example, $74.99 does not qualify, $75.00 to $149.99 qualifies for one pack, $150.00 to $199.99 qualifies for two packs, etc.)
Individual orders may not be combined.
Only while supplies last!
Once you place your order, email me at candy@stampcandy.net with the subject line Free DSP.
___________________________________________
Get a free Textured Impressions Embossing Folder!
Purchase a Big Shot through my online store here before June 30, 2015, and I’ll send you an embossing folder for free!
Retiring folders available only while supplies last. New folders available after June 2.
Once you place your order, email me at candy@stampcandy.net with the subject line Free TIEF.
Note: If you order a Big Shot (only $99 through June 2) you may choose the DSP or the embossing folder, not both. If you place an order for a Big Shot plus $75 in other merchandise, you may choose both.
Thanks for stopping by today, and Sweet Stamping!
Aug 23, 2014 | Open House |
Are you ready to see the Make & Take from last Saturday? I’m gonna show you, but first I want to thank Pam Morris again for her great project idea! And thanks also to Brian King for generously offering to serve as hand-model in the photos. Okay, here are all the supplies.

Insert a 2″ x 5.5″ piece of Whisper White card stock into the Scalloped Tag Punch …

…and push down all the way.

Easy peasy lemon squeezy!

Use the “Merry” stamp from the Seasonally Scattered stamp set – use the clear mount set with the Clear-Mount Block I, as we did here, or use the wood mount set. This stamp set will be available August 28 in the new Holiday catalog!

I LOOOOVE the Classic Stampin’ Pads! They “flip” open and click into place – so no losing the lid. They have grip sides so you don’t drop it or get ink on your hands. And when you flip it back closed, the pad itself is stored upside down, so the ink is always at the top surface of the pad where you need it to be.


Ink up the Merry stamp with the Soft Sky Classic Stampin’ Pad, either by tap-tap-tapping the stamp on the ink pad…

…or by tap-tap-tapping the ink pad on the stamp.

Now use a Sponge Dauber to pick up some ink from the Island Indigo Classic Stampin’ Pad…


…and daub the ink onto the center part of the stamp – around the “Merry.”

Now stamp the image onto your tag.

And voila! A two-tone tag!

Now for the bling. Use Paper Snips to lift the Rhinestone Basic Jewels off the sheet…

…and to place them on the tag. I’ve tried tweezers and all sorts of things to lift and place the jewels, but the precision tips of the Paper Snips definitely work the best. We used 3 jewels per tag – just enough to add a bit of elegance.

Now fold the ribbons in half…

and pass them through the end of the tag.


Pass the ends through the loop, and you have yourself a beautiful Merry tag! We used Island Indigo 1/4″ Cotton Ribbon with Island Indigo Bakers Twine, but the Island Indigo 1/4″ Cotton Ribbon also looks beautiful with the Silver 1/8″ Ribbon or the Soft Sky 1/8″ Taffeta Ribbon.
Here are two finished tags.

You can see the bling better from this angle.

My 87-year-young friend Betty had a ball making the tag. She kept getting tickled at Brian, and at herself.


Here’s Betty flirting with Brian.

Aug 22, 2014 | Open House |
Well, for those of you who weren’t able to attend my Open House last Saturday, you missed a really fun time. Everyone in attendance received a free Stampin’ Up! Annual Catalog AND a free Holiday Catalog, which begins August 28, so they are getting a good long sneak peek.
If you’d like your own Holiday Catalog contact me at stampincandy@gmail.com.
There were special gifts for anyone who brought a friend, placed a minimum order, booked a party, or joined my team. Can you say free stamps, ink, paper, and ribbon?
Brian King was there to help, and I sure am glad, because it got really busy at times.
Here’s the Paper Pumpkin station. Just look at those fantastic projects, and that’s just two months’ worth!
Click here to save 50% off your first two months of Paper Pumpkin! Use Promo Code: HALFOFF2 through September 10. (For new members only)
Next are a few shots from the
Big Shot station.
Did you know that when you buy a Big Shot during the month of August, you receive a free exclusive bundle? That’s a stamp set AND corresponding Framelets set for free! FREE! Already own a Big Shot? Then you can save 15% off these exclusive bundles! Click here to find out more.

With the Petite Purse die, I was able to create these charming little gift bags in the new In Colors. Each one contained a stamp and went to everyone who brought a friend to the Open House.

This bag looks like it took forever, but it really just took a little over an hour. Cut a bunch of the Spiral Flowers (I used 28 for this bag,) wrap and glue them, and voila, a covered bag!
I love my new Autumnal napkin rings. I used the
Autumn Accents die to cut the leaves and acorn.
Lots of gift ideas, including a covered tissue box, a decorated
kraft grid journal, and wrapped candies
Lots of card samples. My thanks go to all the talented Stampin’ Up demos with whom I swapped at Convention in July! If not for them, this table would’ve had only about half as many cards.
The dining table ready for Making & Taking. It was free for everyone. Thanks to Pam Morris for the idea!

Check back tomorrow to see the Make & Take project!


