Jun 18, 2020 | Blog Hop, Gallery, Scrapbooking |

S
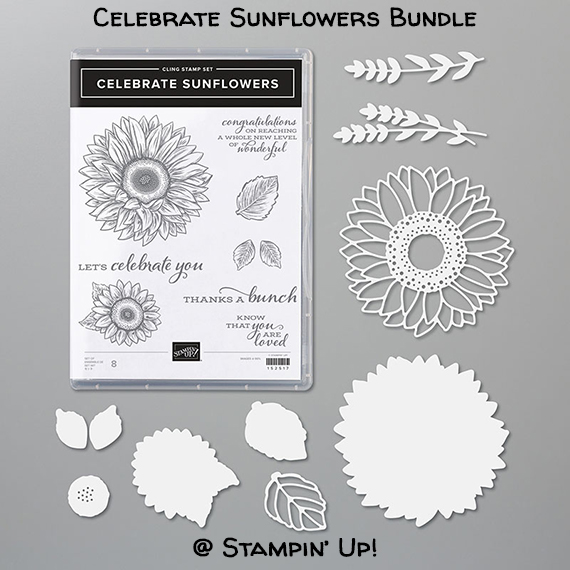
Welcome to the Scrapbooking Global June 2020 Blog Hop! This month we’re featuring new products from the new 2020-2021 Annual Catalog. I used the new Celebrate Sunflowers bundle (Celebrate Sunflowers stamp set & Sunflowers Dies) as well as a few of the new 2020-2022 In Colors (Bumblebee, Cinnamon Cider, and Just Jade.) I used Press n Seal plastic wrap to keep all the little pieces of the die cuts in the right place. I’ve used this technique several times in the last couple weeks. I printed the photo in sepia so it would match the yellow/brown feel of the page.
S

S
If you are reading this in email, some photos may appear blurry, or may not appear at all. Please click here to see the post on my blog.
S Scrapbooking Global June 2020 Scrapbooking Global June 2020 Scrapbooking Global June 2020 Scrapbooking Global June 2020e
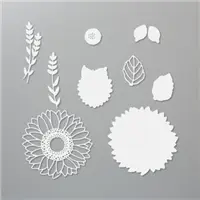
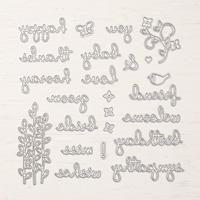
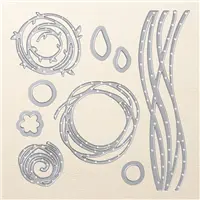
Here’s the bundle:
 S
S
Here’s what I made:
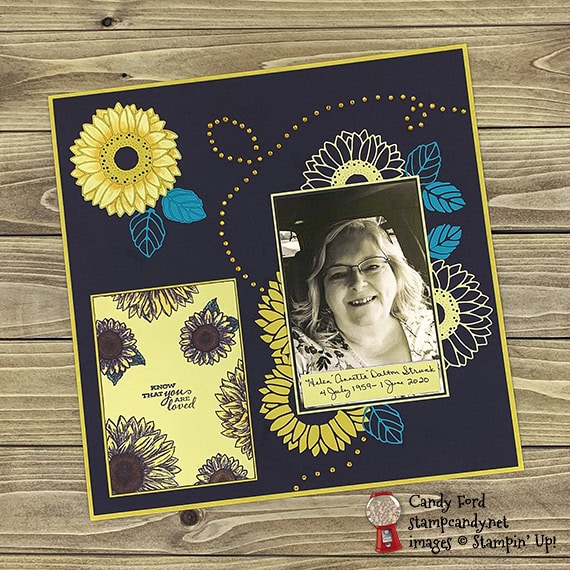 My dear, sweet cousin Annette and her husband were both infected with COVID-19 last month. He has been in ICU since May 19, and on a ventilator since June 6, but he’s still hanging on. She went into ICU on May 21 and died on June 1.
S
Here’s what I did:
Cut and scored with my paper trimmer:
- Early Espresso card stock (CS) cut to 11-3/4″ x 11-3/4″
- Bumblebee CS cut to 4-1/8″ x 5-5/8″
- So Saffron CS cut to 4″ x 5-1/2″
- So Saffron CS cut to 4-1/4″ x 6-1/4″
- Early Espresso CS cut to 4-1/8″ x 6-1/8″
- So Saffron CS cut to 3-3/4″ x 7/8″
Stamped with the Celebrate Sunflowers stamp set:
- sentiment and sunflowers (large and small) in Early Espresso ink onto the 4″ x 5-1/2″ So Saffron CS
- I also used the Early Espresso ink pad to ink just the very edges of the stamped CS piece.
Cut using the Sunflowers Dies:
- one detailed sunflower from a scrap of So Saffron CS
- one detailed sunflower from a scrap of Bumblebee CS
- 4 leaves from a scrap of Just Jade CS
- NOTE: I applied Press n Seal plastic wrap over the tops of all the die cuts to keep all the little pieces in place while I transferred them to the page.
Colored using Stampin’ Blends Markers:
- stamped sunflowers in So Saffron, Just Jade, and Cinnamon Cider
- die cut sunflower at top left in So Saffron
Assembled the page:
- 11-3/4″ square Early Espresso CS glued onto a piece of 12″ x 12″ Bumblebee CS
- stamped So Saffron CS glued onto the 4-1/8″ x 5-5/8″ Bumblebee CS, then glued onto the Early Espresso CS background
- wrote name and dates on the So Saffron CS strip and adhered it onto the 4″ x 6″ photo using Stampin’ Seal
- photo adhered onto the 4-1/8″ x 6-1/8″ Early Espresso CS, then onto the 4-1/4″ x 6-1/4″ So Saffron CS, using Stampin’ Seal
- NOTE: I never use a wet adhesive, like glue, on photos.
- outline parts removed from both die cut sunflowers – very carefully, making sure none of the inner petals came off of the Press n Seal
- Bumblebee sunflower outline glued onto the top left of the Early Espresso CS background
- applied glue onto the backs of all the So Saffron sunflower petals and used the Press n Seal to line them up inside the Bumblebee outline, then colored the petals with the So Saffron Stampin’ Blends Marker
- So Saffron sunflower outline cut in half with my Paper Snips and glued onto the Early Espresso background so the cut edges would be covered up by the photo
- Bumblebee sunflower (petals only) cut into 2 different size pieces, then applied glue to the backs of the petals and used the Press n Seal to place them so the cut edges would be covered up by the photo
- photo adhered onto the Early Espresso background using Stampin’ Seal
- leaves glued around the sunflowers, some whole, some only outlines, some only insides
- Pumpkin Pie rhinestones applied onto the Early Espresso background in a meandering pattern
Sa
Here’s the Scrapbooking Global June 2020 Blog Hop:
Click the next button to go to the next stop on the hop, Sharni Haines of Stampin’ at the Maples.

S
If you get lost during the hop, use this line up as a guide:
S
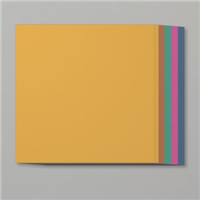
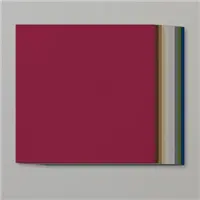
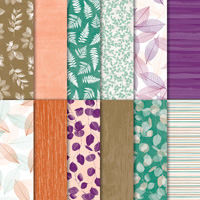
Here are today’s colors:
You can click on each one to see all the products that come in that color!
S
Here’s what I used:
Click on these images for more details and to purchase. If you are reading this post in email, the product images may not show up. Please click here to see the post on my blog.
Supply List. <— Click for a clickable and printable list of the products!
S
Here are some helpful links:
S
Thanks for stopping by today, and Sweet Stamping!
Feb 21, 2019 | Blog Hop, Gallery, Scrapbooking |
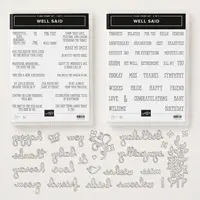
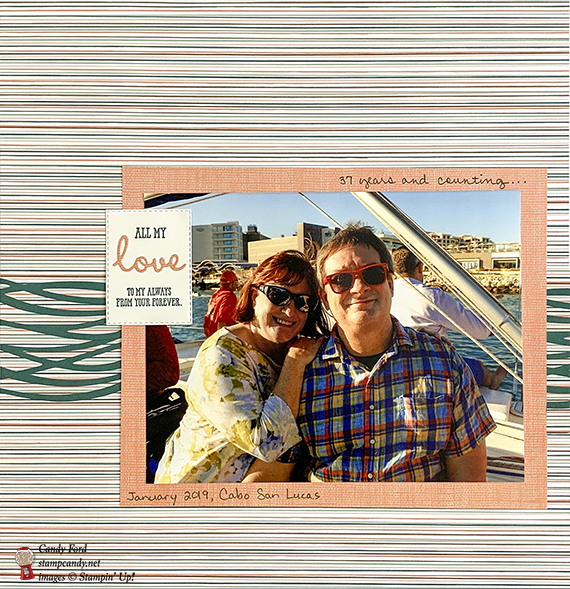
This month the Scrapbooking Global Blog Hop has a theme challenge: Love & Marriage. My page definitely has a love theme, but not necessarily marriage, unless you count the note I made above the photo of how long hubby and I have been together. I used the Nature’s Poem Designer Series Paper because I thought the colors went well with the photo (I must say it looks better in person than in my pics below.) The Well Said Bundle, plus a couple more die sets, Rectangle Stitched Framelits and Swirly Scribbles Thinlits, added the accents. I always try to add some handwriting to my scrapbook pages, and I used a Tranquil Tide Stampin’ Write Marker for this one.
Here’s what I made:
The photo is of the two of us on a sailboat in Cabo this past January. I thought the colors of the paper and the wavy die cuts were perfect for the background. And the stitched edges of the sentiment reminded me of the sails. This was a great outing. We saw some humpback whales and they kept jumping out of the water and crashing back down, like they were putting on a show for us, for almost an hour. They made me completely forget that my back was killing me, although it was already much better at this point, after relaxing by the pool for several days prior. Pain shmain. Life is good.
See what’s missing? I took this shot before I added the other Tranquil Tide die cut on the right side of the photo: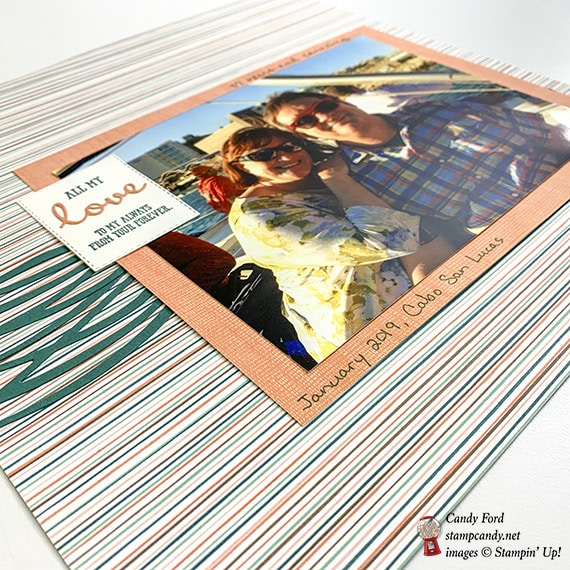
Here’s what I did:
Stamped with the Well Said stamp set:
- sentiment in Tranquid Tide ink onto a scrap of Whisper White card stock (CS)
- the Stamparatus made it easy to line up the two stamps
Die cut using the Rectangle Stitched Framelits:
- sentiment – The die was longer than I needed so I cut the sentiment close to the top, then again close to the bottom.
Die cut using the Well Written dies:
- “love” from a scrap of the DSP
Die cut using the Swirly Scribbles Thinlits:
- a scrap of Tranquil Tide card stock using the long wavy die, two pieces
Cut with my Stampin’ Trimmer:
- Nature’s Poem Designer Series Paper (DSP) full 12″ x 12″ for the background
- DSP cut to 9″ x 7″, to mat the 8″ x 6″ photo
- one of the wavy die cuts vertically in half (2 pieces about 3″ wide each)
- the other wavy die cut vertically to two pieces about 3/4″ wide each
Assembled the page:
- photo adhered onto DSP mat using Snail adhesive
- Tranquil Tide wavy die cuts glued onto the DSP background page, the 3″ pieces on the left and the 3/4″ pieces on the right.
- DSP mat adhered onto the DSP background using Snail, covering the ends of the wavy die cuts
- die cut word glued onto the die cut sentiment
- sentiment adhered over other layers using Snail
- notes handwritten onto the DSP mat using a Tranquil Tide marker

Here’s the hop:
You can click on the next button to hop to the next stop, or you can use the list below to navigate the hop.
Here are today’s colors:
You can click on each one to see all the products that come in that color!
Here’s what I used:
Click on these images for more details and to purchase.
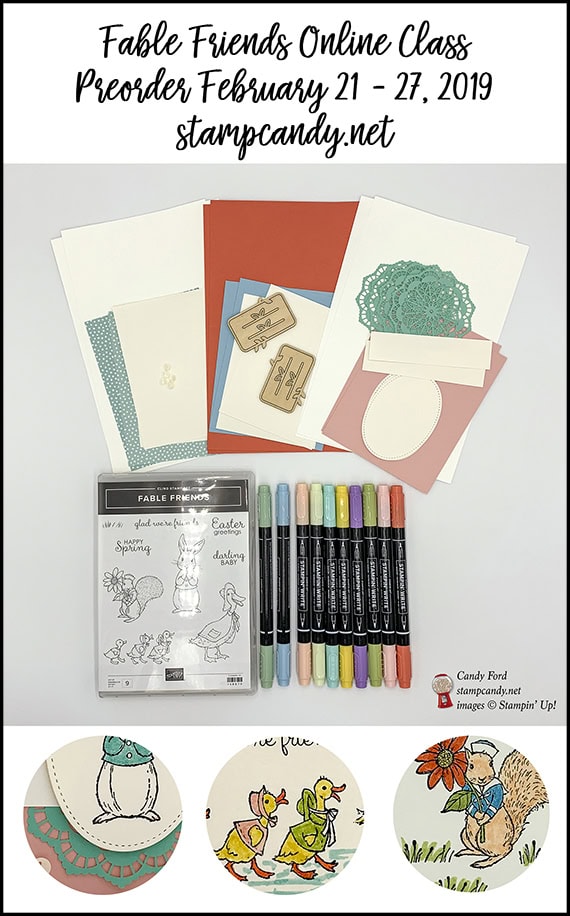
Preorder the Fable Friends Online Class by February 27!
Click on the image for details:
Here’s more cool stuff to check out:
Thanks for stopping by today, and Sweet Stamping!
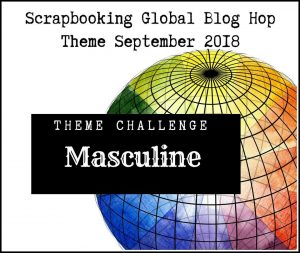
Sep 20, 2018 | Blog Hop, Gallery, Scrapbooking |

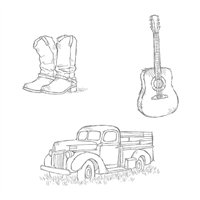
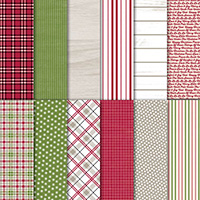
I’m excited to join the Scrapbooking Global Blog Hop for September! This month’s theme is Masculine pages. I thought, what’s more masculine than a plaid flannel shirt and an old pickup truck? The plaid background paper (I’m pretending it’s flannel) is from the new Festive Farmhouse Designer Series Paper, and the truck is from the Country Livin’ stamp set. I don’t have photos on the page because the birthday for which I made this page hasn’t happened yet. But I have the photo mats ready, so all I have to do is adhere the photos: one 6″ x 4″ and one 4″ square (above the truck.) For now it’s safe and sound in a pocket page in my scrapbook.
Here’s what I made:
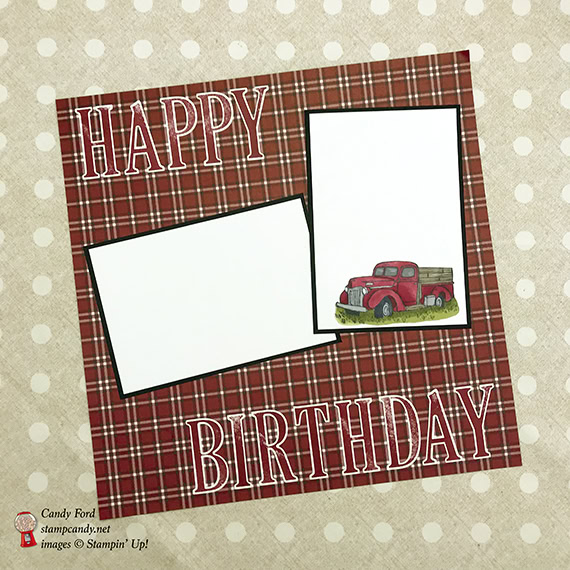
The parts of this page that look white in the photo are actually Very Vanilla. The only Whisper White on the page is on the truck’s headlights.
Here’s what I did:
Cut and scored with my Stampin’ Trimmer:
- Very Vanilla card stock (CS) cut to 4-1/4″ x 6-1/4″ (two pieces)
- Basic Black CS cut to 4-1/2″ x 6-1/2″ (two pieces)
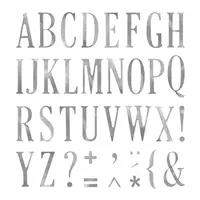
Stamped with the Letters for You stamp set:
- HAPPY BIRTHDAY in Cherry Cobbler ink onto a scrap of Very Vanilla CS
Stamped with the Country Livin’ stamp set:
- truck in black Memento ink onto one of the Very Vanilla CS mats
Colored the truck image:
- truck using Cherry Cobbler, Basic Black, Smoky Slate, and Crumb Cake Stampin’ Blends Markers
- grass using Old Olive Stampin’ Blends Markers
- headlights using a Whisper White Watercolor Pencil
Cut using Paper Snips:
Assembled the scrapbook page:
- HAPPY glued onto the top left of the page
- BIRTHDAY glued onto the bottom right of the page
- Very Vanilla CS pieces glued onto the Basic Black CS pieces, to create mats for 4″ x 6″ photos
- Basic Black CS pieces glued onto the page
- truck glued onto one of the Very Vanilla CS pieces
Here’s the Scrapbooking Global Blog Hop:
Click the next button to go to the next stop on the hop, or use the line up below to navigate the hop.

Here are today’s colors:
You can click on each one to see all the products that come in that color!
Here’s what I used:
Click on these images for more details and to purchase.
Here’s the Dashing Along September special from Stampin’ Up:
There are only 10 days left to take advantage of this great offer!

- Receive one pack of Dashing Along Designer Series Paper with any $250 order in September!
- Perfect for layering, this beautiful, traditional Christmas paper includes a mix of old favorites and new patterns to create a festive, eclectic feel.
- Item number 149903
- 12 sheets: 3 double-sided sheets (6 total designs); 4 sheets of each design – perfect for making lots of Christmas cards!
- 12″ x 12″
- Promotion period: September 1–30
- Dashing Along Designer Series Paper is exclusive to this promotion and will not be available after September 30.
- In order to qualify, the event merchandise total must reach $250 (before shipping and handling).
- One package of Designer Series Paper may be redeemed per qualifying order, with no limit on how many packages of Designer Series Paper can be earned.
- Demonstrator, Customer, Workshop, and online orders qualify.
- Dashing Along Designer Series Paper may not be redeemed using Stampin’ Rewards. You will receive this FREE gift with a qualifying order in addition to any Stampin’ Rewards you may earn.
- Dashing Along Designer Series Paper may not be exchanged for other paper.
Dashing Along DSP © Stampin’ Up!
Here’s some more cool stuff you should check out:
Thanks for stopping by today, and Sweet Stamping!
Jun 14, 2018 | Blog Hop, Cards, Gallery, Scrapbooking |

This month on the OSAT Blog Hop, we are featuring scrapbook page layouts. I think a lot of people think of Stampin’ Up! products as only for card making. Of course, they do make amazing cards, but they can also be used for scrapbooking, or memory keeping. I’ve used the Best Route suite to create a scrapbook page and coordinating cards .
I spent last weekend in Minnesota with some dear friends. We live all over the US and we get together every June for a long crafting weekend. We take turns hosting, and this time it was Christine’s turn, who lives in Minnesota. She found a lovely old house by a lake, and it has a big craft room with lots of tables and chairs. The peonies were blooming in abundance. And we had some amazing food. The onion straws at the 5-8 Club were delicious, as were the Juicy Lucys!
Here’s what I made:


Here you can see the enamel shapes. I used the blue arrows with the journaling to point toward the photos. And each photo has a map marker.

You can also see that my handwriting is turning into an old lady’s scrawl! It has a lot of angles and points where it used to be more rounded, which is indicative of arthritis. Just FYI.
Here’s what I did:
Cut and scored with my Stampin’ Trimmer:
- Blueberry Bushel card stock (CS) cut to 4-1/4″ x 11″, then scored in half at 5-1/2″
- Best Route Designer Series Paper (DSP) cut to 4″ x 5-1/4″ (2 different patterns), then both pieces cut in half diagonally from corner to corner
- Whisper White CS cut to 4″ x 5-1/4″
- Blueberry Bushel CS cut to 4-1/4″ x 4-1/4″ (2 pieces)
- Blueberry Bushel CS cut to 6-1/4″ x 4-1/4″
- Whisper White CS cut to 2-7/8″ x 3-5/8″
- Blueberry Bushel CS cut to 3-1/8″ x 3-7/8″
Stamped with the En Route stamp set:
- sign post in Mango Melody ink onto the 2-7/8″ x 3-5/8″ Whisper White CS
- sign post in Blueberry Bushel ink onto a scrap of Whisper White CS
- airplane in Mango Melody ink onto the 4″ x 5-1/4″ piece of Whisper White CS
Die cut using the Layering Ovals Framelits:
- Blueberry Bushel sign post
- a scrap of Mango Melody CS
- a scrap of Blueberry Bushel CS
Die cut using the Large Letters Framelits:
- “FLOWERS FOOD & FRIENDS” from Blueberry Bushel CS
Assembled the card:
- card base folded along the score line and burnished with a Bone Folder
- half of each of the two diagonally cut DSP patterns glued onto the front of the card base
- largest die cut oval (Blueberry Bushel CS) glued onto the center of the DSP
- middle size die cut oval (Mango Melody CS) glued onto the Blueberry Bushel CS oval
- stamped oval glued onto the Mango Melody CS oval
- tied a tiny bow with Blueberry Bushel 1/8″ Grosgrain Ribbon and adhered it to the stamped oval using a mini glue dot
- 4″ x 5-1/4″ Whisper White CS glued onto the inside of the card base
Assembled the page:
- adhered the two 4″ x 4″ photos onto the two 4-1/4″ x 4-1/4″ pieces of Blueberry Bushel CS using Snail
- adhered the 6″ x 4″ photo onto the 6-1/4″ x 4-1/4″ piece of Blueberry Bushel CS using Snail
- adhered the 2-7/8″ x 3-5/8″ piece of Whisper White CS (with Mango Melody sign post) onto the 3-1/8″ x 3-7/8″ piece of Blueberry Bushel CS
- adhered the three photos, the stamped journaling piece, and all the letters as shown onto a 12″ x 12″ piece of the DSP using Snail
- applied Best Route enamel shapes: one onto each photo, and three onto the journaling piece
Here’s the hop:
Click the Next button to hop to the next stop. You can use the list below if you get lost along the hop.

Here are today’s colors:
You can click on each one to see all the products that come in that color!
Here’s what I used:
Click on these images for more details and to purchase.
Here’s some stuff you should check out:
Thanks for stopping by today, and Sweet Stamping!

Jul 1, 2016 | Classes, Events, Scrapbooking |

Here are my events coming up in the next few months:
July 6 – Stamp Club – RSVP by July 3
$25 minimum order, 6 month commitment
July 9 – Stamp Club Weekend Edition – RSVP by July 3
$25 minimum order, 6 month commitment
July 17 – Candy Hearts Team Meeting – RSVP by July 14
(demonstrators or prospective demonstrators only)
$5 (your first time is free)
July 18 – Card Smorgasbord – RSVP by July 15
Make any 6 cards for $15. You can make extras at $2.50 each.
July 23 – Memory Keeping Class – RSVP by July 20
$34 –cover a 6×8 album and create inserts for 24 pages (12 double sided)
July 24 – Christmas in July – Prepay by July 17
$30 – Create 12 Christmas cards (4 each of 3 different designs)
July 25 – Paper Pumpkin Party (for June kit) – RSVP by July 22
Bring your July Paper Pumpkin kit and we’ll assemble them together.
$5 class fee (FREE if you are my subscriber or my team member)
July 26 – Jar of Love Bundle Class – Prepay by July 12
$62 and you get to keep the stamp set & the dies!
If you own the bundle and bring it to class, you can make the projects for $15!
Aug 3 – Stamp Club – RSVP by July 31
$25 minimum order, 6 month commitment
Aug 6 – Stamp Club Weekend Edition – RSVP by July 3
$25 minimum order, 6 month commitment
Aug 15 – Card Smorgasbord – RSVP by Aug 12
Make any 6 cards for $15. You can make extras at $2.50 each.
Aug 20 – Memory Keeping Class – RSVP by Aug 17
$18 – use Good Vibes set to create 12×12 layouts: one 2-page and two 1-page (page protectors included)
Aug 21 – Candy Hearts Team Meeting – RSVP by July 14
(demonstrators or prospective demonstrators only)
$5 (your first time is free)
Aug 23 – Foxy Friends Bundle Class – Prepay by Aug 9
$52 and you get to keep the stamp set and punch!
If you own the bundle and bring it to class, you can make the projects for $15!
Aug 25 – Paper Pumpkin Party (for June kit) – RSVP by July 22
Bring your August Paper Pumpkin kit and we’ll assemble them together.
$5 class fee (FREE if you are my subscriber or my team member)
Sep 7 – Stamp Club – RSVP by Sep 4
$25 minimum order, 6 month commitment
Sep 10 – Stamp Club Weekend Edition – RSVP by Sep 4
$25 minimum order, 6 month commitment
Sep 17 – Memory Keeping Class – RSVP by Sep 14
$18 – use Blooms & Bliss paper to create four 1-page traditional 12×12 layouts
Sep 18 – Candy Hearts Team Meeting – RSVP by Sep 15
(demonstrators or prospective demonstrators only)
$5 (your first time is free)
Sep 19 – Card Smorgasbord – RSVP by Sep 16
Make any 6 cards for $15. You can make extras at $2.50 each.
Sep 27 – Best Birds Bundle Class – Prepay by Sep 13
$58 and you get to keep the stamp set and dies!
If you own the bundle and bring it to class, you can make the projects for $15!
Sep 29 – Paper Pumpkin Party (for June kit) – RSVP by July 22
Bring your September Paper Pumpkin kit and we’ll assemble them together.
$5 class fee (FREE if you are my subscriber or my team member)
Please contact me with any questions or for payment information: candy@stampcandy.net
Sweet Stamping!

Apr 14, 2016 | Classes, Occasions, Scrapbooking |
Today I’m sharing the fourth and final project from the Birthday bouquet class. You can see the previous three projects here, here, and here.
Since most of the group were scrapbookers, we used many of the same supplies to create this lovely traditional scrapbook page.
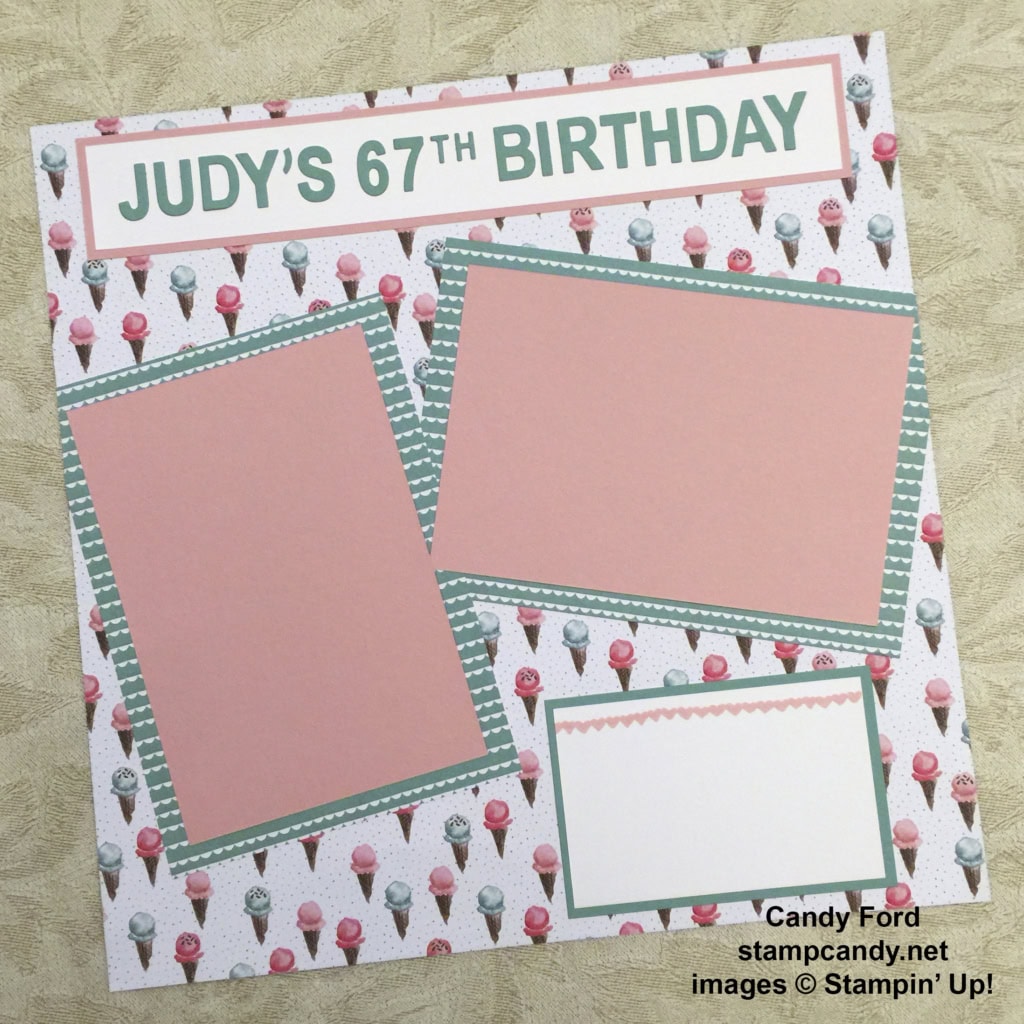
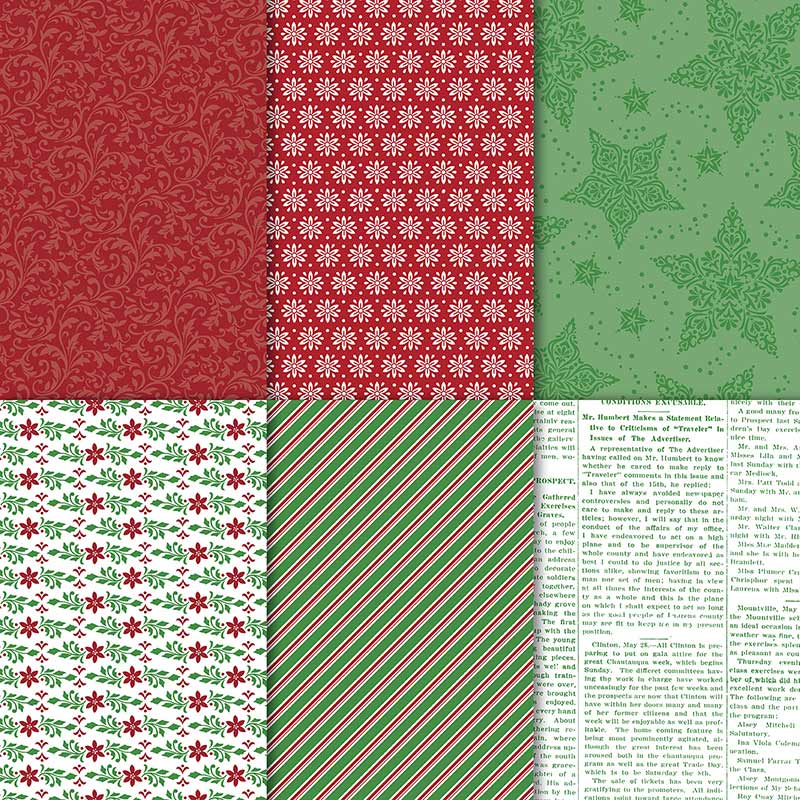
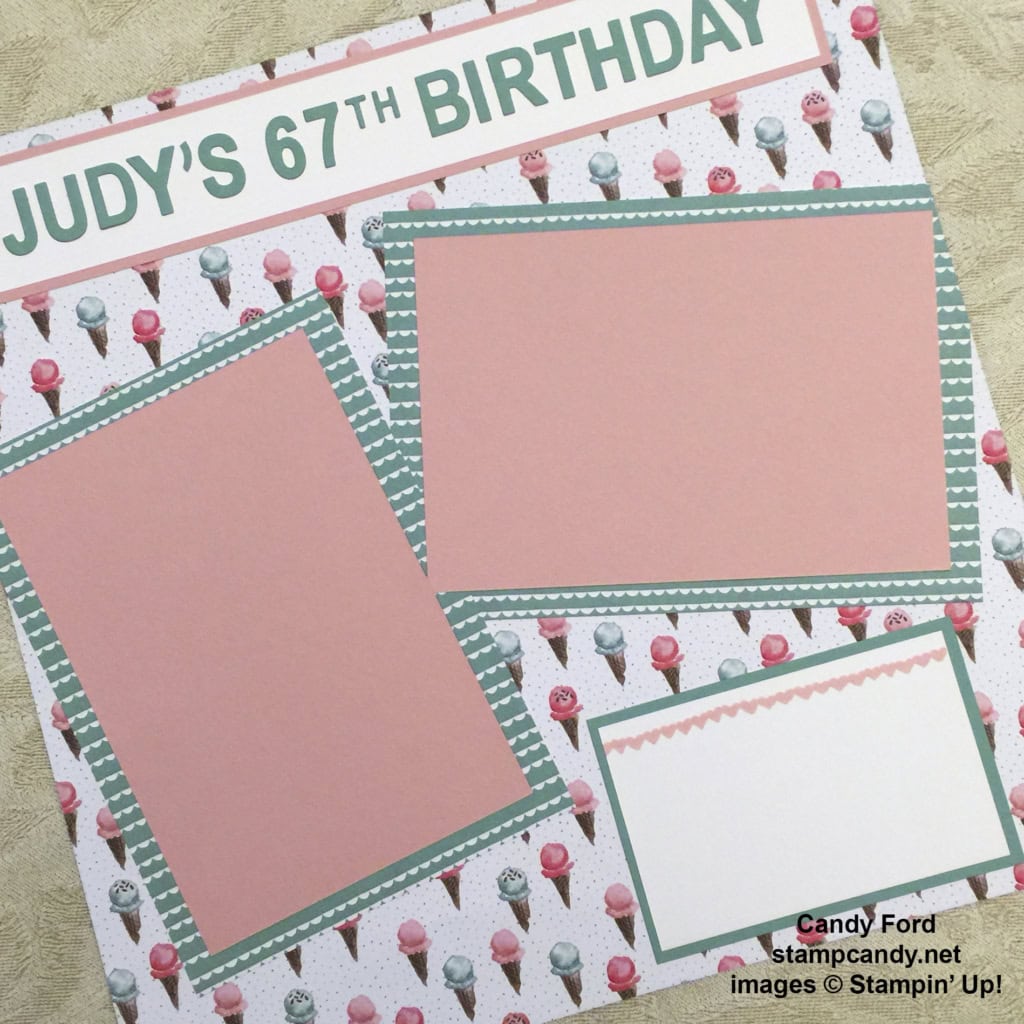
The background is a piece of Birthday Bouquet Designer Series Paper. This is one of my personal favorites from this DSP. The little ice cream cones are so pretty. And the colors in this set are sweet and soothing and beautiful. And with such spectacular paper, there’s no need to add a lot of “doodahs” to fancy up the page.
For the title, we cut Mint Macaron card stock with the Little Letters Thinlits and the Little Numbers Thinlits Dies. We adhered the pieces onto a strip of Whisper White card stock and matted it with Blushing Bride card stock.
For the photo mats, we cut Blushing Bride card stock to 4-1/4″ x 6-1/4″, then matted that with a different pattern from the DSP cut to 5″ x 7″. A few things about the mats: 1) They went past the edge of the 12″ x 12″ page a little, so we trimmed off the excess. 2) They also overlapped in the center, so we made sure the Blushing Bride pieces were on the top of all the DSP pieces. The DSP of the right one goes under the DSP of the left one, but the card stock of the right one goes over the DSP of the left one. So the paper “sandwich” at the overlap is (bottom to top) right DSP, left DSP, right card stock, left cardstock. 3) This DSP pattern has a definite direction, so we cut one piece vertically and the other one horizontally, so the patterns are going in the same direction.
For the journaling panel, we stamped the line of hearts from the Birthday Blooms stamp set in Blushing Bride onto Whisper White card stock. We matted it with Mint Macaron card stock.
Now all that’s left to do is to add two photos and some journaling. And wouldn’t the journaling look great written with the Mint Macaron Stampin’ Write Marker?
Of course, you can also use these same supplies with your Project Life pages. Check out the great Project Life by Stampin’ Up! products here. They are the Project Life products you love, but in the Stampin’ Up! colors, so all your other Stampin’ Up! products will match perfectly!
Here’s what we used:
Thanks for stopping by today, and Sweet Stamping!