Jan 10, 2016 | Challenges, CYCI, Sketches |
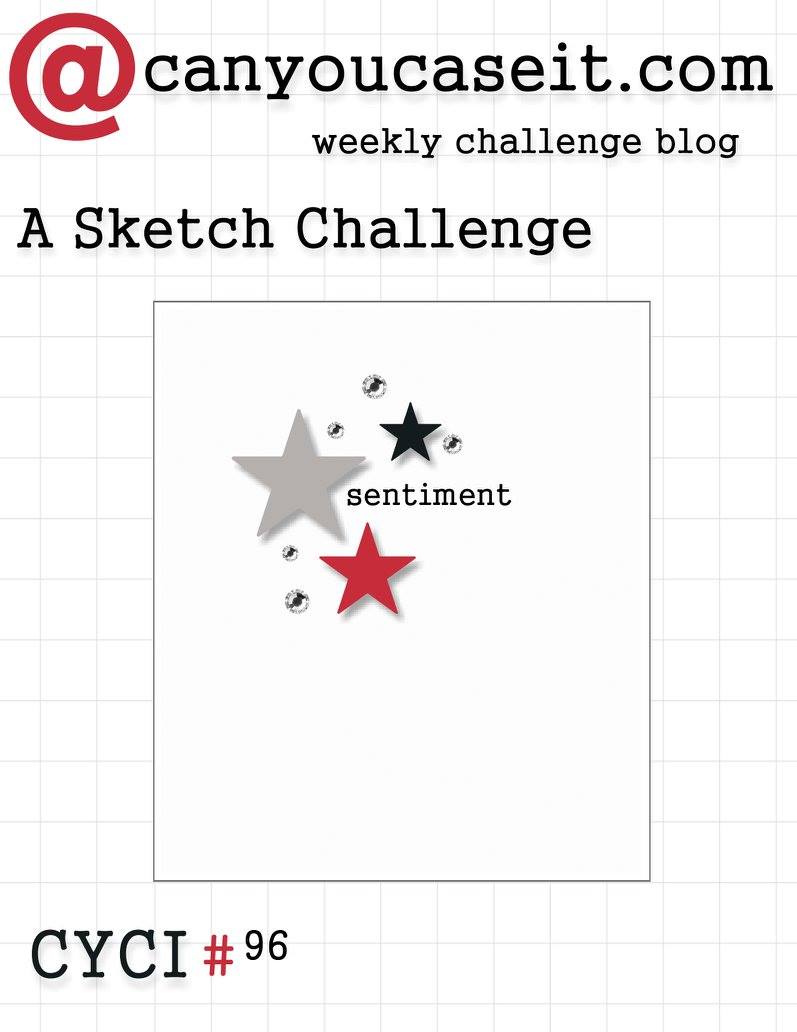
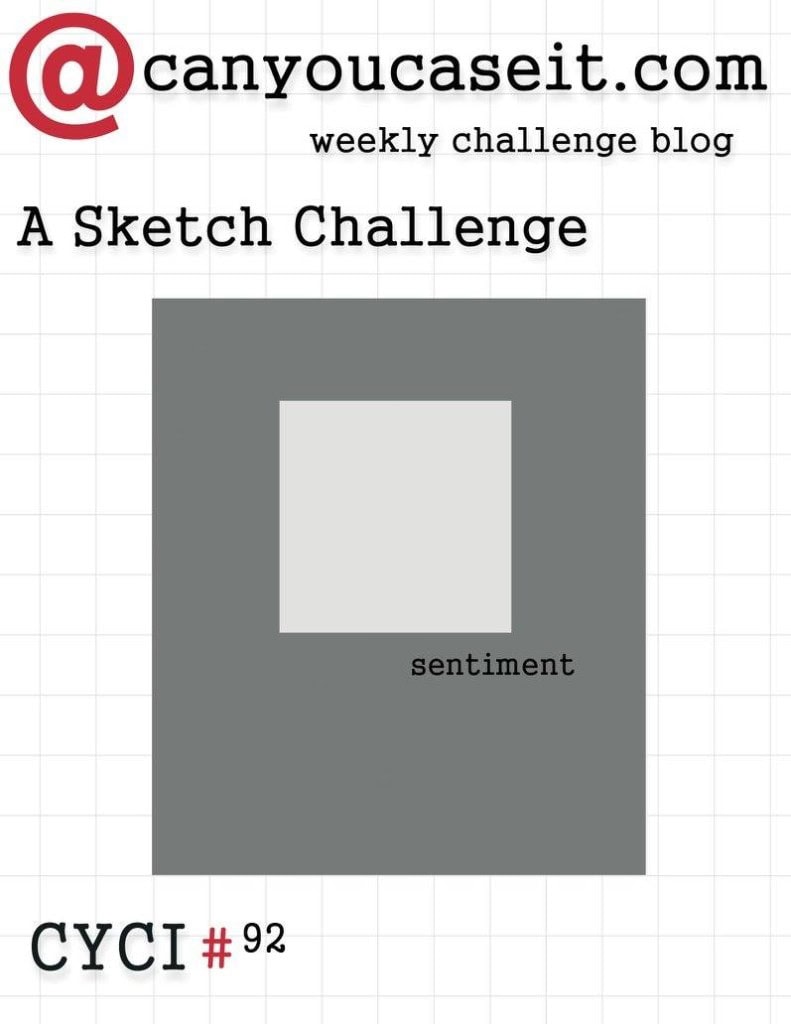
 This week’s CYCI challenge is to create a project using this sketch as inspiration.
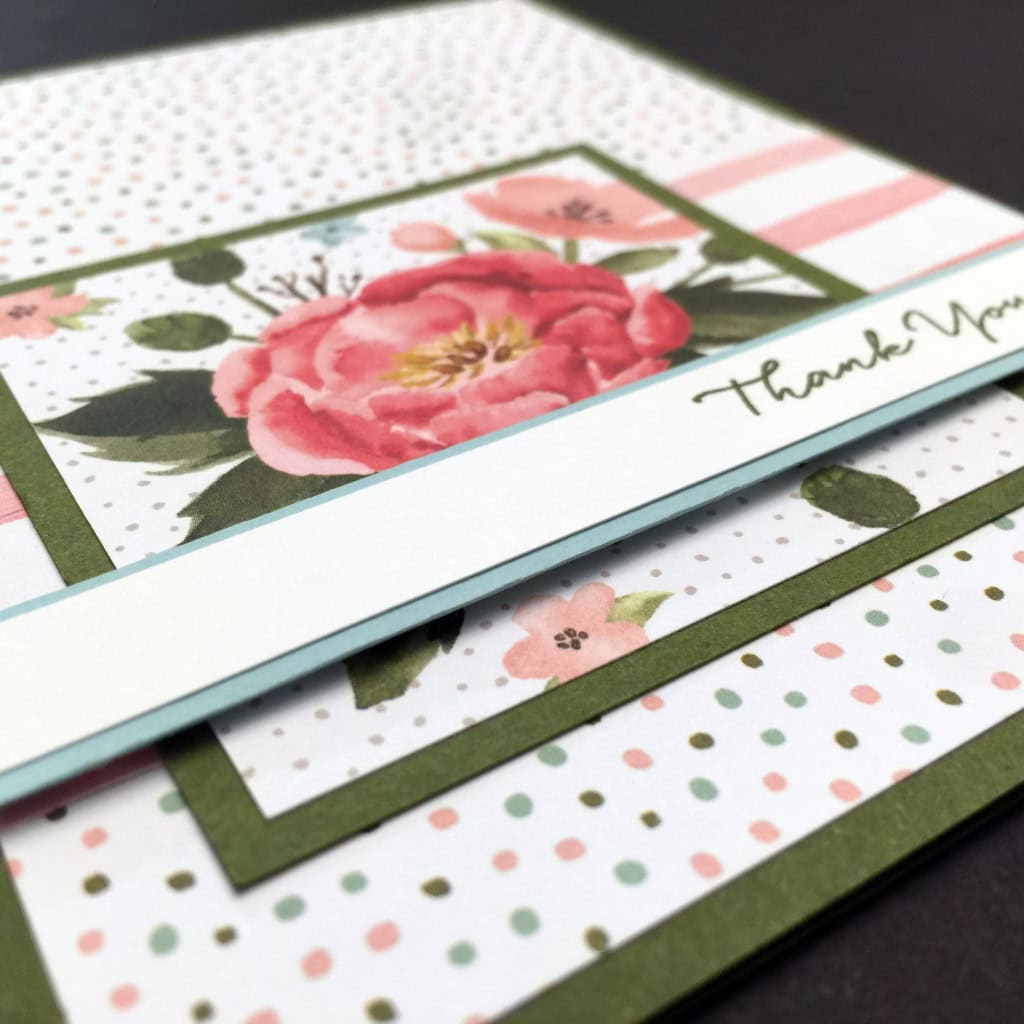
 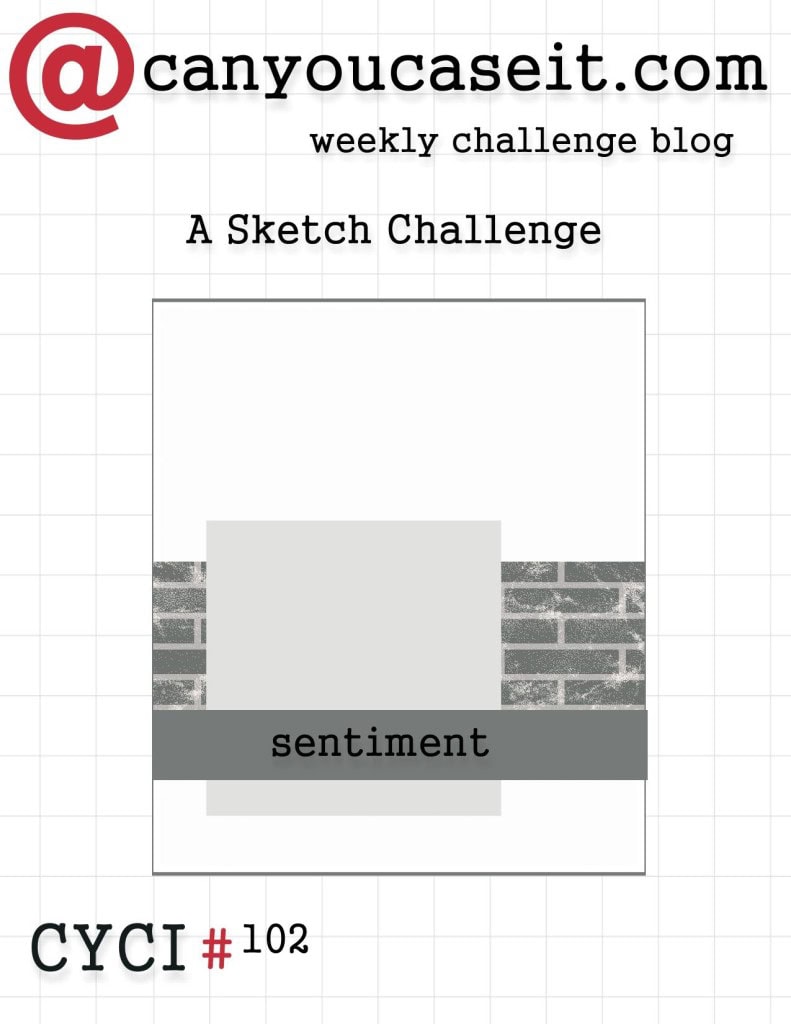 Here’s what I made.
  The card base and top panel mat are Mossy Meadow card stock. All three pieces of Designer Series Paper are from the new Birthday Bouquet DSP. The sentiment, from the new Sale-a-bration stamp set What I Love, is stamped in Mossy Meadow on Whisper White CS, on top of a slightly wider strip of Pool Party CS, then attached to the card front with Stampin’ Dimensionals. Everything else is glued. This card is appropriate for so many different occasions – just change the sentiment. Here’s what I used:
Be sure to check out all the other great projects at canyoucaseit.com, and play along by posting your own project!
Thanks for stopping by today, and Sweet Stamping!

Nov 22, 2015 | Bags, Challenges, CYCI, Holiday, Sketches |
Here’s this week’s CanYouCaseIt.com (CYCI) sketch challenge…

…and here’s my project.
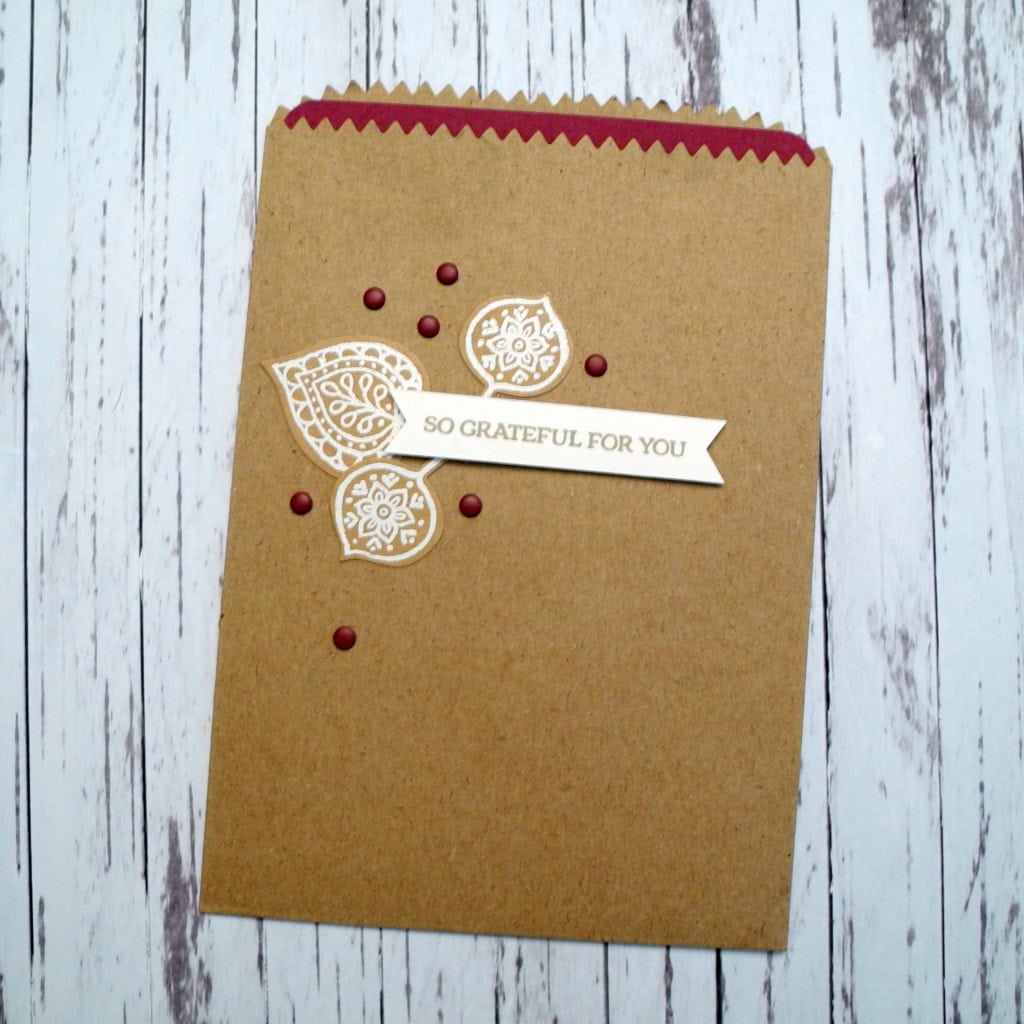
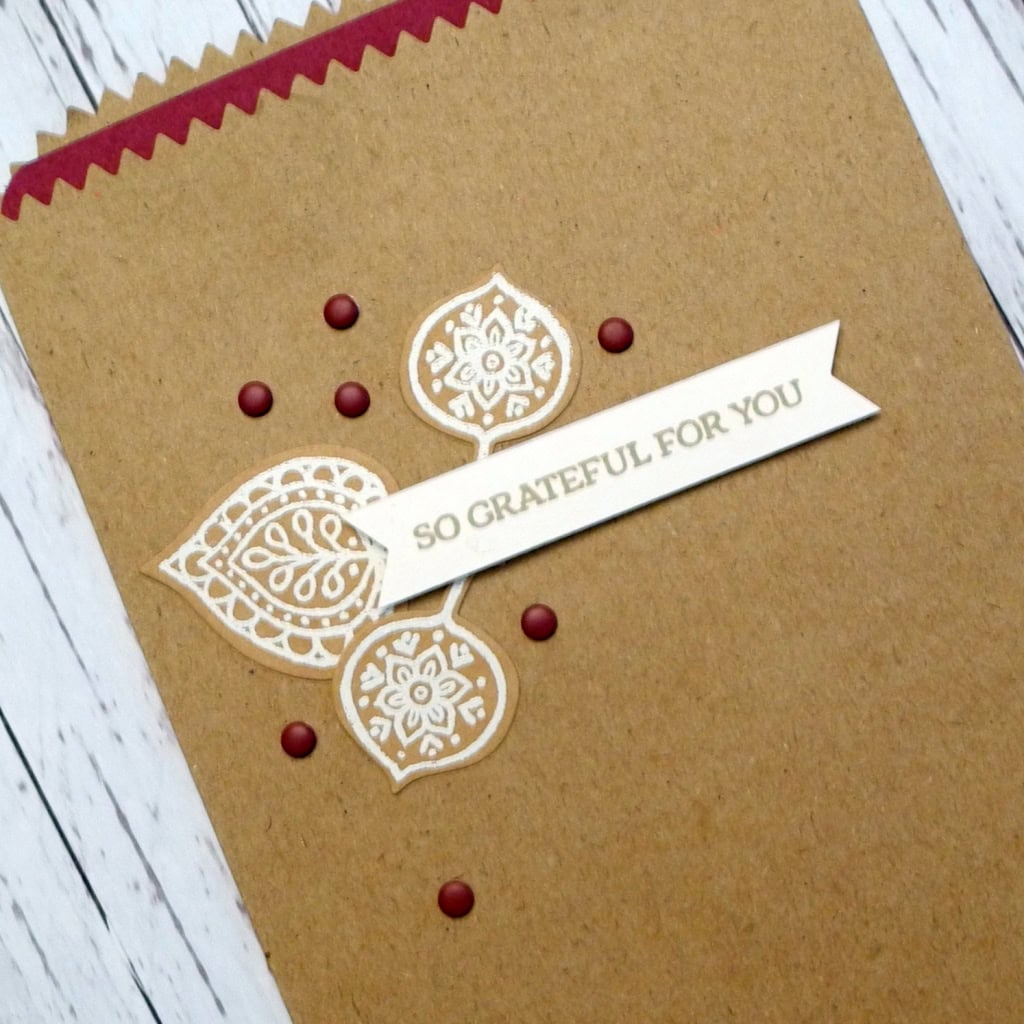
Talk about quick and easy! This little bag took just a few minutes to decorate.
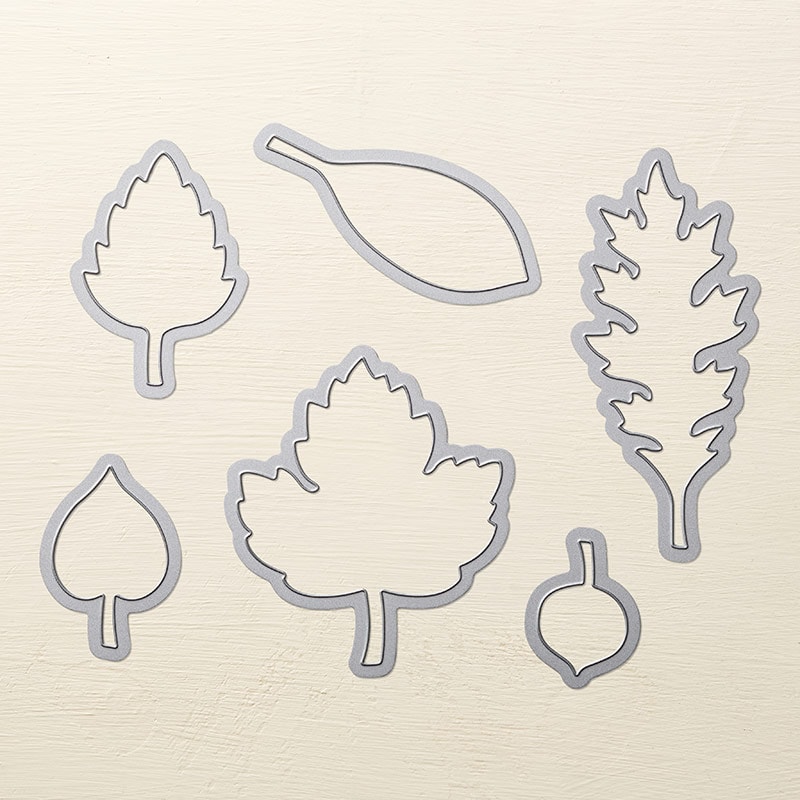
I heat embossed the leaves from the Lighthearted Leaves stamp set in white on Kraft card stock, then cut them out with the Leaflets Framelits Dies. You could also heat emboss them directly onto the bag.
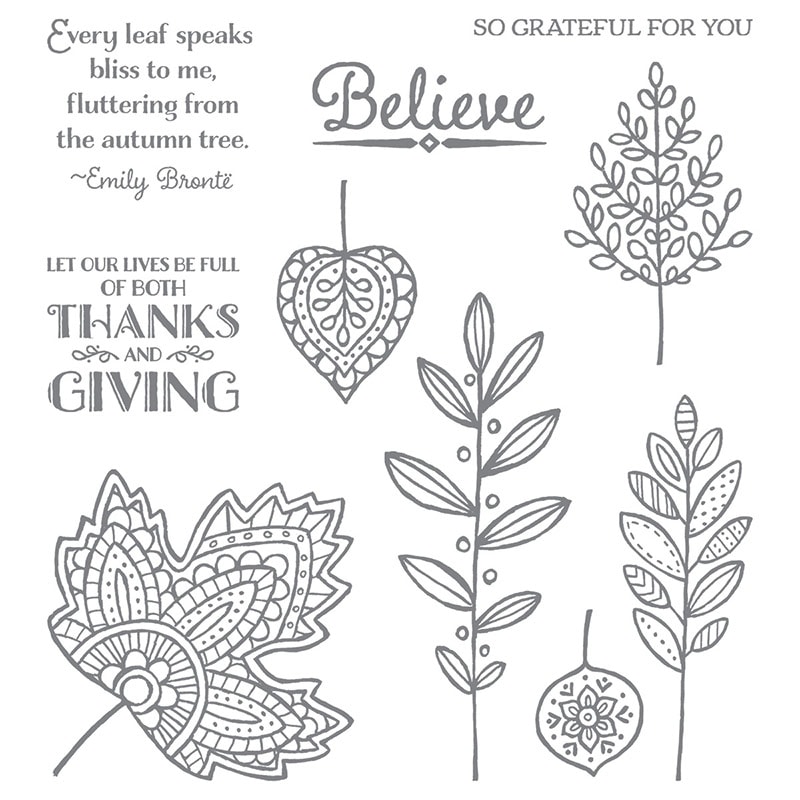
I stamped the sentiment in Crumb Cake on a thin strip Whisper White card stock – easy to do since you can see right through the stamps – then notched the ends with the Banner Triple Punch. You could also use the 1″ Square Punch to cut uniform notches. Or you could just use your paper snips if you’re very good at getting things even, or if you don’t care that they aren’t.
Then it was just a matter of adhering the leaves (I used glue,) the sentiment (Stampin’ Dimensionals,) and Rich Razzleberry Candy Dots (self adhesive.)
I slipped a piece of Rich Razzleberry card stock into the bag for the photo, but you can insert a card or small treats. It’s perfect for Thanksgiving cards and gifts. Maybe put one at each place setting on Thanksgiving Day.
Here’s what I used. Click on the images below to get your own today so you can make this super simple bag!
Be sure to check out all the great projects at canyoucaseit.com this week! And play along with us!!!
Thanks for stopping by today, and Sweet Stamping!

Oct 25, 2015 | Cards, Challenges, Christmas, CYCI, Holiday, Sketches |

Here is this week’s CanYouCaseIt sketch challenge:
And here is my card:
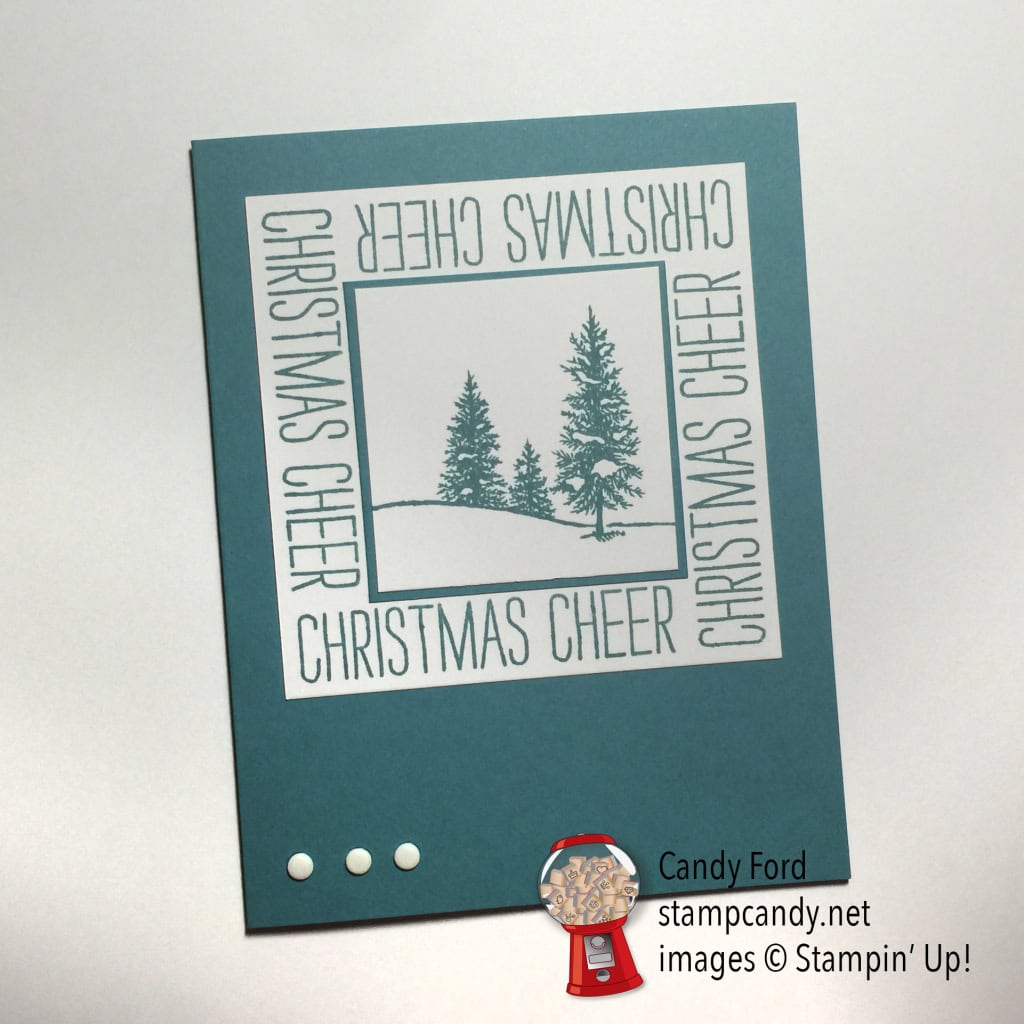
I love the simplicity of this week’s sketch. Just one block on the card front with a sentiment. I started looking through my stamp sets for just the right thing. First I came upon the sentiment from the Cheer A;; Year stamp set. The crisp, clean lettering fits the simplicity of the sketch. I started playing around with it, then had the idea to stamp it “in the round” – or maybe it should be “in the square.”
Then I needed something for the center. I tried several images before settling on this peaceful, snowy scene from the Happy Scenes stamp.
Since my sentiment is within the block, I needed something else to balance the design. Very Vanilla Candy Dots were just the right thing. Usually I would put the Dots on the right side of the card, but here they seemed more balanced on the left, perhaps because the trees are toward the right. How did I find just the right place? I cut a strip of three Dots from the package and moved them around the card until it felt right. This is a good time to use Brian King’s patented Squinting Technique (I owe him a nickel now.)
I was very tempted to add just a tiny pop of Real Red somewhere, but I resisted. Again, I wanted to keep with the simplicity of the sketch. But some time I may add a tiny red bird in one of the trees.
For these particular images to line up just right, here are the measurements I used for the panels: 2-1/8″ x 2-1/8″ Very Vanilla; 2-1/4″ x 2-1/4″ Lost Lagoon; 3-1/2″ x 3-1/2″ Very Vanilla. You’ll need to experiment if you use other images. For example, the largest Very Vanilla piece is the length of the sentiment plus the height of the sentiment plus just a tinch. I added enough to make it a nice even 3-1/2″.
(Tinch is a Southern term. It’s a cross between a touch and a pinch. It’s usually pronounced “teench” or “taynch.”)
Here’s what I used:
Be sure to check out the other projects at canyoucaseit.com.
Thanks for stopping by today, and Sweet Stamping!
Sep 13, 2015 | Cards, Challenges, Gifts, Sketches |
I love seeing all the different directions people take from the same idea. That’s why I enjoy challenges so much. Every week CYCI issues a different challenge – a sketch, a color palette, a theme, or something else. I hope you’ll play along by entering your own projects. Go to canyoucaseit.com for more details.
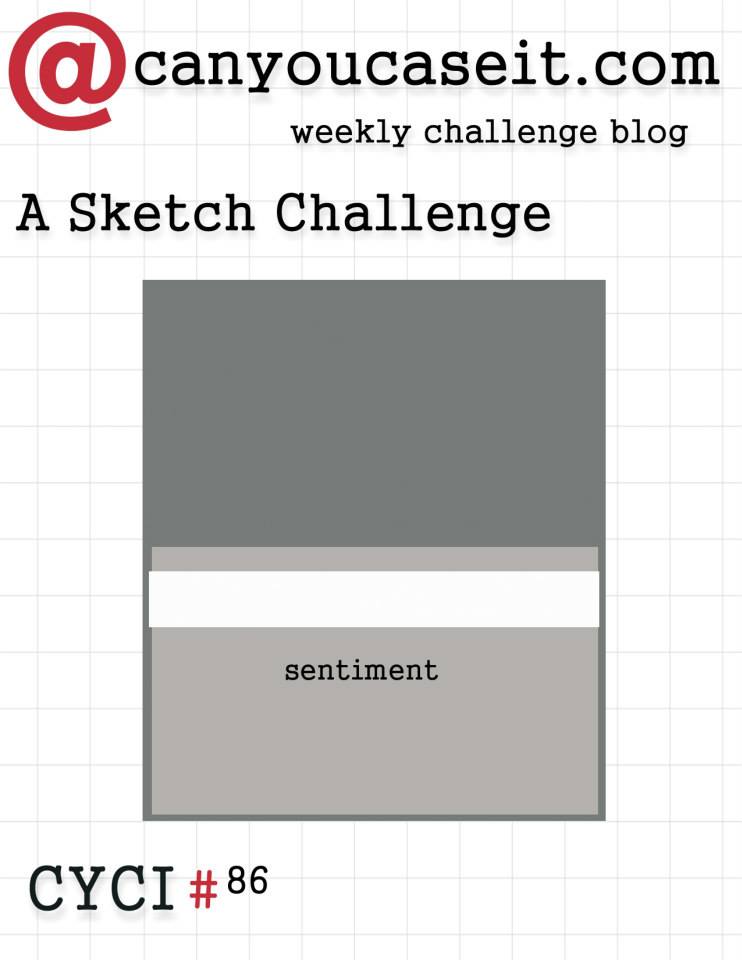
Here is this week’s sketch challenge:
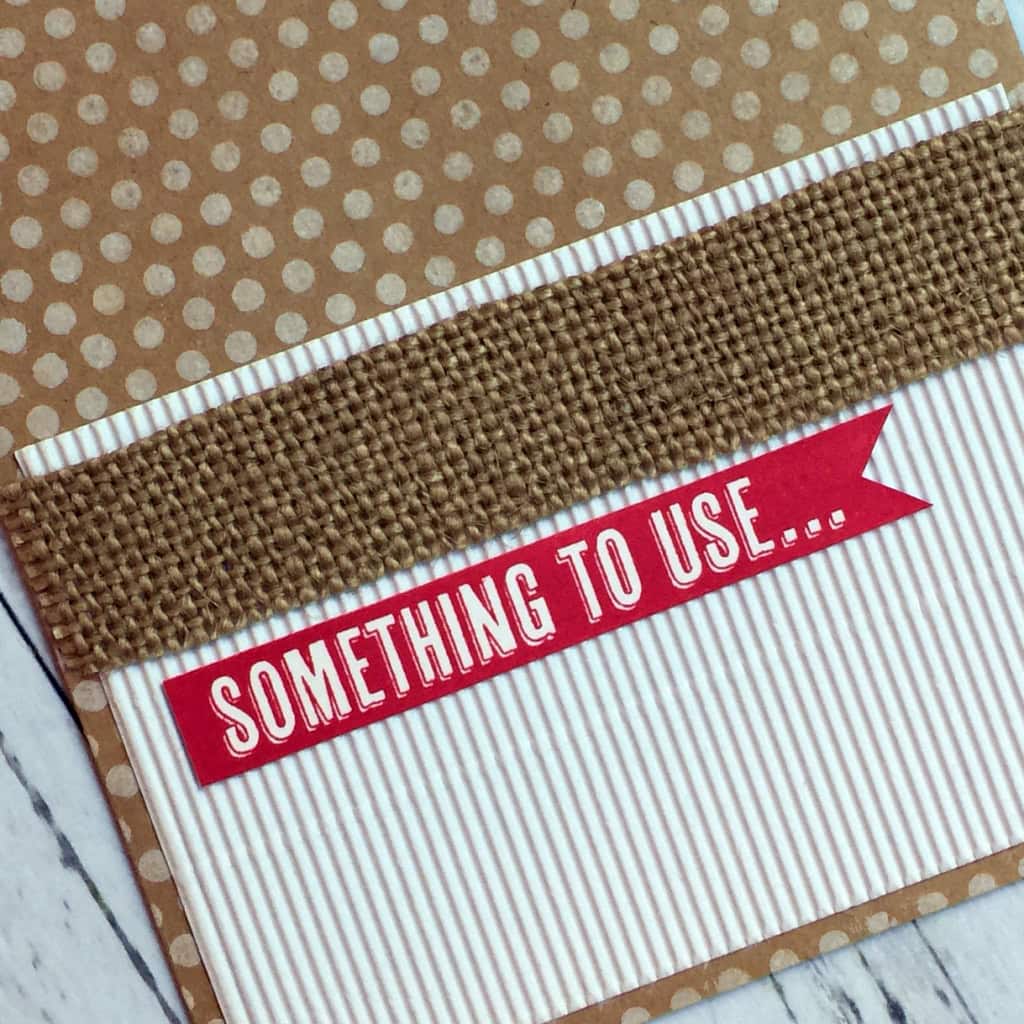
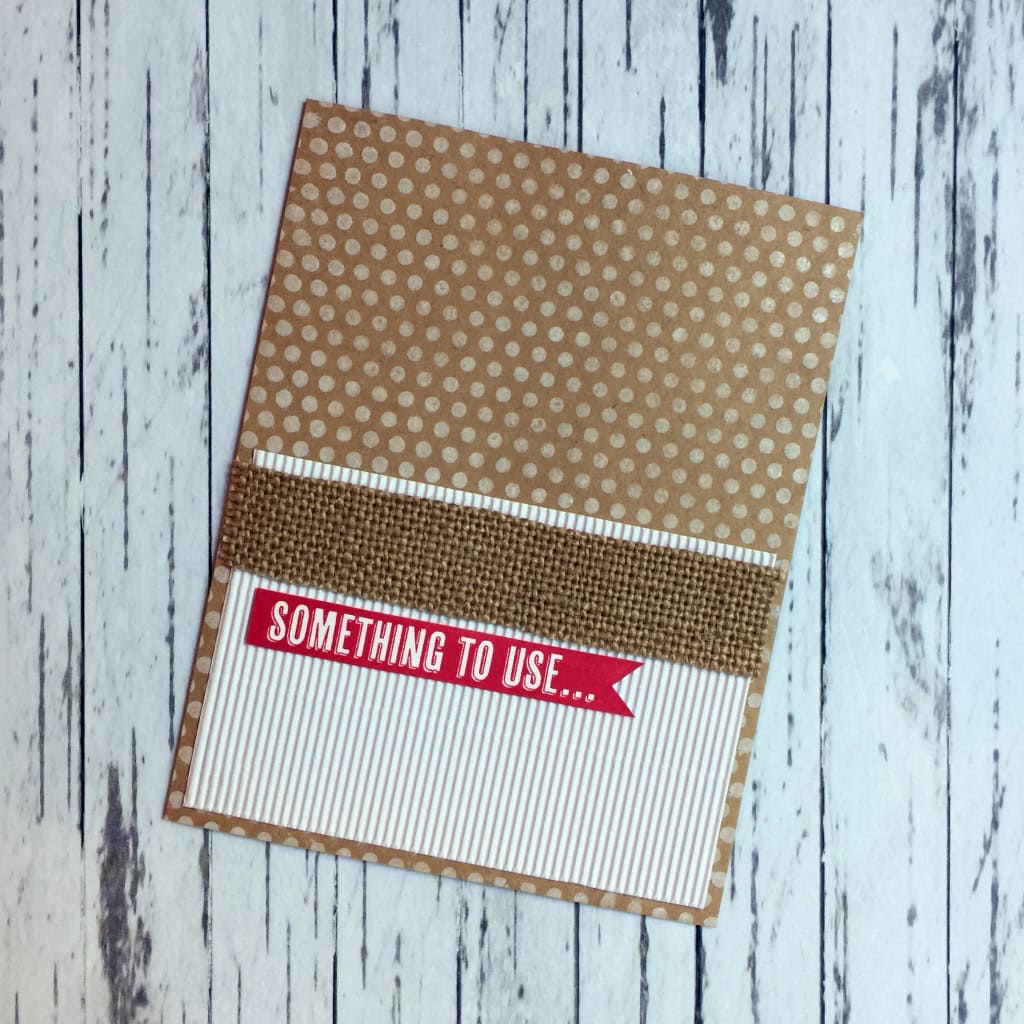
And here’s my card:
I love this clean and simple sketch. I think the most elegant cards are CAS. Not that I don’t like cards with lots of pretty doodahs – I do! But there is something to be said for understated designs.
I haven’t used this color combo in a while, and it’s one of my faves, so here it is:

The card base is Kraft card stock. The white panel is White Corrugated Paper. The ribbon is Burlap – I trimmed down both edges with Craft Scissors to remove the stitching and to make it thinner. And the sentiment, from the B.Y.O.P. stamp set, is stamped in Real Red on Whisper White CS, then cut with Craft Scissors, except for the notch at the end, which I cut with Paper Snips.
Tip: I keep two pairs of Craft Scissors: one for ribbon only and one for paper. I also use Paper Snips for paper. The Snips are great for detail work, and the larger Scissors are nice when cutting long smooth lines.
At this point I liked the card, but the large expanse of plain Kraft CS at the top did bother me a little. I thought it needed just a little something, but not too much. That’s when I decided to stamp it in Whisper White Craft Ink with the large Dots for Days background stamp. Now it’s like a piece of DSP in the background. The evenly spaced and aligned dots almost count as a solid – certainly as a neutral.
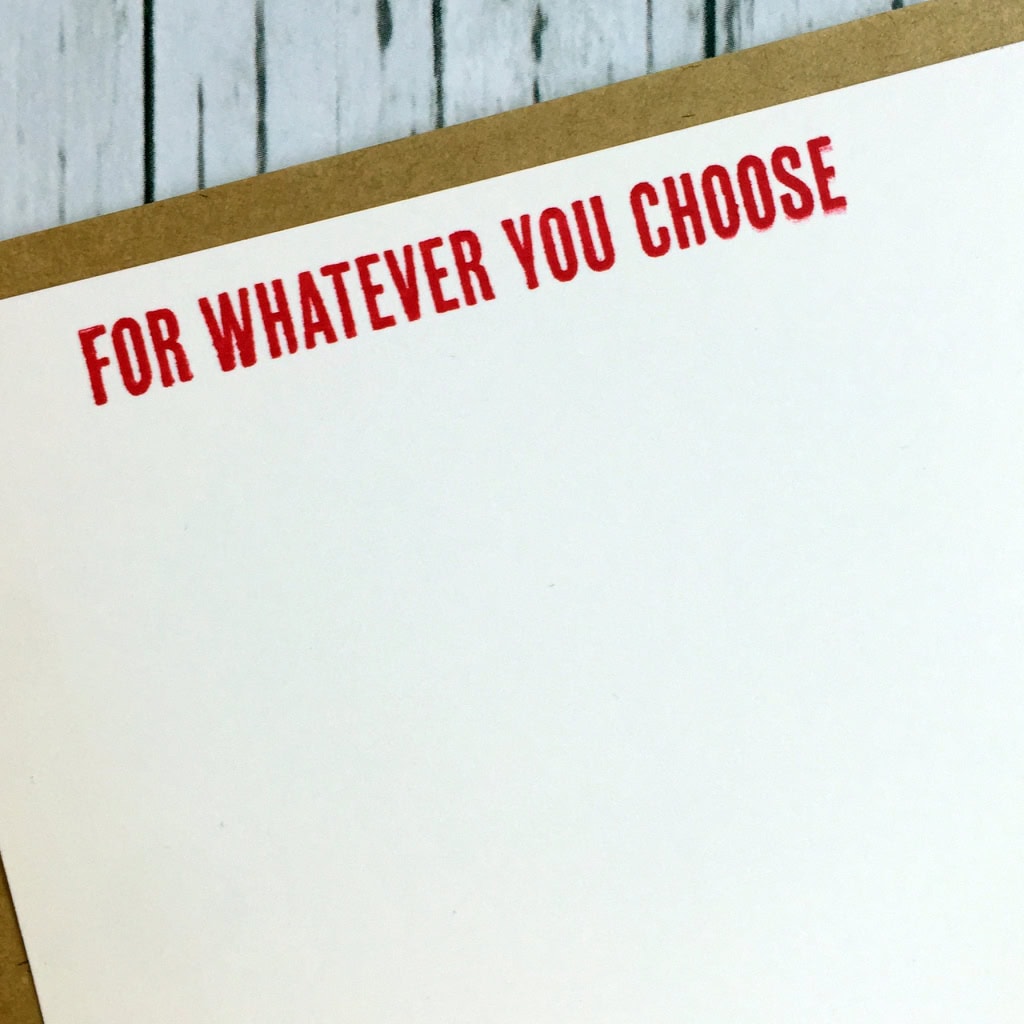
The sentiment continues on a piece of Whisper White CS glued to the card’s interior:
Here’s what I used:
Be sure to check out the other Can You Case It projects here.
I love hearing from you and welcome your questions and comments!
Thanks for stopping by today, and Sweet Stamping!
Aug 21, 2015 | Cards, Challenges, Christmas, Holiday, New Products, Sketches |

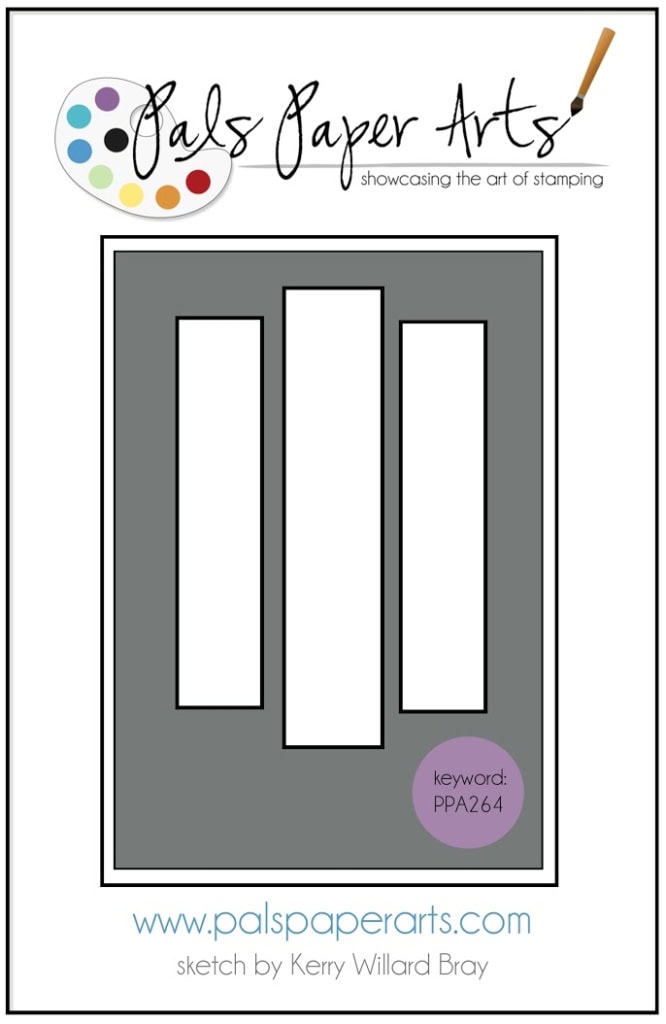
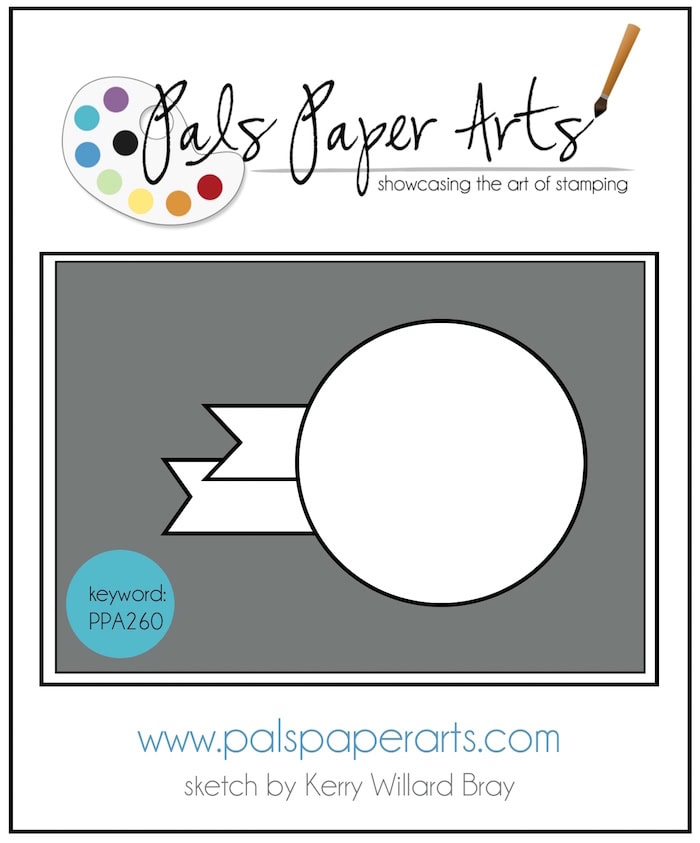
This week’s Pals Paper Arts challenge is a sketch by Kerry Willard Bray.
Here’s the sketch…
…and here’s my card.

The Festive Fireplace stamp set and Festive Fireside Framelits Dies are available in a bundle in the new Holiday catalog. I’ve used them here along with another new product: the Winter Wonderland Designer Vellum Stack – 36 sheets of 6″ x 6″ vellum in 12 different designs. I thought this design looked like wallpaper.
I should mention that, except for the 5″ x 7″ card base and the vellum, all the paper I used on this card came from my scraps. I save all my paper scraps, and have a small drawer for each color. I’ve been ribbed for keeping scraps as small as I do, but that skinny piece of Whisper White certainly came in handy for the baseboard, and it prevented having to cut into a new piece.
I used Stampin’ Write Markers to color the flames (Pumpkin Pie,) the wreath berries (Real Red,) and the stockings (1 – Soft Sky, Mint Macaron, and Lost Lagoon; 2 – Crumb Cake and Soft Suede; 3 – So Saffron, Real Red, and Garden Green.)
Here are the current products I used:
Thanks for stopping by today, and Sweet Stamping!

Jul 19, 2015 | Cards, Challenges, Sketches |
This week’s Pals Paper Arts Challenge is a sketch by the lovely and talented Kerry Willard Bray.
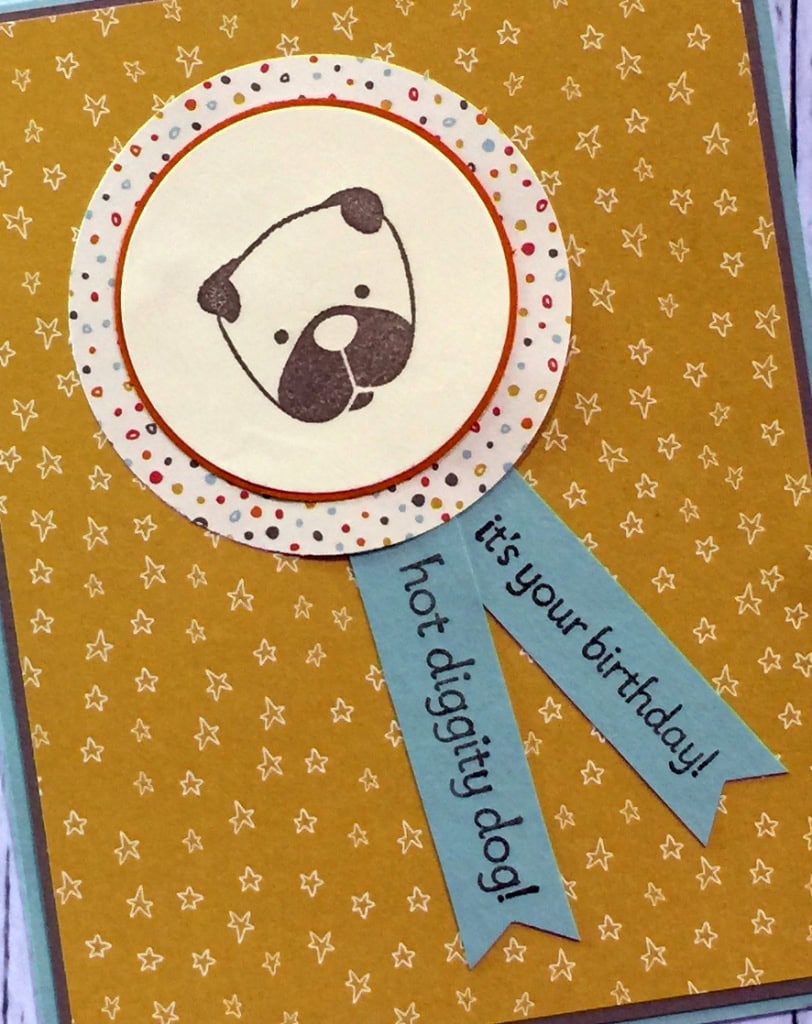
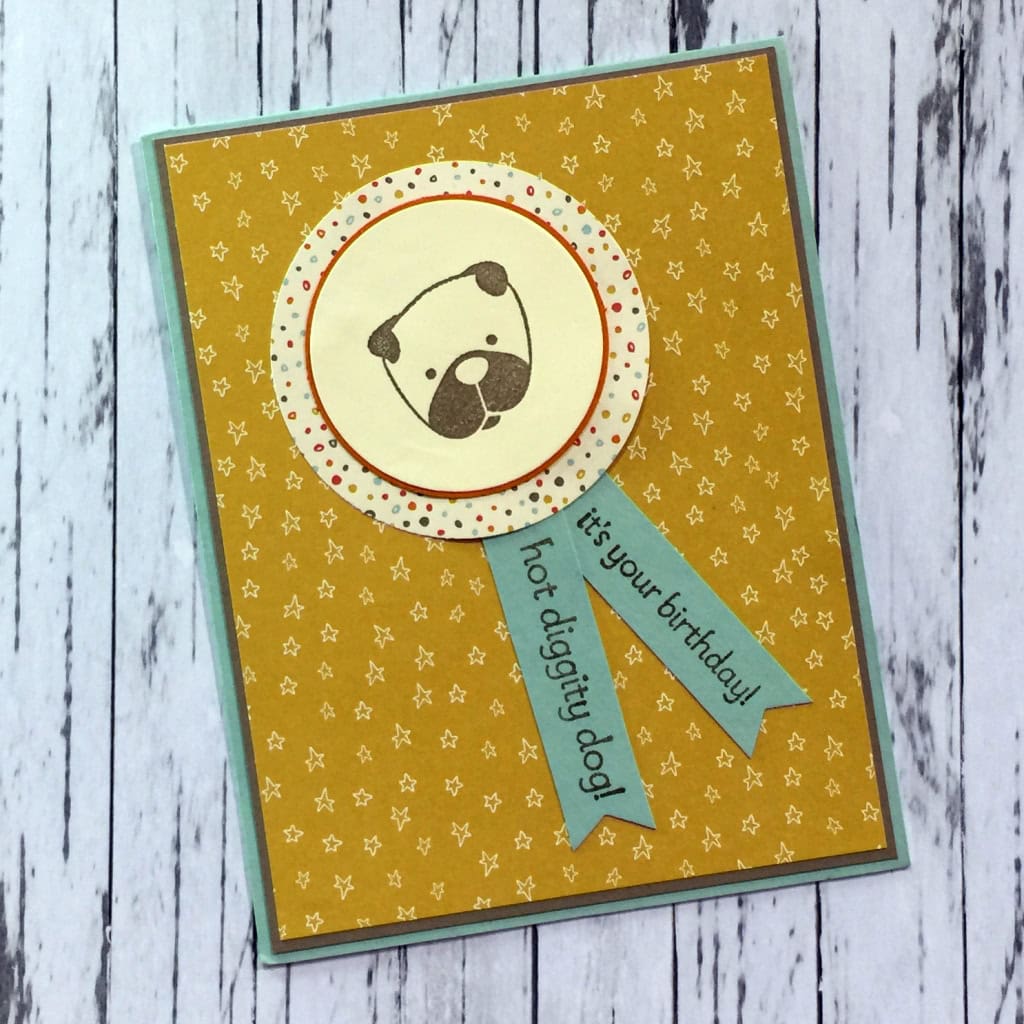
I had been looking at the Hot Diggity Dog stamp set and just fell in love with the face I used on today’s card. I’m not sure which specific dog breed it’s supposed to represent, if any. Pug, maybe? I just think it’s cute. So when I saw this week’s sketch, I immediately knew I wanted to put this little face in the center of the circle.

The colors in the Sweet Li’l Things DSP seemed perfect for this card. This little pooch is a sweet little thing, right?
The sentiment is from the same stamp set. It’s actually one stamp, but I used my Tip Top Taupe Stampin’ Write Marker to ink one line at a time so I could stamp them separately. Here’s how to do that:
1) Color the part of the stamp that you want with the marker.
2) Stamp the image. (The ink can dry quickly, so you may want to “huff” on it first – blow warm, moist breath on it to reactivate the ink.)
3) Clean the stamp. Stamp off on clean scrap paper to make sure it is dry and leaves no mark.
4) Color the other part of the stamp and repeat.
Be sure to check out all the other challenge entries at the PPA web site.
Here’s what I used:
Thanks for stopping by today, and Sweet Stamping!
 Here’s what I made.