Dec 24, 2015 | Cards, Christmas, Holiday, Swaps |
Happy Christmas Eve! Hubby and I are spending it with family. The ladies will go together for our annual Christmas pedicures, a tradition we started a few years ago. We’ll have a lovely home cooked dinner and spend some time together, then wake up tomorrow to see what Santa brought.
Here in Georgia, it’s usually too warm for snow. The forecast is for rain. But hey, I can watch movies of snowy Christmases and pretend, even though the snowflakes on today’s project may be the closest I get to the real stuff this year.
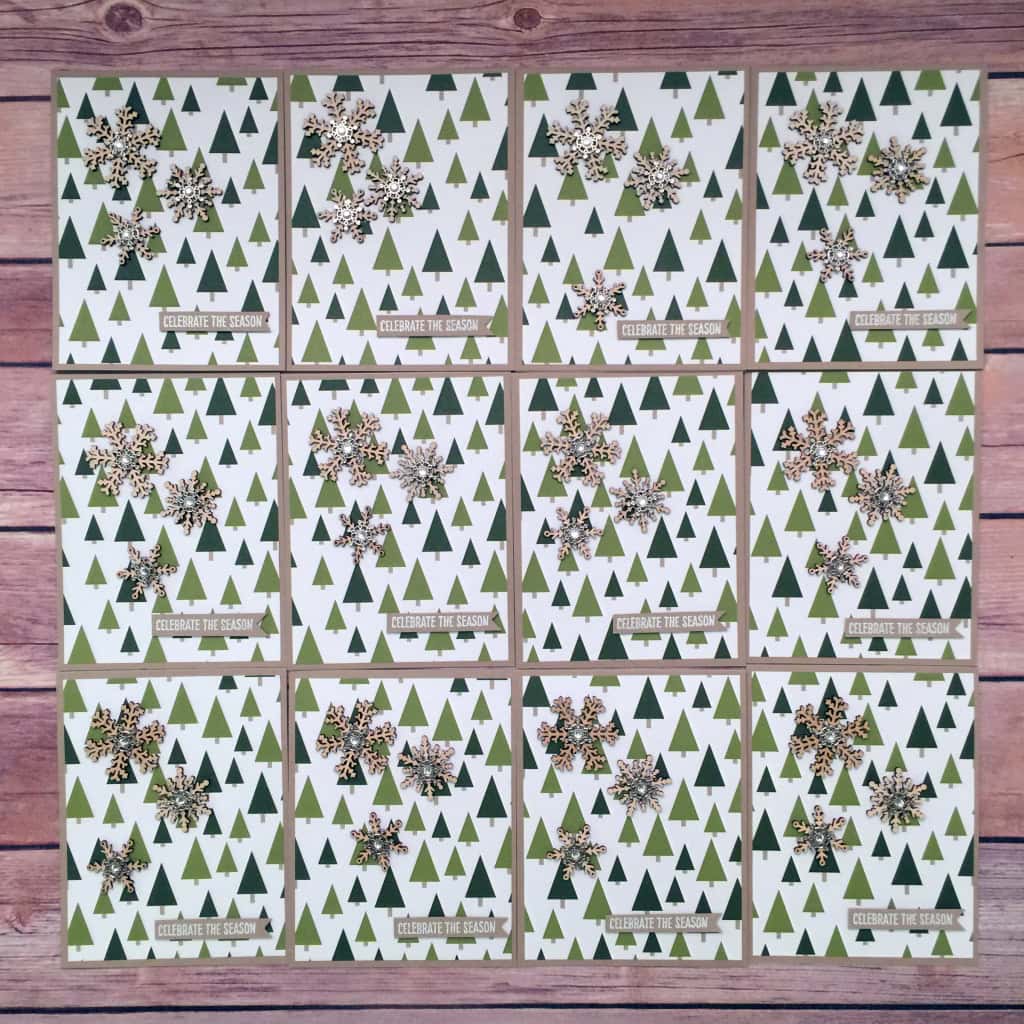
Today I’m sharing a card I designed for a card swap. I made twelve of these and mailed them to everyone in the swap. While I’m sending it during the Christmas season, you could use it anytime during the winter. Just change the sentiment.

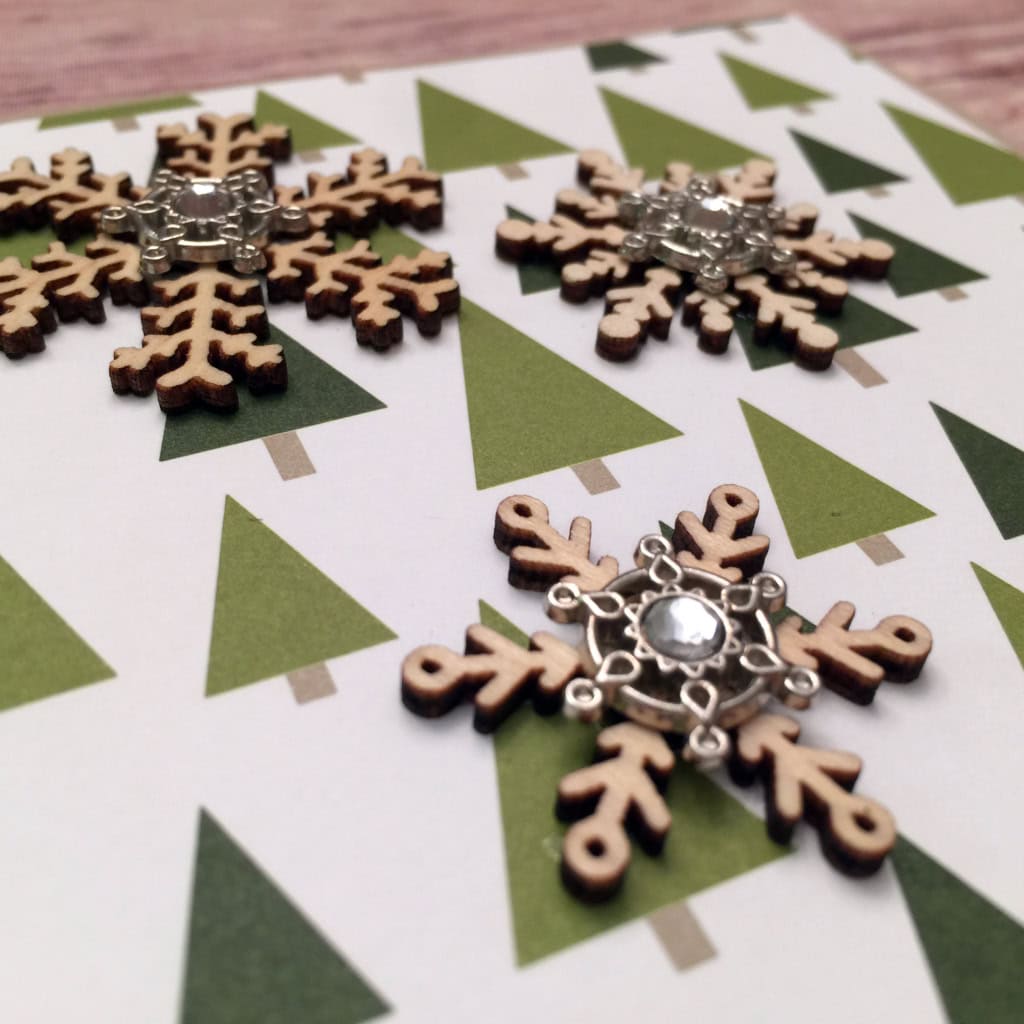
I glued a layer of Merry Moments Designer Series Paper on the Crumb Cake card base, then I glued on three Snowflake Elements and topped them with Snowflake Embellishments using Glue Dots.
I stamped the sentiment from the Happy Scenes stamp set in Craft White Ink on Crumb Cake card stock, then heat embossed it with White Stampin’ Emboss Powder. I cut it into a strip with my Craft Scissors and notched the end with he 1″ Square Punch. I attached it with Stampin’ Dimensionals.
Tip: To protect the embellishments, cut a 4-1/4″ x 5-1/2″ piece of card stock to insert in the envelope over the front of the card.
Here’s what I used:
Thanks for stopping by today, and Sweet Stamping!

Dec 18, 2015 | Christmas, Events, Holiday, Swaps, Tags |
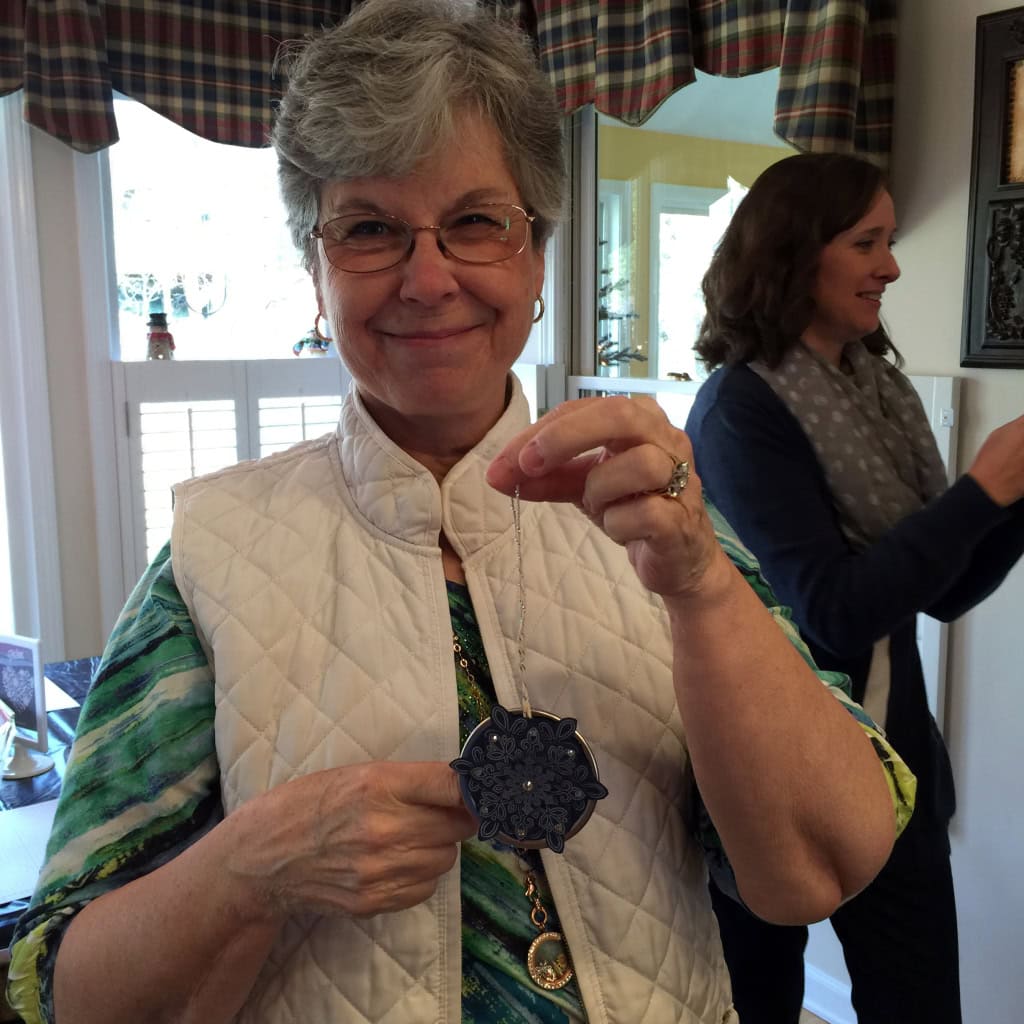
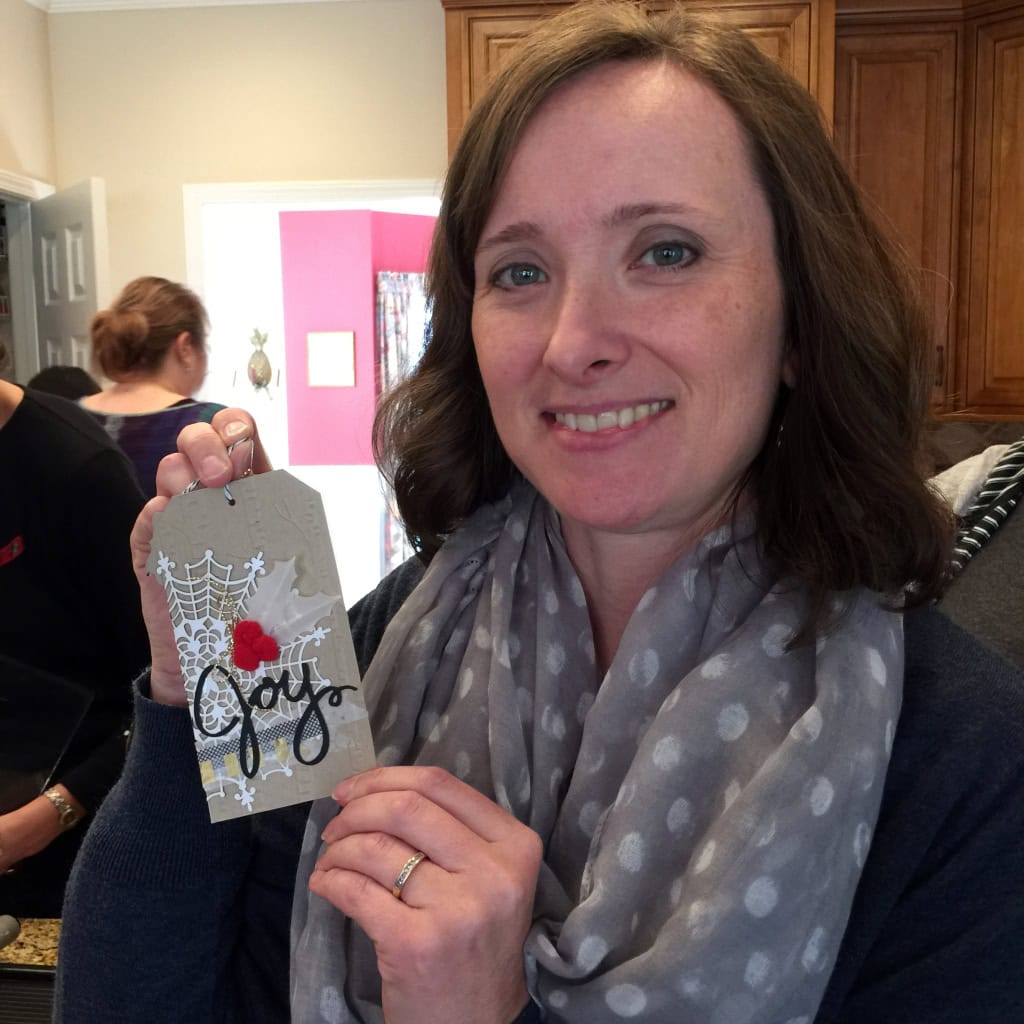
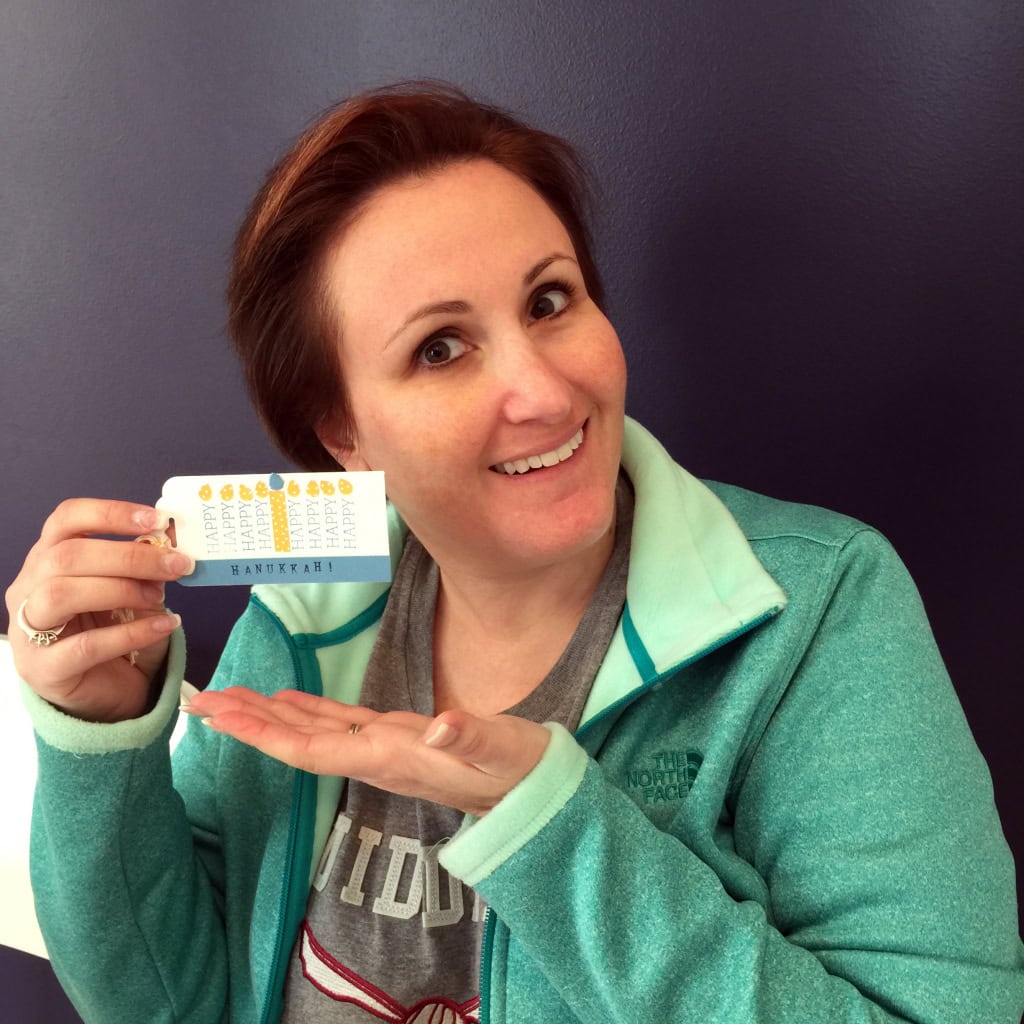
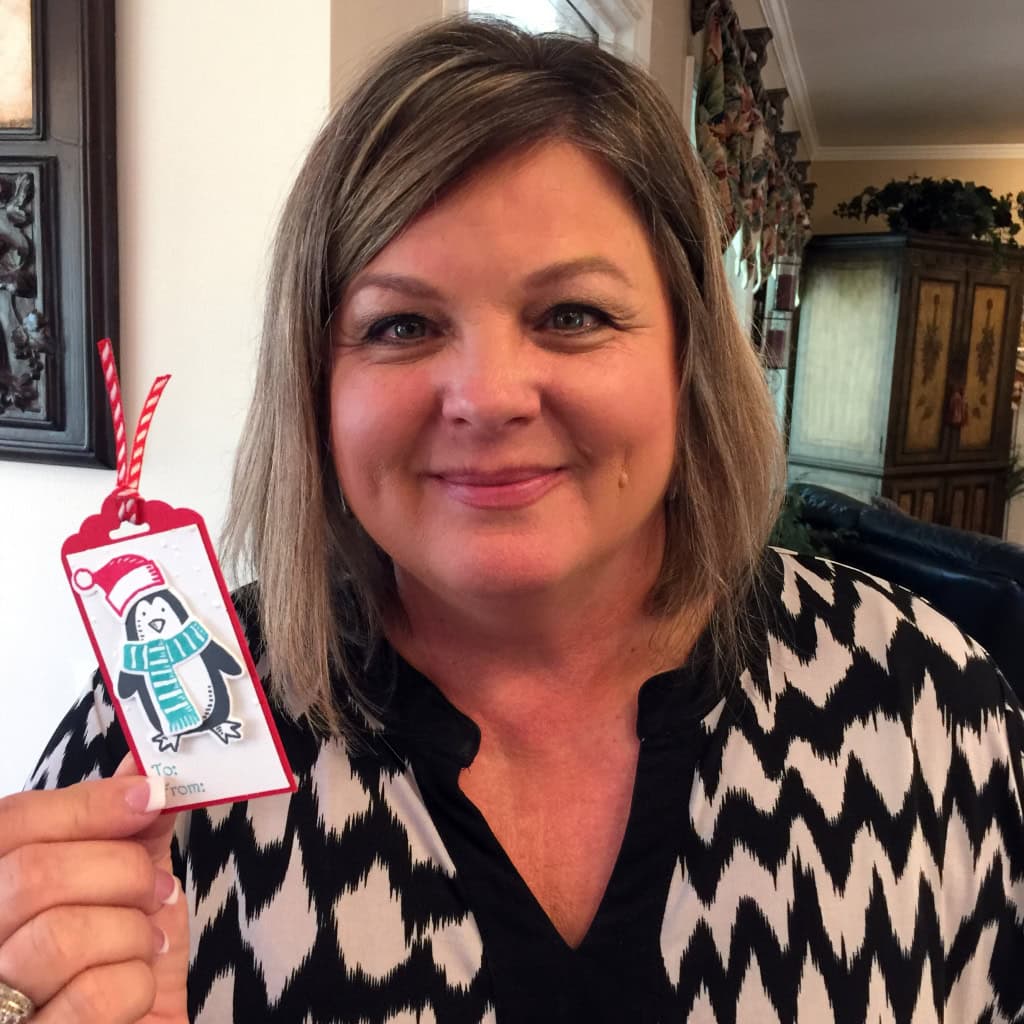
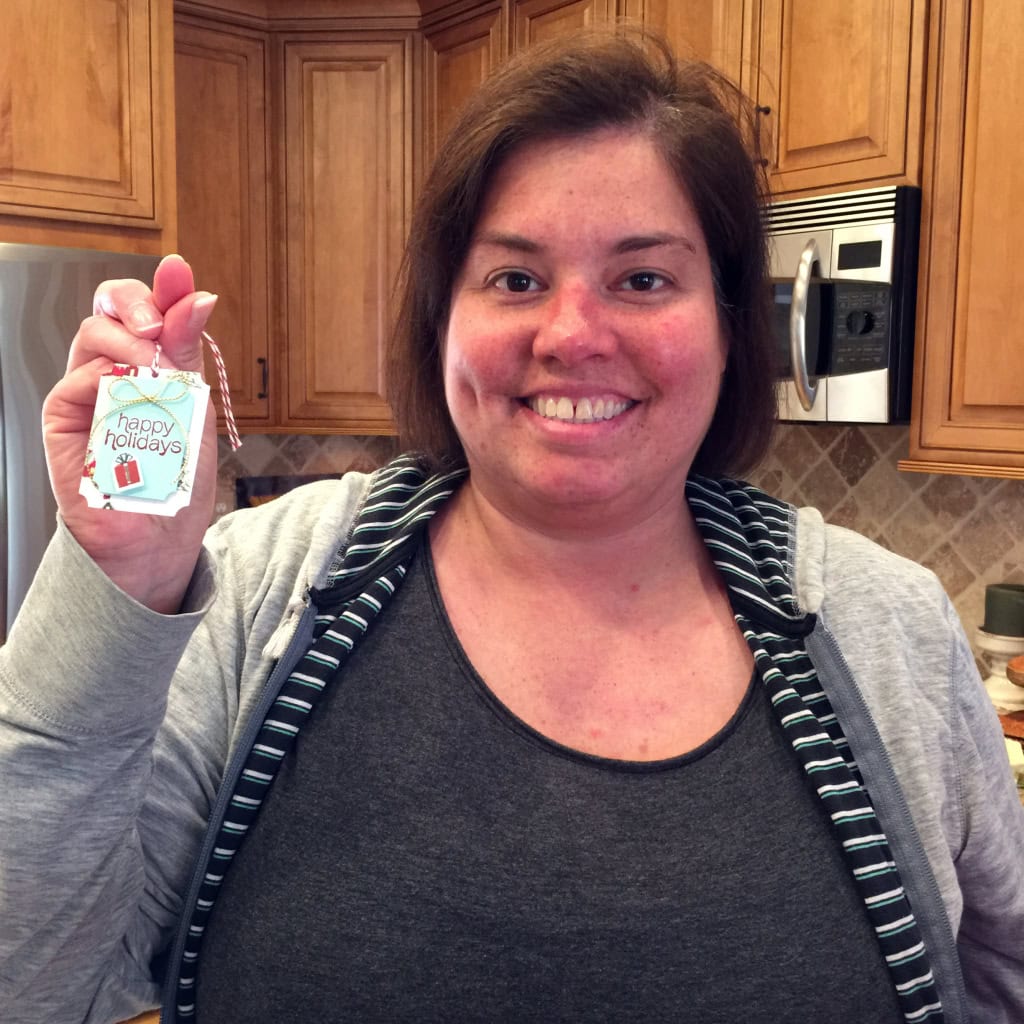
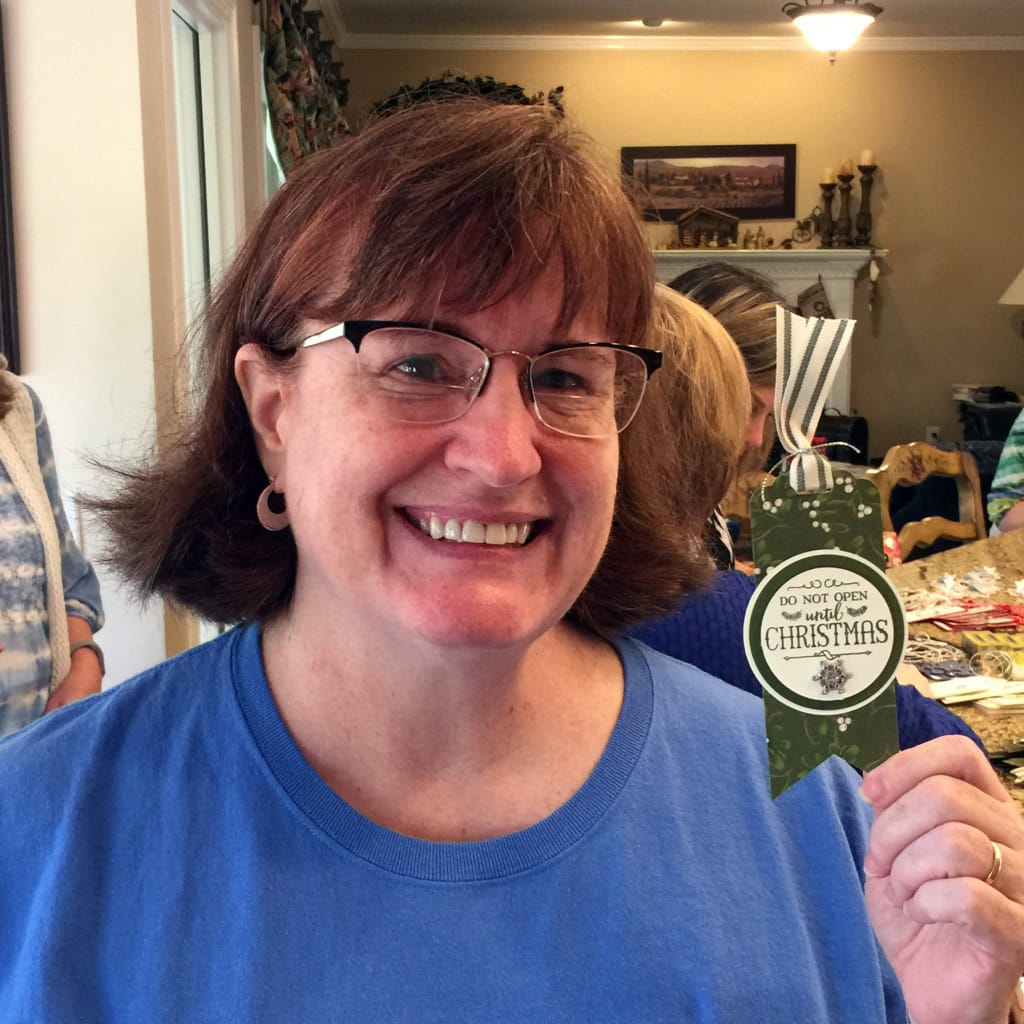
Yesterday I showed you the tags I created for a swap at the December PAWS team meeting. Today I’m sharing the other tags in the swap. I’m sure you’ll agree there are some very talented demonstrators in this group.
our host, Monika Davis
Leishmann
LaRee

Sue
Cindy
Hilary
Lisa
Becky
Candy
Aspen kept an eye on things

Thanks for stopping by today, and Sweet Stamping!
Dec 17, 2015 | Christmas, Events, Gift Wrap, Holiday, Swaps, Tags |
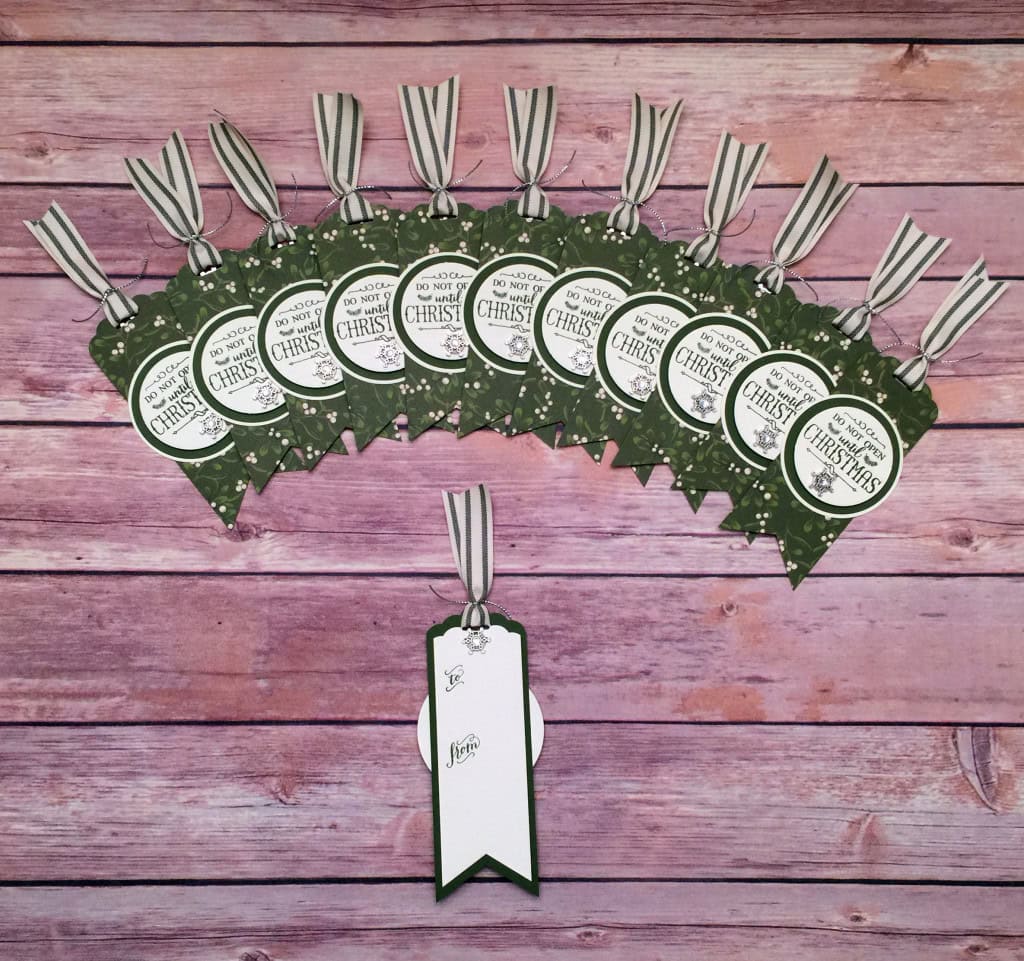
This past Saturday I went to Monika Davis’ team meeting (her team is called the PAWS) where we talked, laughed, did some Make & Takes, and a tag swap.
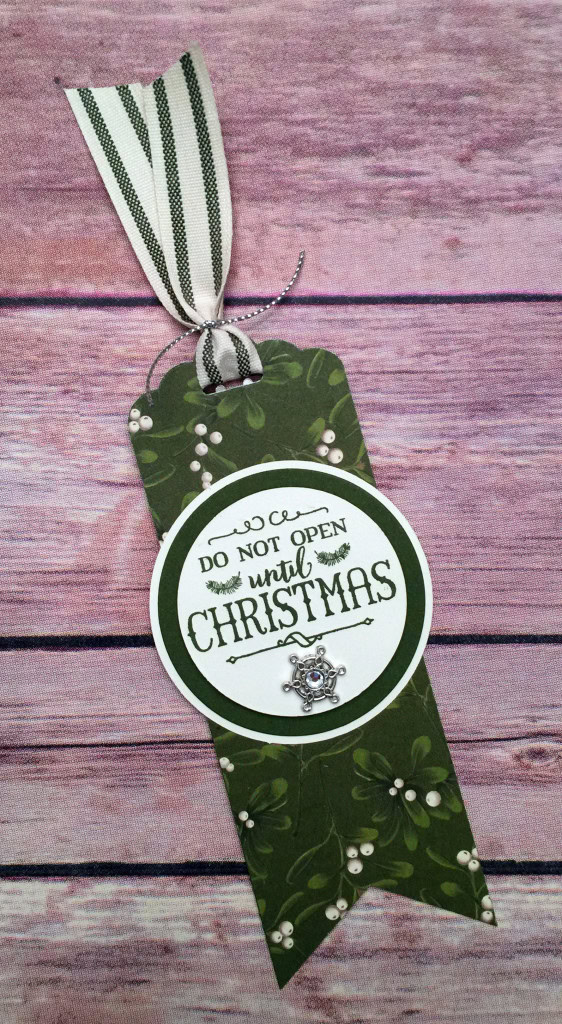
For my swap tag, I cut Home for Christmas Designer Series Paper (I love this mistletoe design) and Mossy Meadow card stock to 2″ x 5″ strips, then glued them back to back. I used the Scalloped Tag Topper Punch on one end and the Banner Triple Punch on the other end.
front of tag
I cut Very Vanilla card stock to 1-3/4″ x 4-1/2″ strips. I punched both ends the same way, stamped To and From in Mossy Meadow, then glued it to the card stock side of the tag base. I used the Scalloped Tag Topper Punch again to re-punch the original hole that just got covered by the Very Vanilla piece. Hold the punch upside down so you can see how to line it up.
back of tag

I stamped the front sentiment in Mossy Meadow on Very Vanilla card stock, then cut it with the 2″ Circle Punch, so that the sentiment is near the top of the circle. I cut another piece of Very Vanilla with the 2-1/2″ Circle Punch, and a piece of Mossy Meadow with the Circles Collection Framelits Dies. I glued together the bottom two circles, and attached the top one with Stampin’ Dimensionals. I attached a Winter Wonderland Embellishment with Glue Dots, then glued the whole thing to the DSP side of the tag base.

I attached another Winter Wonderland Embellishment on the back to cover the hole in the Very Vanilla piece made by the Scalloped Tag Topper Punch.
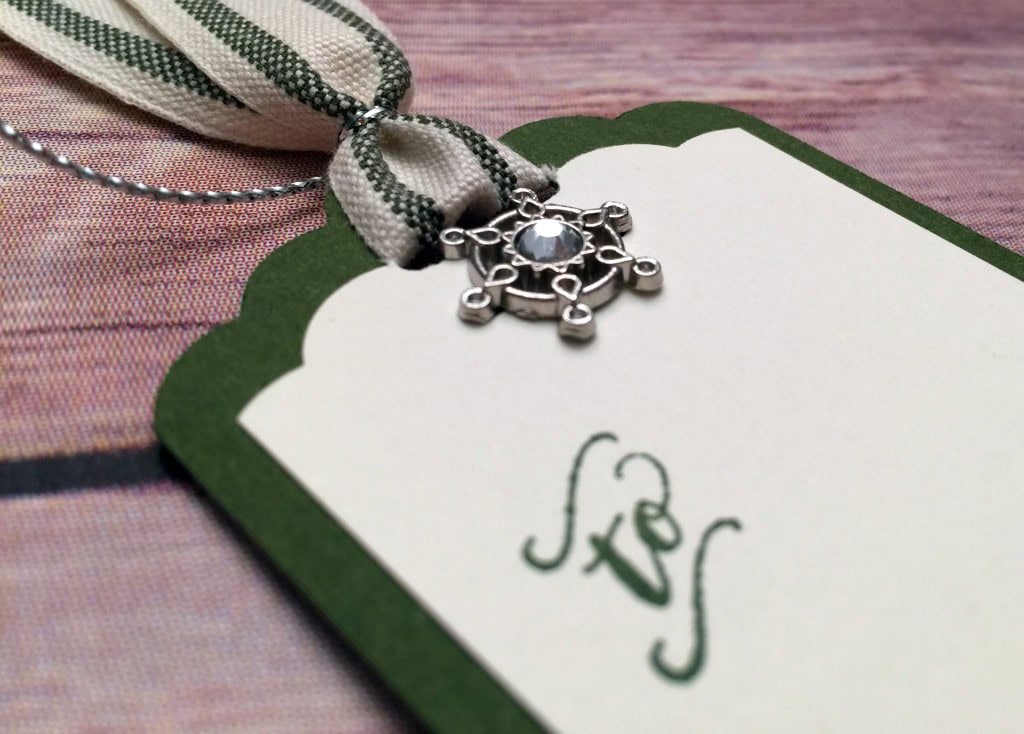
I finished the tag with a piece of Mossy Meadow 5/8″ Striped Cotton Ribbon and a piece of Silver Cording Trim.
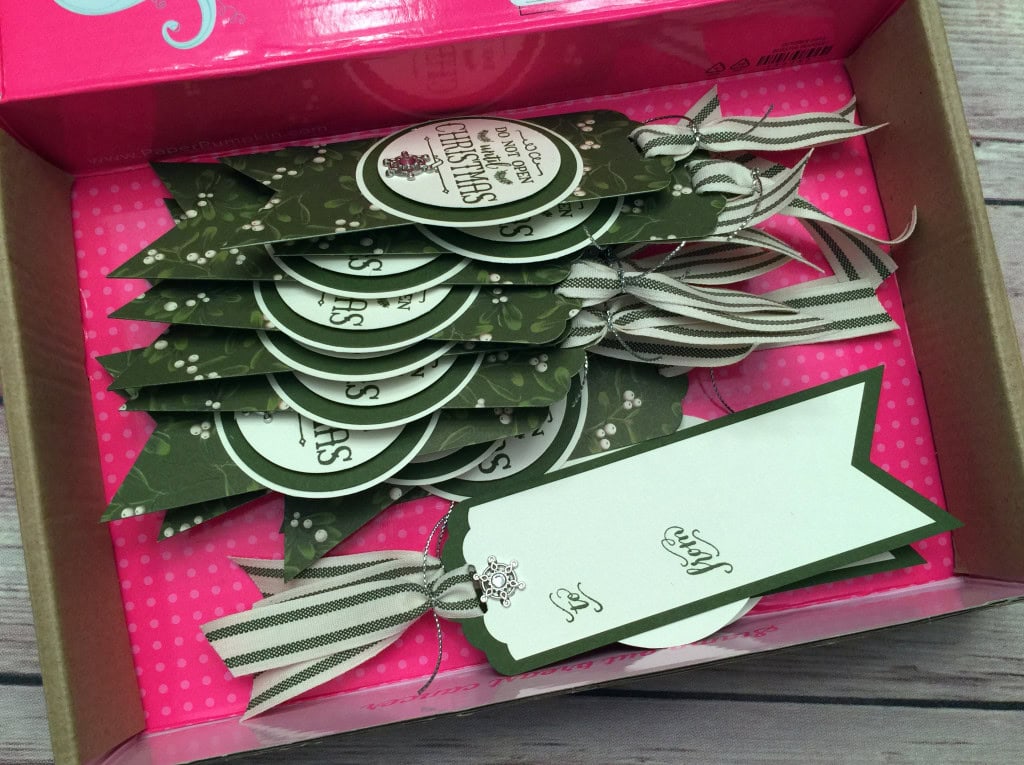
Here are the tags ready to go in their box. Paper Pumpkin boxes are great for so many things, including transporting swaps. See the video here showing how to turn the boxes inside out to create a plain kraft exterior. In this photo you can see I’ve turned one of the pink October 2015 boxes inside out.
Here’s what I used:
Thanks for stopping by today, and Sweet Stamping!
Dec 16, 2015 | Cards, Christmas, Decor, Events, Holiday, Swaps |
A couple days ago I showed you my card for the team meeting swap at Subway. You can see that post here. Today I’m showing you the wonderful projects from the other team members who participated in the swap. Enjoy!
Anne Burr, Christmas card

Brian King, birthday card

Julie DiMatteo, ornament

Karen Browning, Christmas card

Pam Morris, hello card

Robbye Hamilton, thinking of you card

Sharon Walker, ornament

Thanks for stopping by today, and Sweet Stamping!
Dec 14, 2015 | Cards, Christmas, Holiday, Swaps |
Recently Pam Morris, my 3rd upline, had a team meeting at her family’s Subway Restaurant. I participated in the swap, and I received some great cards and even a couple of lovely ornaments. Here is my swap card.

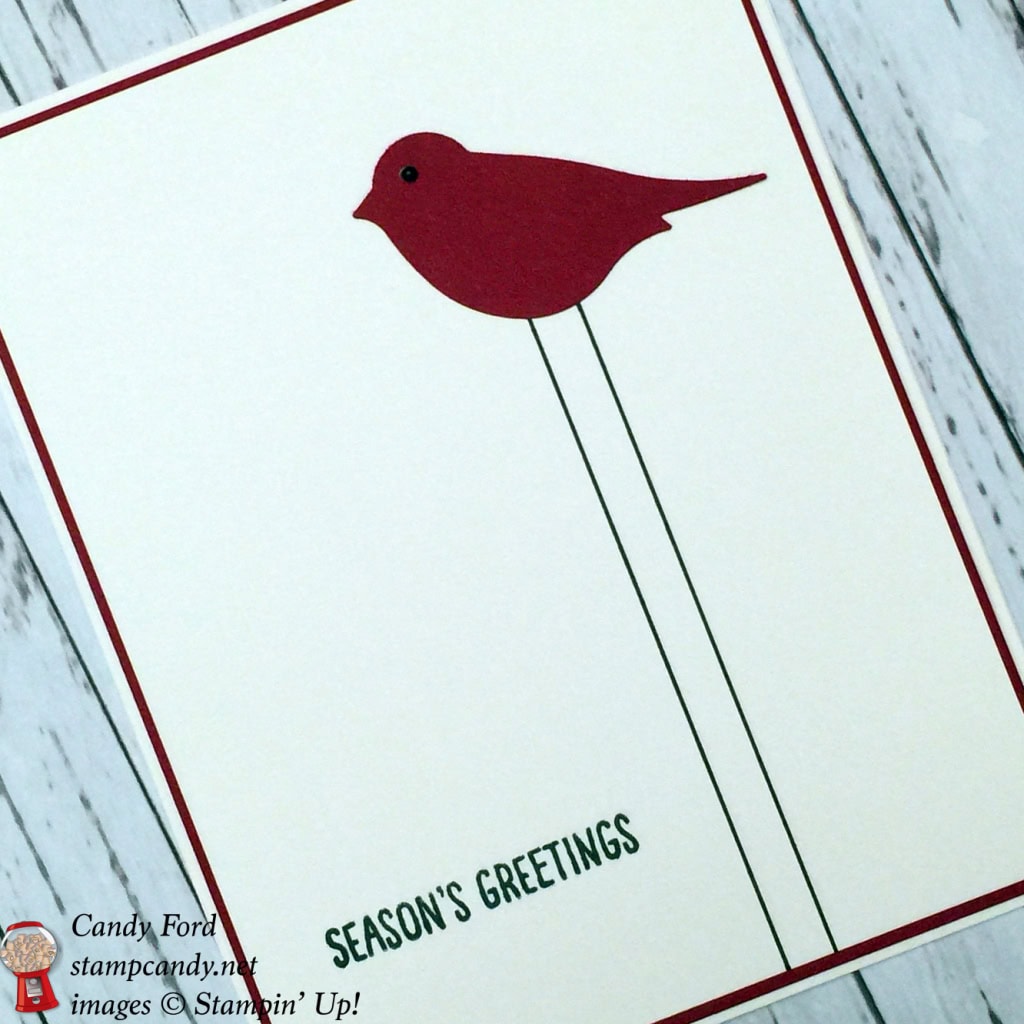
I used to feel a card wasn’t finished until I had covered every bit of it with doodahs, but my designs seem to getting simpler and simpler lately. Now I feel more comfortable using white space as a design element.
Just a little Basic Black and Cherry Cobbler are added to the mostly Whisper White card. This little bird with long legs and the small sentiment are all this card need to create a striking design.
I created the bird’s legs with a ruler and a Basic Black Stampin’ Write Marker. The birds eye is the smallest size of Pearl Basic Jewels that I colored with a black Sharpie marker – color the pearl before you remove it from the sheet.
Here’s what I used:
Thanks for stopping by today, and Sweet Stamping!
Oct 6, 2015 | Cards, Christmas, Holiday, Swaps |
Saturday was World Card Making Day. I attended an all day event here in Atlanta hosted by Brian King and Pam Morris, two of my Stampin’ Up! uplines. There were 100 of us in attendance, and we all had a fantastic time. One of our many activities of the day was a card swap. Today I’m sharing the card I made for that swap.
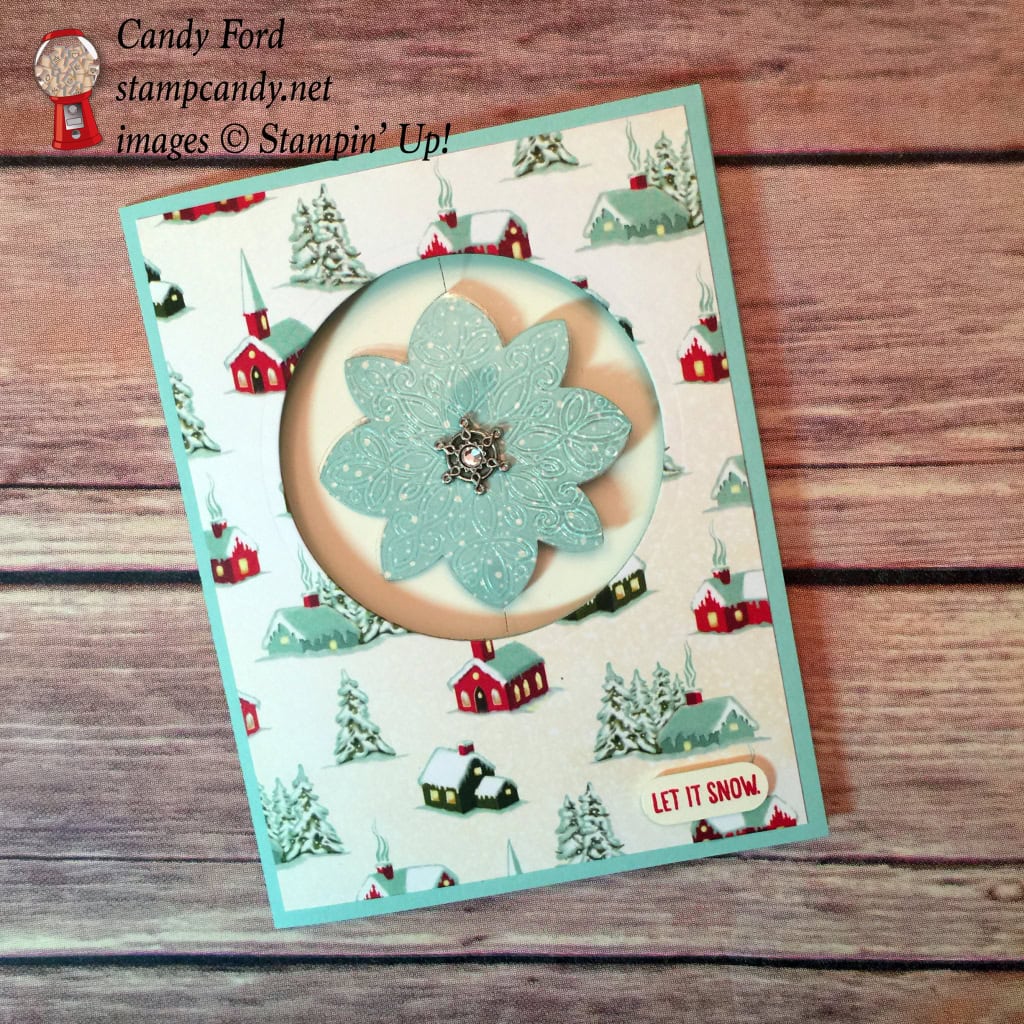
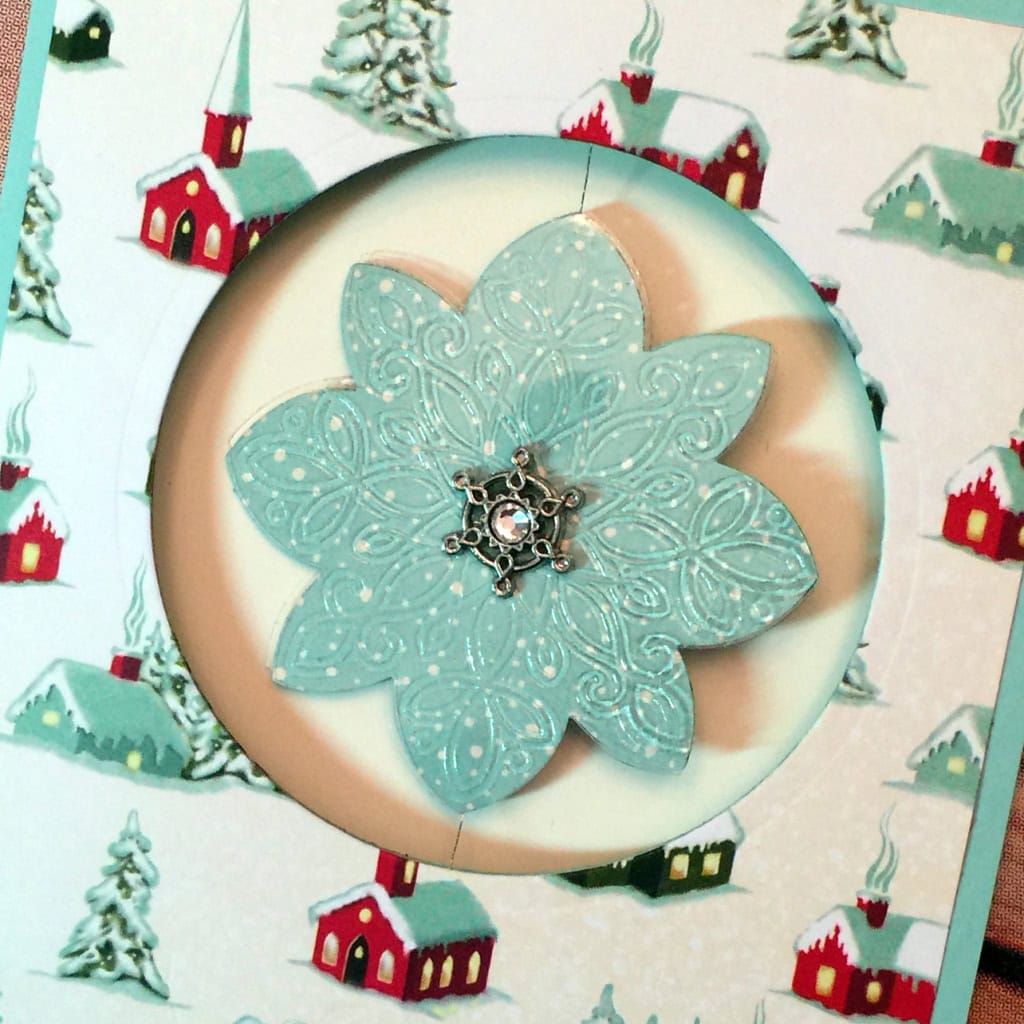
This is a spinner card. The snowflake is suspended from Silver Metallic Thread within a die cut circle. When the card is open, the snowflake can spin freely. The thread is glued between the layers of the snowflake, and attached to the card between the card front and the DSP.
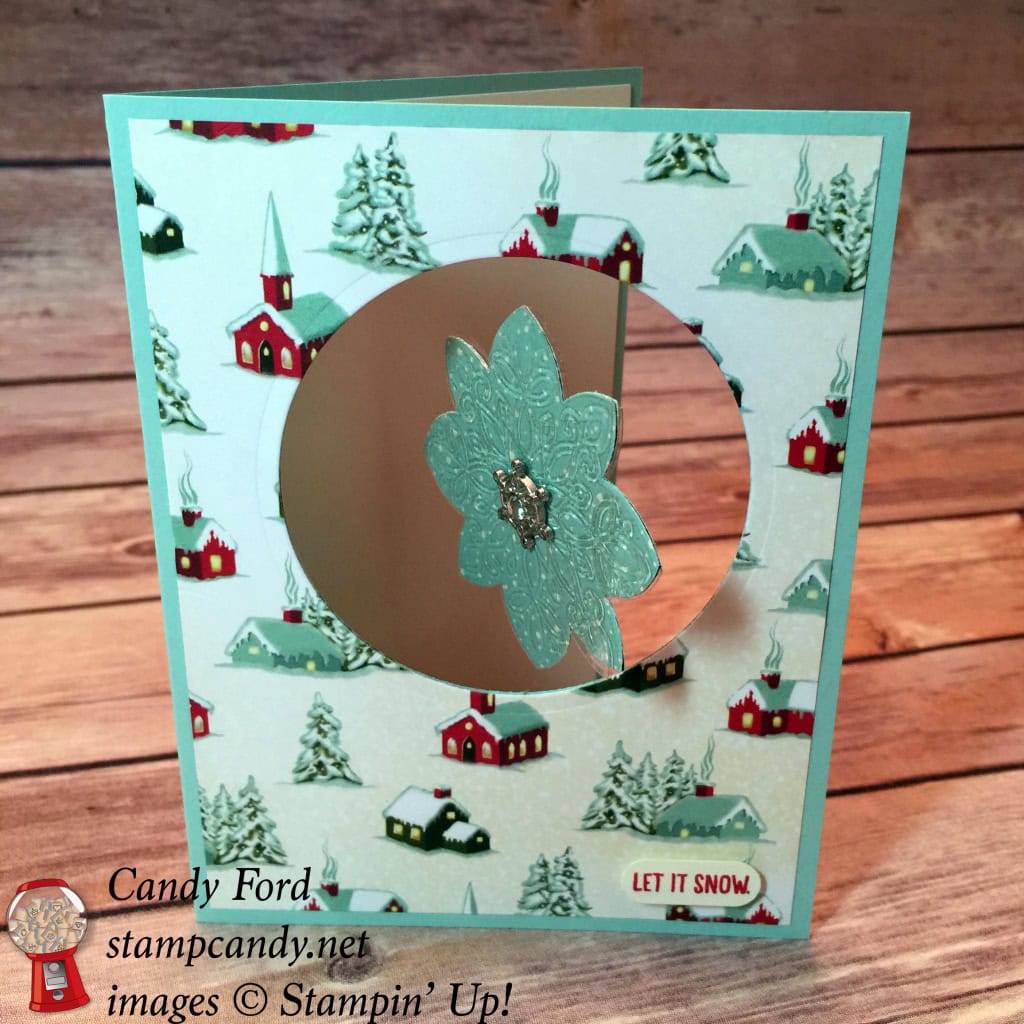
Isn’t this snowy scene from the Home For Christmas DSP peaceful? It provides a perfect background for the snowflake. I chose Pool Party, one of the colors in the DSP, for the card base – it adds to the overall calm and soothing effect.
I used the Circles Collection Framelits Dies to cut the round hole in the card front. It’s important to cut the two pieces together so they line up perfectly, but do not glue them together before cutting. You still have to adhere the thread between the two layers. I used Tear & Tape on some and Fast Fuze on others. They both work well.
Very Vanilla card stock glued to the interior of the card makes the snowflake really stand out.
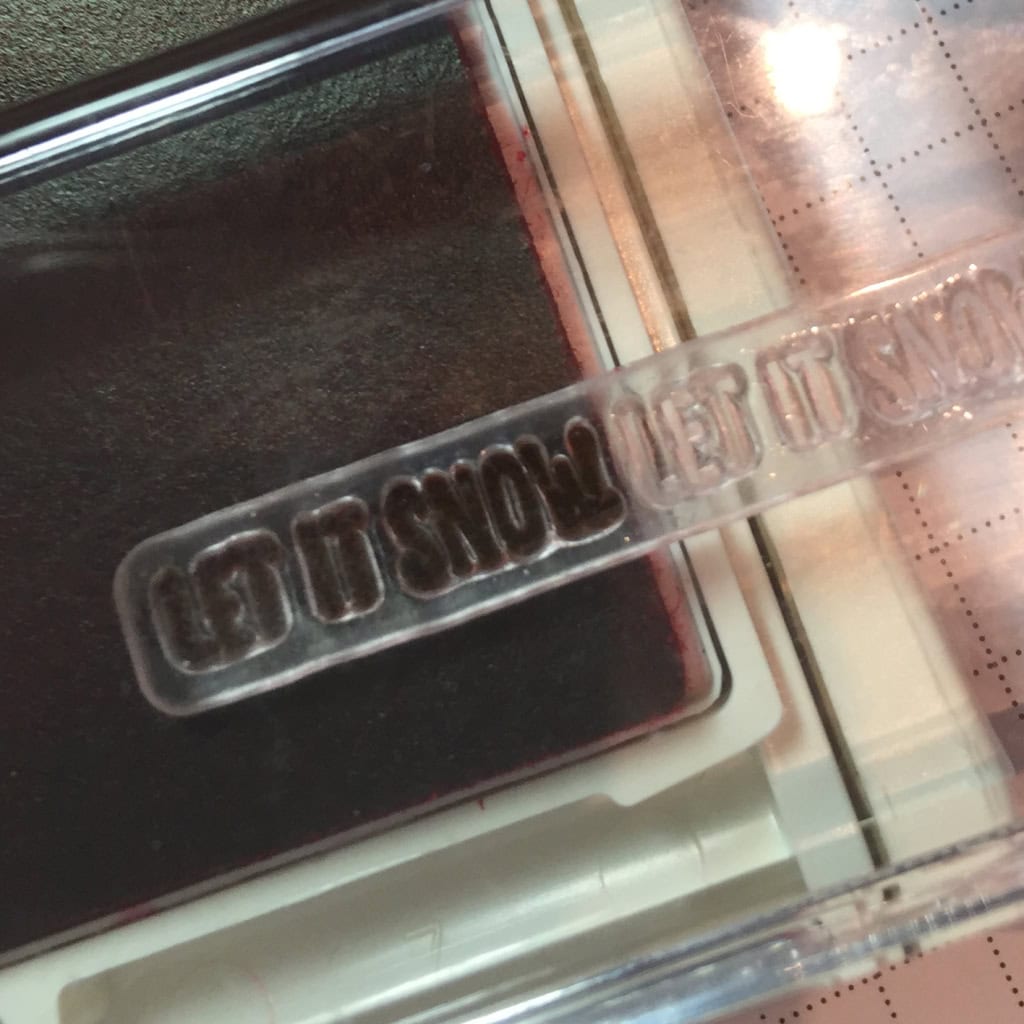
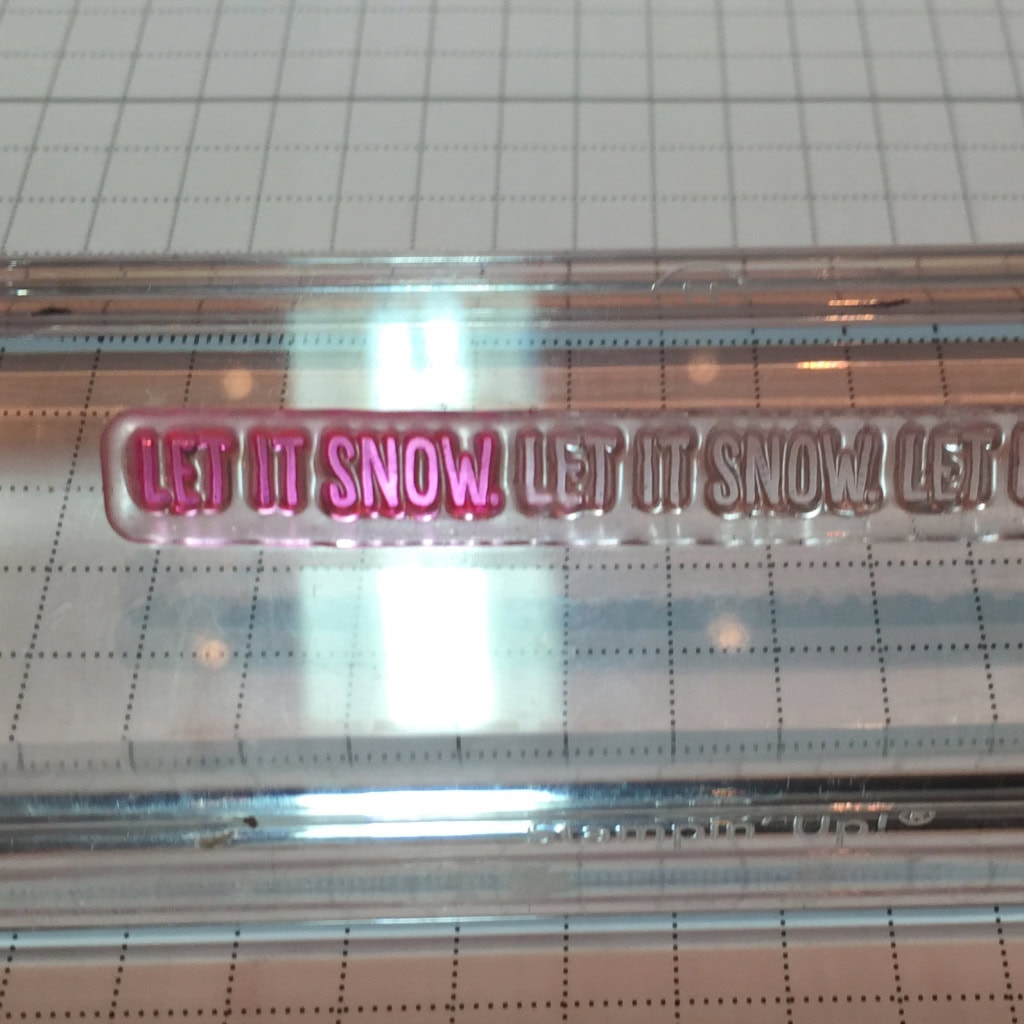
The teeny tiny Real Red sentiment in the corner is from the Happy Scenes stamp set. The stamp says “Let it snow. Let it snow. Let it snow.” but I only wanted one “Let it snow.” Some stamps would need to be masked, but this one was very easy to ink up at just one end.
I cut the sentiment with the Word Window Punch.
I cut the snowflakes from Home For Christmas DSP with the Flower Medallion Punch, and glued two together with a length of thread between them, leaving 2-3 inches hanging out of each side.
I used the Flurry of Wishes stamp set to stamp the snowflake in Versamark in on clear Window Sheets, then heat embossed them with Clear Stampin’ Emboss Powder. I cut these out with the same punch, and adhered one to each side of the DSP snowflakes with a glue dot in the center. The glue dots were covered up with the Winter Wonderland Embellishments.
TIP: Be very careful not to get the Window Sheet too hot or it will warp, or even melt.
Today I’m sharing my original design for the card. I found the snowflakes were a bit heavy and made the thread sag, so I omitted the Window Sheet pieces from all of my actual swap cards.
Here’s what I used:
I LOVE hearing from you! Please leave your questions and comments below!
Thanks for stopping by today, and Sweet Stamping!
While I will try to post as much as I can, you might not see quite as much of me in the next week or so. Halloween is very big in our household, and we are getting ready for our annual party on the 17th. The whole house is in the throes of party prep, i.e. it’s a huge mess! There are boxes everywhere – the Halloween decor comes out and the regular decor goes into storage. I’ve even had to move some things out of my studio, so they will be harder to get to for a while.


