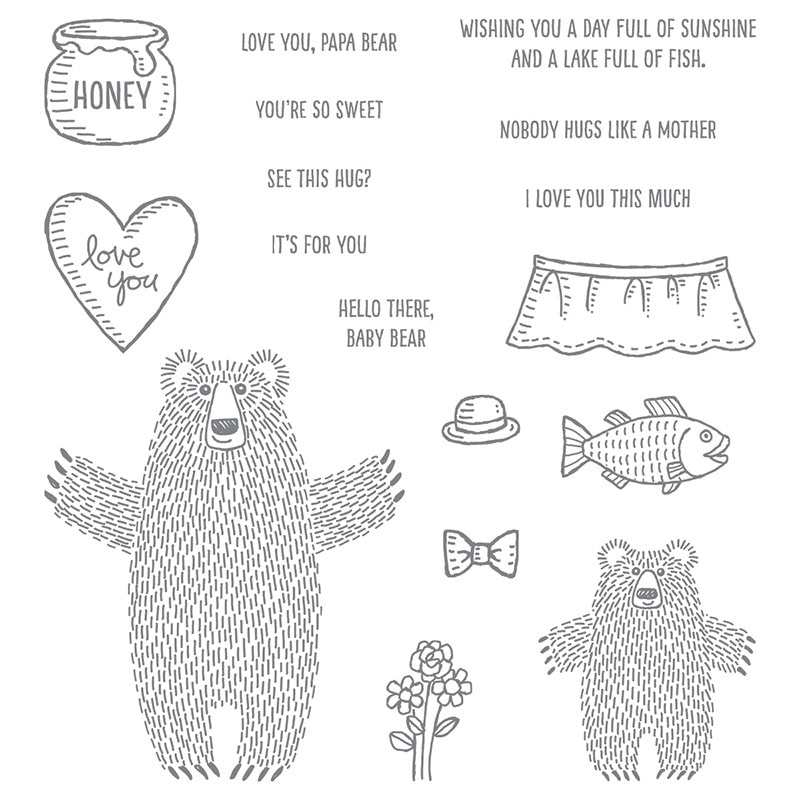
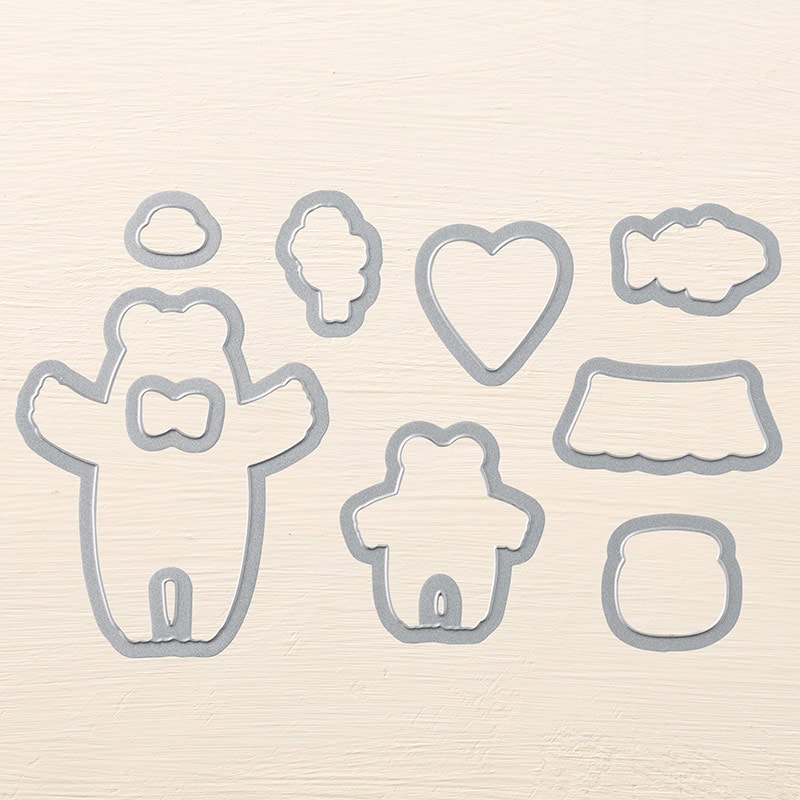
Today I’m sharing another of the projects we made in this month’s Bundle Class, which featured the Bear Hugs stamp set and Framelits. You can see the first one here.
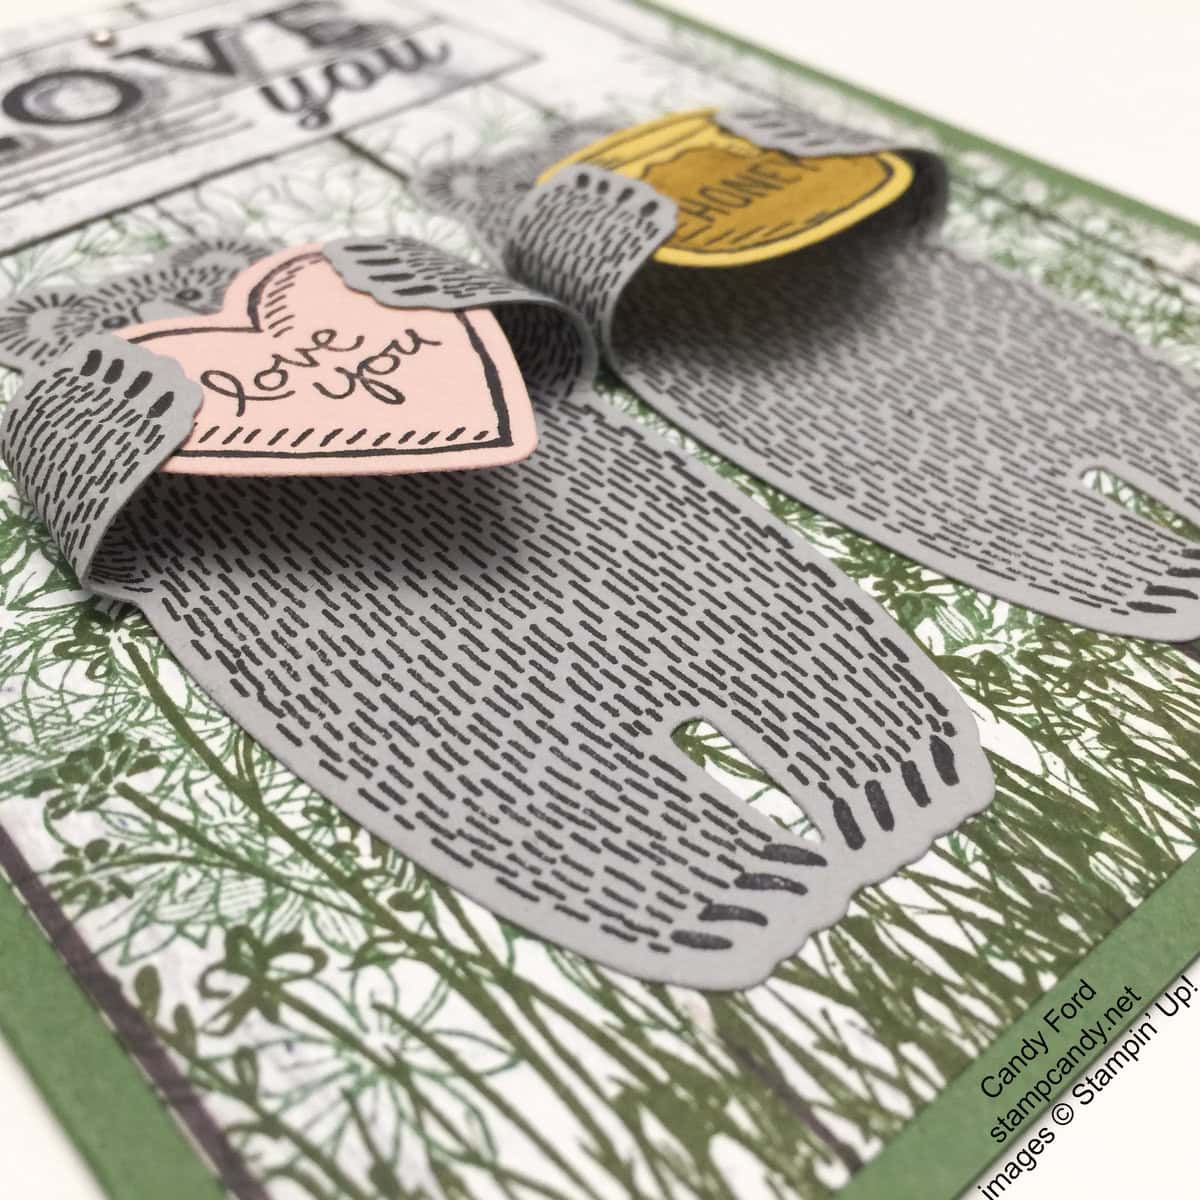
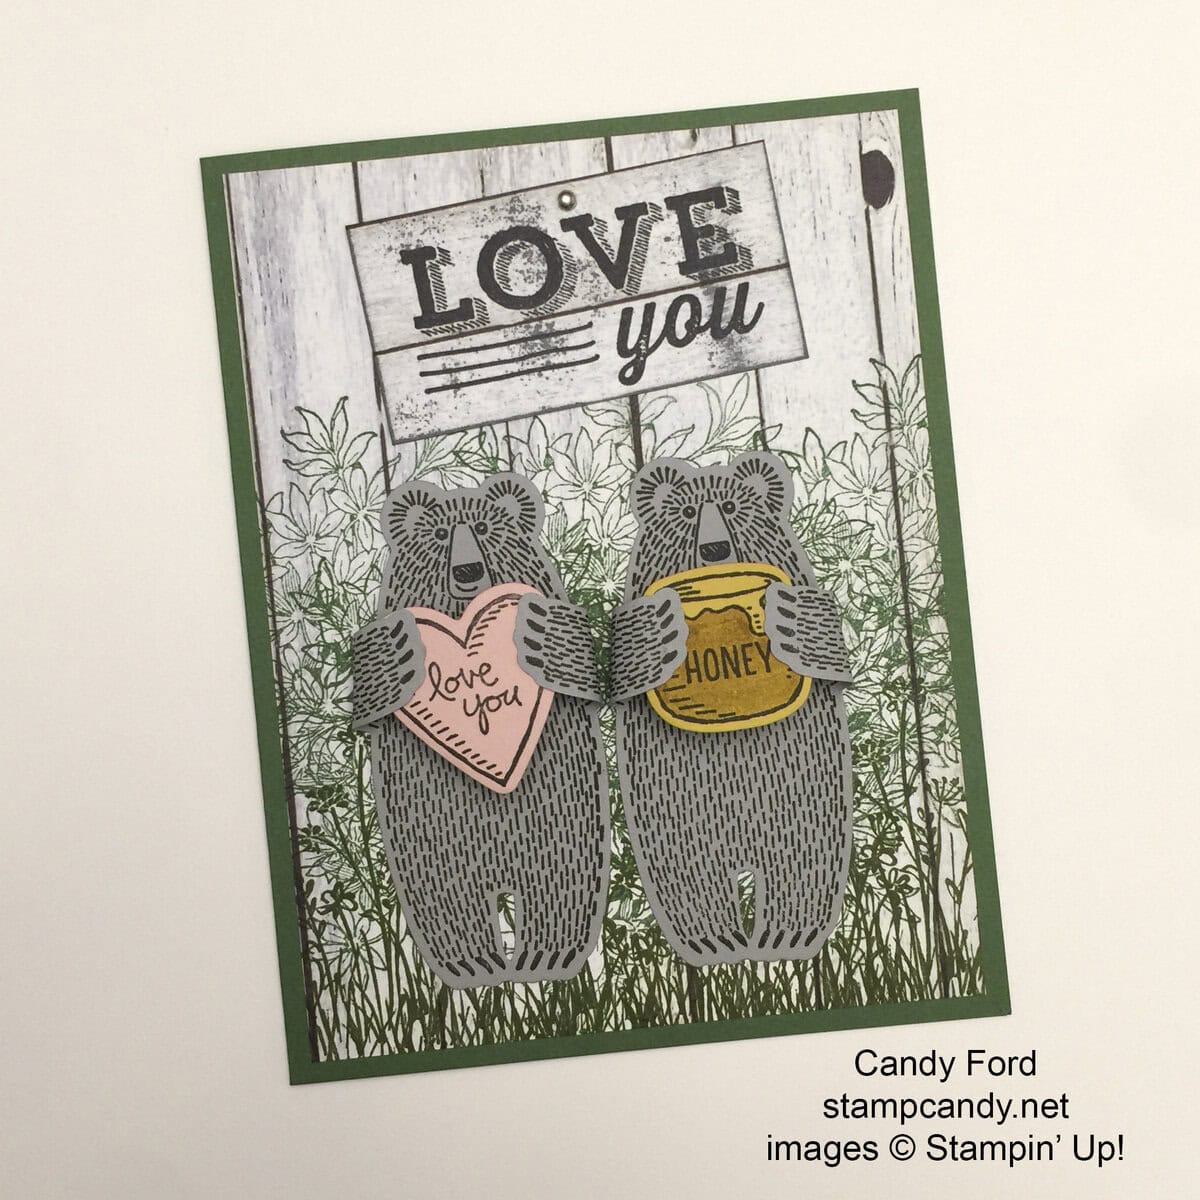
Do you see my mistake on this card? The sentiment on the items the bears are holding is, “Love you, Honey.” I wanted to the sign on the wall behind them to complement that sentiment. But when I was looking at my stamp sets, I became more concerned with the size of image. I chose the “Love you” stamp from the Friendly Wishes stamp set. It wasn’t until the card was completed that I realized I had doubled the “Love you” sentiment. So now the card says, “Love you love you, Honey,” which I suppose is okay, but not what I had in mind. In class, we used the “Happy Anniversary” stamp from the Timeless Love stamp set which worked much better. The sign could also say Happy Birthday, Congratulations, or anything else you might want to say to your honey bear.
The card base is Garden Green card stock.
For the card front, we used a piece of Farmer’s Market Designer Series Paper. We stamped directly onto the DSP. In Mossy Meadow ink, we stamped foliage and grass from the In the Meadow stamp set. In Garden Green ink, we stamped the largest image from the Awesomely Artistic stamp sets. Then we glued the card front to the card base.
We stamped the bears in Basic Black Archival ink onto Smoky Slate card stock, then cut them with the coordinating die. We then used a Stamp-a-ma-jig to stamp again on the back side of the bears. We used a bone folder to curl the arms.
We used the same black ink to stamp the heart onto Blushing Bride card stock and the honey jar onto Crushed Curry card stock, then cut them with the coordinating dies. We colored in the jar with a Delightful Dijon Stampin’ Write Marker.
We used a tiny dot of glue to attach each of the bears’ paws to the item they are holding. Then we glued the bears onto the card front.
If you intend to mail this card, you should put some Stampin’ Dimensionals under the heart and jar, unless you don’t mind if they get smashed flat. If you are hand delivering it, you should be fine without them.
We stamped the larger sentiment onto a piece of the same DSP, then cut it down to size. We inked the edges of the sign, still using the same black ink. We also dirtied up the front by gently laying it face down on the ink pad and just barely pressing down in a few spots. We used a Paper Piercing Tool to poke a hole in the sign and inserted a 1/8″ Mini Brad, so it would look like the sign is hung on the wall with a nail. We then glued the sign to the card front, a little askew.
Here’s a video from Stampin’ Up! featuring the Bear Hugs Bundle, including how to stamp on both sides of the bear using the Stamp-a-ma-jig:
There are only 6 days left to shop from the 2015-2016 Annual Catalog’s Retiring List! Click here to shop what is still available.
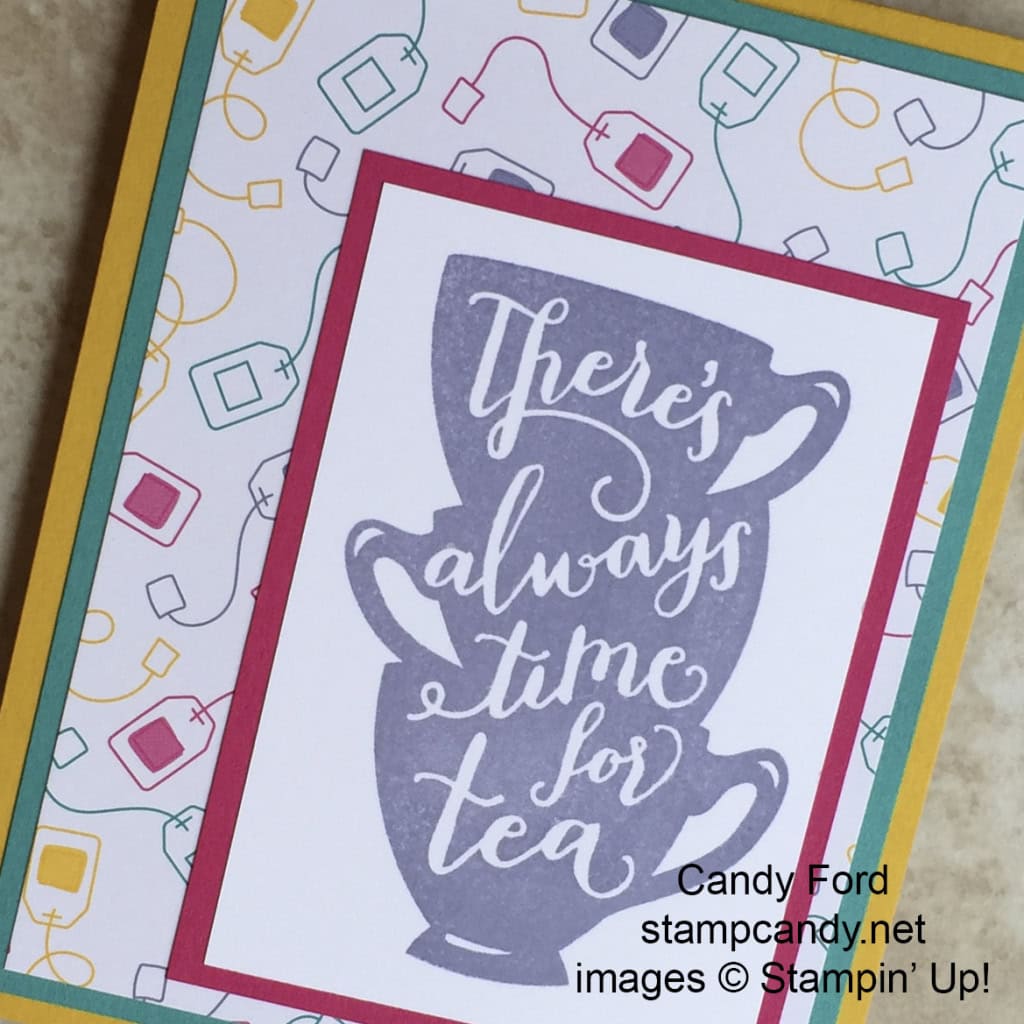
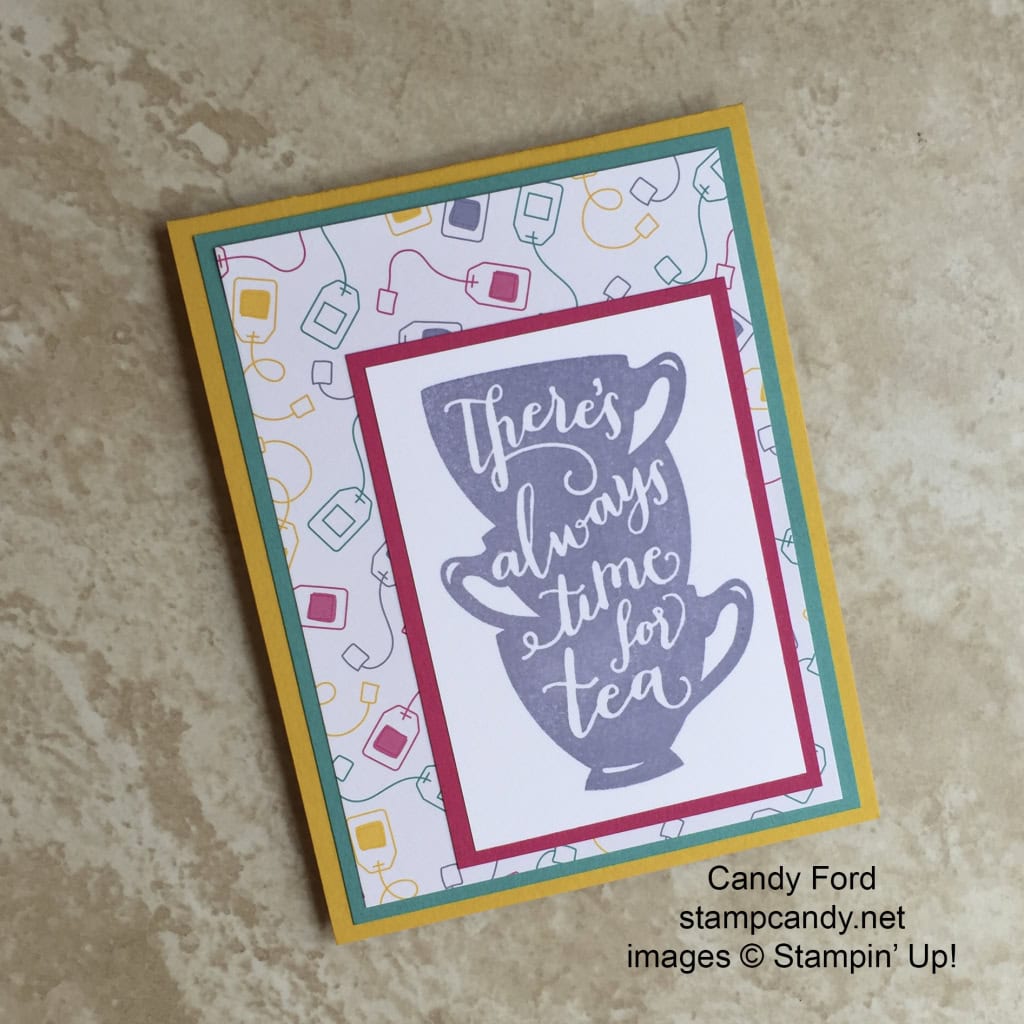
Today I’m sharing yet another project from my A Nice Cuppa Bundle Class. This card has a little surprise inside. I CASEd this card from Maria Fennelly of Maria’s Creative Place.
The card base is Crushed Curry card stock, with a Bermuda Bay layer, and a piece of Have a Cuppa Designers Series Paper on top of that.
The top panel is Whisper White card stock with the image stamped in Wisteria Wonder, then matted on Melon Mambo card stock.
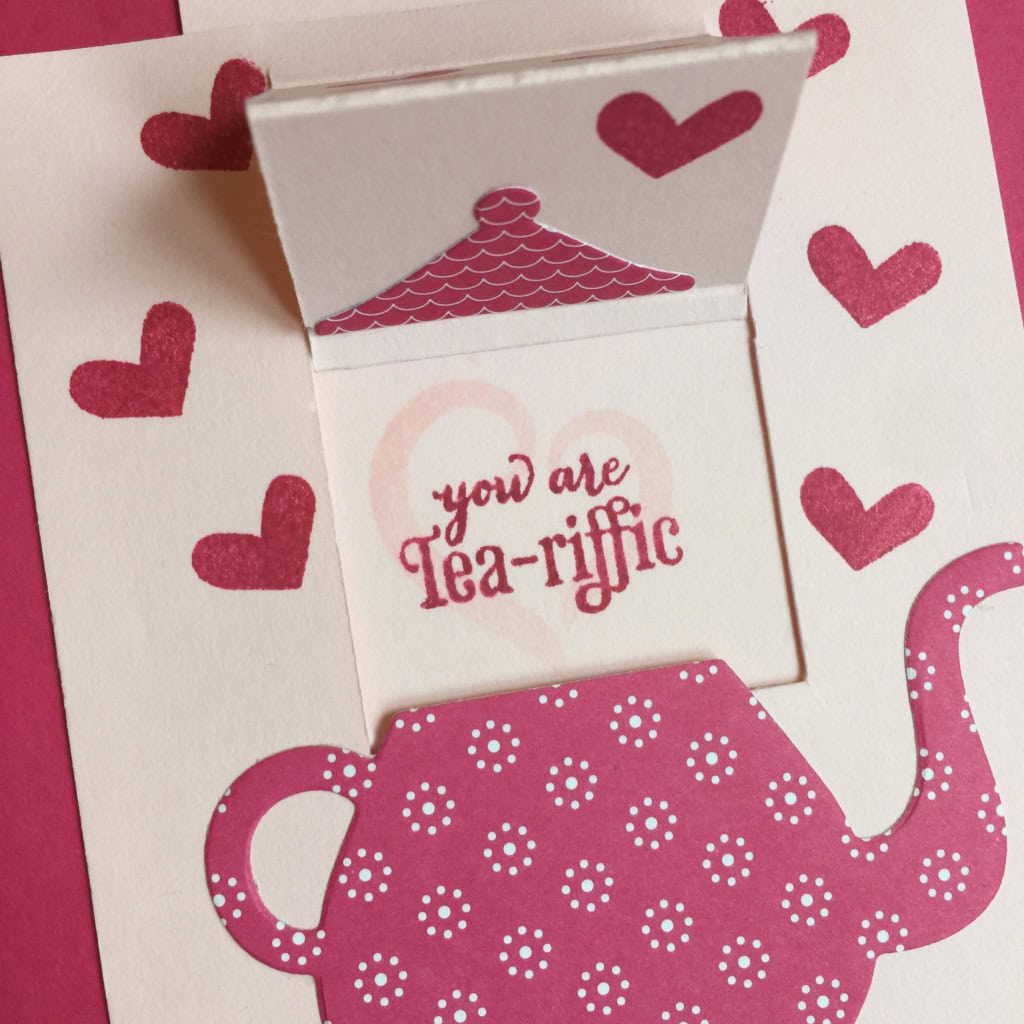
Here’s the surprise: a pop up tea cup on a saucer and doily.
Fold a Tea Lace Paper Doily in half and adhere it to the inside of the card base, lining up the doily’s fold with the score line of the card.
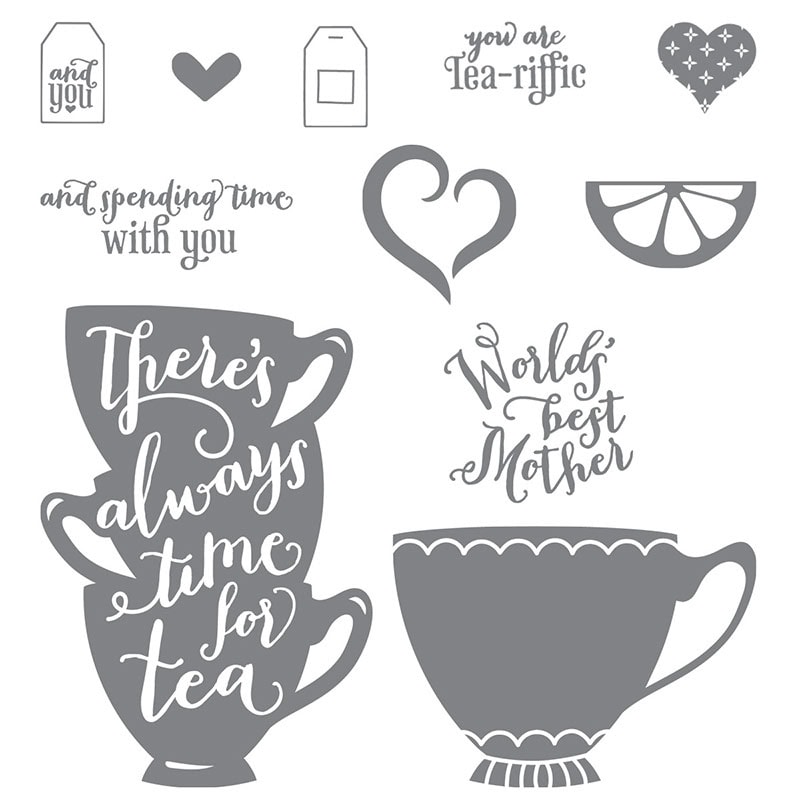
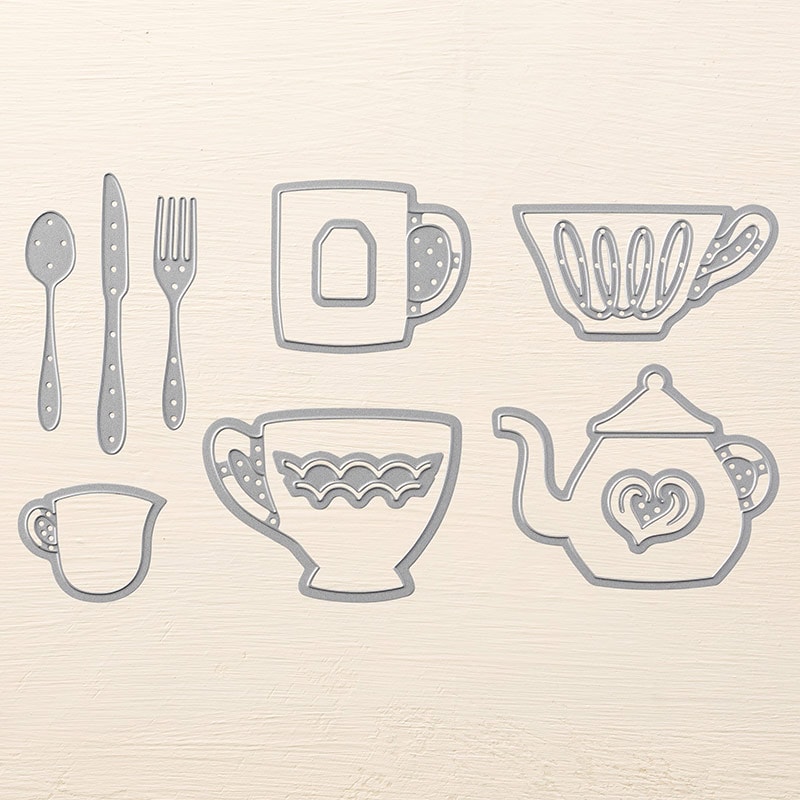
Using the Cups & Kettle Framelits, cut two cups (one from Bermuda Bay card stock and one from the DSP) and one heart from Whisper White card stock. Put adhesive along the top edge of one of the cups. Stick the bottom tip of the heart onto it, then stick on the other cup, lining the two cups up with each other. You now have two cups stuck together along the top with the heart shaped steam coming out, but not stuck together at the bottom.
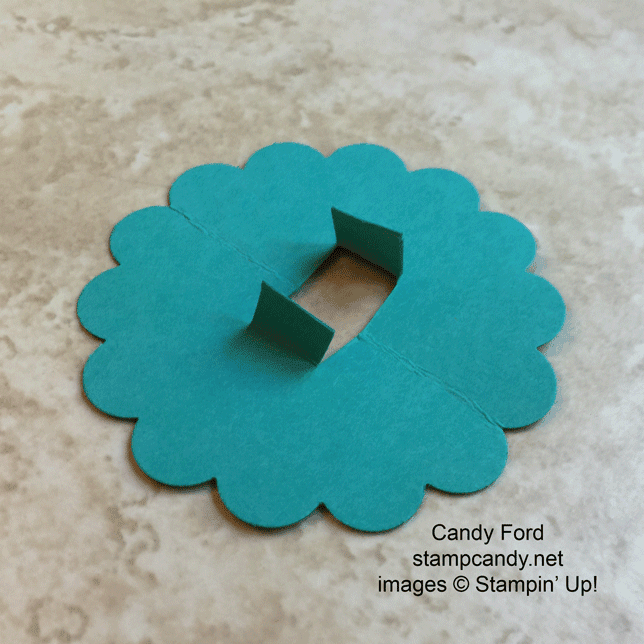
For the saucer, cut a piece of Bermuda Bay card stock with the 2-3/8″Scalloped Circle Punch. Fold it in half. Using Paper Snips, cut two slits into the piece, perpendicular to the fold. Then cut a slit along the fold between the two cuts. Fold up the two little flaps.
Adhere one flap to the inside of each of the cups. This will make the cup stand up. Now fold the saucer in half and adhere it onto the doily. The whole thing will now fold flat inside the card, and the cup will stand up when the card is open.
The rest of the sentiment is stamped directly onto the card base interior in Melon Mambo ink.
I recently held a Bundle Class using A Nice Cuppa stamp set + Cups & Kettle Framelits Dies bundle.
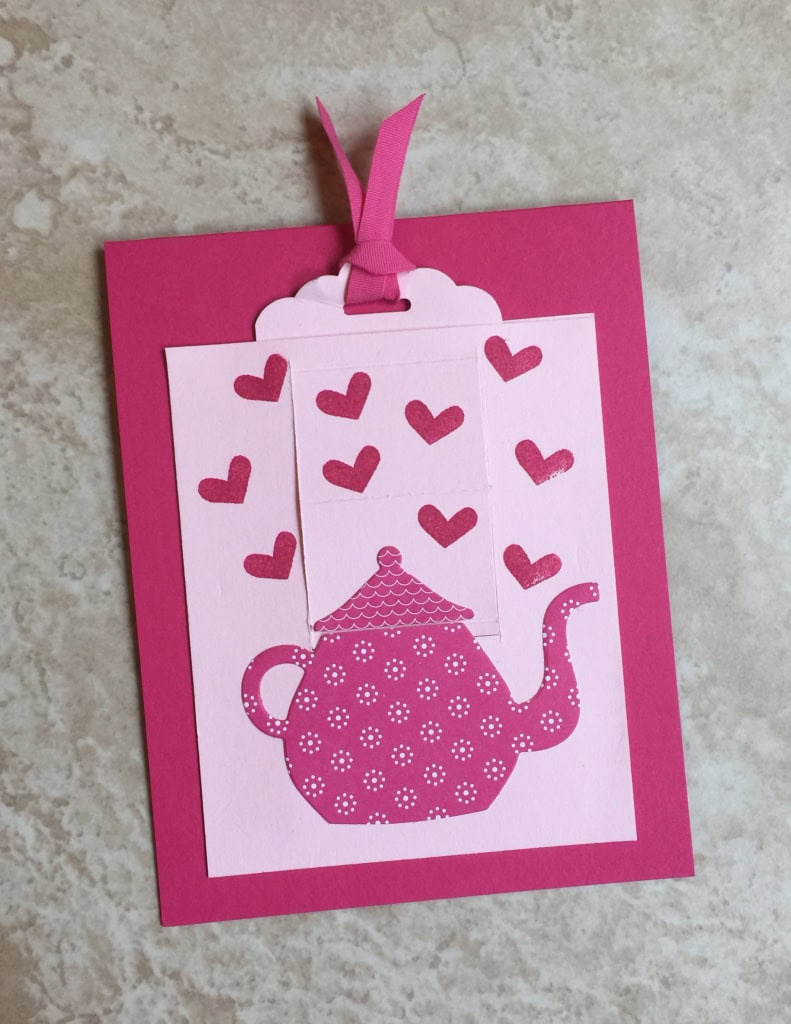
Today I’m sharing one of the projects from that class: a slider card. When you pull the slider up, the lid lifts off the teapot to reveal the sentiment. This example is in Pink Pirouette and Melon Mambo. I CASEd this card from Catherine Carroll at Ideas Inkorporated.
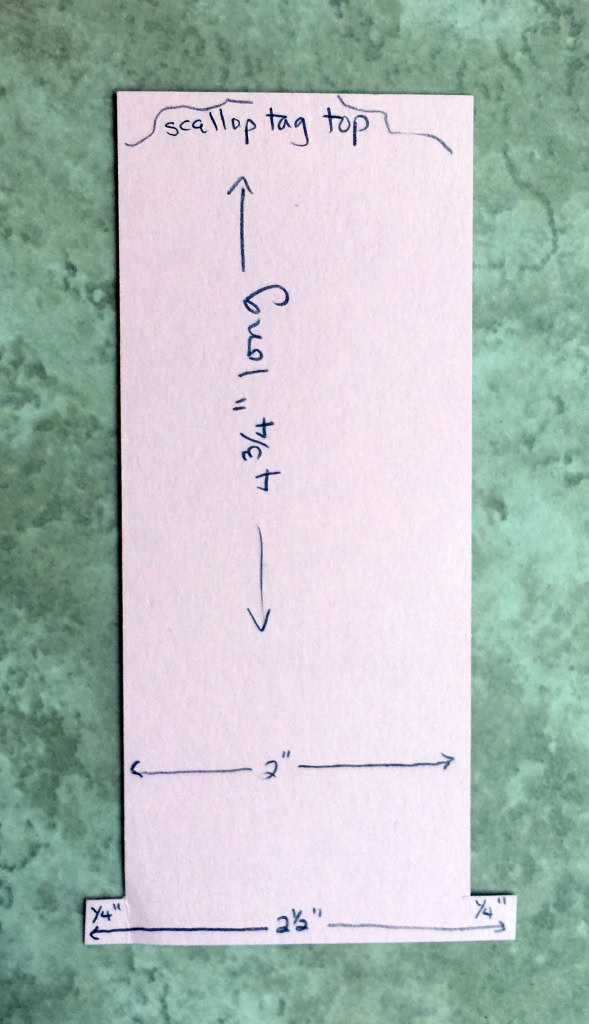
For the slider, cut 1 piece of card stock 4.75 x 2.5. Cut ¼” in from sides, from the top down to ¼” from the bottom. Punch the top with the Scalloped Tag Topper Punch.
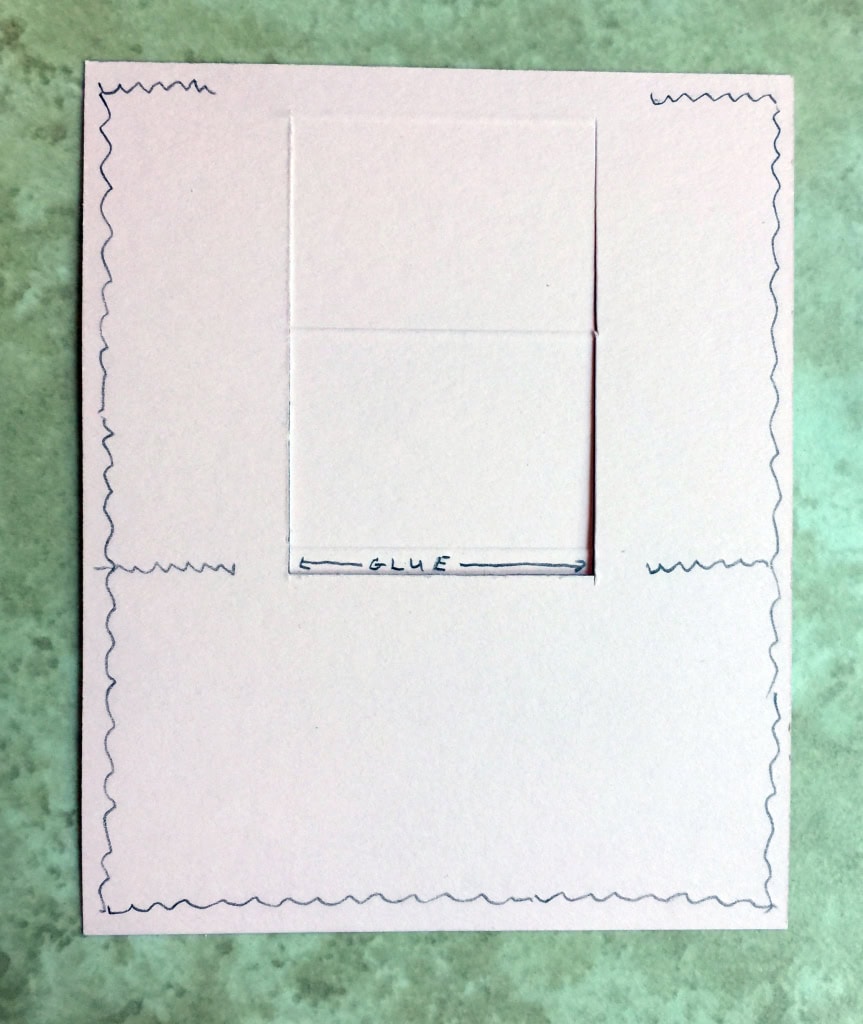
Cut 2 pieces of card stock 3.5 x 4.25 each. Cut one piece from 1/4″ to down to 2-1/2″(1” from each side.) Then cut across this area 2-1/2” down. This creates a flap.
Score across the flap at 1/4”, 1-5/16”, and 2-3/8” from the top. The Stampin’ Trimmer makes all this very easy, since you can trim and score without having to change blades.
Put adhesive along both sides and the bottom. Put glue on the tiny bottom piece of the scored center flap and glue slider in place. Put adhesive on sides beside the bottom of the flap, and along the top as far in as the slider. This is to keep the slider moving up and down, and not side to side, and to keep it from pulling out to far.
Adhere the other (solid) large piece to the back. Be sure you can move the slider up and down.
Stamp on slider bottom area. Here I’ve stamped the heart in the lighter color and the sentiment in the darker color.
Cut the teapot and lid from Have a Cuppa Designer Series Paper Stack with the Cups & Kettle Framelits Dies. Glue the teapot onto the card and the lid onto the slider, meeting at the bottom score line on the slider. Be careful not to put glue under the very top of the teapot, so it won’t stick to the slider.
Stamp hearts on the card front in Melon Mambo. Tie the ribbon through the tag top. Adhere the whole thing to the front of a Melon Mambo card base. You have the inside of the card base to write a note.
Email me for a free .pdf of these instructions: candy@stampcandy.net.
Here’s what I used:
Please don’t hesitate to ask questions! I love hearing from you!!!
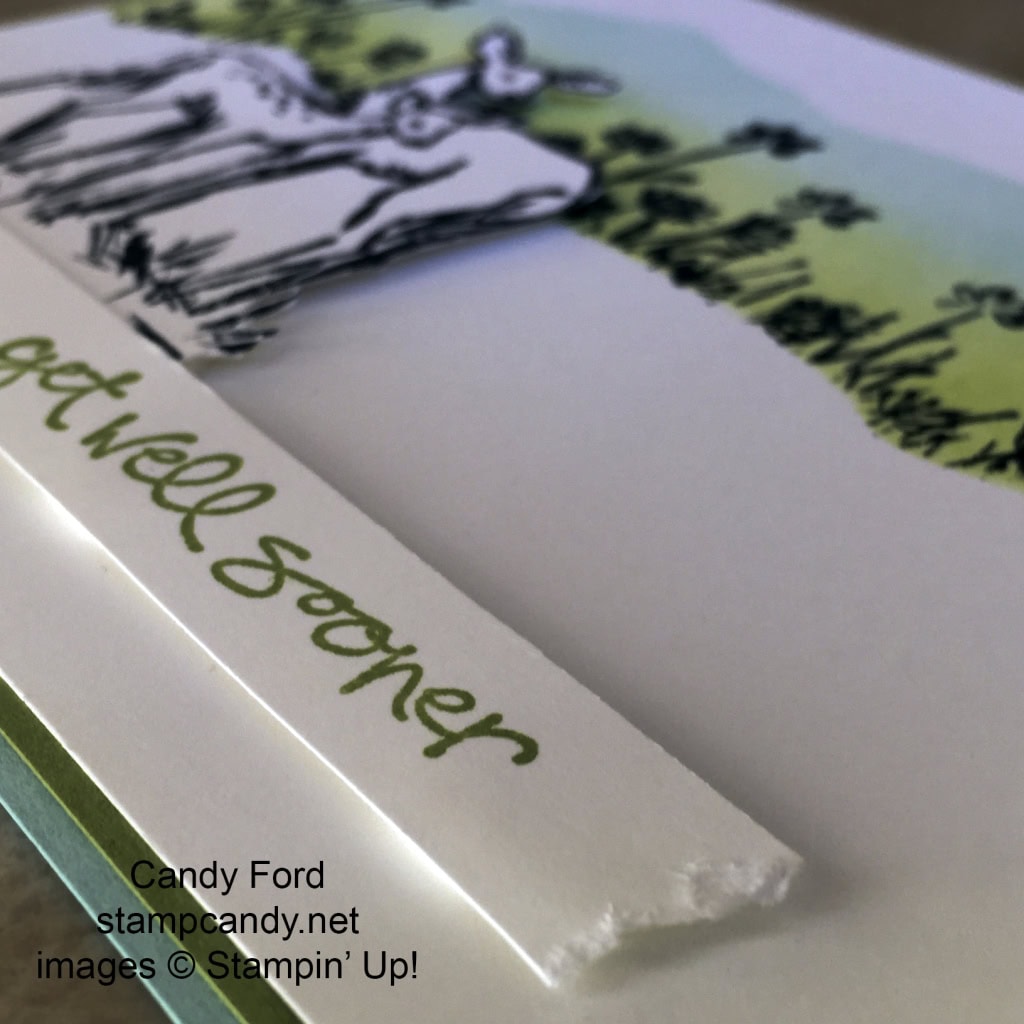
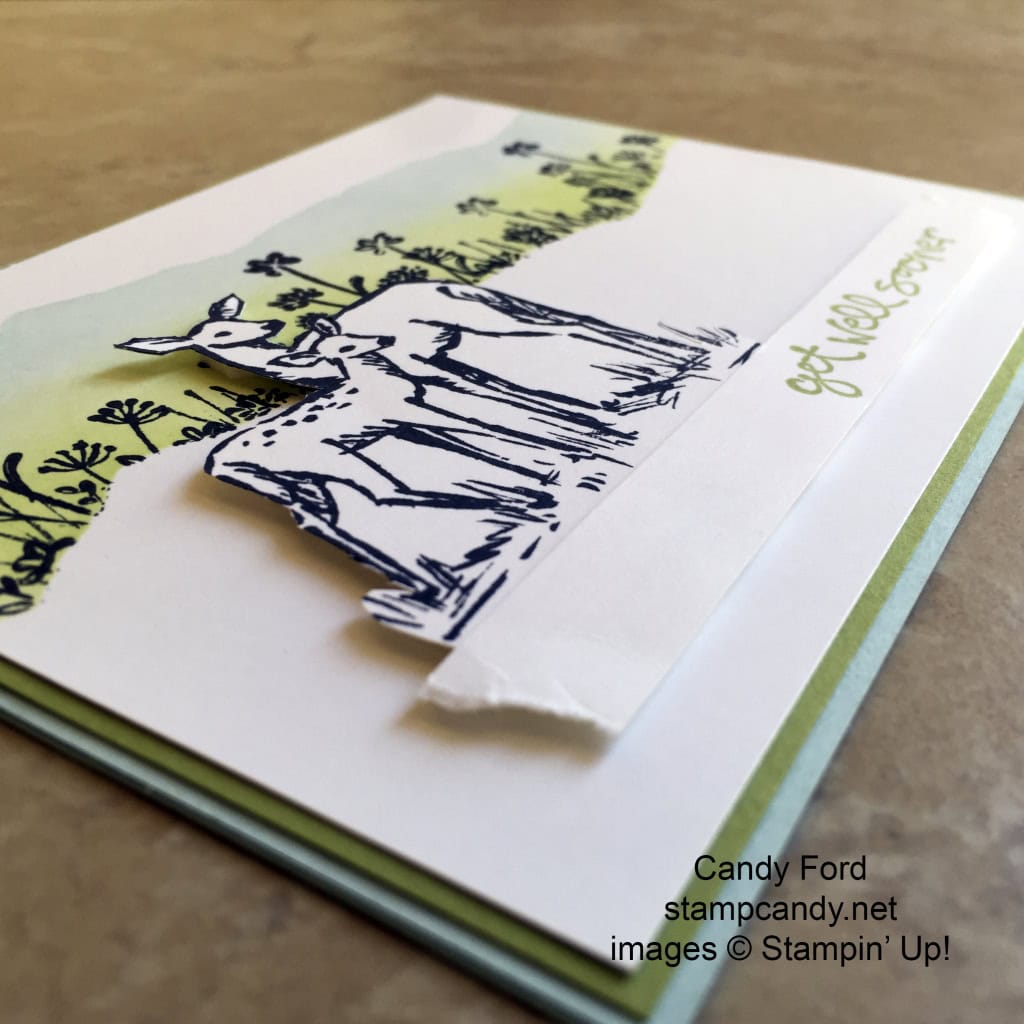
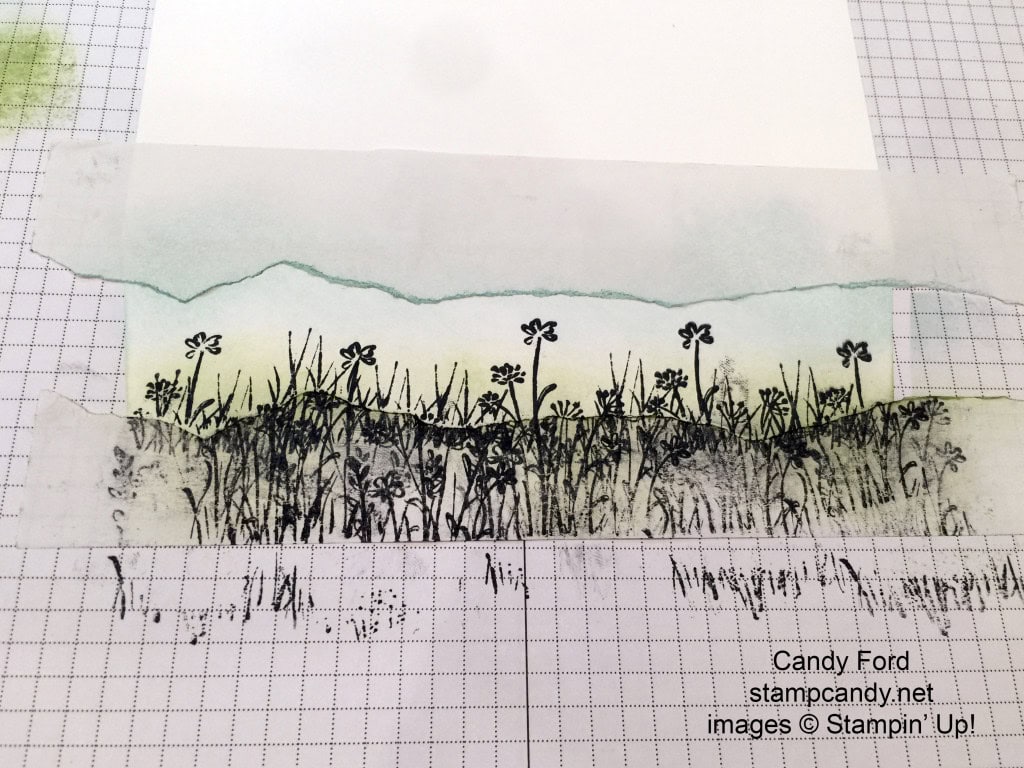
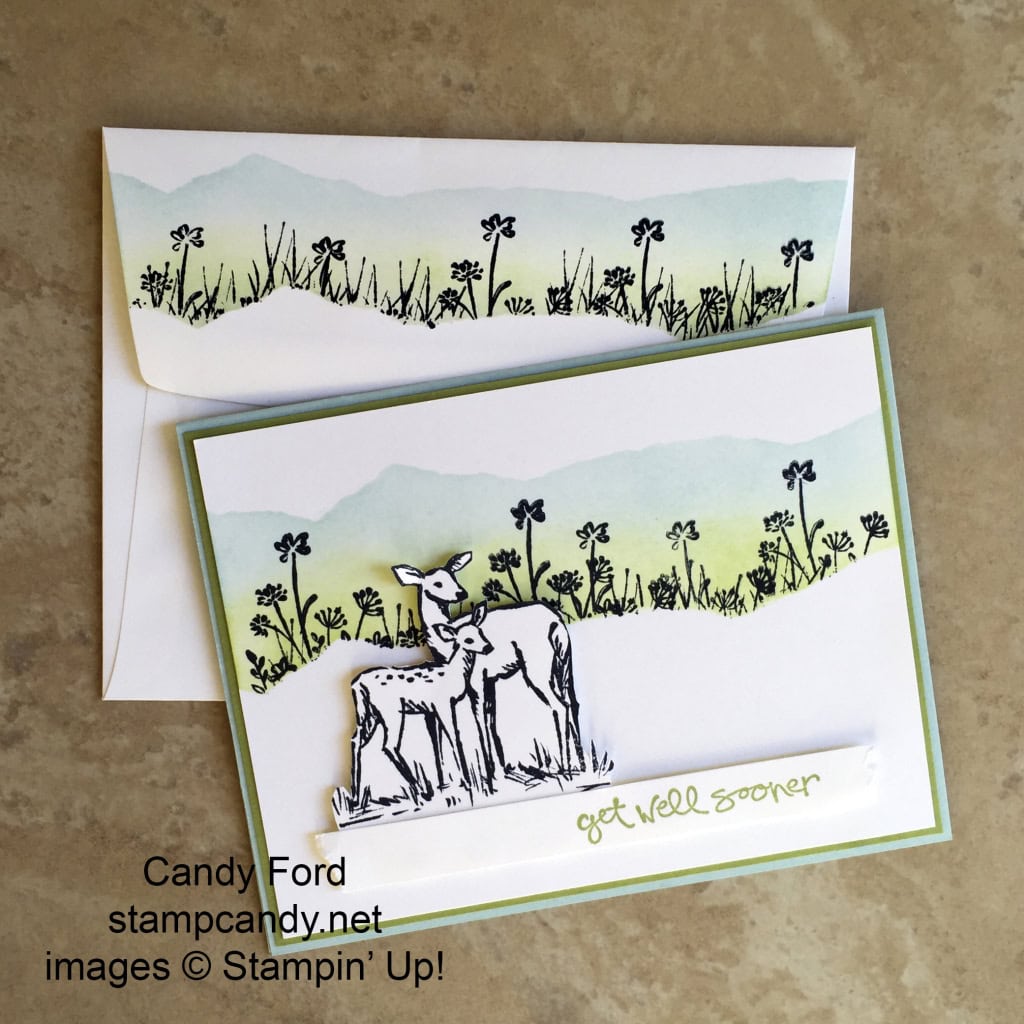
To get this effect, I used 2″ wide Post-It Tape a bit longer than the piece of Whisper White card stock I used. I tore the tape jaggedly down the middle and adhered it to the CS. This also kept the card stock in place while I worked on it. I used Stamping Sponges to color the exposed CS in Soft Sky and Pear Pizzazz.
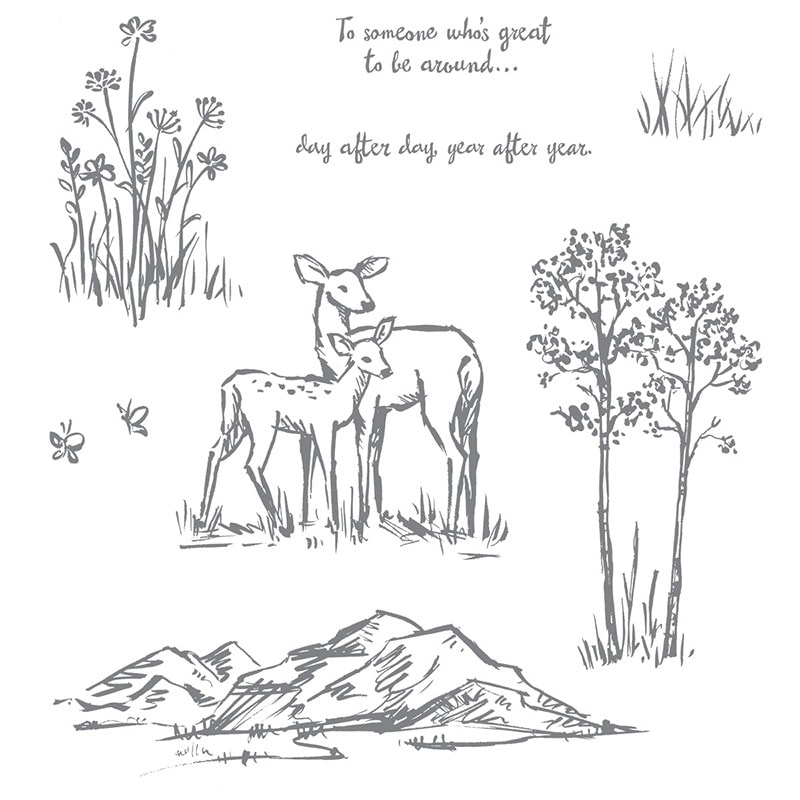
Then I stamped the images from the In The Meadow stamp set in Black Memento ink.
I stamped the deer in the same ink on a separate Whisper White CS, then fussy cut them with my fabulous Paper Snips, leaving some extra space at the base.
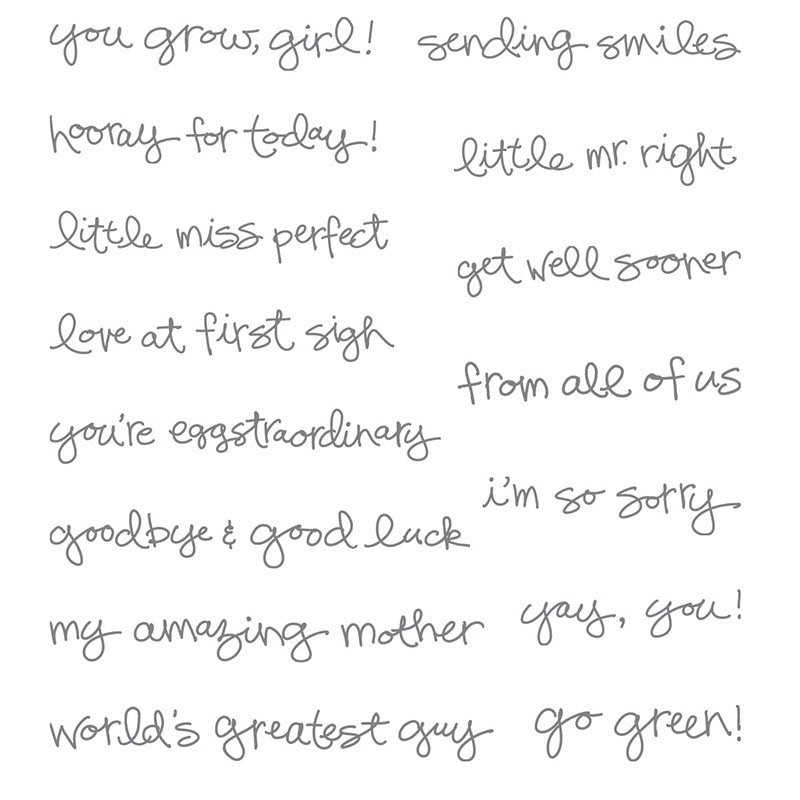
I stamped the sentiment from the Greatest Greetings stamp set in Pear Pizzazz on a strip of Whisper White CS, tore the ends, then glued it to the deer, covering the base of the deer image. I attached the whole thing to the card front with Stampin’ Dimensionals.
I glued the card front to a Pear Pizzazz layer, and glued that to the Soft Sky card base.
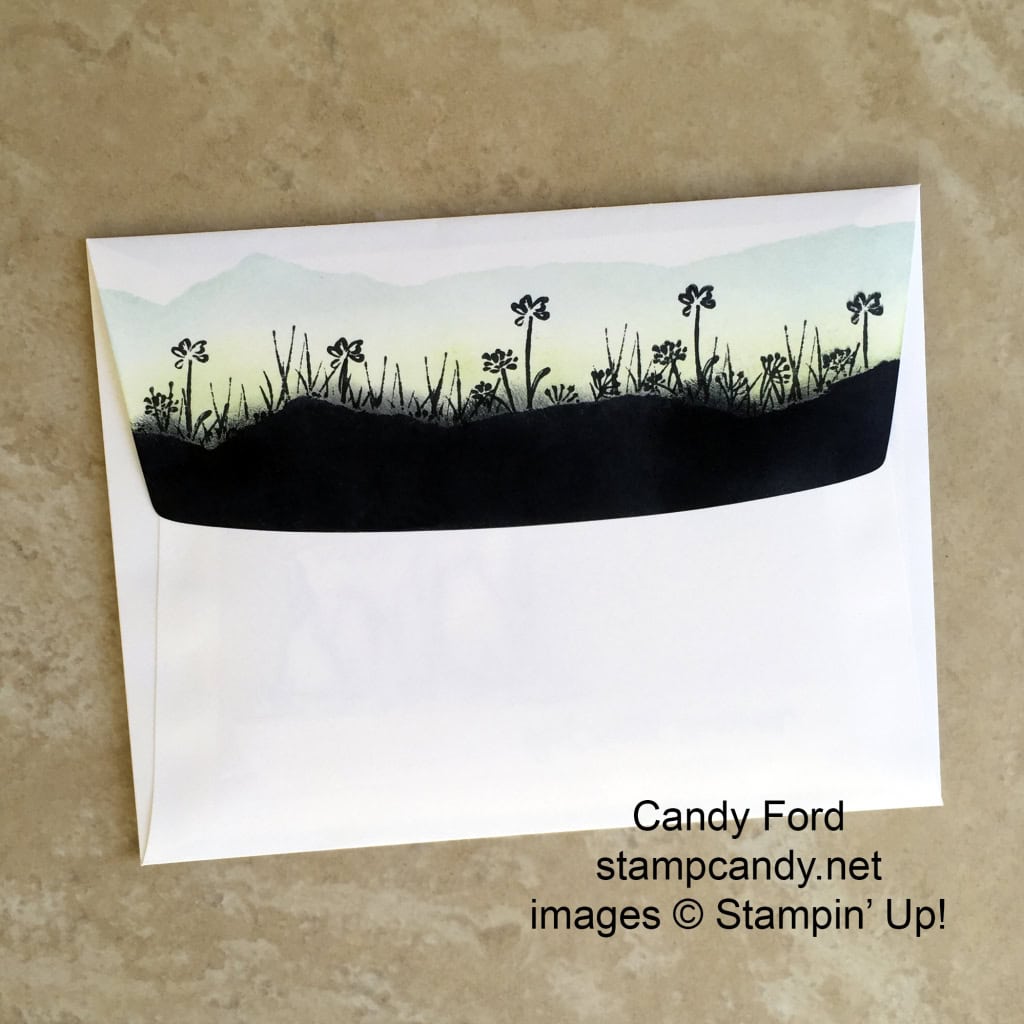
I liked the Post-It Tape technique so much, I decided to use it on the envelope.
Unfortunately, I didn’t realize there was black ink on my thumb, and I got an ugly smudge on the flap, just under the stamped area. I really wanted to get this card in the mail, so I didn’t want to take the time to redo the envelope. I came up with this:
I stuck the top piece of Post-It Tape over the stamped area and used a Sponge Dauber to cover the bottom of the flap in the same black ink. When I pulled up the tape, I didn’t like the top edge of the black area, so I used the Sponge Dauber to smudge it a little. I think it gives the image a foggy appearance. Envelope saved!
Here’s what I used:
The Post-It Tape is available in office supply stores, but I got mine from Amazon.com. Click on the image to buy it from Amazon.
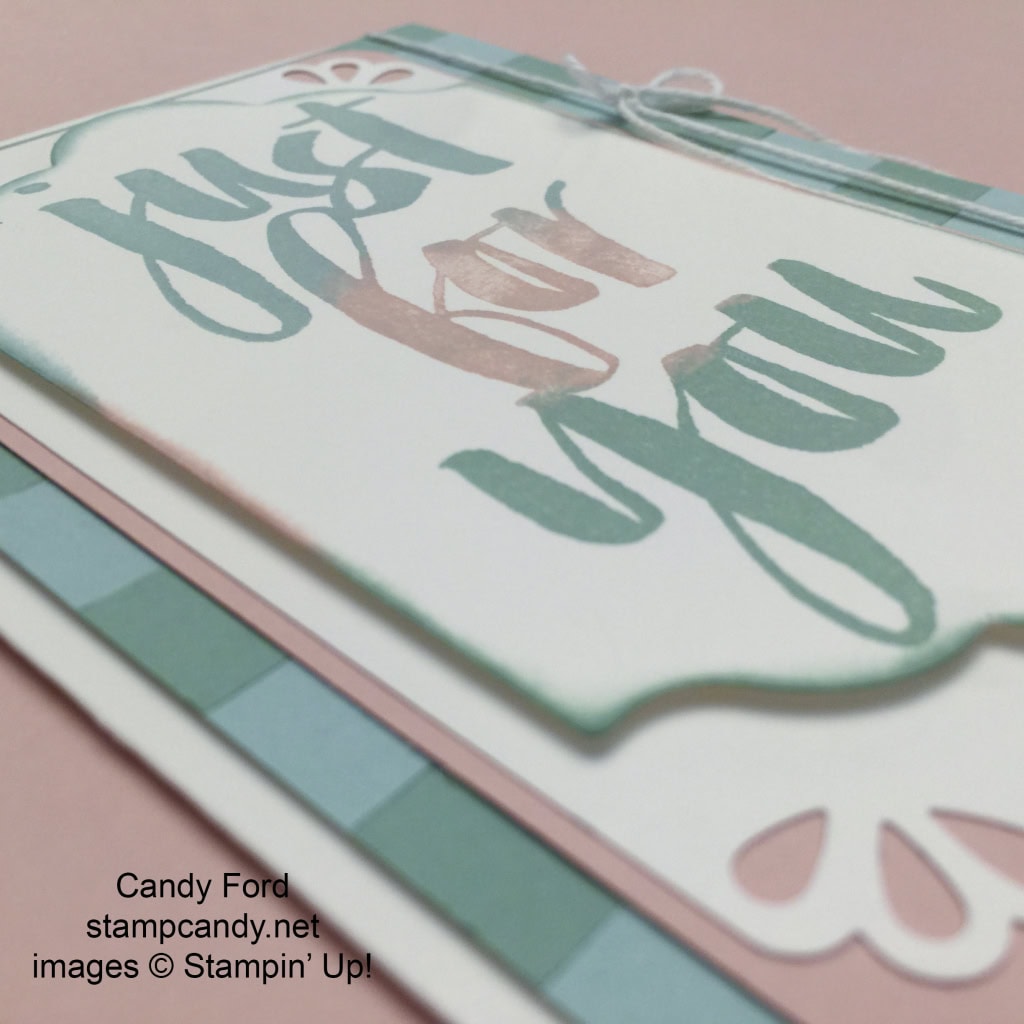
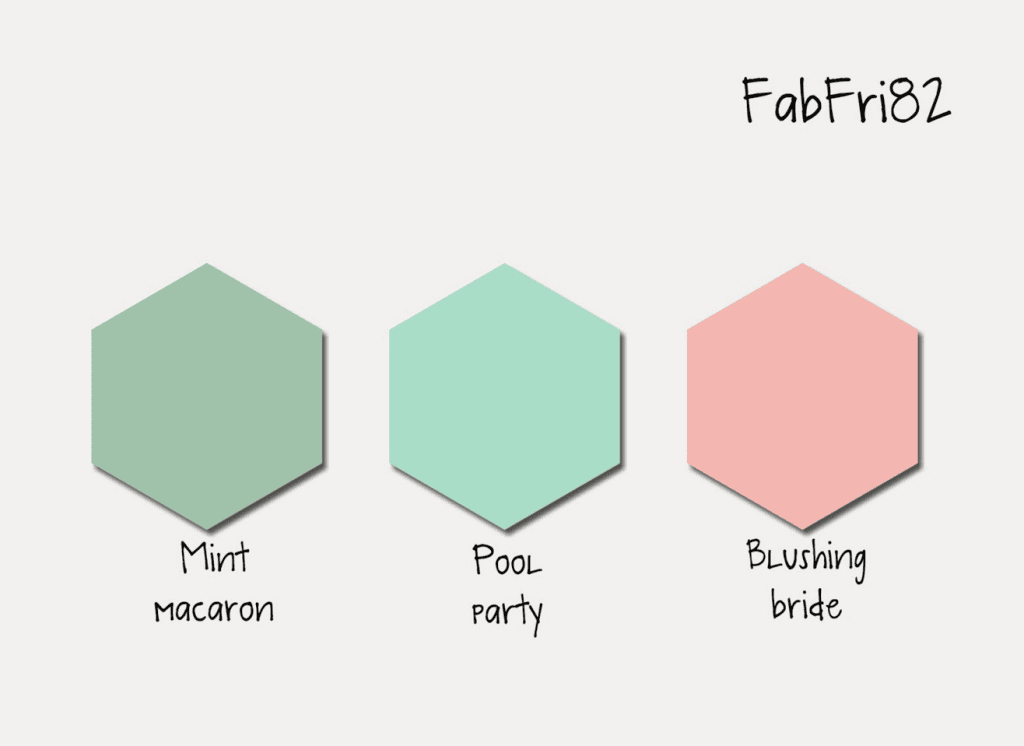
What lovely Spring colors these are! They remind me of Easter, but I decided to do something different. I love the effect I’ve seen by inking a stamp with multiple colors. Here is my attempt at that technique.
The Just For You stamp from the Botanicals For You stamp set is the perfect image for this technique. It’s nice a large, so you can really see the gradation of the colors.
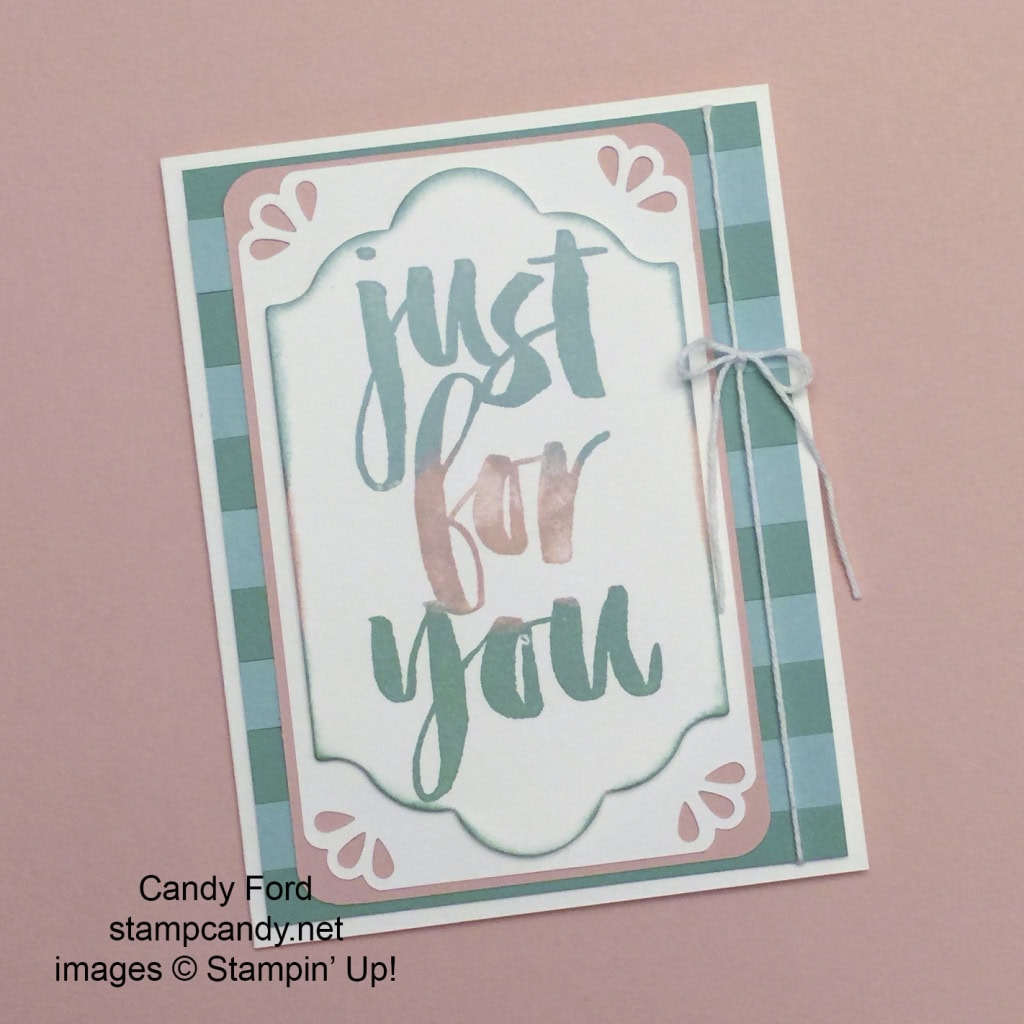
I used the ink pads to ink the stamp in the top and bottom colors, and a Sponge Dauber to apply the center color. After inking up the stamp in (top to bottom) Soft Sky, Blushing Bride, and Mint Macaron, I stamped it onto a piece of Whisper White card stock. I cut it with the largest die in the Lots Of Labels Framelits, then used Sponge Daubers to ink the edges in the same three colors.
I attached that to another piece of Whisper White CS whose corners I cut with the Curvy Corner Trio Punch. I glued that onto a piece of Blushing Bride CS whose corners I rounded with the Project Life Corner Punch.
For the next layer, I glued 1/2″ strips of Soft Sky and Mint Macaron CS to a piece of Whisper White CS, then trimmed around the edges. I got this idea from yesterday’s card I made using scraps. You can see that post here.
I glued the top layers to the striped layer, just to the left of center, to make room fo the Whisper White Bakers Twine that I tied around the striped layer. Then I glued it all to the Thick Whisper White CS card base.
The Botanicals For You stamp set is just one of the many Sale-a-bration products you can get FREE with any $50 product order until March 31. Click here to learn more!
The new Botanical Gardens suite of products in the Occasions catalog is fabulous! There are coordinating stamp sets, Framelits Dies, Designer Series Paper, vellum, embellishments, and washi tape. There’s a bundle that has three components (Botanical Blooms stamp set, Botanical Builder Framelits Die, and Botanical Gardens DSP) and it’s priced so you can earn a *Sale-a-bration item! Two of the items (Botanicals For You stamp set and Botanical Gardens Designer Vellum Stack) are *Sale-a-bration items.
* You earn one FREE Sale-a-bration item with each $50 purchase, through March 31, 2016.
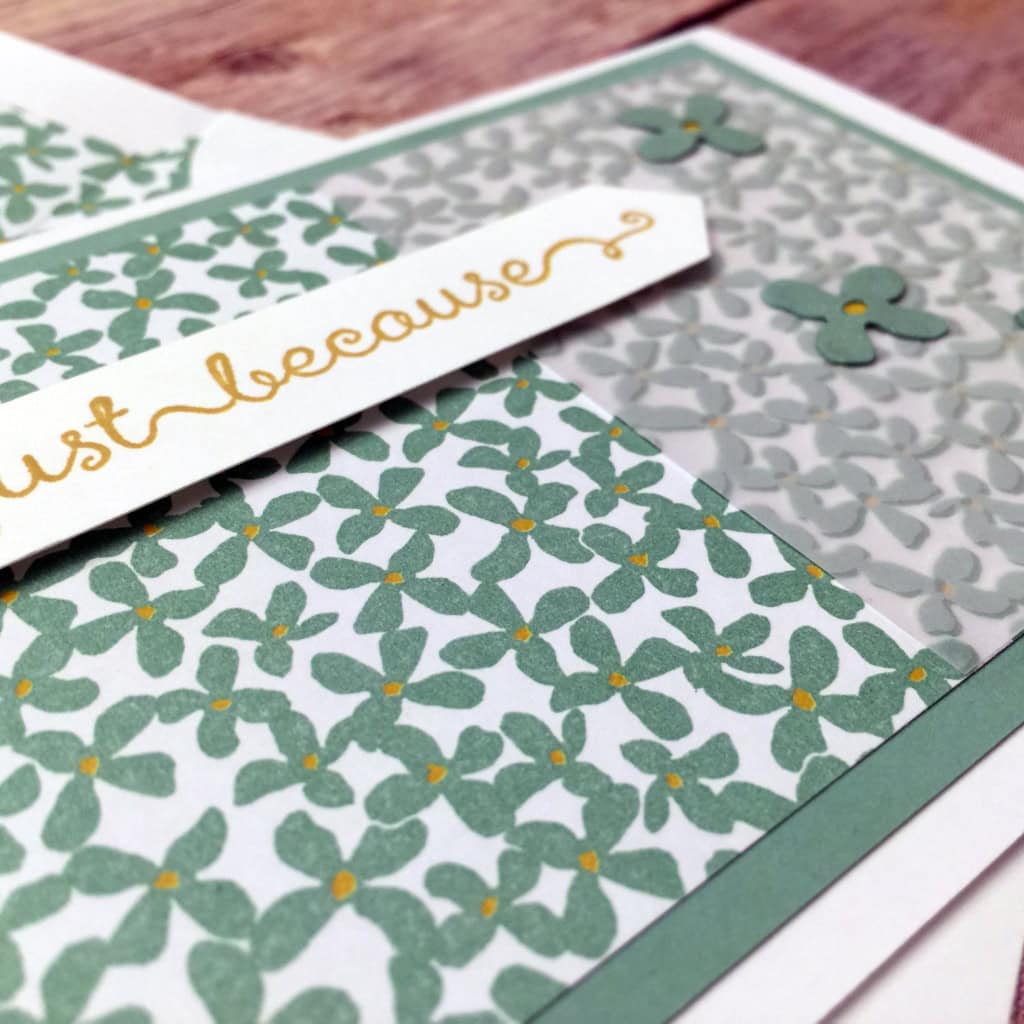
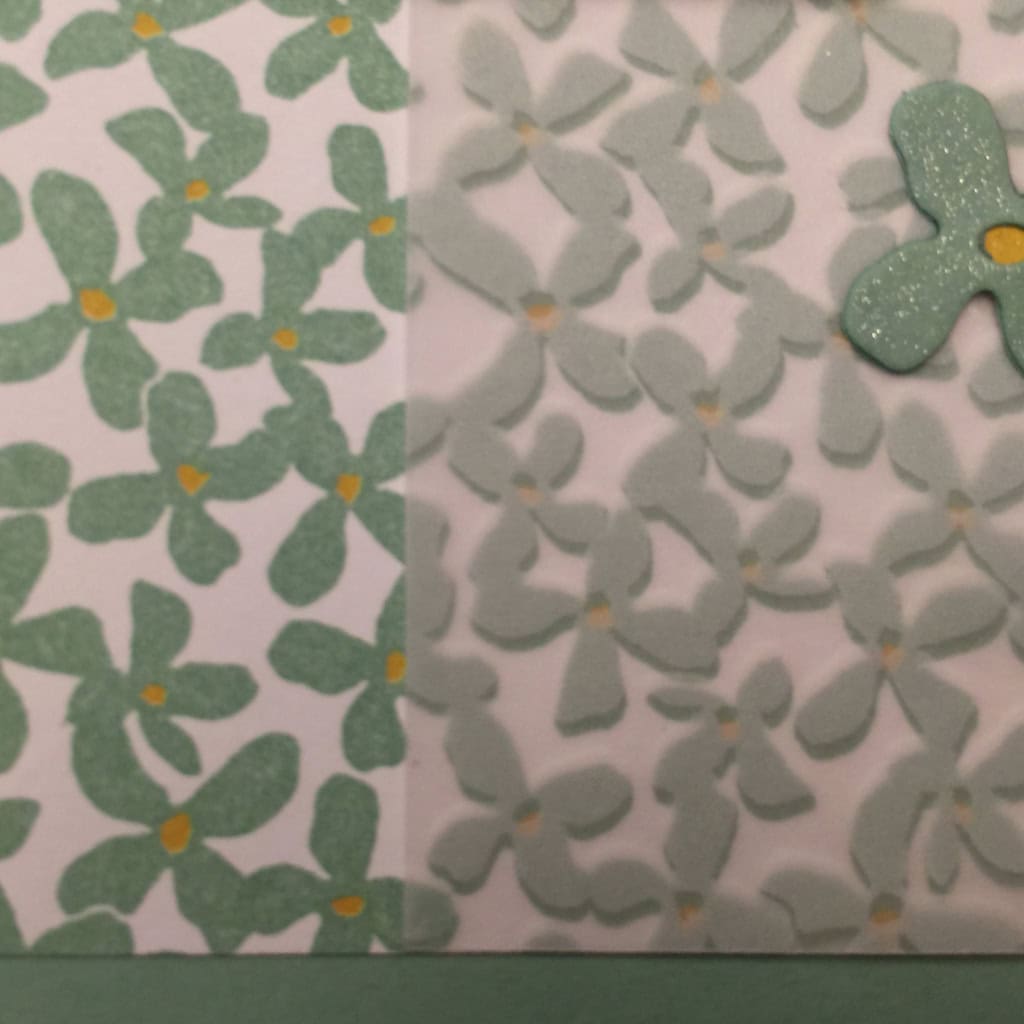
For today’s card, I used a piece of the DSP with it’s coordinating vellum. I offset the vellum from the underlying pattern just a tiny bit to give it more depth by creating a shadow effect.
I attached the vellum to the DSP with tiny dots of the Multipurpose Liquid Glue: wherever I knew it would be covered by a flower or the sentiment, and at each corner of the vellum behind one of the flower petals in the pattern.
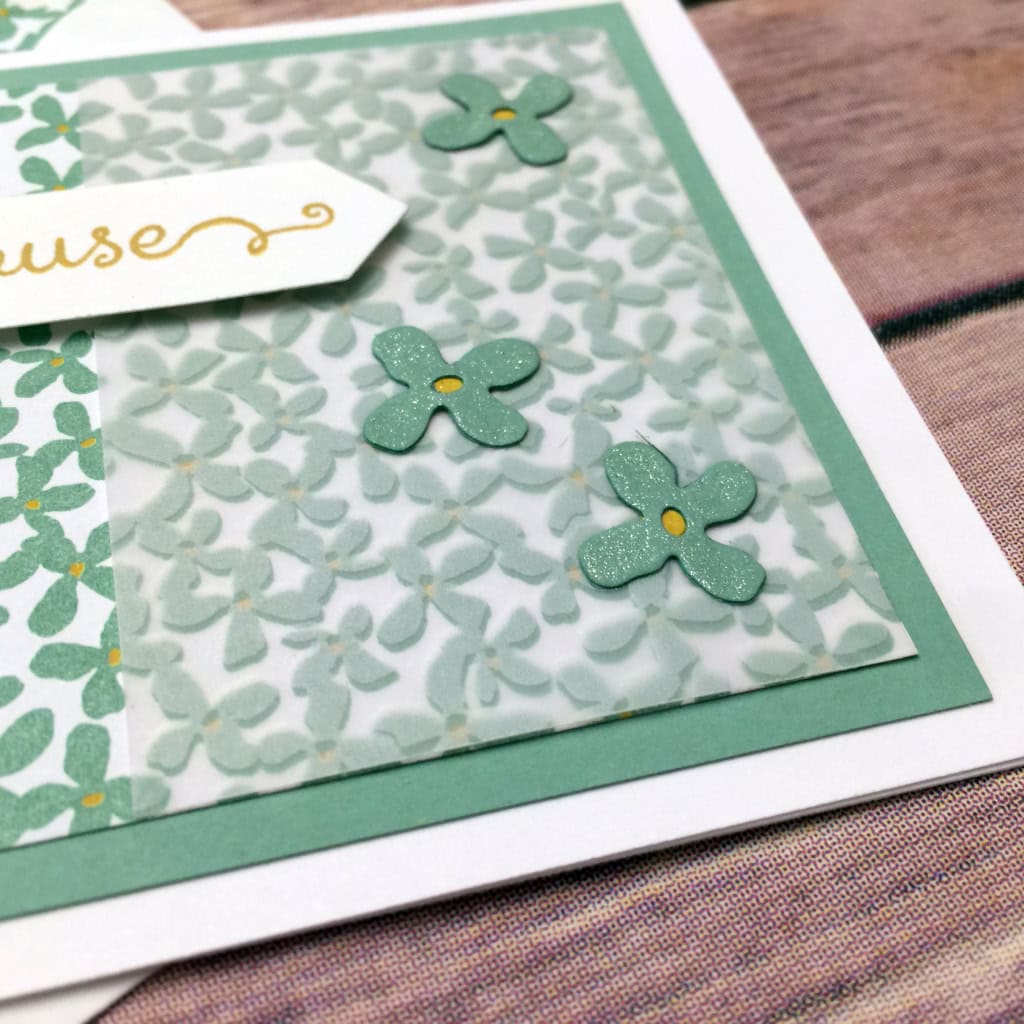
I cut three flowers from Mint Macaron card stock with the Botanical Builder Framelits Dies, backed them with tiny scraps of Hello Honey CS, and glued them to the card front. Then I used my new Clear Wink of Stella Glitter Brush to add a bit of sparkle to them.
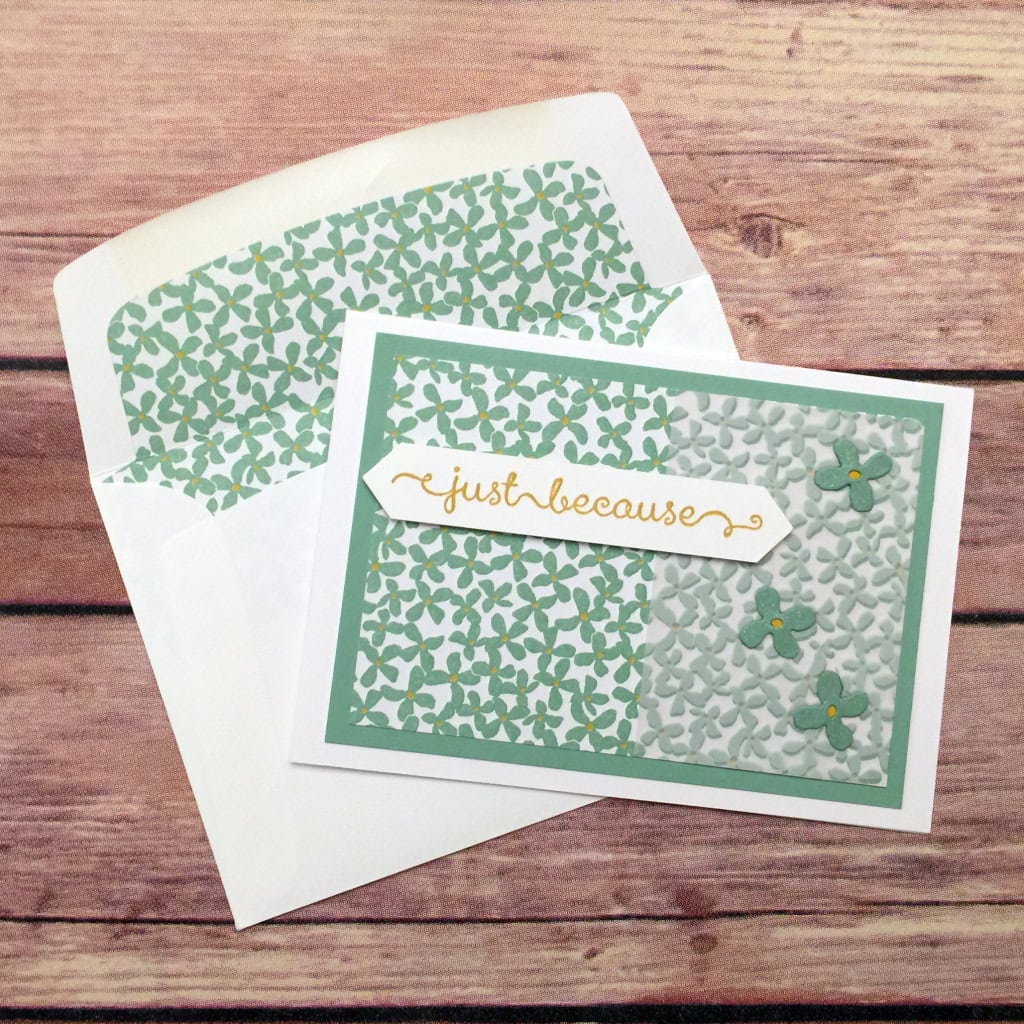
The card base is Whisper White Thick CS, with a layer of Mint Macaron CS, then the top layer of Botanical Gardens DSP and Botanical Gardens Designer Vellum.
The sentiment, from the A Dozen Thoughts stamp set, is stamped in Hello Honey on Whisper White CS. I cut it into a strip with my Stampin’ Trimmer, then used my Paper Snips to make points at the ends. I attached it with Stampin’ Dimensionals.
I used the Envelope Liners Framelits and a piece of the same DSP to create a liner for the envelope.
These are the items I used today, as well as all the items in the Botanical Gardens suite:
 There are only 6 days left to shop from the 2015-2016 Annual Catalog’s Retiring List! Click here to shop what is still available.