Aug 24, 2015 | Cards, Christmas, Holiday, Techniques |
Today I’m sharing a Christmas card I made using only products from the current annual catalog. I want to make sure you know that you don’t have to wait for the Holiday catalog to go live before you start working on your holiday cards. There are several wonderful holiday stamp sets already available!
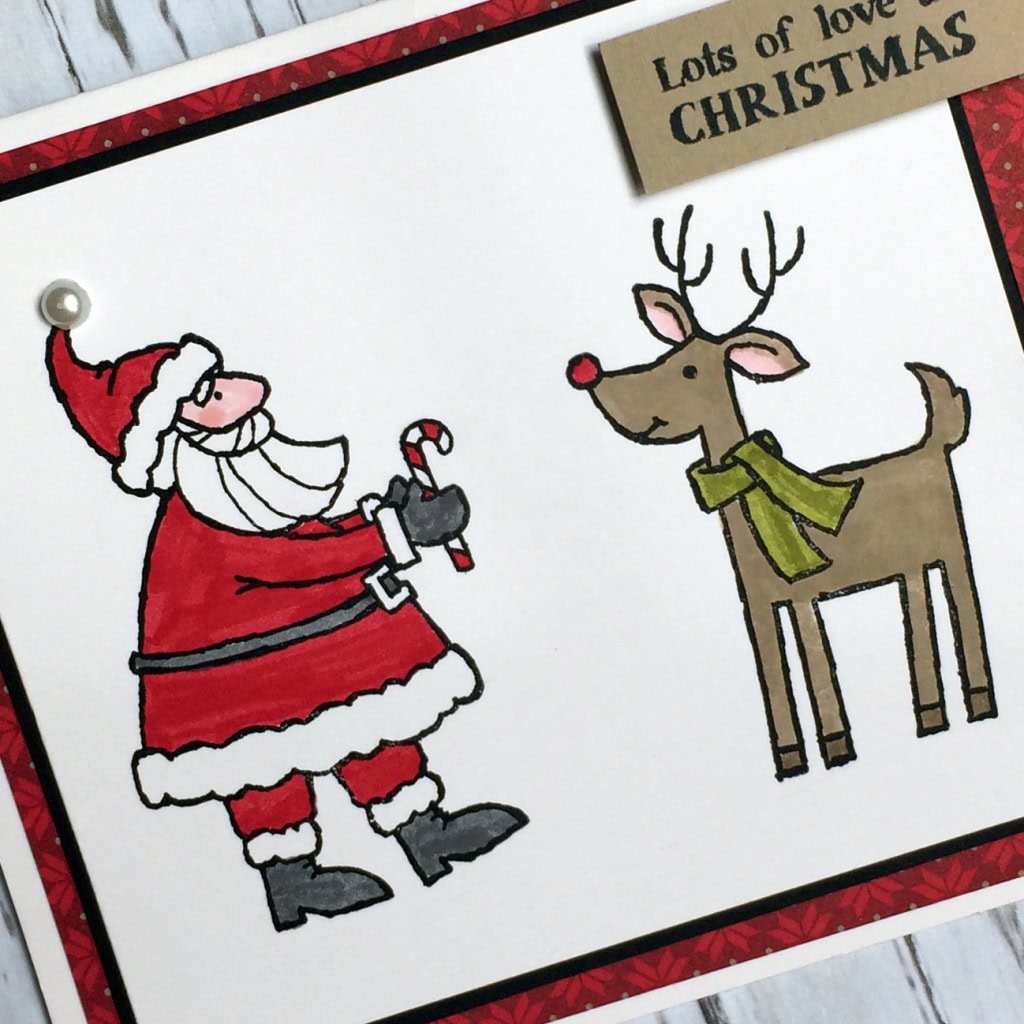
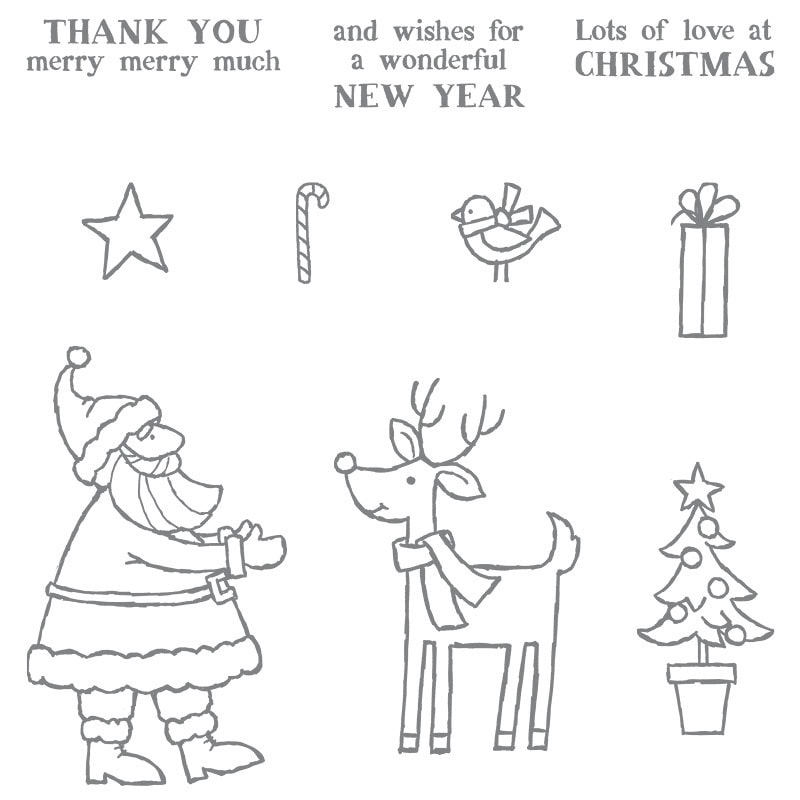
Today I’m using the Santa’s Gifts photopolymer stamp set, which is A-DOR-A-BLE. Just look at these little characters, ready to color, or leave plain.
I thought about stamping on Watercolor Paper and using an Aqua Painter to color, but in the end I decided to stamp on Whisper White card stock and color with Stampin’ Write Markers in Real Red, Pink Pirouette, Blushing Bride, Basic Gray, Crumb Cake, Soft Suede, and Old Olive. That beautiful piece of DSP is from the Merry Moments Designer Series Paper. I used a Pearl Basic Jewel for the pompom on Santa’s hat.

Tip 1: The photopolymer stamps are see through so they’re super easy to stamp right where you want them. But to make it even easier, I laid the Santa and Reindeer stamps on my grid paper to line up their feet, then picked them both up with one large acrylic block (size E) instead of stamping them separately.

Tip 2: I stamped the sentiment on a small strip of Crumb Cake card stock. It was too small to use the Banner Triple Punch, so I used a corner of the 1″ Square Punch to cut the notch.
Tip 3: To get the candy cane in Santa’s hand, I used a masking technique. First I stamped him on a sticky note, making sure his hands were on the area with sticky behind it. I cut out his hands with my Paper Snips, then stuck it to the original stamped image, making sure to line it up just right. I stamped the candy cane, so when I removed the sticky note, it really looks like it’s part of the original image.


Here’s what I used. Click on the images to purchase your own!
I really love hearing from you! Please comment below or email me (candy@stampcandy.net) with what you think of today’s post, what you’re working on now, or to ask any paper crafting related questions.
Thanks for stopping by today, and Sweet Stamping!

Aug 20, 2015 | Cards, Techniques, Wedding |

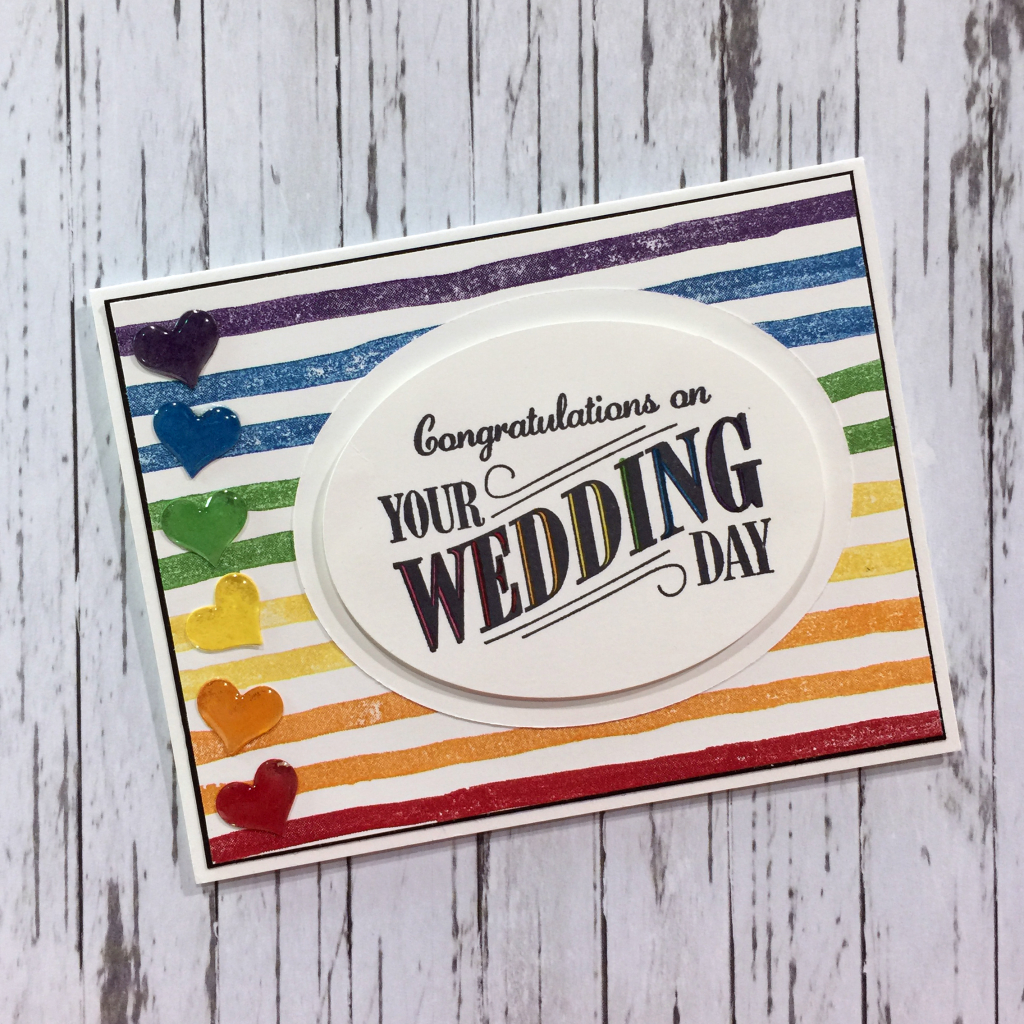
I really love rainbow colors, don’t you? Of course, you do. Who wouldn’t? I thought they would be perfect for a happy and colorful wedding card.
For the card front, I colored the Brushstrokes background stamp with Stampin’ Write markers in Elegant Eggplant, Pacific Point, Cucumber Crush, Daffodil Delight, Pumpkin Pie, and Real Red. Then I huffed and I puffed and I pressed my stamp down…… onto Whisper White card stock. I gave it a very thin Basic Black mat and glued it all to a card base of Thick Whisper White card stock.

I used the little heart punch from the Itty Bitty Punch Pack to cut a card stock heart in each of the above rainbow colors – saved scraps are perfect for this. Then I covered them with Itty Bitty Accents Epoxy Stickers and glued them to the card front.
I stamped the sentiment from the Happy Notes stamp set in black Memento ink, then cut it with the Ovals Collections Framelits. (This stamp set is available in a bundle with the Lots of Labels Framelits Dies, so you can save 15% when you buy both!) I cut another oval one size larger for a mat, adhering the two pieces together with Stampin’ Dimensionals. I glued the whole thing to the card front.

As an afterthought, I decided to add some color to the sentiment by coloring the empty spaces in the word WEDDING with the same Stampin’ Write Markers (plus Melon Mambo, since I needed seven instead of six.) If I had thought about it beforehand, I would have used Staz-On ink instead of Memento. But at this point the ink was good and dry, and I was very careful when coloring so I wouldn’t accidentally smear the black ink.
I made a liner for the Whisper White envelope by cutting a sheet of Cherry on Top DSP with the Envelope Liner Framelits.

Here’s what I used:
Thanks for stopping by today, and Sweet Stamping!
Jul 4, 2015 | Blog Candy, Cards, Club, Techniques |
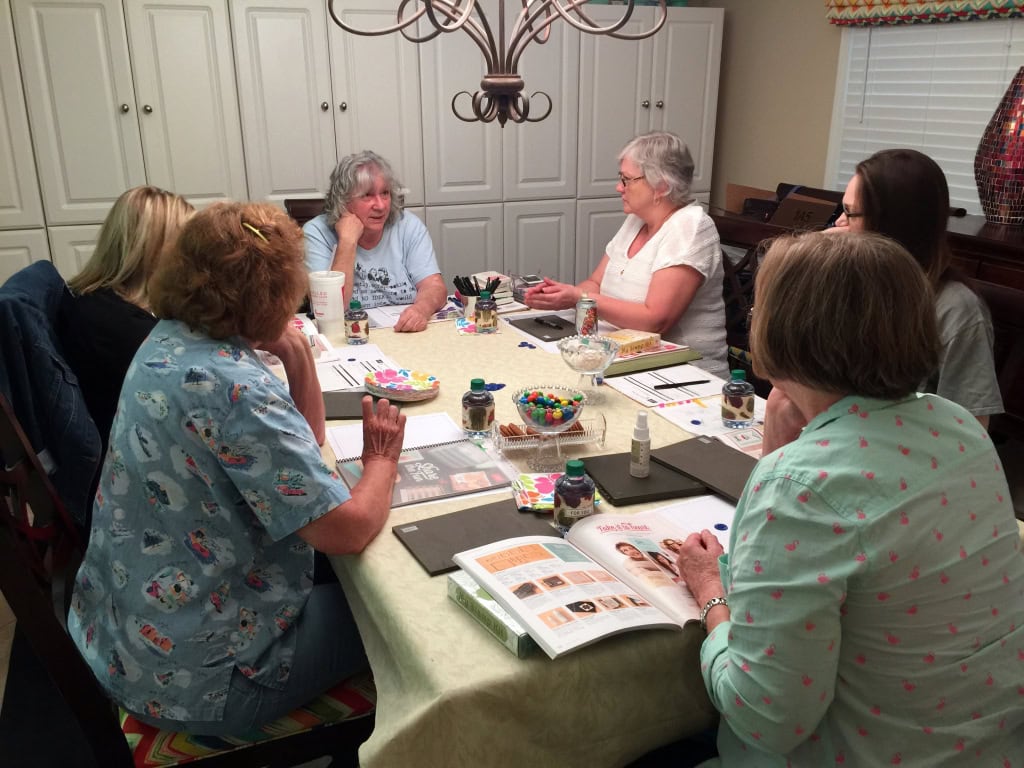
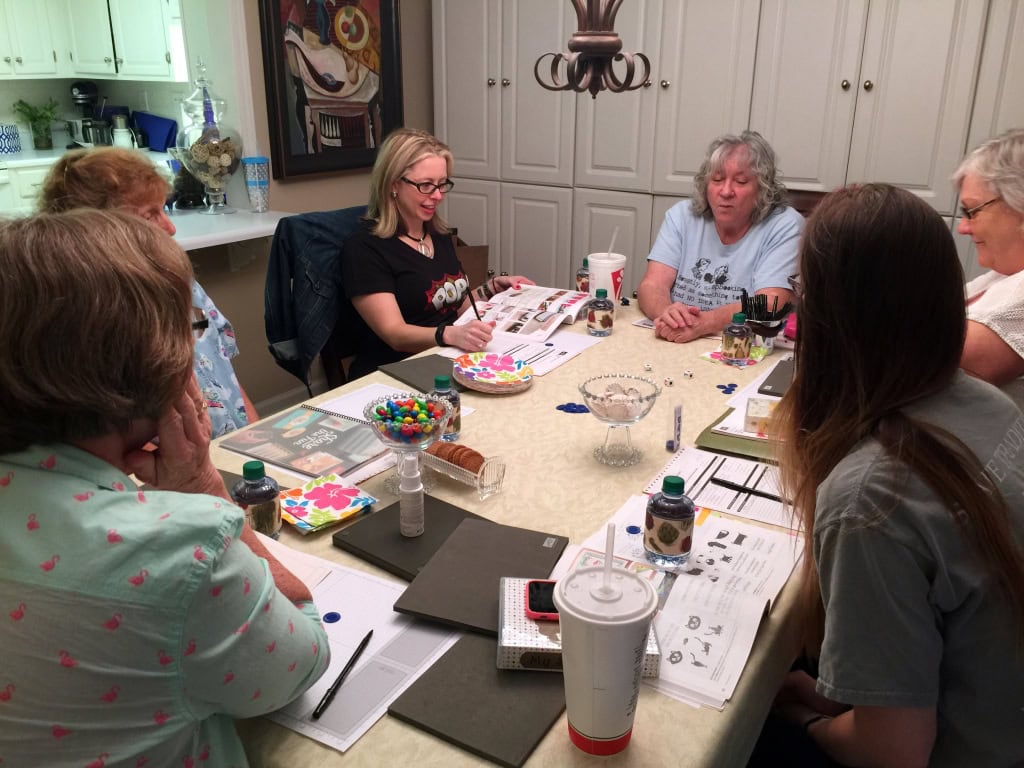
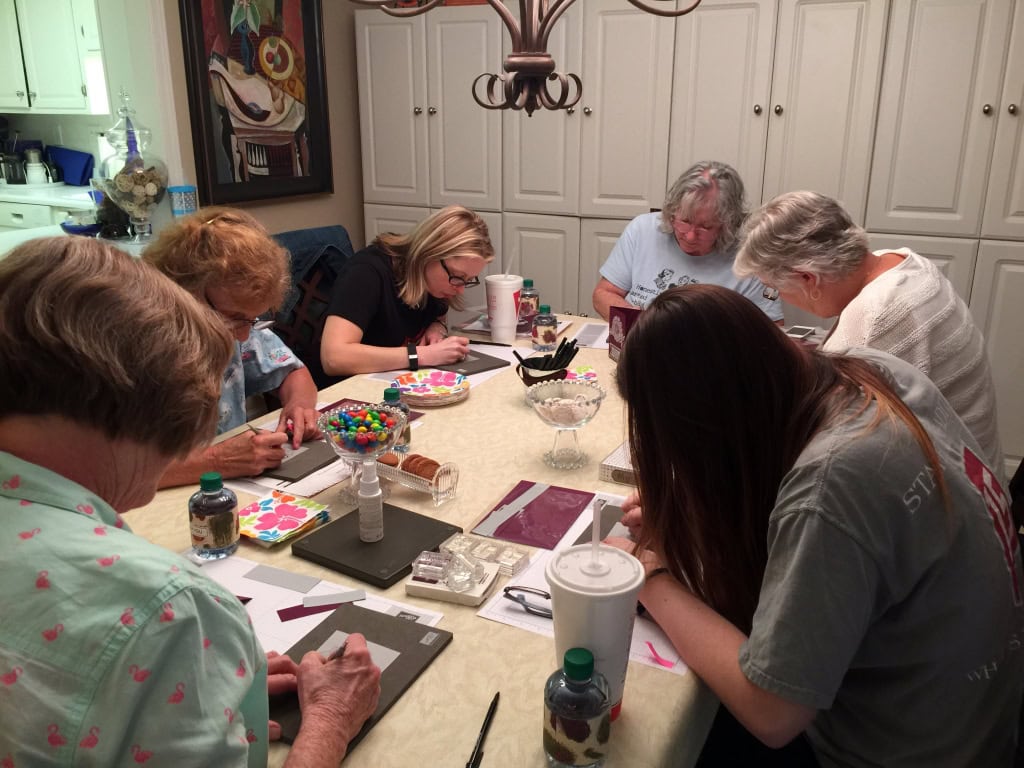
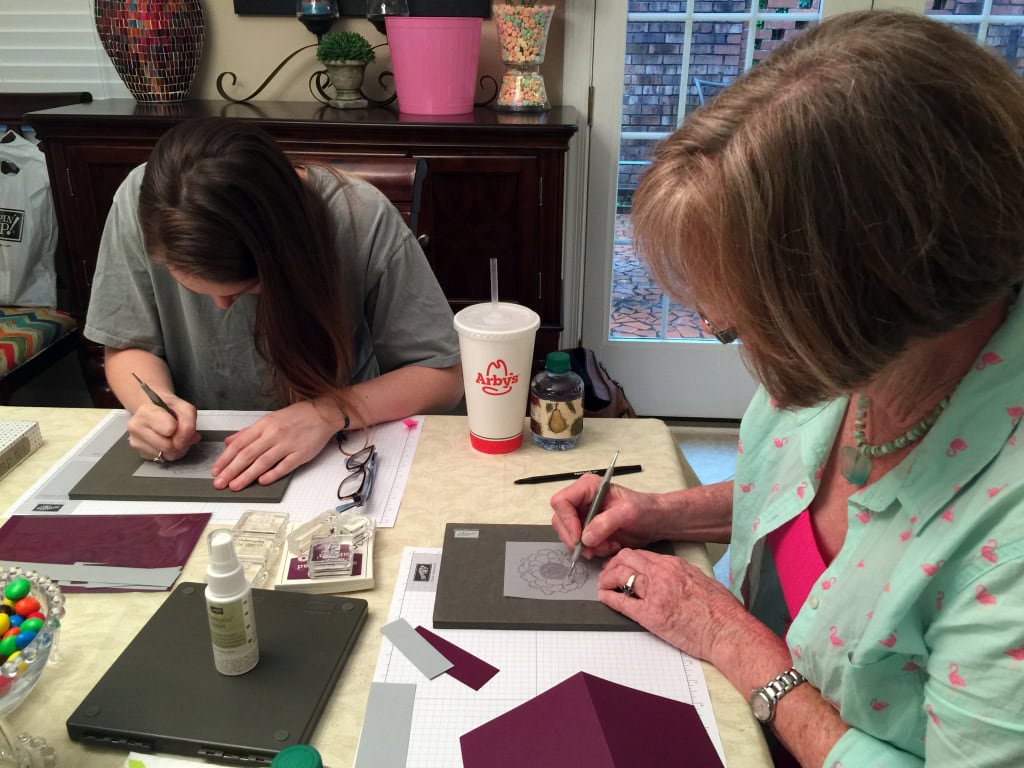
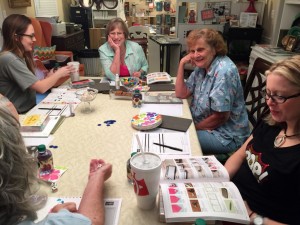
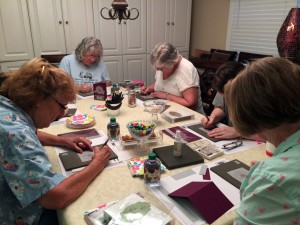
We had a lot of fun this month at Stamp Club. Of course, we always do! You can see the two cards we made here and here. On one we used the dry embossed vellum technique, and on the other we used the three tier stamping technique.
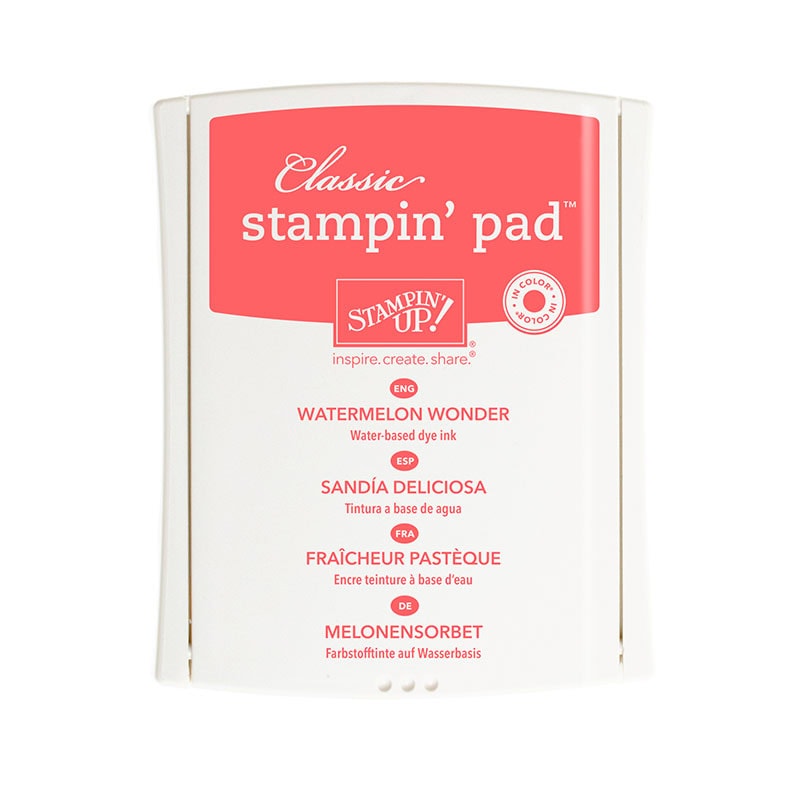
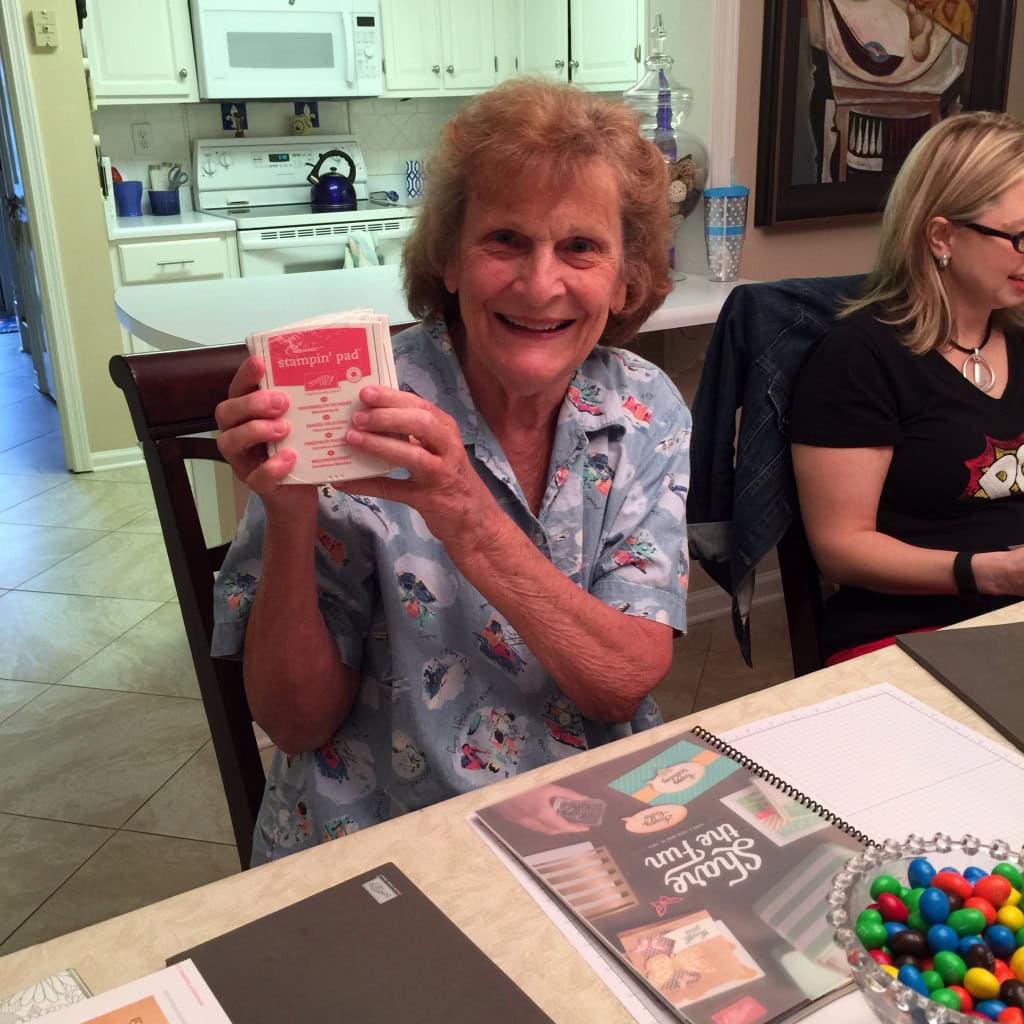
Judy was guest instructor this month, showing how to make the vellum flower on the first card. She also brought her LCR game. Tuesday she won my blog candy – 5 Classic Stampin’ Pads, one in each of the new 2015-2017 In Colors. Since she had already ordered them, she generously gave them to the winner of the LCR game.
Here are some action shots of the fun we had.
Playing LCR

Good roll!


Margie won!
All heads down, working on that vellum flower.


If you think you might be interested in joining Stamp Club, please contact me: candy@stampcandy.net or 404-661-5222. I’ll be happy to tell you all about it.
– We meet on the first Wednesday of each month at 6:30PM. (You may come at 11AM – you just need to let me know so I’ll be ready for you, since most everyone comes at 6:30.)
– We make at least two projects each month.
– Members take turns receiving Stampin’ Rewards (host benefits.)
– Minimum order each month is only $25 (before tax & shipping.)
Come join us!
Thanks for stopping by today, and Sweet Stamping!
Jun 29, 2015 | Cards, New Products, Techniques |
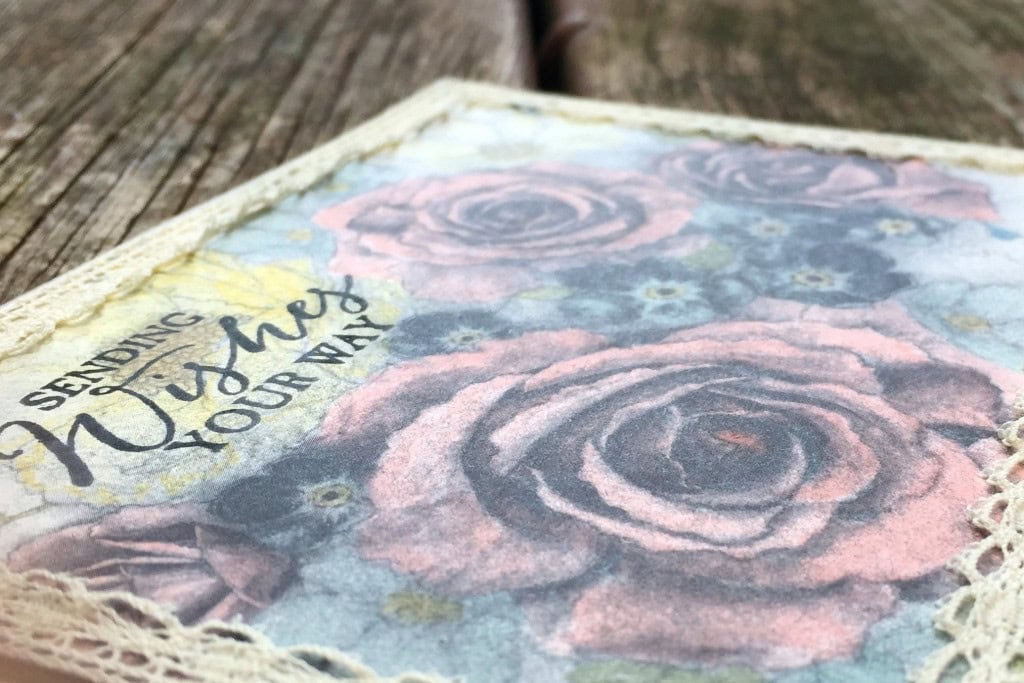
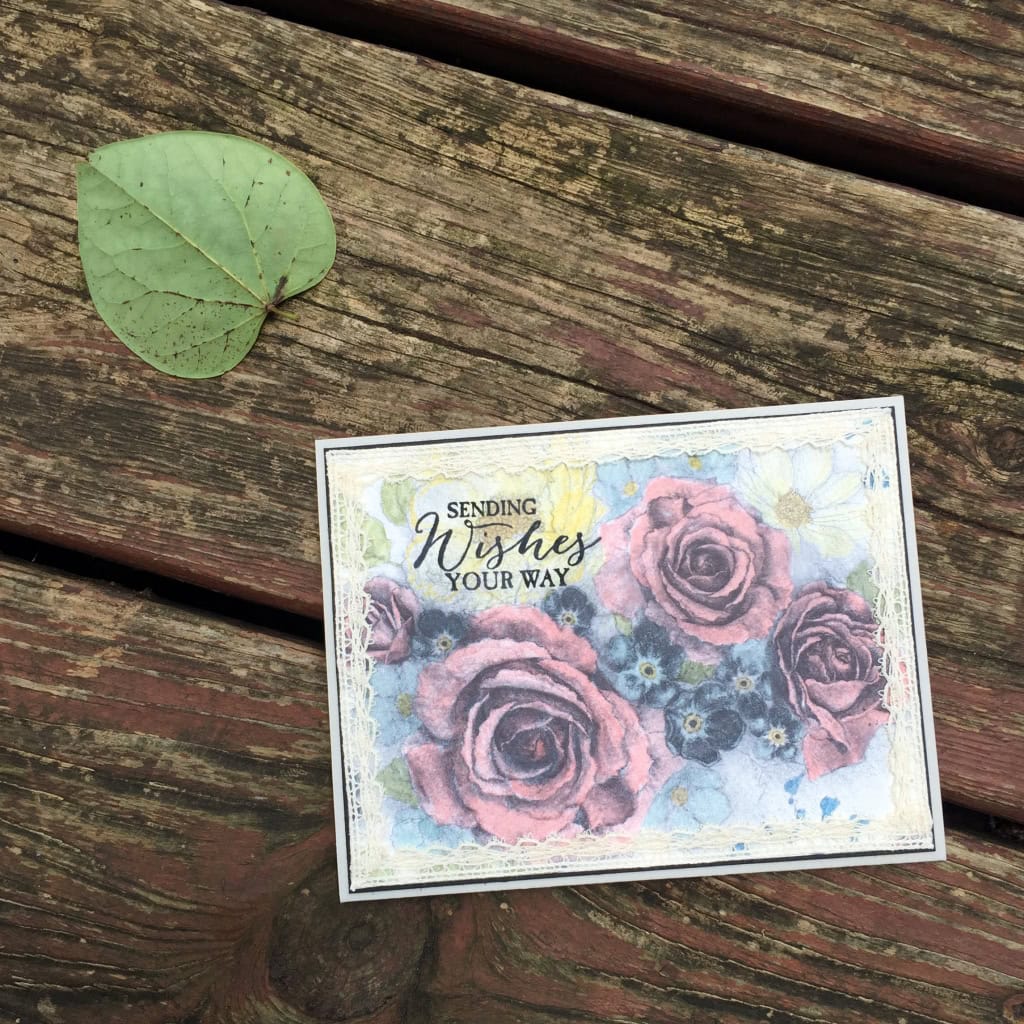
This card is all about the paper. When I saw this sheet of Timeless Elegance DSP, I knew I had to “colorize” it. My friend and fellow demo, Deborah Vanderburg, said she had seen the roses spritzed with color. I decided to go a slightly different route and color them with Stampin’ Write Markers and a Blender Pen.
I used Blushing Bride, Soft Sky, So Saffron, Marina Mist, Daffodil Delight, and Pear Pizzazz. All the shading is already there. All I had to do was fill in the color with the markers. I used a Blender Pen with the Daffodil Delight to keep the color on the flower petals subtle. I used all the other markers directly on the paper.
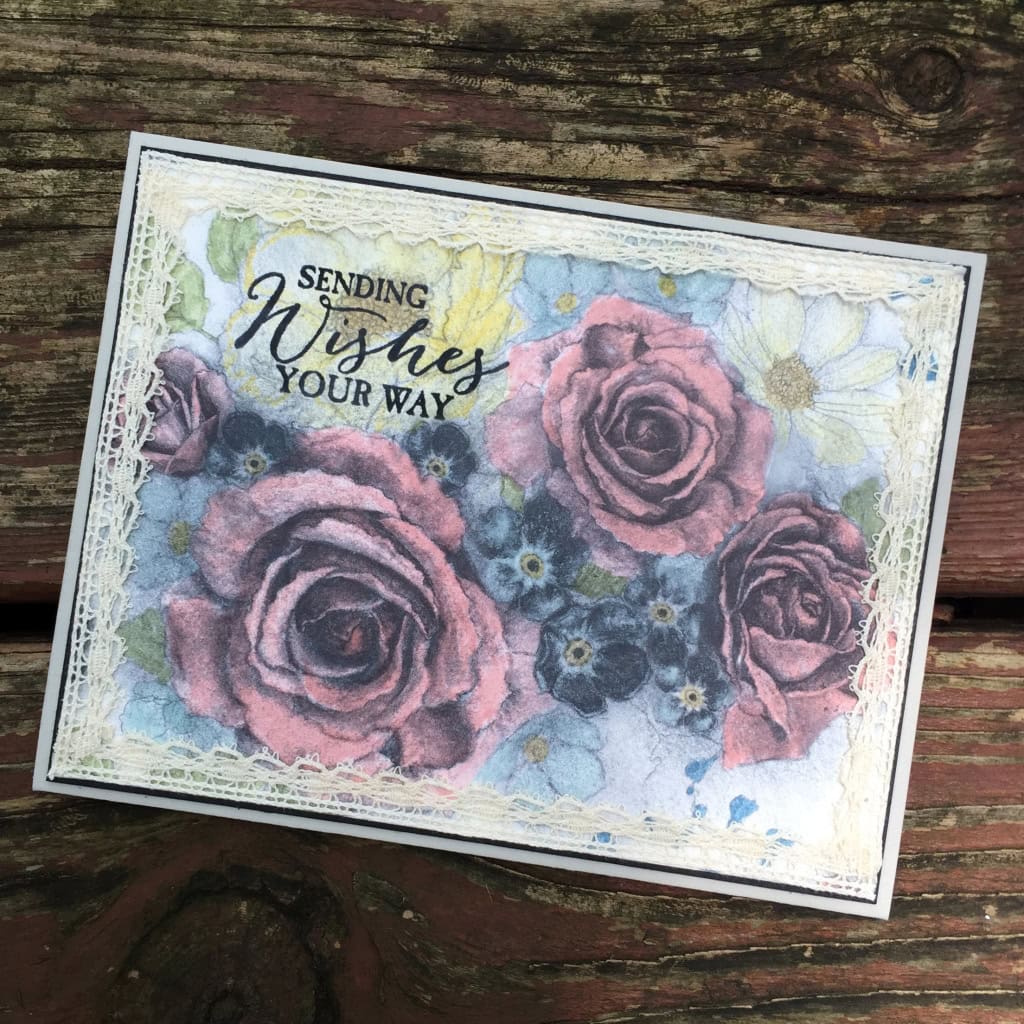
The sentiment, from the Butterfly Basics stamp set, is stamped in black Memento ink. I included this shot because, as I was about to take it, the leaf just happened to fall next to the card.
Here’s what I used:
Remember to comment on yesterday’s post by midnight tonight to be entered in the Blog Candy drawing!
Thanks for stopping by today, and Sweet Stamping!
Jun 28, 2015 | Blog Candy, Techniques |
Recently I made an envelope with a striped piece of Envelope Paper, but the stripes were vertical instead of horizontal. You can see that post here. Today I’m showing you how to do that. These measurements are for the basic envelope for a 4-1/4″ x 5-1/2″ card.
First find the half way line from one corner to the opposite corner. Then measure 4″ to each side and cut parallel to the half way line. (You can draw the lines with a pencil, then erase later, if you want.) Now cut to 8″ x 8″.

Now you have an 8″ x 8″ piece of paper with vertical stripes (or horizontal, depending on how you want to make the envelope) to use on your Envelope Punch Board.
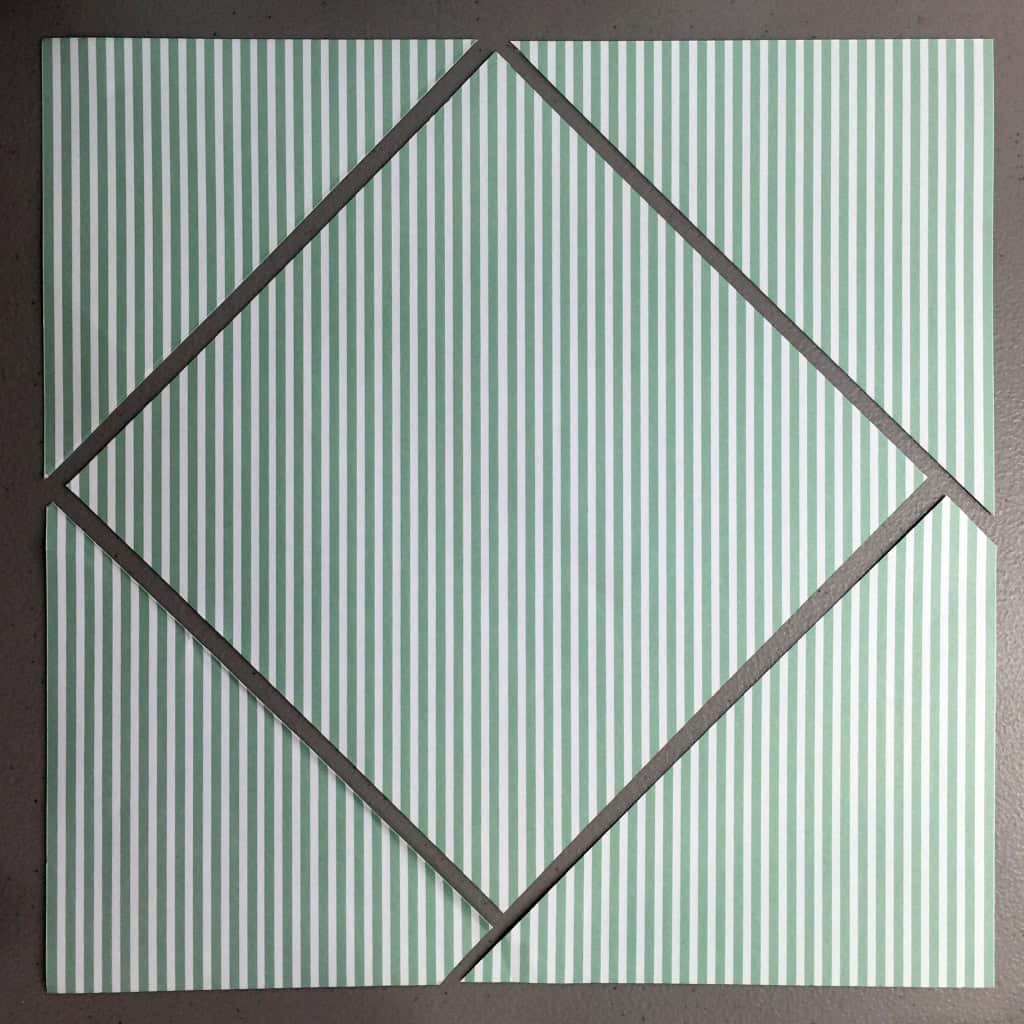
Another way to do this would be to cut an 8″ x 8″ pattern and lay it on top of the Envelope Paper, then trace/cut around it.
Here’s what I used:
BLOG CANDY
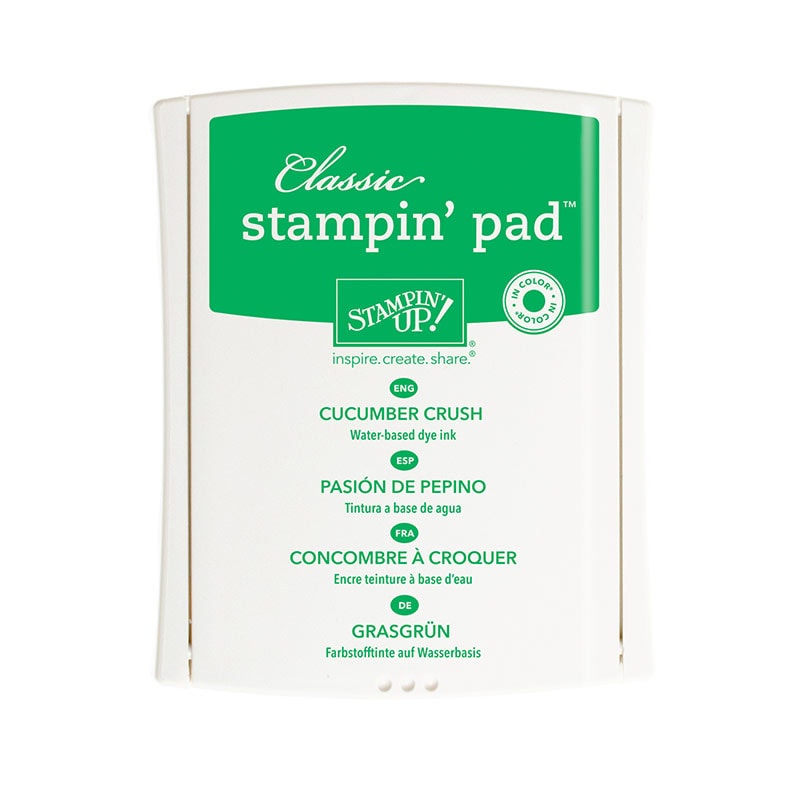
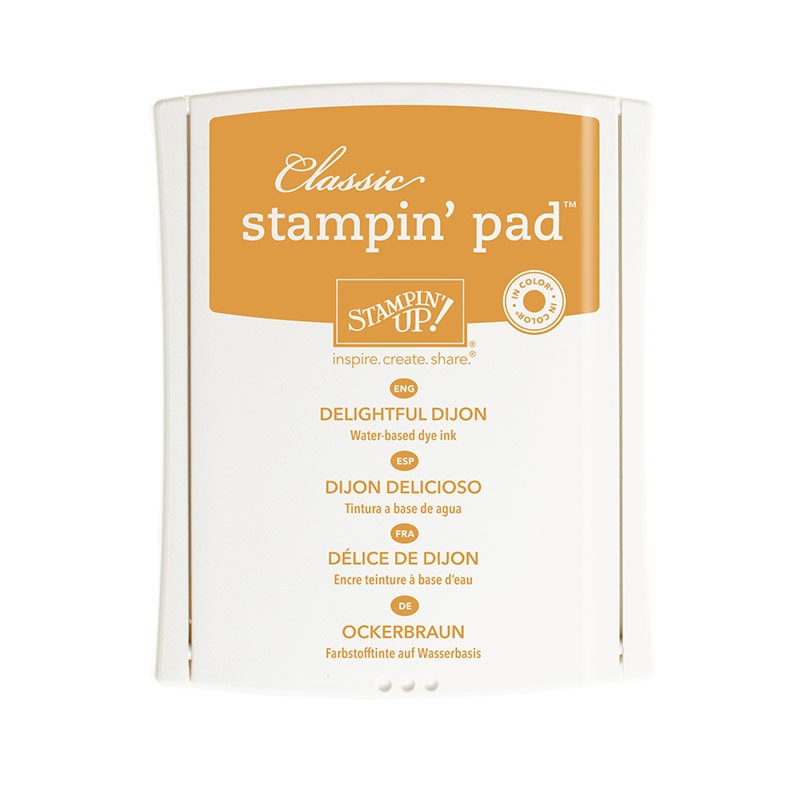
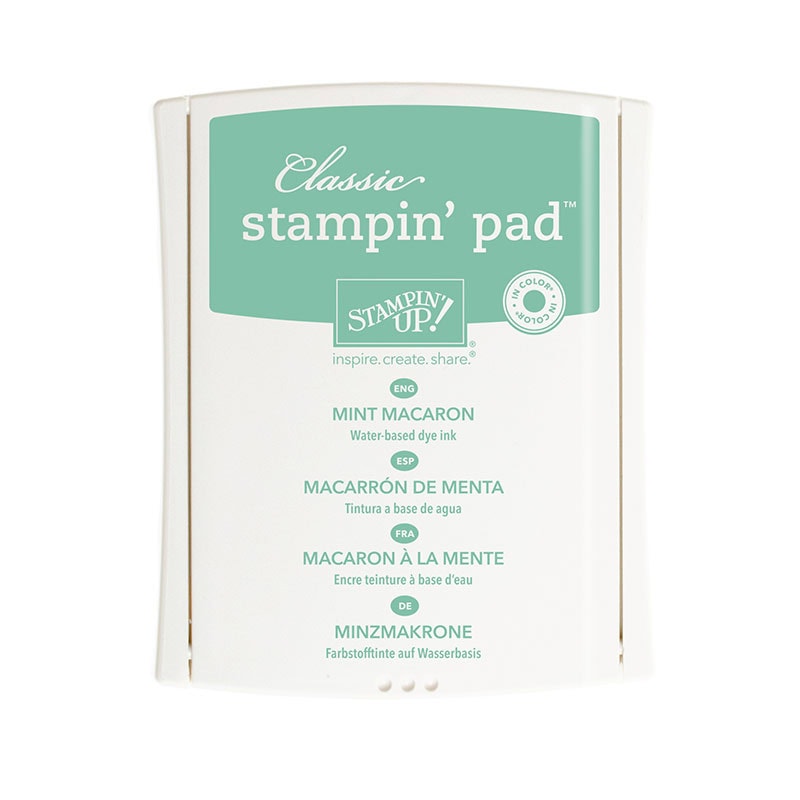
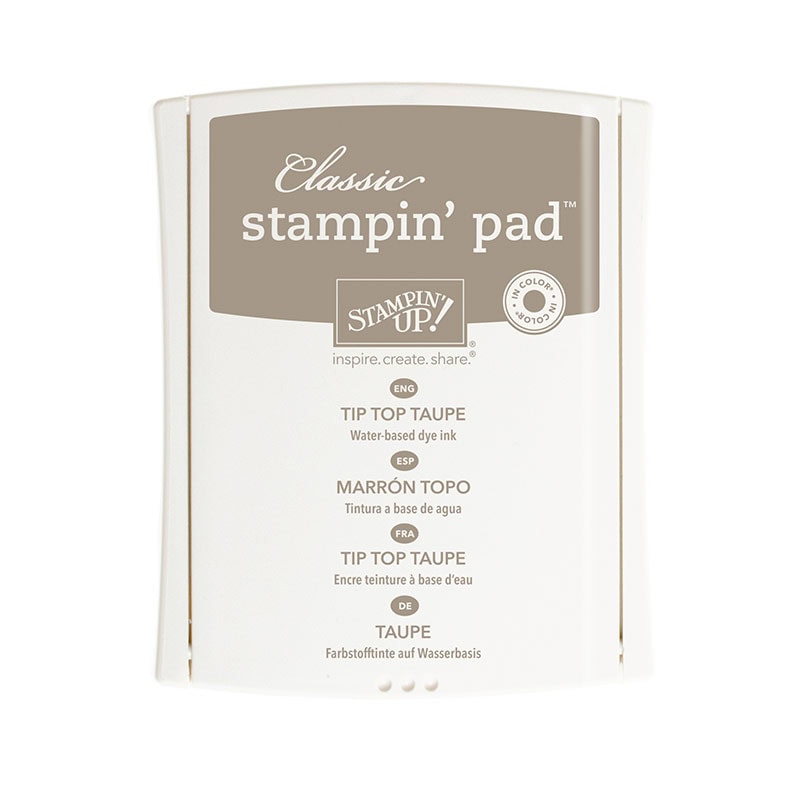
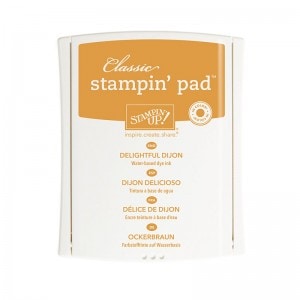
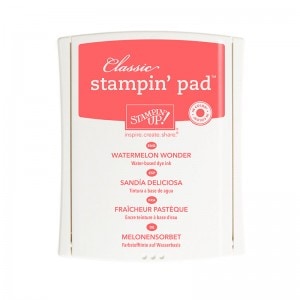
It’s been a while since I gave away any blog candy, so here’s a really good one. Comment below this post and tell me your favorite color combo in the new In Colors. Mine is currently Mint Macaron and Tip Top Taupe. Each person who comments will be entered once in the drawing for this:

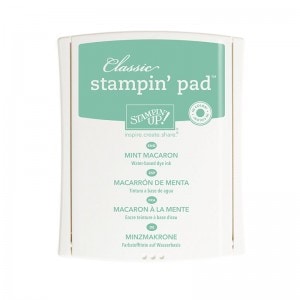
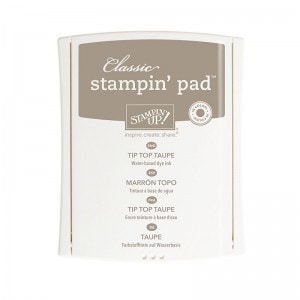
Yes, that’s right! Classic Stampin’ Pads in all five of the new In Colors!
Be sure to comment by Monday at midnight. I’ll announce the winner on Tuesday.
Thanks for stopping by today, and Sweet Stamping!
Jun 22, 2015 | Cards, Techniques |
My sister belongs to a small group of ladies who gather a couple of times a month to paper craft. This is one of the techniques they used recently. It’s very easy but makes a big statement.
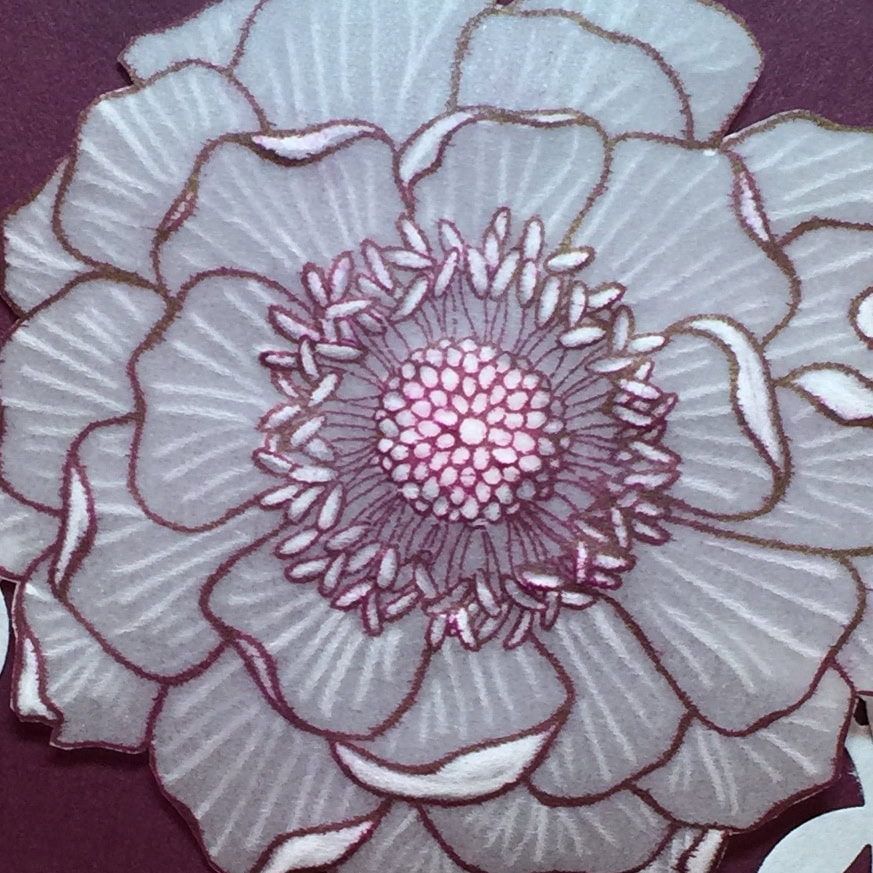
I stamped a piece of Vellum Card Stock with the Blended Bloom stamp. You can use Staz-On ink; or you can use the Classic Stampin’ Pads and either heat set the ink or leave it to dry completely. I used Blackberry Bliss ink and left it to dry overnight.
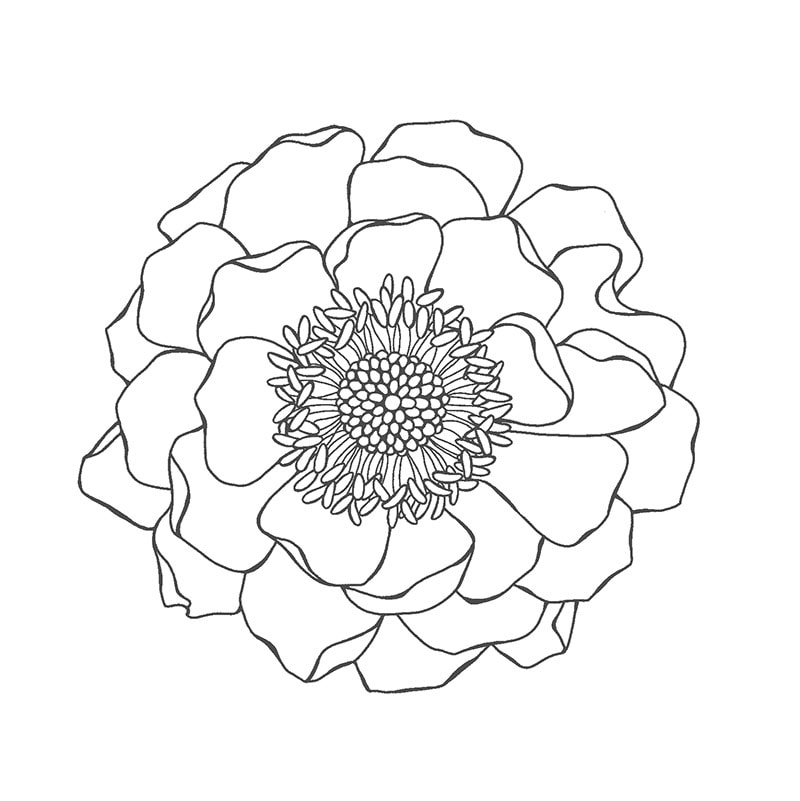
Blended Bloom
I flipped the vellum over and laid it on a Stampin’ Pierce Mat. Then I used my Simply Scored Stylus to “draw” on the image. You must be careful not to poke through the vellum. You can draw lines, as I did on the petals, or completely fill in areas which will turn white.
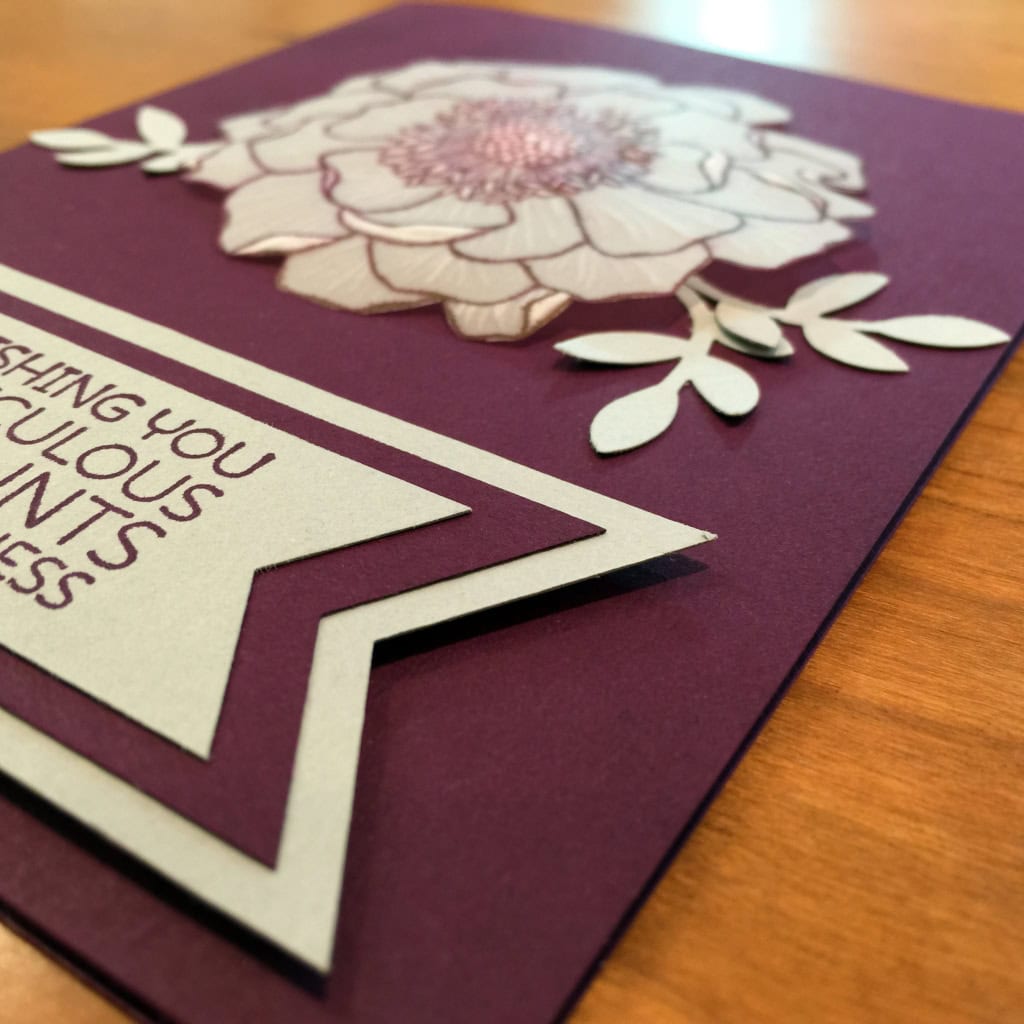
I fussy cut the image with my Paper Snips and attached it to the card front. Remember that any adhesive will show through the vellum. I chose to stack two Stampin’ Dimensionals and attach the very center of the flower to the card front.
The sentiment is from the Cottage Greetings stamp set.

Cottage Greetings
The leaves were cut with the Bird Builder Punch, and the Banners were cut with the new Banner Triple Punch.
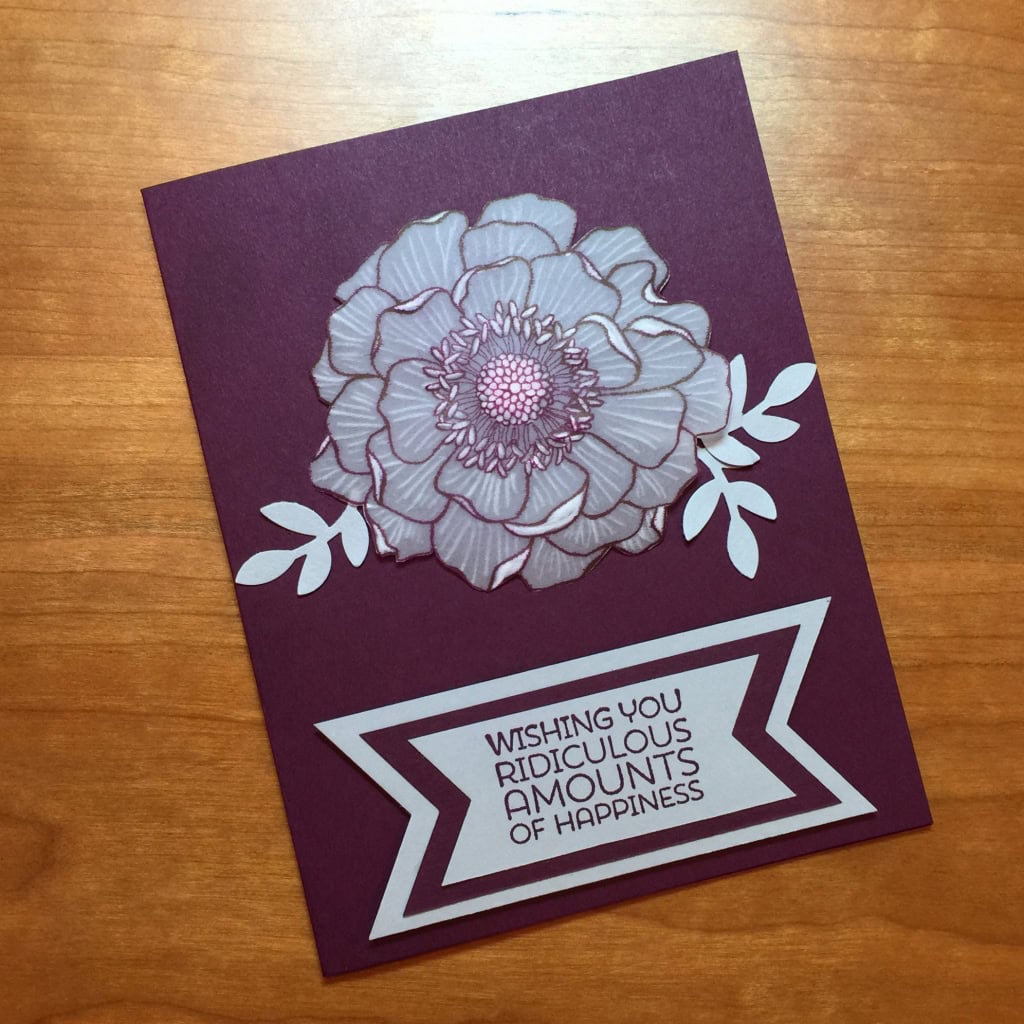
The banners were also attached with Stampin’ Dimensionals.
 Here’s what I used:
Thanks for stopping by today, and Sweet Stamping!