A couple days ago I posted an Easter Bunny card for the Pals Blog Hop. You can see it here.
For the hole in the fence:
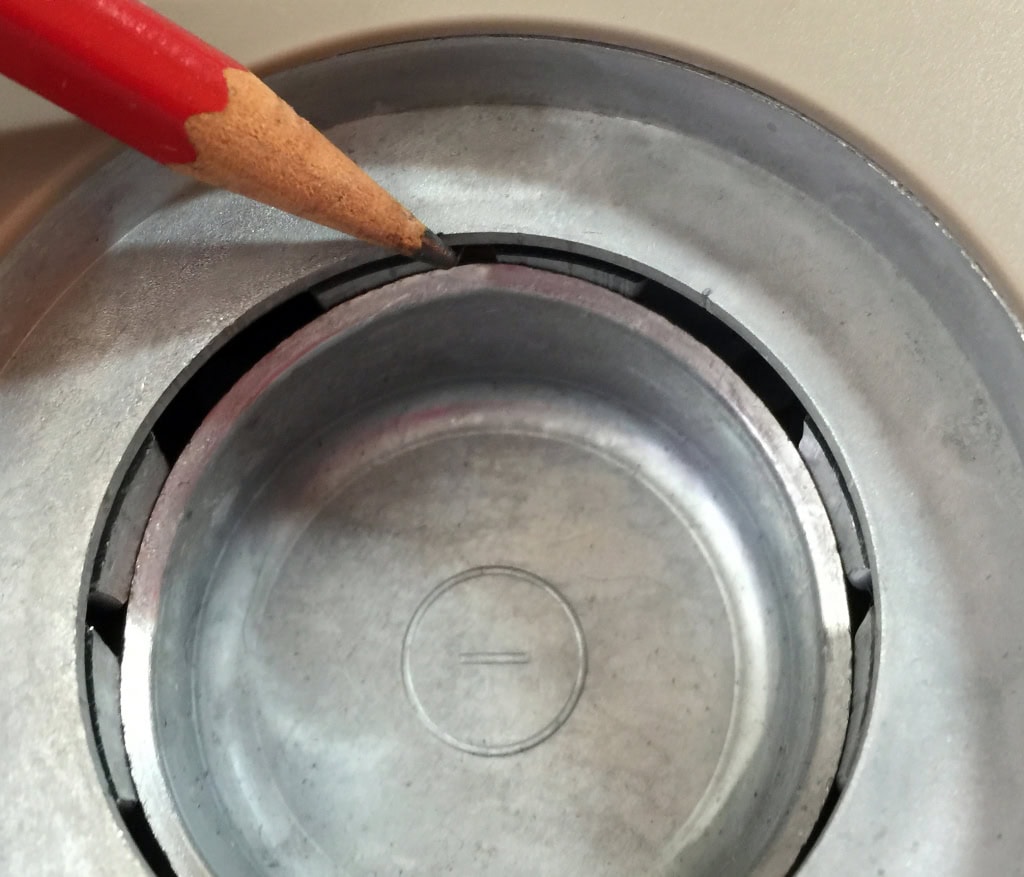
On the card front, the hole in the fence needs to be in the center of the card, but the 1-3/4″ Circle punch won’t reach that far from the edge of the paper.
Here’s how to remedy that. Fold the paper in half but crease only in the center where the hole will be.
Insert the crease halfway into the punch.
There are little holes in the metal at the half way mark. Use those to line up the paper.
Now punch.
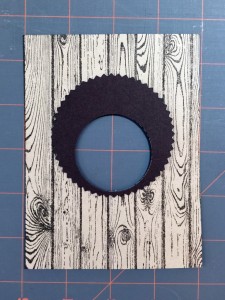
Flatten the paper back out and there’s your centered hole. The Hardwood stamp helps camouflage any creasing that may remain.
For the hole in the hole:
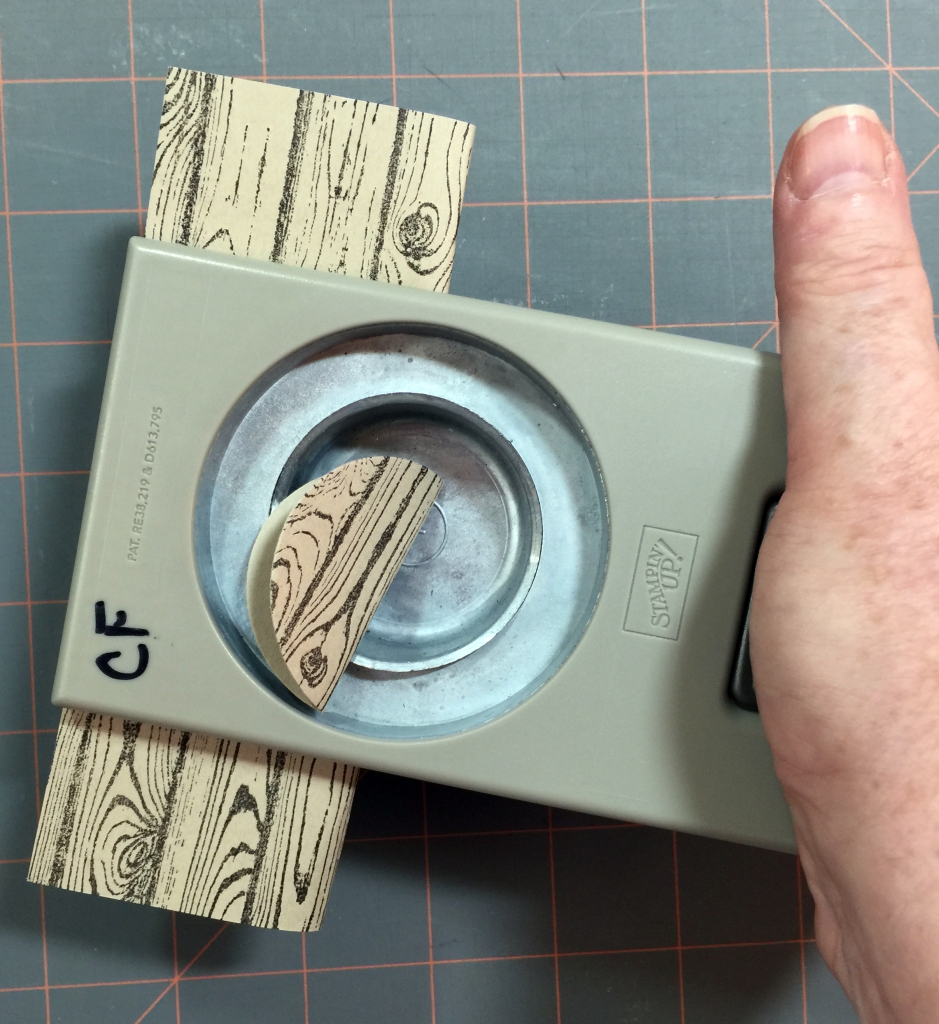
You must also punch a hole in the Early Espresso piece for the Circle Treat Cup to stick through. You can do it one of two ways, although I think the first is easier.
1) Punch the hole in the card stock, then line up the Starburst Framelit so the hole is at the edge.
2) Cut the card stock with the Framelit first, then maneuver it into the punch.
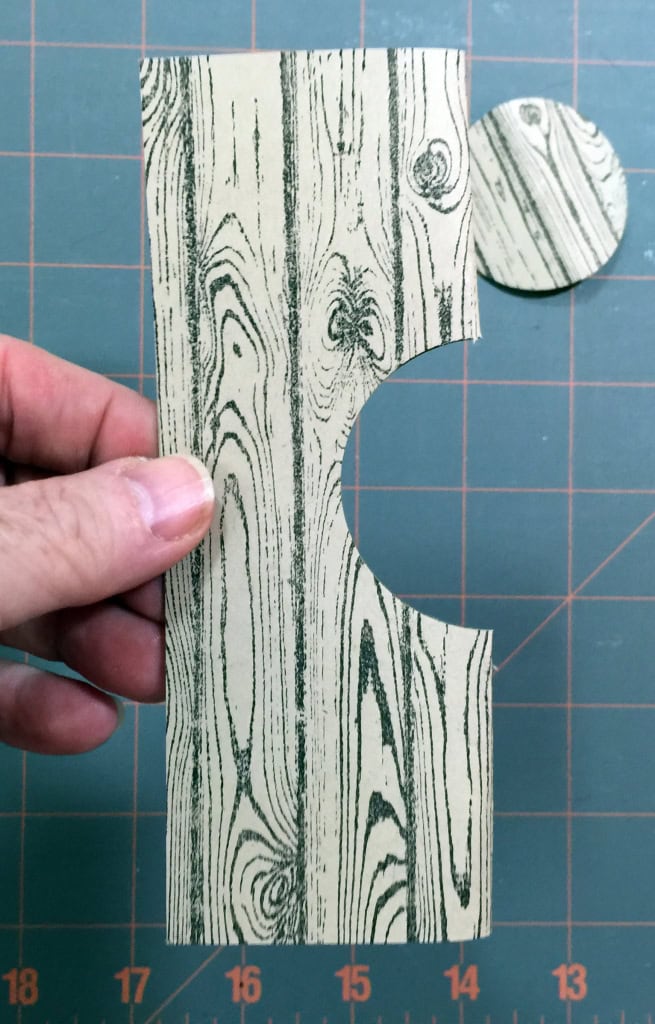
Now adhere the Early Espresso piece to the fence piece, lining up the punched holes.
I hope you found this helpful. Please let me know if you have any questions at all.
You know how I love my tools. One of my favorites is the Stamp-a-ma-jig. It is essential to lining up multiple stamped images, especially when using rubber stamps (not the clear photopolymer ones.) See my previous post here of a card on which I used this great little helper.
The Stamp-a-ma-jig has two pieces: the translucent plastic image sheet and the Jig itself.
To begin, set the jig on a flat surface, then place the image sheet flat so that it butts up against the corner of the jig. Ink your stamp, line it up with the corner of the jig, and stamp onto the image sheet.
Now lay the image sheet over your paper and line up the image where you want to stamp it. Place the jig next to the image sheet as it was before. Hold the jig in place and remove the image sheet.
Now stamp the image, lining the stamp up the same way against the jig. Your stamped image will be exactly where you want it, assuming you didn’t allow the jig to move.
Continue in the same manner until all your images are stamped in place.
On this card, I stamped the same image 5 times in different colors, cleaning the stamp between each stamp.
I used washi tape to hold the paper down so it would be easier to line up the images.
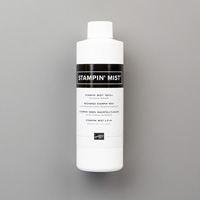
To clean the image sheet, I use my Stampin’ Mist stamp cleaner and my Stampin’ Scrub – see yesterday’s post about how to use them. If you are stamping the same image multiple times, as I did here, you don’t have to clean the image sheet until you are through with that particular stamp. You can also use all four corners of the image sheet – a different stamp image on each corner.
I hope this was helpful and that you will use the Stamp-a-ma-jig on your stamping projects. It makes quick and easy work of lining up your images. Click here to get yours today!
I’ve been stamping for close to 20 years now, and paper crafting all my life. I’ve owned just about every tool in existence at one time or another. And like so many crafters, I’ve been a bit of a collector. But not so much any more. Well, I supposed I’m still a collector, but only of Stampin’ Up! products. I’ve purged just about everything else. Why? Because of the superior quality of Stampin’ Up’s products…
Today I’m sharing an essential tool, the Stampin’ Scrub. While it’s a seemingly very straightforward kind of tool, it seems that every time I show someone how to use it, they are surprised about some of the details. Here’s a video showing the basics:
I hope you found this video useful. I love this tool, and I’m sure you will, too.
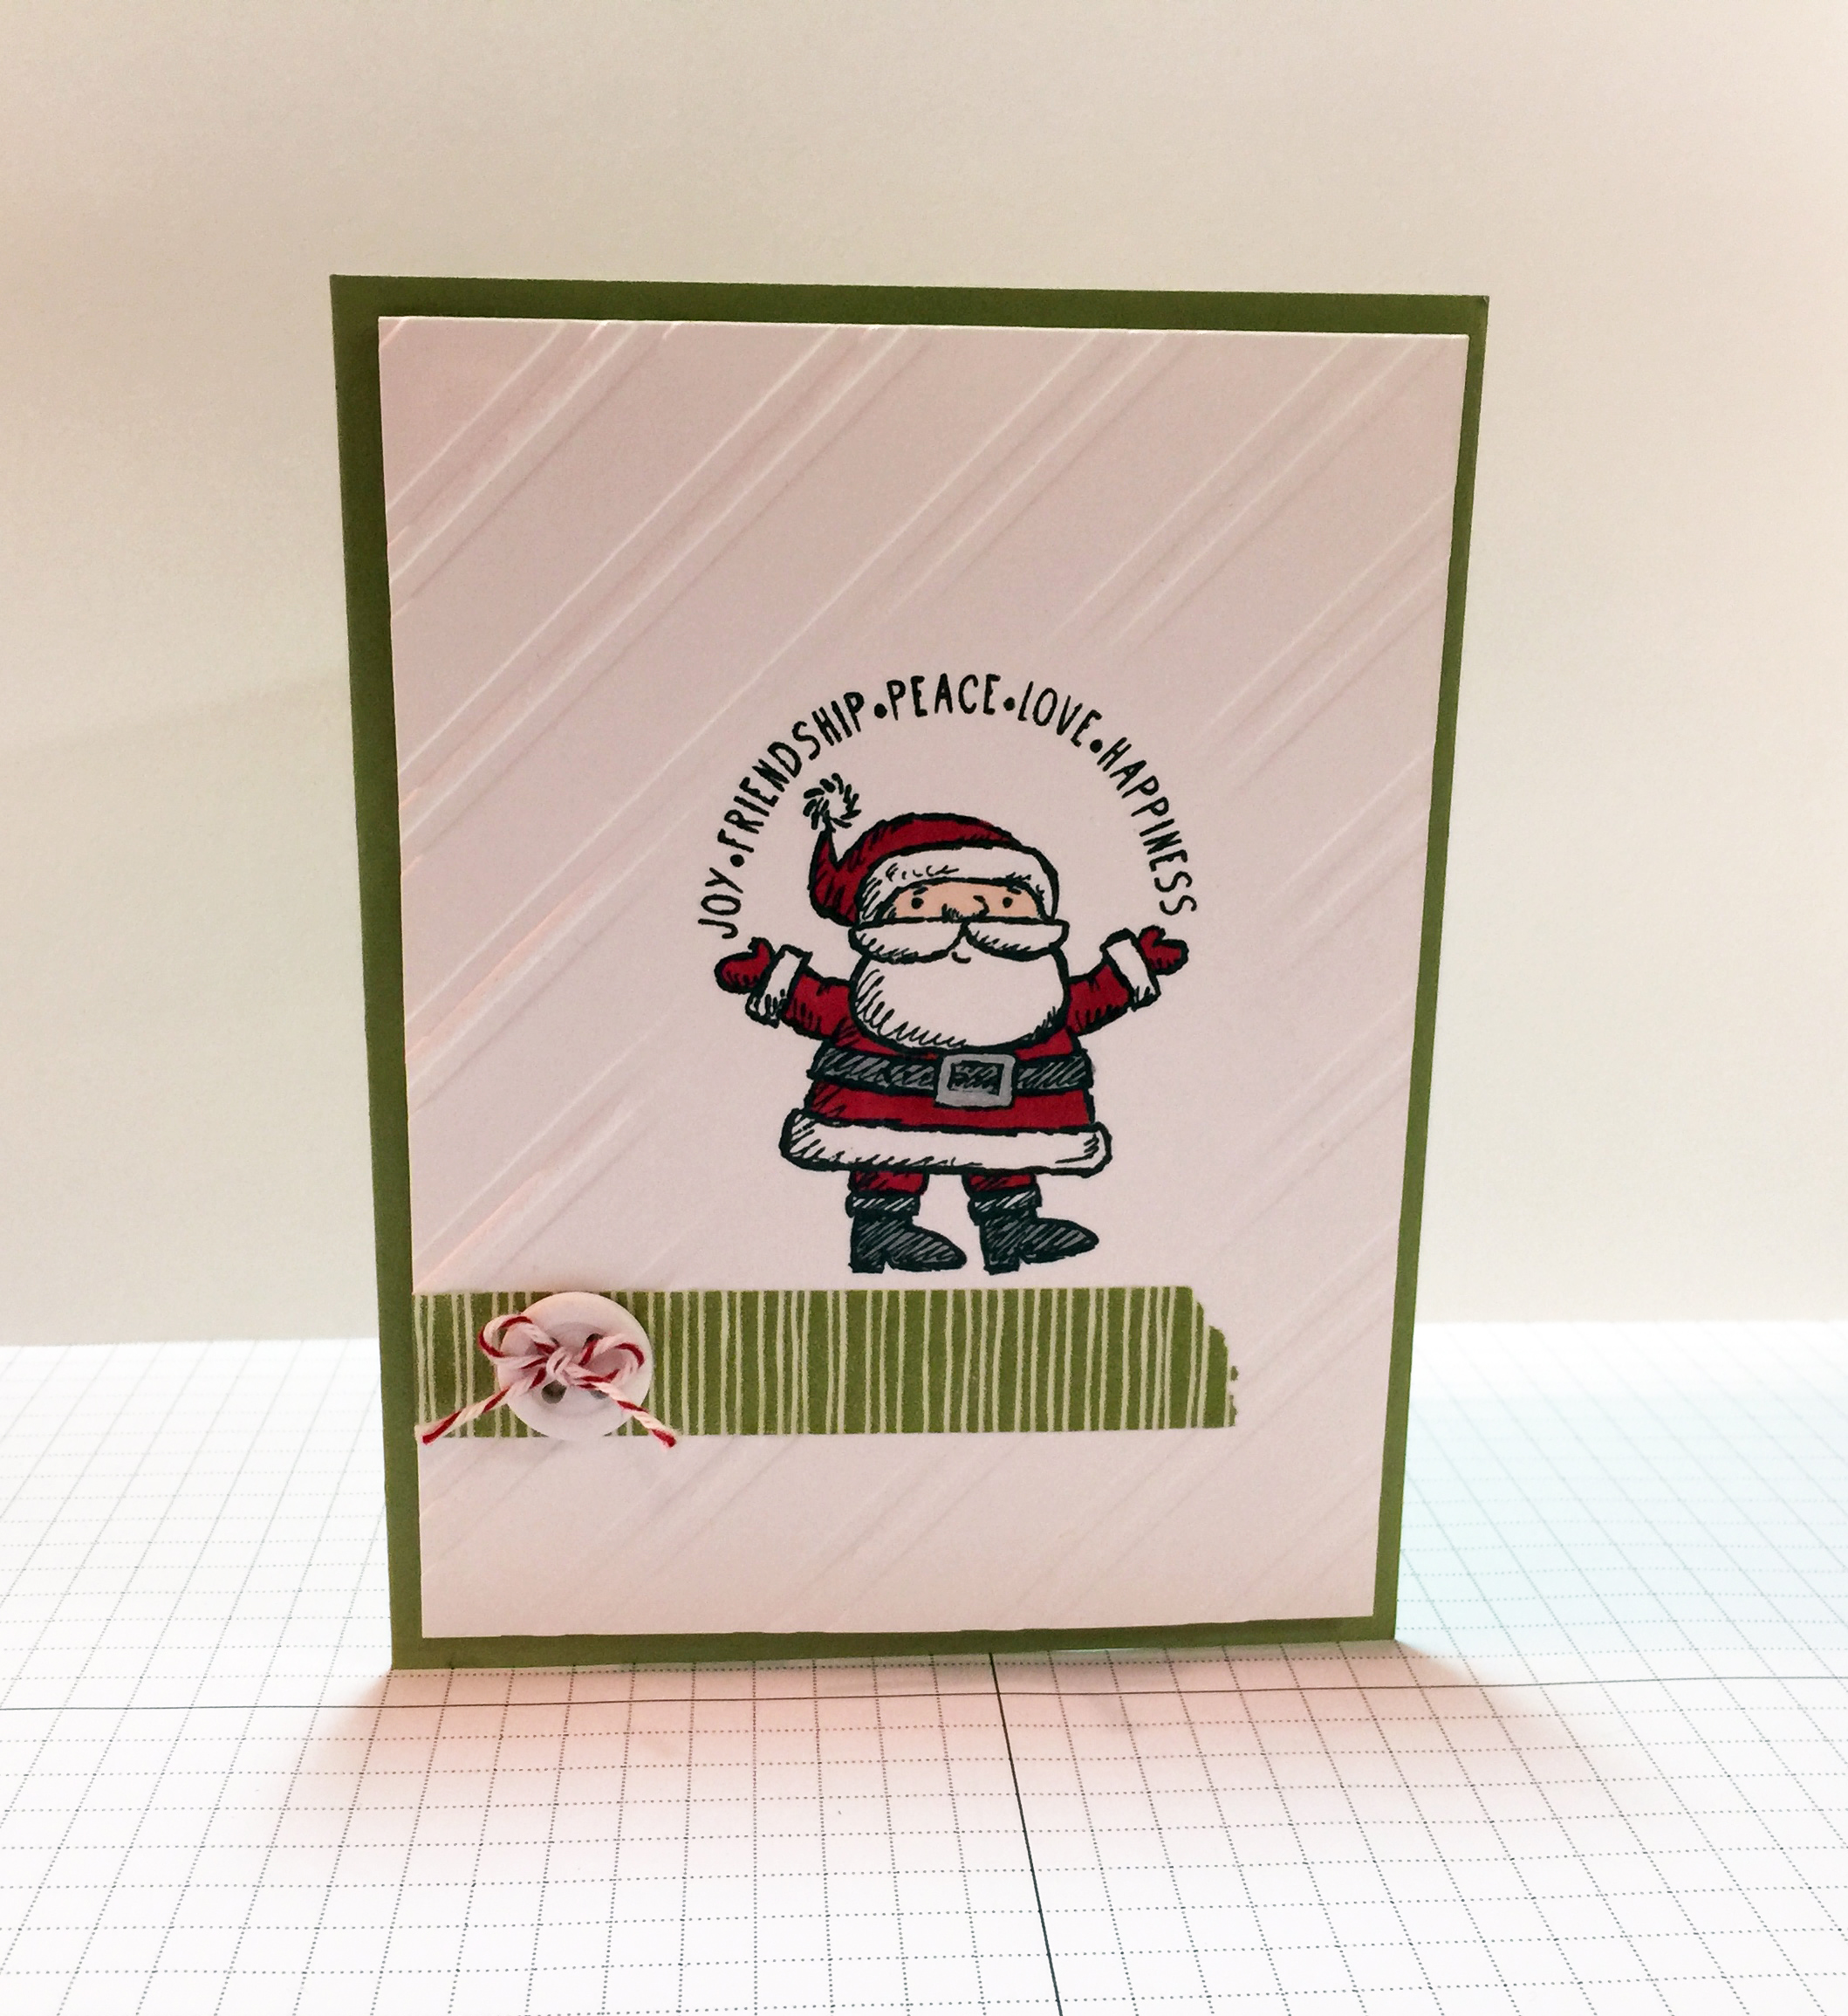
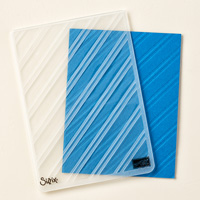
This is the first of three projects we made at December’s Stamp Club meeting. This card uses the emboss resist technique. See how the embossed diagonal stripes are around the sides but not in the center where the stamped image is? While this is a Christmas card, of course this technique can be used year round for any project theme.
I thought this Santa from the Get Your Santa On stamp set looked great in the oval. I grounded him with a base of washi tape. A button with a baker’s twine bow completes the look.
Here’s how to do the embossing resist technique. First of all you need a template. I used three layers of the cardboard that comes in the DSP packs. (I find a use for everything.)
I cut them down to to 6″ x 7″.
I decided on an oval shape, so I used one of the Ovals Framelits dies to cut a hole in the center of each piece of cardboard. Since the die isn’t very think, cut only one piece at a time.
TIP: Cut the first piece, then lay it on top of the next piece and mark the oval with a pencil. Then you know where to put the Framelits die on the next piece.
Once all three are cut, glue them together with Multipurpose Liquid Glue, lining up the oval cutout, instead of the outer edges of the cardboard.
Set the template aside and place your paper in the embossing folder.
Now it’s time to make your Big Shot sandwich. Normally when embossing you would use two of the clear plates and the platform with the top tab off.
Since the template is so thick, this sandwich will be a bit different. Use the platform with all tabs in place.
Hold your embossing folder and template up to the light. In the day time a sunny window works great. At night just use a lamp, or a light box if you have one. Line up the opening wherever you want it on your card. I tried to center mine.
Now place the template and embossing folder on the platform, and place just one clear plate on top. Run the whole sandwich through the Big Shot. When you open the folder, you’ll have a piece of paper that is embossed everywhere except where the template opening is.
The hardest part is deciding on the shape of the template opening. I prefer to keep them to simple shapes, like ovals, circles, etc.
Here are a few action shots of club members working on their cards.
Margie
Judy
Linda & Caitlin
Martha
It’s not too late to get a Big Shot for Christmas! It comes with the platform used here and two clear plates. Tell your loved ones to go here to get yours. Or they can contact me to buy you a gift certificate for any amount: email: candy@stampcandy or call/text: 404-661-5222.
Welcome to the last Pals Blog Hop of 2014. This month we want to help you start your holiday wish list by sharing projects featuring our favorite Stampin’ Up! papers, stamps, tools and accessories. Get your wish list ready as you move along through the blog hop.
You may just be starting the blog hop or may have come from Jackie Diediker at Stampin’ Jackie on the Pals Hop. If you get off track at any time, the full lineup below will help you move along from blog to blog so you see all of the projects.
This card uses some of my very favorite tools from Stampin’ Up! I’ll post the things I think everyone should have on their wish list (including the ones used on this card) at the bottom of this post.
The 2014-2016 In Colors are just magnificent used alone or together. I recommend the Modern Label for your first punch – it’s definitely the one I use most. For your first stamp set, I recommend Teeny Tiny Wishes. It includes 24 greetings for just about any occasion. If you choose the clear mount set, you only need one acrylic block, the G block. The Word Window Punch fits all the greetings and fits atop the Modern Label beautifully. Perfect Polka Dots is wonderful for your first embossing folder – it can be used for a zillion different card styles and themes. And once you have a Big Shot, you’ll be able to emboss and cut with lots of different folders and dies. These items would make a terrific starter kit for anyone beginning to make cards – of course, every card maker needs them!
I raised two of the color panels and the greeting with Stampin’ Dimensionals, a very economical way to add depth and interest to any project.
As I said yesterday, I love the look of glitter, but not the mess it makes. After I finished my gold star from yesterday’s post, my craft table was covered. I tried to take some photos, but I couldn’t capture just how much glitter there was. If you look closely, you can see it on the table and the floor.
I tried using a wet paper towel, and it did pick up a lot, but there were still some speckles.
I pulled out my Adhesive Remover (103684) to clean up a couple spots of glue, and lo and behold, it picked up the glitter, too! See those teeny specks at the right corner of the remover?
I love to find new uses for things. The Adhesive Remover should be in everyone’s craft area. It is an amazing little tool for removing adhesive from projects and work areas. You can stamp with it. And it removes glitter!