Apr 8, 2016 | Bags, Occasions |

The Candy Hearts are such a talented group. I love it when I get to show off projects they’ve made. Today I’m thrilled to share with you a Mini Treat Bag made by guest stamper, Judy Newsome, of LaFayette, GA. Isn’t it spectacular?

Judy used the Mini Treat Bag Framelits to cut the bag out of Have a Cuppa Designer Series Paper. She used the same die set to cut the hearts out of a strip of Wisteria Wonder card stock, backed it with Whisper White card stock, and adhered it to the bag.


She stamped the images from the A Nice Cuppa stamp set in Wisteria Wonder onto Whisper White card stock, and cut them with the Cups & Kettle Framelits.


She adhered the larger image to the bag with Stampin’ Dimensionals.
She tied a bow with Wisteria Wonder 1/2″ Seam Binding Ribbon, tied on the tag and a spoon from the Have A Cuppa Embellishments, then adhered it to the bag with a glue dot.
She cut White Filter Paper with Fringe Scissors for inside the bag.
A huge thanks to Judy for allowing me to share her work on my blog. Check back to see more projects from this talented papercrafter.
Thanks for stopping by today, and Sweet Stamping!

Apr 7, 2016 | Bags, Boxes, Classes, Occasions |
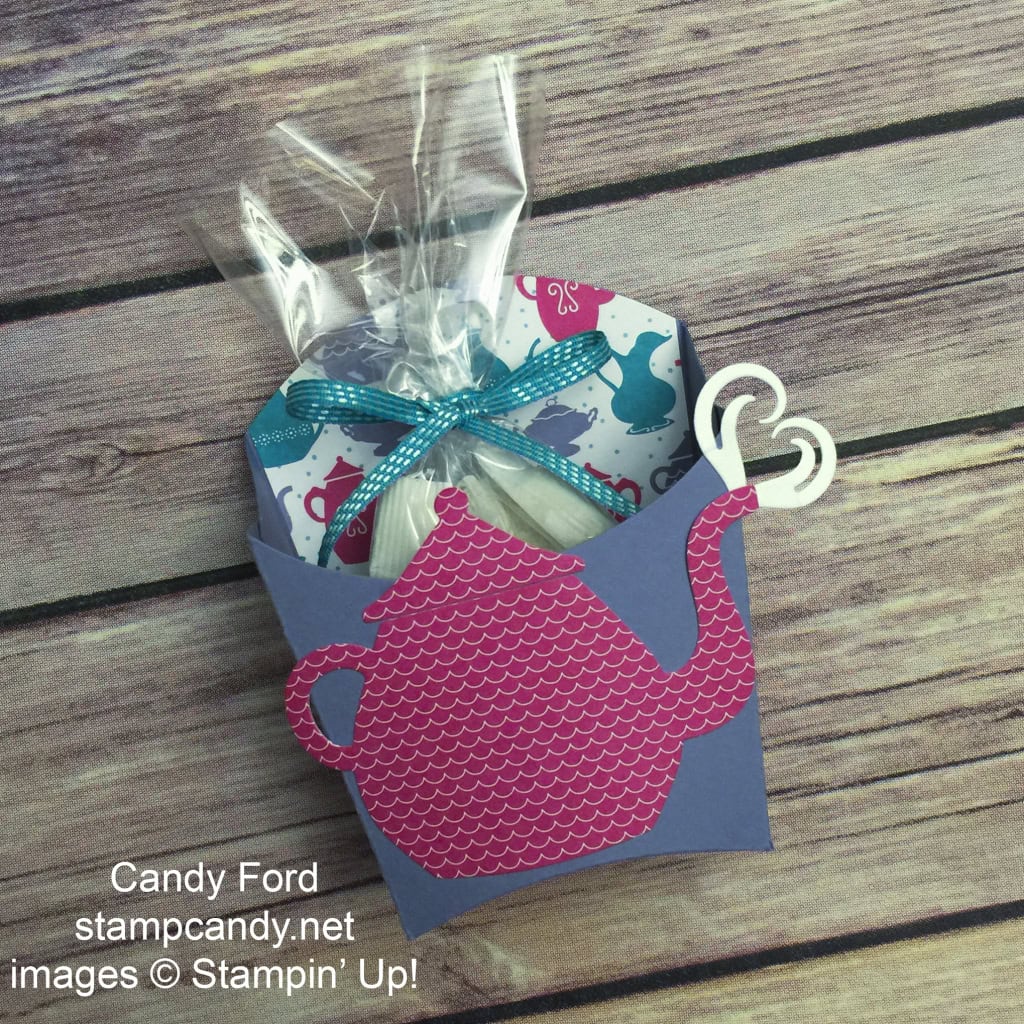
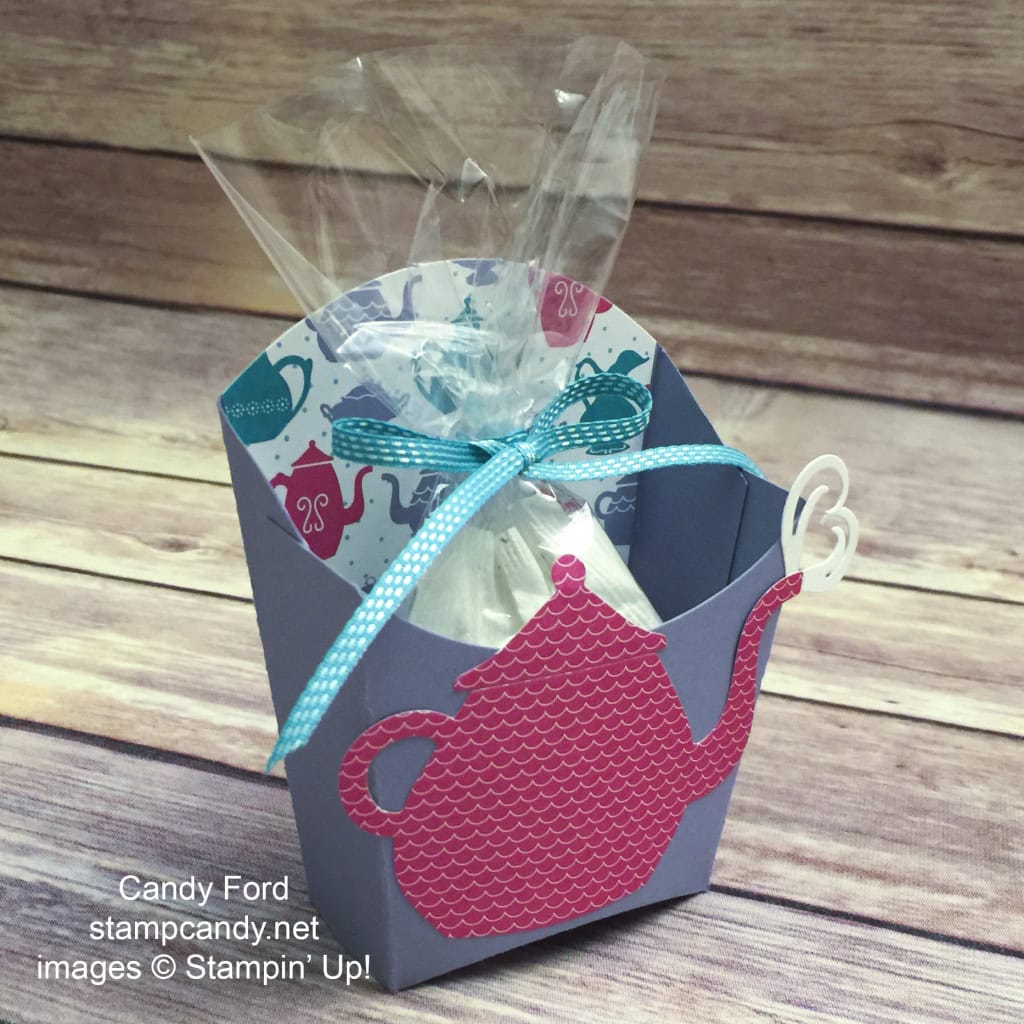
Today I’m sharing the fourth and final project from my A Nice Cuppa Bundle Class. It’s a Fry Box holding a treat of herbal tea bags.
I cut the box from Wisteria Wonder card stock with the Fry Box Bigz L Die, then assembled it with Multipurpose Liquid Glue.
I cut a piece of Have a Cuppa Designer Series Paper with the same die, trimmed it, and glued it into the box.
I cut the teapot from another piece of Have a Cuppa DSP, and the heart from Whisper White card stock, using the Cups & Kettle Framelits Dies. I glued the pieces onto the front of the box.
I put some herbal tea bags in a 4×6 Cellophane Bag and tied it with a piece of Bermuda Bay 1/8″ Stitched Ribbon.
Here’s what I used:
Thanks for stopping by today, and Sweet Stamping!
Mar 19, 2016 | Bags, Boxes, Cards, Challenges, Occasions, Sale-A-Bration |

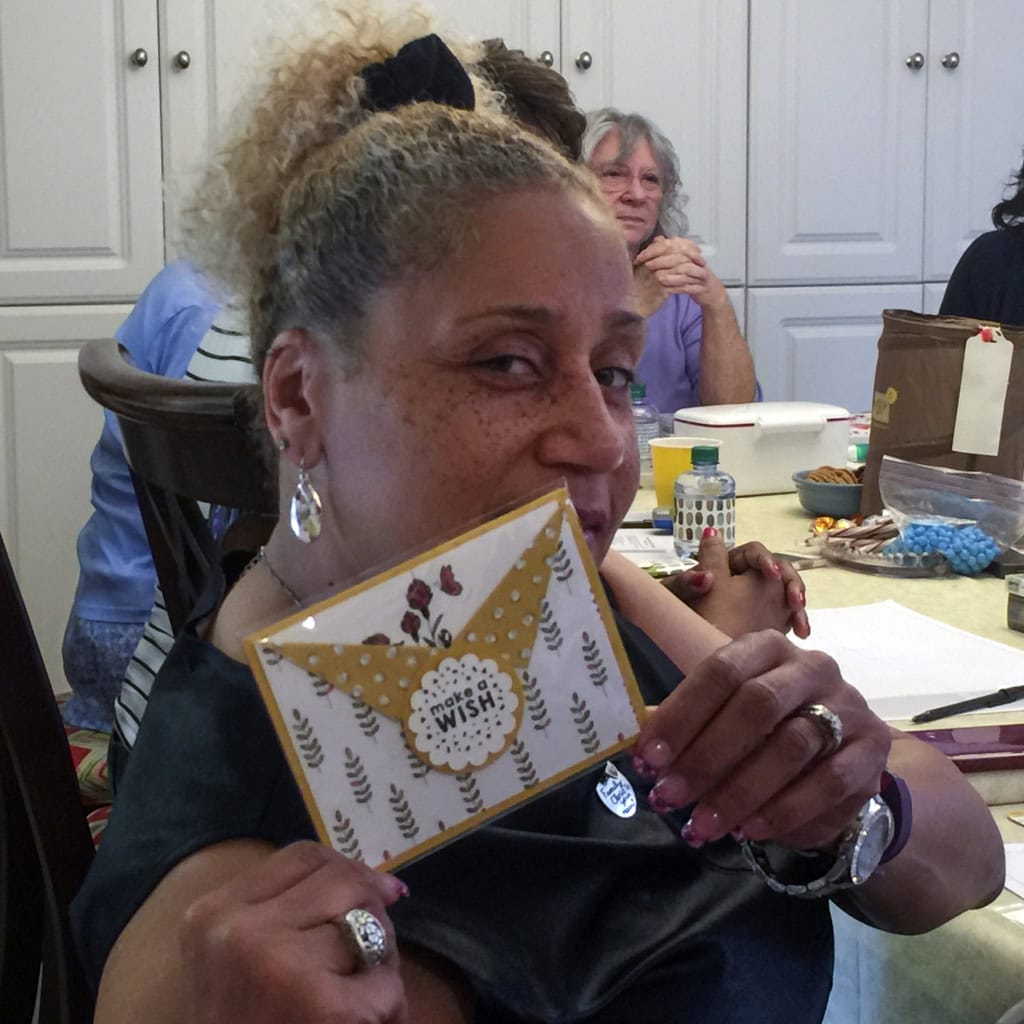
Yesterday I told you about our March Candy Hearts team meeting. You can see that post here. Today I’m sharing the Creative Challenge entries with you. March’s challenge was to create something with FLOWERS.
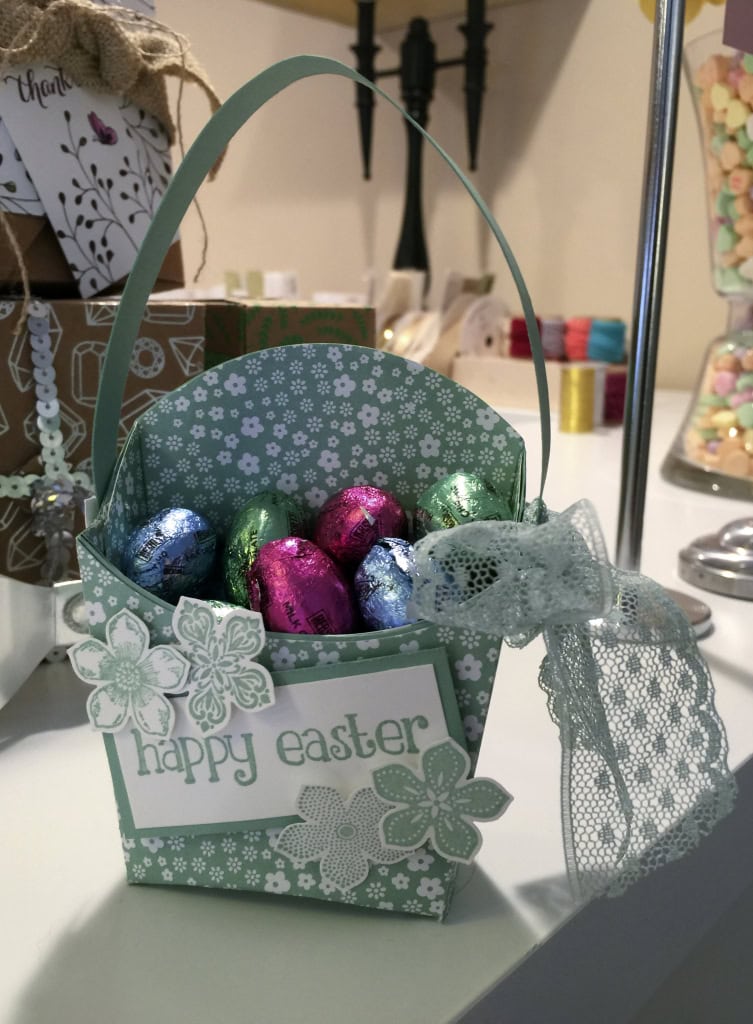
Debbie created an Easter Basket by attaching a long handle to a Fry Box that she covered with Designer Series Paper.The flowers are from Petite Petals.

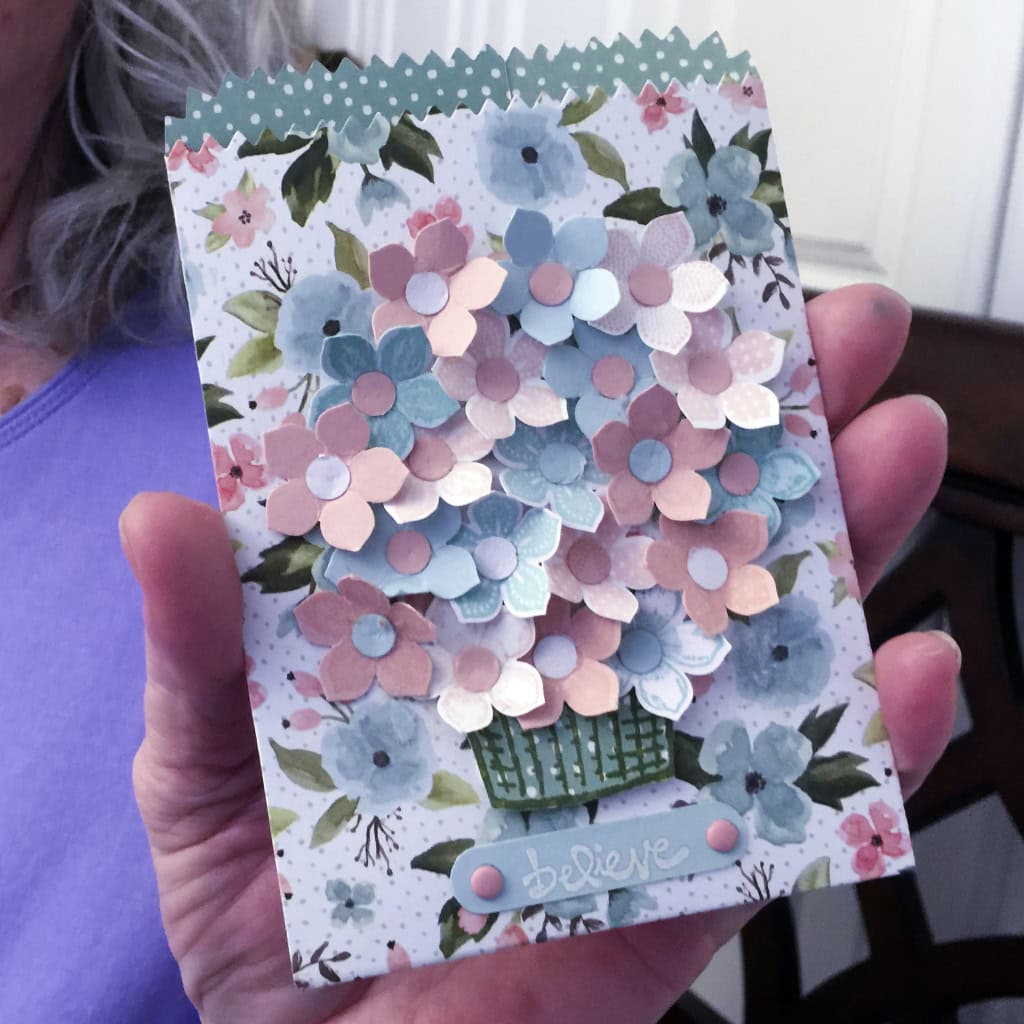
Judy used the Mini Treat Bag Framelits Dies to cut Birthday Bouquet DSP. She covered the bag in Petite Petals flowers and a basket from the Sprinkles of Life stamp set. Her entry won her the Flower Patch stamp set.
Tamara made a card with coordinating Sale-a-bration items: Wildflower Fields DSP and Flowering Fields stamp set.
I have such a talented team! Wouldn’t you like to come play with us? Just buy the Starter Kit! Until March 31 it’s just $99 and you get to choose $155 in product plus you get free shipping! After that you get at least a 20% discount on all your orders. Click here for more information and to join now!
Thanks for stopping by today, and Sweet Stamping!
Mar 7, 2016 | Bags, Club, Food, Gifts, Occasions, Tags |
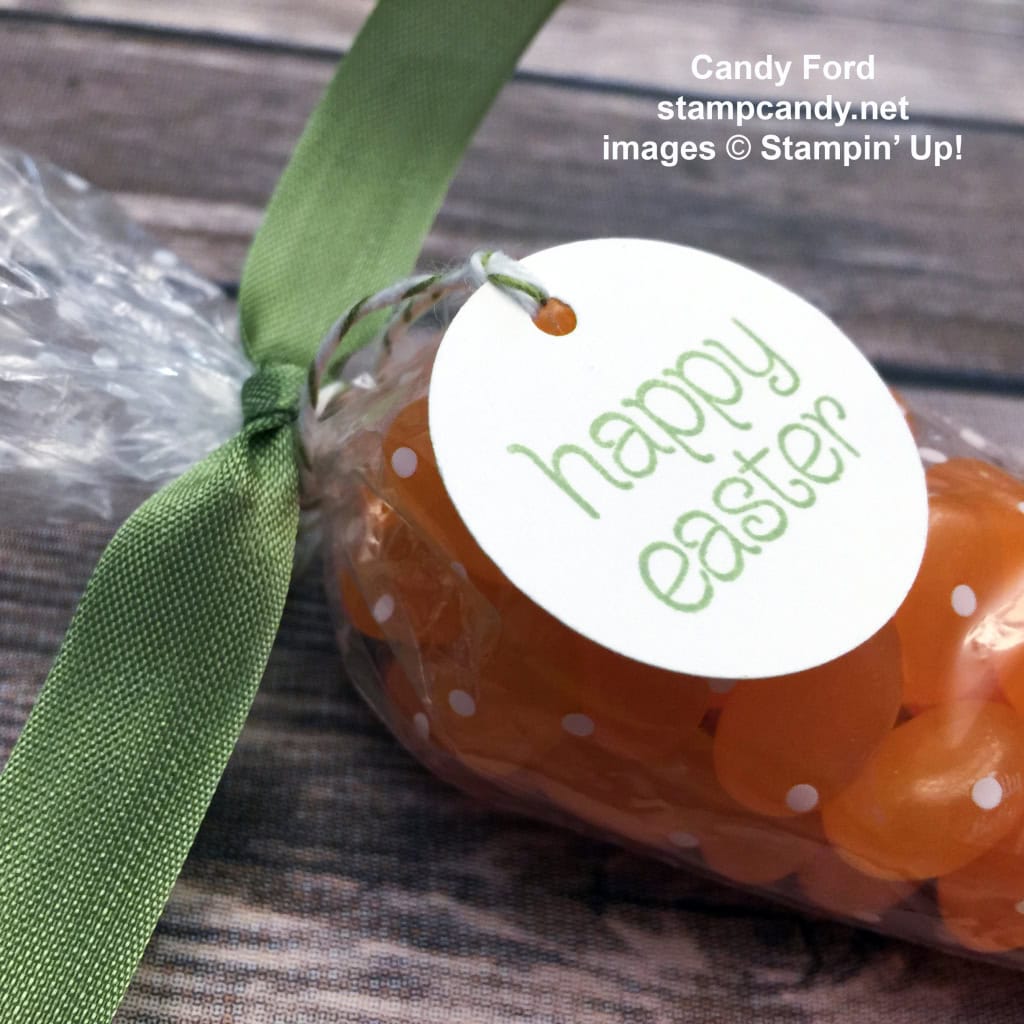
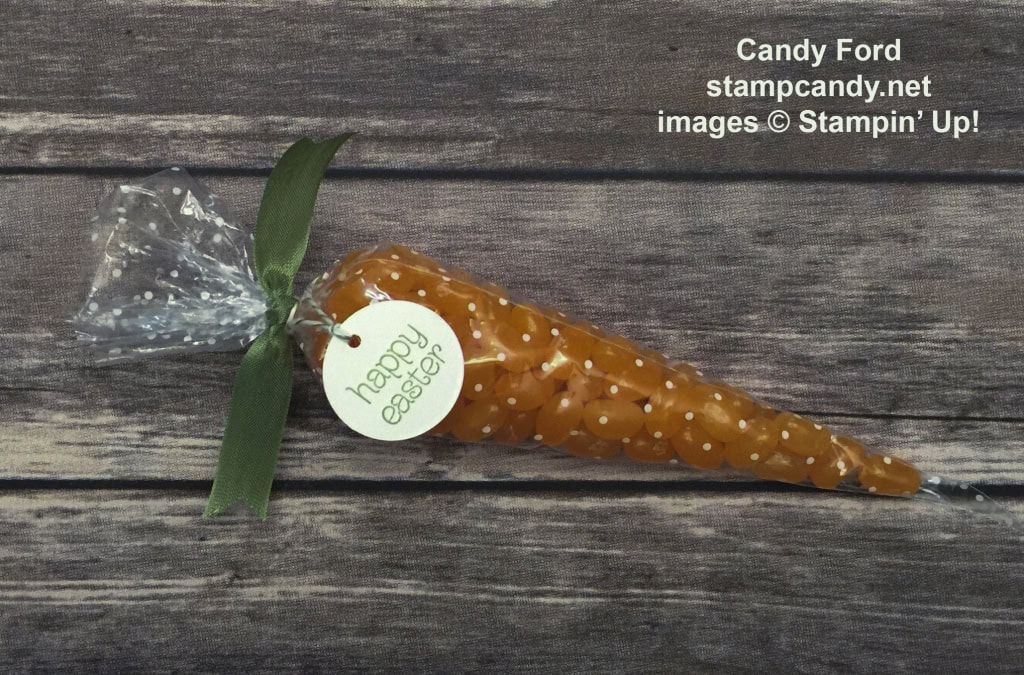
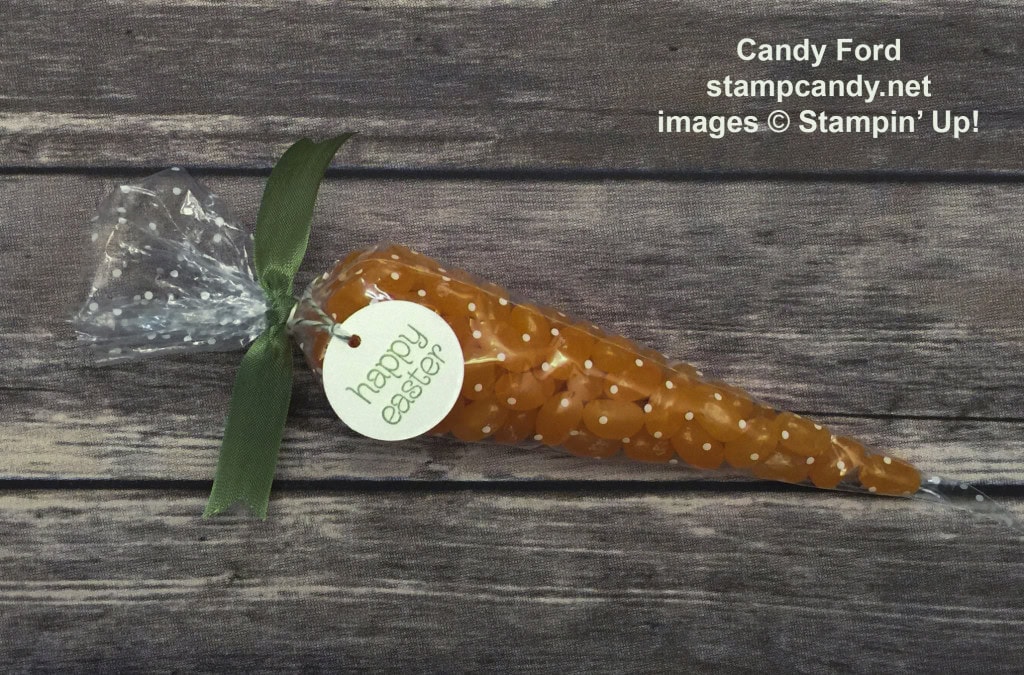
No, it isn’t an exotic dish you’d see on one of those cooking challenge shows. It’s much simpler. It’s a Polka Dot Cone Bag filled with Tangerine flavored jelly beans, and tied with Wild Wasabi Seam Binding and Old Olive Baker’s Twine, to look like a carrot.
This is the third and final Easter project from the March Stamp Club gathering. To see the previous two, click here and here.
This is just about as quick and easy as they come. Put a level 1/3 cup of jelly beans, or other small treats, into the bag. Twist the top to close, and tie with a piece of Wild Wasabi Seam Binding Ribbon.
Stamp the sentiment (we used this one from the Circle of Spring stamp set) on a piece of Whisper White card stock and cut it with the 1-1/4″ Circle Punch. Punch a small hole with the 1/8″ Circle Punch to make a tag. Use Old Olive Baker’s Twine to tie the tag onto the bag.
And that’s it! These provide a lot of bang for the buck. They’re super quick and easy, and make wonderful favors.
Here’s what we used:
Thanks for stopping by today, and Sweet Stamping!

Feb 24, 2016 | Bags, Cards, Challenges, Deals, Events, Parties, Sale-A-Bration, Sales, Swaps |
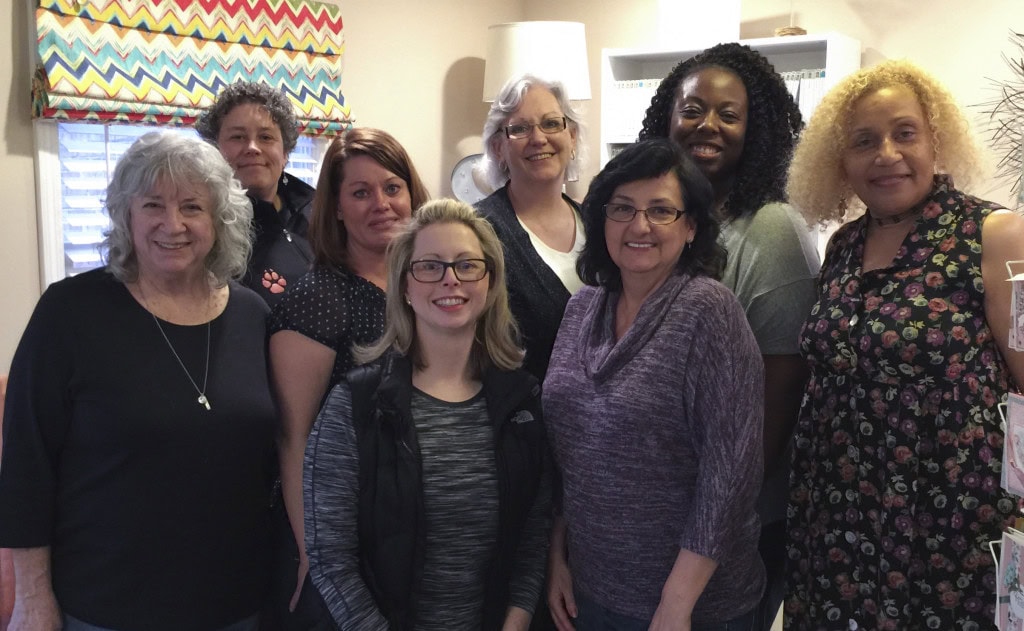
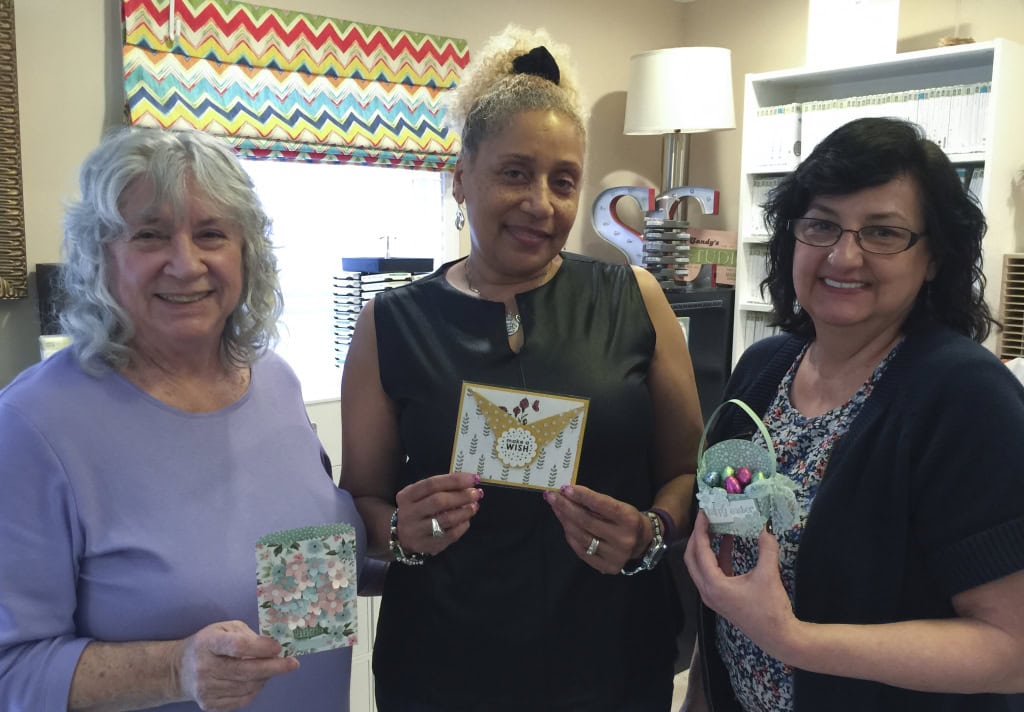
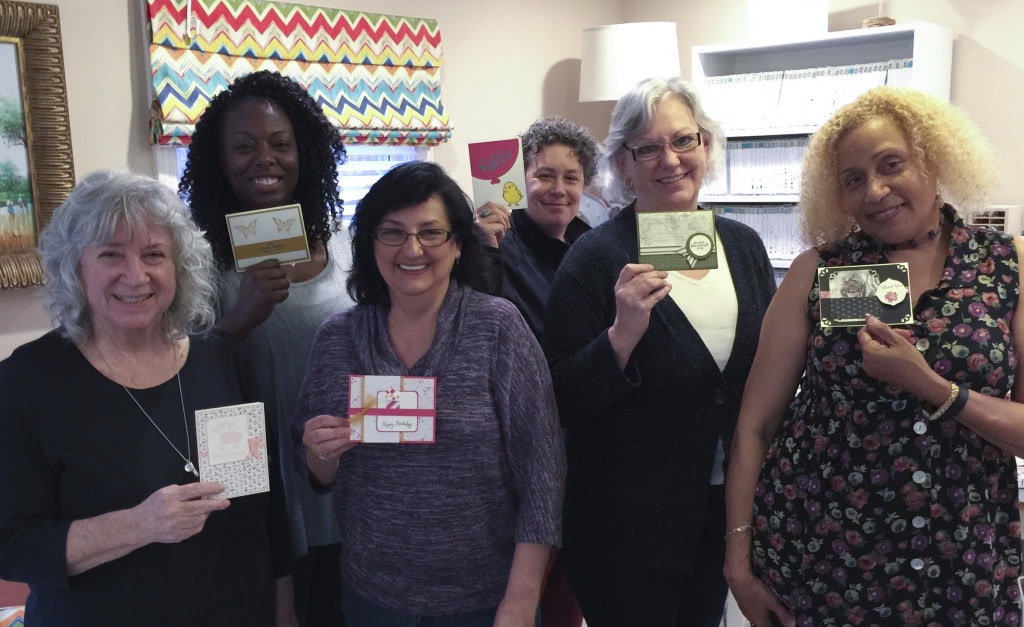
l-r: Judy Newsome, Sam Wills, Kim Laidley, Missy Wiedeman, Linda Krueger, Debbie Catlett, Donica Williams, Tamara Burton
l-r: Judy Newsome, Donica Williams, Debbie Catlett, Sam Wills, Linda Krueger, and Tamara Burton participated in the February Card Swap. What a talented group of stampers!
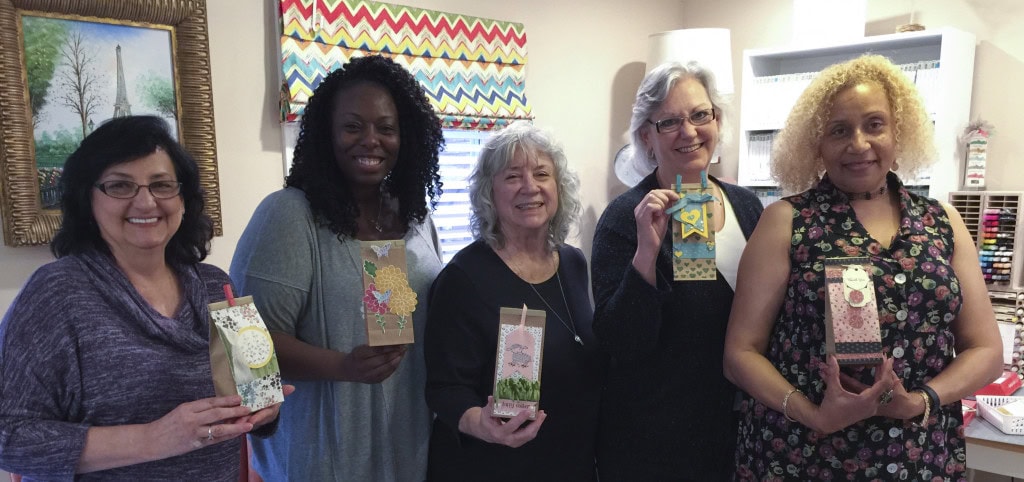
l-r: Debbie, Donica, Judy, Linda, and Tamara completed this month’s Creative Challenge – decorating a Petite Cafe Bag. They all did a great job. Everyone present voted on their favorite, and the winner received a package of Petite Cafe Bags! Congratulations, Judy!
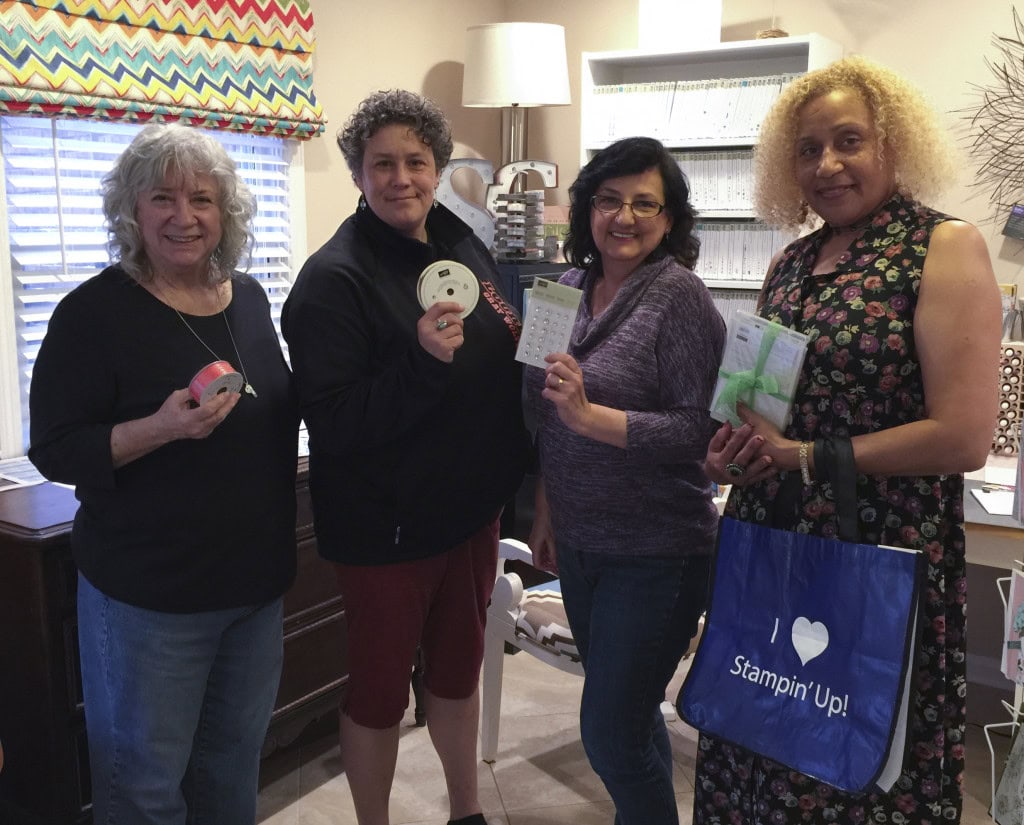
Prize drawing tickets were awarded according to performance and participation. These are the lucky prize winners at the February meeting, l-r: Judy won a roll of Watermelon Wonder 1″ Stitched Satin Ribbon; Sam won a roll of 1-1/4″ Burlap ribbon; Debbie won a pack of Iced Rhinestones; Tamara won a tote bag AND the big prize this month, the Bloomin’ Love Bundle! Congratulations, Ladies!
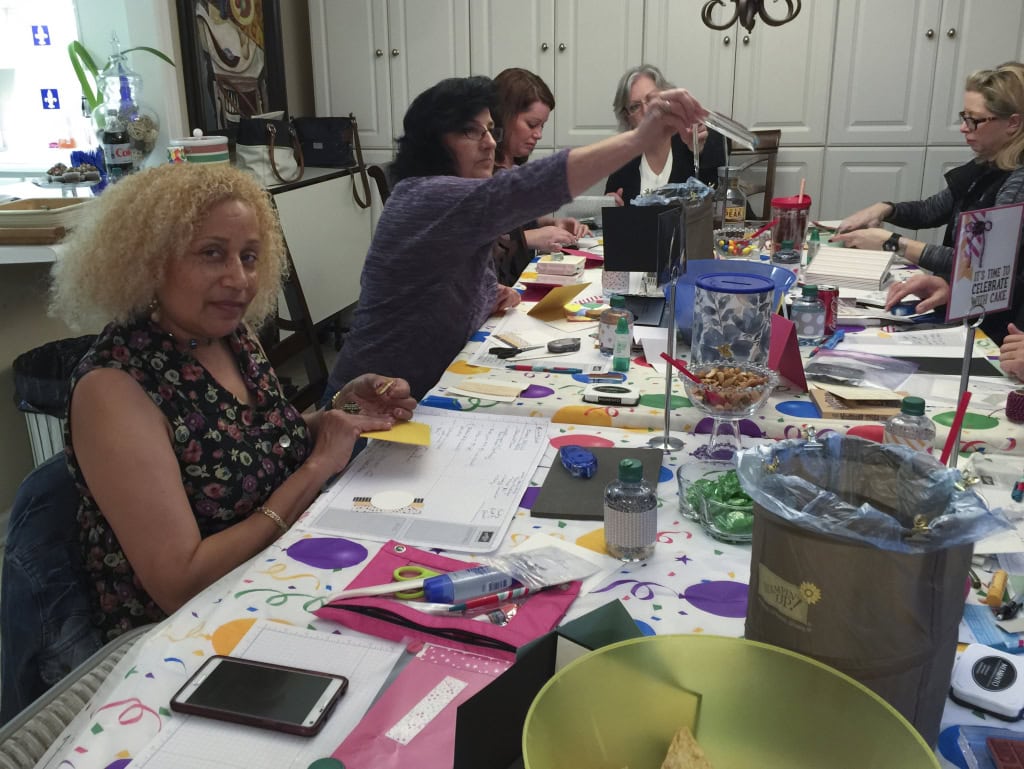
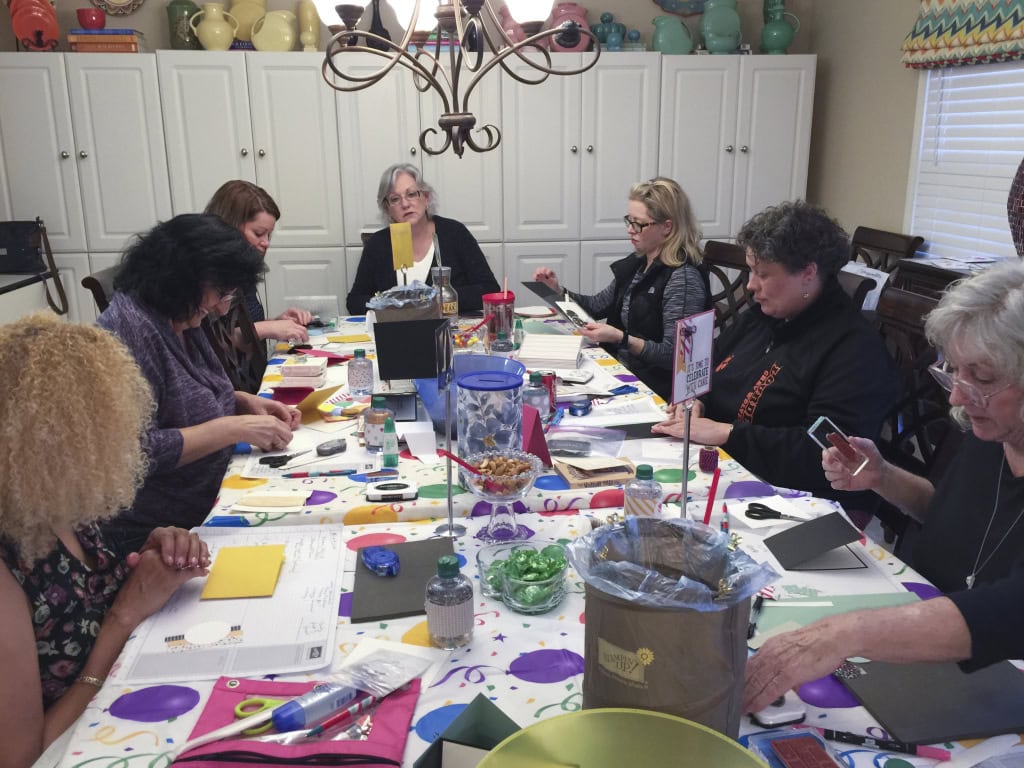
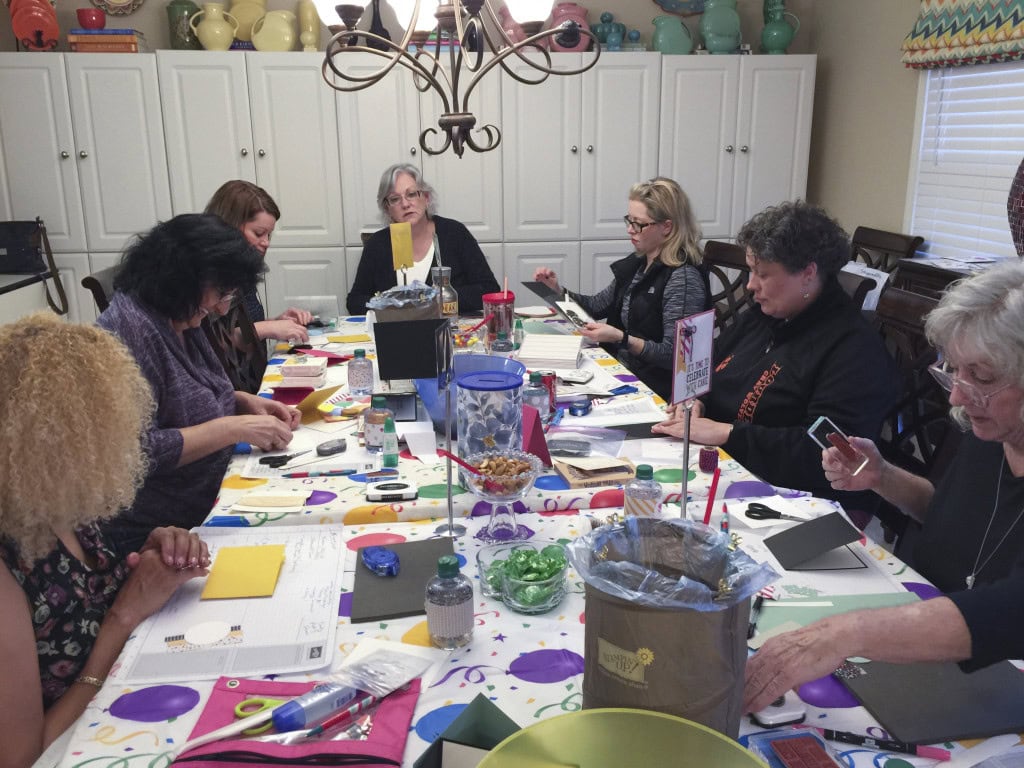
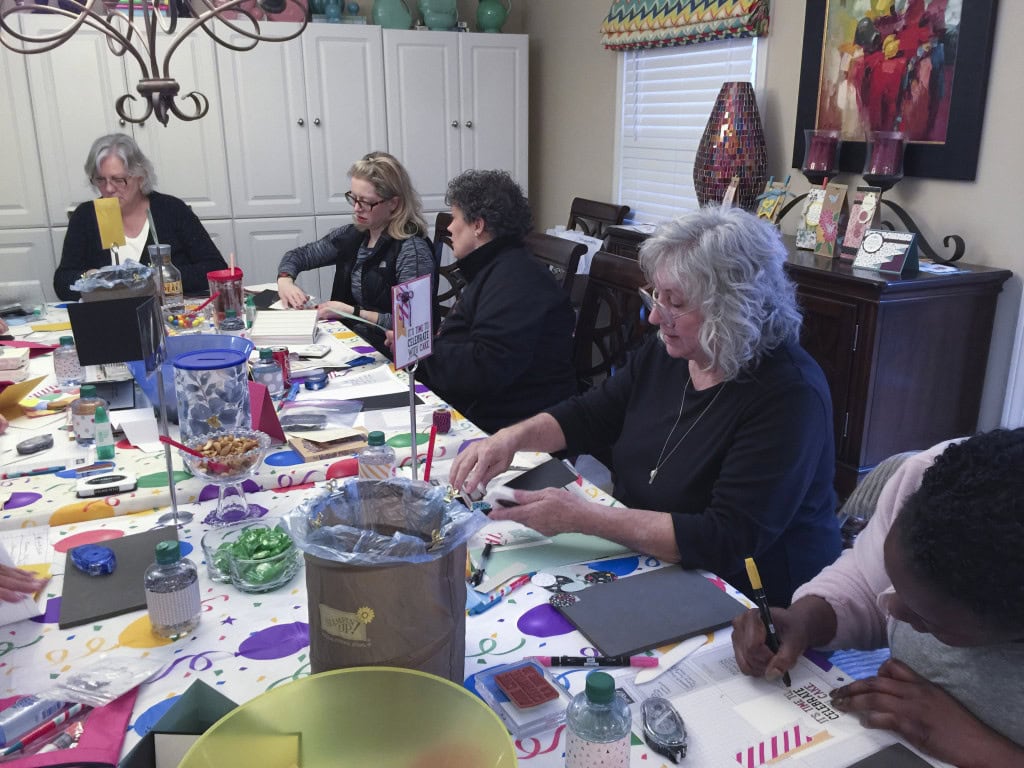
Here are a few action shots I got while everyone was working on this month’s Make & Takes – 4 birthday cards. Check back for more details on all the projects.


Would you like to join in the fun? Buy the Starter Kit! Now through March 31, you get $155 in product of your choice for only $99 AND Free shipping! That’s a savings of 42%! It’s by far the best deal Stampin’ Up! offers.
- No risk – no obligation.
- Get a 20+% discount on all future orders.
- You never have to sell a thing.
- Join a fun community of stampers.
- If you join now, you have until the end of July to purchase/sell $300 and renew for the next quarter. If you don’t reach the $300, you simply drop. No fee, no penalty of any kind.
- This is the best way to stock up on all the great products on your wish list.
- Click on “Be a Candy Heart” on the menu above for more information or to buy the Starter Kit.
- I’m always more than happy to answer any questions you might have: candy@stampcandy.net or 404-661-5222
- Through March 31, you receive an extra $30 in free product when you buy the Starter Kit. Beginning April 1, you will receive $125 in product for $99 and free shipping. Still a great deal, but why miss out on the extra $30?
Check out the new Weekly Deals! Save 25% on these items through Monday, February 29!
Thanks for stopping by today, and Sweet Stamping!
Dec 26, 2015 | Bags, Christmas, Club, Food, Gifts, Holiday |

Who doesn’t love a cup of hot cocoa when the weather’s cold? Today’s project is a quick gift idea for anyone who needs warming up. It was also one of our December Stamp Club projects.
We began by randomly stamping the cups from the Cup of Cheer stamp set in Crumb Cake on a Kraft Tag a Bag Gift Bag. We then stamped the snowflakes from the Project Life Hello December 2015 stamp set in Real Red between the cups. This is one of my favorite snowflake stamps. It’s so delicate.
We stamped the same cup image in Chocolate Chip and the same snowflakes in Real Red on a 2″ strip of Very Vanilla card stock. Then we used the Banner Trip Punch to notch the end. We cut a 1″ strip of Chocolate Chip card stock and notched the end of it as well. We glued the two banners together, overlapping.
After putting a packet of hot cocoa mix inside the bag, we folded over the top, tucked in the tops of the banners, and stapled it shut. You can also adhere the banners to the bag, if you’d like to have more than just the staple holding them on.
We tied a length of Real Red 1/8″ Striped Ribbon around the bag and tied on a candy cane. I found these hot cocoa flavored candy canes at Target.

Here’s what we used:
Thanks for stopping by today, and Sweet Stamping!