I am so excited! It’s always exciting to get new stamping goodies, but I’m especially thrilled today. This new holiday catalog is chock full of some of the most awesome new holiday products I’ve seen: new stamp sets, dies, punches, papers, embossing folders, and more. And the Bundles are fantastic!
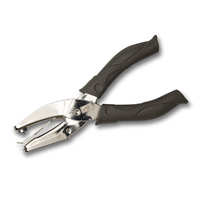
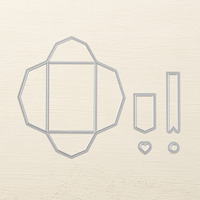
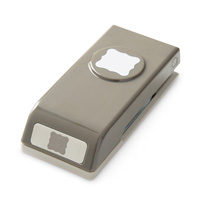
Here’s a sneak peek of some of the new products I’ve received so far in my preorder:
How would you like to be able to order these new products before everyone else? And at a discount? Don’t wait until September, and pay full price. Buy the $99 Starter Kit now and you will be able to preorder from the new Holiday catalog! Click here to join or for more information. Contact me with any questions at all: candy@stampcandy.net or 404-661-5222.
Need a catalog? Email me at candy@stampcandy.net and I’ll send one out to you. If you already have a demonstrator, please get your catalog from them. Thank you!
I hope you’ve had a wonderful holiday season. I certainly have. The best part was spending time with family I don’t get to see very often.
Wowee, I can’t believe it’s been 10 days since I posted. The holiday really took a toll on my stamping schedule. I still have some Christmas themed projects I had planned to post before the 25th. Until I get back in the full swing of all things stamping, I’ll continue to post a few of those.
For birthdays and Christmas, my sister and I always get each other a charm for our bracelets. This year we got each other the same charm – we are so alike! I discovered that a Pandora charm box fits perfectly inside one of the Stampin’ Up! Tiny Treat boxes. I’m sure a ring box would fit, too!
I covered this one in Santa and Co. DSP. The box is a 2″ cube, so I cut the DSP to 1-3/4″ squares – 5 pieces for the four sides and the top, 6 pieces if you want to cover the bottom. The piece on the front has a notch cut out with the 3/4″ Circle Punch to accommodate the notch in the box. A adhered the DSP to the box with Multipurpose Liquid Glue. I tied a piece of Marina Mist 1/4″ cotton ribbon around the box and tied a simple bow. I looooove the cotton ribbon! Such a nice texture and feel.
For the tag I punched out two scallop ovals from the same DSP and glued them back to back. I stamped the sentiment from the Visions of Santa stamp set in Tuxedo Black Memento Ink onto Whisper White card stock. I cut it with the Large Oval Punch and adhered it with Stampin’ Demensionals. I used the 1/16″ Handheld Circle Punch to make a hole in the tag, threaded Whisper White Bakers Twine through, then tied it around the bow. Easy peasy lemon squeezy.
Of course, I had to mark “fabulous” with my Marina Mist Stampin’ Write Marker.
This is the second of three projects we made at December’s Stamp Club meeting. Super simple but oh so cute!
Gift cards are such a common and convenient gift nowadays. Here’s a way to give them in holiday style. Who wouldn’t appreciate this Santa gift card holder?
(I didn’t have a gift card handy, so I used my Kroger card to demonstrate how to attach it to the back of the insert with glue dots.)
The envelope – Use the Gift Card Envelope Thinlits Die to cut the holder. Fold on the score lines and adhere three sides to make an envelope. Cut a piece of Whisper White card stock to 1″ x 2-3/4″. Adhere to the front of the envelope.
The belt – Cut a piece of Basic Black card stock to 3/4″ x 8-1/2″. Use the Curly Label Punch to cut a piece of Silver Foil Sheet. Use the Petite Curly Label Punch to cut a piece of Basic Black card stock.
Wrap the long black piece around the envelope, overlapping in the center of the envelope front. Make sure the belt is loose enough to slip on and off the envelope, but snug enough so it doesn’t just fall off. Adhere the ends. Glue the black petite label onto the center of the silver curly label, then adhere that to the belt, covering the overlap.
The insert – Cut a piece of Whisper White card stock to 3-3/4″ x 2-1/2″. Stamp on one side – we placed the Seasons Greetings stamp and the To/From stamp on the large acrylic block together, and stamped in Read Red. We placed the holly stamp on the small acrylic block and inked it with Real Red and Garden Green Stampin’ Write Markers. Adhere gift card to the other side with a couple of mini glue dots. Slide into the envelope and slip the belt over.
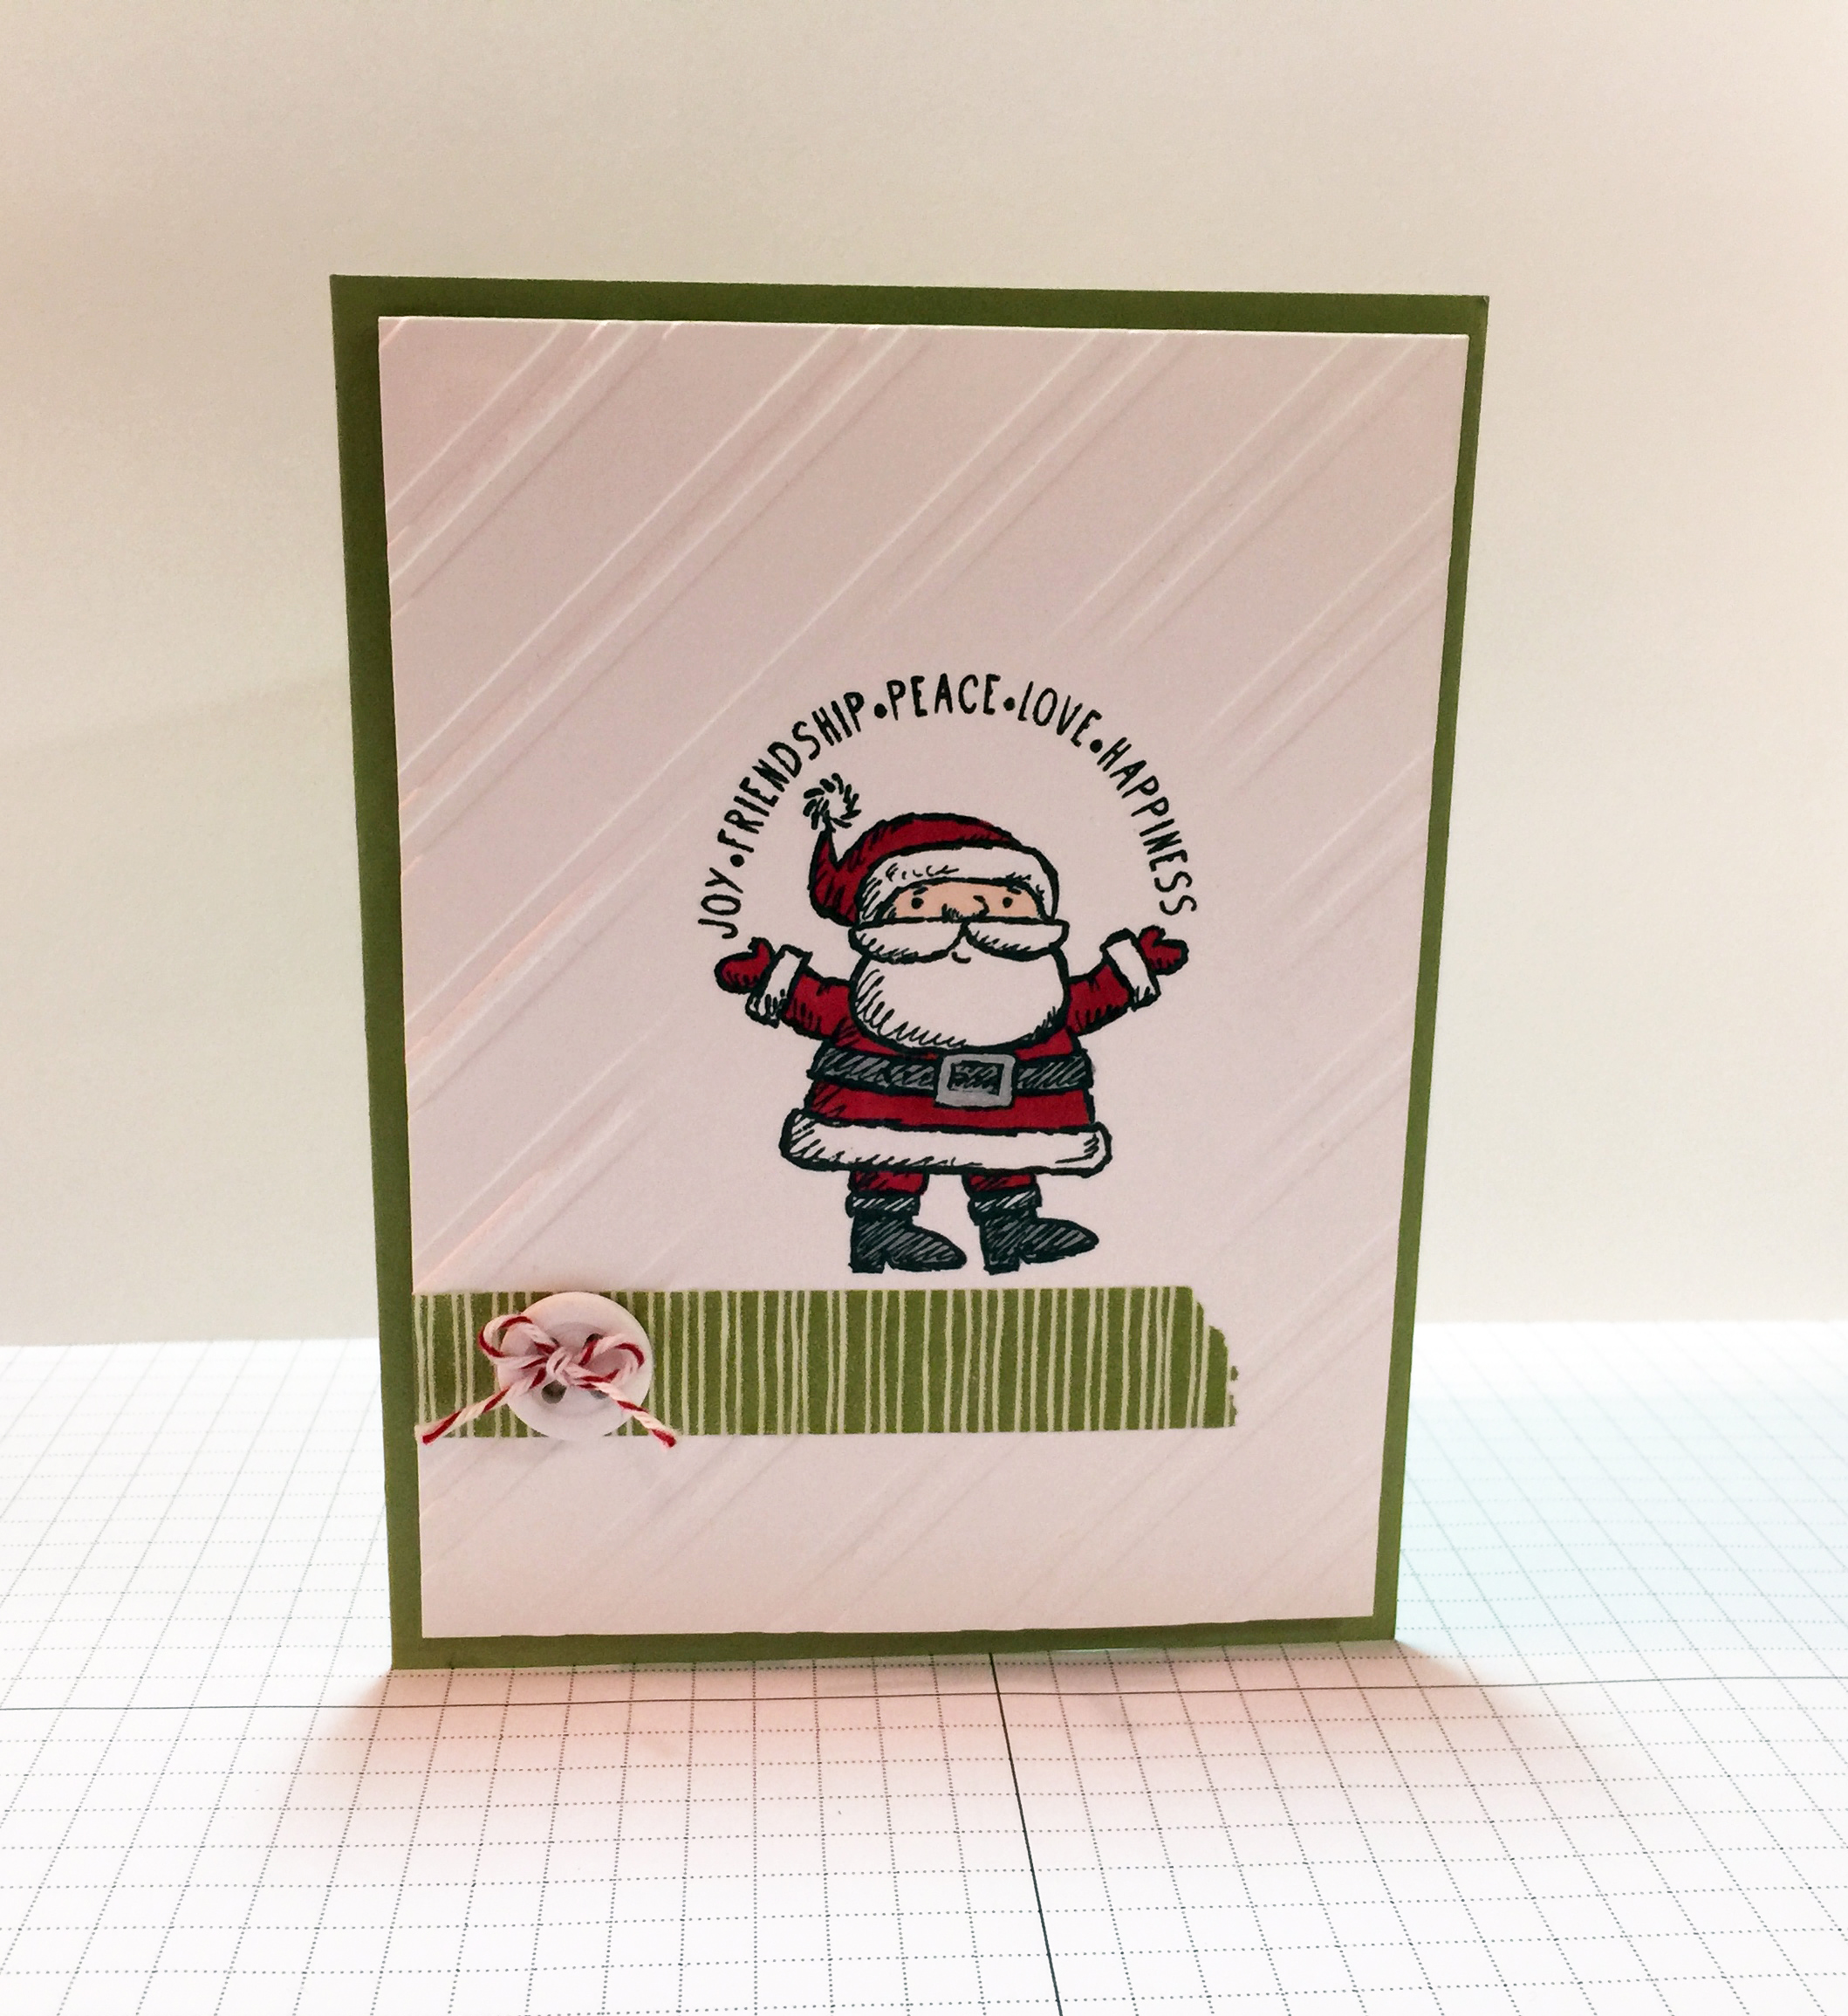
This is the first of three projects we made at December’s Stamp Club meeting. This card uses the emboss resist technique. See how the embossed diagonal stripes are around the sides but not in the center where the stamped image is? While this is a Christmas card, of course this technique can be used year round for any project theme.
I thought this Santa from the Get Your Santa On stamp set looked great in the oval. I grounded him with a base of washi tape. A button with a baker’s twine bow completes the look.
Here’s how to do the embossing resist technique. First of all you need a template. I used three layers of the cardboard that comes in the DSP packs. (I find a use for everything.)
I cut them down to to 6″ x 7″.
I decided on an oval shape, so I used one of the Ovals Framelits dies to cut a hole in the center of each piece of cardboard. Since the die isn’t very think, cut only one piece at a time.
TIP: Cut the first piece, then lay it on top of the next piece and mark the oval with a pencil. Then you know where to put the Framelits die on the next piece.
Once all three are cut, glue them together with Multipurpose Liquid Glue, lining up the oval cutout, instead of the outer edges of the cardboard.
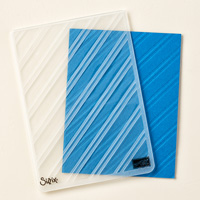
Set the template aside and place your paper in the embossing folder.
Now it’s time to make your Big Shot sandwich. Normally when embossing you would use two of the clear plates and the platform with the top tab off.
Since the template is so thick, this sandwich will be a bit different. Use the platform with all tabs in place.
Hold your embossing folder and template up to the light. In the day time a sunny window works great. At night just use a lamp, or a light box if you have one. Line up the opening wherever you want it on your card. I tried to center mine.
Now place the template and embossing folder on the platform, and place just one clear plate on top. Run the whole sandwich through the Big Shot. When you open the folder, you’ll have a piece of paper that is embossed everywhere except where the template opening is.
The hardest part is deciding on the shape of the template opening. I prefer to keep them to simple shapes, like ovals, circles, etc.
Here are a few action shots of club members working on their cards.
Margie
Judy
Linda & Caitlin
Martha
It’s not too late to get a Big Shot for Christmas! It comes with the platform used here and two clear plates. Tell your loved ones to go here to get yours. Or they can contact me to buy you a gift certificate for any amount: email: candy@stampcandy or call/text: 404-661-5222.
You know how I love making ornaments. Well, these are my latest creations. And they are SO EASY!
I’ve seen glass ornaments filled with thin strips of crimped paper. I set out to make that. But then I couldn’t find my paper crimper – it probably got mixed in the huge crafting purge earlier this year. So I thought I would try curling the strips. I think it worked well, don’t you?
I tried strips 1/8″ wide and strips 1/4″ wide. I think the thinner strips look better. The bone folder (will we ever stop finding uses for this awesome tool?) curled the paper strips quickly and beautifully. To add interest, I curled half the strips with one side of the DSP out, and half of them with the other side of the DSP out.
I dropped each curl into the ball, turning them this way and that, until it seemed full enough. Then I replaced the ornament top. It took less than one sheet of Nordic Noel DSP. I can’t wait to use the other DSPs!
Products in the Holiday Catalog and Holiday Supplement are only available until January 5, 2015! Don’t miss out on these great items! Place your order now!
The Question: I have been having a lot of fun using all my new products from the Holiday Catalog and Supplement. What are your favorite new Stampin’ Up! holiday products? Tell me below in the comment section to be entered in the drawing for this Blog Candy:
The Stuff: These two items aren’t from the Holiday Catalog, but no card maker should be without them! The Teeny Tiny Wishes Stamp Set (offered here in Clear Mount) and the Word Window Punch were made for each other…..Literally. The punch shape perfectly fits each of the 24 sentiments in the stamp set.
The Timeline: You have until tomorrow night (Sunday, 14 December) at midnight EST to comment – one comment per person, please. I’ll post the winner’s name on Monday the 15th (I use random.org to choose.) The winner will then have until Tuesday night (the 16th) at midnight EST to send their mailing address to me at candy@stampcandy.net.
Good luck!
Thanks for stopping by today, and as always, Sweet Stamping!