Dec 26, 2015 | Bags, Christmas, Club, Food, Gifts, Holiday |

Who doesn’t love a cup of hot cocoa when the weather’s cold? Today’s project is a quick gift idea for anyone who needs warming up. It was also one of our December Stamp Club projects.
We began by randomly stamping the cups from the Cup of Cheer stamp set in Crumb Cake on a Kraft Tag a Bag Gift Bag. We then stamped the snowflakes from the Project Life Hello December 2015 stamp set in Real Red between the cups. This is one of my favorite snowflake stamps. It’s so delicate.
We stamped the same cup image in Chocolate Chip and the same snowflakes in Real Red on a 2″ strip of Very Vanilla card stock. Then we used the Banner Trip Punch to notch the end. We cut a 1″ strip of Chocolate Chip card stock and notched the end of it as well. We glued the two banners together, overlapping.
After putting a packet of hot cocoa mix inside the bag, we folded over the top, tucked in the tops of the banners, and stapled it shut. You can also adhere the banners to the bag, if you’d like to have more than just the staple holding them on.
We tied a length of Real Red 1/8″ Striped Ribbon around the bag and tied on a candy cane. I found these hot cocoa flavored candy canes at Target.

Here’s what we used:
Thanks for stopping by today, and Sweet Stamping!

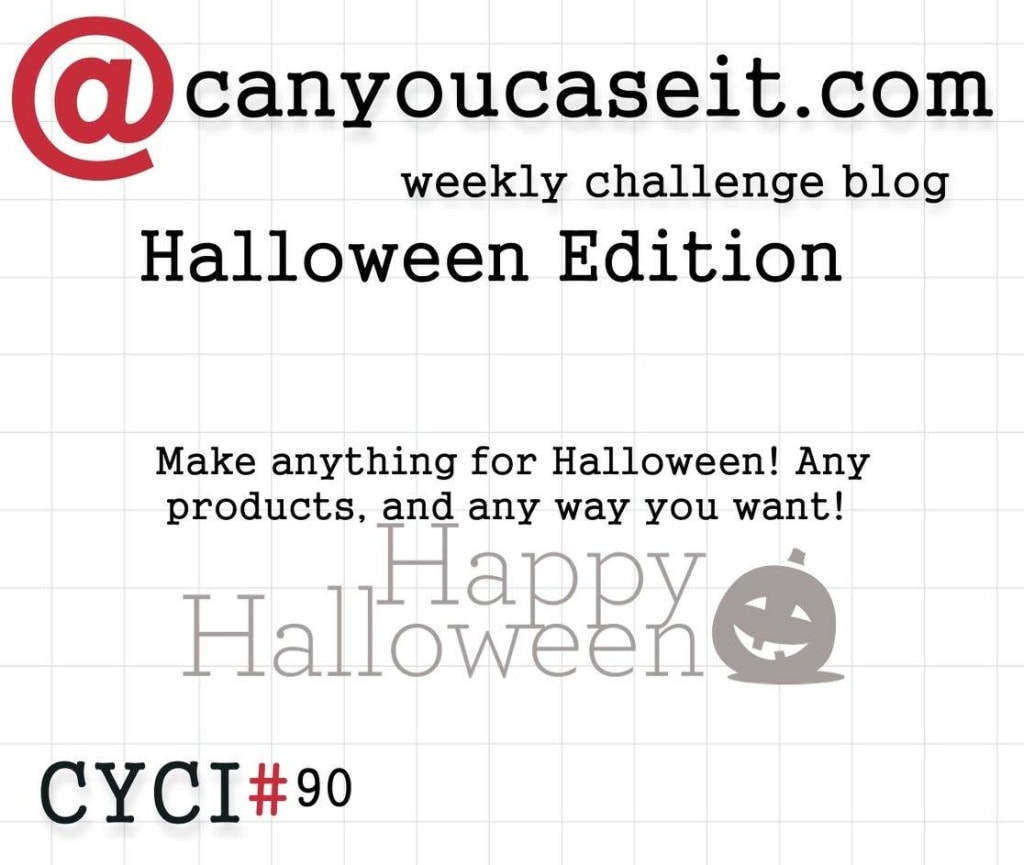
Oct 11, 2015 | Challenges, CYCI, Food, Halloween, Holiday |
This week at CanYouCaseIt.com, we have a themed challenge:
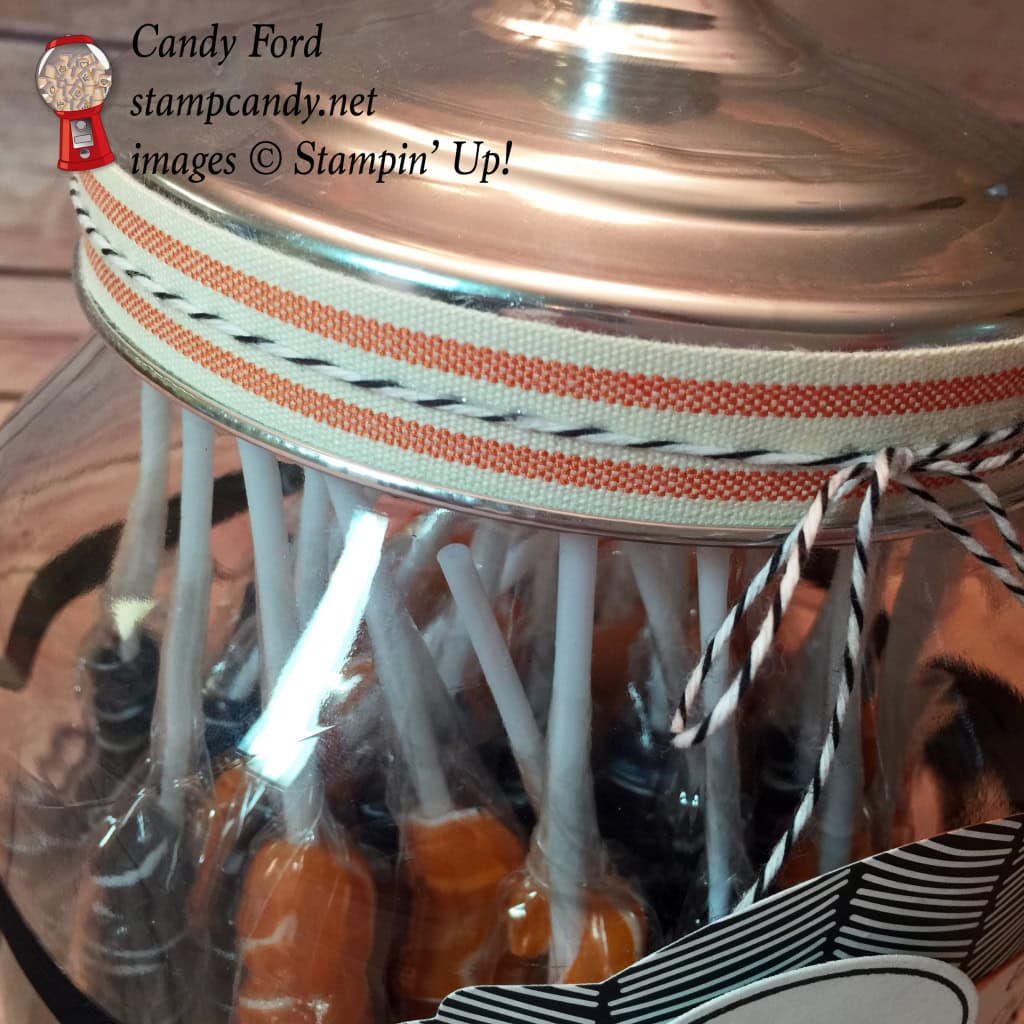
I was asked to do a Halloween presentation at the World Card Making Day event I attended last weekend. Today I’m sharing one of the projects I made for that.
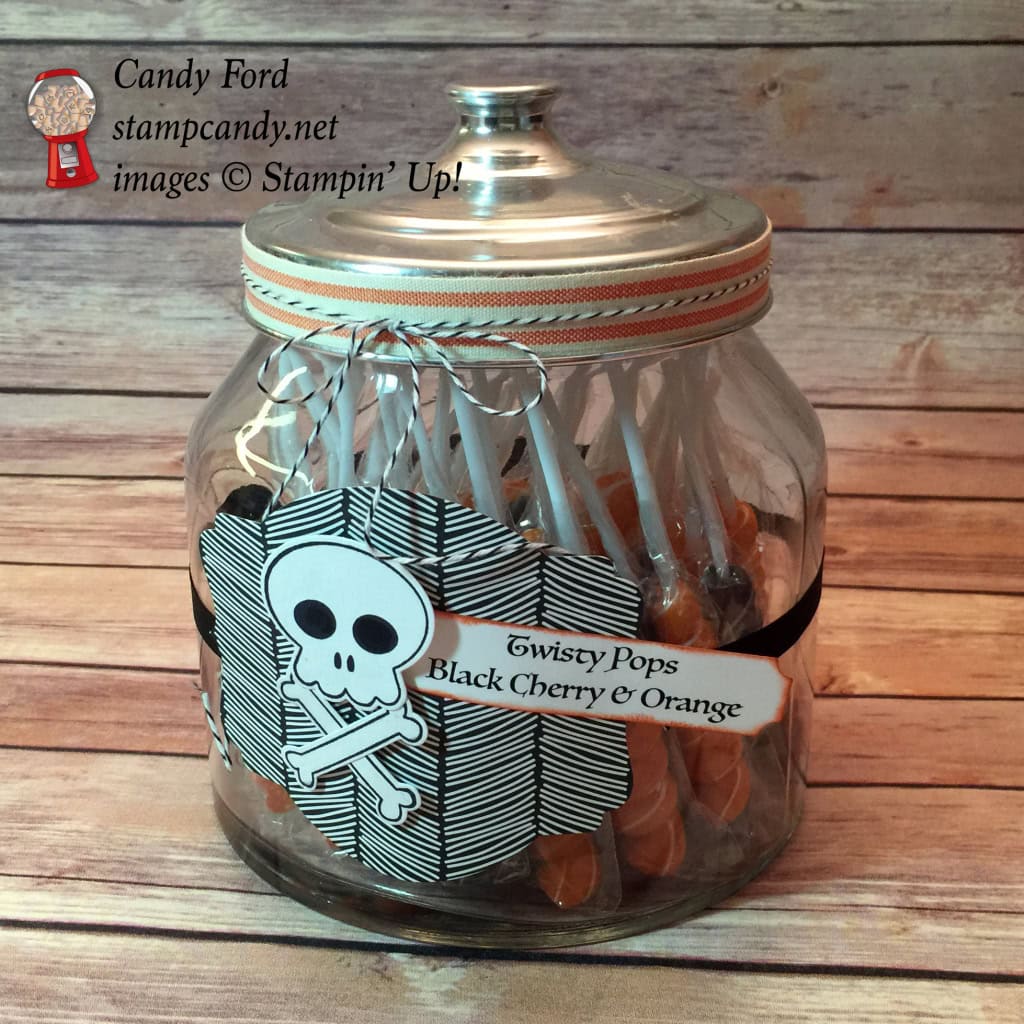
I already had this big jar with a metal lid. I filled it with black and orange Twisty Pops, then decorated it with ribbon, baker’s twine, and a label made from Everyday Chic Designer Series Paper, Howl-o-ween Treat stamp set, Boo To You Framelits Dies, Deco Labels Collection Framelits Dies, and Project Life Cards & Labels Framelits Dies.
For the words, I ran Whisper White card stock through my printer. The font is Luminari. I used a Sponge Dauber to ink the edges in Tangelo Twist.
I chose this piece of DSP because I think it looks “boney” behind the skull and crossbones.
I used a tiny bit of Fast Fuse adhesive to hold the ribbon in place around the lid. I used a skinny line of Multipurpose Liquid Glue to hold the twine in place on the ribbon.
Be sure to check out all the other projects at canyoucaseit.com!
Here’s what I used:
Be sure to check out the Weekly Deals…
…and the Clearance Rack.
___________________________________
New Class!
Come to my Nutty Notecards Class
Oct 30 at 6:30 PM
You’ll make 4 notecards and matching envelopes, and an adorable box to keep them in!
PLUS
You get to take home the Acorny Thank You stamp set, the Acorn Punch, and the Into the Woods Designer Series Paper pack! All this for only $45!
Email me today for payment information: candy@stampcandy.net.
Hurry! Seating is limited!
___________________________________
I love hearing from you! Please leave your questions and comments below.
Thanks for stopping by today, and Sweet Stamping!
Sep 16, 2015 | Boxes, Cards, Christmas, Club, Food, Halloween, Holiday, New Products |
I like to have treats ready for my Stamp Club members when we meet. This month I decorated some Basic Black Fry Boxes with Smoky Slate “tombstones” and Basic Grey owls. A Tangelo Twist banner lets everyone know what’s inside. Here they are decorated and waiting to be filled…
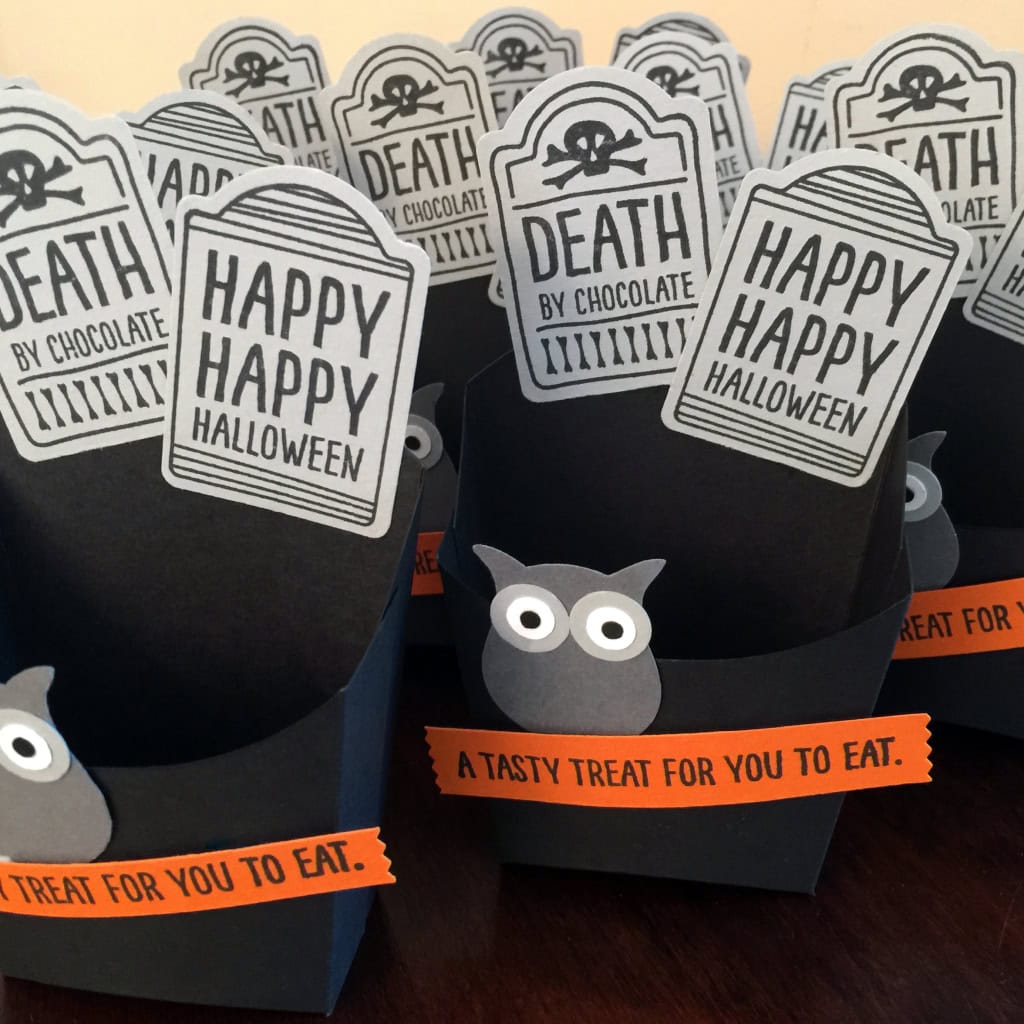
…and here they are full of chocolates. Since the one tombstone says “Death by chocolate” it HAD to be chocolates, right? But really you could put all manner of goodies in these adorable little boxes.

TIP 1: I stamped the sentiments on Tangelo Twist card stock, then cut them into strips. I inserted each end into the back of the Washi Label Punch to cut the ends.
TIP 2: For the owls’ eyes, I used Circle Punches in 1/2″, 1/4″, and 1/8″.
———————
I decorated the water bottles with Happy Haunting DSP belly bands and Tangelo Twist labels cut with the Note Tag Punch.
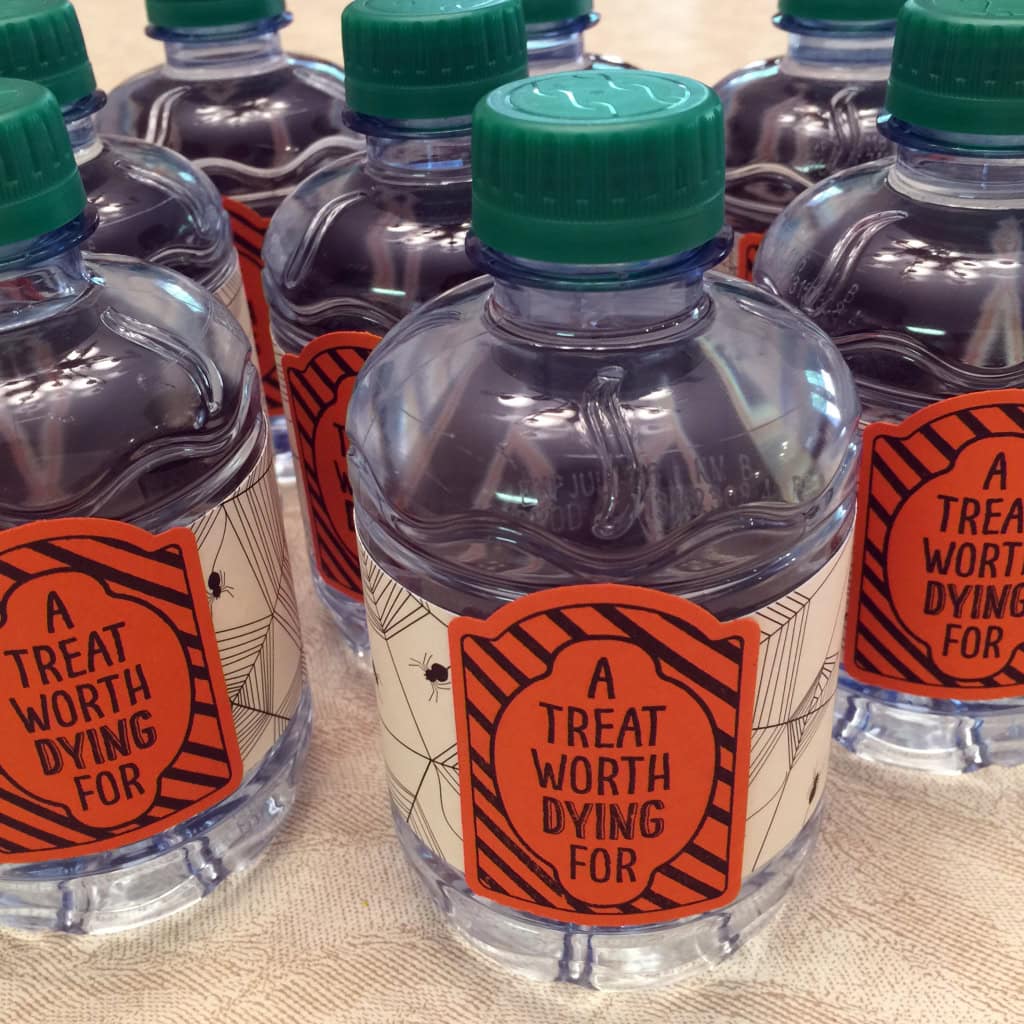
TIP 3: Attach the belly bands to the bottles before attaching the labels. I use a piece of Tear & Tape at each end of the belly band. If you adhere the labels to the belly bands first, they may not curve correctly around the bottles.
Both of these projects are quick and easy, and would be great for your Halloween gatherings, school classes, and even Trick or Treaters.
———————
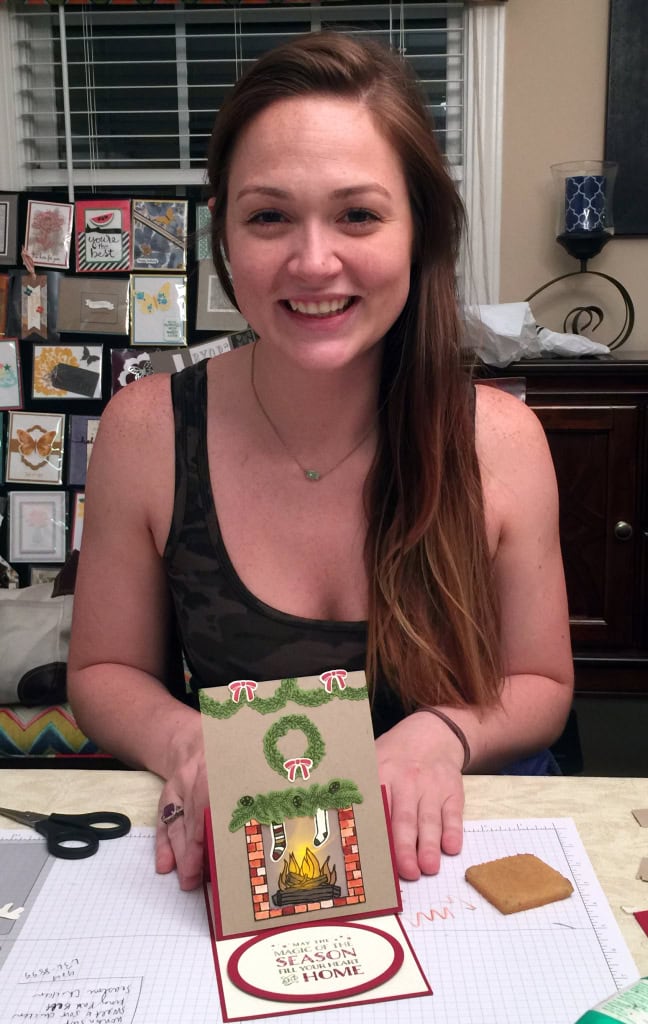
We made three cards this month: Halloween, Thanks, and a Christmas easel card. Be sure to check back in the coming days for details on each one.
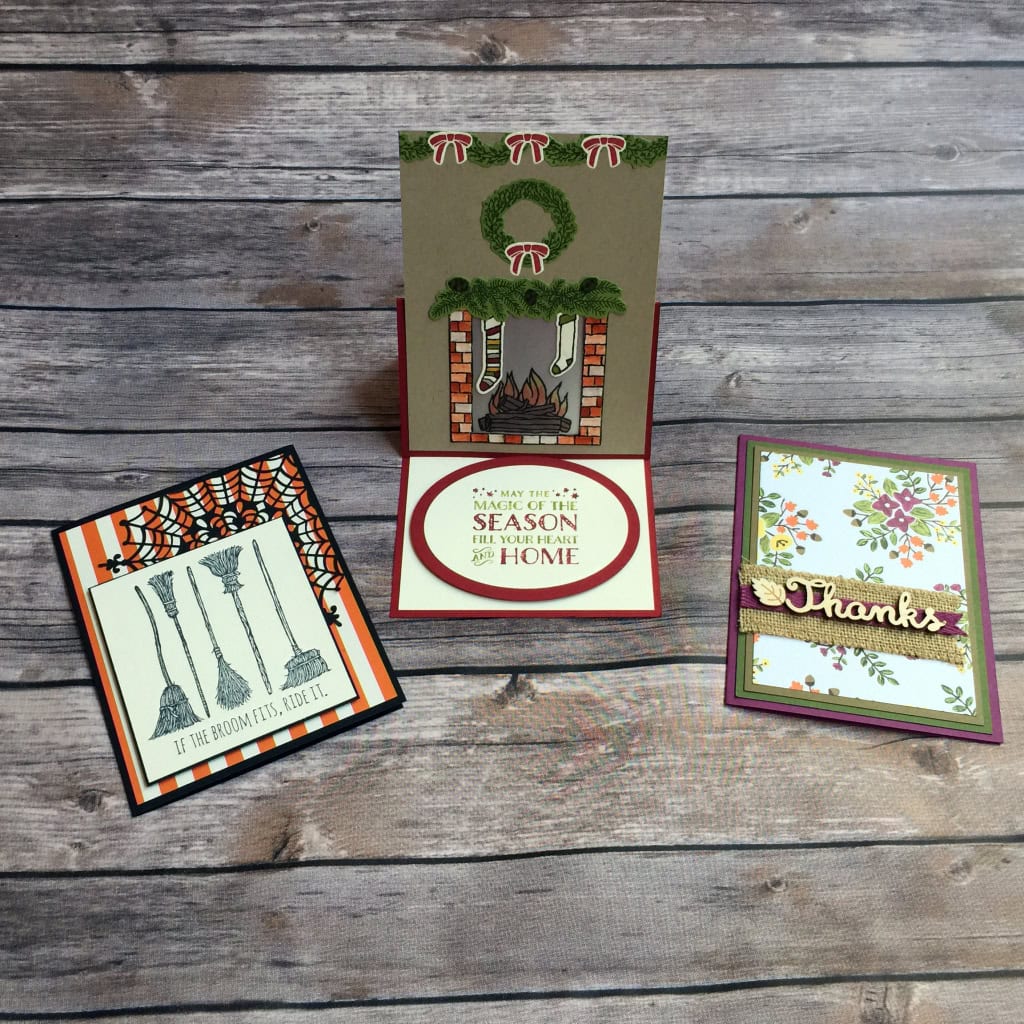
I can’t seem to remember to take photos during our gatherings – I’m always too busy having fun – but I did get this shot of Caitlin proudly showing off her easel card. Check back to see how we lit the fire in the fireplace!
 Here’s what I used for the treat boxes and water bottle labels:
I love hearing from you, and I welcome your questions and comments.
Thanks for stopping by today, and Sweet Stamping!
Jun 12, 2015 | Boxes, Food, Gift Wrap, Gifts, New Products |
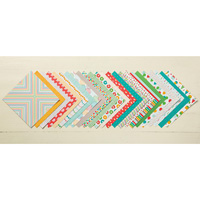
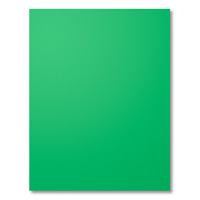
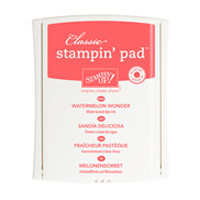
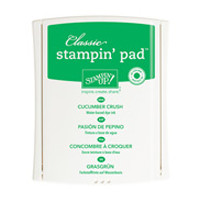
 Today I really wanted to use this sheet of the Cherry On Top DSP stack with the sweet little cherries on it. For inspiration, I looked at the list of colors in the stack. I knew I would use Watermelon Wonder and Cucumber Crush – they’re in this piece of DSP along with Whisper White. So I cut the Fry Box from Cucumber Crush card stock and lined it with the DSP. Now what?
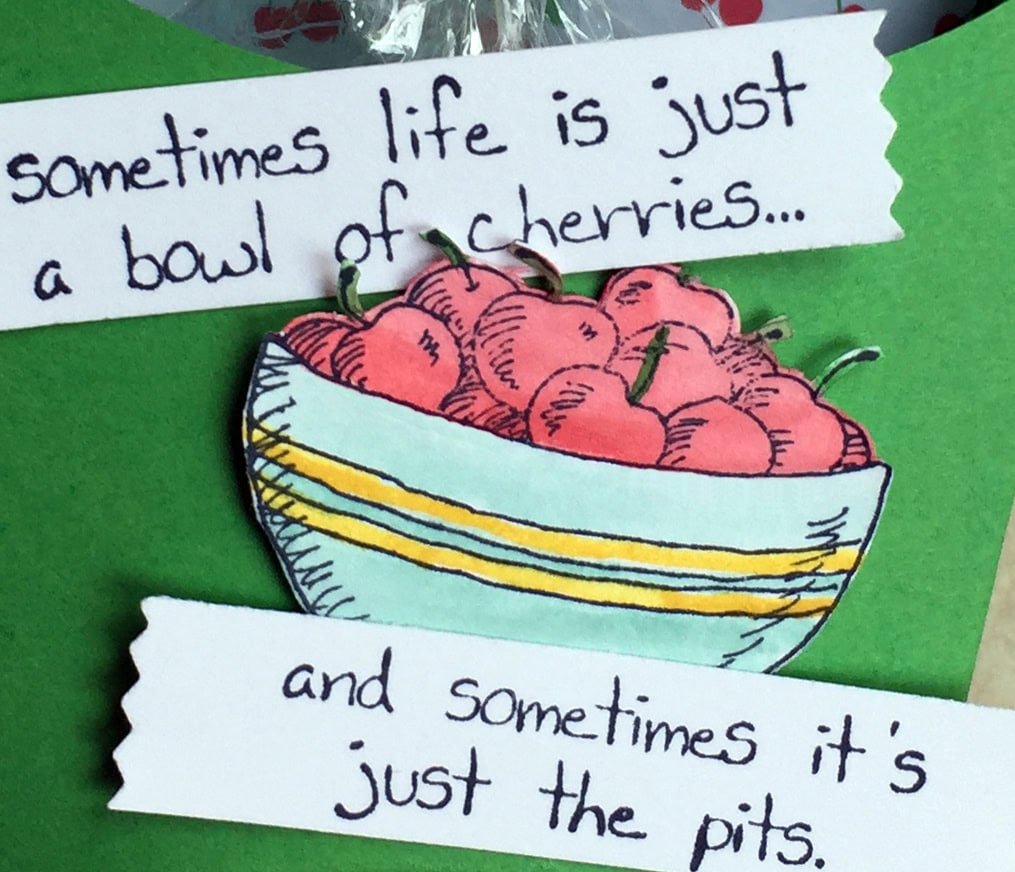
I started shopping in my catalog for a saying or image that felt right. I was thinking cherry pie, but then I came across the Giggle Greetings stamp set with its bowl of cherries and funny sentiment. Bingo!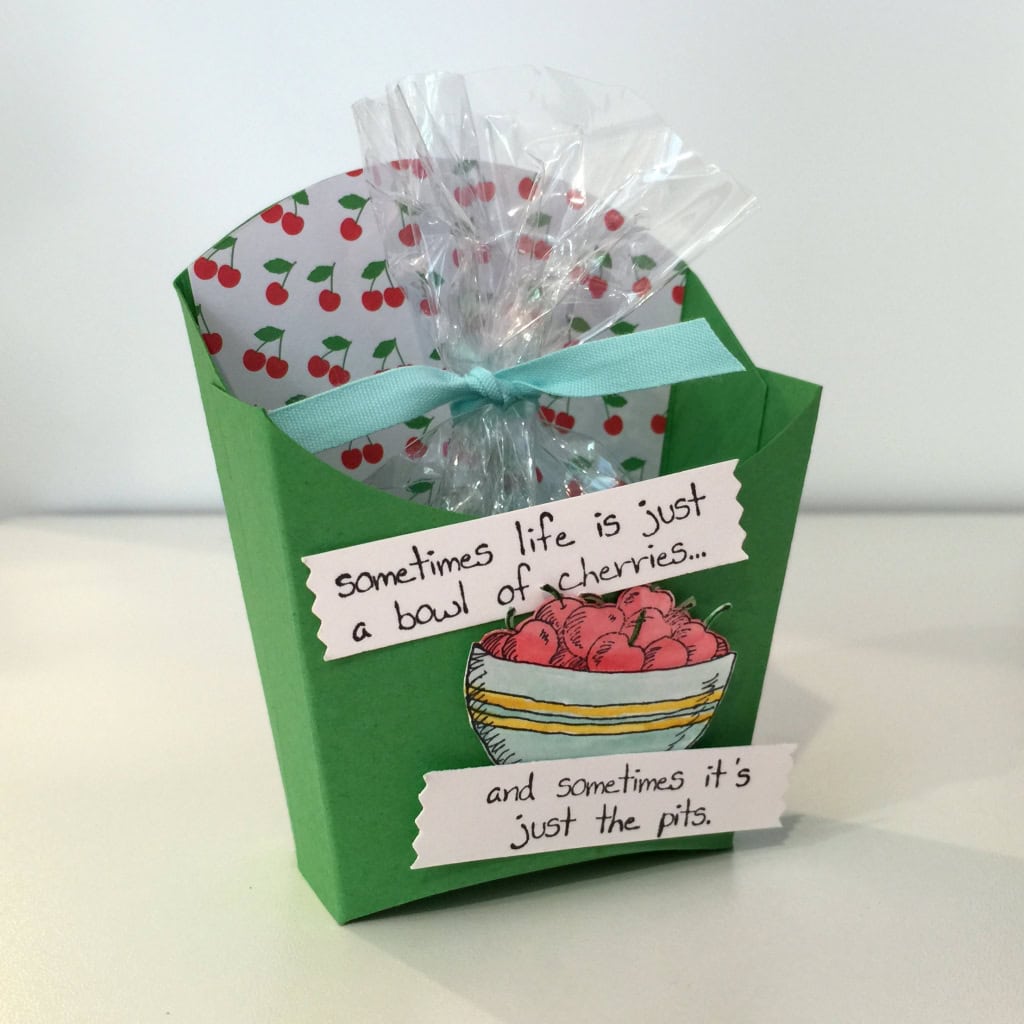
I stamped the image in black on Heavy Whisper White card stock, then cut the two parts of the sentiment with the new Washi Label punch. The punch was a bit larger than I needed, so I trimmed some off the top/bottom with my Craft Scissors. I used my Paper Snips to fussy cut the bowl of cherries.
Scissors: For the most part, I use my Paper Snips for paper; but sometimes it’s nice to have a longer pair. I keep one pair of Craft Scissors for paper and another pair for only ribbon.
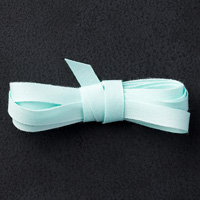
I used an Aqua Painter to color the bowl of cherries in colors from the DSP stack. The 4″x6″ Cellophane Bag tied with a piece of Pool Party ribbon contains chocolate covered dried cherries. Yum!
Don’t you think this is a cheerful gift for someone going through a rough time?
Here’s what I used:
Thanks for stopping by today, and Sweet Stamping!
Jun 1, 2015 | Cards, Catalogs, Events, Food, Kits, New Products, Open House, Paper Pumpkin |
The new 2015-2016 Stampin’ Up! Annual Catalog goes live tomorrow! To celebrate, this weekend I hosted an Open House to feature some of the new products. Everyone in attendance said they had a really fun time. I know I sure did!
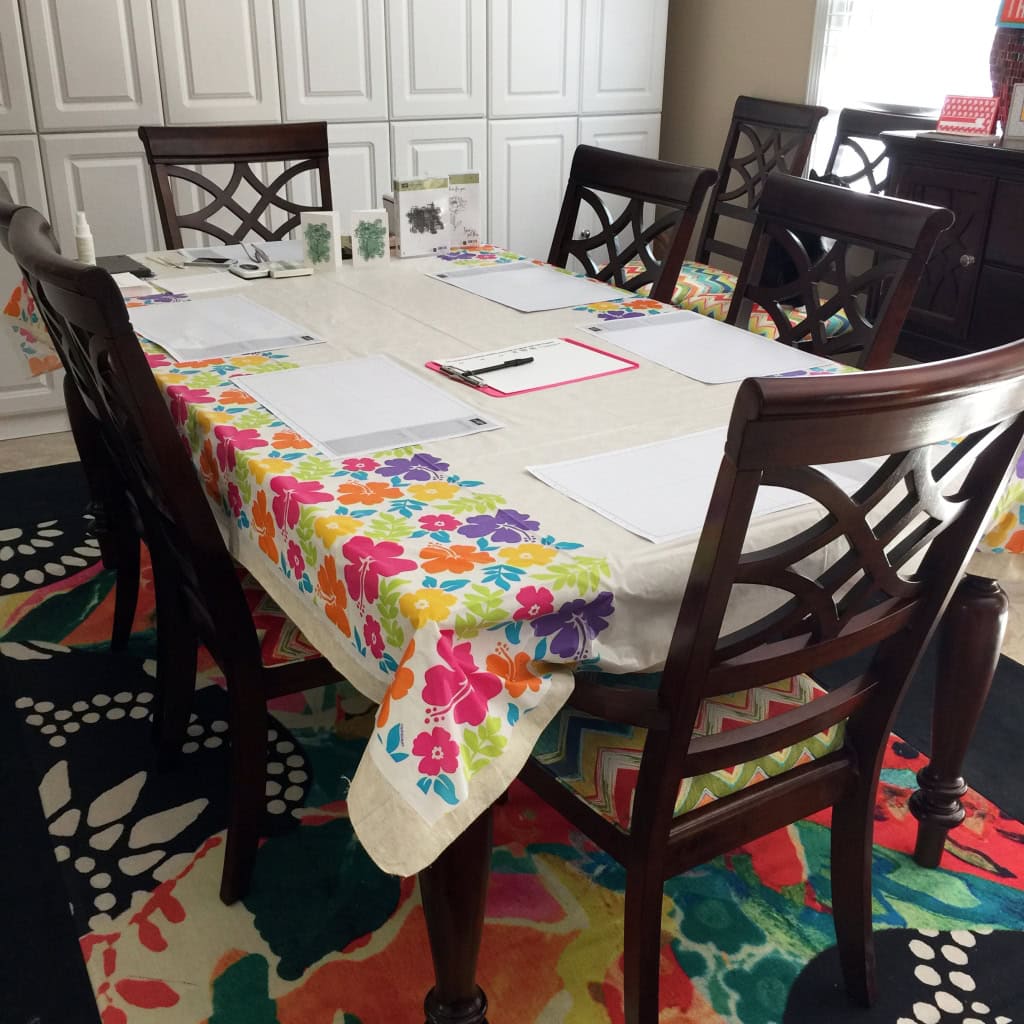
THE LAY OUT
The dining table was set up for the Make & Take.
Some of the new papers: Cherry on Top DSP Stack, Envelope Paper, Cotton Paper, and Bohemian DSP. (The double Thanks sign is from a Paper Pumpkin kit.)

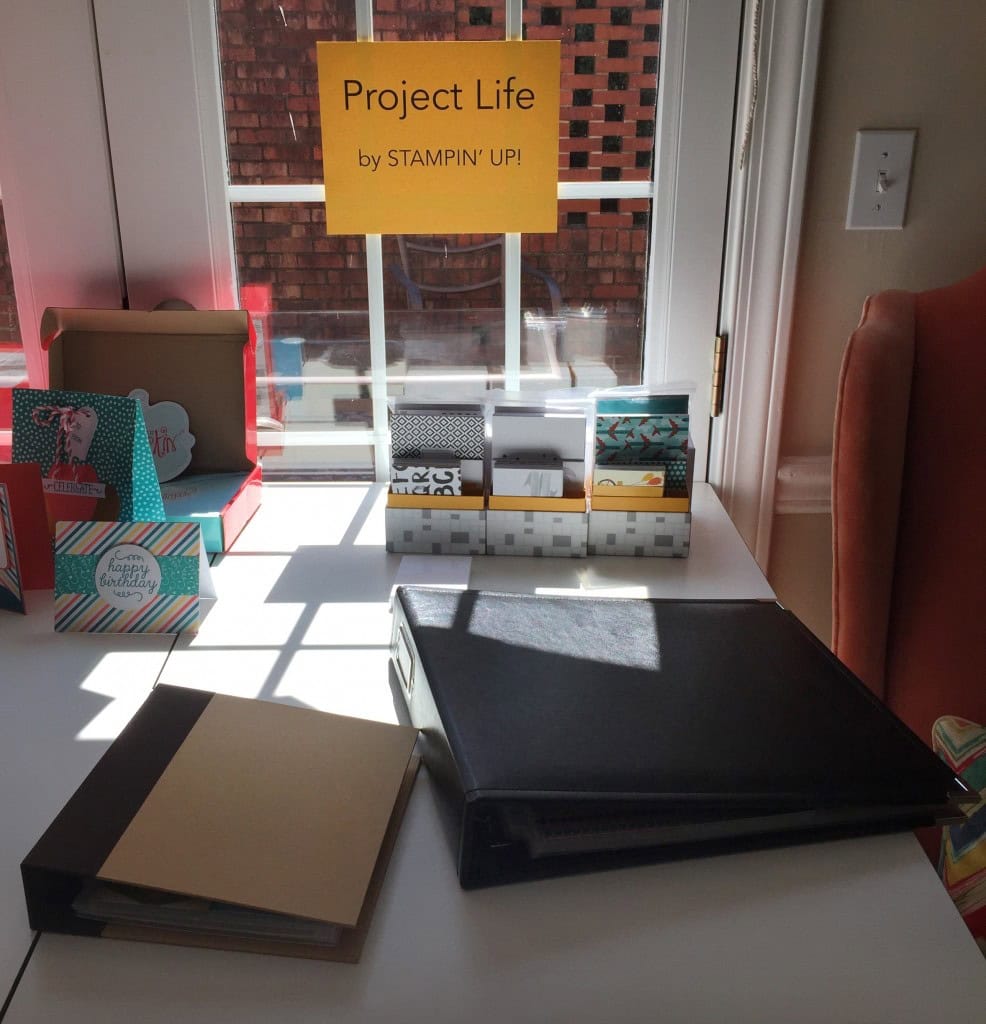
This table had a display of Paper Pumpkin kits…

…and Project Life.
Big Shot station display.
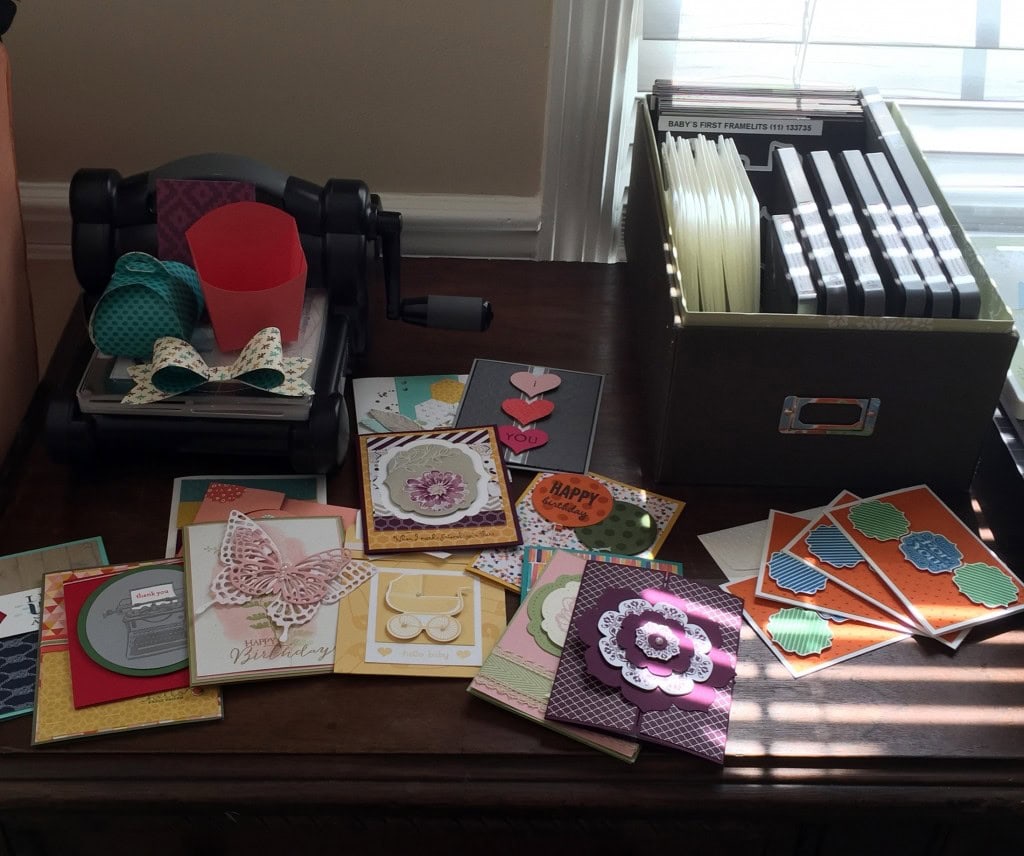
The bottom drawer of the Big Shot station was full of kits for sale. There was a box of adhesives for sale as well.

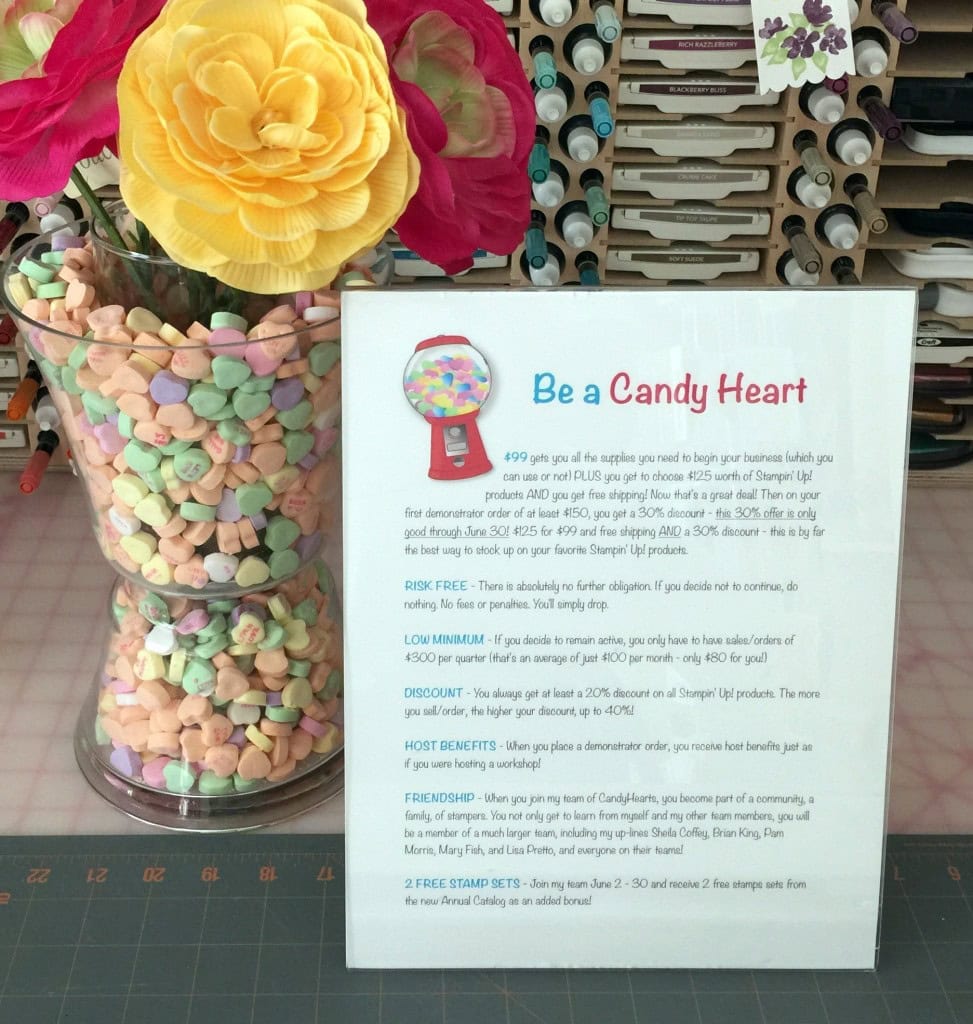
And of course, there was an area where guests could sign up to join the Candy Hearts team.
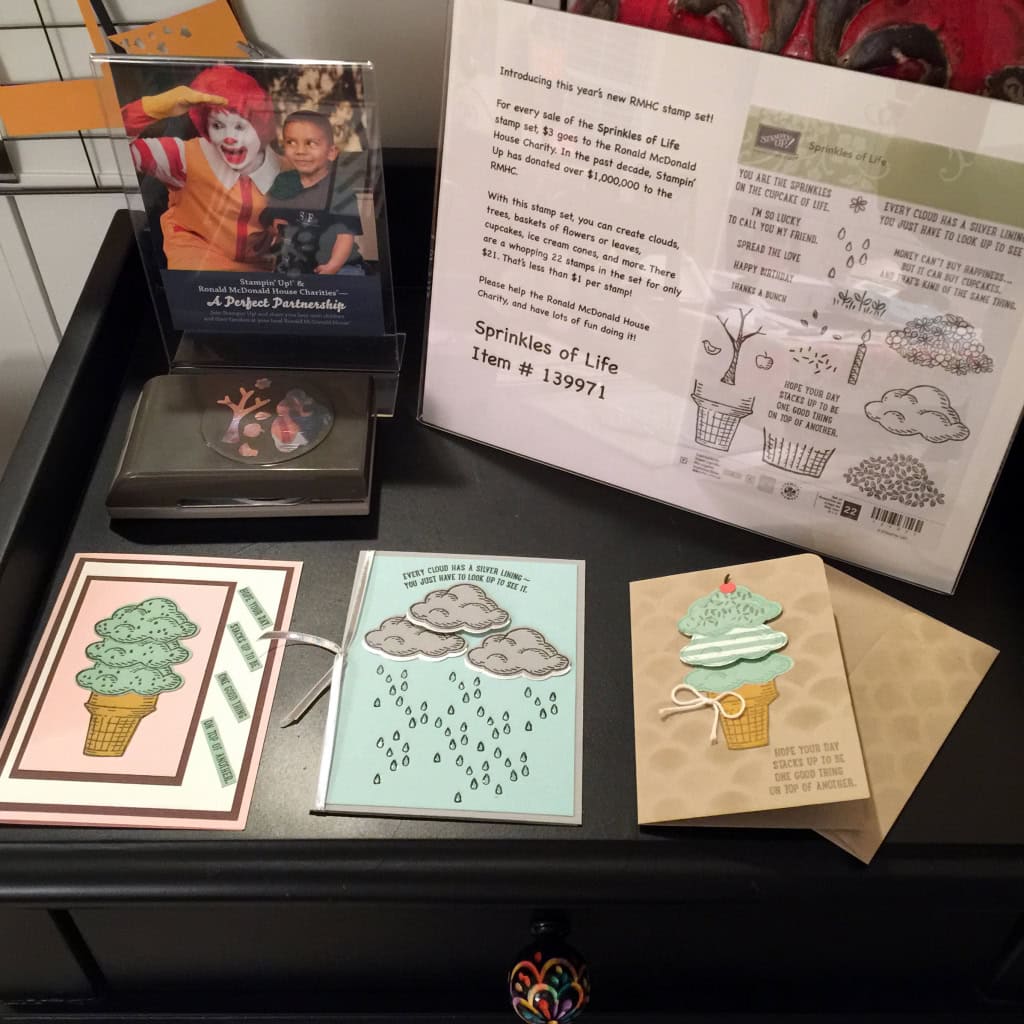
The Ronald McDonald House Charity stamp set, Sprinkles of Life is a wonderfully versatile – and adorable – stamp set, and $3 from every sale goes to the RMHC. Did you know that Stampin’ Up! has donated over $1,000,000 to the RMHC in the last decade? The coordinating Tree Builder Punch makes it even more versatile.
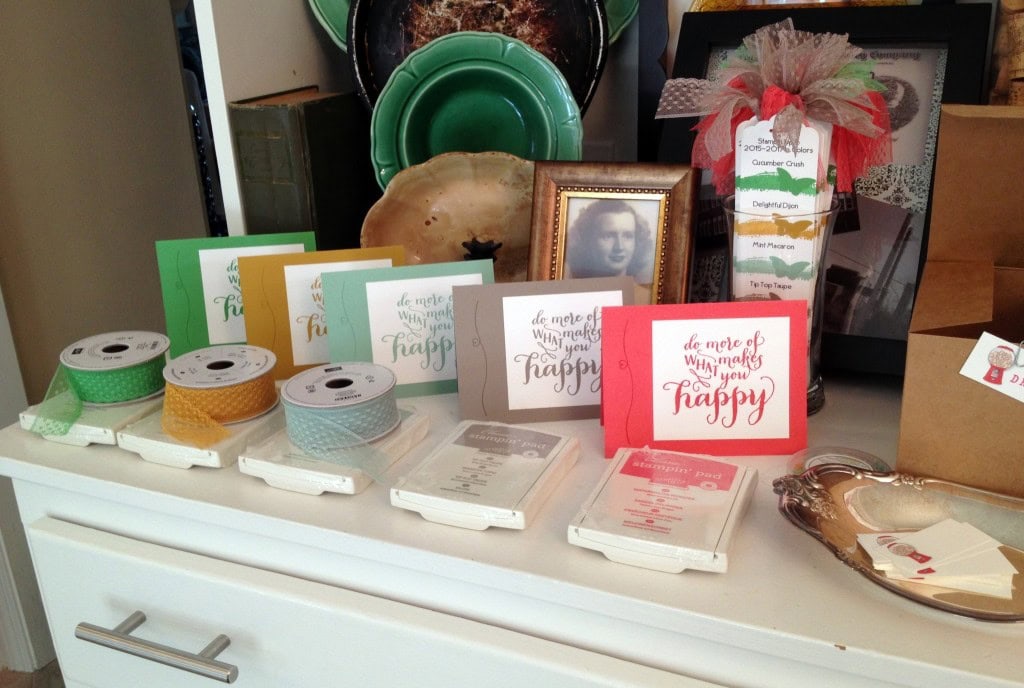
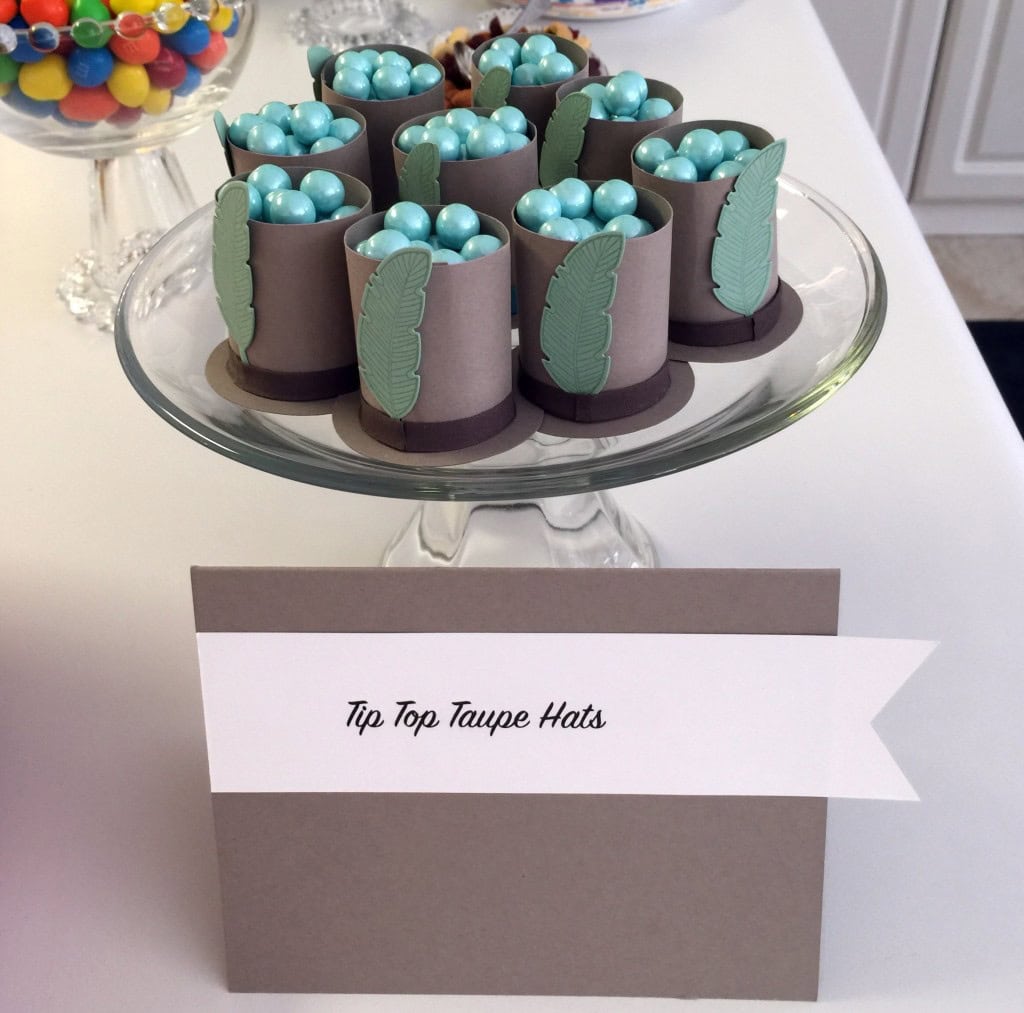
Here are the 2015-2017 In Colors: Cucumber Crush, Delightful Dijon, Mint Macaron, Tip Top Taupe, and watermelon Wonder. I’m afraid I used all my Tip Top Taupe and Watermelon Wonder 1″ Dotted Lace Trim on the bookmarks (top right.) At the far right, you can just see the prize drawing area. Five prizes were awarded at the end of the Open House, including kits and stamp sets!
THE PEOPLE (Unfortunately I did’t get a photo of everyone who attended, but here are few snapshots.)
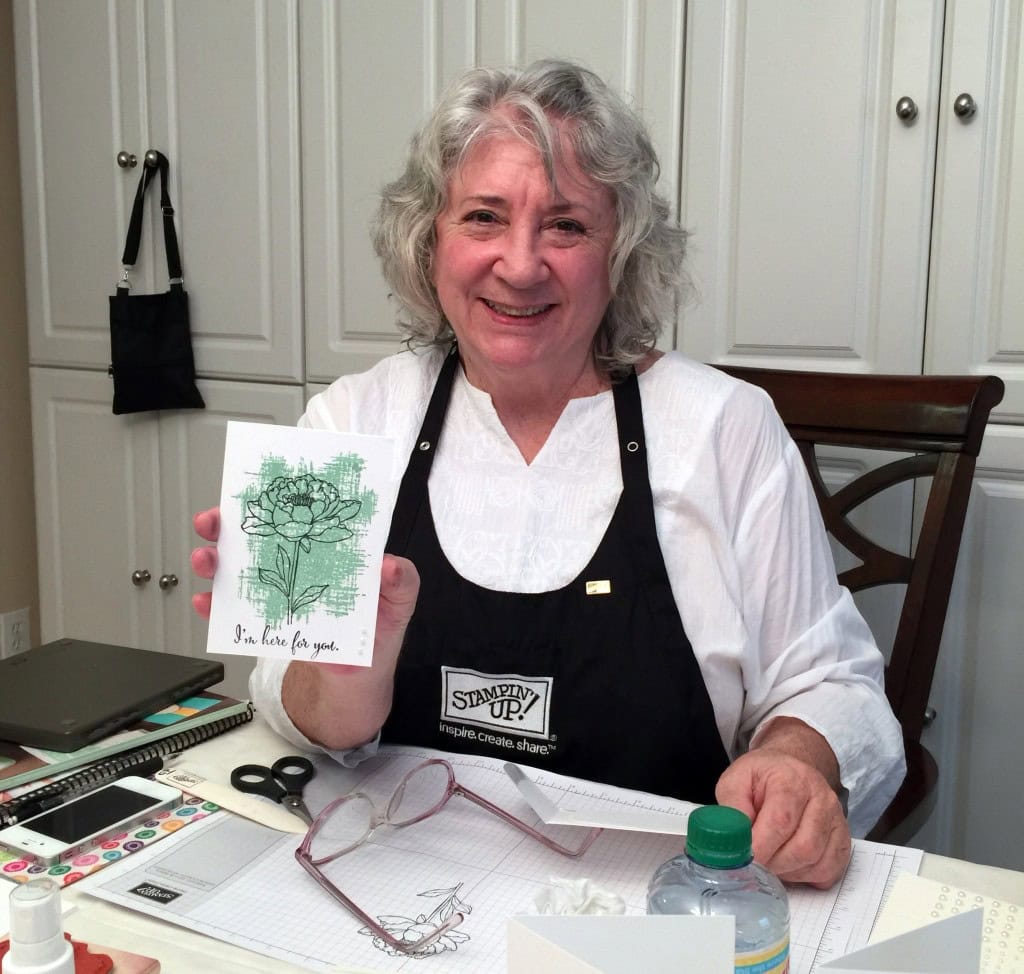
My team member (and dear sister) Judy guided the Make & Take. Guests made a cards using Whisper White Notecards & Envelopes, the new You’ve Got This stamp set, Mint Macaron ink pad, black Memento ink pad, and Pearls Basic Jewels.
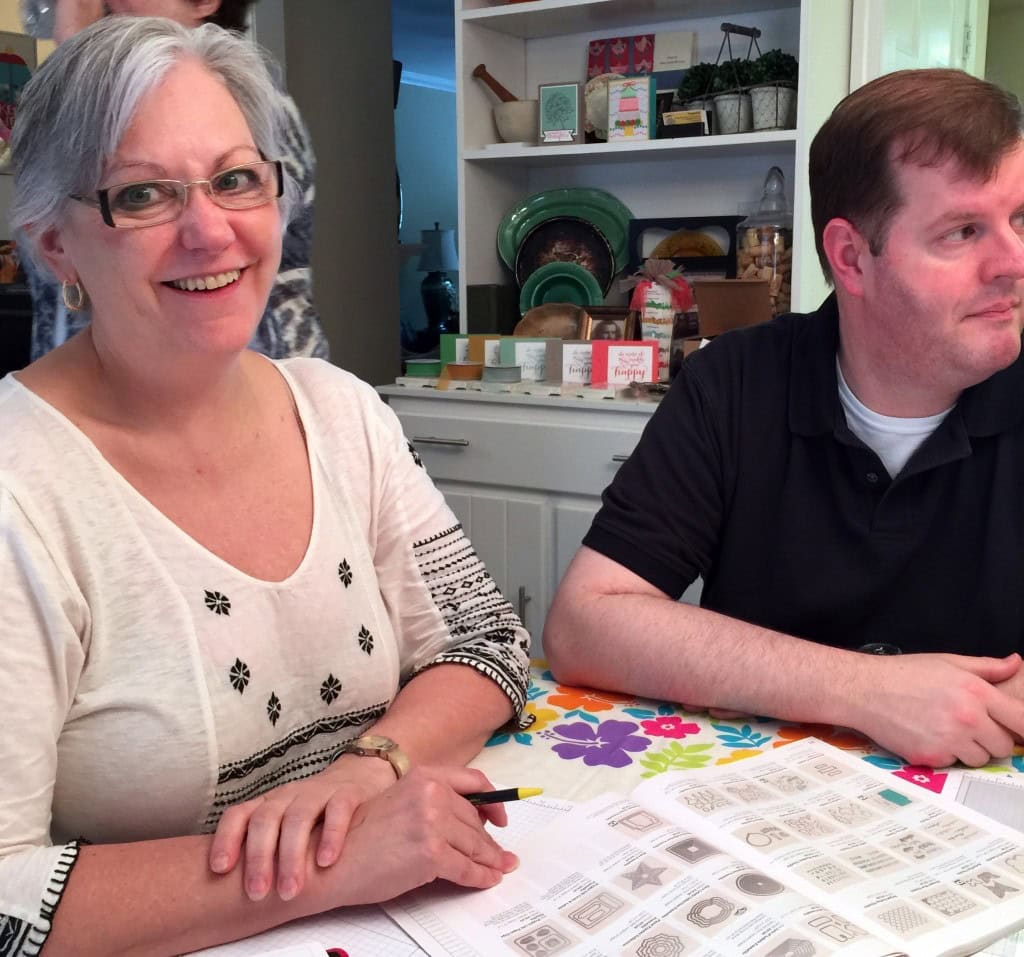
Here’s Linda working on her order, with the assistance of the handsome Brian King. (I caught him unawares.)
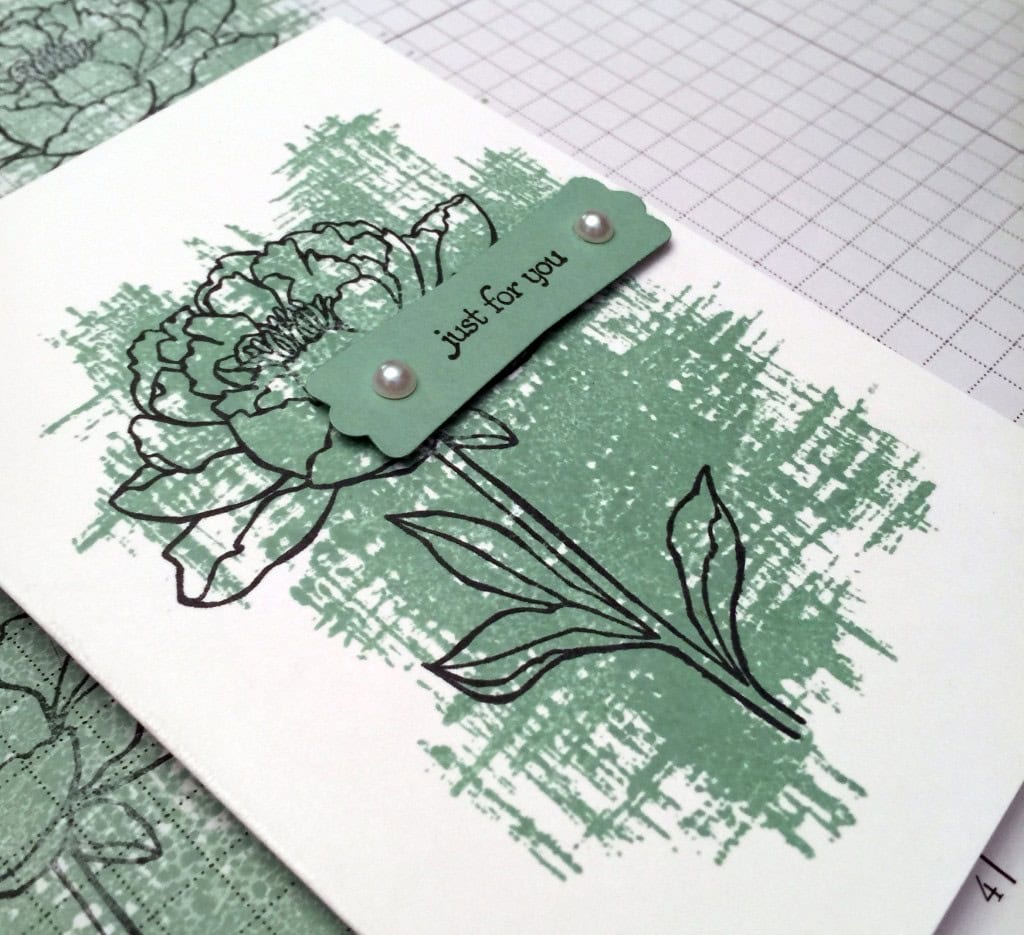
Donica made two cards. She wasn’t happy with the stamping job on the one on the right, so she covered the offending area with a sentiment (from the Teeny Tiny Wishes stamp set) stamped on Mint Macaron card stock, cut with the Modern Label punch, adorned with Pearls Basic Jewels, and attached to the card with Stampin’ Dimensionals.

This is a perfect example of the saying, “it isn’t a mistake; it’s an opportunity to embellish.” I think it looks awesome.
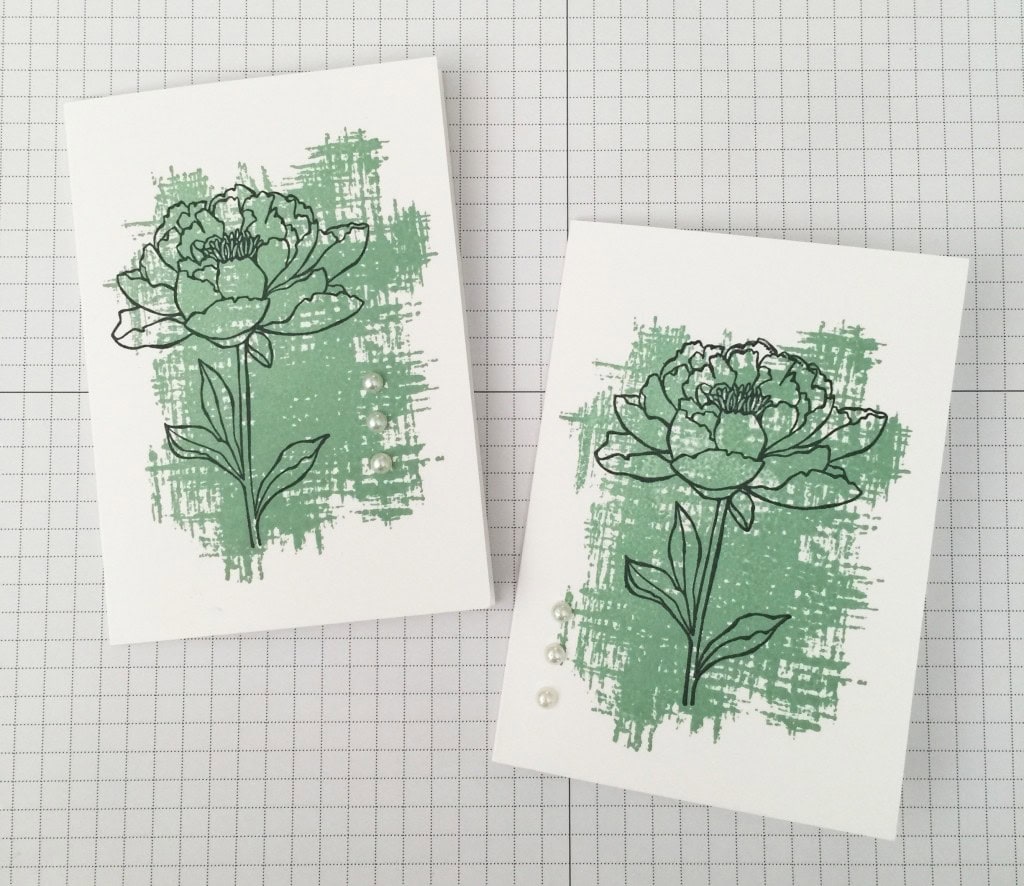
Here are a couple more examples of the Make & Take card, showing how you can use the same simple supplies to make different cards just by changing the placement of the components.
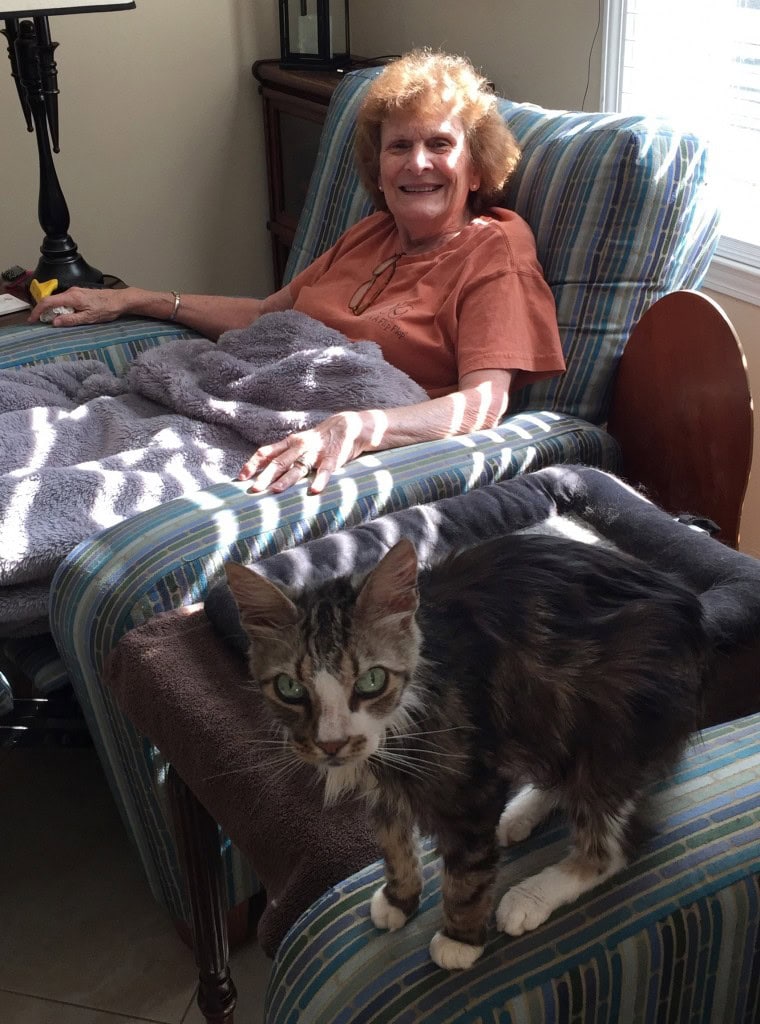
Margie stayed for the Open House and the Paper Pumpkin Party that evening. Here she is relaxing between events with little Winston.
Parker was also on hand to supervise and lobby for rubbies from guests.

THE REFRESHMENTS – the new In Colors were the inspiration.
Thanks to Brian King for photos of the food!
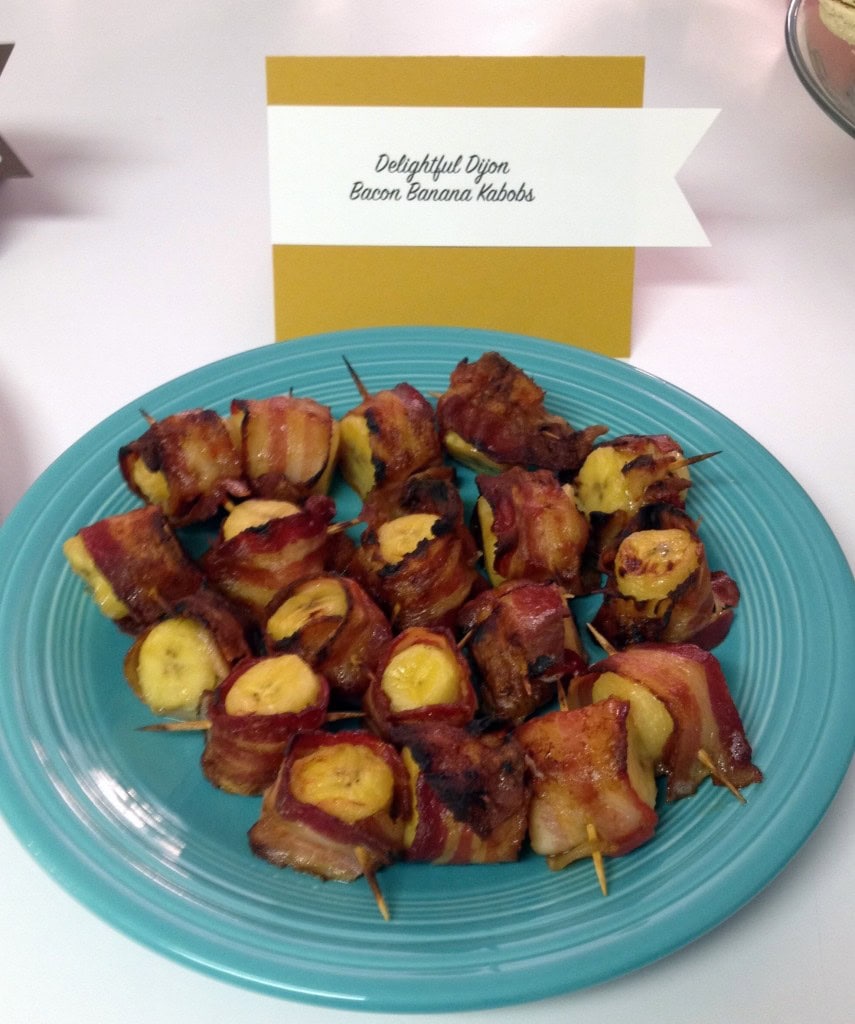
Delightful Dijon Bacon Banana Kabobs (recipe below) were by far the most popular dish of the day.
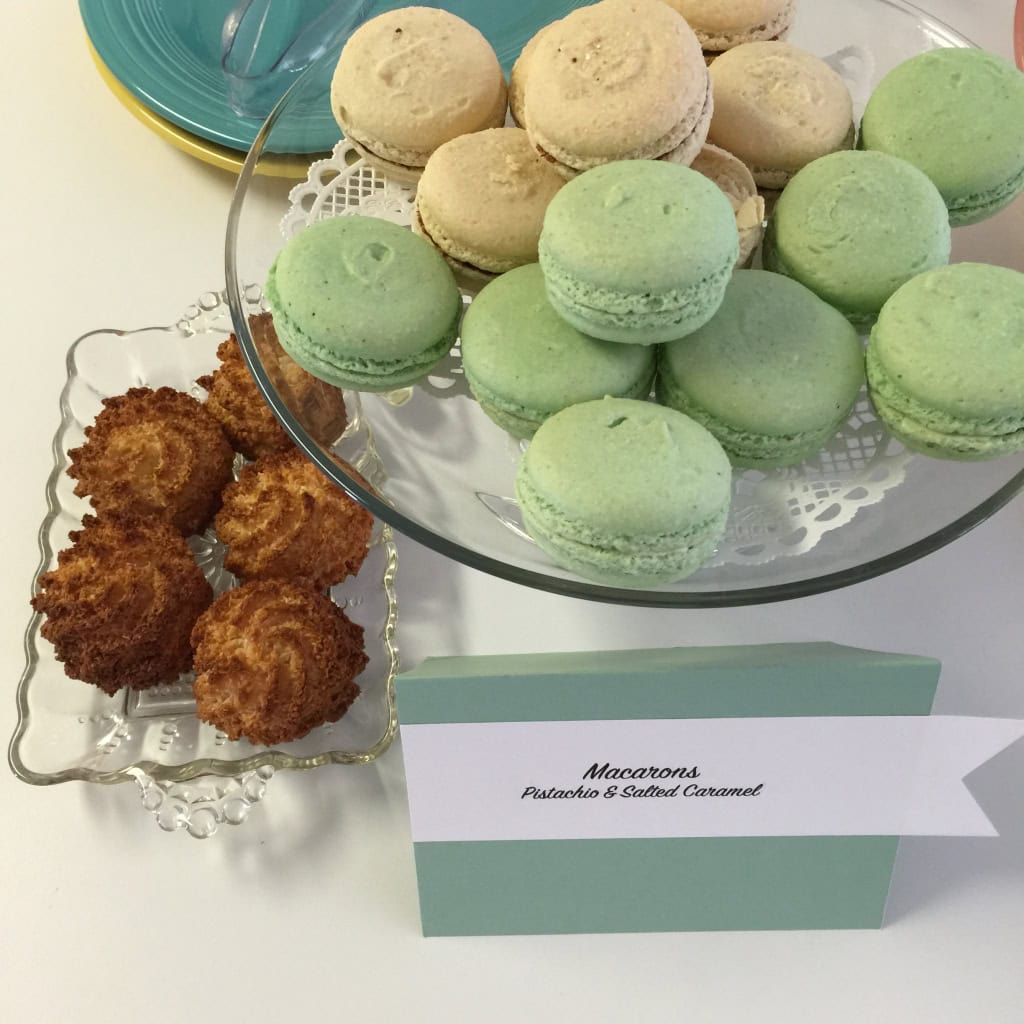
I didn’t find Mint Macarons, so I got Pistachio, which were a similar color. I also added in some Salted Caramel ones. The items on the left are Coconut Macaroons. (My attempt to show the difference between the two.)
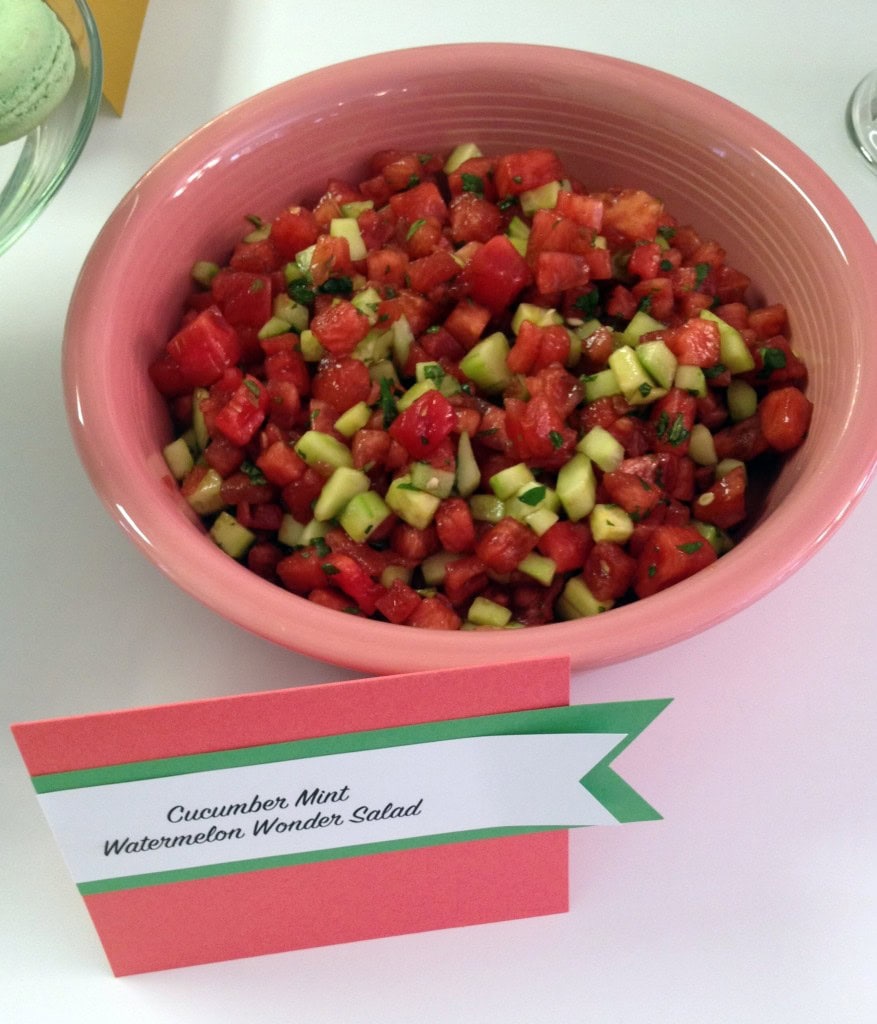
I found a recipe online for Cucumber Mint Watermelon Salad, representing the colors Cucumber Crush, Mint Macaron, and Watermelon Wonder. It was dressed with Balsamic vinegar, sugar, and salt.
Taupe food didn’t sound very appetizing, so instead I made little top hats and filled them with candies. I used Tip Top Taupe and Mint Macaron card stocks, two sizes of Circle Punches, Early Espresso Cotton Ribbon, Mint Macaron ink, the Four Feathers stamp set, and the Feathers Framelits Dies. Multipurpose Liquid Glue holds it all together.
While Cherry Cobbler and Chocolate Chip aren’t new Stampin’ Up! colors, they do make a tasty combination. These are super simple: phyllo cups, cherry pie filling, and mini chocolate chips. Yum!

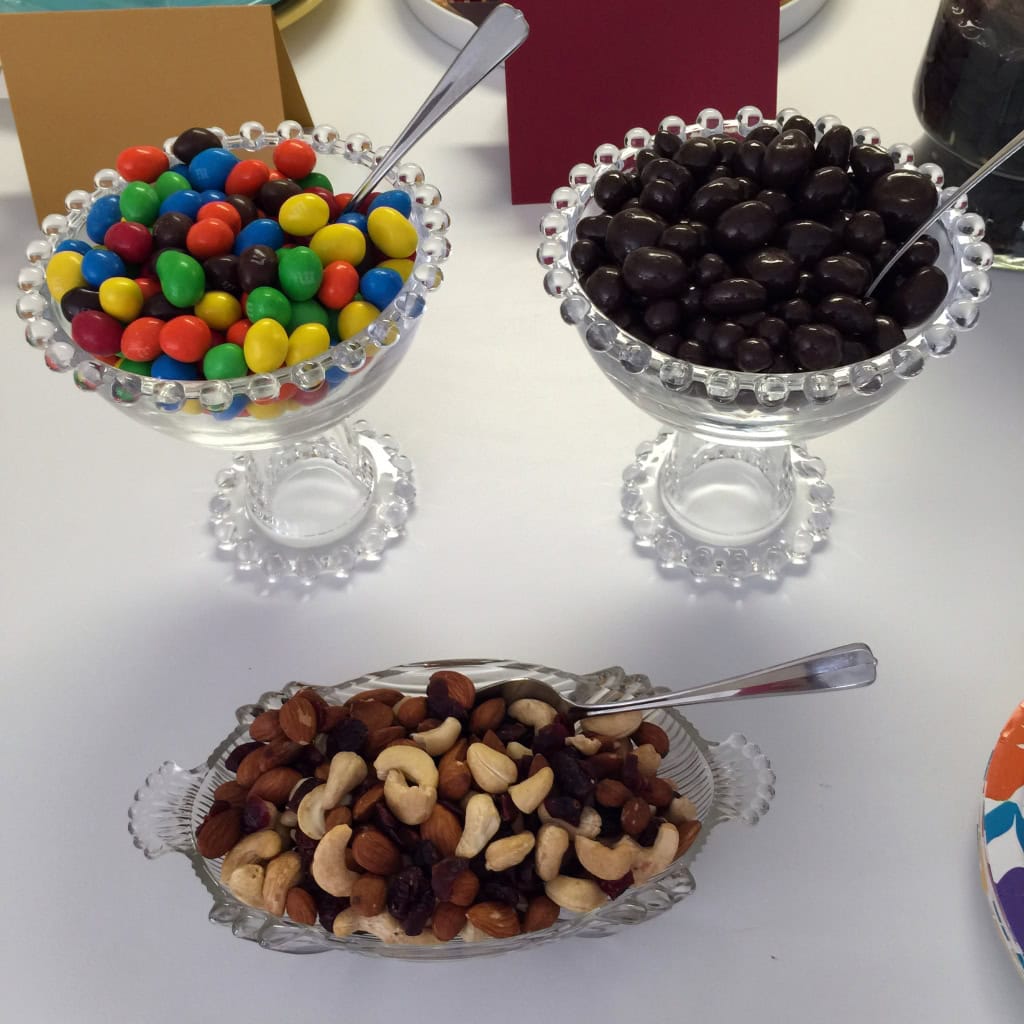
Assorted nuts and candies.
I printed these labels on 8-1/2″ x 11″ paper, cut them apart, and adhered them to the water bottles. Easy Peasy.

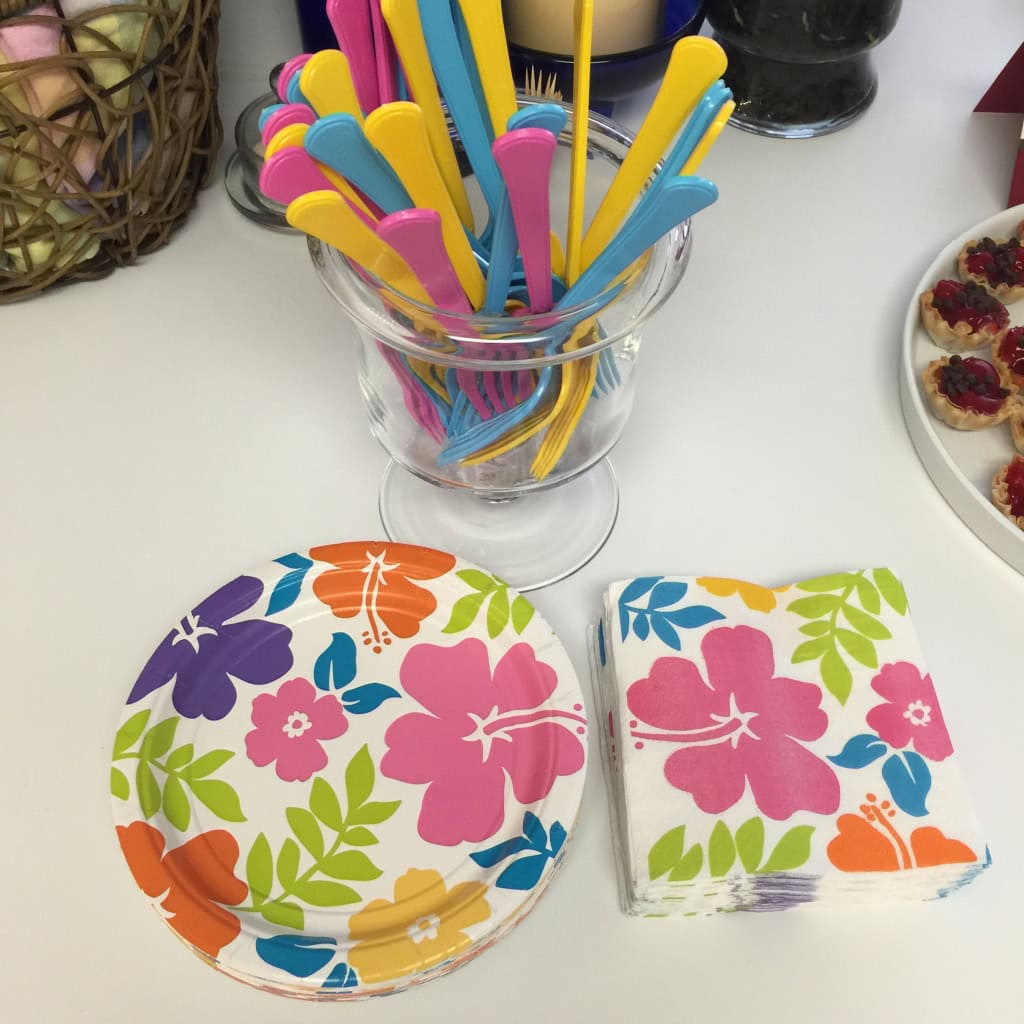
Brightly colored plates, napkins and flatware added to the festive atmosphere. These were the closest to Melon Mambo, Tempting Turquoise, and Daffodil Delight (my blog and logo colors) that I could find.
RECIPE
Delightful Dijon Bacon Banana Kabobs (I made 2-3 times this amount.)
2 Tbsp. fresh lemon juice
1 Tbsp. Dijon style mustard
2 large firm-ripe bananas
8 slices lean bacon
In a bowl, whisk together the lemon juice and dijon mustard.
Slice each banana crosswise 1″ pieces. Add them to the lemon mustard mixture and stir gently to coat. Let them marinate for 15 minutes, turning them occasionally.
Cook the bacon until cooked but still limp. I prefer to bake it on a jelly roll pan, but you can cook it in a large skillet on the stove. Transfer it to paper towels to drain. Halve each slice crosswise.
Wrap each piece of banana in a piece of bacon and stick a wooden toothpick through to hold it together. Broil on the rack of a broiler pan about 4 inches from the heat, turning once, for 6 – 8 minutes, or until the bacon is crisp.
Serves 8 as an hors d’oeuvre.
Thanks for stopping by today, and Sweet Stamping!