May 12, 2016 | Cards, Club, New Products |
This is another of the projects we made at our May Stamp Club meeting. You can see the first one here.
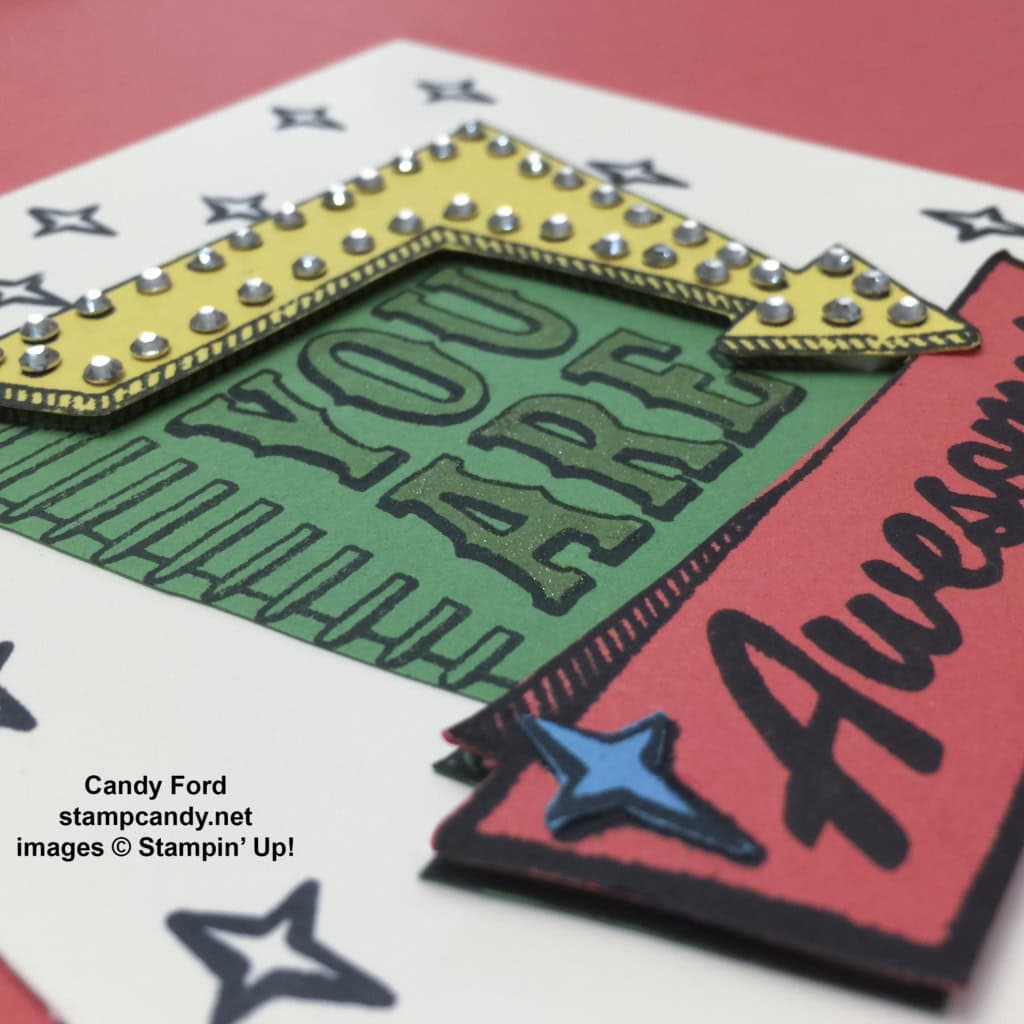
I’d like to thank Kimberly Laidley for allowing me to use photos of her card. My sample didn’t have the rhinestones, as I was afraid I wouldn’t have enough for club members. Each card required 39 of the smallest Rhinestone Basic Jewels.
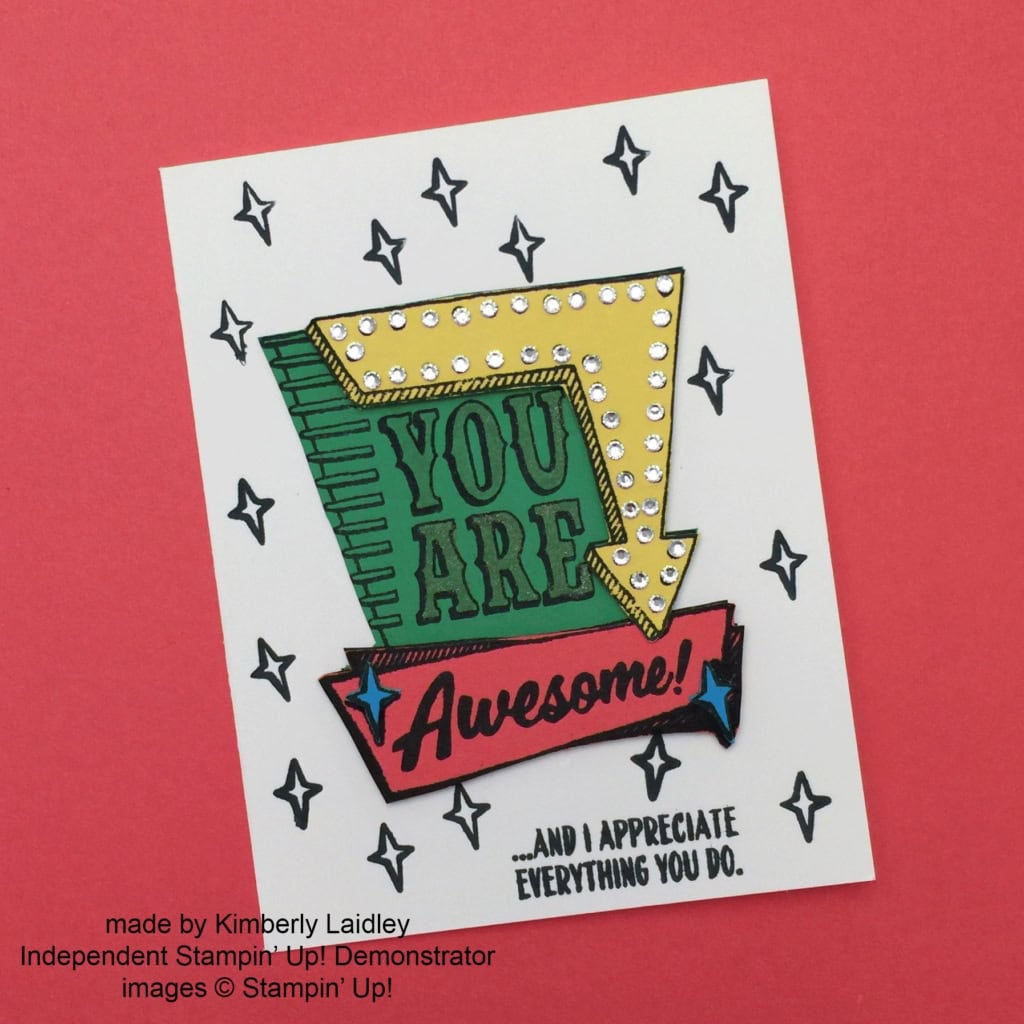
We used the Marquee Messages stamp set (photopolymer, 141727, $21.) We stamped the marquee in Black Memento ink four times, once each on Daffodil Delight, Cucumber Crush, Watermelon Wonder, and Tempting Turquoise card stock. We then fussy cut the different parts of the image, and reassembled them on a card base of Whisper White Thick card stock. We used Stampin’ Dimensionals to attach the arrow and bottom banner, and glued everything else.
We also used Black Memento ink to stamp all parts of the sentiment, and the stars.
We used a Gold Wink of Stella Glitter Brush on the “YOU ARE” and a Clear one on the blue stars.
Here are the current items we used:
 There are only 19 days left to shop from the 2015-2016 Annual Catalog’s Retiring List! Click here to see what is still available.
Thanks for stopping by today, and Sweet Stamping!

May 8, 2016 | Cards, Challenges, CYCI, New Products |
Happy Sunday! It’s time for another CYCI color challenge:

Here’s what I came up with. The gold looks a bit dull in this photo…
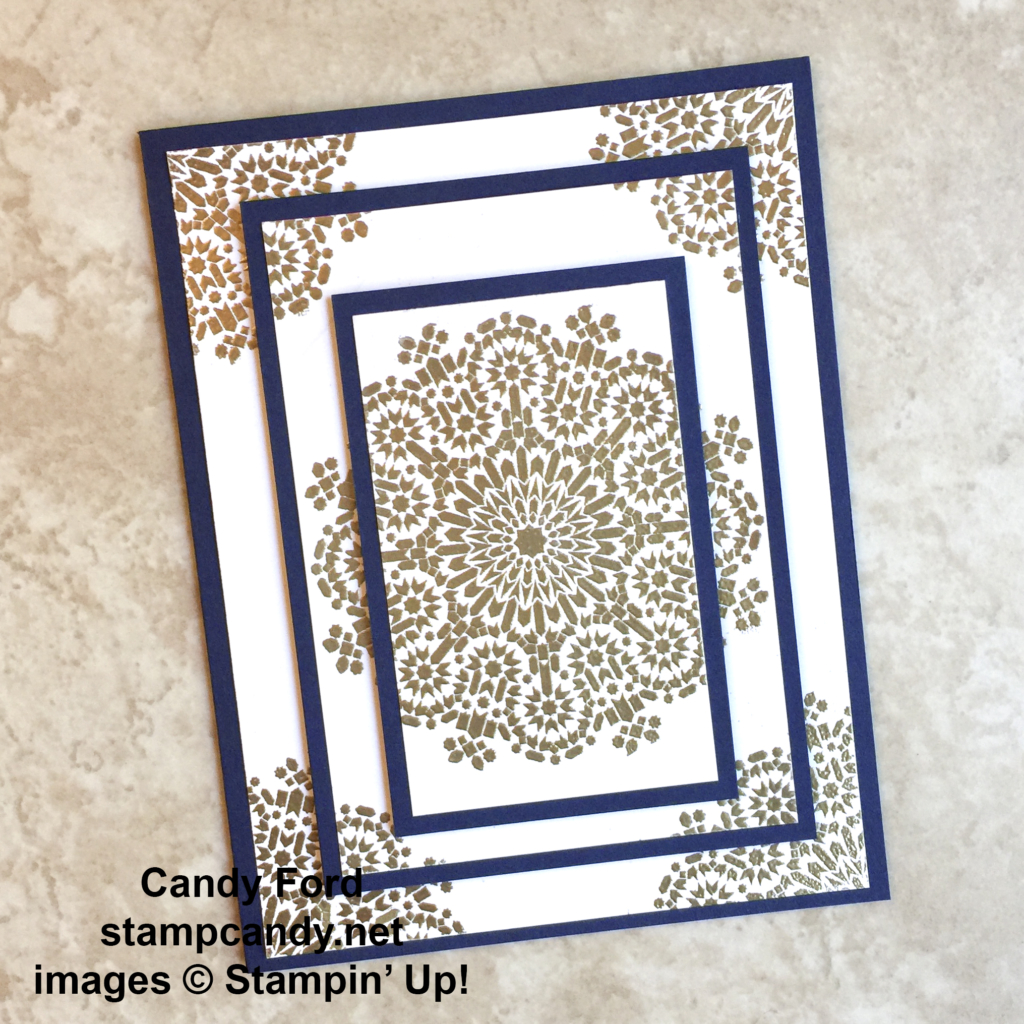
…so here it is with the light reflecting off the gold embossing.

I’m so excited to get to use one of the brand new stamp sets from the 2016-2017 Annual Catalog. It’s called Moroccan Nights. It will be available in clear mount (#141718, $18) and in wood mount (#141715, $25) on June 1, when the new catalog goes live.
I think this medallion stamp is spectacular. I used the entire image in the center, then just a bit of it on each corner.
I cut Whisper White card stock to three sizes: 4″ x 5-1/4″, 3″ x 4-1/4″, and 2″ x 3-1/4″. I stacked them up, centering one on top of the other, and attaching them together with just a bit of Snail adhesive. I dusted them with my Embossing Buddy, stamped the image in Versamark ink, covered it in gold Stampin’ Emboss Powder, and melted the powder with my Heat Tool.
I pulled the card stock pieces apart, being careful not to tear them – that’s why I used Snail instead of something like Fast Fuse. I matted the two smaller pieces with Night of Navy card stock, used Stampin’ Dimensionals between the layers, and glued the whole thing to a Night of Navy card base.
I didn’t want to break up this gorgeous design, so I decided the sentiment should go on the inside. What I haven’t yet decided is who will receive this card, so I’ll select the sentiment when the time comes.
The new catalog will also have products to coordinate with the Moroccan Nights stamp set, including Moroccan Designer Series Paper and Moroccan Designer Washi Tape! I can’t wait!!!
Here are the current items I used:
Be sure to check out all the other projects at canyoucaseit.com this week, and play along with us by uploading your own project photo!
There are only 23 days left to shop from the 2015-2016 Annual Catalog’s Retiring List! Click here to see what is still available.
Thanks for stopping by today, and Sweet Stamping!

Apr 24, 2016 | Cards, Challenges, Color Palette, CYCI, New Products |

Welcome to another color challenge from CYCI! Here are this week’s colors…
…and here are my projects.

I just got back from Stampin’ Up’s OnStage Live event in Salt Lake City, where I was able to order some goodies from the upcoming 2016-2017 Annual Catalog. As a fortunate happenstance, one of the Designer Series Paper sets I got has Basic Black, Very Vanilla, and a brand new In-Color called Peekaboo Peach – exactly the colors I needed for today’s challenge!
I used two sheets of the Playful Palette DSP Stack, both the same pattern but in different colors. I lined up the patterns, then cropped them both to 4″ x 5-1/4″. Then, holding them together, I used the Medium Star Punch to cut out three stars. I lined up the Peekaboo Peach stars in the holes on the Basic Black DSP, and the Basic Black stars in the holes on the Peekaboo Peach DSP. This gives you two cards for the effort of one!
I glued the Basic Black DSP onto a Peekaboo Peach card base, and the Peekaboo Peach DSP onto a Basic Black card base, then glued the stars in place on both cards.
I stamped the YAY! star image from the new Confetti Celebration stamp set in both Basic Black and Peekaboo Peach ink onto Very Vanilla card stock, then cut them with the same punch.
I stamped the sentiment from the same stamp set in the same two colors onto Very Vanilla card stock, then cut them with the Washi Label Punch.
I attached the stamped pieces to the card fronts with Stampin’ Dimensionals.
Here are the current products I used:
And here are the products I used that will be available June 1, 2016, in the 2016-2017 Annual Catalog:
Confetti Celebration stamp set (141510 Wood Mount, 142034 Clear Mount)
Playful Palette DSP Stack (141657)
Peekaboo Peach Classic Stampin’ Pad (141398)
Peekaboo Peach 8-1/2″ x 11″ card stock (141417)

Wish you could order the new products before anyone else? Click on Be A Candy Heart at the top of this page. All you have to do is buy the Starter Kit, which is really the ultimate bundle! You get to choose $125 in product, and you only pay $99, and you get free shipping, and you get a free Paper Pumpkin kit! After that you get at least a 20% discount on everything you buy. What a deal!

The Retiring List has been published for the 2015-2016 Annual Catalog, and the 2016 Occasions Catalog. You can download the pdf here, or you can view the items in my online store here. Save up to 50%! Don’t miss out on these great products. They won’t hang around for long.
Thanks for stopping by today, and Sweet Stamping!
Feb 5, 2016 | Boxes, Classes, Gift Wrap, Gifts, New Products, Occasions, Paper Pumpkin |
This weekend I’m in Phoenix, AZ, spending some quality time with, and learning a lot from, some wonderful Stampin’ Up! Demonstrators from all over the country. Lisa Pretto of InkBig Academy is the organizer and leader of the weekend. I thought one of the projects we made in the January Bloomin’ Love Bundle Class would be a perfect thank you gift for her, so today I’m sharing that with you.

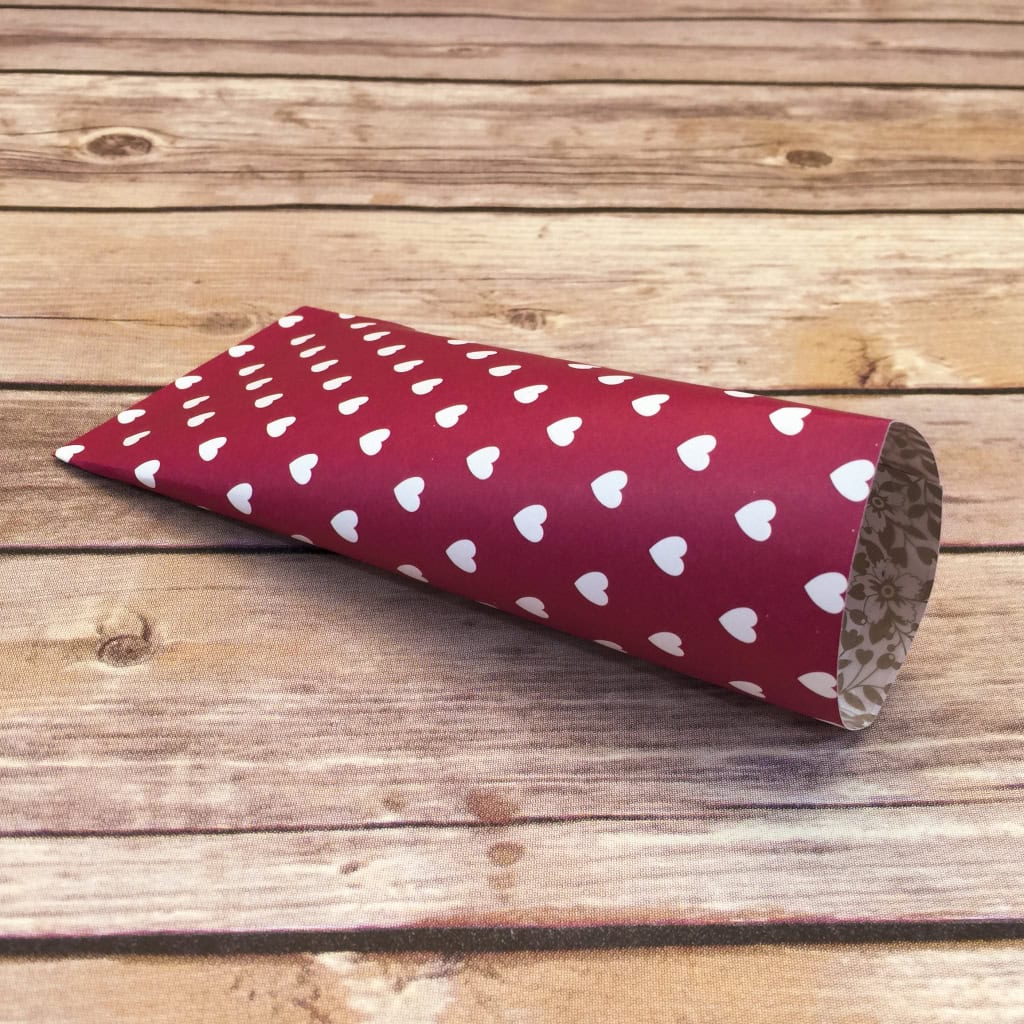
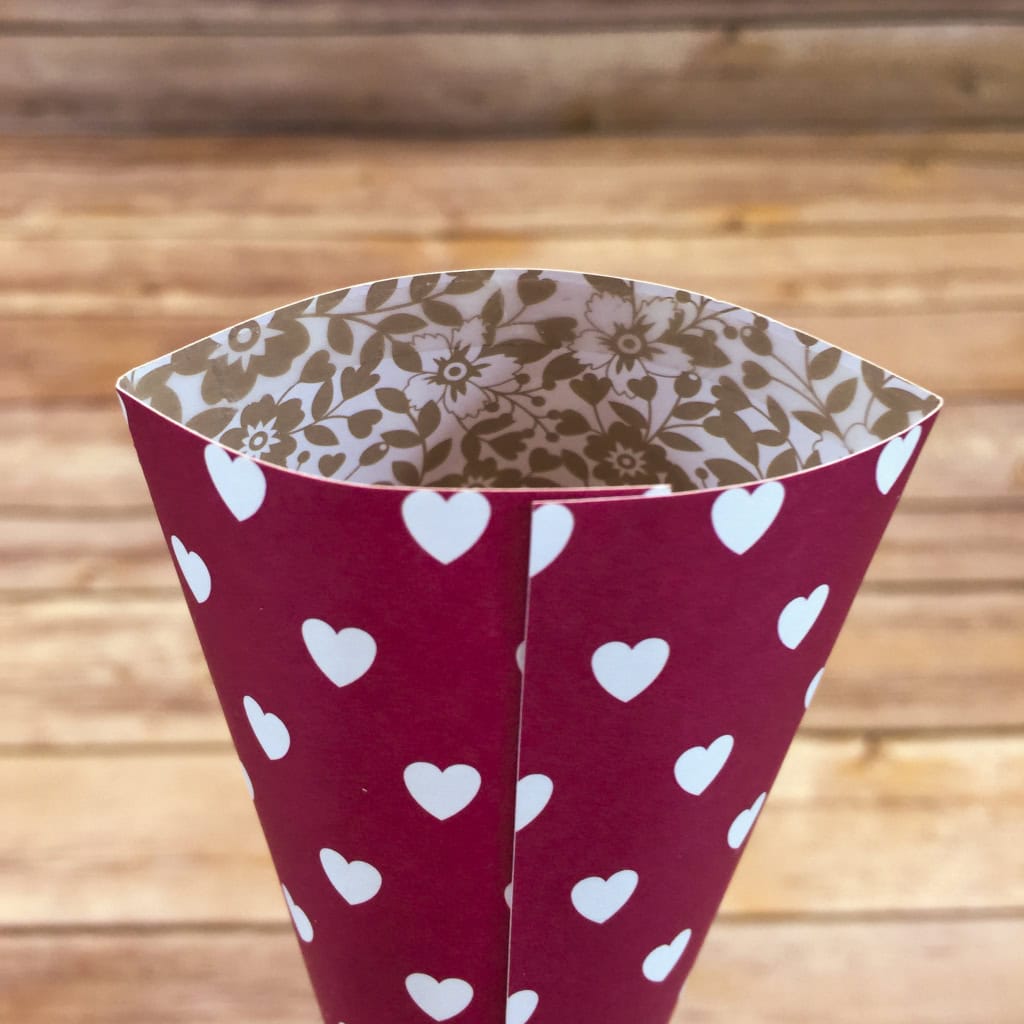
The sour cream containers – so called because single servings of sour cream usually come in containers shaped like this – are incredibly easy to make, even though they look much more complicated.
For today’s container, I started with a sheet from the Love Blossoms Designer Series Paper Stack. The 6″x6″ size is perfect for this project, so no cutting required!
On the side of the paper that will be on the inside of the container, I put strong adhesive (I recommend Tear & tape or Fast Fuse) along three of the edges. Then I rolled the paper and adhered the two sides together to create a tube.
NOTE: If the paper design has a definite direction, make sure you put the adhesive along the top and bottom edges and along one side edge.
I pinched the bottom end closed, with the seam along one edge of the bottom.
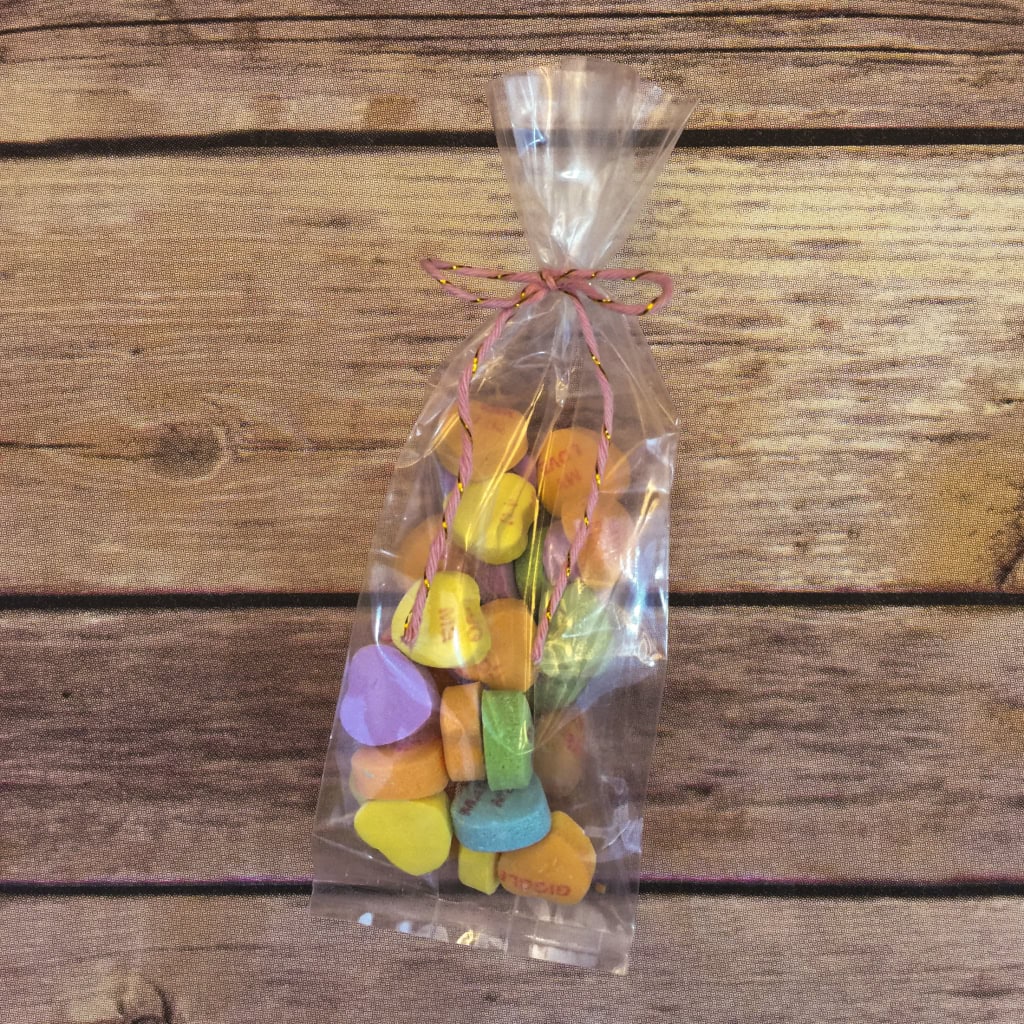
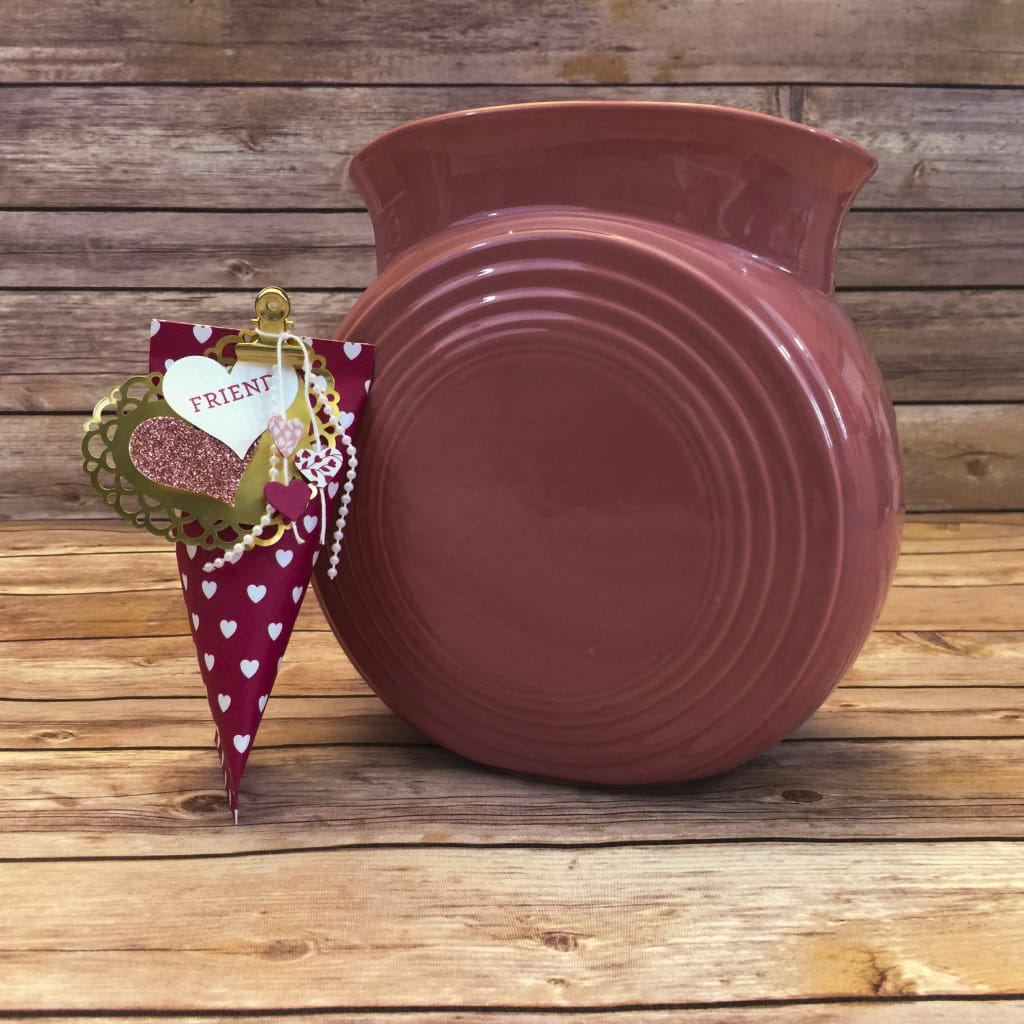
I used a gusseted bag and twine from the Filled With Love Paper Pumpkin Kit Refill and filled it with Candy Hearts. This and other past Paper Pumpkin kits and refills are available for purchase to any current Paper Pumpkin subscriber.
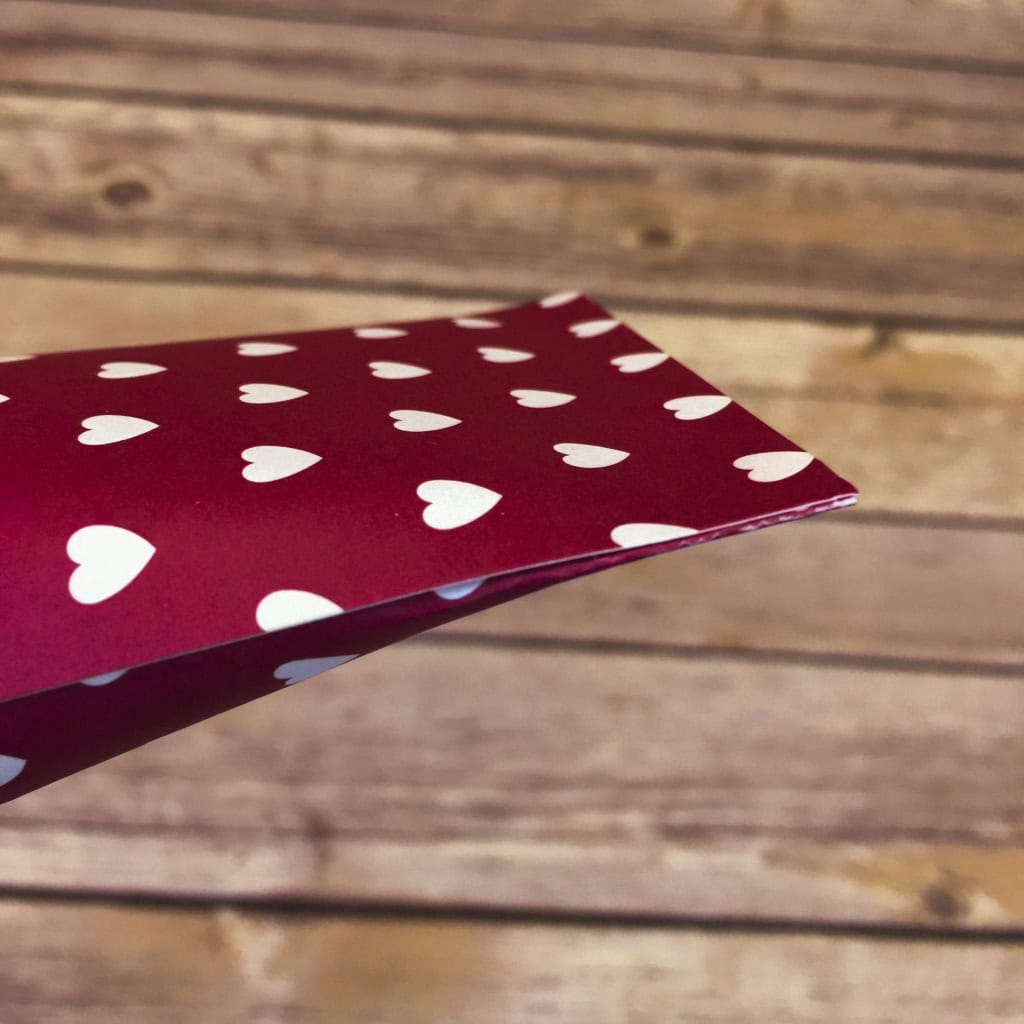
I pinched the top of the container closed, with the seam in the center of the top. This created the interesting shape, with one end flat in one direction and the other end flat in the other direction.
NOTE: Don’t over fill the bag before putting it into the container. It should be skinny enough to insert without it getting caught on the adhesive around the interior edge of the container.

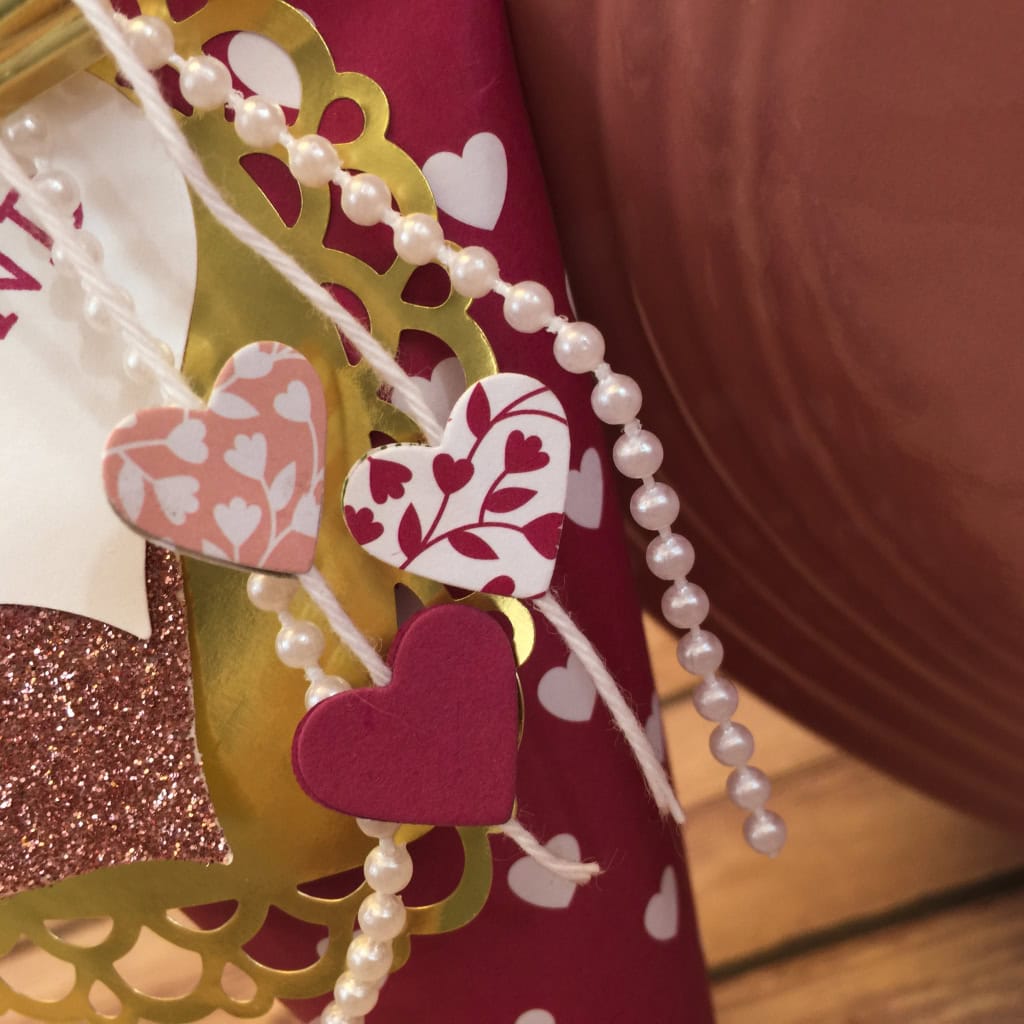
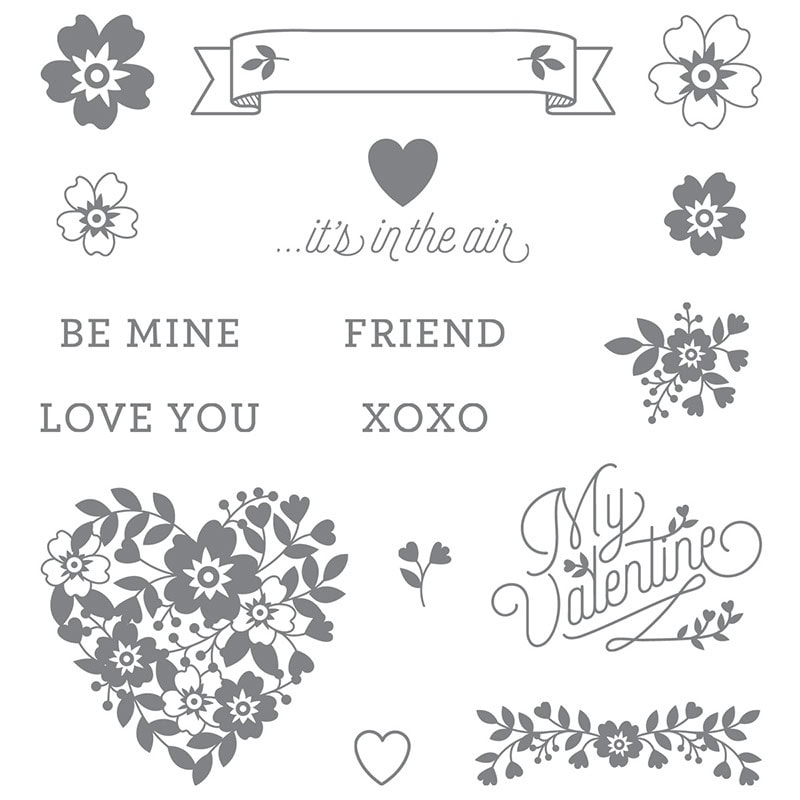
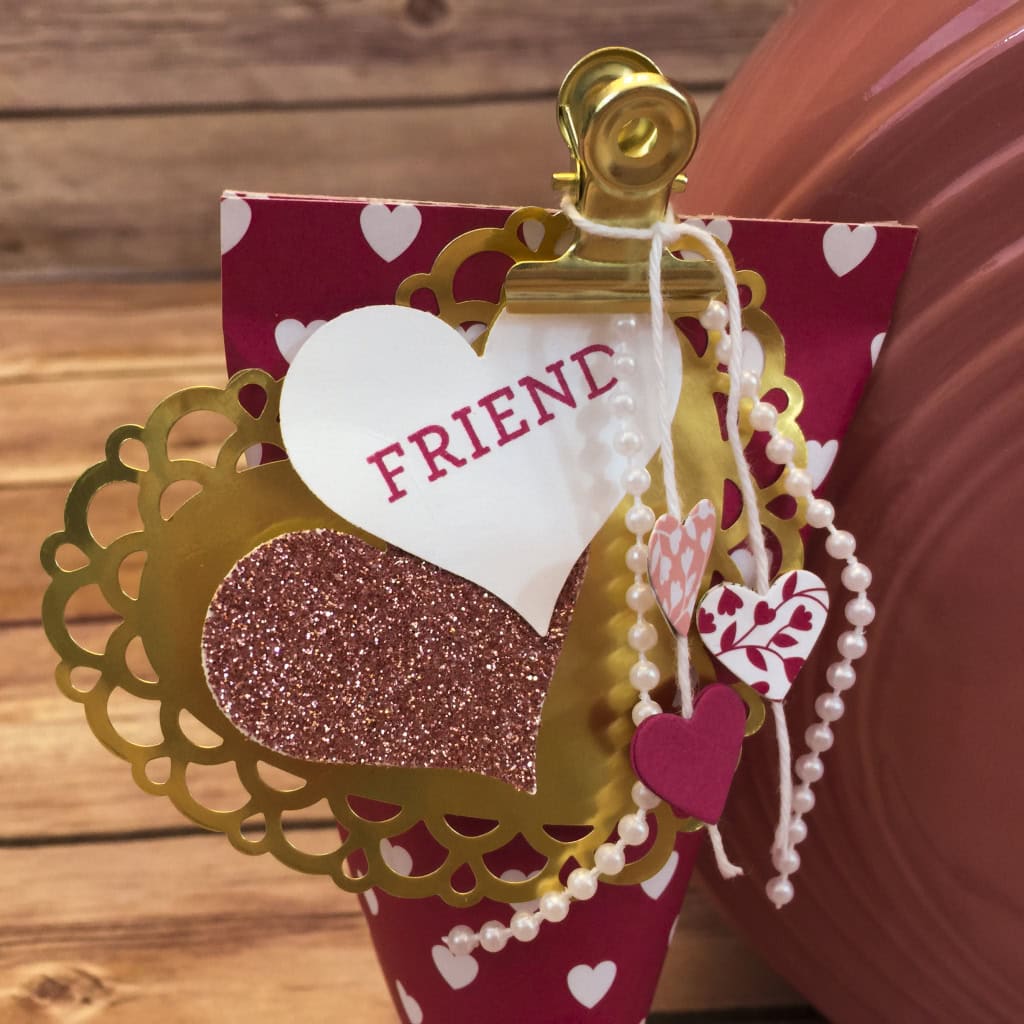
I stamped the word FRIEND, from the Bloomin’ Love stamp set, in Rose Red on a piece of Whisper White card stock, then punched it out with the Sweetheart Punch. I used the same punch to cut a heart out of Blushing Bride Glimmer Paper. Then I glued the two hearts together.
I used the heart punch from the Itty Bitty Accents Punch Pack to cut two hearts each from two different designs in the Love Blossoms DSP Stack and from Rose Red CS. I glued them together along a length of Whisper White Baker’s Twine, sandwiching the twine between the two hearts, and tied the twine around one of the gold clips from the same Filled With Love PP kit refill.
I used the clip to attach the two glued-together hearts as well as a gold heart doily and length of pearl trim from the Love Blossoms Embellishment Kit. The layers make it look much more complicated that it really is.
Here’s what I used today. Click on the images below to get what you need to make your own sweet sour cream container!
Thanks for stopping by today, and Sweet Stamping!

Feb 2, 2016 | Cards, New Products, Occasions |
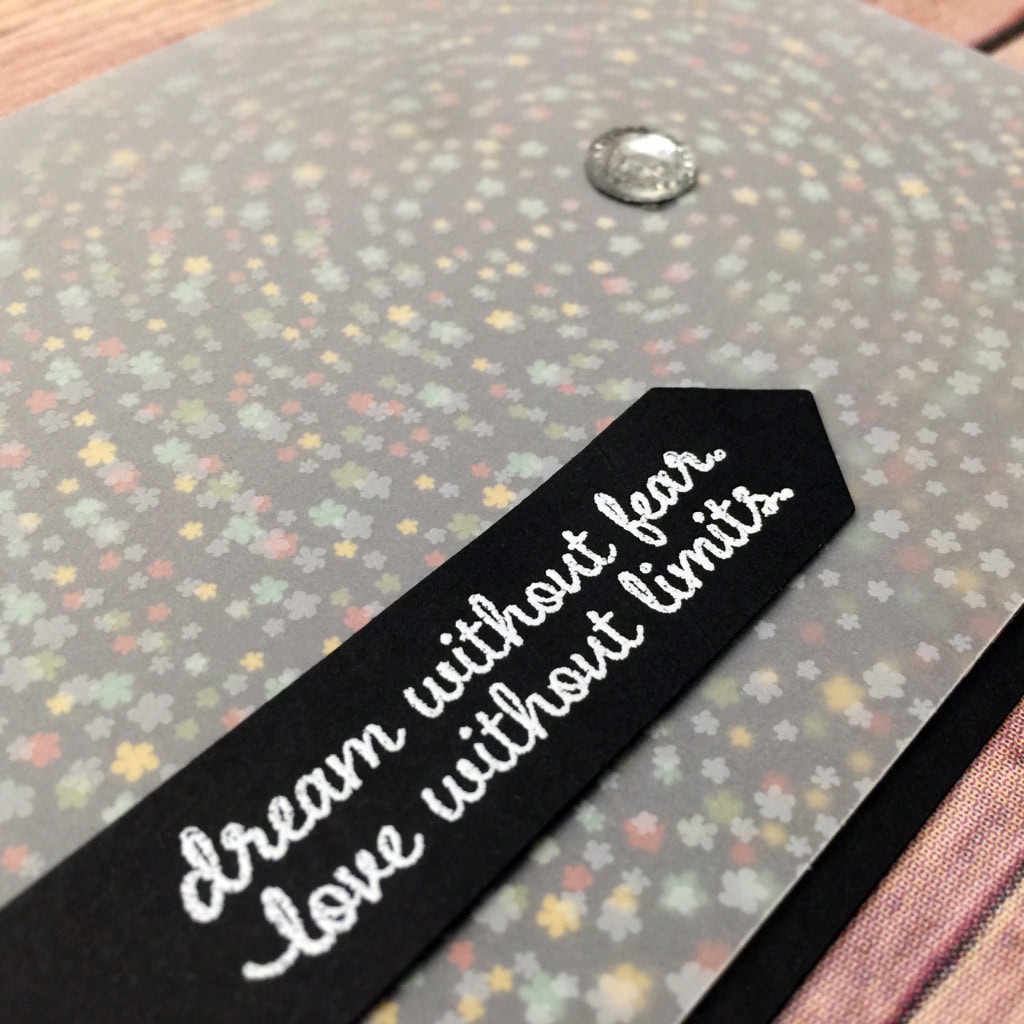
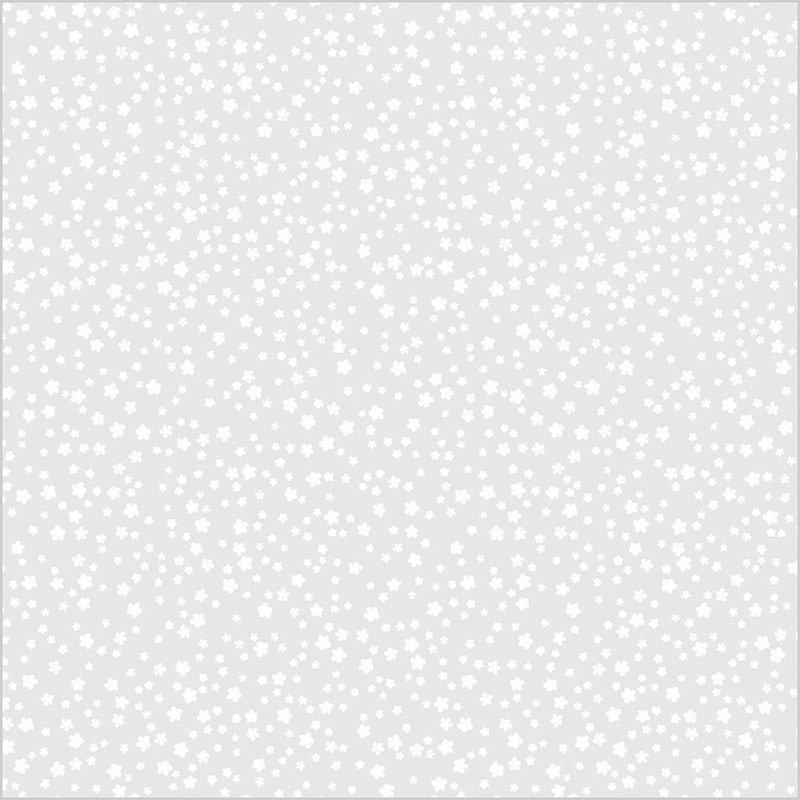
At first glance, this card might look like a swirling vortex of stars in the night sky. Look more closely and you’ll see the stars are actually flowers. I got this affect by layering a piece of Botanical Garden Designer Series Paper with the coordinating piece from Botanical Gardens Designer Vellum Stack. I pressed my fingertip where I wanted the center of the swirl to be, where you see the Iced Rhinestone, then spun the vellum just a tiny bit. The flowers near the center are lined up, but the farther away from the center you get, the more offset the flowers are, giving the illusion of a spinning motion.
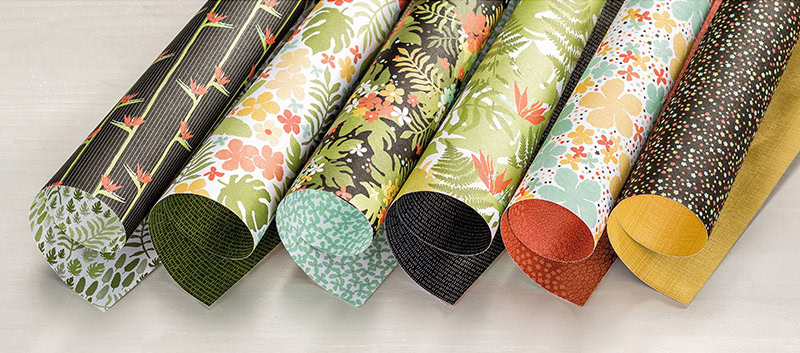
Botanical Gardens Designer Series Paper, Item #140583

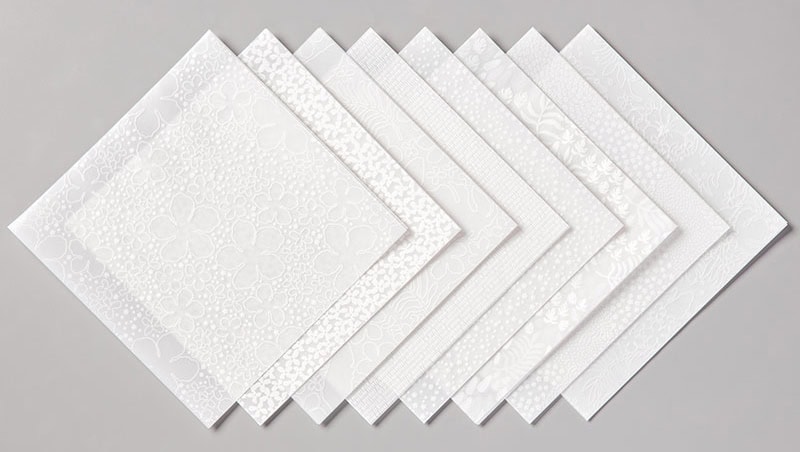
Botanical Gardens Designer Vellum Stack, Item #141019
NOTE 1: Trim the DSP to size, but keep the vellum larger until you’ve spun it to find out where it should go. Then trim the vellum to fit the DSP.
NOTE 2: This vellum is 6″ x 6″ and the DSP is 12″ x 12″. The vellum lines up perfectly with the center of the DSP.
I chose an Iced Rhinestone as a bright, shiny focal point for the center of the swirl. The card base and banner are Basic Black card stock.

The sentiment, from the Picture Perfect stamp set, seemed perfectly “cosmic” for this particular background. I heat embossed it in white on the Basic Black banner.
I think this would be a great card for anyone who is graduating, marrying, or starting any other new adventure.
NOTE 3: There is always a lot of discussion amongst paper crafters about the best way to adhere vellum so it doesn’t show through. As you can see, there isn’t a lot of covered area on this card where adhesive can be hidden – only under the rhinestone and the banner. I used teeny tiny dots of the Multipurpose Liquid Glue in several spots, making sure they were behind one of the flowers on the vellum. I used such a thin layer of glue that I felt the need to hold the vellum down to the DSP for a moment, until I felt it was dry enough to stay put.
The Botanical Gardens Designer Vellum Stack is available FREE with any $50 order during Sale-a-bration. Get it while you can!
Here’s what I used. Click on the images below to get what you need to make your own version of today’s card.
Thanks for stopping by today, and Sweet Stamping!
Jan 27, 2016 | Cards, New Products, Occasions, Sale-A-Bration |
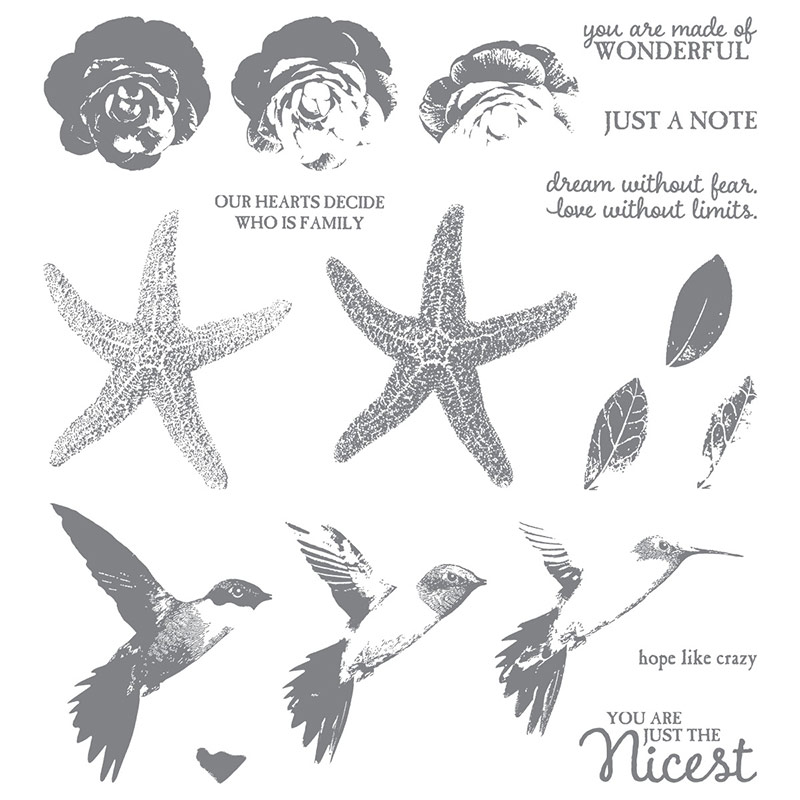
Every time I say the name of this Designer Series Paper from the Sale-a-bration catalog, I think of the old Beatles song that goes, “Strawberry Fields forever…” I call it Wildflower Fields forever.
I love to mix different products, like using two different stamp sets or two different Designer Series Papers, on the same card. Today I’ve paired a piece of Wildflower Fields DSP with a piece from the Pretty Petals DSP Stack. They have Calypso Coral in common, but the neutral colors are different: Wildflower Fields has Whisper White and Pretty Petals has Very Vanilla. I don’t normally use those two colors together, but I did like these two DSPs together, so I had to find a way to make them bond.
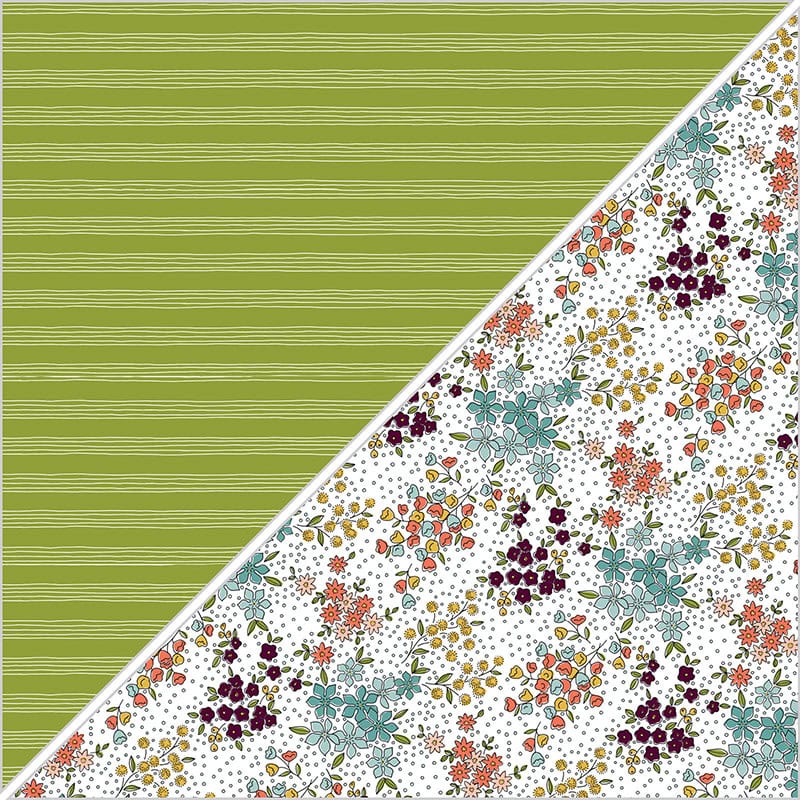
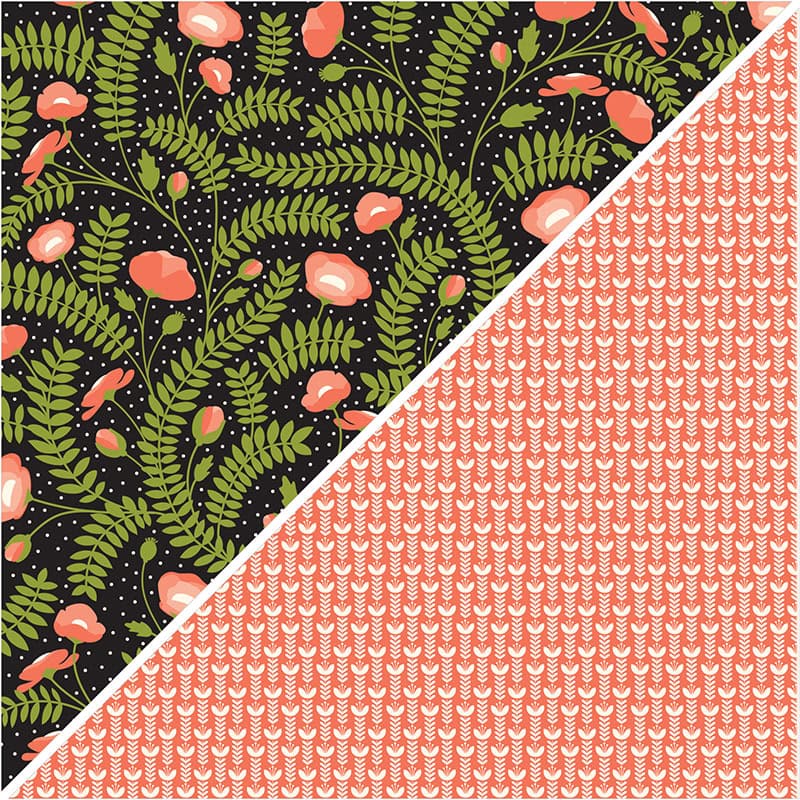
I tried a few different ribbons with either Whisper White or Very Vanilla/natural in them, but in the end the Lost Lagoon 5/8″ Striped Cotton Ribbon seemed perfect. It matches the Lost Lagoon flowers in the upper panel AND it matches the Very Vanilla in the bottom panel. I would have expected the natural color of the ribbon to clash with the Whisper White directly above it, but I find this particular combo pleasing to the eye. Imagine that the top panel is a big bunch of flowers in blue, white, coral, and yellow, and that the bottom panel is a basket or other container in coral, natural, and blue.
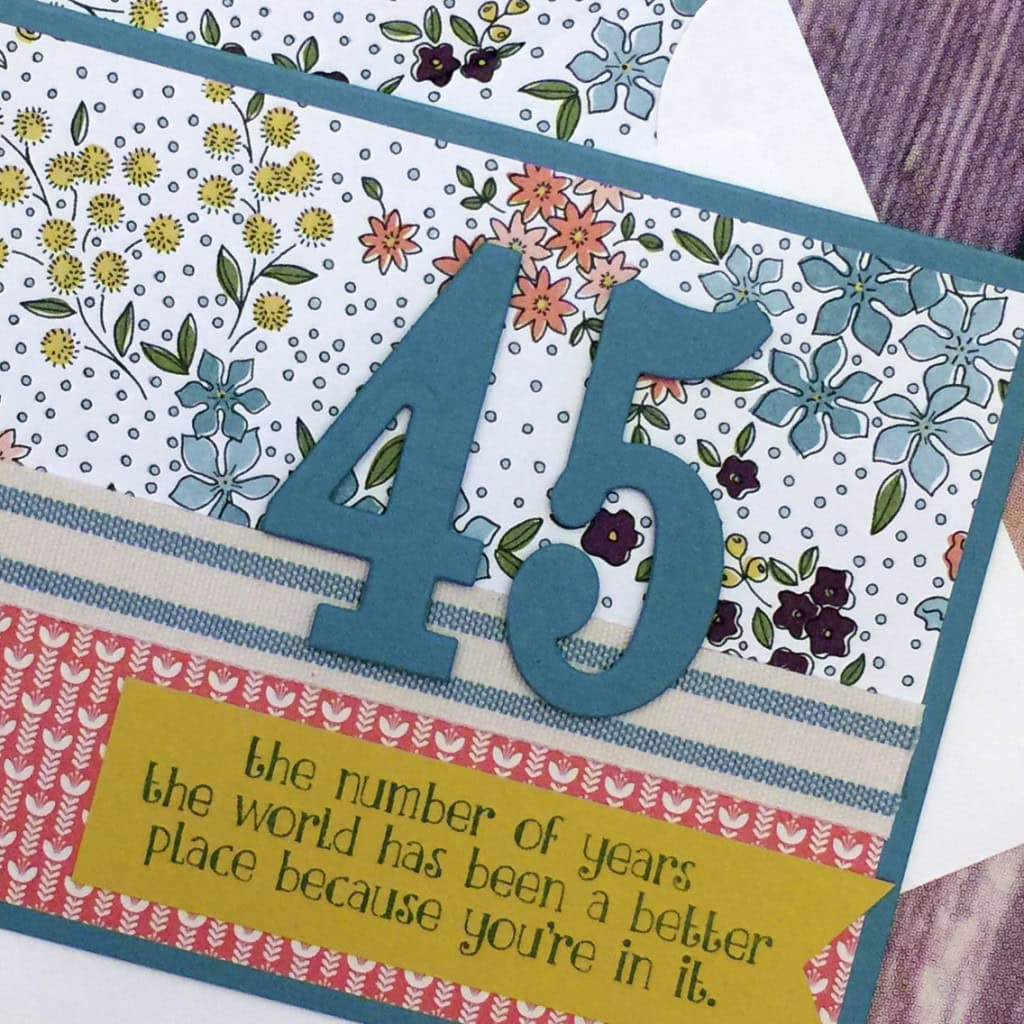
The Lost Lagoon card base frames the card, and the numbers pull more of that color into the center of the card, helping with the overall balance.
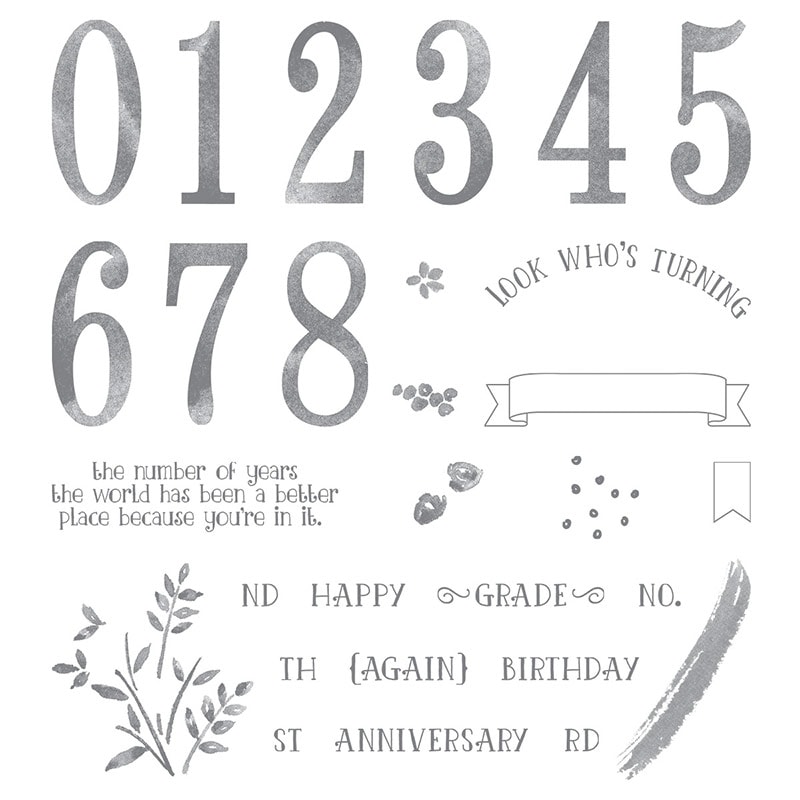
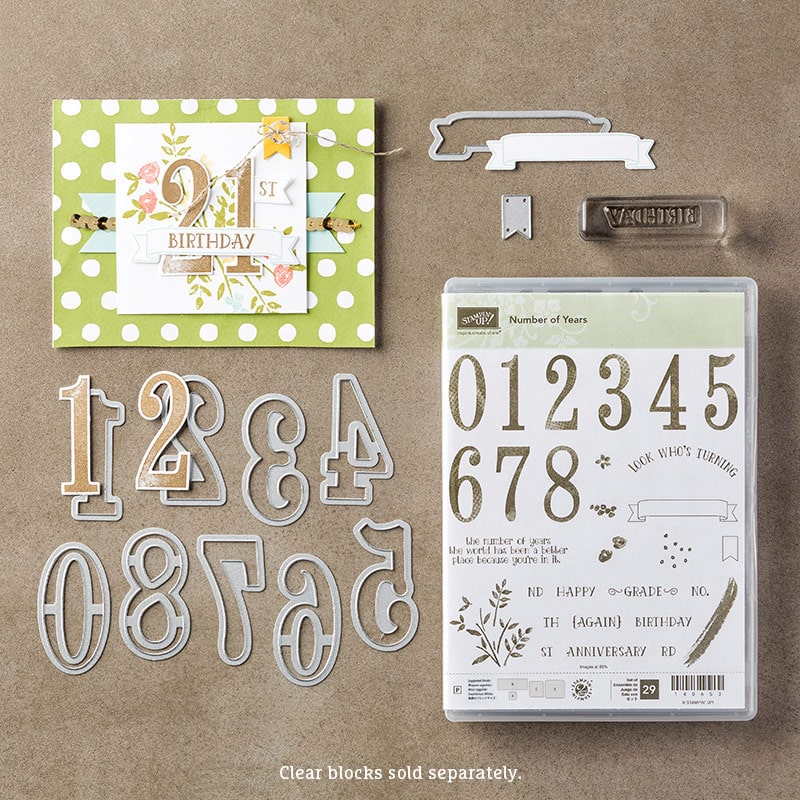
I stamped the sentiment from the Number of Years stamp set in Lost Lagoon on Hello Honey CS; and I cut the numbers with the coordinating Large Numbers Framelits Dies. I could have stamped the numbers first, then cut them out, but in this case I thought the solid CS would pop better against the busy DSP. I used the Banner Triple Punch to notch one end of the sentiment.
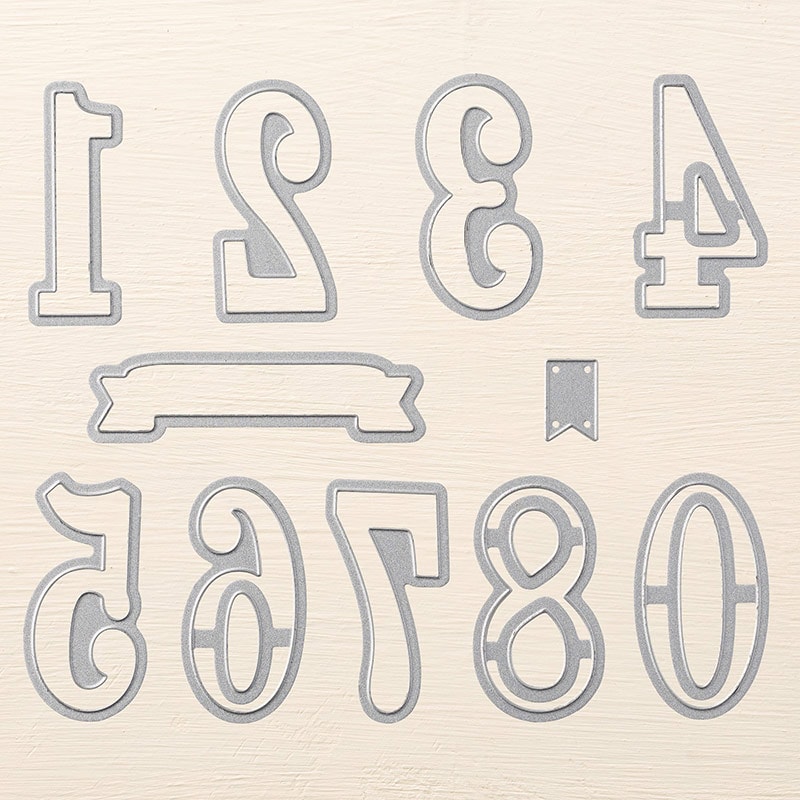
By the way, the stamp set and dies are available in a bundle to save 15%!
I attached the ribbon with Fast Fuse, the numbers with Stampin’ Dimensionals cut into small strips, and everything else with glue.
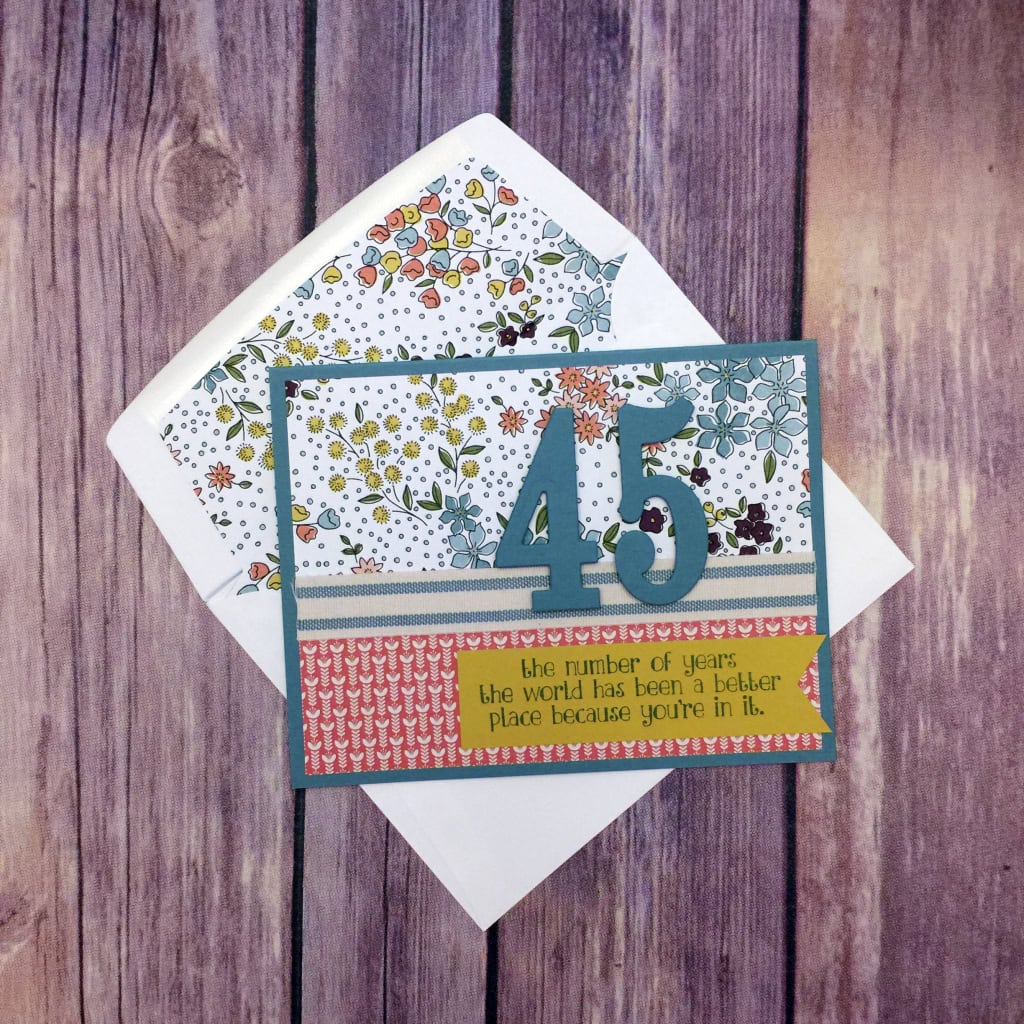
All that was left was to line the Whisper White Medium Envelope with a piece of the same Wildflower Fields DSP. I cut it with the Envelope Liners Framelits and glued it into the envelope. There are three dies in the Envelope Liners set, and they cut liners to fit perfectly into Stampin’ Up’s Medium Envelopes (in Whisper White, Very Vanilla, or Crumb Cake,) Note Card Envelopes (in Whisper White or Crumb Cake,) and Whisper White Square Envelopes. I’ll post links to all these products below so you can see them for yourself.
Here are the products I used or mentioned today. Click on the images below to get the things you need to make your own version of this card.
Thanks for stopping by today, and Sweet Stamping!


