Dec 31, 2016 | Boxes, Cards, Gallery, Gifts, Holiday, New Year, Retiring Products, Tags |
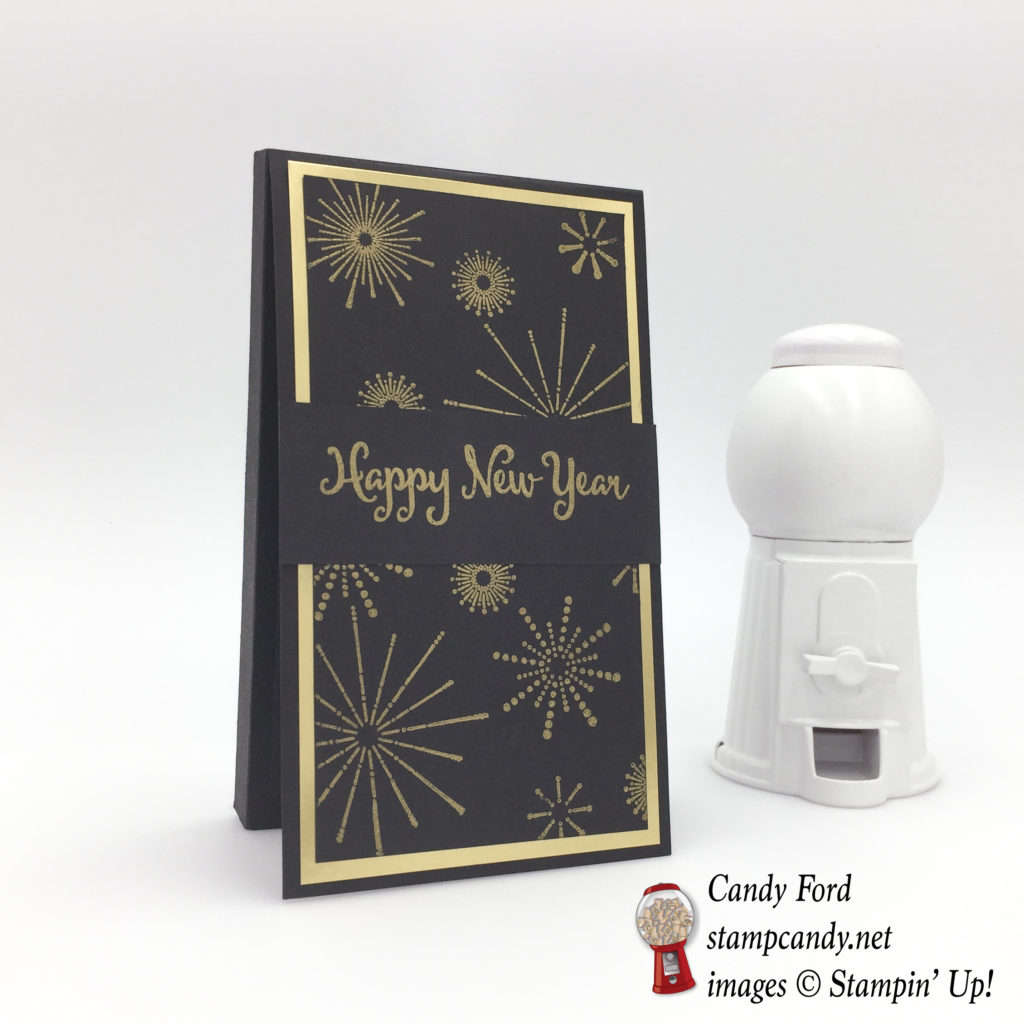
Today I’m sharing a project that I presented at a stamping event in November, and that my downline requested we make at our next meeting. It’s a Sliding Treat Box with a Twist Pop-Up Panel Card attached.
Here’s what I made:
2017
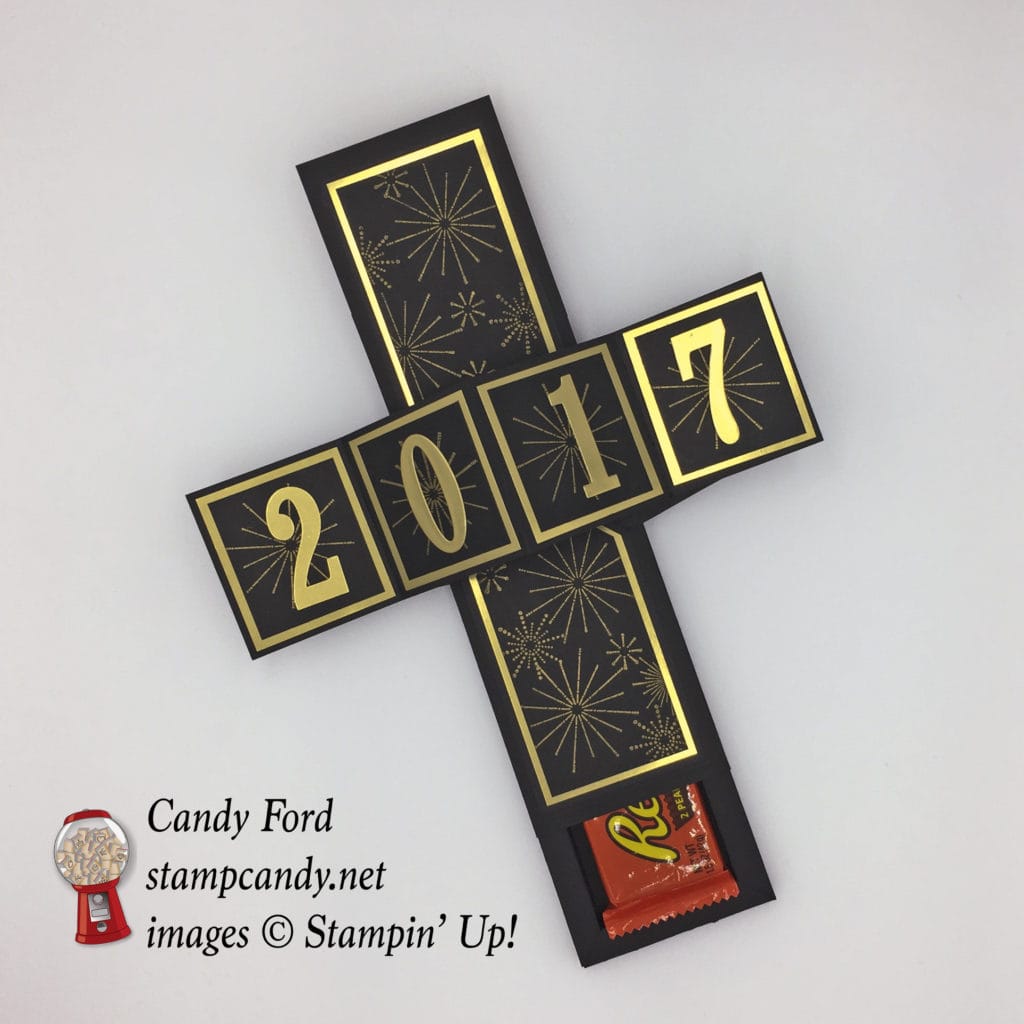
The card opens to show fireworks and a panel with 2017, and the box slides open to reveal the goodies inside.
I made the one for my presentation (above) to fit a package of Reese Cups.
To simplify things, I made the one for our team meeting (below) the size of a standard 4-1/4″ x 5-1/2″ card. I gave this one to my sister-in-law with a gift card inside, But 9 Hershey’s Nuggets fit nicely.

Here’s how I did it:
Click here for instructions on building the sliding box. Begin where it says “Score 4 times from the edge of all four sides,…” You will start with a piece of Basic Black card stock cut to 8-1/4″ x 9-1/2″, and the score lines should be every 1/2″. The cover is Basic Black card stock cut to 5-9/16″ x 11″
Click here for instructions on building the Twist Pop Up Panel Card. Build the entire card with Basic Black card stock, and the decorative pieces are Gold Foil Sheets.
Here’s how I did the extra decoration:
Cut 4 pieces of Basic Black card stock to 2-1/2″ x 2-1/4″. Stamp the largest firework from the It’s A Celebration stamp set in Versamark ink onto each piece, then heat emboss in gold. Adhere one of these to the gold foil piece on each section of the panel. Using the Large Numbers Framelits, cut out 2017 from a piece of Gold Foil Sheet. Adhere the numbers to the panel as shown.
Cut two pieces of Basic Black card stock to 3-1/2″ x 4-3/4″. Use the folded up mechanism to trace the point onto each piece. Stamp assorted fireworks from the same stamp set in Versamark ink onto both pieces, then heat emboss in gold. Adhere these to the two gold foil pieces on the inside of the mechanism.
Cut one piece of Basic Black card stock to 3-3/4″ x 5″.Stamp assorted fireworks from the same stamp set in Versamark ink onto both pieces, then heat emboss in gold. Adhere this to the gold foil piece on the front of the card base.
Cut one piece of Basic Black card stock to 1″ x 4-1/4″. Stamp the sentiment from the same stamp set in Versamark ink and heat emboss it in gold. Adhere it to the front of the card as shown.
Adhere the back of the finished card to the top of the sliding box cover – I like to cover the line where the two ends of the cover overlap. Put a treat inside the box. Then tie a piece of gold cord from the Baker’s Twine Trio Pack around it.
I also made a gift tag by cutting a piece of Gold Foil Sheet to 2″ x 4″, scoring it at 2″, and folding it in half. I punched the top corner with the 1/8″ Circle Punch and threaded another piece of the gold twine through the hole to tie it to the box.
Here’s what I used:
Thanks for stopping by today, and Sweet Stamping!

Jan 1, 2016 | Catalogs, Deals, Events, New Products, New Year, Occasions, Open House |
Happy New Year!
Don’t miss this!
OPEN HOUSE
Sunday, January 3, 12-4 PM
1621 Executive Park Lane NE, Atlanta, GA 30329
Please park along the street (Woodcliff) behind the building. Thanks!
– order from the retiring Holiday catalog, the current Annual catalog, and the new Occasions catalog (cash, MC, Visa, Discover, PayPal.) I will place Holiday orders on Jan 4, and Occasions orders on Jan 5.
– sign up for classes (cash, PayPal)
– subscribe to Paper Pumpkin
– get the starter kit
– earn Gum Ball Rewards for a free stamp set
– free Make & Take
– door prizes
– bring a friend new to me and receive a gift
– schedule a private class and receive a gift
Sweet Stamping!

Jan 1, 2016 | Cards, Catalogs, New Products, New Year, Occasions, Open House |

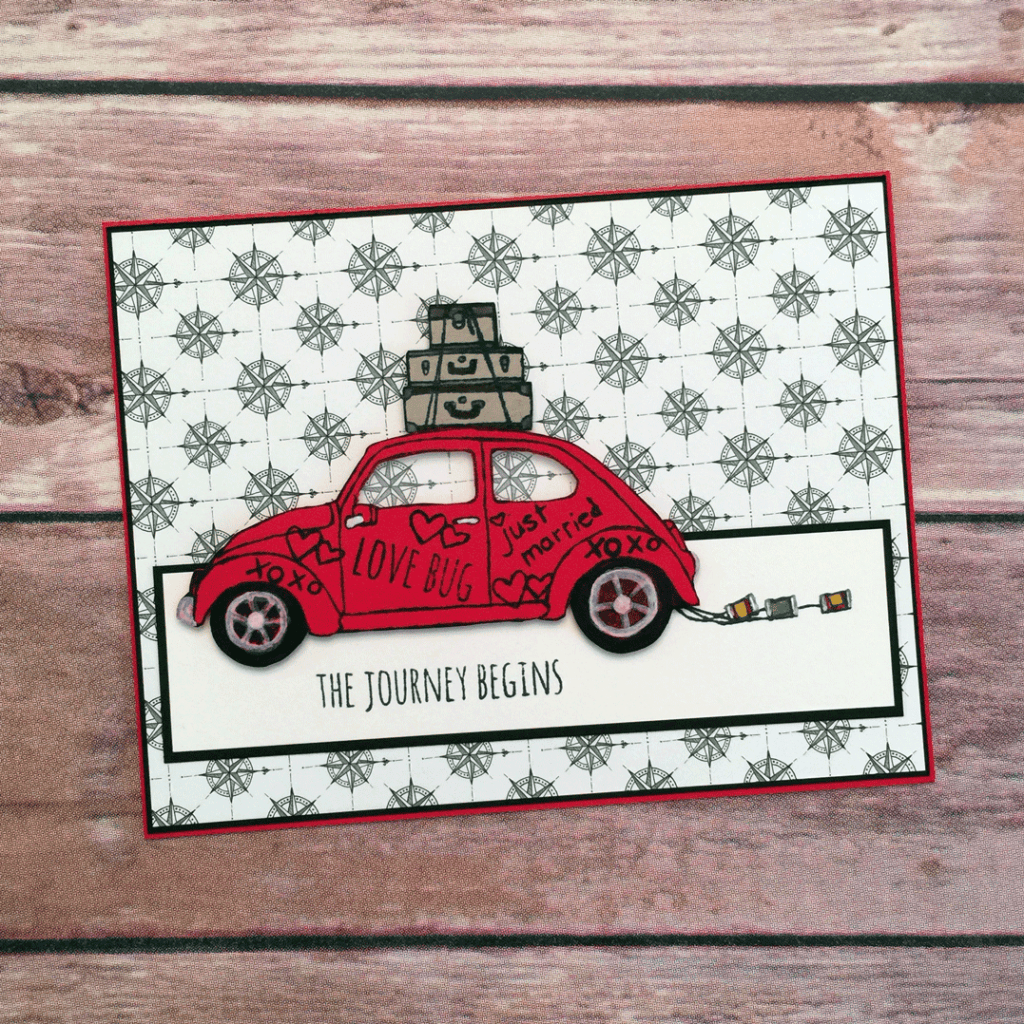
While this card is meant for newlyweds, I think it’s appropriate for today. After all, we are beginning the journey through 2016.
I think the Beautiful Ride stamp set will be one of the most popular sets of the new Occasions catalog, because everyone I’ve talked to so far says it’s one of their favorites. The car alone is worth getting the set, but the accompanying images make it a must have.

The Going Places suite of products, on pages 38-39 of the new Occasions catalog, is a perfect accompaniment for this stamp set. Here I used a piece of the Designer Series Paper Stack as the background. I added a very thin Basic Black layer behind the DSP, and adhered it to a Real Red card base.
I stamped the car in black on Real Red card stock. I cut out the car, and cut out the windows with my Paper Snips, then backed them with a piece of Window Sheet. I filled in some details (tires, wheels, bumpers, door handle, mirror stem) with a Basic Black Stampin’ Write Marker and a White Stampin’ Chalk Marker.
I stamped the luggage in black on Crumb Cake CS, cut it out with my Paper Snips, then filled in some details with Stampin’ Write markers in Smoky Slate (corners,) Chocolate Chip, Soft Suede, and Crumb Cake.
I stamped the cans in black on the strip of Very Vanilla CS, and colored them with a White Stampin’ Chalk Marker and Stampin’ Write Markers in Real Red, Crushed Curry, and Old Olive. I stamped the sentiment in black on the Very Vanilla strip. I matted the strip with Basic Black CS and glued it to the card front.
And finally, I adhered the car and luggage with Stampin’ Dimensionals.
Here’s what I used:
Thanks for stopping by today, Sweet Stamping, and Happy New Year!
Dec 31, 2015 | Cards, New Products, New Year, Occasions |

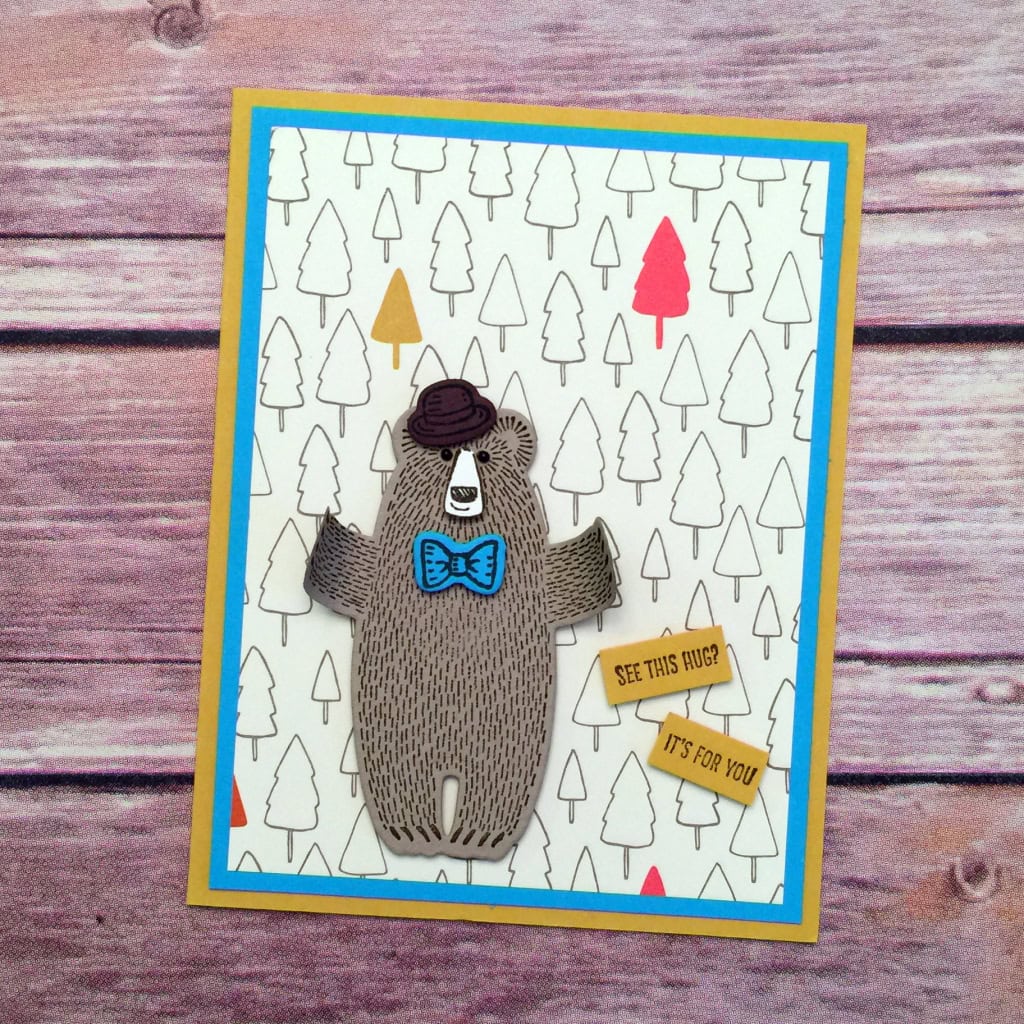
The new Bear Hugs stamp set is a-dor-a-ble. These hairy little critters have sweet faces and arms outstretched for big hugs. They’re perfect for mamas, papas, babies, or anyone else you want to send a paper hug to.

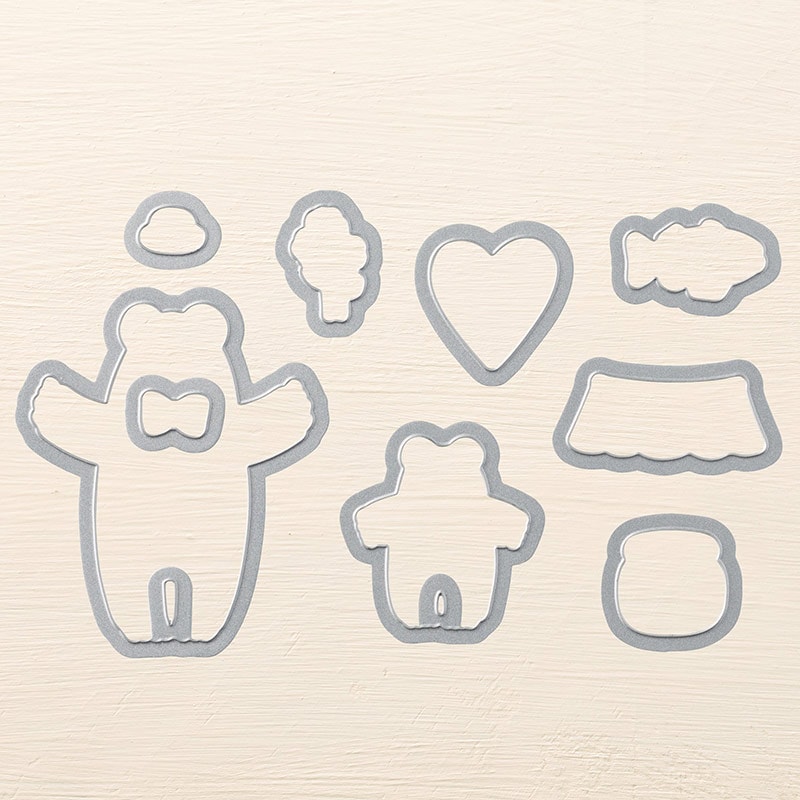
And the coordinating Framelits Dies make all the shapes a breeze to cut out.
When I was deciding which paper to use for this card, I thought of this design from the Sweet Li’l Things Designer Series Paper. I mean, a bear belongs in the woods, right?
This fellow is quite dapper in his hat and bowtie. I stamped all the images in Early Espresso: the bear on Tip Top Taupe card stock, his nose on Very Vanilla, the hat on Chocolate Chip, the bowtie on Tempting Turquoise, and the sentiment on Hello Honey. I used the Framelits to cut out the bear, hat, and bowtie. I used Paper Snips to cut out the nose and the sentiment.
I used a Bone Folder to curl his arms into a hug, then glued the rest of his body to the card front. I adhered everything else with Stampin’ Dimensionals.
The card base is Hello Honey, with a Tempting Turquoise layer under the DSP.
Here’s what I used:
I’m sending you this paper hug and hoping you’ll have a safe and fun New Year’s Eve! See you next year!
Thanks for stopping by today, and Sweet Stamping!
Dec 21, 2015 | Christmas, Gift Wrap, Holiday, New Year, Tags |
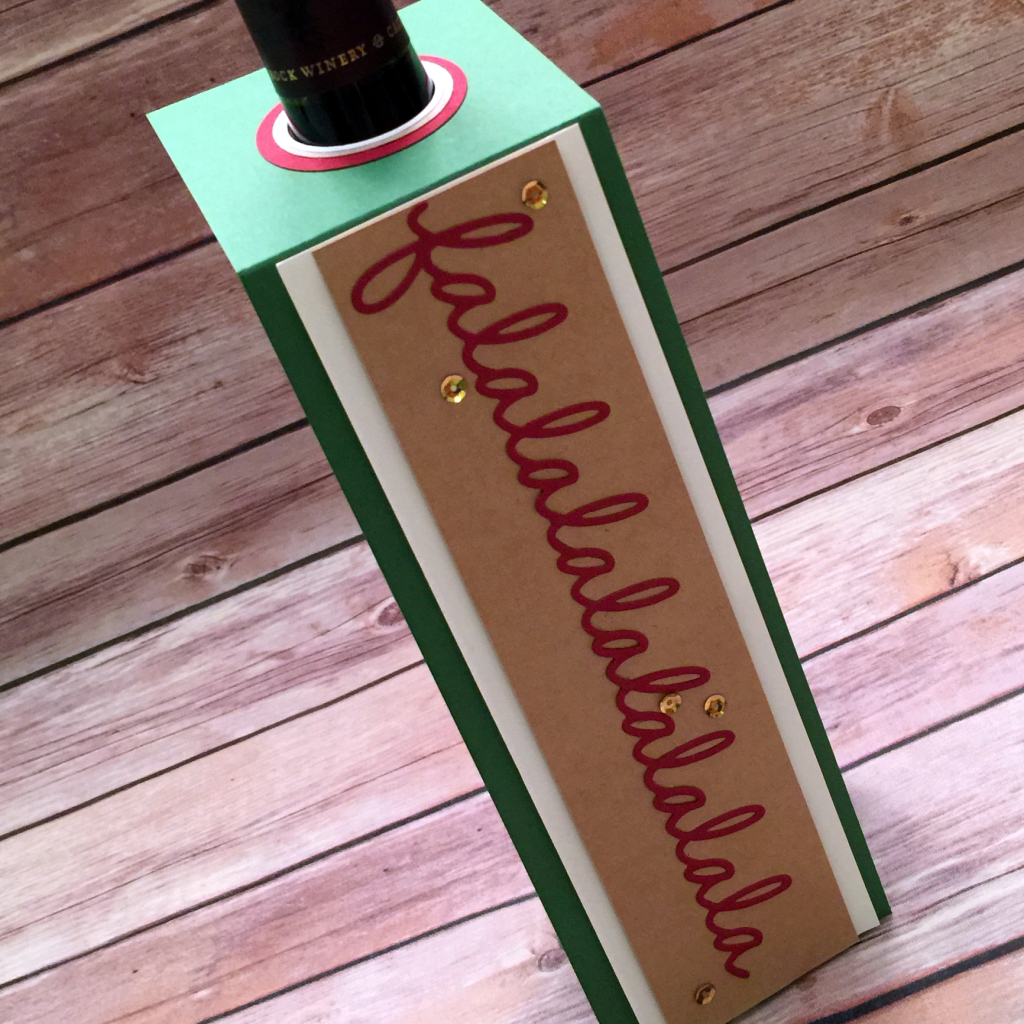
Do you need to decorate a bottle of wine, fancy olive oil, or bath product for a holiday gift? Bottle tags are a quick and easy way to do just that.

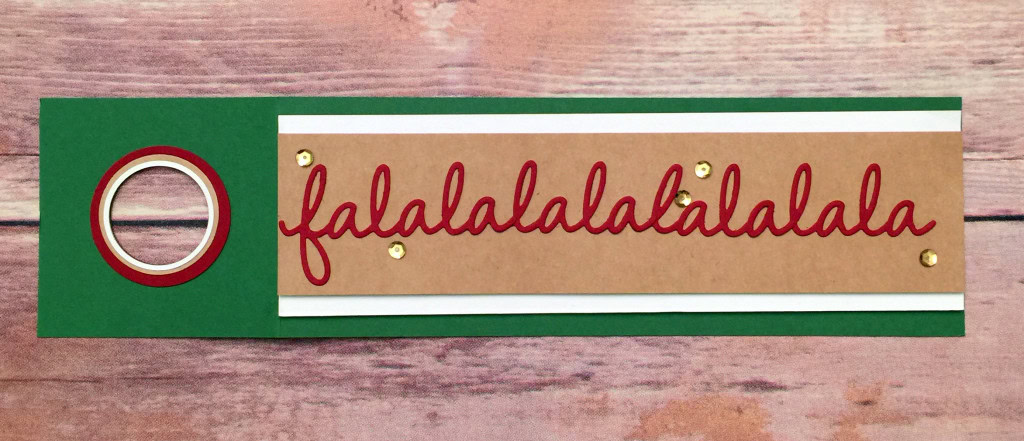
This one is made of Garden Green, Cherry Cobbler, Whisper White, and Kraft card stock.
I cut three rings with various sizes of Circle Punches for the top.
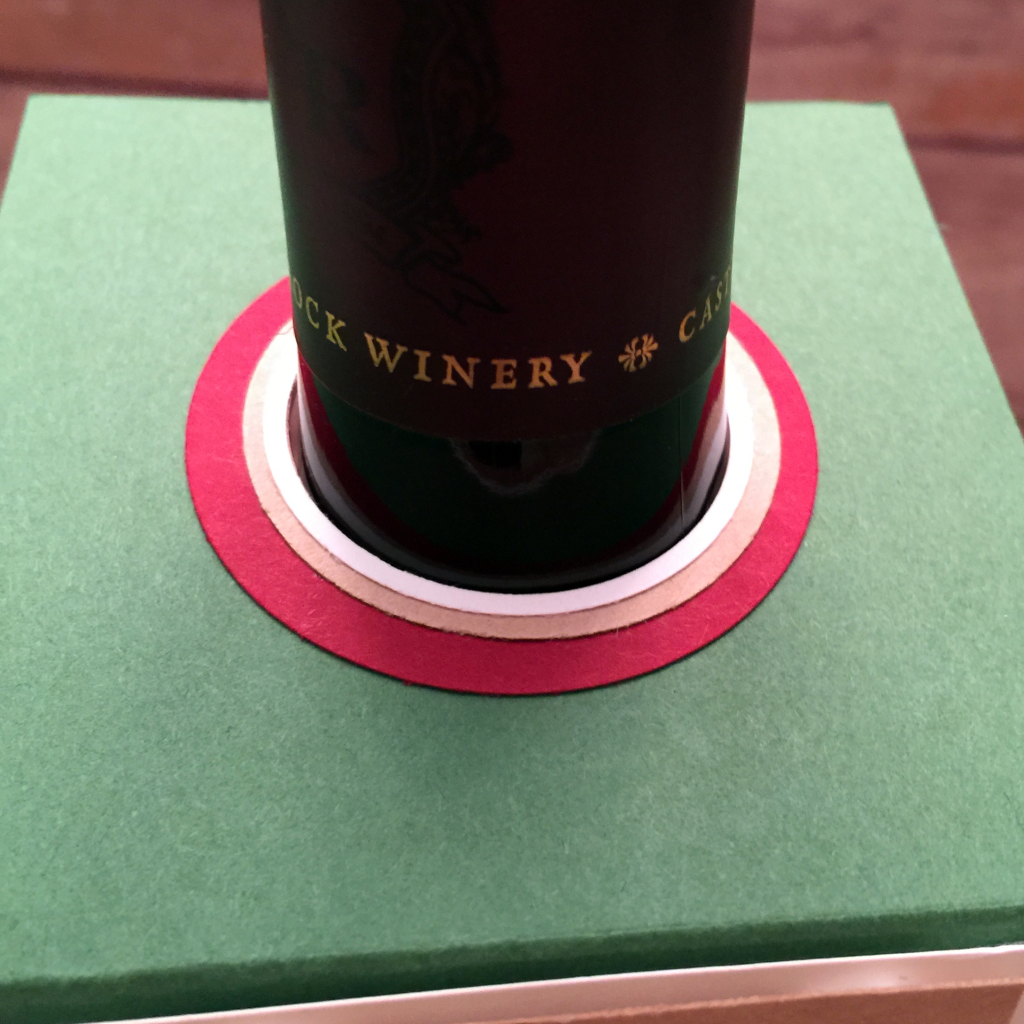
Be sure to cut the inner circle first, then cut the outer circle.

I used the Seasonal Frame Framelits Dies to cut out falala four times, then cut fa off of three of them. I then glued them together, overlapping the ends.

A few gold sequins added some sparkle.
Here’s what I used:
Thanks for stopping by today, and Sweet Stamping!
Jan 1, 2015 | New Year |
I hope you had a happy, safe New Year’s Eve and are having a wonderful New Year’s Day.
Here in the Southeastern United States, the tradition is to eat black eyed peas and greens for New Year’s Day. Some folks eat collards; some prefer turnip greens. I like to mix collard, mustard, and turnip greens together. Add some ham, cracklin’ cornbread, and green tomato relish for the peas and I’m in hog heaven.
Another tradition, of course, is to make a New Year’s resolution. The first month or so of each year is when the gyms are full but bellies are not. Diet and exercise are by far the most popular resolutions.
I haven’t really made specific resolutions for the last several years. Somehow it always felt like I was setting myself up for failure, resolving to do something, or to stop doing something, that realistically I knew I wouldn’t continue long term.
This year I’ll just say that I want to be the best Stampin’ Up! Demonstrator that I can be. These first eight months with Stampin’ Up! have been a wonderful experience. I’ve learned a lot and I’ve met some terrific people. I’ve found some new very dear friends. In 2015 I plan to continue to grow as a Demo, learning all I can, sharing this wonderful craft with as many people as I can, and having a fabulous time doing it. Oh, and spending more time in my new Stamping Studio. I hope you’ll join me on this adventure!
For today, I just want to thank each and every one of you who has followed my blog, purchased from me, hosted a workshop, joined my stamp club, joined my team, shown me the ropes of being a Demo, or supported me in any other way. I appreciate you so very much.
Now let’s have an extraordinary and fun 2015!
And as always, thank you for stopping by today, and Sweet Stamping!


