Jan 26, 2016 | Cards, New Products, Occasions |

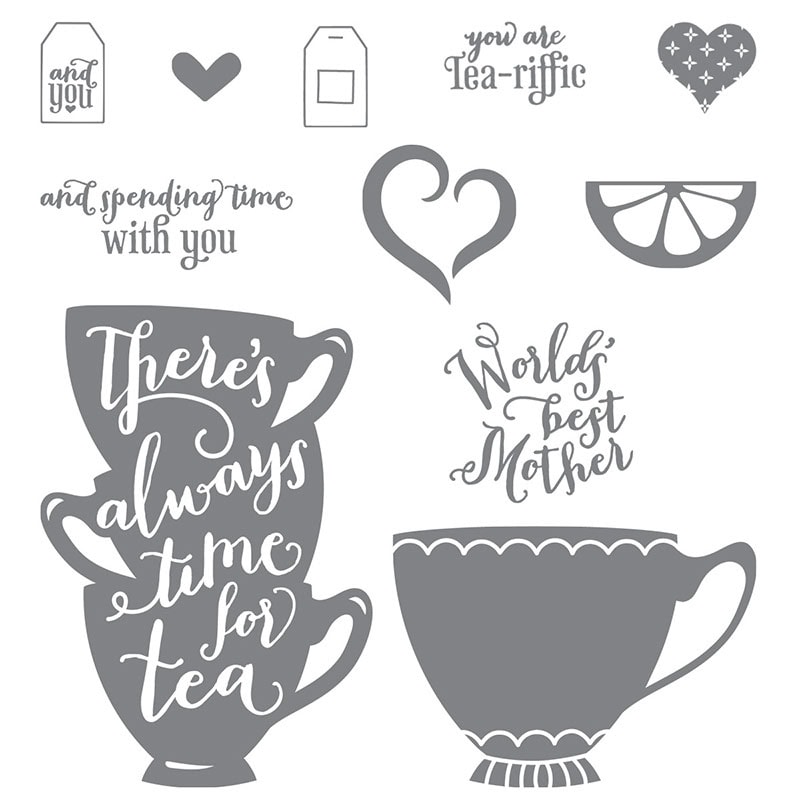
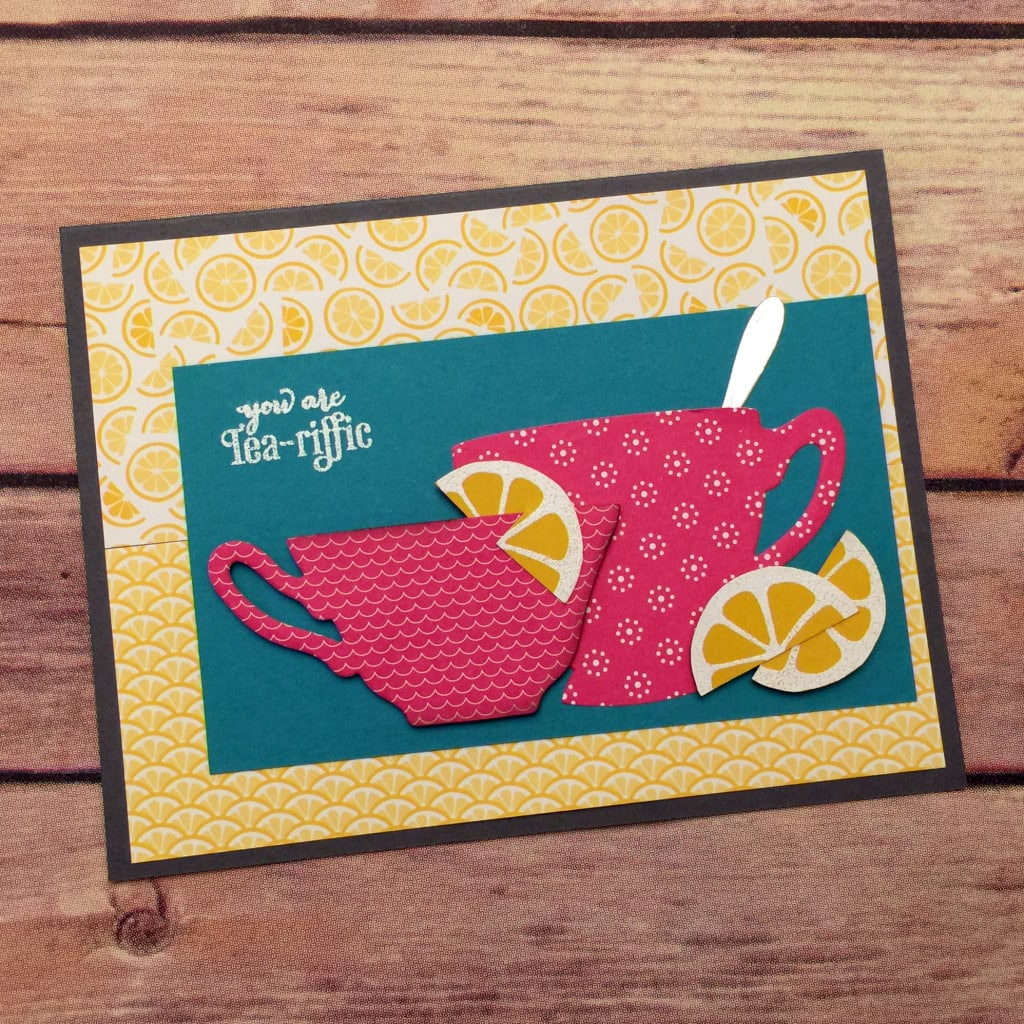
Sometimes you need a sweet card for a friend to thank them for helping you out, being supportive, or just generally being a terrific friend. I gave this card to my friend Brian King for all those reasons. The sentiment from the A Nice Cuppa stamp set was just right, and the cups and lemons are very sweet. Yeah okay, lemons are sour, but the images of the lemons are sweet.
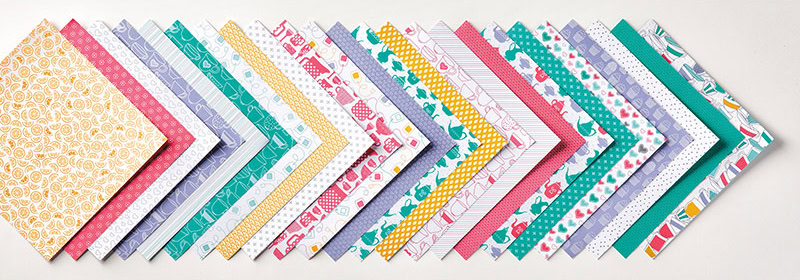
The Have A Cuppa Designer Series Paper Stack has a wide array of patterns, from cups and lemons to stripes and dots, from minimal and masculine to pretty and feminine. I used four different patterns on this card: two lemon patterns in Crushed Curry and two abstract patterns in Melon Mambo. The cup patterns remind me of some old china cups I’ve seen. The card base is Basic Gray card stock, and the panel under the cups is Bermuda Bay card stock – two more colors from the DSP Stack.
I heat embossed the sentiment in white on teh Bermuda Bay panel. I embossed the lemons in white on Crushed Curry card stock, then cut them out with Paper Snips.
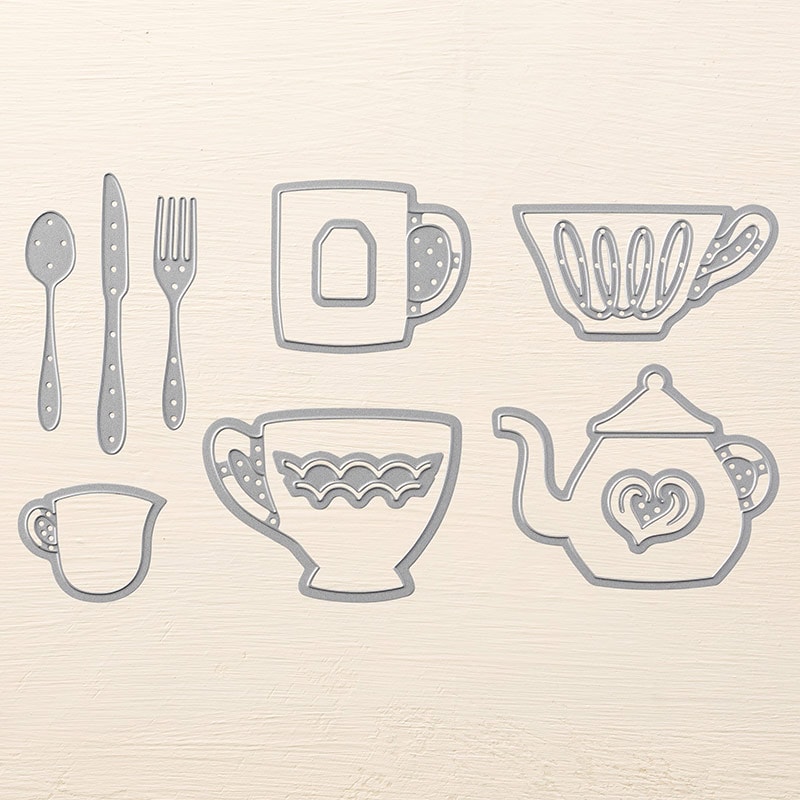
I cut the cups and spoon with the Cups & Kettle Framelits Dies: the cups from DSP and the spoon from a Silver Foil Sheet.
I glued most everything, but I used Stampin’ Dimensionals to attach the cup on the left and all the lemons.
A note about using a dark color for your card base. Writing with a regular black pen on the Basic Gray card interior won’t show very well. You can either glue a piece of a lighter color card stock to the inside of the card, or you can write directly on the inside with a White Signo Uni-ball Gel Pen. When using the Gel Pen, take your time and write slowly to get better coverage.
Brian is blogging about this card today as well. Be sure to check out his post here. I know I can’t wait to see what he has to say!
Here’s what I used to make this card. Click on the images below to get the items you need to make your own version.
Thanks for stopping by today, and Sweet Stamping!

Jan 19, 2016 | Blog Hop, Cards, Club, Events, New Products, Occasions |

Welcome to InKing Royalty’s January Blog Hop! Today’s So In Love Blog Hop is filled with inspiring projects that share ideas for Valentine’s Day or new products we love. We are excited to share what we’ve made and hope you’ll find great inspiration from our talented team members in this hop. After you read my post, I hope you’ll hop over to the next person on the list at the base of this post.
This is one of the three projects we made at January’s Stamp Club meeting, and I thought it would be perfect for today’s blog hop. It’s a Valentine AND it’s made with new products that I love, including the Bloomin’ Love Bundle and the Love Blossoms Embellishment Kit!


The card is 4″ x 4″. The card base is Whisper White Thick card stock, with a Crumb Cake CS layer, then the Blushing Bride CS top layer.
We cut the heart from a Silver Foil Sheet with the new Bloomin’ Hearts Thinlits Dies. The Precision Cutting Plate and the new Big Shot Die Brush make intricate dies like this a breeze to work with. The Precision Cutting Plate gives you a nice, clean cut; and the Die Brush makes it super easy to get the die cut – and all the extra little bits of paper – out of the die. No more poking and poking through all those little holes.
After gluing the heart to the front layer, we adhered a piece of ribbon from the Love Blossoms Embellishment Kit using a dry adhesive, such as Fast Fuse or Snail. A dry adhesive won’t bleed through the ribbon like a wet glue can. We wrapped the ribbon to the back of the Crumb Cake layer before gluing it onto the card base.
We stamped the banner in Blushing Bride, and the sentiment in Crumb Cake – so easy to line up with the see through photopolymer stamps! – then cut it using the Large Numbers Framelits Dies. This die set has a banner that coordinates with several of the new stamp sets.
We then glued the banner on top of the ribbon. Then we glued on some scattered sequins in Blushing Bride, White, and Silver. The Silver ones are from the Metallics Sequin Assortment, and the rest are from the Love Blossoms Embellishment Kit. The kit includes gold sequins, but I was in more of a silver mood when I designed this card. I’m sure it would be just as lovely with a heart cut from a Gold Foil sheet and gold sequins.

We used the Envelope Punch Board to make the envelope from Whisper White Envelope Paper, then stamped the floral design on the flap in Crumb Cake.
I hope you’ll hop along to the next stop on the blog hop, Becky Volpp at Ink Blossom with Becky. There’s lots of inspiration to be found in this group – and you don’t want to miss it!
Jan 18, 2016 | Cards, New Products, Occasions |

Have you seen the new A Nice Cuppa suite of products in the 2016 Occasions catalog yet? If you haven’t, you are missing out. These are some really sweet items, that include a bundle (A Nice Cuppa stamp set and Cups & Kettle Framelits Dies) to save 15%! I used this new bundle to make today’s card.
I stamped the sentiment in Versamark ink onto Blushing Bride card stock, then heat embossed with White Stampin’ Emboss Powder. Then I cut it out with one of the cup shaped dies in the set. I cut another cup from Smoky Slate CS, and glued it to the back of the first one, offset just a little to create a shadow.
I stamped the heart shaped steam in Smoky Slate onto the Blushing Bride DSP, then attached the cup with Stampin’ Dimensionals.
I glued this front panel to a Whisper White panel, and glued that to a Blushing Bride card base.

Here’s what I used. Click on the images below to get your very own!
Thanks for stopping by today, and Sweet Stamping!
Jan 17, 2016 | Boxes, Challenges, Color Palette, CYCI, Gift Wrap, New Products, Occasions |

It’s CYCI’s 3rd birthday! To celebrate, this week’s color challenge is Black & White.
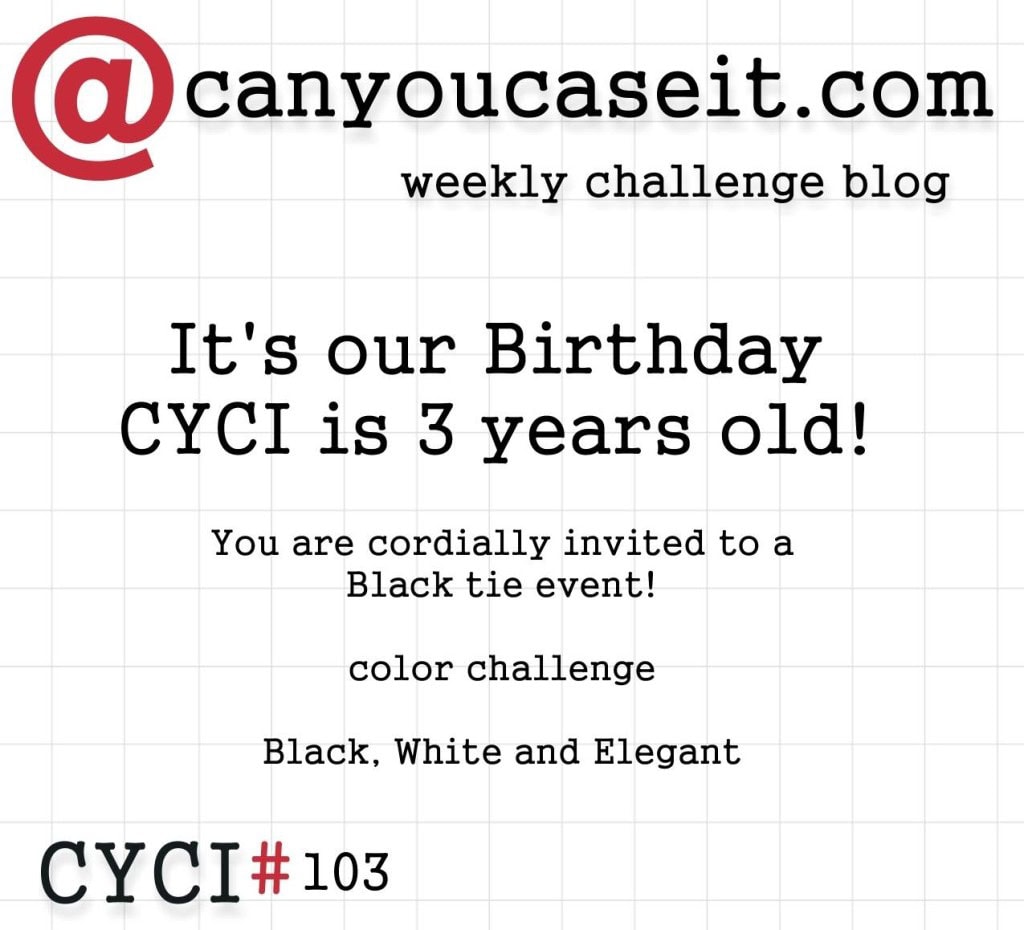
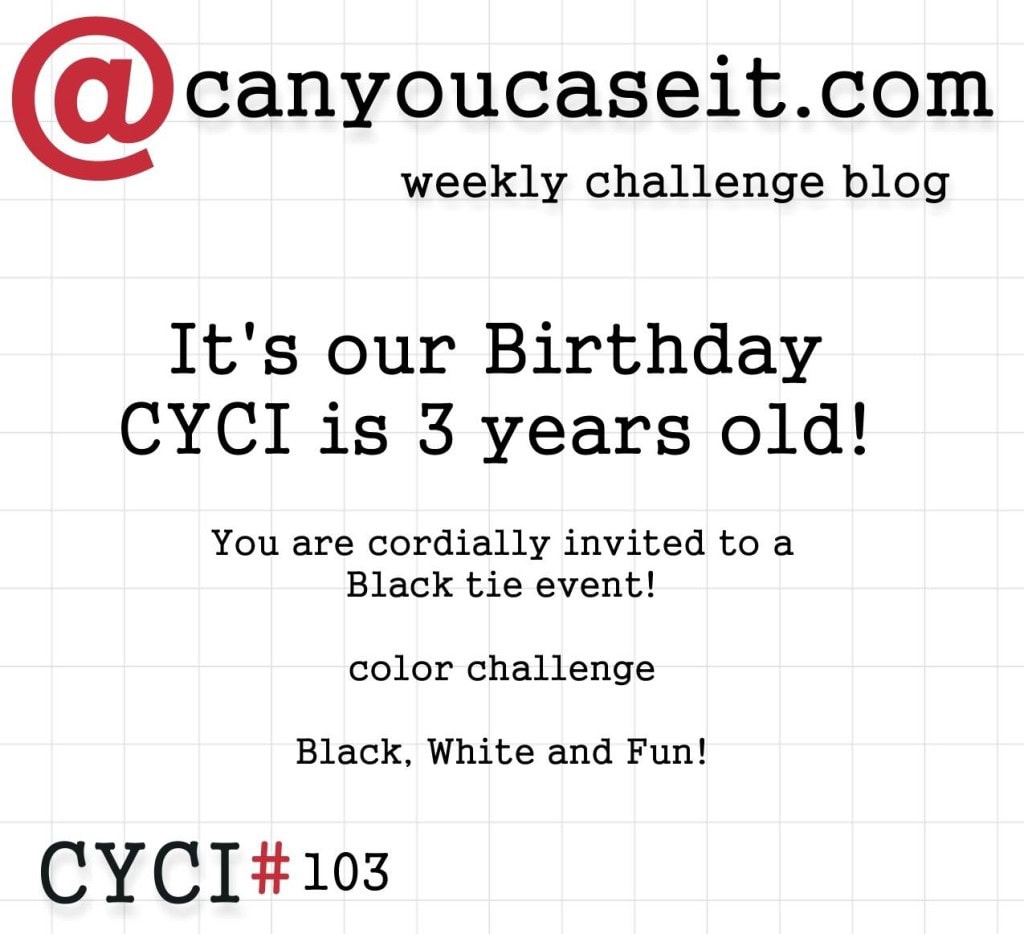
It can be either elegant or fun. I chose to do a little of both. I mean, this little penguin is definitely fun, and what’s more elegant than a tuxedo? And he/she is perfect for giving a small birthday gift or treat.

I’ve never made the little animal boxes that have been so popular. But the Playful Pals stamp set and the Pyramid Pals Thinlits Dies (available individually, or together in a bundle to save 15%!) make it so easy, and they’re so darn cute, who can resist?

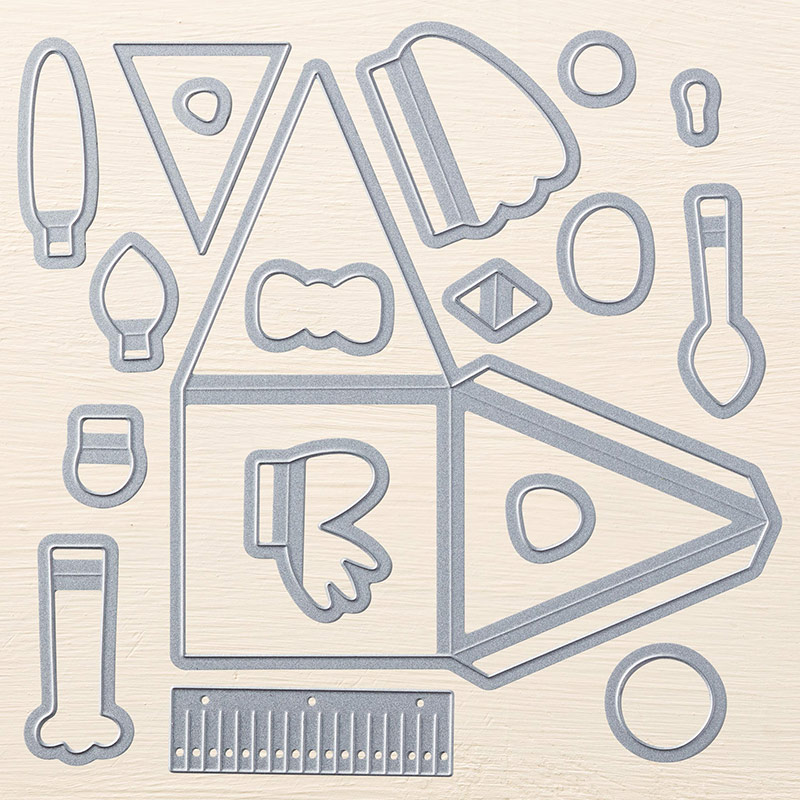
To make the box, I cut out two pieces of Basic Black card stock with the pyramid box die and glued them together on the bottom panels – the same way you make a Curvy Keepsake Box. I then glued the flaps on one side to the two adjacent sides, so the box would keep its shape. I tucked in the flaps on the other side, so it could be opened easily.
For the feet, I cut two of the “frog feet” from Pumpkin Pie card stock and glued them to the box’s bottom, so just the webbed toes extended past the box’s edge.

I stamped the eyes in black Memento ink onto Whisper White CS and cut them with the coordinating die. I cut the triangular chest piece from Whisper White CS and the two long flippers from Basic Black CS. I cut the beak from Pumpkin Pie CS with the little diamond shaped die. Then I glued everything in place on the box.
This adorable penguin opens in the back to tuck in tiny treats.
Here’s what I used, or mentioned. Click on the images below to get your very own!
Be sure to check out the other projects, and share your own, at canyoucaseit.com!
Thanks for stopping by today, and Sweet Stamping!
Jan 16, 2016 | Cards, Catalogs, Classes, Club, Events, New Products, Occasions, Open House, Sale-A-Bration |
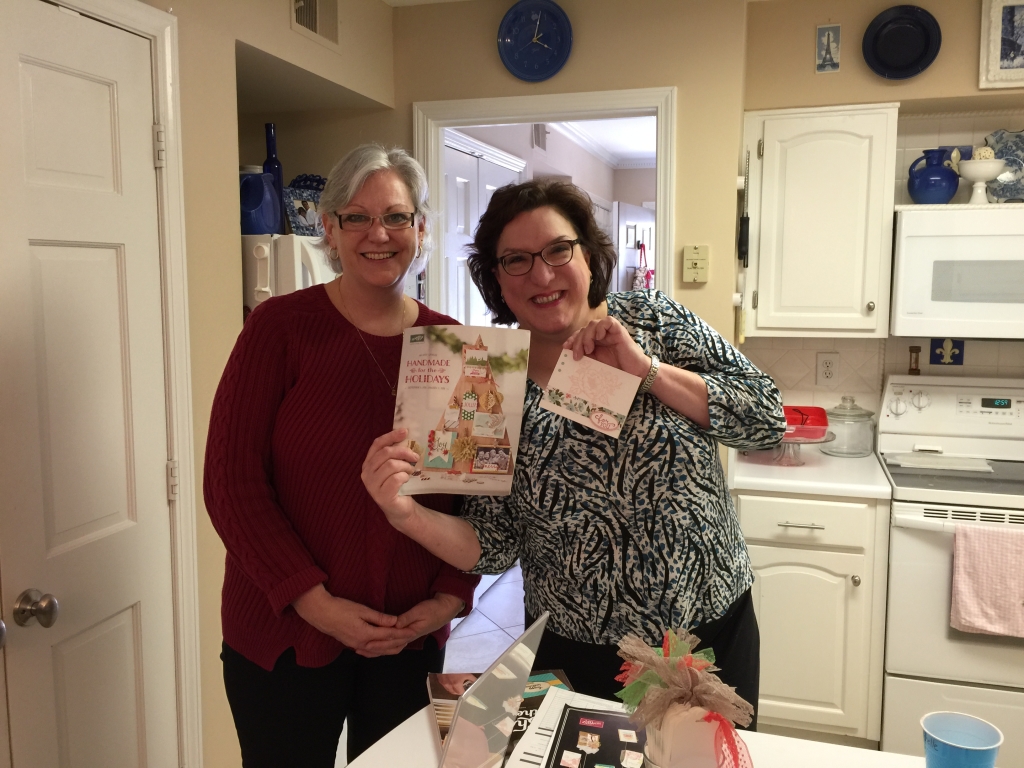
On January 3, I hosted an Open House to showcase the new Occasions and Sale-a-bration items. About 20 people came and we had a blast. Everyone received a packet of catalogs along with a list of the new bundles, a Gum Balls reward form, a class schedule, a note about the BOGO sale coming up on January 24, and some other goodies.
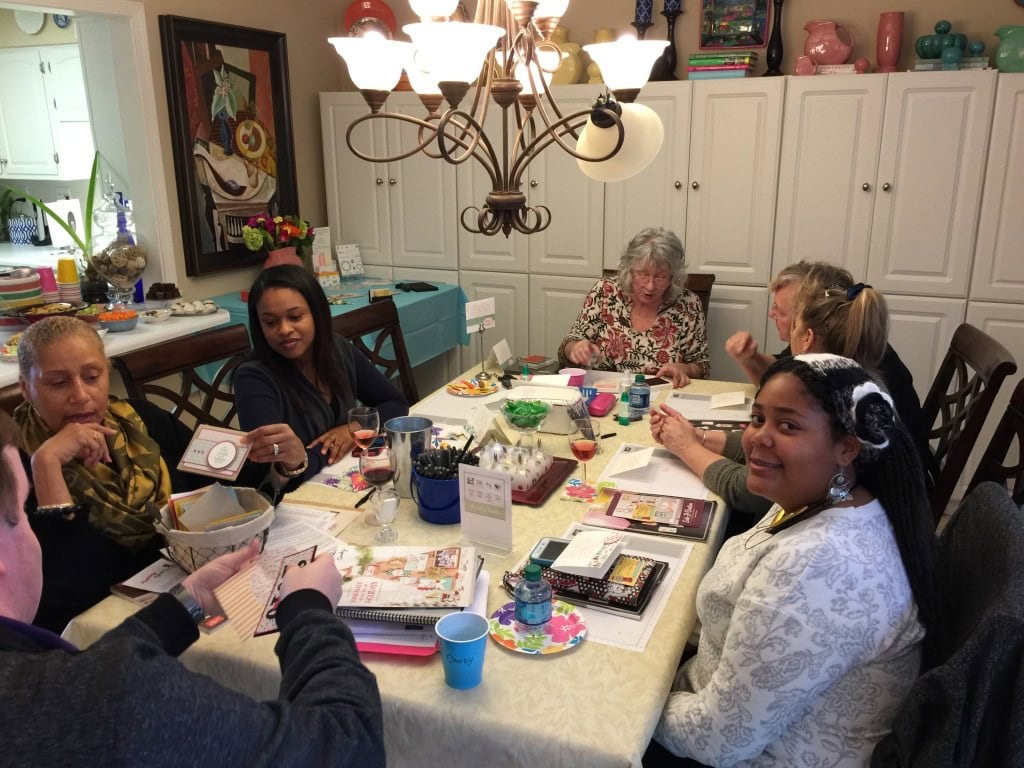
Attendees could make a free card (see below,) sign up for classes and Stamp Club, see and touch the new products, have a snack, place an order, and laugh and have a good time. There was a prize drawing every hour for new products.
My team member, Judy Newsome, at far left, ran the Make & Take. Here she is with Geleta and Cindy.
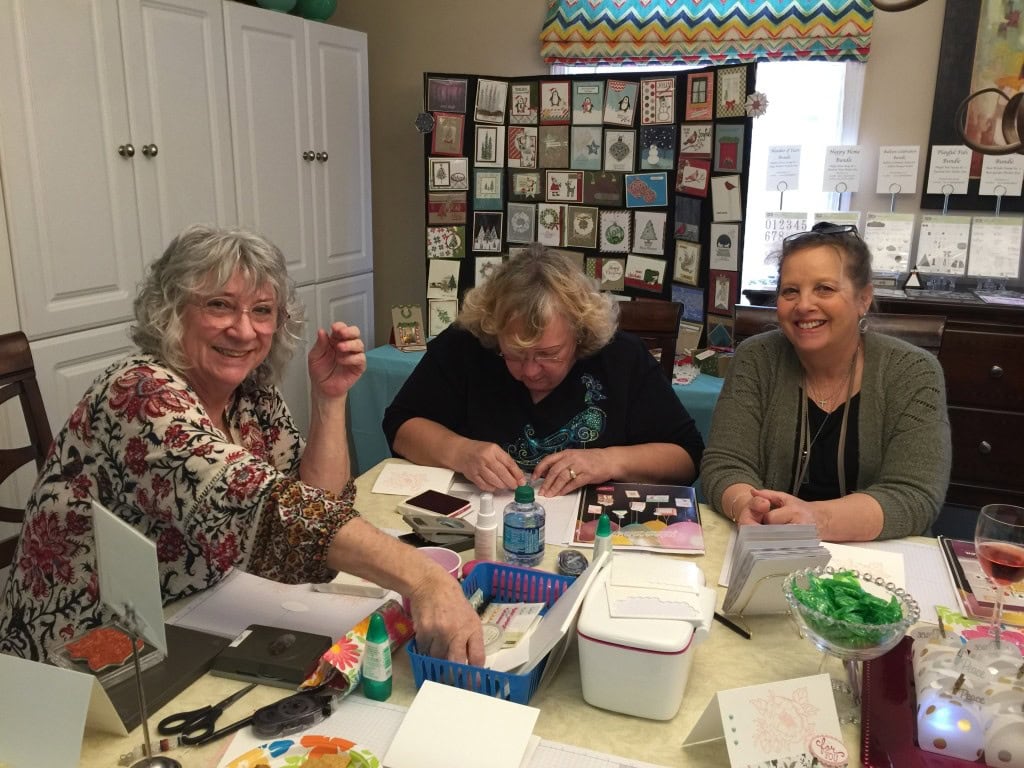
Here you can barely see Brian King at far left, who stopped by to help, with Tamara, Jessica, Judy, Geleta, Cindy, and Tamara II.
Here’s Vicki with her card.
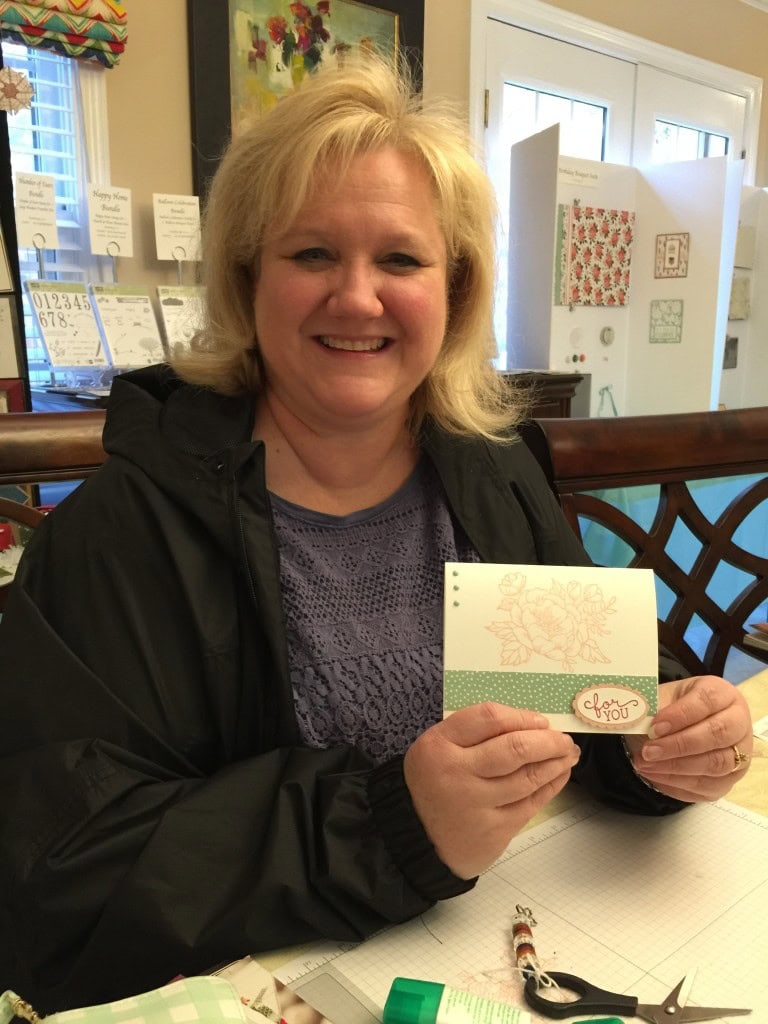
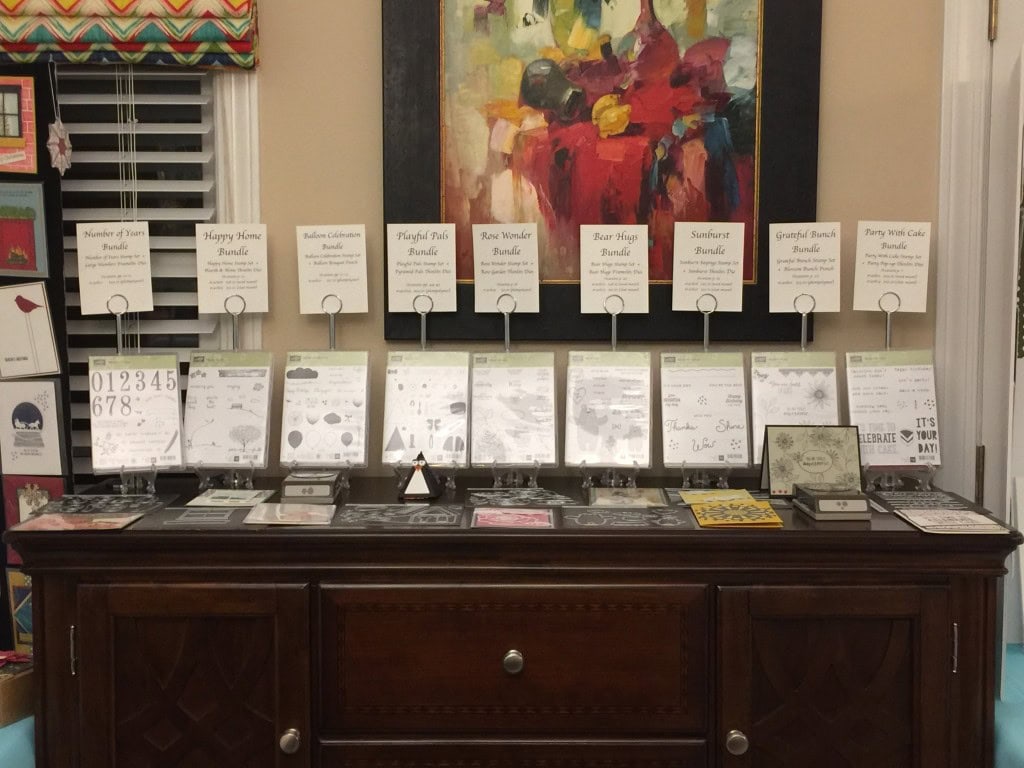
My team member, Linda Krueger, on the left, helped me plan and set up the open house, and she helped customers at the event. Here she is with Rochelle, who is proudly showing off her Make & Take card – the first card she had ever made!  There were displays of many of the new products with samples of cards and other projects made with them. Here are a few of them.


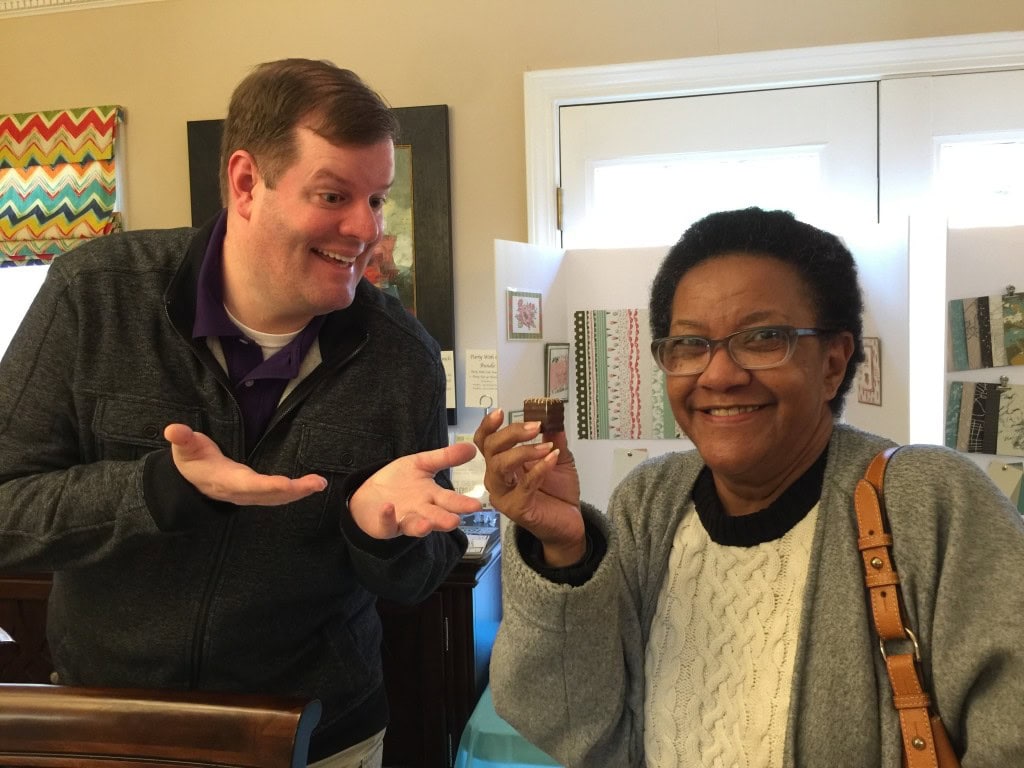
A fellow demonstrator, Robbye Hamilton, came by to offer her support, and it just happened to be her birthday. I didn’t know that ahead of time, so we had to make do. Here she is with a chocolate petit four “birthday cake” as Brian looks on.
Here is the Make & Take card from that day:
 We started with a Whisper White card base. We stamped the flower from the new Birthday Blooms stamp set in Blushing Bride directly onto the card base.
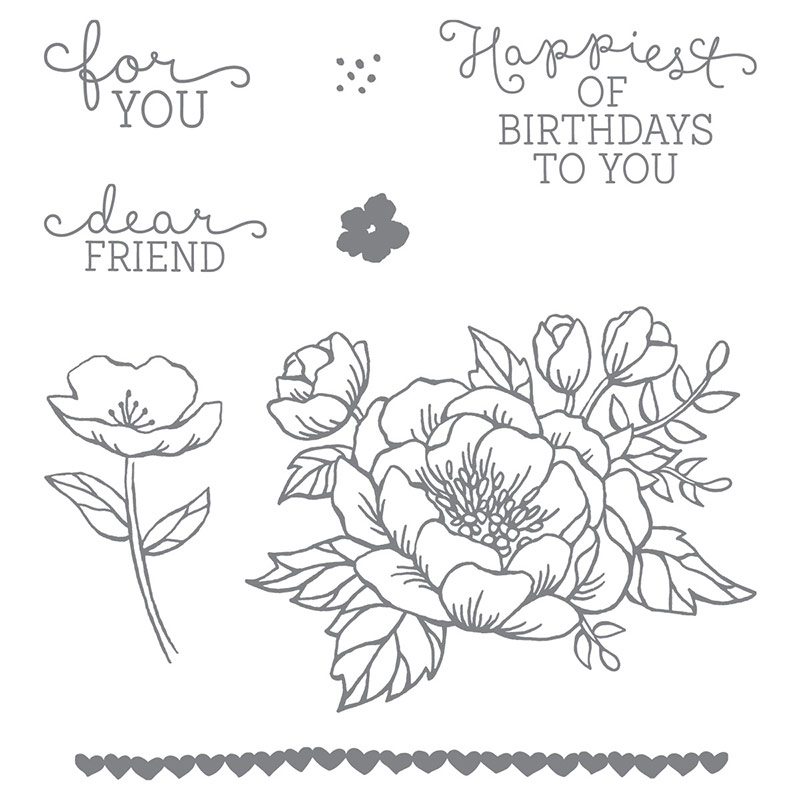
Then we glued on a strip of Birthday Bouquet Designer Series Paper.


We stamped the sentiment in Rose Red onto Whisper White CS, then punched it out with the Large Oval Punch. We punched a piece of Blushing Bride card stock with the Scallop Oval Punch and glued the sentiment onto it. Then we attached it to the card with Stampin’ Dimensionals.
The last touch was to place three Mint Macaron dots from the It’s My Party Enamel Dots. They are self-adhesive, and they really add a little somethin’ somethin’ to your projects. Here’s what we used. Click on the images to get your own!
Thanks for stopping by today, and Sweet Stamping!
Jan 15, 2016 | Cards, New Products, Occasions, Sale-A-Bration, Techniques |
The new Botanical Gardens suite of products in the Occasions catalog is fabulous! There are coordinating stamp sets, Framelits Dies, Designer Series Paper, vellum, embellishments, and washi tape. There’s a bundle that has three components (Botanical Blooms stamp set, Botanical Builder Framelits Die, and Botanical Gardens DSP) and it’s priced so you can earn a *Sale-a-bration item! Two of the items (Botanicals For You stamp set and Botanical Gardens Designer Vellum Stack) are *Sale-a-bration items.
* You earn one FREE Sale-a-bration item with each $50 purchase, through March 31, 2016.
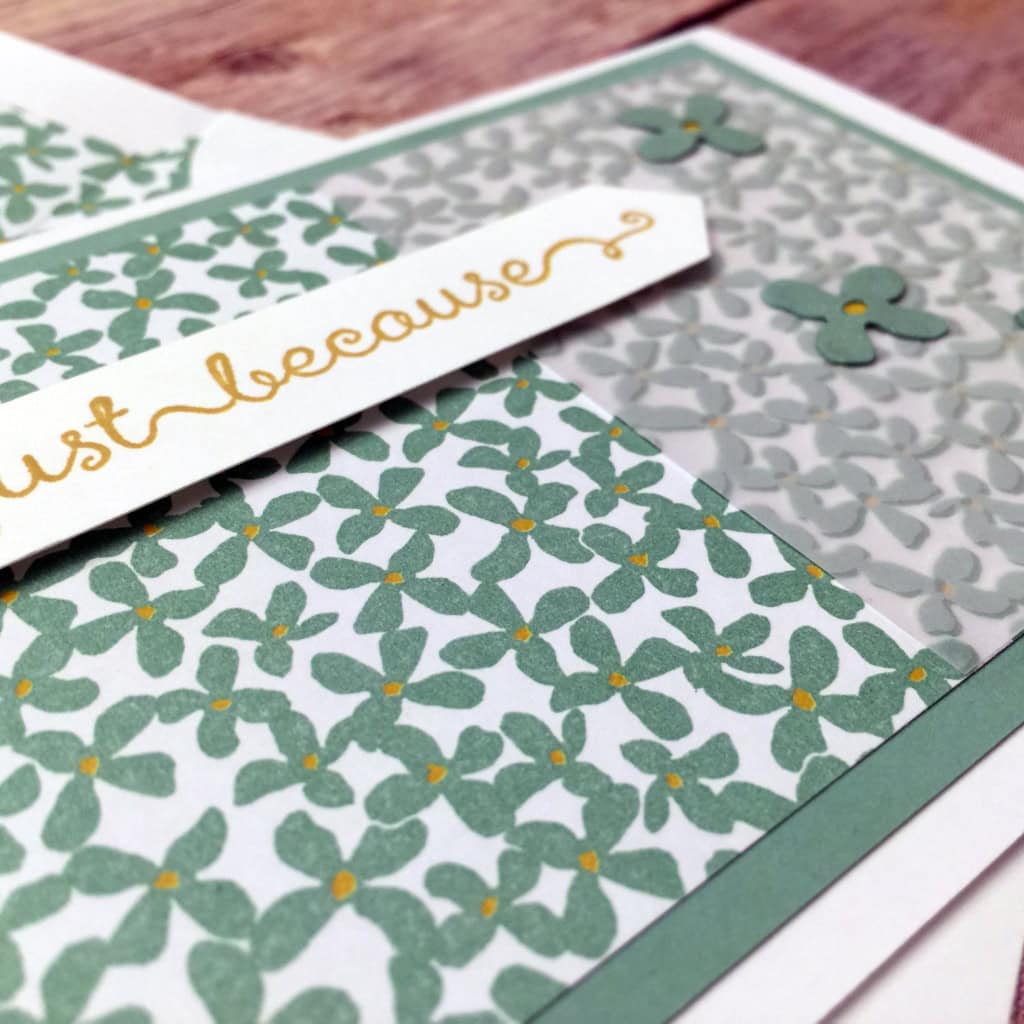
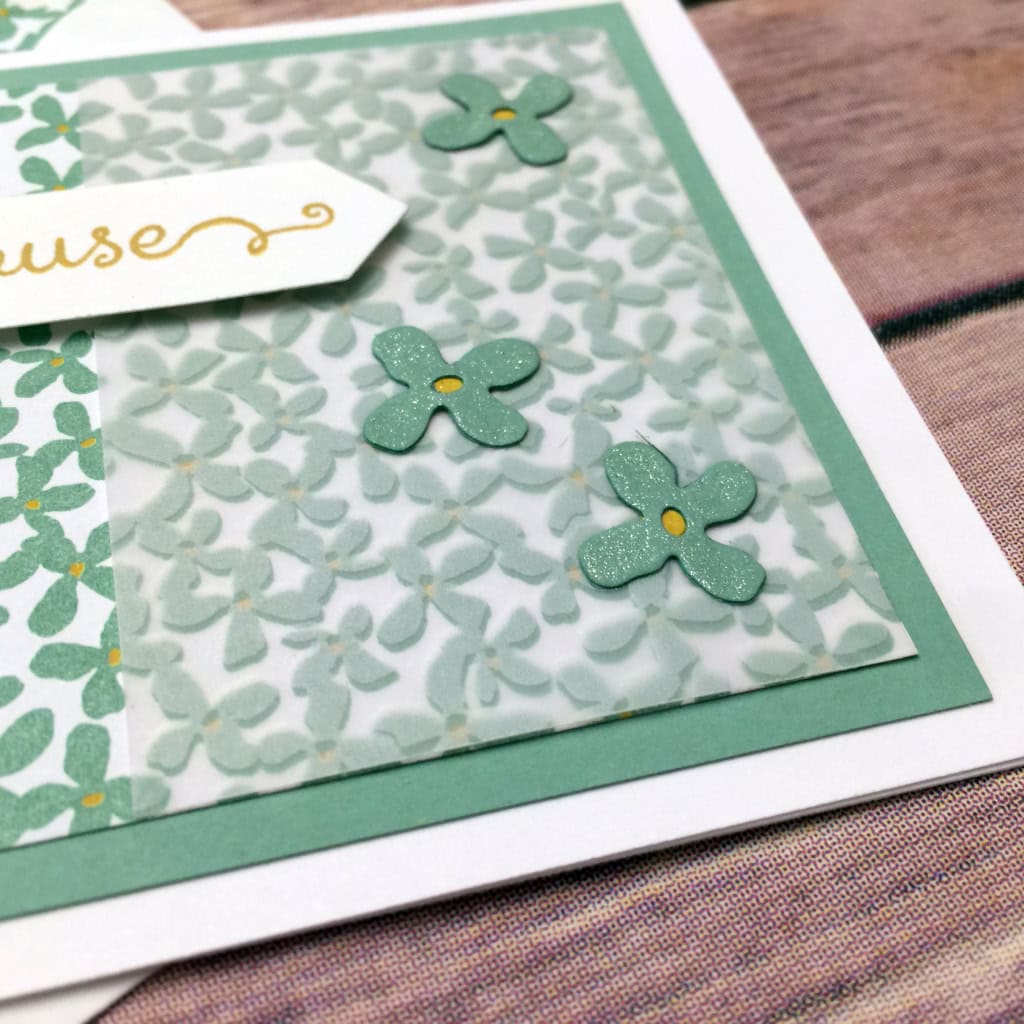
For today’s card, I used a piece of the DSP with it’s coordinating vellum. I offset the vellum from the underlying pattern just a tiny bit to give it more depth by creating a shadow effect.
I attached the vellum to the DSP with tiny dots of the Multipurpose Liquid Glue: wherever I knew it would be covered by a flower or the sentiment, and at each corner of the vellum behind one of the flower petals in the pattern.
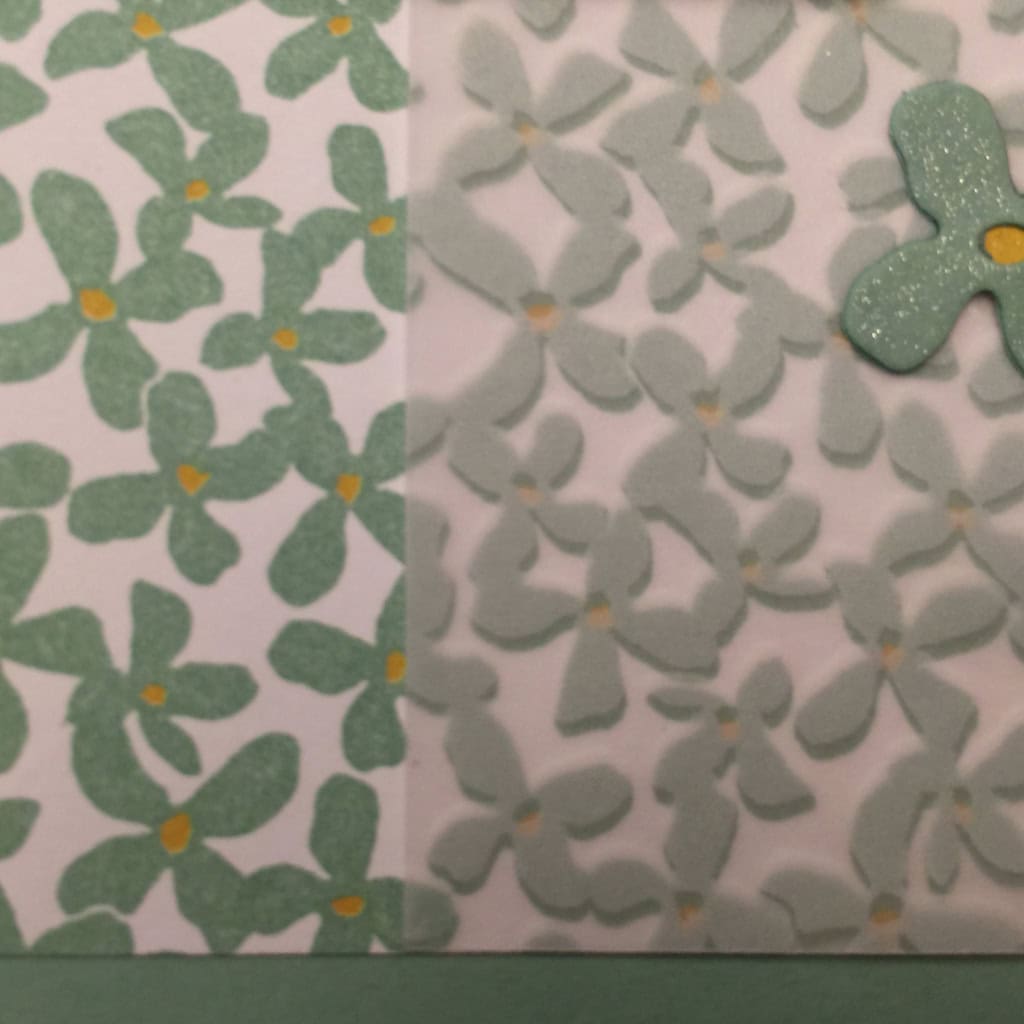
I cut three flowers from Mint Macaron card stock with the Botanical Builder Framelits Dies, backed them with tiny scraps of Hello Honey CS, and glued them to the card front. Then I used my new Clear Wink of Stella Glitter Brush to add a bit of sparkle to them.
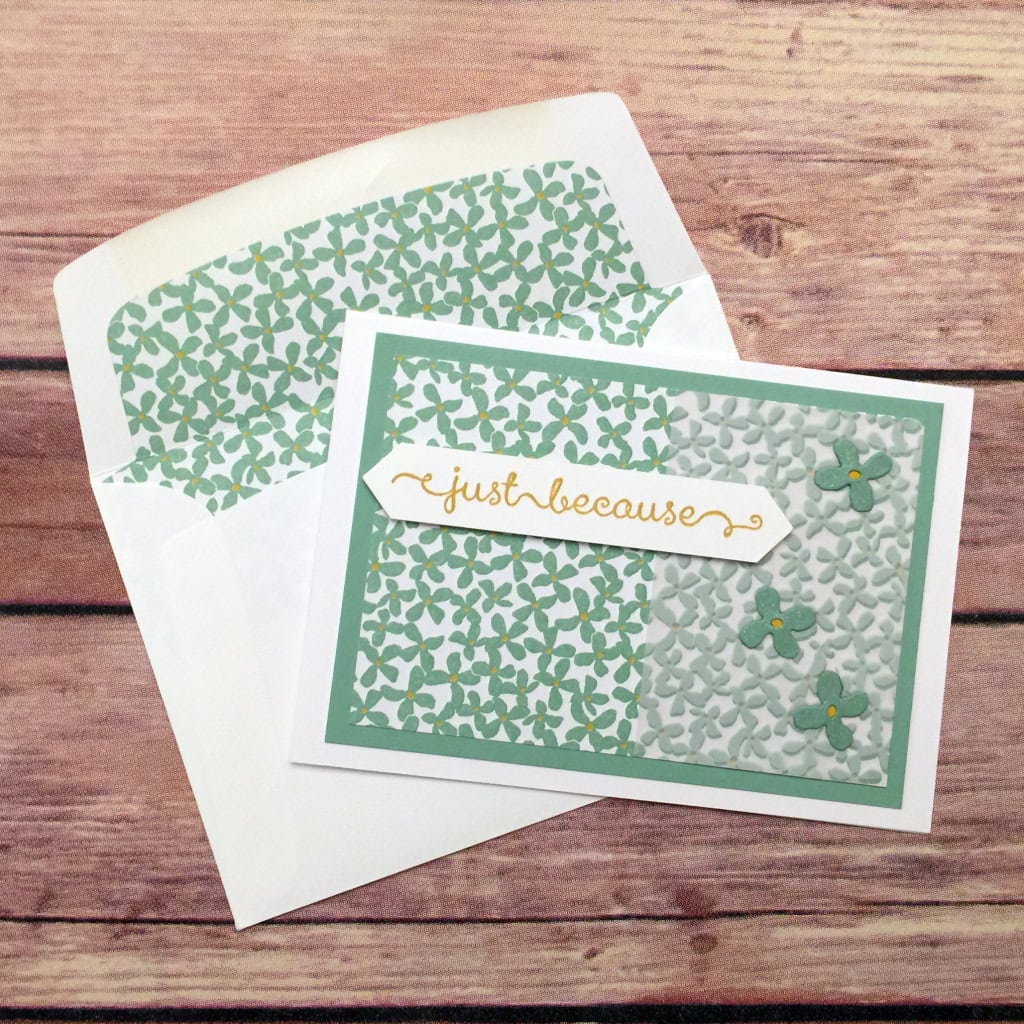
The card base is Whisper White Thick CS, with a layer of Mint Macaron CS, then the top layer of Botanical Gardens DSP and Botanical Gardens Designer Vellum.
The sentiment, from the A Dozen Thoughts stamp set, is stamped in Hello Honey on Whisper White CS. I cut it into a strip with my Stampin’ Trimmer, then used my Paper Snips to make points at the ends. I attached it with Stampin’ Dimensionals.
I used the Envelope Liners Framelits and a piece of the same DSP to create a liner for the envelope.
These are the items I used today, as well as all the items in the Botanical Gardens suite:
Thanks for stopping by today, and Sweet Stamping!