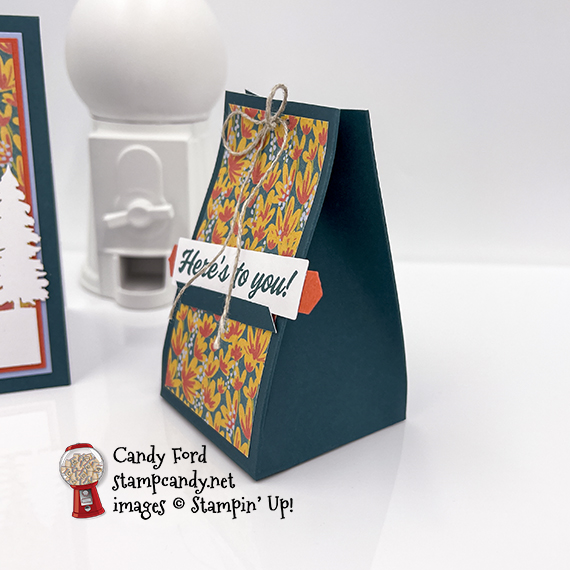
Welcome to the March 2021 Paper Pumpkin Possibilities Blog Hop! This month’s kit is called Here’s to You and it comes with everything you need to create eight fun cards with lined envelopes. I used pieces from the kit to make an alternate card and treat bag. Be sure to hop all the way around to see all the great alternate projects this group has come up with for you today!
If you are reading this in email, some photos may appear blurry, or may not appear at all. Please click here to see the post on my blog.
S March 2021 Paper March 2021 Paper March 2021 Paper March 2021 Paper
Here’s what I made:
S
Here’s what I did:
Cut and scored with my paper trimmer:
Seaside Spray card stock (CS) layer cut to 5-1/8″ x 3-7/8″
Calypso Coral CS layer cut to 5″ x 3-3/4″
floral envelope insert cut to 4-7/8″ x 3-5/8″
Pretty Peacock card base scored at 2-1/4″, 6-1/4″, and 8-1/4″, then horizontally 2″ from the bottom, for the bag base (It’s already scored at 4-1/4″.)
cut 1/4″ away from the left end of the bag base (keep this piece)
floral envelope insert cut to 1-1/2″ x 3-1/4″
Stamped with the Here’s to You stamp set:
“Happy Birthday” in Pretty Peacock ink onto one of the small labels from the kit
“Here’s to you!” in Pretty Peacock ink onto one of the larger labels from the kit
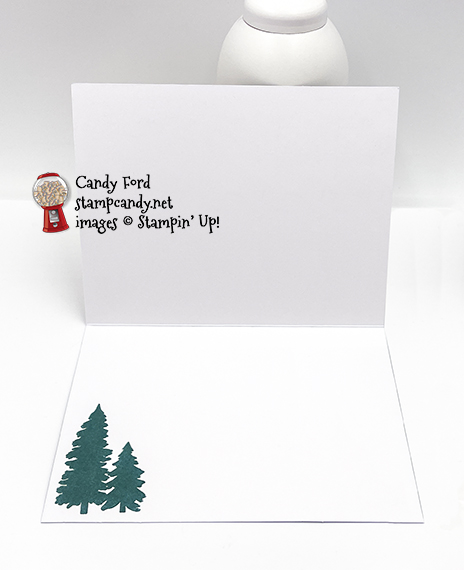
trees in Pretty Peacock ink onto the inside of the card base
Cut using the Classic Label Punch:
a scrap of Calypso Coral CS
Cut using Paper Snips:
punched shape cut in half
bottom 2 scored corners cut from the bag base, and the skinny tab angled on both sides
cut one of these extra 1/4″ pieces to 2″ long and angled both ends
cut up the score lines on the bottom of the bag, only up to the score line
Click on the template image to see it larger. For reference only – not to scale.
Assembled the card:
burnished the fold in the card base with a Bone Folder
Seaside Spray CS layer glued onto the front of the card base
Click on these images for more details and to purchase. If you are reading this post in email, the product images may not show up. Please click hereto see the post on my blog.
Supply List. <— Click for a clickable and printable list of the products!
S
Here’s the Here’s to You kit:
What comes in the kit:
What the kit makes:
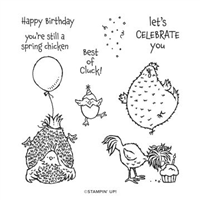
The stamp set:
Click hereto download the stamp case insert, so you can keep the stamp set and any leftover parts!
s
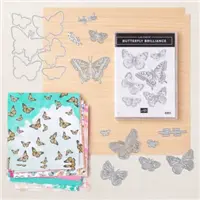
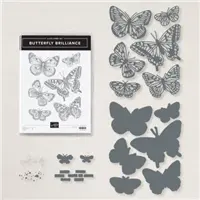
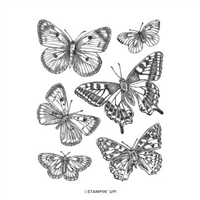
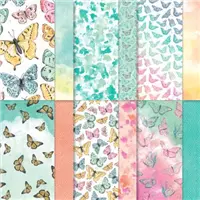
Butterfly Brilliance is here for a limited time!
These new products are out of this world gorgeous. And they’re only available for a couple months, so definitely get them as soon as you can in case they sell out! Click on the images below to see them in my online store. Or CLICK HERE to see them all.
UPDATE: The Butterfly Bijou Designer Series Paper has sold out!
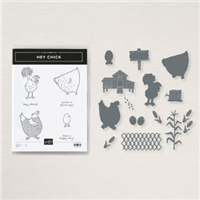
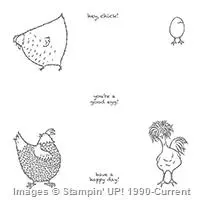
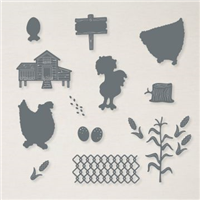
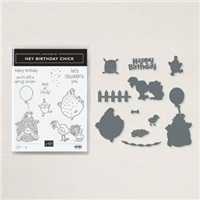
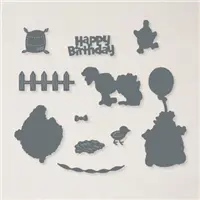
The Hey Chick stamp set from 2017 Sale-a-bration was so popular, Stampin’ Up! has brought it back. But that’s not all! Now there are coordinating dies. AND there’s a second stamp set, Hey Birthday Chick, that also has coordinating dies. One thing though – they’re available for a limited time, so get them while you can! Click on the images below to see them in my online store. Or CLICK HERE to see them all.
Gift Certificates are available in any U.S. dollar amount from me. Contact mefor details.
Have you shopped from me within the past year? Join my private VIP Facebook groupfor exclusive project tutorials and more!
Join my team and enjoy a 20% discount (or more) on all your purchases! You choose $125 in products and pay only $99, and get free shipping! No obligation! No selling required!
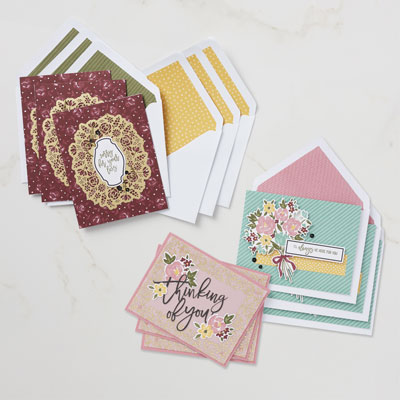
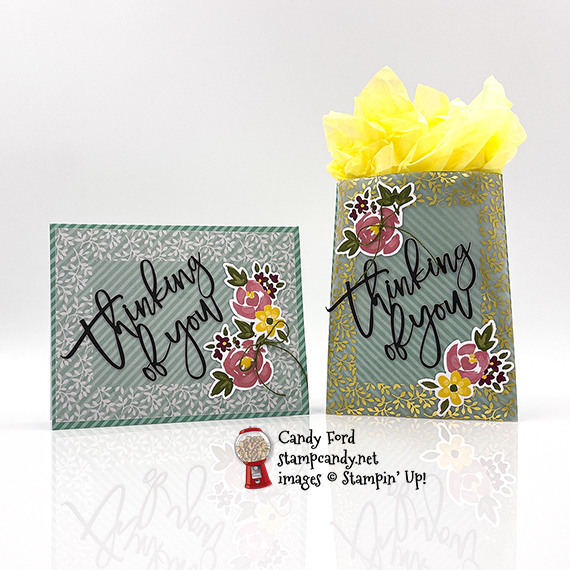
Welcome to the February 2021 APPTBH! This month’s kit is called Bouquet of Hope and it makes lovely cards for sad occasions. I used the kit to make an alternate card and a little gift bag. They’re so easy, there isn’t even any stamping involved!
Be sure to scroll down to the blog hop list and hop to the next blog. You don’t want to miss any of the great alternative projects this group has made for you!
If you are reading this in email, some photos may appear blurry, or may not appear at all. Please click here to see the post on my blog.
S February 2021 APPTBH February 2021 APPTBH February 2021 APPTBH February 2021 APPTBH
Here’s the Bouquet of Hope Kit:
s
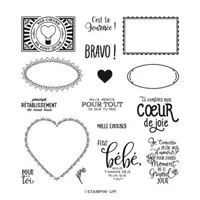
The stamp set:
s
What comes in the kit:
s
What the kit makes:
s
Click here to down load the pdf of the stamp case insert, so you can store your stamp set and any leftover parts for later use.
Just Jade card base from kit scored and cut as shown below for the gift bag
Assembled the card:
burnished the fold in the card base with a Bone Folder
vellum sheet glued onto the front of the card base (I coated the entire surface of the vellum with glue, using a wedge of a Stampin’ Sponge, so spots of adhesive wouldn’t show)
thinking of you sticker applied onto the vellum
2 floral die cuts glued onto the vellum
twine tied into a bow and applied onto the flower using a glue dot rolled into a little log
Assembled the bag:
burnished the folds in the card base with a Bone Folder
tabs on the side and bottom glued onto the inside of the opposite side, to form the bag
vellum sheet glued onto the front of the bag, the same way as onto the card above
NOTE: I intended to glue the vellum on with the gold side down, as on the card – Oops!
thinking of you sticker applied onto the vellum
2 floral die cuts glued onto the vellum
twine tied into a bow and applied onto the flower using a glue dot rolled into a little log
S
Here’s the February 2021 APPTBH:
s
Here are the colors in the kit:
You can click on each one to see all the products that come in that color!
Click on these images for more details and to purchase. If you are reading this post in email, the product images may not show up. Please click hereto see the post on my blog.
Join and receive 5 packs of exclusive Designer Series Papers
That’s in addition to everything else you get with the Starter Kit! Click the image below for all the details!
No selling required. You can join for the discount,.That’s what I did! Drop anytime. No penalties. No risk. No brainer!
s
Hey Chick is here!
The Hey Chick stamp set from 2017 Sale-a-bration was so popular, Stampin’ Up! has brought it back. But that’s not all! Now there are coordinating dies. AND there’s a second stamp set, Hey Birthday Chick, that also has coordinating dies. CLICK HERE to see them all. One thing though – they’re available for a limited time, so get them while you can!
S
Basic White is here!
The facility that manufactures Whisper White paper is closed due to COVID-19. But don’t fret. The new Basic White products are here!
Gift Certificates are available in any U.S. dollar amount from me. Contact mefor details.
Have you shopped from me within the past year? Join my private VIP Facebook groupfor exclusive project tutorials and more!
Join my team and enjoy a 20% discount (or more) on all your purchases! You choose $125 in products and pay only $99, and get free shipping! No obligation! No selling required!
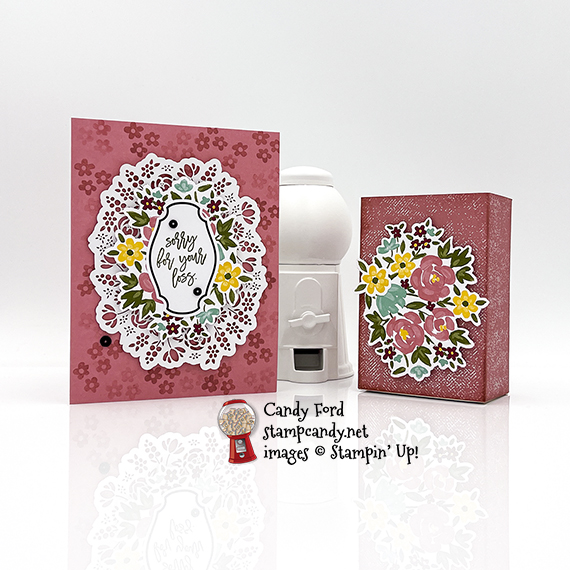
Welcome to the February 2021 PPPBH. This month’s kit is called Bouquet of Hope and it makes beautiful sympathy cards. I know these aren’t the most fun cards to make, but in my experience, it’s best to have them already made and on hand when you need them. I altered the kit to make a shabby chic style card and box: cut the stems from the large bouquet die cuts from the kit, and added smaller flowers to cover the cut area; flipped the gold doily over to the white side; and created a pop up insert for the card.
If you are reading this in email, some photos may appear blurry, or may not appear at all. Please click here to see the post on my blog.
S February 2021 PPPBH February 2021 PPPBH February 2021 PPPBH February 2021 PPPBH
Here’s the Bouquet of Hope Kit:
The stamp set:
What comes in the kit:
What the kit makes:
Click here to down load the pdf of the stamp case insert, so you can store your stamp set and any leftover parts for later use.
Click on these images for more details and to purchase. If you are reading this post in email, the product images may not show up. Please click hereto see the post on my blog.
Supply List <— Click for a clickable and printable list of the products!
S
Hey Chick is here!
The Hey Chick stamp set from 2017 Sale-a-bration was so popular, Stampin’ Up! has brought it back. But that’s not all! Now there are coordinating dies. AND there’s a second stamp set, Hey Birthday Chick, that also has coordinating dies. CLICK HERE to see them all. One thing though – they’re available for a limited time, so get them while you can!
S
Basic White is here!
The facility that manufactures Whisper White paper is closed due to COVID-19. But don’t fret. The new Basic White products are here!
Gift Certificates are available in any U.S. dollar amount from me. Contact mefor details.
Have you shopped from me within the past year? Join my private VIP Facebook groupfor exclusive project tutorials and more!
Join my team and enjoy a 20% discount (or more) on all your purchases! You choose $125 in products and pay only $99, and get free shipping! No obligation! No selling required!
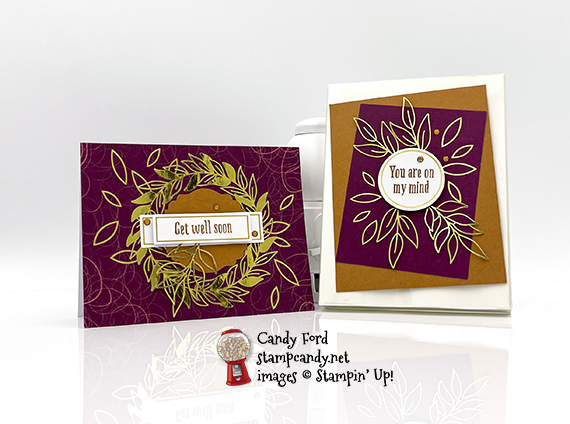
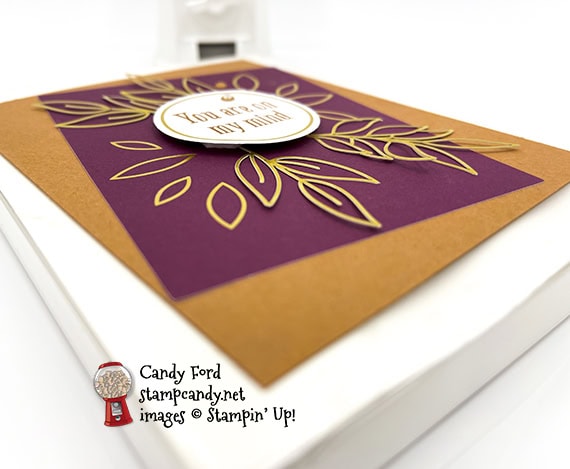
Welcome to the December 2020 APPT Blog Hop! This month’s kit is called Beary Comforting and it makes 9 cards in 3 different designs. I used pieces from the kit an a few other things to create today’s projects: a get well card and a decorated Acetate Card Box.
Be sure to hop around to all the stops. You’ll want to see all the alternate projects this group has created for you today. Scroll down to see the hop list, just below the instructions for my projects.
If you are reading this in email, some photos may appear blurry, or may not appear at all. Please click here to see the post on my blog.
S December 2020 APPT Blog Hop December 2020 APPT Blog Hop December 2020 APPT Blog Hop December 2020 APPT Blog Hop
Here’s what I made:
S
Here’s what I did:
Cut and scored with my paper trimmer:
Cinnamon Cider card stock (CS) layer cut to 4″ x 5″
white CS cut to 10-3/4″ x 8-1/8″, then scored as follows
scored along the longer side at 4-1/2″, 5-1/8″, 9-5/8″, and 10-1/4″
scored along the shorter side at 1/2″, 1-1/8″, 7″, and 7-5/8″
Click on the diagram to see the full size image
Stamped with the Beary Comforting stamp set:
sentiments in Cinnamon Cider ink onto two labels from the kit: a round one and a smaller rectangular one
Cut using the Label Me Lovely Punch:
a scrap of Cinnamon Cider CS
Assembled the card:
burnished the fold in the card base with a Bone Folder
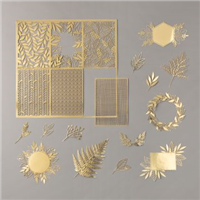
gold wreath glued onto the front of the card base
punched piece of Cinnamon Cider CS glued in the center of the gold wreath
rectangular sentiment adhered onto a larger rectangular label using Stampin’ Dimensionals, putting the stem of a gold leaf sprig between them
sentiment stack glued over the center of the wreath
3 Cinnamon Cider enamel dots applied on and around the sentiment using my Take Your Pick tool
Assembled the box:
burnished all the folds in the insert with a Bone Folder, and used Paper Snips to trim away the green areas in the diagram
long flap glued onto the inside of the opposite side to form the basic box shape
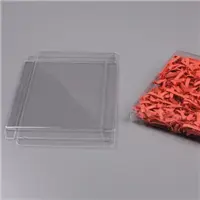
insert slipped into an Acetate Card Box – it’s very snug but will fit – and closed up the ends
Cinnamon Cider CS layer adhered onto the front of the box using Stampin’ Seal
layer from the kit glued onto the Cinnamon Cider CS layer
Stampin’ Dimensionals applied onto the back of the round sentiment
4 gold leaf sprigs stuck onto the Dimensionals on the back of the sentiment
sentiment, with sprigs, adhered onto the center of the top layer
3 Cinnamon Cider enamel dots applied and around the sentiment using my Take Your Pick tool
S
Here’s the December 2020 APPT Blog Hop:
S
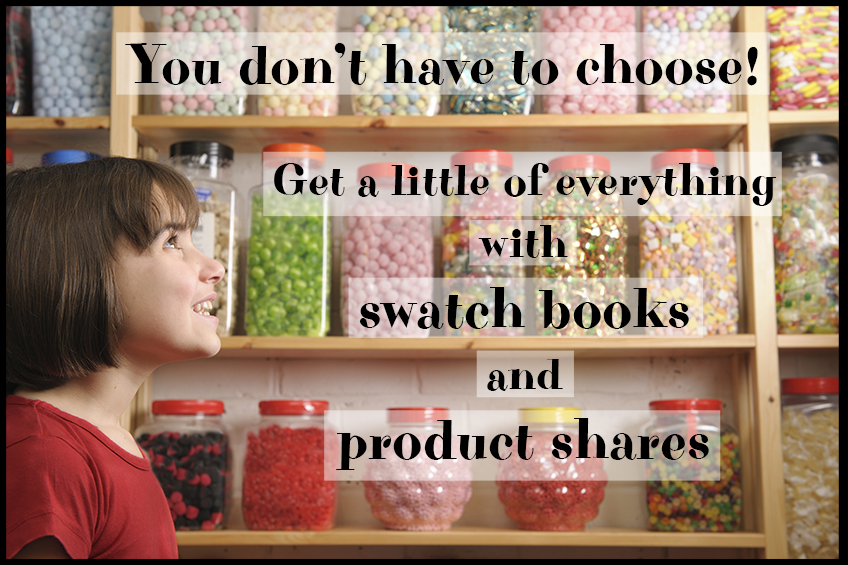
Order your Swatch Books & Product Shares by January 4. That’s Monday!
Here’s what I used, other than what came in the kit:
Click on these images for more details and to purchase. If you are reading this post in email, the product images may not show up. Please click hereto see the post on my blog.
Supply List. <— Click for a clickable and printable list of the products!
S
Whisper White is going away
The facility that manufactures Whisper White paper is closing due to COVID-19. But don’t fret. The new Basic White products are in the works! No other colors are affected. The following items are now available while supplies last with an order limit of 2 per item per order.
Cardstock, Whisper White 12″ x 12″ (124302)
Cards & Envelopes, Assorted Memories & More (149710)
Cards & Envelopes, Whisper White Note (131527)
Envelopes, Whisper White 3″ x 3″ (145829)
Cardstock, Whisper White 8-1/2″ x 11″ (100730)
Cardstock, Whisper White 8-1/2″ x 11″ Thick (140272)
Envelopes, Whisper White Medium (107301)
S
The Year-End Closeout Ends Monday!
All retiring items will be available through 4 January 2021, or while supplies last. Click on the image to shop now!
S
Here’s the Curvy Celebrations offering:
Click the image to see it in my online store. The Curvy Christmas stamp set and Classic Christmas Designer Series Paper are available only through January 4, or while supplies last!
S
Here’s the new catalog:
Click the image below to request your January-June 2021 Mini Catalog AND Sale-a-bration Brochure:
Gift Certificates are available in any U.S. dollar amount from me. Contact mefor details.
Have you shopped from me within the past year? Join my private VIP Facebook groupfor exclusive project tutorials and more!
Join my team and enjoy a 20% discount (or more) on all your purchases! You choose $125 in products and pay only $99, and get free shipping! No obligation! No selling required!
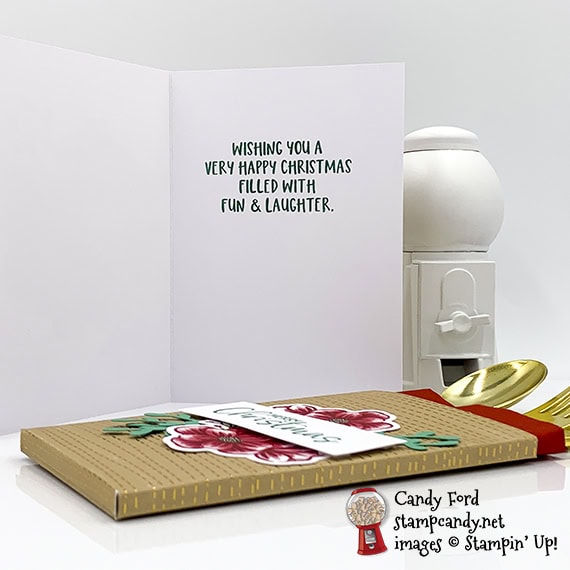
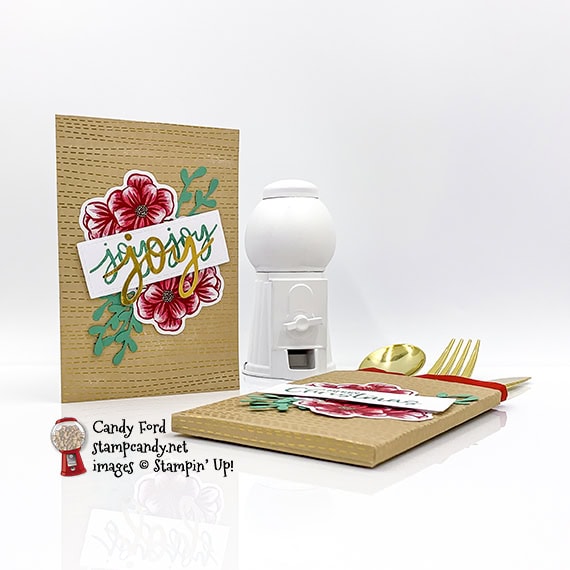
Welcome to the October 2020 PPP Blog Hop! This month’s kit is called Joy to the World and it makes lovely holiday cards in two designs. I used the kit to make a card and a flatware/napkin holder for a holiday table setting. I used the Sprig Punch to add some greenery to the die cut flowers that come with the kit.
Be sure to hop around to all the stops, to see all the great alternative projects made for you by this group!
If you are reading this in email, some photos may appear blurry, or may not appear at all. Please click here to see the post on my blog.
S October 2020 PPP October 2020 PPP October 2020 PPP October 2020 PPP
Here’s what I made:
S
Here’s what I did:
Scored with my paper trimmer:
1/4″ cut from the right side of an open card base
then scored horizontally 1/4″ from the bottom
and scored vertically 1/4″ from each end
and scored vertically 1/4″ to the right of the card’s original score line
Stamped with the Joy to the World stamp set:
“Merry Christmas” and “Joy Joy” onto the labels in Just Jade ink
inner sentiment in Just Jade ink onto the inside of another card base
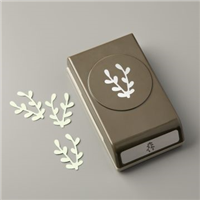
Cut using the Sprig Punch:
6 sprigs from a scrap of Just Jade card stock
Cut using Paper Snips:
1/4″ up from the bottom along the 4 vertical score lines
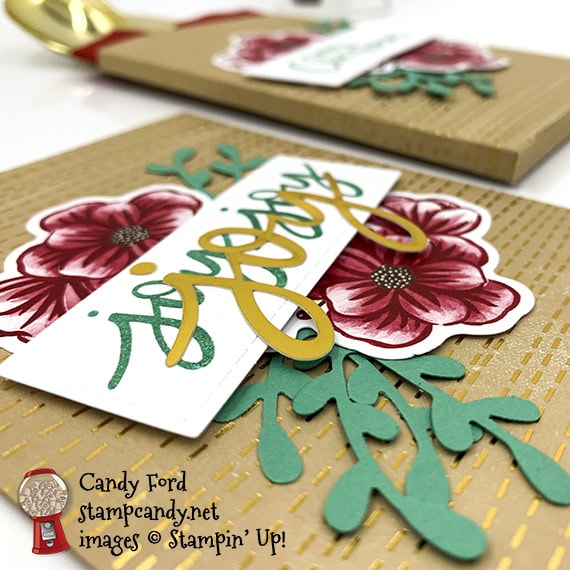
Assembled the card:
burnished the fold in the card base with a Bone Folder
two flower die cuts adhered onto the front of the card base
three punched sprigs tucked and adhered under the flower edges
sentiment adhered over the center part of the die cuts using Stampin’ Dimensionals
gold “joy” glued onto the sentiment, over the stamped words
Assembled the holder:
burnished the folds with a Bone Folder
folded up and adhered the bottom flaps
two flower die cuts adhered onto the front of the holder
three punched sprigs tucked and adhered under the flower edges
sentiment adhered over the center part of the die cuts using Stampin’ Dimensionals
napkin and flatware tucked inside
S
Here’s the October 2020 PPP Blog Hop:
Click the pumpkin to hop to the next stop, Elizabeth Ames of Cards by Elizabeth.
S
Here are today’s colors:
You can click on each one to see all the products that come in that color!
Click on these images for more details and to purchase. If you are reading this post in email, the product images may not show up. Please click hereto see the post on my blog.
Gift Certificates are available in any U.S. dollar amount from me. Contact mefor details.
Have you shopped from me within the past year? Join my private VIP Facebook groupfor exclusive project tutorials and more!
Join my team and enjoy a 20% discount (or more) on all your purchases! You choose $125 in products and pay only $99, and get free shipping! No obligation! No selling required!
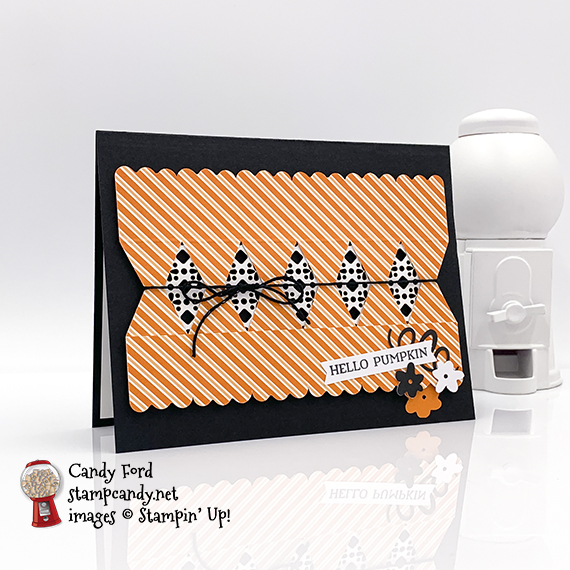
Welcome to the September 2020 PPP Blog Hop! This month’s kit is called Hello Pumpkin and it makes really cute treat holders that look like miniature versions of the crackers we have at Christmas, you know, the ones with the paper crown and little toys in them. I used the pieces to make a card and a candle wrap. https://stampcandy.net/paper-pumpkin/september-2020-ppp-blog-hop-hello-pumpkin https://bit.ly/3cyFfXj
If you are reading this in email, some photos may appear blurry, or may not appear at all. Please click here to see the post on my blog.
S Hello Pumpkin Hello Pumpkin Hello Pumpkin Hello Pumpkin
Here’s what I made:
S
Here’s what I did:
Cut and scored with my paper trimmer:
Basic Black card stock (CS) cut to 5-1/2″ x 8-1/2″, then scored in half at 4-1/4″
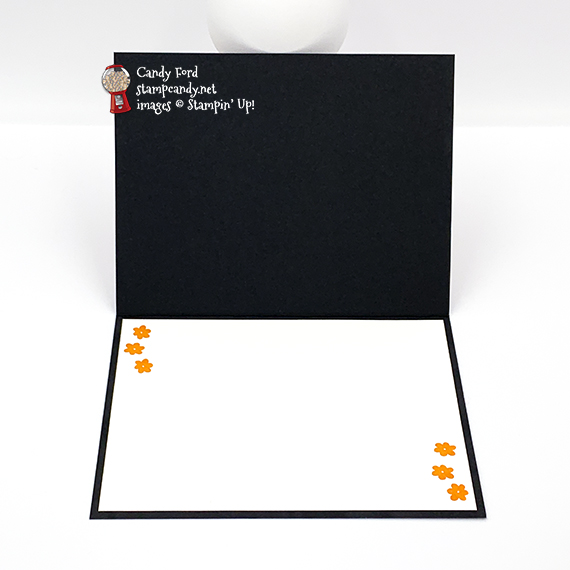
Whisper White CS cut to 5-1/4″ x 4″ for the inside of the card base
2 treat holders from the kit cut in half, to create 4 pieces
1 hourglass shape cut from the end of 3 of the treat holder halves
1/2″ cut from the straight (non-scalloped) side of the fourth treat holder half (Do not fold this smaller one on any of the score lines. Leave it flat.)
the scalloped edge of a third treat holder cut away, cutting along the first score line
Stamped with the Hello Pumpkin stamp set:
sentiment in Tuxedo Black Memento ink onto the white side of a banner from the kit
small flowers in Pumpkin Pie ink onto the Whisper White CS for the inside
Assembled the card:
burnished the fold in the card base with a Bone Folder
the strip glued onto the bottom of the fourth treat holder half, lining it up with the score line as shown:
5 of the lacy die cuts from the kit (doesn’t matter which color because I used the white side) adhered onto the back of the treat holder half (with scallops at the top and bottom) so they show through the diamond shaped holes
black twine tied around the whole piece and tied in a bow, then the whole piece adhered onto the front of the card base using Black Stampin’ Dimensionals
sentiment, 3 flowers, and a curly piece glued onto the bottom right of the card front
Whisper White CS glued onto the inside of the card base
Assembled the candle wrap:
all score lines of the 3 remaining treat holder halves burnished with a Bone Folder
the three pieces glued together, gluing the small tabs at one end onto the inside of the opposite end of the next one, until you have a ring
As luck would have it, three of these fit perfectly around the Bath & Body Works candle I had. You may need to adjust for your candle.
slipped the wrap over the candle, with the scalloped edge at the top, and pushed it down to make the cut out areas stick out
black twine tied around the wrap and tied in a bow
he dS
Here’s the September 2020 PPP Blog Hop:
Click the pumpkin to hop to the next stop, Deb Naylor of The Flying Stamper:
S
Here are today’s colors:
You can click on each one to see all the products that come in that color!
Click on these images for more details and to purchase. If you are reading this post in email, the product images may not show up. Please click hereto see the post on my blog.
Supply List. <— Click for a clickable and printable list of the products!
S
Two ways to save in September!
Buy the new Stampin’ Cut & Emboss Machine (standard size) from me by September 30 and I will give you a Magnetic Cutting Plate FREE! You’ll save almost $30! CLICK HERE for more details and to order.
S
Buy the Starter Kit and receive even more! It’s already the best deal: $99 for $125 in product of your choice plus Free shipping! In September you will also receive the Queen Anne’s Lace stamp set, the So Much Love stamp set, Rhinestone Basic Jewels, and 16 precut card kits! Wow! This is the perfect time to work on your wish list of Stampin’ Up! products! CLICK HERE for more details.
Gift Certificates are available in any U.S. dollar amount from me. Contact mefor details.
Have you shopped from me within the past year? Join my private VIP Facebook groupfor exclusive project tutorials and more!
Join my team and enjoy a 20% discount (or more) on all your purchases! You choose $125 in products and pay only $99, and get free shipping! No obligation! No selling required!


 s
s