Mar 1, 2018 | Blog Hop, Cards, Gallery, Paper Pumpkin |

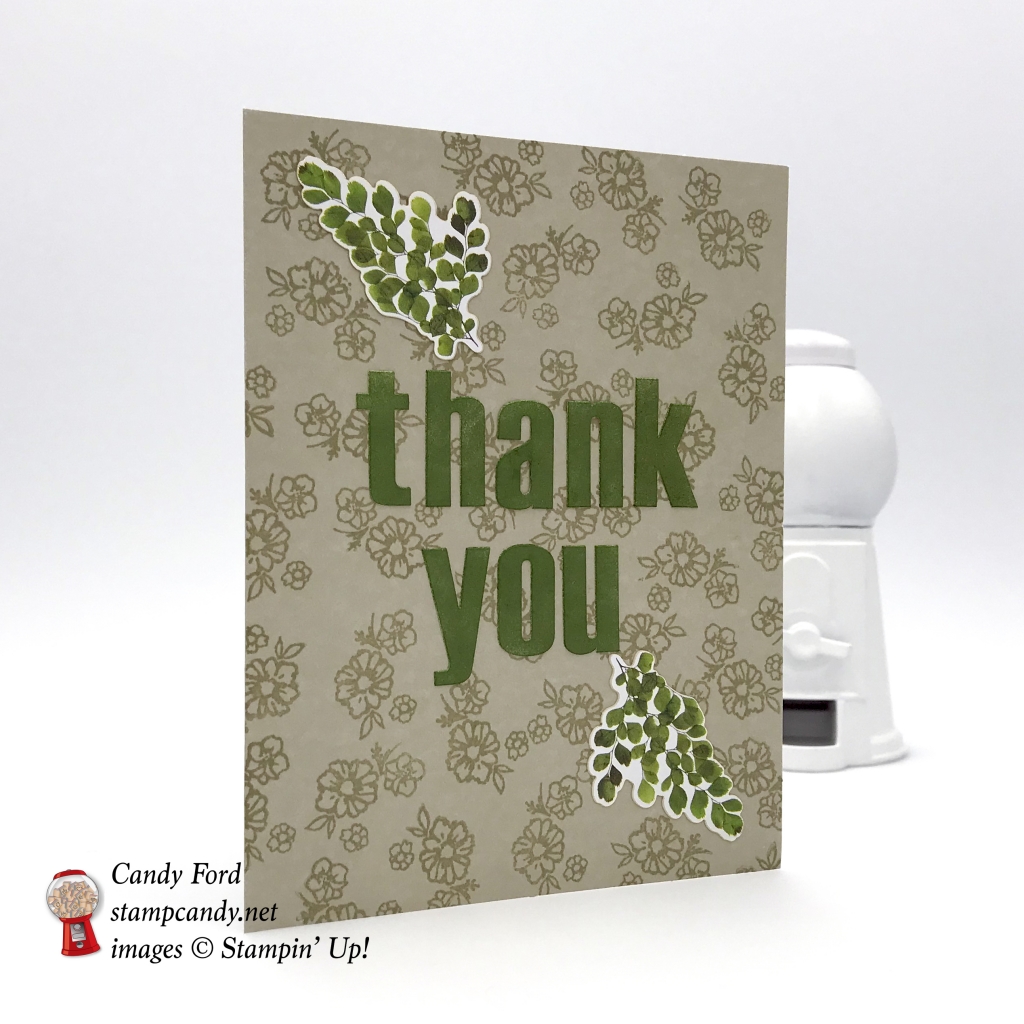
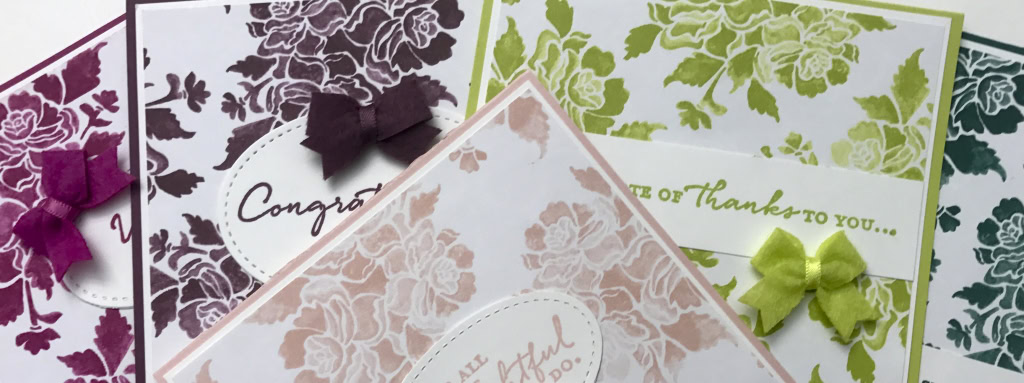
It’s time for the APPT Blog Hop! This is my first time hopping with this talented group of stampers, and I’m thrilled to get to share, not only my alternative projects with you, but theirs as well. This month’s Paper Pumpkin kit is called Wildflower Wishes, and it makes some really lovely cards. I’ve used some of the pieces to make a different card and a coordinating treat bag gift card holder. I hope you like them. And I hope you follow the hop to see all the great projects created by these amazing demonstrators.
The Wildflower Wishes kit appears to be sold out, but the refills are still available, in case you need more pieces. It’s listed in the supply list near the bottom of this post. Remember, only Paper Pumpkin subscribers can purchase extra kits & refills.
Here’s what I made:
First the card…
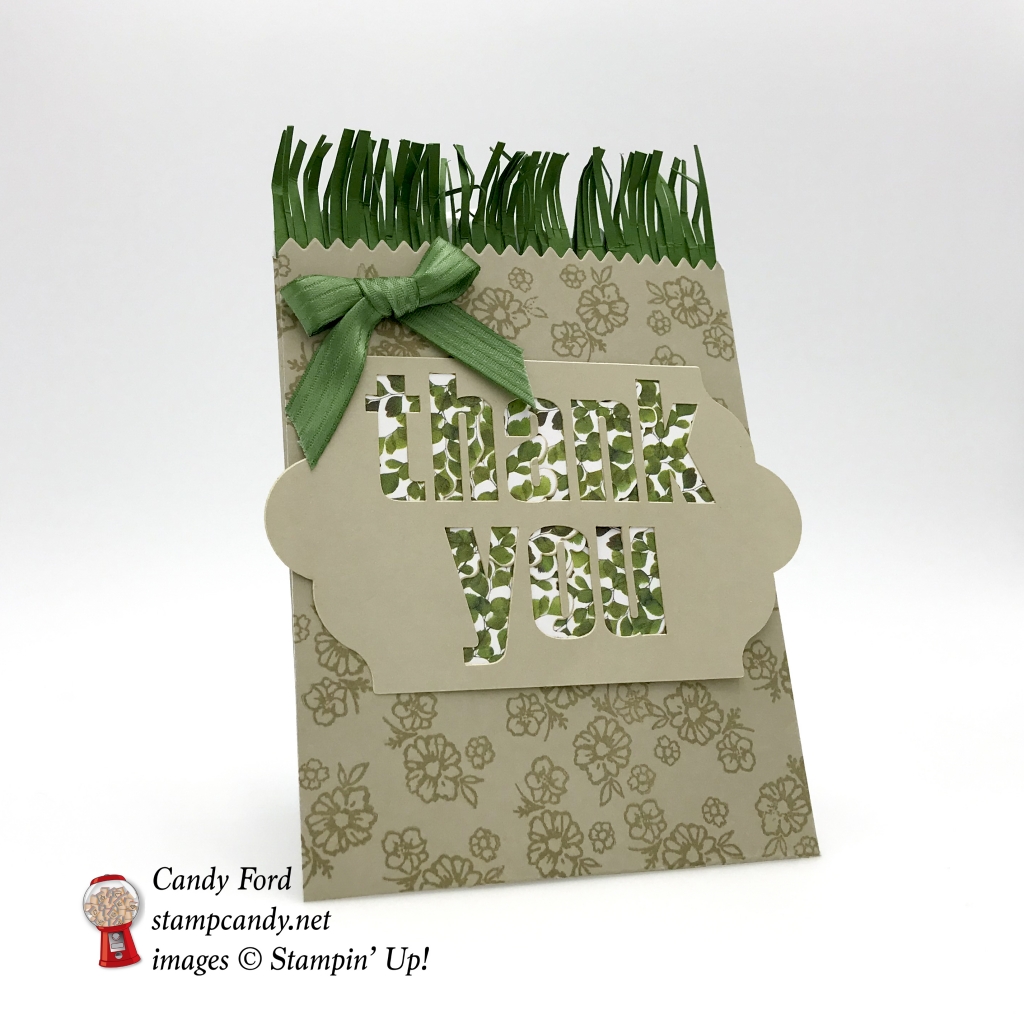
…then the treat bag…

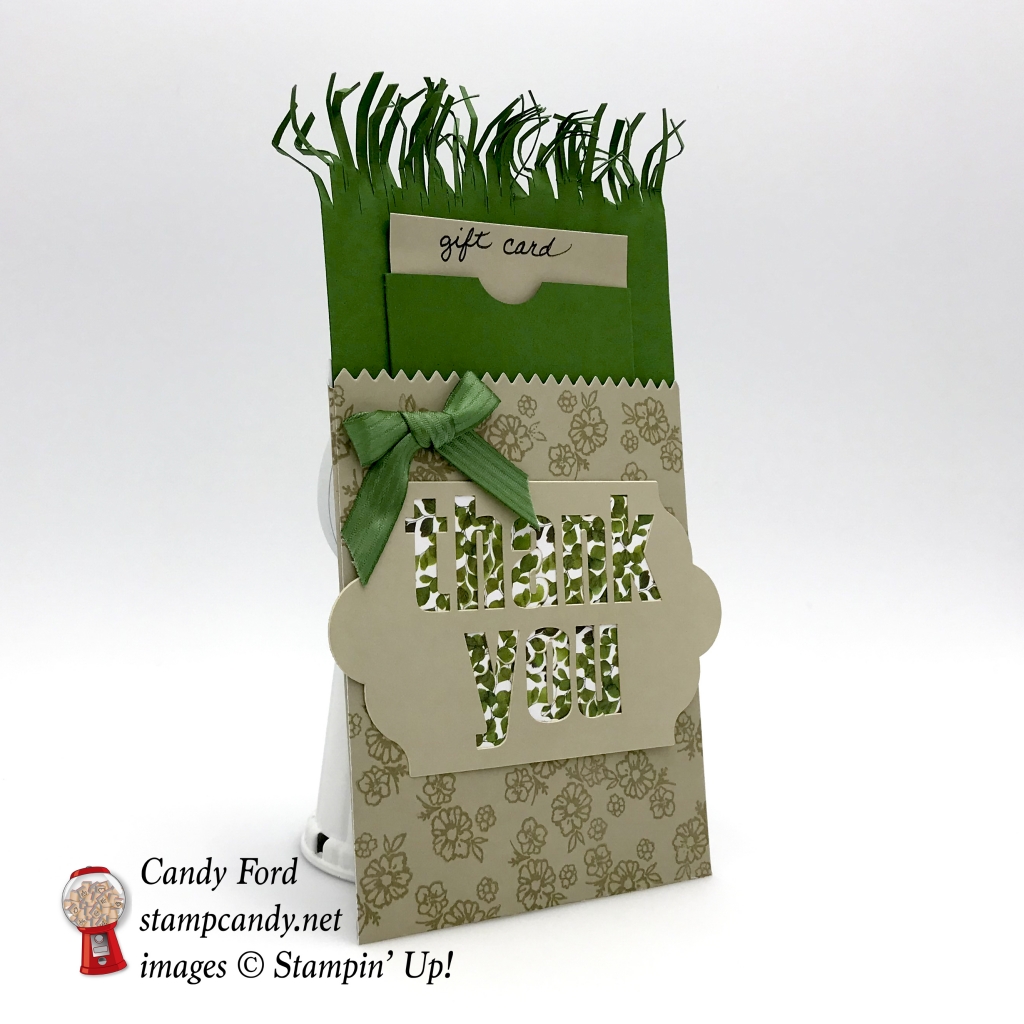
…with a gift card holder inside.

Here’s what I did:
Cut and scored with my Stampin’ Trimmer:
- Garden Green card stock (CS) cut to 3-5/8″ x 5-1/4″
- Garden Green CS cut to 3″ x 3-1/2″, then scored 1/4″ from both long sides and from one short side, for the gift card pocket
Cut using a 1″ Circle Punch:
- a semicircular notch from the one non-scored side of the small Garden Green CS
Stamped with the Wildflower Wishes stamp set from the kit:
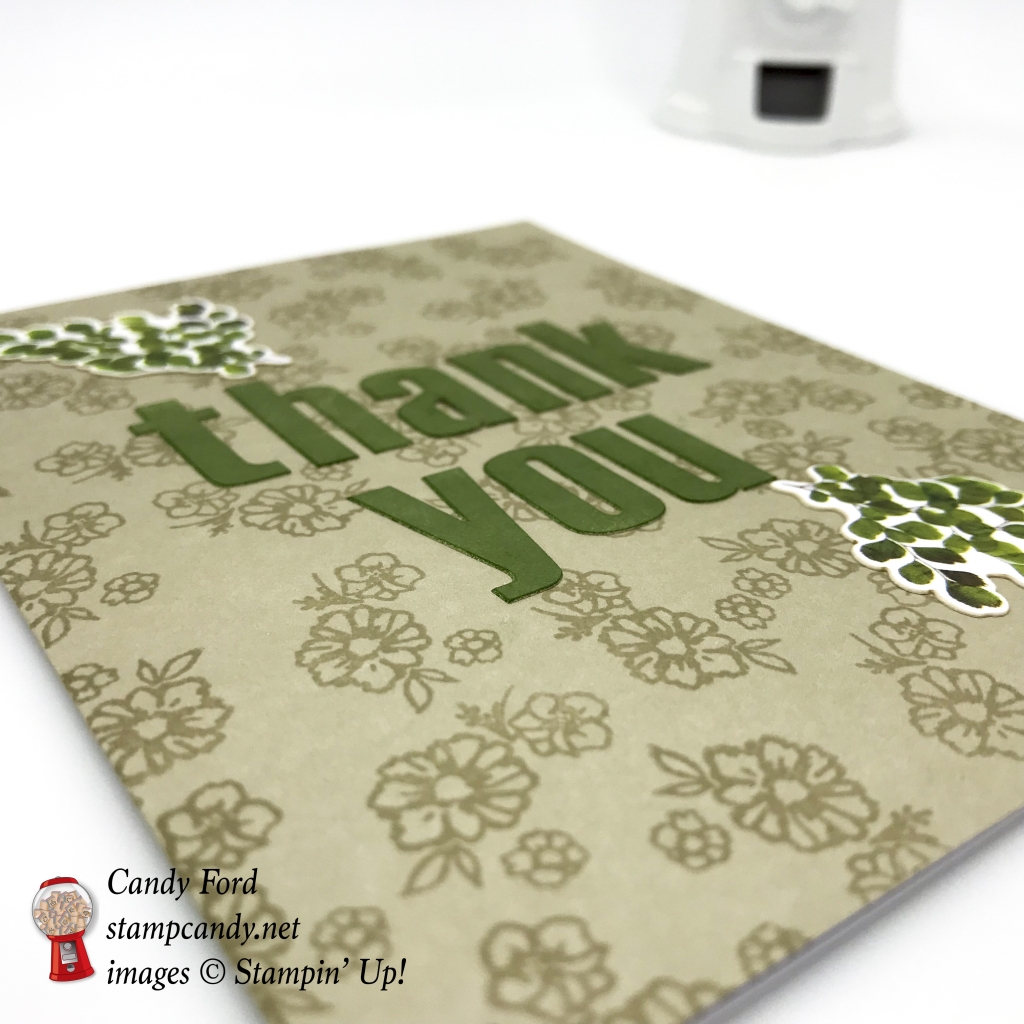
- small flower image in Sahara Sand ink onto the front of one of the cards bases, and the front of the assembled treat bag (see below)
Die cut using the Mini Treat Bag Thinlits:
- larger bag piece from one of the card bases, lining up the score line of the card base with the score line of the die
- NOTE: Since the card base height is shorter than the treat bag die, I ran it through twice with this die – the first time so the bottom flap of the bag got cut, and the second time so the zigzag top of the bag got cut.
- smaller bag piece from yet another card base, then used Paper Snips to trim the bottom edge so it would fit with the larger die cut piece
Assembled the card:
- folded and burnished the score line in the card base with a Bone Folder
- peeled a thank you tag away from its sheet, leaving the letters on the sheet
- used a Sponge Dauber to ink the letters with Garden Green ink
- applied letters to the card front
- applied two green leafy stickers to the card front
Assembled the bag:
- assembled the bag using Multipurpose Liquid Glue along the seams, first the side, then the back, then the bottom flap
- stamped the small flowers in Sahara Sand inl onto the front of the bag (see above)
- applied 8 of the same green leafy stickers to the back of the thank you tag, so the designs showed through the letters
- NOTE: I was careful to save the inside pieces of the “a” and the “o”, and placed them over the leafy stickers
- applied the tag to the front of the bag
- used an Embossing Buddy on the back of the tag areas that stick out past the edge of the bag, so they wouldn’t be sticky
- tied a bow with Garden Green ribbon and adhered it to the bag using Mini Glue Dots
Assembled the bag insert:
- cut one of the short sides (the top) of the larger Garden Green CS with Paper Snips to resemble grass, then crinkled it with my fingers
- folded and burnished the score lines in the small Garden Green CS with a Bone Folder
- glued the three flaps to the front of the larger Garden Green CS, to create the pocket for the gift card
Here’s how to get to the next stop on the hop:

Here are today’s colors:
You can click on each one to see all the products that come in that color!
Here’s what I used:
Click on these images for more details and to purchase.
Here’s some awesome info about Paper Pumpkin:

When you buy a 3, 6, or 12 month prepaid Paper Pumpkin subscription, you qualify for FREE Sale-A-Bration items! After purchasing, you will receive a code in your email. Simply go to the Paper Pumpkin web site and enter the code to subscribe.

Paper Pumpkin is celebrating their 5th Anniversary! Subscribe by March 10 to receive the special FREE gift and special box with the March kit! You can watch a video about it here.
Here’s some other stuff you should know:
- This is a fabulous time to join my team! Sale-A-Bration is the biggest event of the Stampin’ Up! year and you can save big on the ultimate bundle, the Starter Kit. CLICK HERE for more information. Contact me with any questions: email candy@stampcandy.net or call/text 404-661-5222
- Newsletter: subscribe for exclusive deals, projects, and more! Enter your email address and click SUBSCRIBE at the top right of this page, just under the picture of my smiling face. You can also choose to receive an email every day that I have a blog post.
- Check out My Events Calendar HERE
- Host Code for the month of March (34CJGPSJ) Find out more about HOW, WHEN and WHY to use the code HERE.
- My Thank You Gift to You in March: Mini Embroidery Hoops – Find out more HERE.
- Gift Certificates are available in any U.S. dollar amount from me. Contact me – email: candy@stampcandy.net OR call/text: 404-661-5222
- Gumball Rewards for all orders over $50. Find out more HERE.
Thanks for stopping by today, and Sweet Stamping!

Jun 1, 2017 | Catalogs, Classes, Gallery, New Products, Paper Pumpkin |
Okay, here we go!
The new 2017-2018 Annual Catalog goes live today!!!
As of today, you can order from the brand new catalog. Let me know if you need a new catalog. Or check out the new items in my online store here.
You can now order Swatch Books and Paper Shares here.
I am ordering materials today. Order your books and shares asap! Here are Swatch Book examples from a past catalog:

25% off your first three months of Paper Pumpkin ends June 10!
Sign up for a month-to-month subscription and save 25% for three months! Click here for more info!
Check out the new classes on the Events Calendar here.
Here are some sneak peeks:


June Host Code
73VP9AQY
Use the Host Code on online orders less than $15o. See how to use a Host Code here.
Online orders of $75-149.99 placed with the Host Code will receive the FREE gift of the month!
Online orders of $150 or more will automatically receive the FREE gift of the month! Do not use the Host Code.
June’s FREE gift is a pack of the amazing new Color Theory Designer Series Paper! So many designs, so many colors, so many uses. Designed with a paint chip style color variation on one side, wood grain or paint crackle on the other side.
* Each sheet is double-sided for double the creative options
* Works beautifully on card fronts.
* 48 sheets: 4 each of 12 double-sided designs. 6” x 6”
* Acid-free
* Lignin free
* Coordinating colors: Berry Burst, Crushed Curry, Dapper Denim, Old Olive, Whisper White

“No Contact” orders are not eligible for the free gift.
(I can ship within US only.)
Gum Ball Rewards
 You always earn a Gum Ball for every $50 you spend on an order with me. Earn 10 Gum Balls and I’ll send you a free stamp set of your choice! See the Gum Ball Rewards page for details.
Click here to shop my online store!
Thanks for stopping by today, and Sweet Stamping!
May 11, 2017 | Deals, Kits, Paper Pumpkin, Sales |
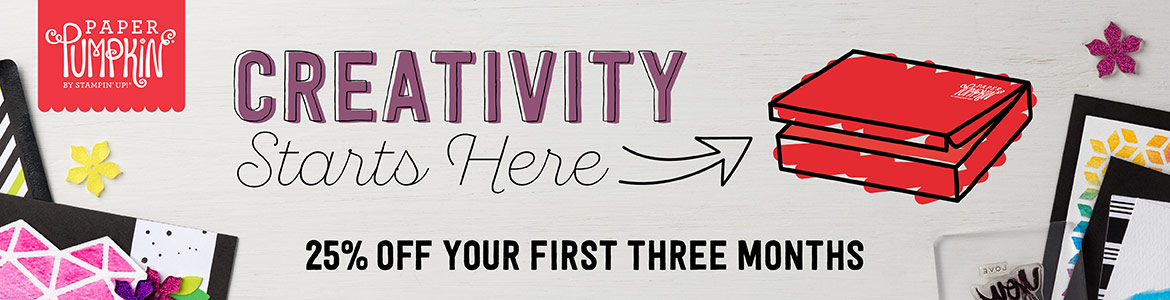
Creativity Starts Here!
New Paper Pumpkin subscribers can take advantage of this special Creativity Starts Here promotion and save 25% off their first three months!
Subscribe by June 10 to save 25% off the June, July, and August kits.
This promotion is for month-to-month subscriptions, not prepaid.
It’s for first time subscribers only. (If you have subscribed before, you can take advantage of this promotion by subscribing under a different e-mail address.)
Enter the Promo Code STARTHERE at checkout. The 25% discount will apply to one kit per month for the first three months. After that the kits will return to the regular price of $19.95.
I love my Paper Pumpkin kits! Every month I receive a box that has everything I need to complete that month’s project. It might be cards, gift bags or boxes, a decor item – it’s always a surprise, a really good surprise!
Your first kit includes a clear block to use with all the Paper Pumpkin stamps you’ll ever get. Each kit contains all the precut pieces for the project, plus adhesive, ink pad, and an exclusive new stamp set! Yep, the only way to get these stamp sets is to get Paper Pumpkin.
Whether you want to get together with friends each month, or you just want a little crafting time alone, Paper Pumpkin is a wonderful way to get your craft on. And these kits are easy enough for beginners, and awesome enough for advanced stampers.
Click here to get started!
Apr 3, 2016 | Challenges, CYCI, Paper Pumpkin, Sketches |

Here is this week’s Sketch Challenge from CYCI…
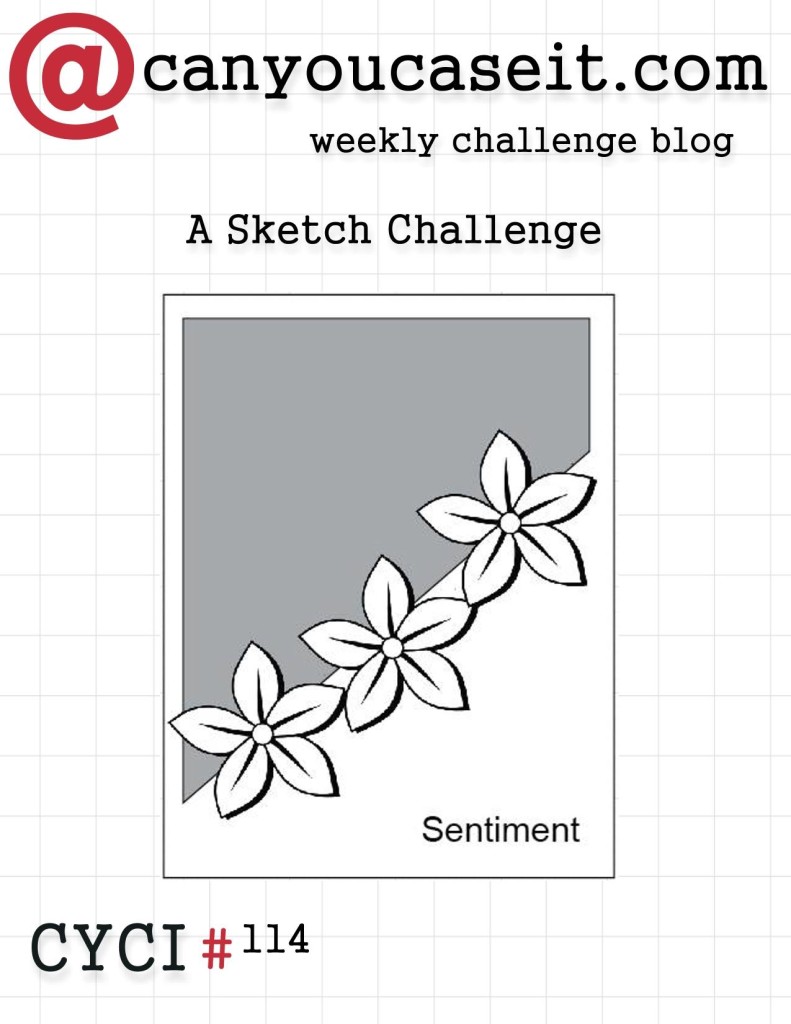
…and here’s my card, photographed on of a piece of Cucumber Crush card stock.

I used the March 2016 Paper Pumpkin kit to create this card. The kit makes 8 gift cards and 8 gift card envelopes.

I used one of the speckled card bases from the kit, and glued a piece of Bermuda Bay card stock on the front. I used the 1-3/8″ Circle Punch to cut out circles from the various pieces in the kit, as well as from the Brights Designer Series Paper Stack. I glued the circles along the slant of the Bermuda Bay card stock piece.
I stamped the sentiment from the Petite Pairs stamp set in Cucumber Crush ink onto a piece of Whisper White CS, then cut it with the Large Oval Punch. I cut a piece of Bermuda Bay CS with the Scalloped Oval Punch to mat the sentiment. I glued it all to the card front.
I stuck a White Perfect Accent in the top left corner to add balance to the overall layout.
To see more alternate projects using this kit, click here.
Here’s what I used:
Be sure to check out all the great projects this week at canyoucaseit.com, and play along by posting your own project!
Thanks for stopping by today, and Sweet Stamping!

Mar 15, 2016 | Deals, Paper Pumpkin, Sales |
Every Tuesday, Stampin’ Up! announces new Weekly Deals that are good through the following Monday. Here are this week’s 25% off items! Click on the images to get yours now!

Click on the image below to save up to 60% off Clearance Rack items!
Sale-a-bration ends March 31! Get your free products while they are still available! Click the image to shop now!
These are the Sale-a-bration items available FREE with any $50 order!
The 3 month Paper Pumpkin prepaid subscription is on sale for $55 until March 31. On April 1 it will go back to the regular price of $59.85. You can buy 2 or 3 of these at once, then redeem one every three months. If you want 12 months, the 12 month prepaid subscription is still the best deal.
AND until March 31, you receive a FREE Sale-a-bration item when you buy a 3 month subscription! With a 12 month subscription you receive 4 FREE SAB items!
Thanks for stopping by today, and Sweet Stamping!

Feb 5, 2016 | Boxes, Classes, Gift Wrap, Gifts, New Products, Occasions, Paper Pumpkin |
This weekend I’m in Phoenix, AZ, spending some quality time with, and learning a lot from, some wonderful Stampin’ Up! Demonstrators from all over the country. Lisa Pretto of InkBig Academy is the organizer and leader of the weekend. I thought one of the projects we made in the January Bloomin’ Love Bundle Class would be a perfect thank you gift for her, so today I’m sharing that with you.

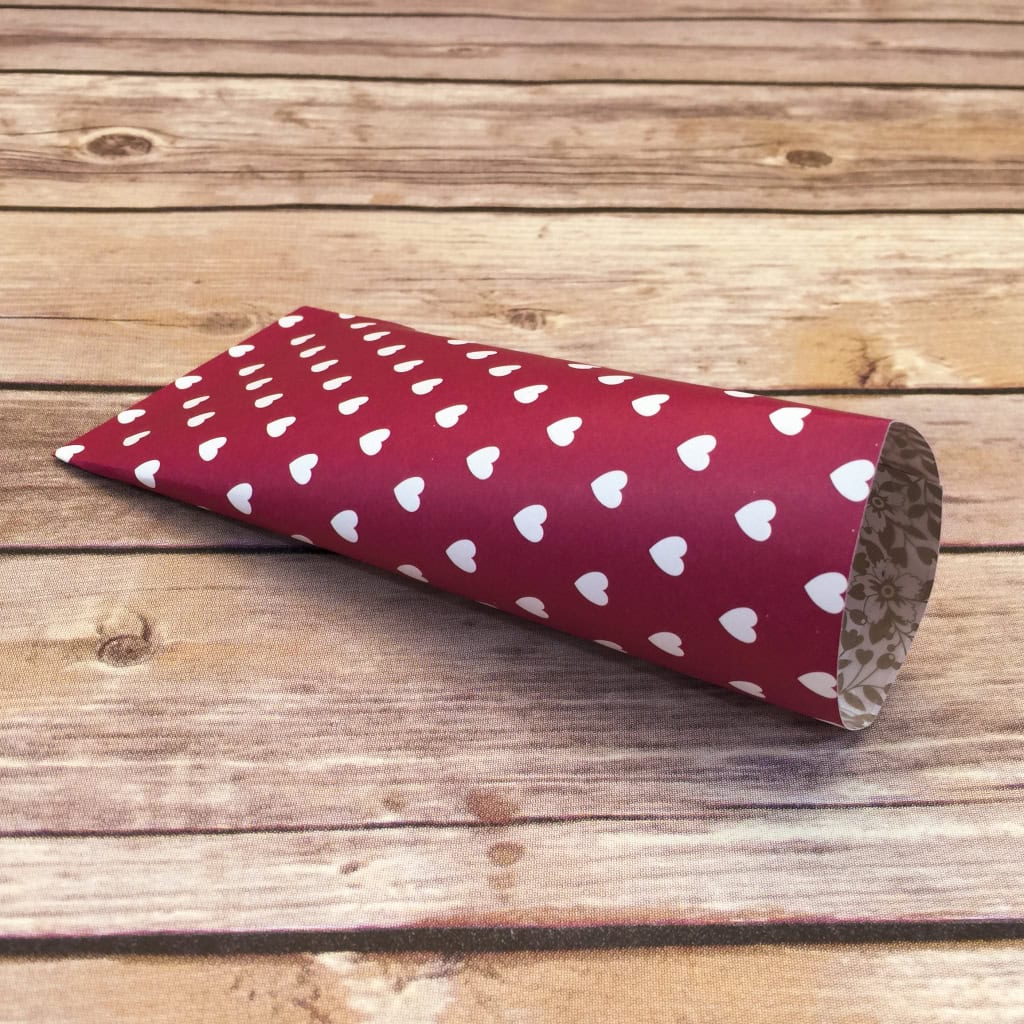
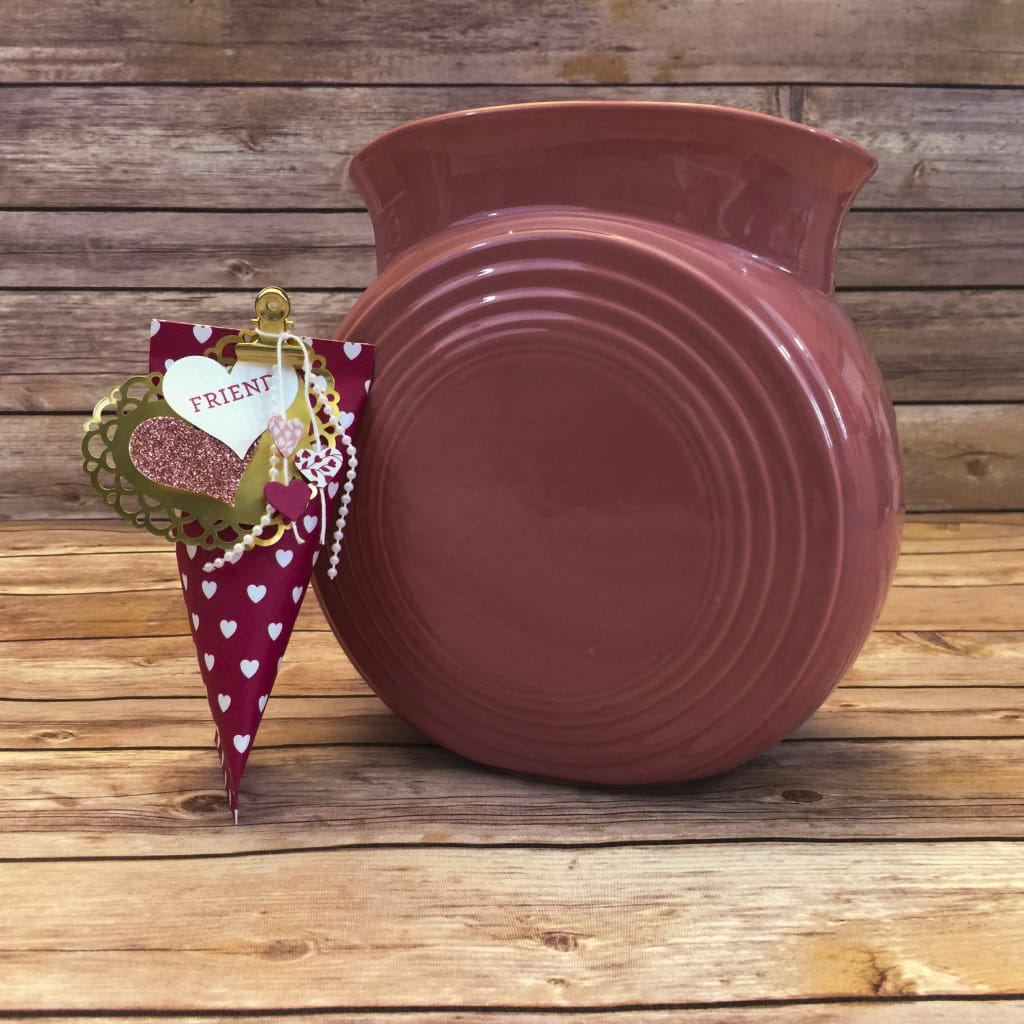
The sour cream containers – so called because single servings of sour cream usually come in containers shaped like this – are incredibly easy to make, even though they look much more complicated.
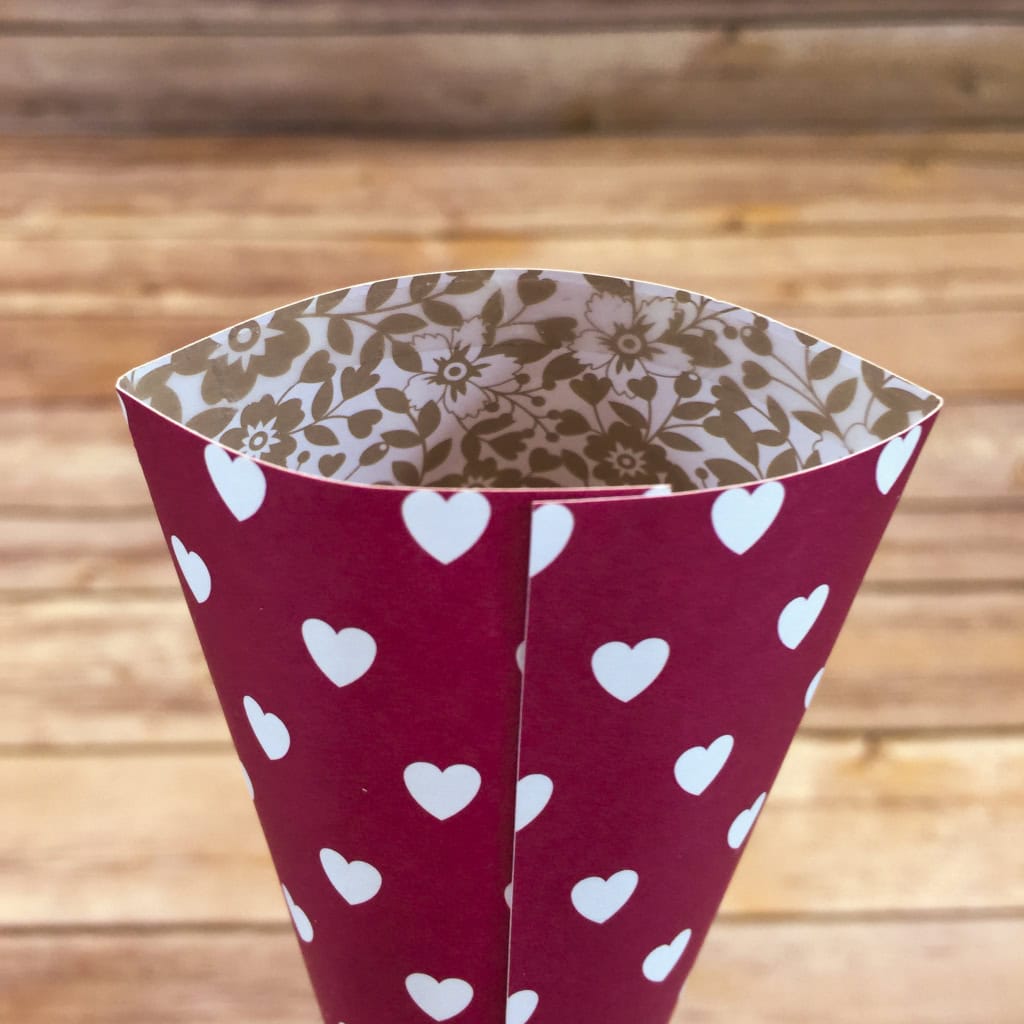
For today’s container, I started with a sheet from the Love Blossoms Designer Series Paper Stack. The 6″x6″ size is perfect for this project, so no cutting required!
On the side of the paper that will be on the inside of the container, I put strong adhesive (I recommend Tear & tape or Fast Fuse) along three of the edges. Then I rolled the paper and adhered the two sides together to create a tube.
NOTE: If the paper design has a definite direction, make sure you put the adhesive along the top and bottom edges and along one side edge.
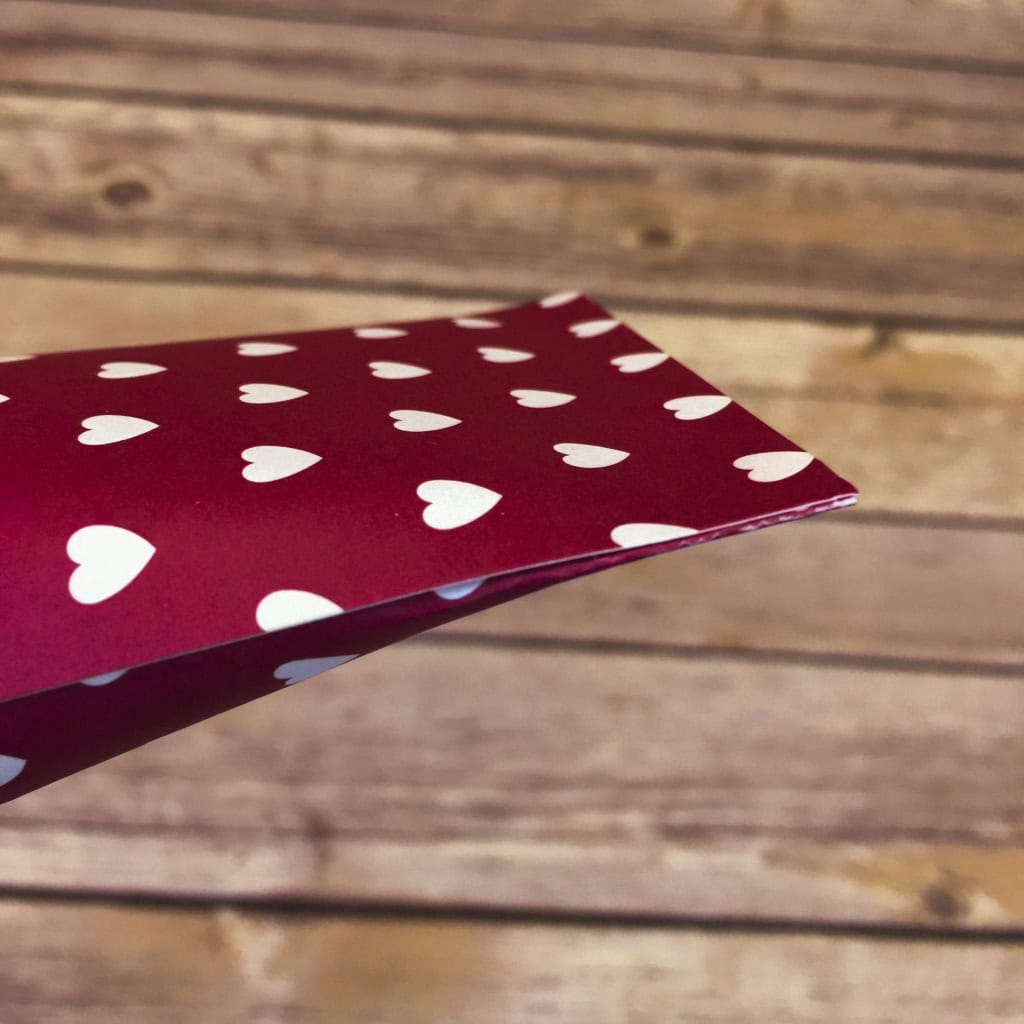
I pinched the bottom end closed, with the seam along one edge of the bottom.
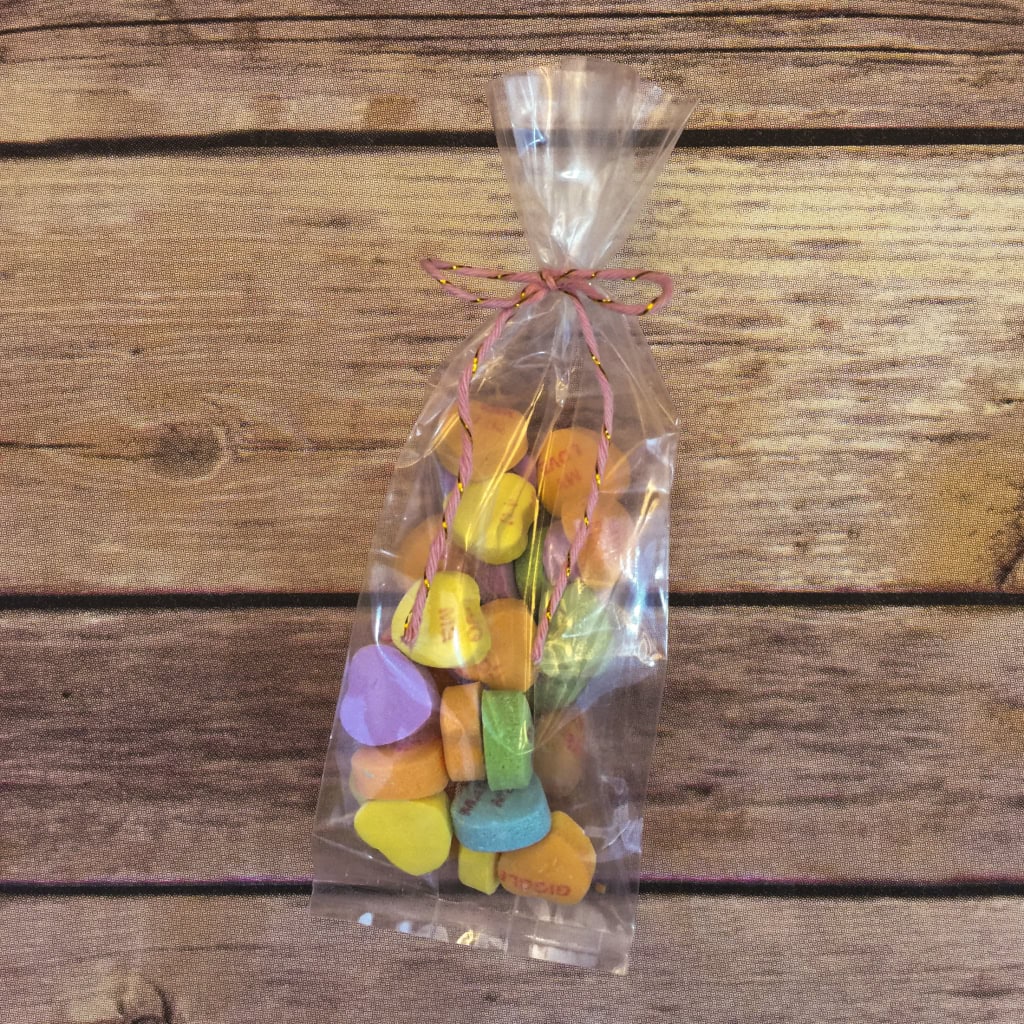
I used a gusseted bag and twine from the Filled With Love Paper Pumpkin Kit Refill and filled it with Candy Hearts. This and other past Paper Pumpkin kits and refills are available for purchase to any current Paper Pumpkin subscriber.
I pinched the top of the container closed, with the seam in the center of the top. This created the interesting shape, with one end flat in one direction and the other end flat in the other direction.
NOTE: Don’t over fill the bag before putting it into the container. It should be skinny enough to insert without it getting caught on the adhesive around the interior edge of the container.

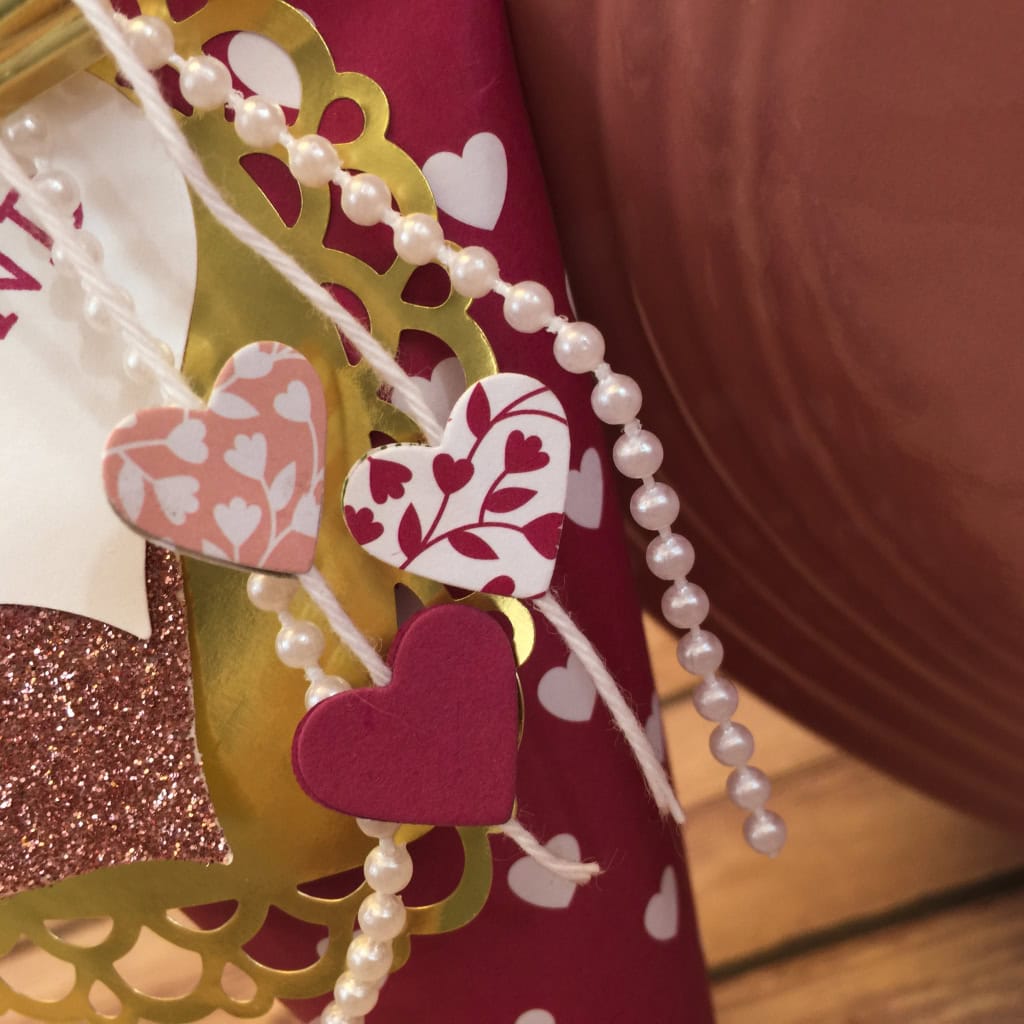
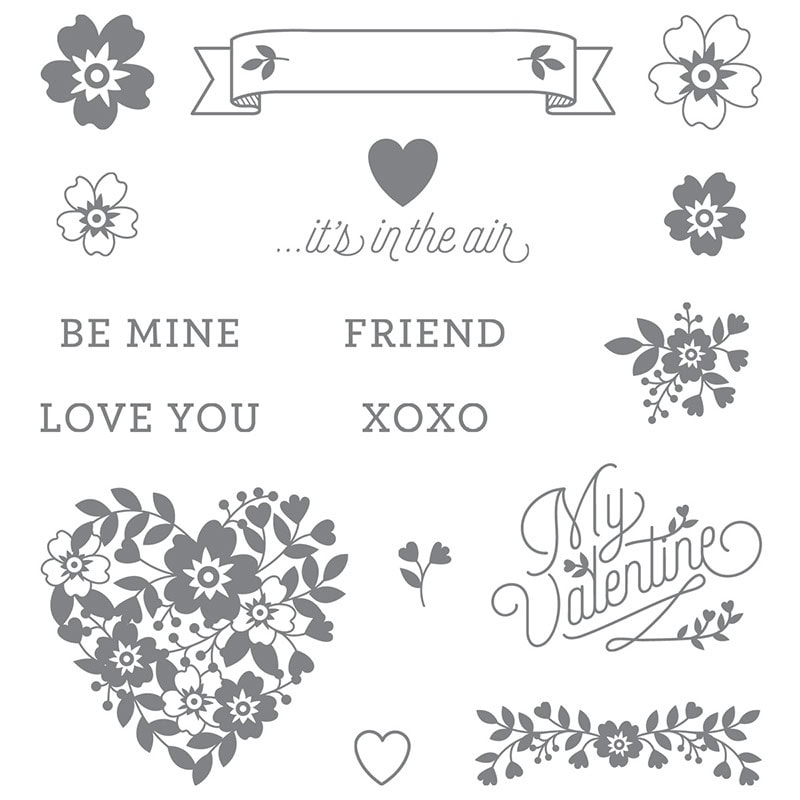
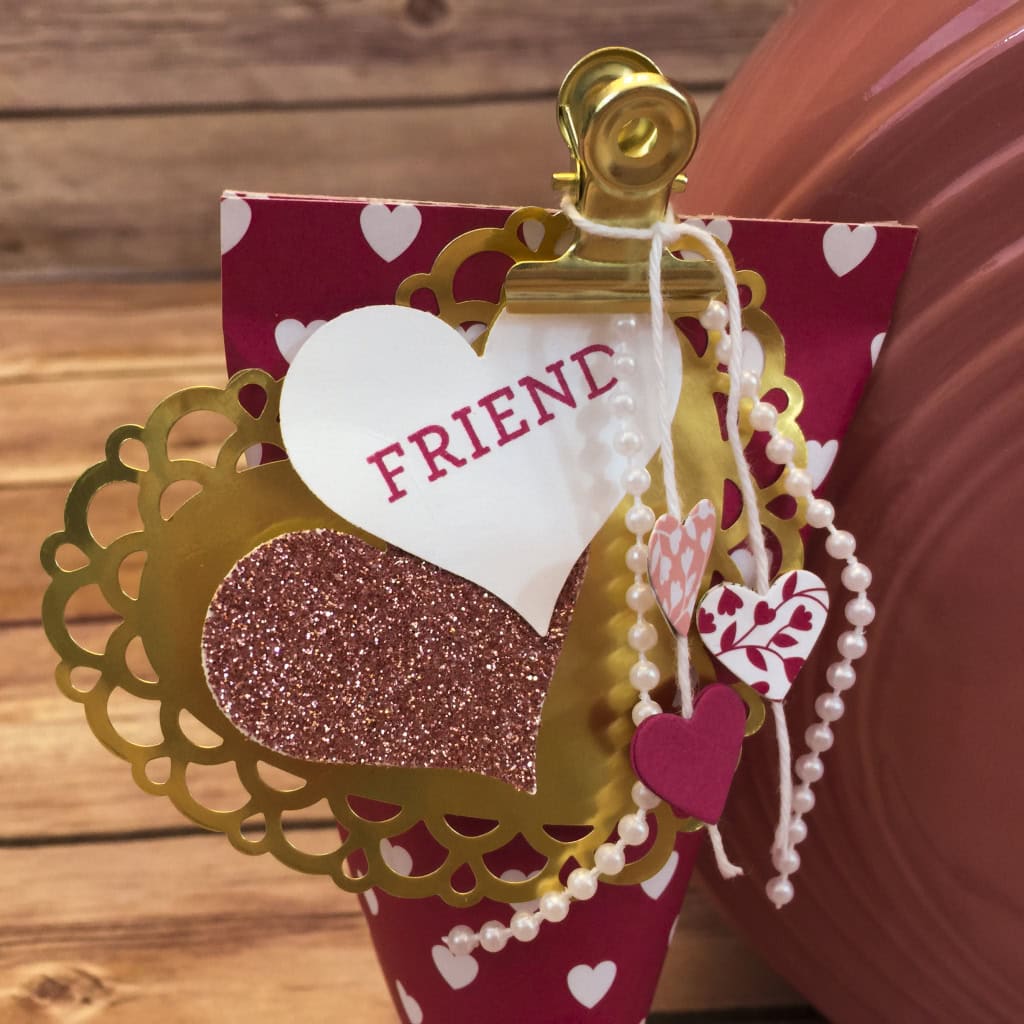
I stamped the word FRIEND, from the Bloomin’ Love stamp set, in Rose Red on a piece of Whisper White card stock, then punched it out with the Sweetheart Punch. I used the same punch to cut a heart out of Blushing Bride Glimmer Paper. Then I glued the two hearts together.
I used the heart punch from the Itty Bitty Accents Punch Pack to cut two hearts each from two different designs in the Love Blossoms DSP Stack and from Rose Red CS. I glued them together along a length of Whisper White Baker’s Twine, sandwiching the twine between the two hearts, and tied the twine around one of the gold clips from the same Filled With Love PP kit refill.
I used the clip to attach the two glued-together hearts as well as a gold heart doily and length of pearl trim from the Love Blossoms Embellishment Kit. The layers make it look much more complicated that it really is.
Here’s what I used today. Click on the images below to get what you need to make your own sweet sour cream container!
Thanks for stopping by today, and Sweet Stamping!


