Mar 14, 2016 | Cards, Sale-A-Bration |
I may have mentioned before that I love leftovers. I mean, all you have to do is pop them in the microwave and you have yourself a meal, without all the slicing and dicing and baking and sauteeing. It’s so quick and easy.
As it is with food, so is it with card making: leftovers = quick & easy!
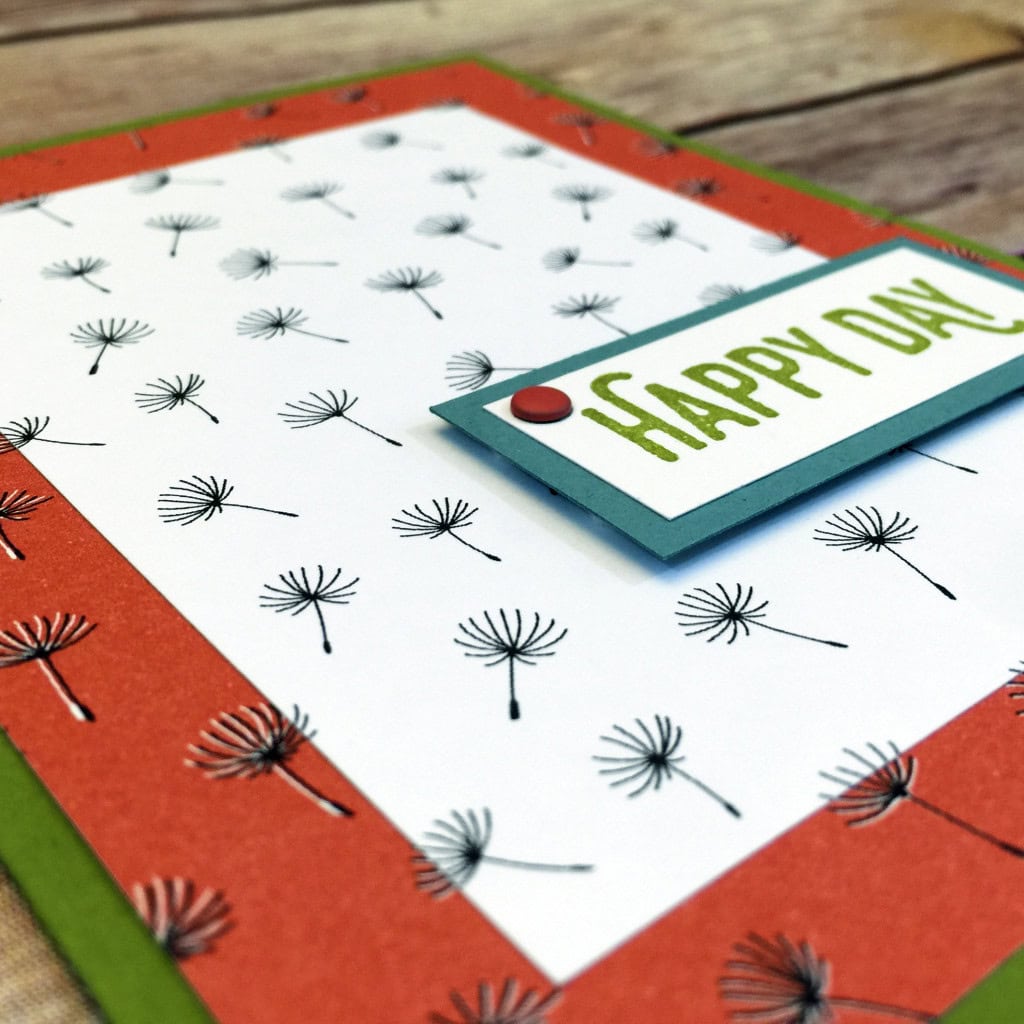
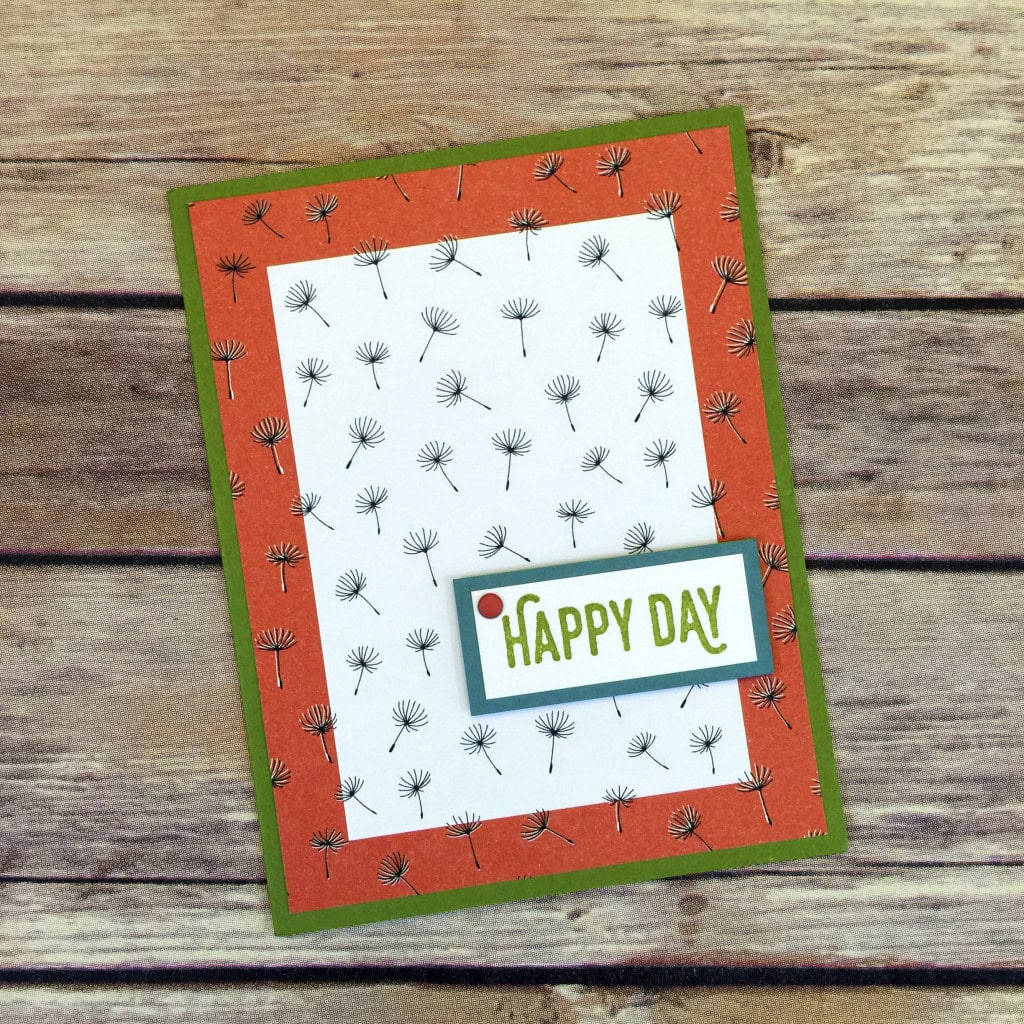
Yesterday I shared a card I made with the Wildflower Fields Designer Series Paper and Perfect Pairings stamp set. You can see that post here. Today I’m sharing a card I made with the leftovers from that card.

I used the same Calypso Coral floral piece of the DSP that I used yesterday. I also used the reverse side of that one, and the reverse side of the Whisper White floral piece from yesterday.


I stamped the sentiment from the Perfect Pairings stamp set in Basic Black directly onto the DSP. I glued all the pieces to a piece of Basic Black card stock just barely larger than the design, for just a hint of a black order. I glued that to the Old Olive card base, and voila, a quick and easy birthday card made with leftover paper scraps!
The Wildflower Fields DSP and the Perfect Pairings stamp set are Sale-a-bration item you can get for free when you place a qualifying order – one free SAB item for each $50 in an order. But these free items are only available until March 31. That’s only 2-1/2 weeks away, so order now while you can!
Here’s what I used today:
New Weekly Deals come out every Tuesday, so today is the last day to save 25% off the current Weekly Deals. Check them out:
Thanks for stopping by today, and Sweet Stamping!

Mar 13, 2016 | Cards, Challenges, Color Palette, CYCI, Sale-A-Bration |
It’s time for another color challenge from canyoucaseit.com. This week we get to choose our own three colors.
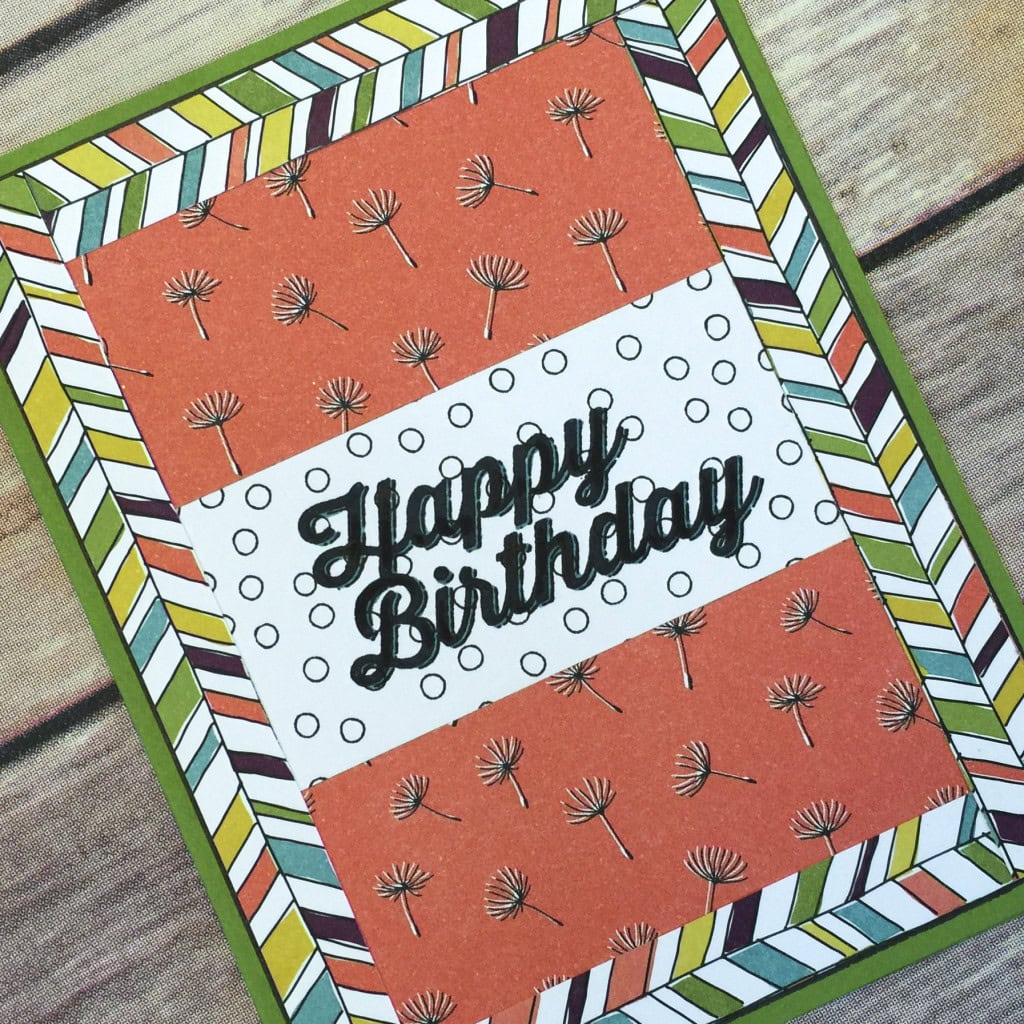
Here’s my card:
I chose Lost Lagoon, Old Olive, and Calypso Coral, which were inspired by the Wildflower Fields Designer Series Paper from the Sale-a-bration brochure. You can get this DSP free with any $50 order, but only until March 31!
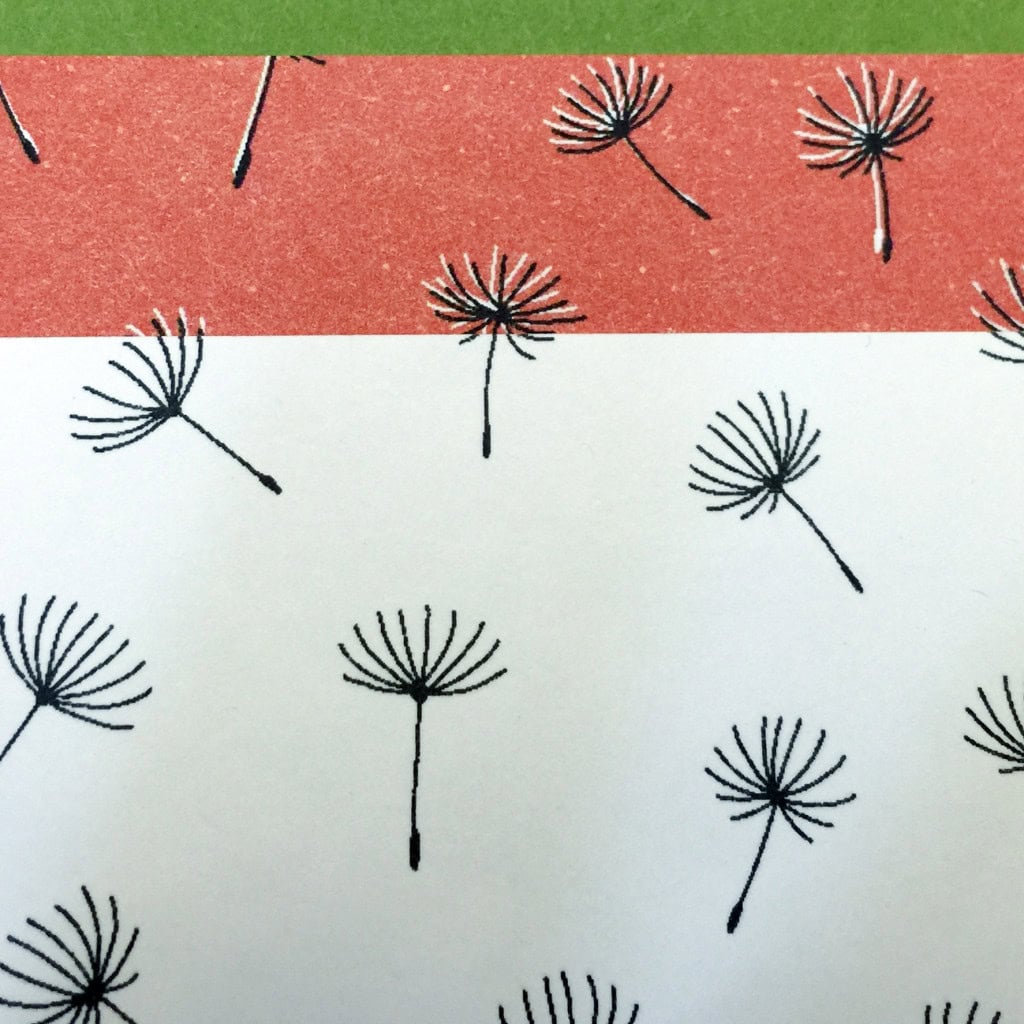
I used these two sheets out of the DSP pack. The patterns on the Calypso Coral floral and the Whisper White floral line up perfectly. Say “Calypso Coral floral” three time fast!
I turned the sheets so the patterns were going in the same direction, then cut the pieces together. I then trimmed 1/2″ from all four sides of the Whisper White piece. I glued it on to the Calypso Coral piece, lining up the images. I glued this onto the Old Olive card base.

I stamped the sentiment from the Perfect Pairings stamp set (another Sale-a-bration item available only until March 31) in Old Olive onto Whisper White CS. I matted it with a piece of Lost Lagoon CS, stuck on a Calypso Coral Candy Dot, and attached it to the card front with Stampin’ Dimensionals.
Check back to see what I made with the scraps from this card!
Be sure to check out all the great projects at canyoucaseit.com. Play along with us by uploading your own product photo!
Here’s what I used today:
Thanks for stopping by today, and Sweet Stamping!
Mar 11, 2016 | Cards, Sale-A-Bration |
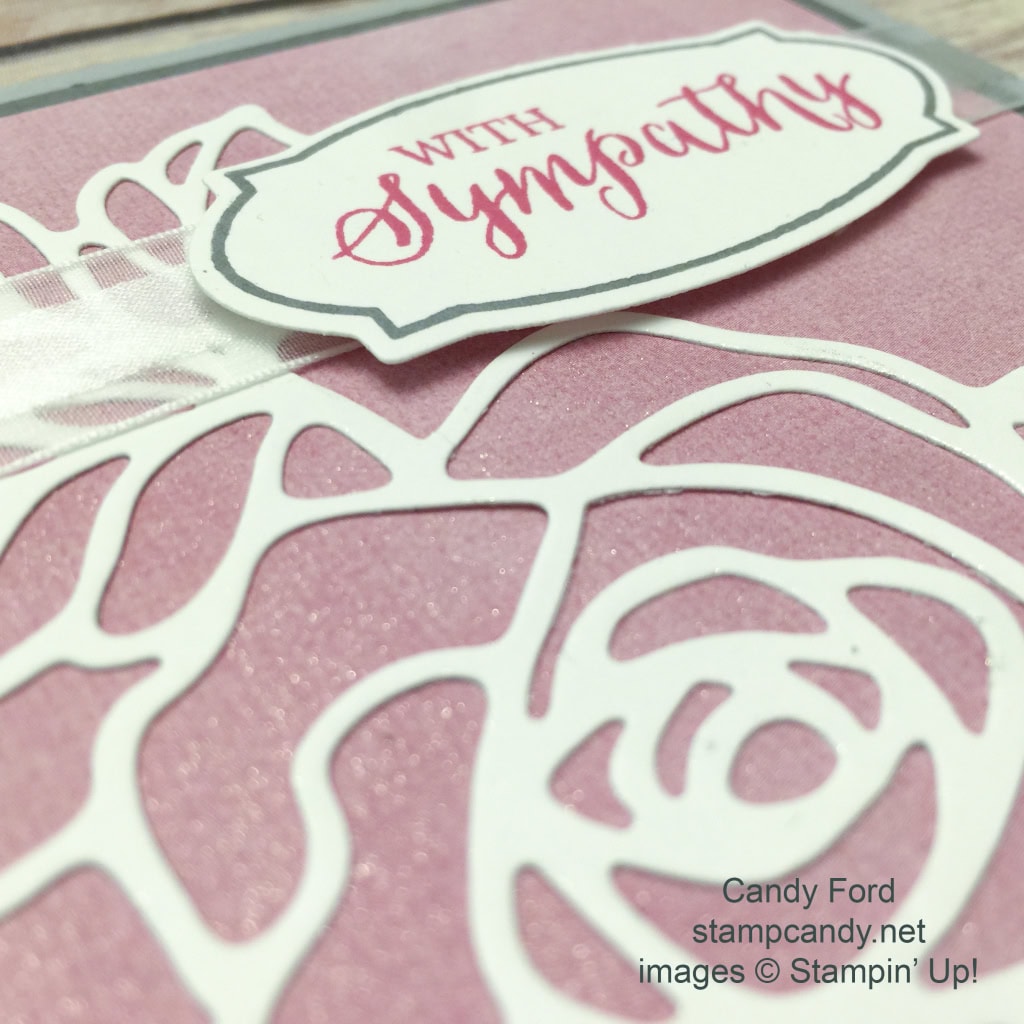
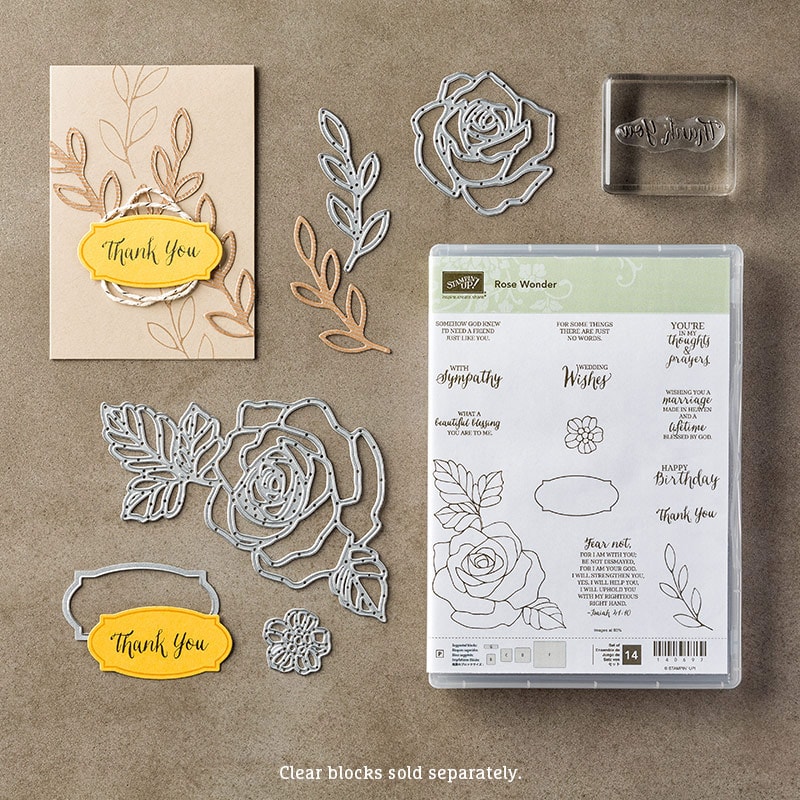
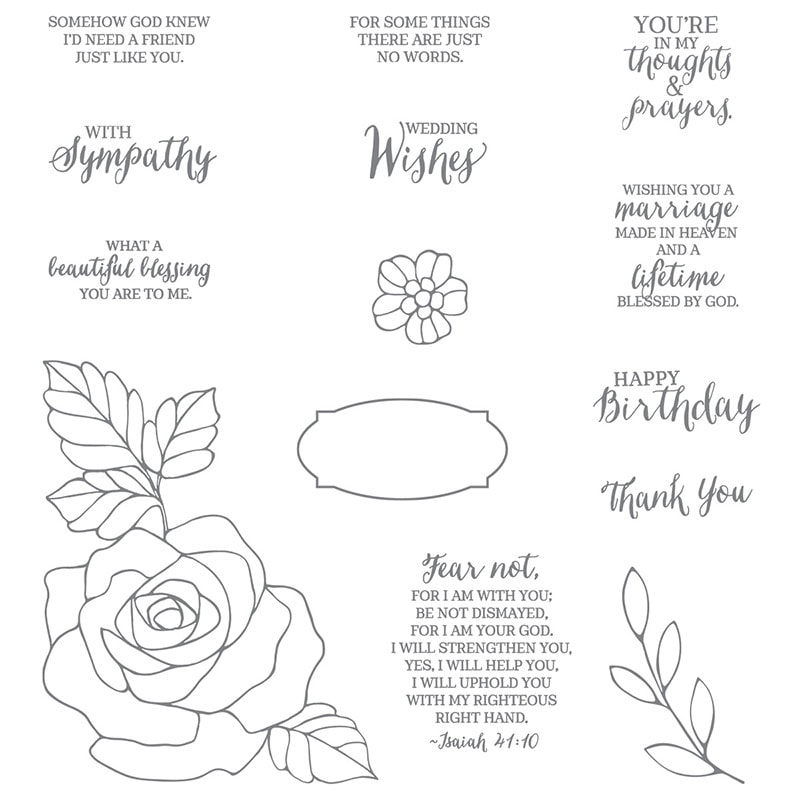
Sympathy cards aren’t the most fun to make, but it’s nice to have them on hand when you need them. Today’s card is one I made with the Rose Wonder Bundle.
By changing the sentiment, it can be used for almost any occasion.

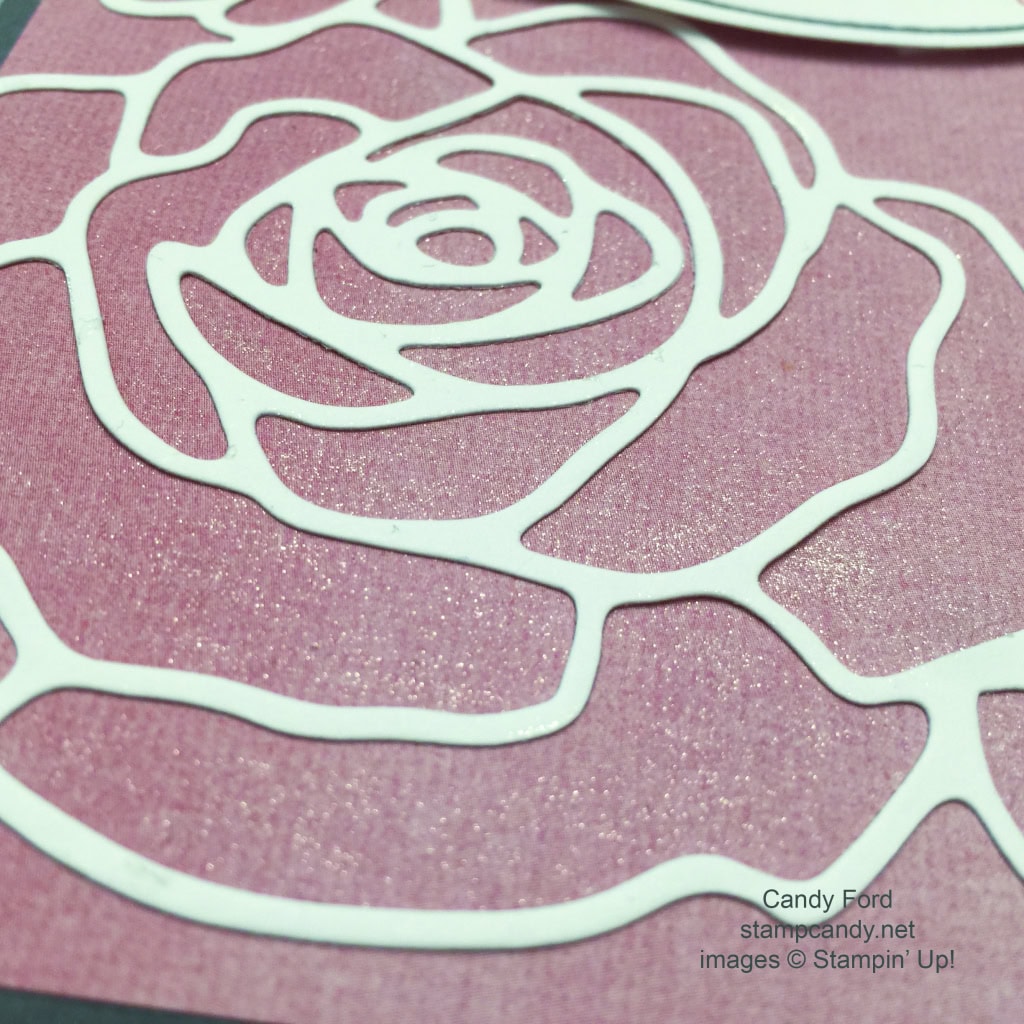
The card base is Smoky Slate card stock, and the middle layer is Basic Gray CS. The card front is a piece of the Perfectly Artistic Designer Series Paper from the Sale-a-bration brochure (available until March 31 with any $50 order.)
I cut the rose and leaves from Whisper White CS with the Rose Garden Thinlits Dies and glued it onto the card front.
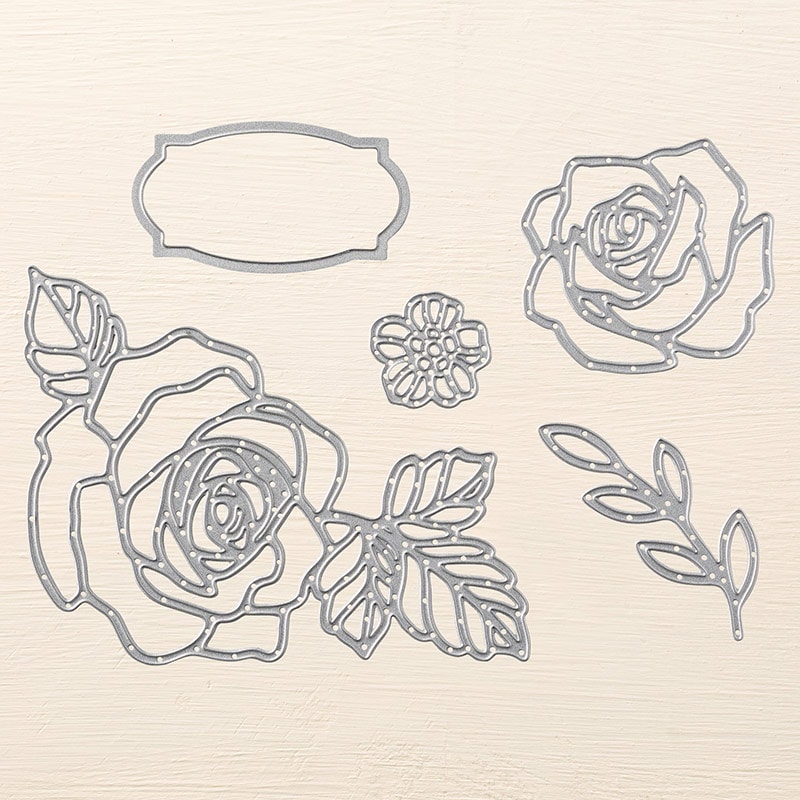
I stamped the label in Basic Gray and the Sentiment in Melon Mambo on Whisper White CS, then cut it with the same die set.
I attached a piece of Whisper White 5/8″ Organza Ribbon with Fast Fuse, then attached the sentiment with Stampin’ Dimensionals.
The last touch was to fill in the pink areas inside the rose with the Clear Wink of Stella Glitter Brush. I tried not to get any on the white areas. I find it hard to get the shimmer from the Wink of Stella to show in a photo, but you can see a bit of it here:
Here’s what I used:
Thanks for stopping by today, and Sweet Stamping!
Mar 10, 2016 | Cards, Challenges, Color Palette, Sale-A-Bration, Techniques |
Today I’m sharing a card I made for the latest Fab Friday color challenge:
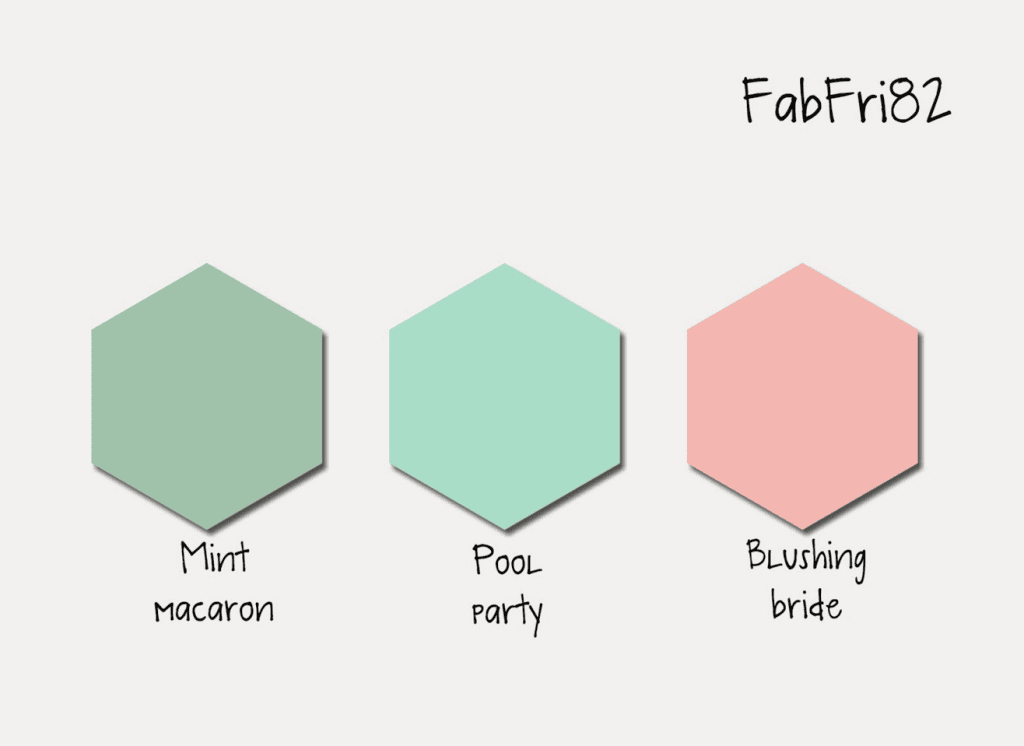
What lovely Spring colors these are! They remind me of Easter, but I decided to do something different. I love the effect I’ve seen by inking a stamp with multiple colors. Here is my attempt at that technique.
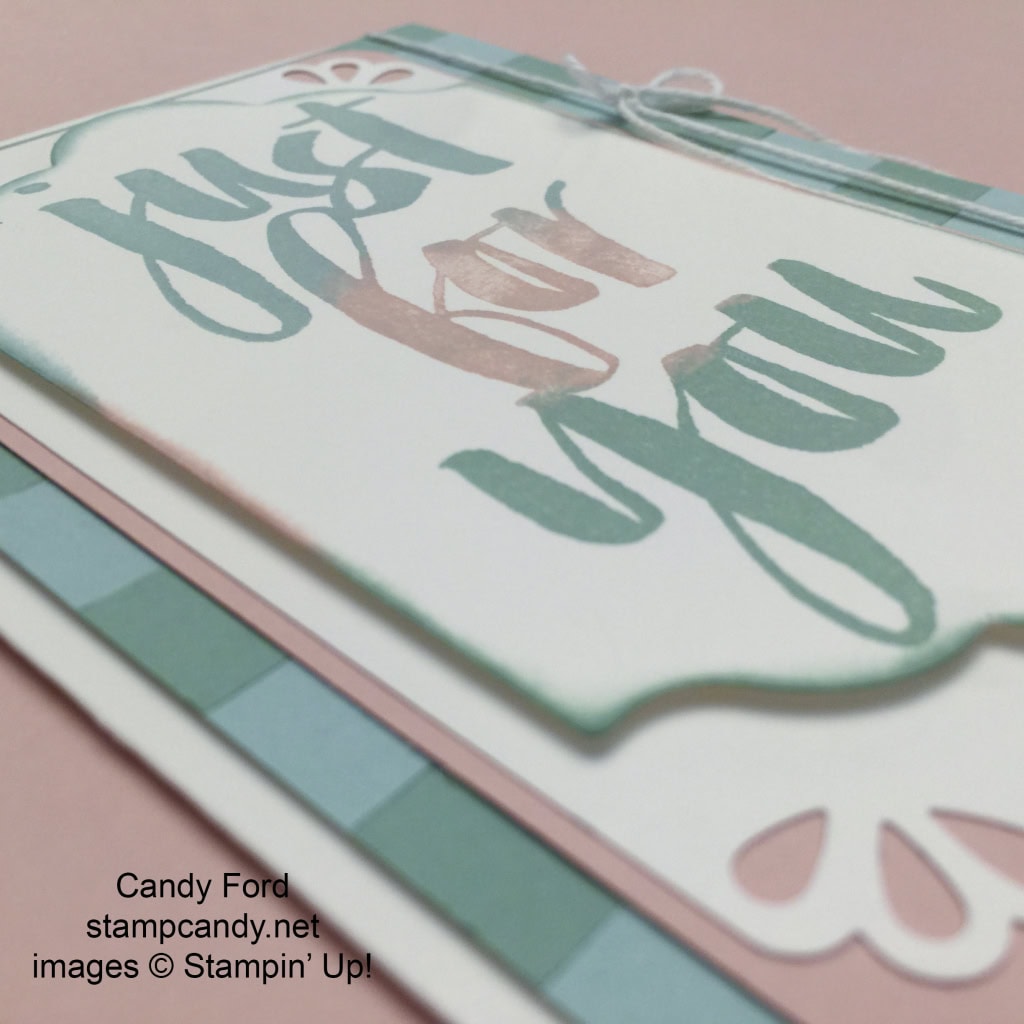
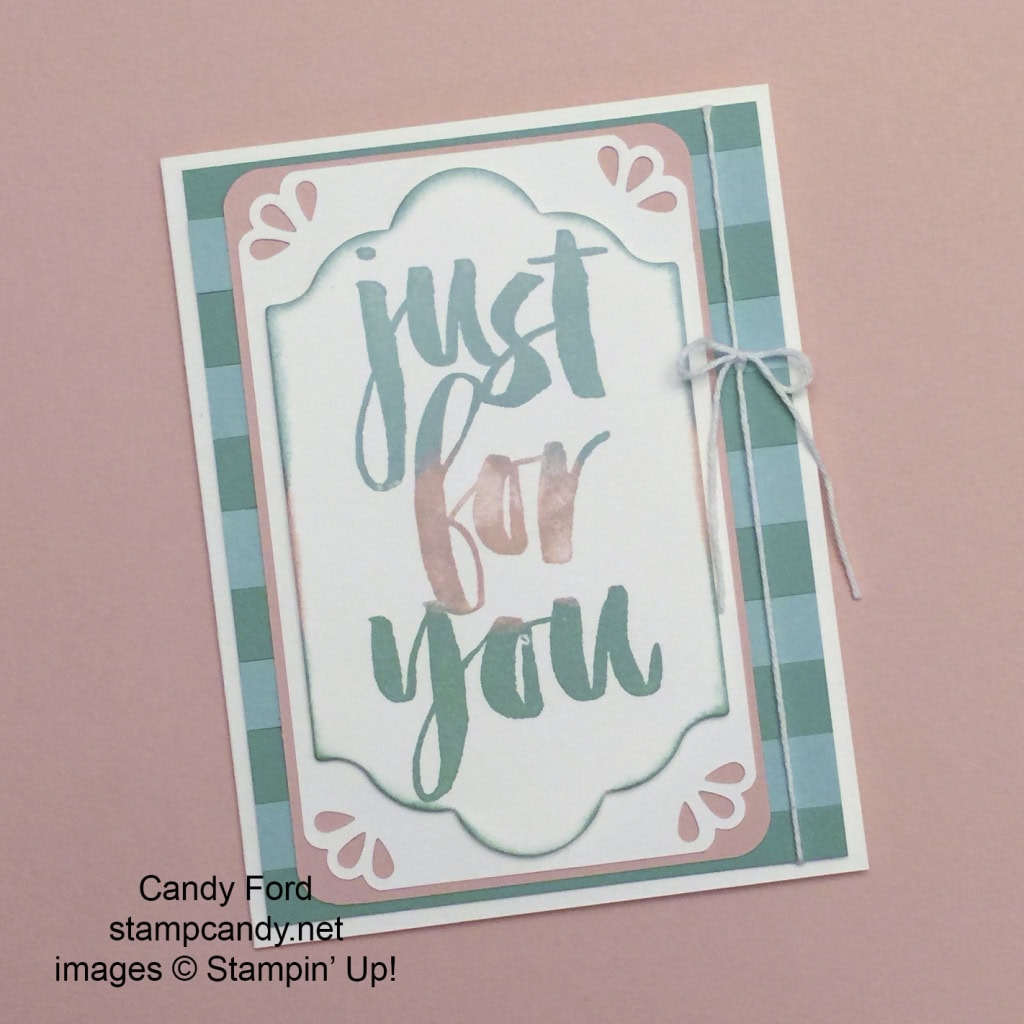
The Just For You stamp from the Botanicals For You stamp set is the perfect image for this technique. It’s nice a large, so you can really see the gradation of the colors.
I used the ink pads to ink the stamp in the top and bottom colors, and a Sponge Dauber to apply the center color. After inking up the stamp in (top to bottom) Soft Sky, Blushing Bride, and Mint Macaron, I stamped it onto a piece of Whisper White card stock. I cut it with the largest die in the Lots Of Labels Framelits, then used Sponge Daubers to ink the edges in the same three colors.
I attached that to another piece of Whisper White CS whose corners I cut with the Curvy Corner Trio Punch. I glued that onto a piece of Blushing Bride CS whose corners I rounded with the Project Life Corner Punch.
For the next layer, I glued 1/2″ strips of Soft Sky and Mint Macaron CS to a piece of Whisper White CS, then trimmed around the edges. I got this idea from yesterday’s card I made using scraps. You can see that post here.
I glued the top layers to the striped layer, just to the left of center, to make room fo the Whisper White Bakers Twine that I tied around the striped layer. Then I glued it all to the Thick Whisper White CS card base.
The Botanicals For You stamp set is just one of the many Sale-a-bration products you can get FREE with any $50 product order until March 31. Click here to learn more!
Here are all the Sale-a-bration products:
And here’s what I used today:
Thanks for stopping by today, and Sweet Stamping!
Mar 4, 2016 | Boxes, Cards, Club, Occasions, Sale-A-Bration |
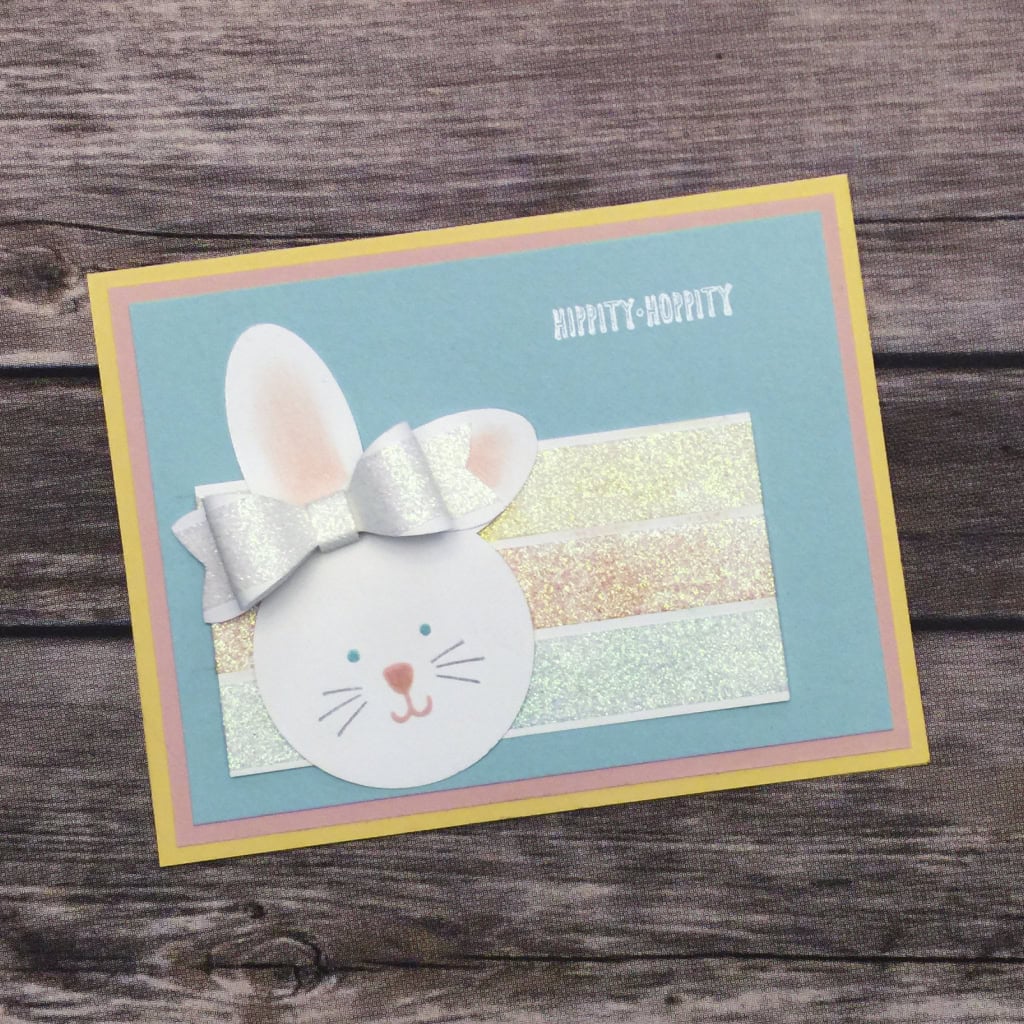
Easter is on its way! At this month’s Stamp Club, we made three adorable Easter projects. I’m sharing one of them with you today.
I got so excited when I learned you can color the new Glitter Tape to match any of your Stampin’ Up! supplies. I was inspired by this photo from the newest Sale-a-bration brochure:
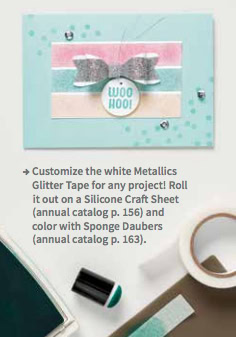
You can get the Metallics Glitter Tape FREE! Add Item # 141020 to any order of $50 or more by March 31, when Sale-a-bration ends.
This is the first project we began, and the last project we finished, at Stamp Club. We put three strips of the white Glitter Tape on a Silicone Craft Sheet. We used Sponge Daubers to color the pieces of white Glitter Tape in Blushing Bride, So Saffron, and Pool Party, then set them aside to dry.
After completing the other projects, we used the dry tape to finish this card.
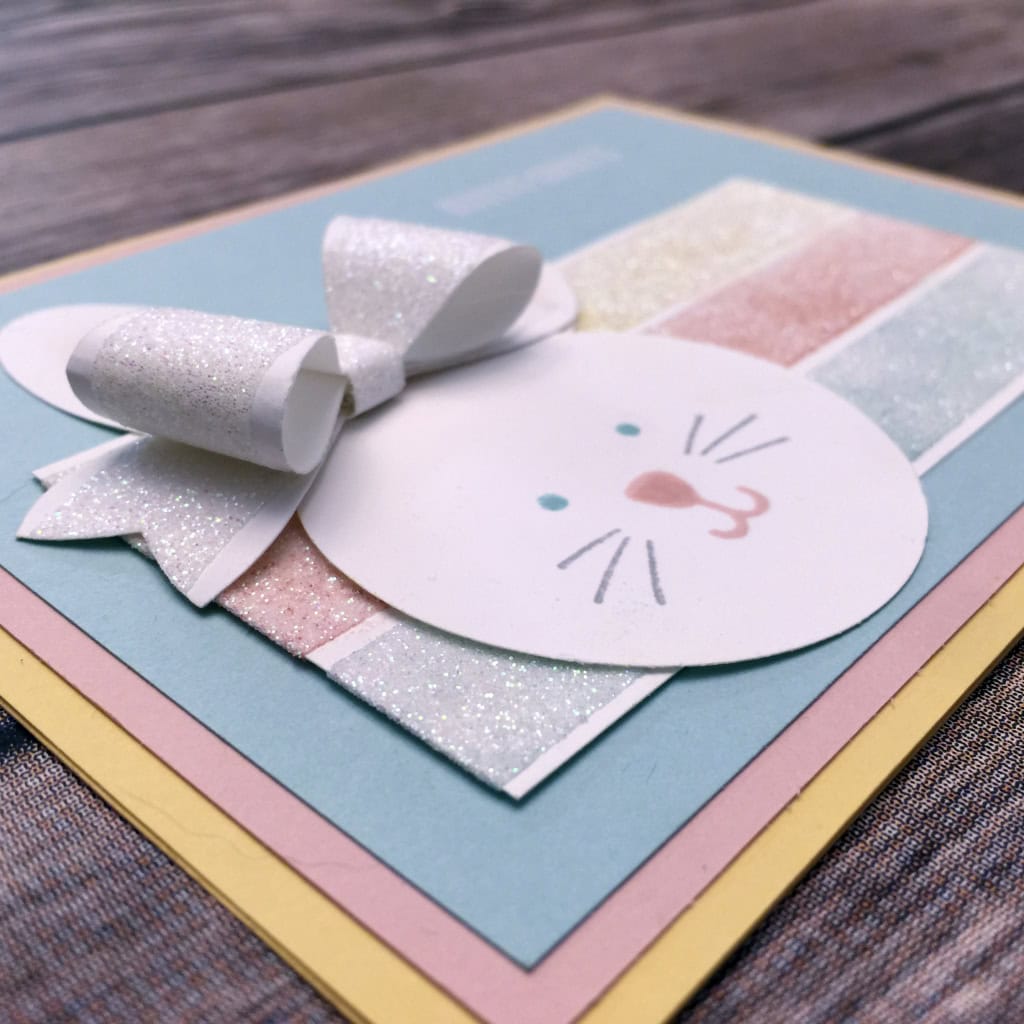
The card base is So Saffron card stock, with layers in Blushing Bride and Pool party.
We heat embossed the sentiment from the And Many More stamp set in white on the Pool Party layer.
We put the three pieces of tape on a piece of Whisper White CS and adhered it to the card front.
We punched the bunny out of Whisper White CS with the 2″ Circle Punch and the Large Oval Punch. We stamped the face in Blushing Bride, Pool Party, and Smoky Slate with the Playful Pals stamp set. We used a sponge dauber to add Blushing Bride to the oval pieces, then adhered them to the back of the head. Then we adhered the bunny to the card
We put white Glitter Tape on Whisper White CS, then cut it with the Bow Builder Punch. We used Glue Dots to build the bow and to adhere it to the card.
I’m sorry the color on the Glitter Tape doesn’t show up very well in this photo. I just couldn’t seem to get the lighting right.
Check back for more Stamp Club projects!
Here’s what we used:
A Nice Cuppa Bundle Class
Tuesday is the deadline to prepay for my March 22 Bundle Class. We’ll create some great projects using the A Nice Cuppa stamp set and coordinating Cups & Kettle Framelits Dies. Only $50 and you get to keep the projects, the stamp set, and the dies! This is a prepaid class. I must receive payment by Tuesday, March 8, so I’ll have time to order your supplies. Click here for more information and to sign up now!
Thanks for stopping by today, and Sweet Stamping!
Stamp Candy
Atlanta, GA
84 Paper Crafters
I’m an Independent Stampin’ Up Demonstrator and I love to share my passion for paper crafting. I offer classes and parties to teach about products and techniques. Whether you’…
Check out this Meetup Group →
Feb 28, 2016 | Cards, Challenges, Color Palette, CYCI, Deals, Sale-A-Bration |
It’s time for another color challenge from canyoucaseit.com! Here is this week’s color palette…
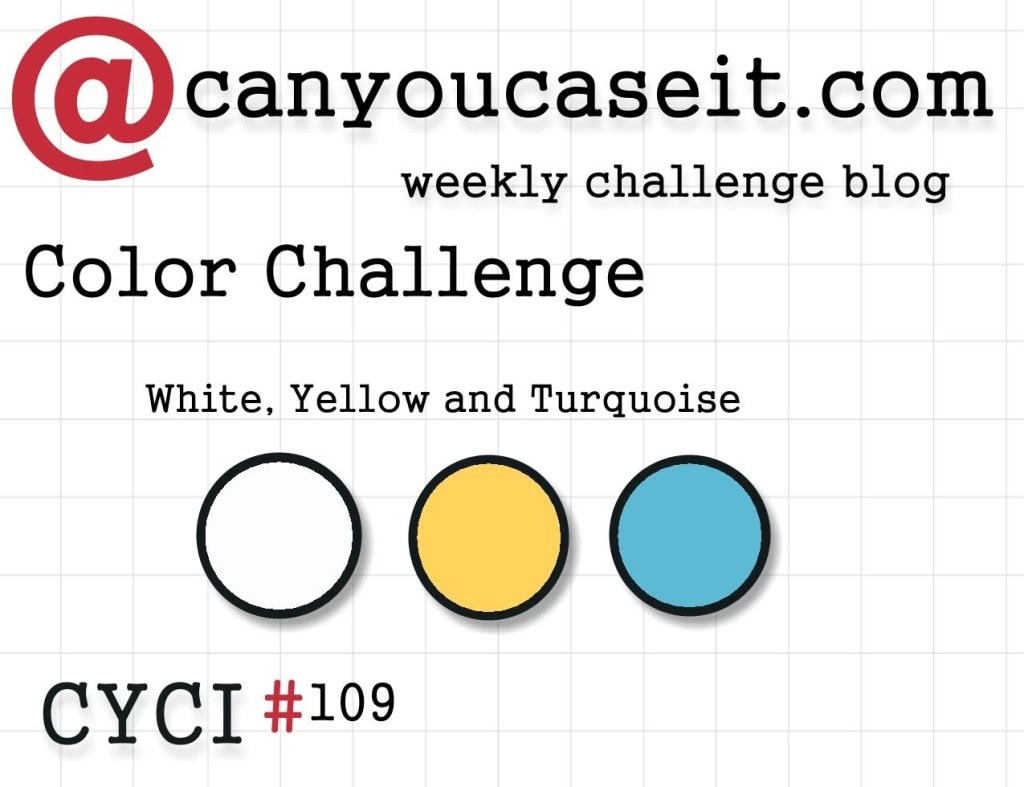
…and here is my card.
The official beginning of Spring is just three weeks away, and I am so ready for it! Here in Atlanta, we get lots of rain in the winter instead of snow, so we have lots of gloomy grey days. I’m looking forward to sunny days with the sound of bees buzzing and the smell of flowers and newly mown grass.
This week’s color challenge palette is very bright and Springy. I’m in a better mood just looking at it. So I wanted to make a bright and happy card.
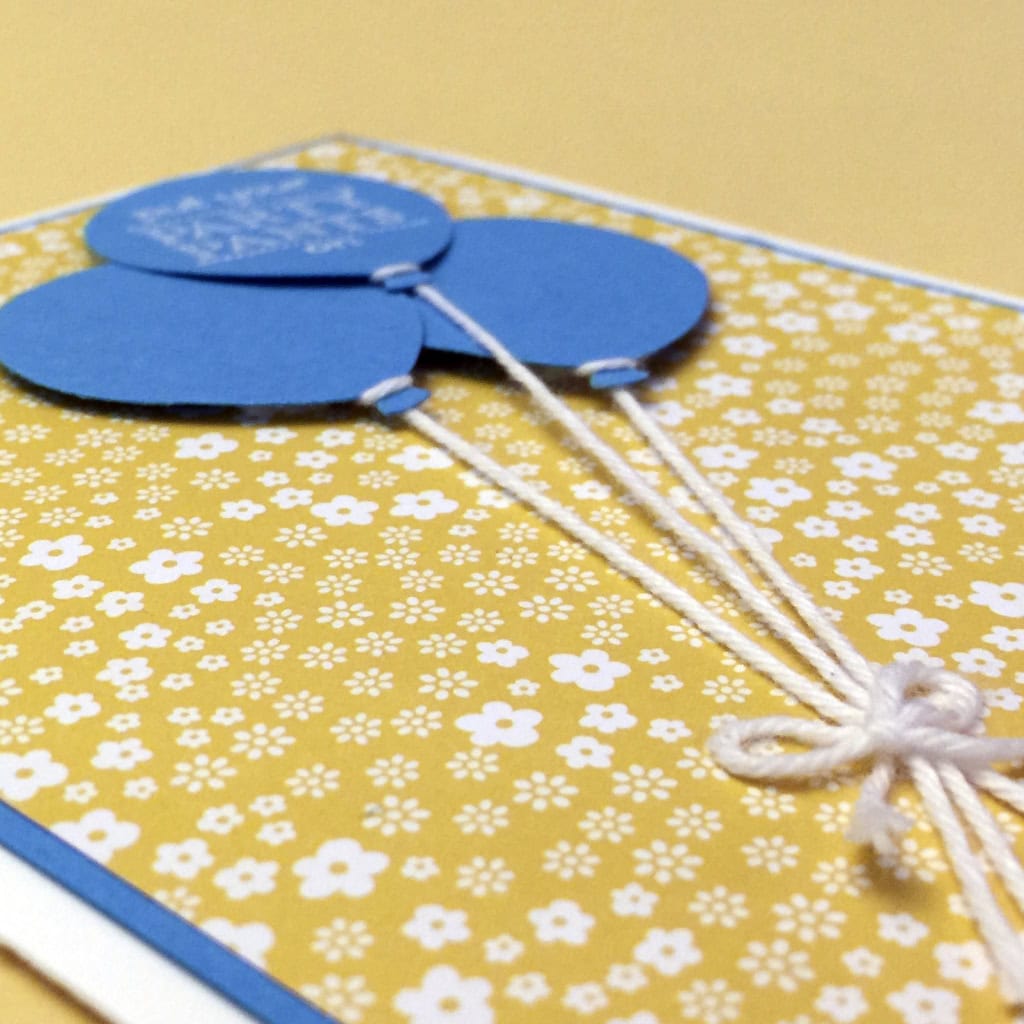
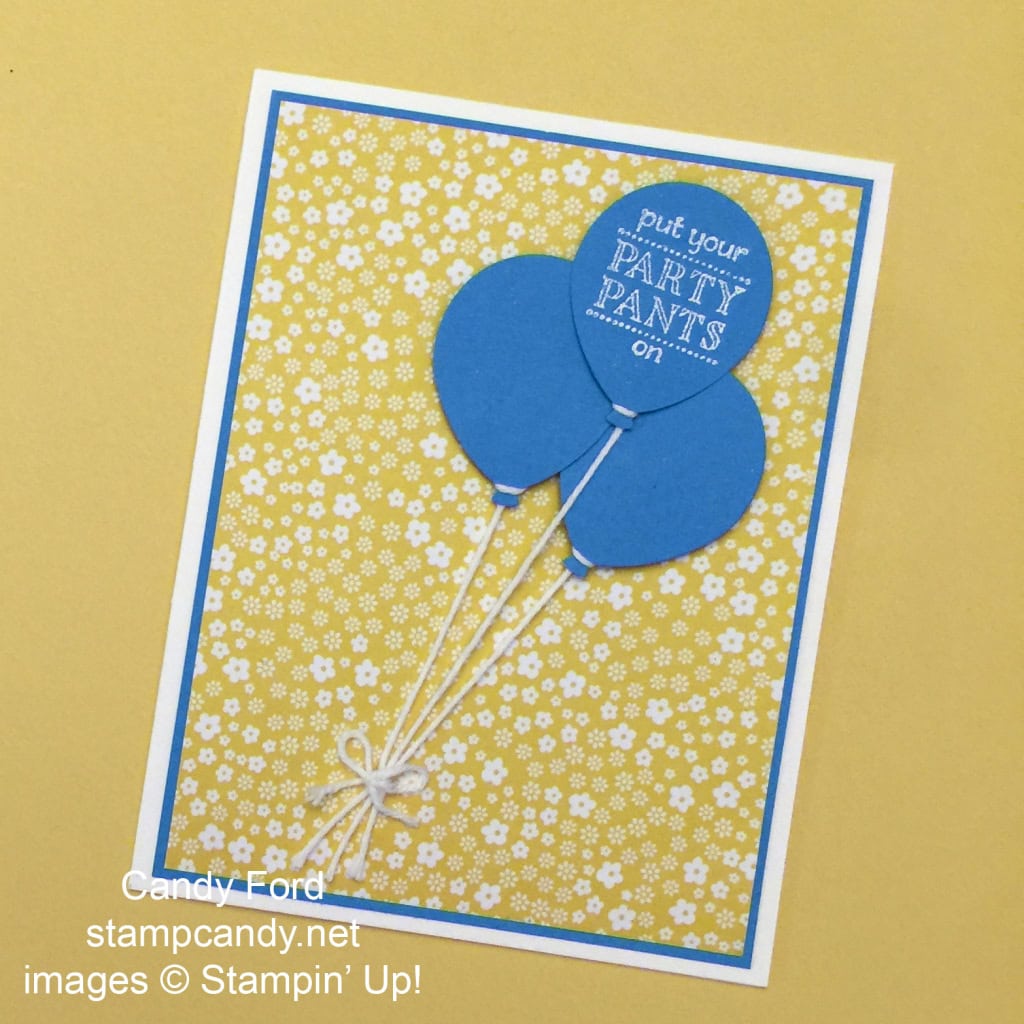
The card base is Heavy Whisper White card stock, with a Tempting Turquoise CS layer and a layer of Daffodil Delight patterned paper from the Brights Designer Series Paper Stack on top. What’s more Springy than these adorable little flowers?
I stamped the sentiment from the brand new Party Pants stamp set (available as a free Sale-a-bration item until March 31!) in Whisper White Craft ink on Tempting Turquoise CS, then heat embossed it in white. I cut it, and two more plain balloons, with the Balloon Bouquet Punch.
I put Snail adhesive on the back of each balloon, then wrapped Whisper White Baker’s Twine around the bottom of each one, securing the twine to the adhesive on the back, then letting the long tail hang. I glued the balloons together in the arrangement I wanted, then adhered them to the card front with Stampin’ Dimensionals.
I tied a small bow around the strings with another piece of the twine, then attached the back of the bow to the card front with a Glue Dot, pulling the strings taut and straight. I trimmed all the ends, and I was done!
Here’s what I used:
Be sure to check out all the great projects at canyoucaseit.com, and play along with us by posting your own project!
Thanks for stopping by today, and Sweet Stamping!