Aug 23, 2016 | Cards, Christmas, Gallery, Holiday, New Products, Open House, Sales |
Scroll to the bottom of this post for details on
BOGO Sale and Open House this Sunday, noon-4pm!
I am honored to be featured today on Brian King’s blog, stampwithbrian.com. He is an enormously talented card maker and inspires many people every day, including myself. He asked me to make something with the new Santa’s Sleigh bundle (Santa’s Sleigh stamp set and Santa’s Sleigh Thinlits Dies) which will be available to purchase when the 2016 Holiday catalog goes live on September 1. I was excited he asked me to use this one because I hadn’t used it yet. There are 15 stamps and 12 dies – plenty of images and shapes to make lots of different projects.

Here is what I came up with:
I wanted to use the sleigh and reindeer framelits, but couldn’t fine a good way to fit them onto a regular 4-1/4″ x 5-1/2″ card. So I decided to create the scene I wanted, then build the card around it. It ended up being 4″ x 8″, so I made an envelope for it from a piece of Tip Top Taupe paper from the 2015-2017 In Color Envelope Paper.

Here’s how I did it:
I cut two sleighs, one from Real Red card stock and one from a Gold Foil Sheet. I cut the runner off the bottom of the red one and glued it onto the gold one, so I had a red sleigh with a gold runner. Then I cut the decorative top piece from the Gold Foil Sheet and glued it over the red. So the sleigh is three layers and the runner is only one.
Most of the stamping on this card is tone on tone. I stamped the tree in Garden Green ink onto Garden Green card stock and cut it out with the coordinating die. I glued it to the back of the sleigh so it looks like it’s propped inside it.
I stamped two deer. I inked up the stamp once with Crumb Cake ink on the body and Whisper White Craft ink on the antlers, and stamped it onto Crumb Cake card stock. I inked it up again with Soft Suede ink on the body and Whisper White Craft ink on the antlers, and stamped it onto Soft Suede card stock. I set the craft ink with my heat tool, then I cut out the two deer with the coordinating die.
I stamped the bow in Real Red ink onto Real Red card stock, and the wreath in Garden Green ink onto Garden Green card stock, and cut them out with the coordinating dies. I glued the bow onto the neck of one deer. I cut the wreath so I could slip it around the other deer’s neck and glued it in place.
I stamped the sentiment in Versamark ink onto Very Vanilla card stock and heat embossed it in gold. I cut it out with a banner die from the Gift Card Envelope & Trims Thinlits. The die is notched on only one end, so I cut the sentiment with the notched end of the die close to one end of the sentiment, then cut it again with the notched end near the other end of the sentiment. I matted this with a 3/4″ wide strip of Gold Foil Sheet and used Paper Snips to notch the ends to match. (I hurriedly typed up the info for Brian, and I think I may have mistakenly told him I used a different die set for this banner; maybe the Cupcake Cutout Framelits?)
So now I had all these pieces that needed a background. I envisioned a road through the snowy woods.
I began with a piece of watercolor paper cut large enough to contain the scene (3-1/2″ x 7-1/2″.) I used a Stampin’ Spritzer to get the front wet. I also spritzed the back a couple times to help keep it from curling up.
I used an Aqua Painter to swash Soft Sky ink onto most of the paper, and Crumb Cake ink onto the bottom portion. The road wasn’t as dark as I wanted, so I went over it with a Soft Suede Stampin’ Write Marker and blended it with the Aqua Painter. I could’ve let it sit overnight to dry, but I was too impatient, so I used my heat tool to dry it in just a few minutes.
I used a stamp from the Thoughtful Branches stamp set for the trees. I inked it in Mint Macaron ink and stamped off before stamping onto the watercolor paper. I wanted there to be a hint of trees in the background, but with so much snow you can barely see them.
I matted this piece with Gold Foil Sheet (3-3/4″ x 7-3/4″) and glued that to a Garden Green card base (8″ x 8″, scored at 4″.)
I adhered the sleigh to the card front. I glued the runner and used Stampin’ Dimensionals under the topmost part of the sleigh and the tree. I did this because I couldn’t get the foam adhesive cut skinny enough to go under the pieces, but I wanted the sleigh to stand out from the card a bit.
I adhered a piece of gold twine from the new Baker’s Twine Trio Pack to the back of the Soft Suede deer’s neck. Then I glued the deer to the card front. I adhered the Crumb Cake deer to the card with Stampin’ Dimensionals.
For the reins, I ran the gold twine from the darker deer back to the sleigh and back to the lighter deer. I threaded it through the wreath and around the neck and adhered it on the back with a Glue Dot. I adhered the reins to the underside of the front of the sleigh with a Glue Dot. I used my Paper Piercing Tool to push the glue dots into place.

The last thing to do was glue the sentiment onto the top center of the card. I would usually put the sentiment somewhere else on the card, but this reminded me so much of Christmas cards my family received when I was little, so this just seemed the right place for it.
Here’s what I used:
The holiday items will be available to purchase on September 1. Everything else can be purchased now by clicking on the images below.

You can see this card, and others I’ve made, up close this Sunday at my Holiday Catalog Open House AND a BOGO Sale of retired items. Here are the details.
Stampin’ Up’s brand new Holiday Catalog goes live September 1
and I’m celebrating a few days early with an

– AND –

August 28, 2016, noon-4 PM
***** It’s FREE to attend *****
Please RSVP here so I can make sure I have enough Make & Take kits.
1621 Executive Park Lane NE, Atlanta, GA 30329
VERY IMPORTANT: PLEASE PARK ALONG THE STREET (WOODCLIFF) BEHIND OUR BUILDING. DO NOT PARK NEXT TO ANY OF THE UNITS IN THIS COMPLEX. Thanks!
Tell your friends!

Shop my retired products and get the same $ amount in new products FREE!
I have a LOT of retired Stampin’ Up! items that need new homes. I mean, boxes and boxes and boxes full. I can’t even walk through the room they’re stored in! I really have to let this stuff go. Sooooo, I’m having a BOGO sale:
Whatever you spend on retired items, I will give you that much in new items! You only pay tax and shipping on the new stuff. Yes, you get twice the product!
Example: Say you buy $100 in retired product from me. Then you get $100 toward an order of new product. So you can get $100 in new product and pay just $17.70 for tax and shipping OR you can subtract $100 from a larger order of new product.
PLUS you get a Gum Ball for every $50 you spend. (See how Gum Ball Rewards work here.)
This is a wonderful way to stock up, not only on retired products you may have missed, but also on current products in the Annual and Holiday catalogs. Be sure to have your current product wish list ready before you come, to make the order process easier.
– order from the brand new Holiday catalog AND from the current Annual catalog. I will place Holiday orders when the catalog goes live on September 1.
– get your FREE catalog
– see new products AND wonderful new projects made with them
– order new products
– use new products (FREE Make & Take)
– sign up for classes
– schedule a private class and receive a gift
– subscribe to Paper Pumpkin
– get the starter kit
– earn Gum Ball Rewards for a free stamp set (See how Gum Ball Rewards work here.)
Email candy@stampcandy.net with any questions or comments. Use subject line “OH/BOGO”
Thanks for stopping by today, and Sweet Stamping!

Aug 18, 2016 | Open House, Sales |
Stampin’ Up’s brand new Holiday Catalog goes live September 1
and I’m celebrating a few days early with an
– AND –
August 28, 2016, noon-4 PM
***** It’s FREE to attend *****
Please RSVP here so I can make sure I have enough Make & Take kits.
1621 Executive Park Lane NE, Atlanta, GA 30329
VERY IMPORTANT: PLEASE PARK ALONG THE STREET (WOODCLIFF) BEHIND OUR BUILDING. DO NOT PARK NEXT TO ANY OF THE UNITS IN THIS COMPLEX. Thanks!
Tell your friends!
Shop my retired products and get the same $ amount in new products FREE!
I have a LOT of retired Stampin’ Up! items that need new homes. I mean, boxes and boxes and boxes full. I can’t even walk through the room they’re stored in! I really have to let this stuff go. Sooooo, I’m having a BOGO sale:
Whatever you spend on retired items, I will give you that much in new items! You only pay tax and shipping on the new stuff. Yes, you get twice the product!
Example: Say you buy $100 in retired product from me. Then you get $100 toward an order of new product. So you can get $100 in new product and pay just $17.70 for tax and shipping OR you can subtract $100 from a larger order of new product.
PLUS you get a Gum Ball for every $50 you spend. (See how Gum Ball Rewards work here.)
This is a wonderful way to stock up, not only on retired products you may have missed, but also on current products in the Annual and Holiday catalogs. Be sure to have your current product wish list ready before you come, to make the order process easier.
– order from the brand new Holiday catalog AND from the current Annual catalog. I will place Holiday orders when the catalog goes live on September 1.
– get your FREE catalog
– see new products AND wonderful new projects made with them
– order new products
– use new products (FREE Make & Take)
– sign up for classes
– schedule a private class and receive a gift
– subscribe to Paper Pumpkin
– get the starter kit
– earn Gum Ball Rewards for a free stamp set (See how Gum Ball Rewards work here.)
Email candy@stampcandy.net with any questions or comments. Use subject line “OH/BOGO”
Mar 15, 2016 | Deals, Paper Pumpkin, Sales |
Every Tuesday, Stampin’ Up! announces new Weekly Deals that are good through the following Monday. Here are this week’s 25% off items! Click on the images to get yours now!

Click on the image below to save up to 60% off Clearance Rack items!
Sale-a-bration ends March 31! Get your free products while they are still available! Click the image to shop now!

These are the Sale-a-bration items available FREE with any $50 order!

The 3 month Paper Pumpkin prepaid subscription is on sale for $55 until March 31. On April 1 it will go back to the regular price of $59.85. You can buy 2 or 3 of these at once, then redeem one every three months. If you want 12 months, the 12 month prepaid subscription is still the best deal.
AND until March 31, you receive a FREE Sale-a-bration item when you buy a 3 month subscription! With a 12 month subscription you receive 4 FREE SAB items!
Thanks for stopping by today, and Sweet Stamping!

Feb 24, 2016 | Bags, Cards, Challenges, Deals, Events, Parties, Sale-A-Bration, Sales, Swaps |
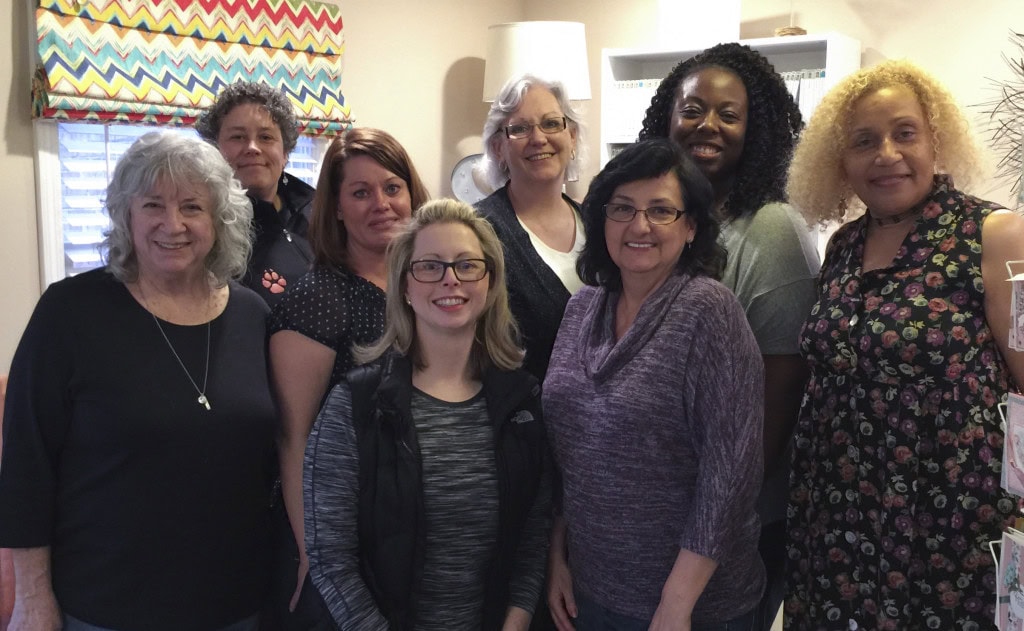
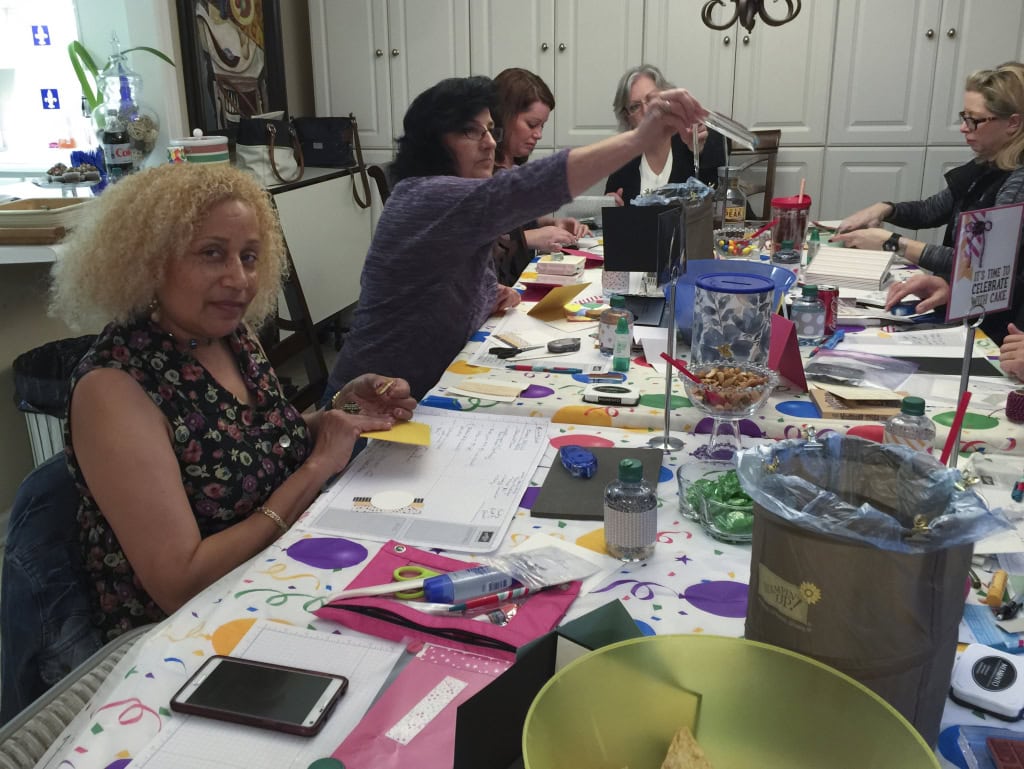
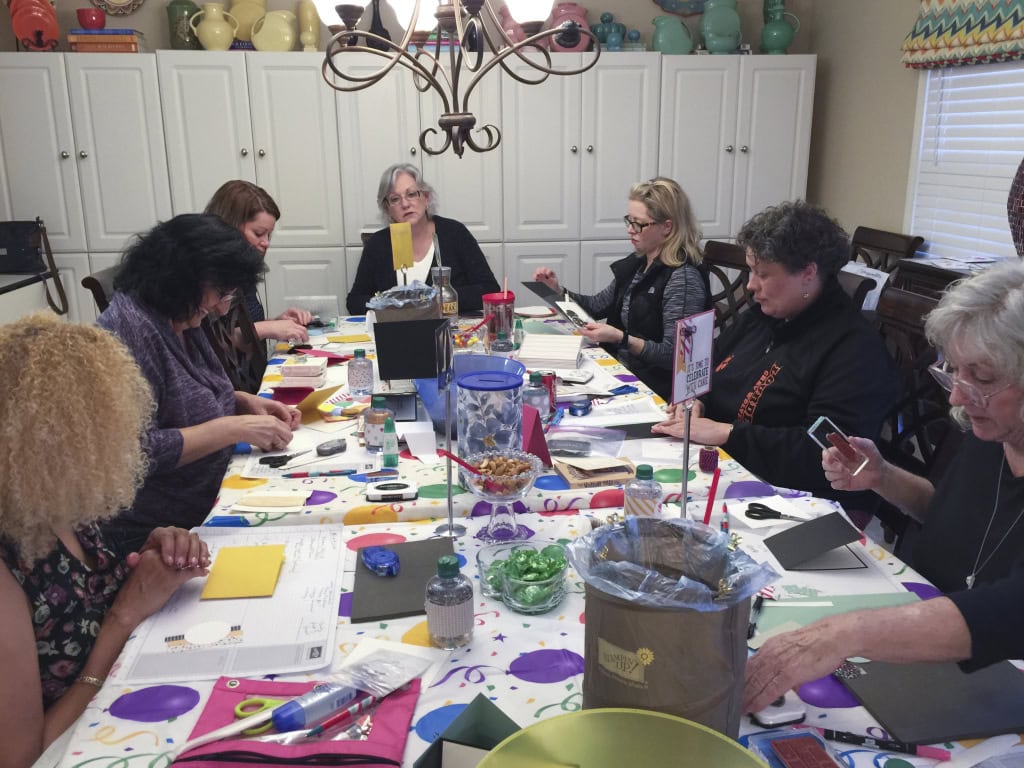
l-r: Judy Newsome, Sam Wills, Kim Laidley, Missy Wiedeman, Linda Krueger, Debbie Catlett, Donica Williams, Tamara Burton
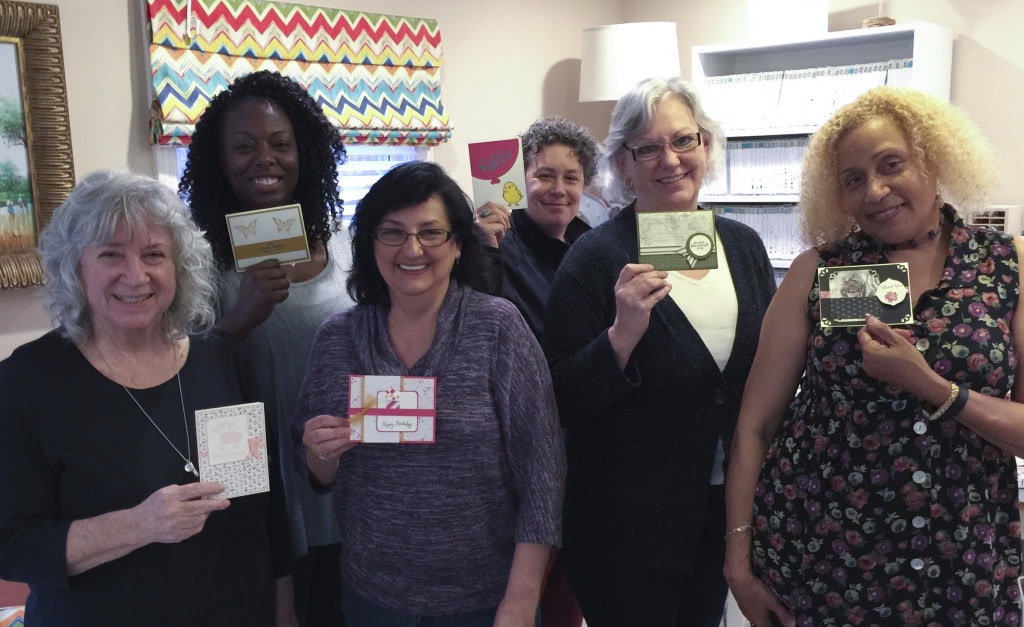
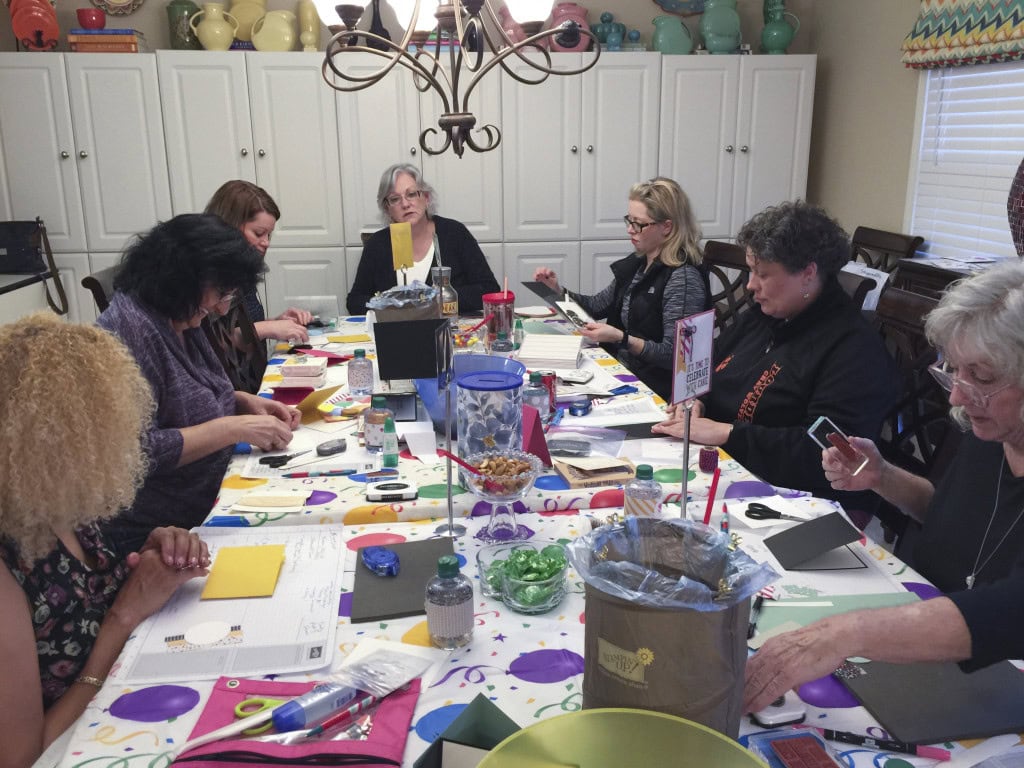
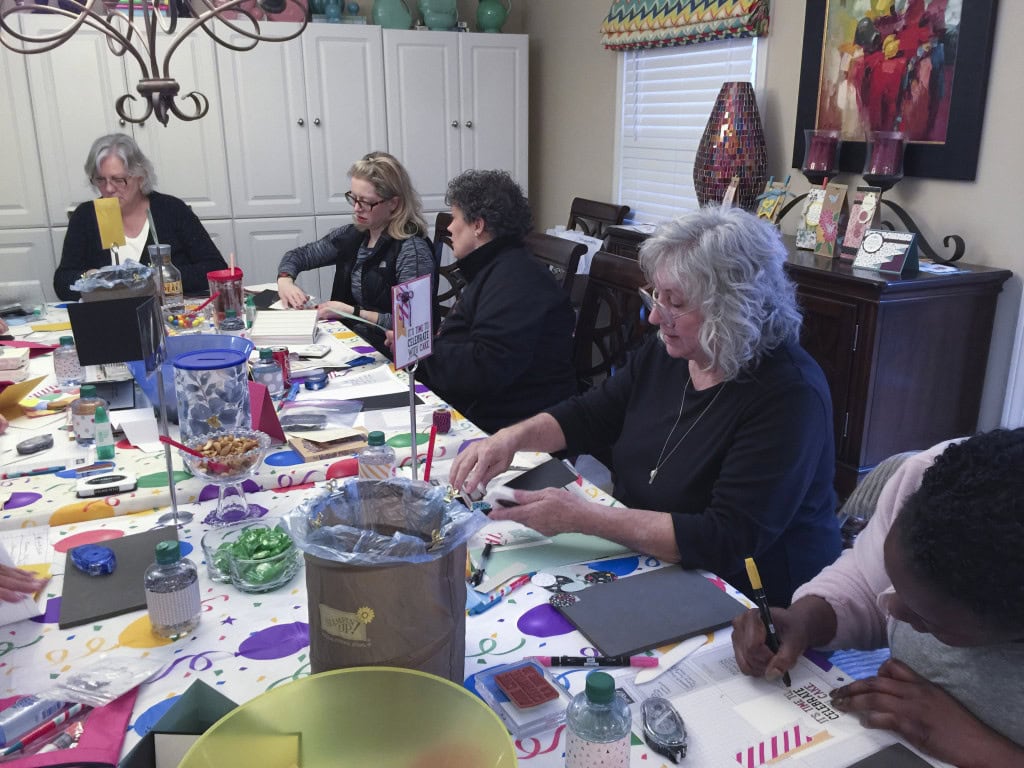
l-r: Judy Newsome, Donica Williams, Debbie Catlett, Sam Wills, Linda Krueger, and Tamara Burton participated in the February Card Swap. What a talented group of stampers!
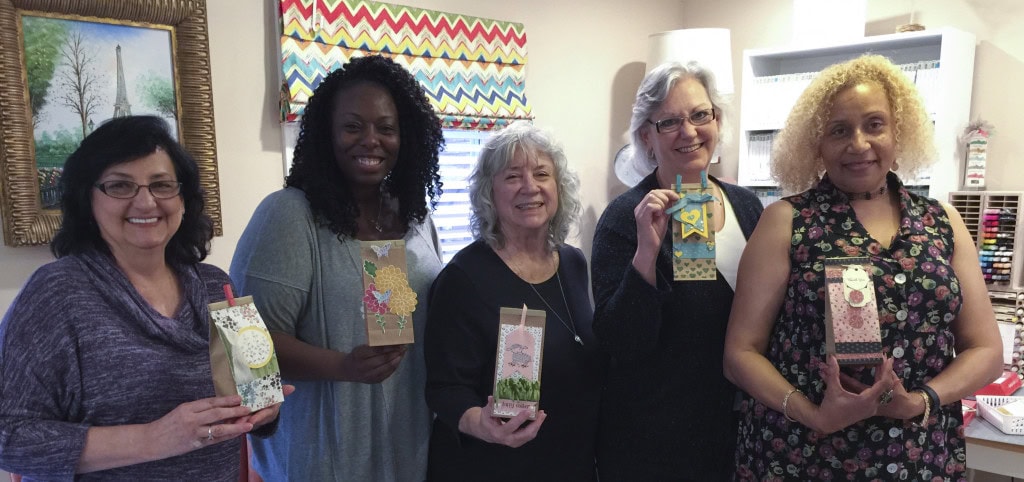
l-r: Debbie, Donica, Judy, Linda, and Tamara completed this month’s Creative Challenge – decorating a Petite Cafe Bag. They all did a great job. Everyone present voted on their favorite, and the winner received a package of Petite Cafe Bags! Congratulations, Judy!
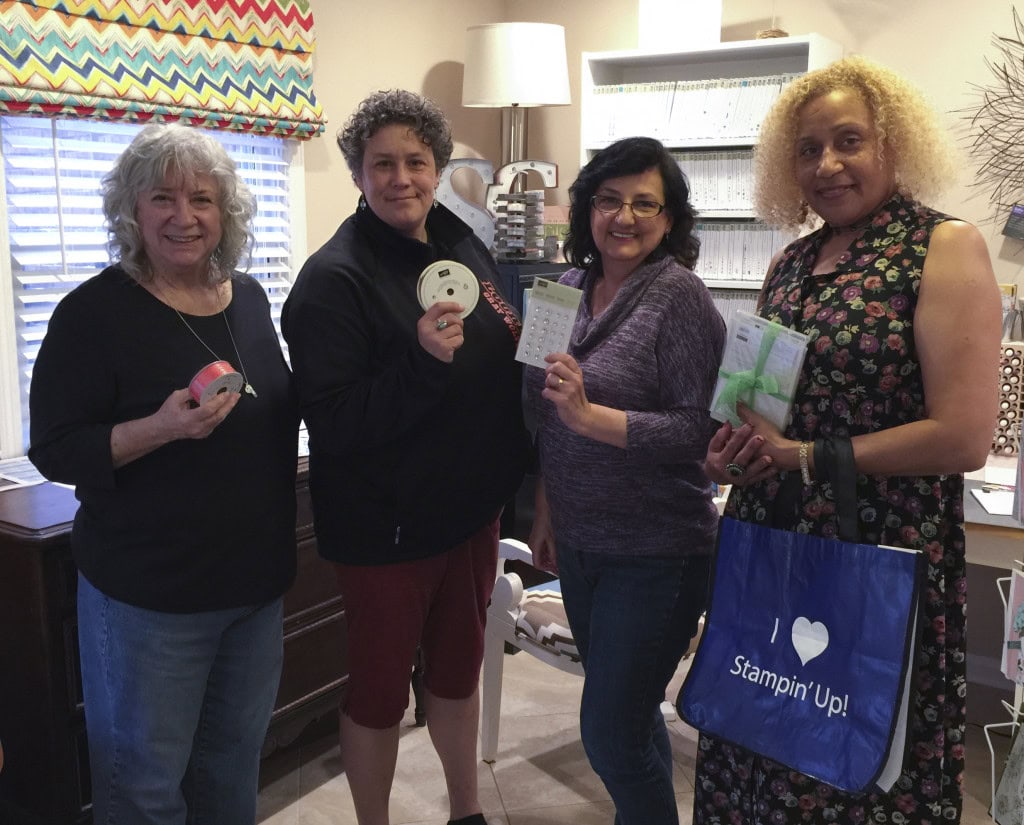
Prize drawing tickets were awarded according to performance and participation. These are the lucky prize winners at the February meeting, l-r: Judy won a roll of Watermelon Wonder 1″ Stitched Satin Ribbon; Sam won a roll of 1-1/4″ Burlap ribbon; Debbie won a pack of Iced Rhinestones; Tamara won a tote bag AND the big prize this month, the Bloomin’ Love Bundle! Congratulations, Ladies!
Here are a few action shots I got while everyone was working on this month’s Make & Takes – 4 birthday cards. Check back for more details on all the projects.


Would you like to join in the fun? Buy the Starter Kit! Now through March 31, you get $155 in product of your choice for only $99 AND Free shipping! That’s a savings of 42%! It’s by far the best deal Stampin’ Up! offers.
- No risk – no obligation.
- Get a 20+% discount on all future orders.
- You never have to sell a thing.
- Join a fun community of stampers.
- If you join now, you have until the end of July to purchase/sell $300 and renew for the next quarter. If you don’t reach the $300, you simply drop. No fee, no penalty of any kind.
- This is the best way to stock up on all the great products on your wish list.
- Click on “Be a Candy Heart” on the menu above for more information or to buy the Starter Kit.
- I’m always more than happy to answer any questions you might have: candy@stampcandy.net or 404-661-5222
- Through March 31, you receive an extra $30 in free product when you buy the Starter Kit. Beginning April 1, you will receive $125 in product for $99 and free shipping. Still a great deal, but why miss out on the extra $30?
Check out the new Weekly Deals! Save 25% on these items through Monday, February 29!
Thanks for stopping by today, and Sweet Stamping!
Feb 3, 2016 | Cards, Deals, Sale-A-Bration, Sales |
I made this card a while back but never got around to posting it. It’s probably one of the simplest cards I’ve made in a very long time. One stamp set, two pieces of paper, two ink pads, and glue.
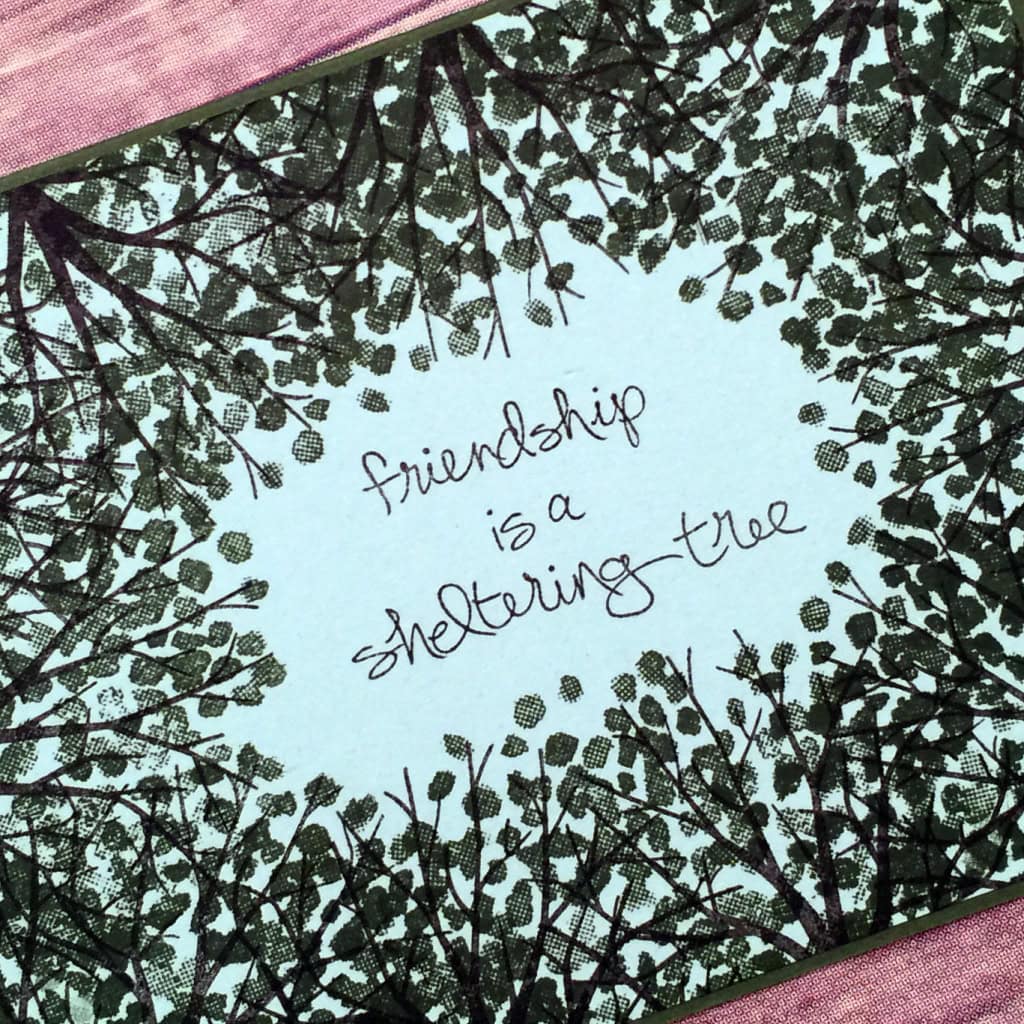
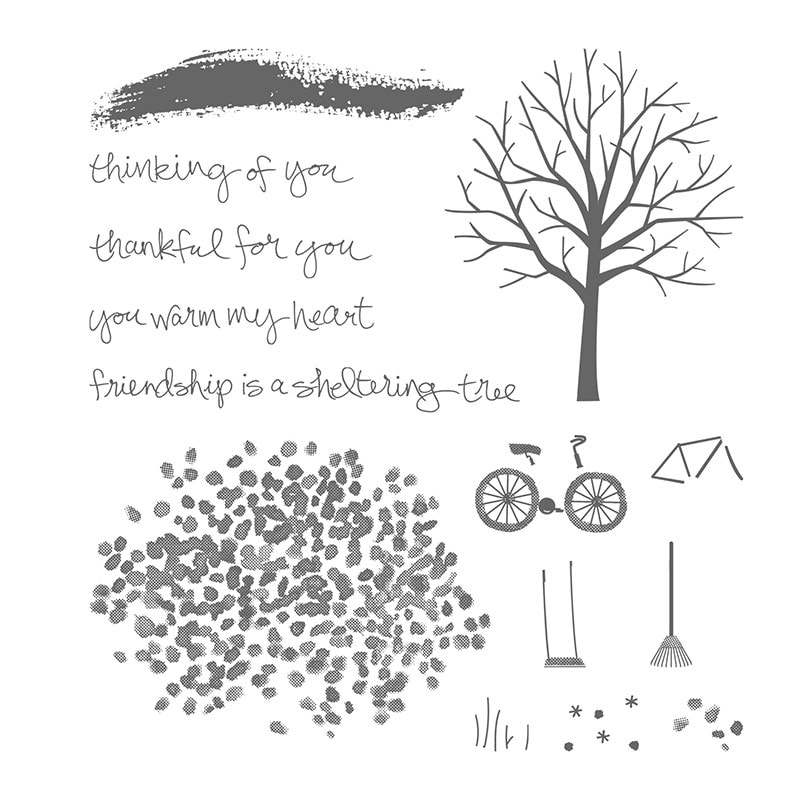
The Sheltering Tree stamp set from the Annual catalog, is very versatile, which is something I really like in a stamp set. Of course, you can make a tree with out without leaves: with grass, fallen leaves, or flowers scattered around; maybe on a small hill; with a bike, rake, or swing. But for this card I wanted something a little different.
I wanted to create the effect of lying under the trees and looking up at the sky, like some photographs I’ve seen.
I stamped the tree branches in Early Espresso around the perimeter of the Soft Sky card stock layer, with the tops of the trees toward the center of the paper. Then I stamped the leaves over them in Mossy Meadow. I used darker colors, because looking up, you would mostly see the silhouettes of the trees against the bright sky.
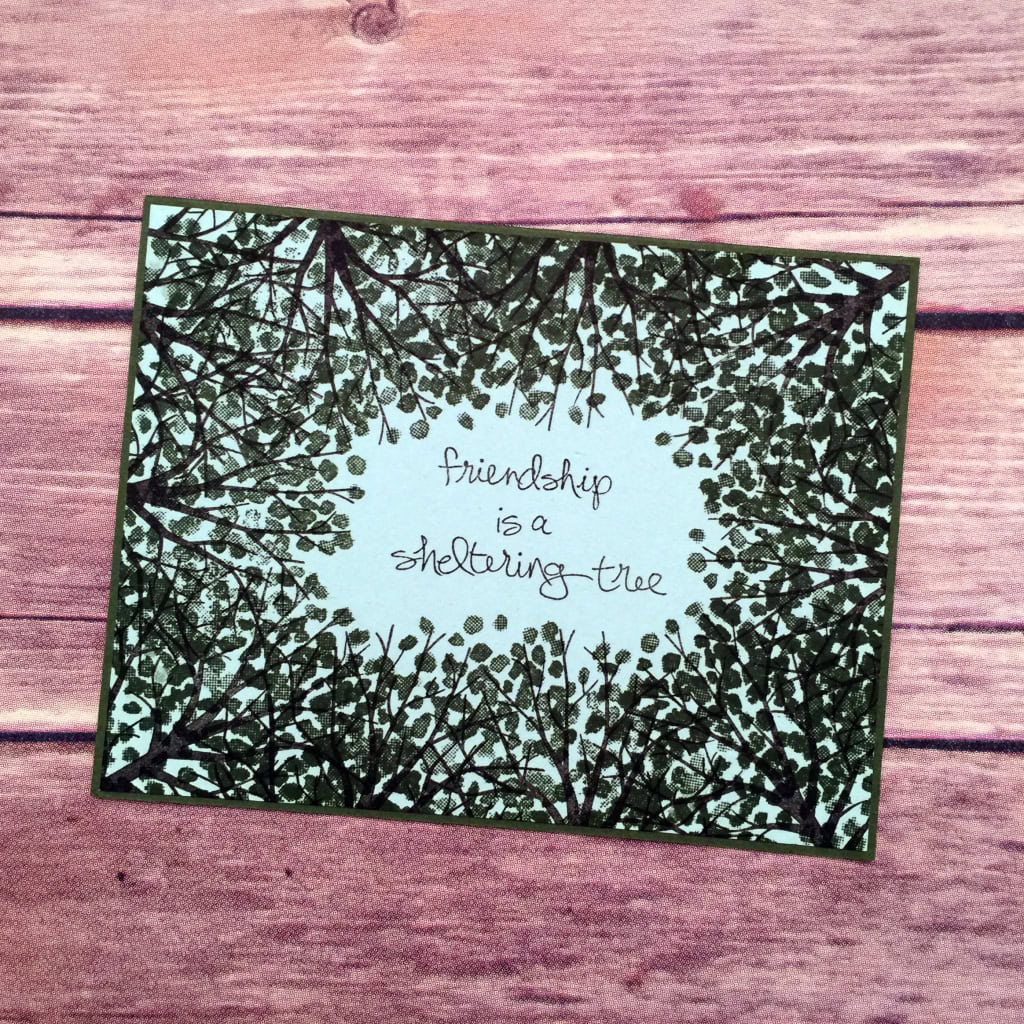
I wanted to use this sentiment, but it’s a long, thin one that wouldn’t fit the way I wanted. So I inked a different part of the stamp each time with an Early Espresso Stampin’ Write Marker. Then I cleaned it and inked up the next part. It was easy to line up because you can see right through the photopolymer stamps.
NOTE: When using this technique, make sure you clean and dry the stamp well between stamping the different parts.
I glued this layer to the front of a Mossy Meadow card base. To write inside the card, you could glue a piece of Whisper White or Soft Sky CS to the inside of the card, but I like to use a White Uniball Signo Gel Pen to write directly onto the dark CS.
Here’s what I used. Click on the images below to get what you need to make your own version of today’s card!
SALE-A-BRATE GOOD TIMES, COME ON!
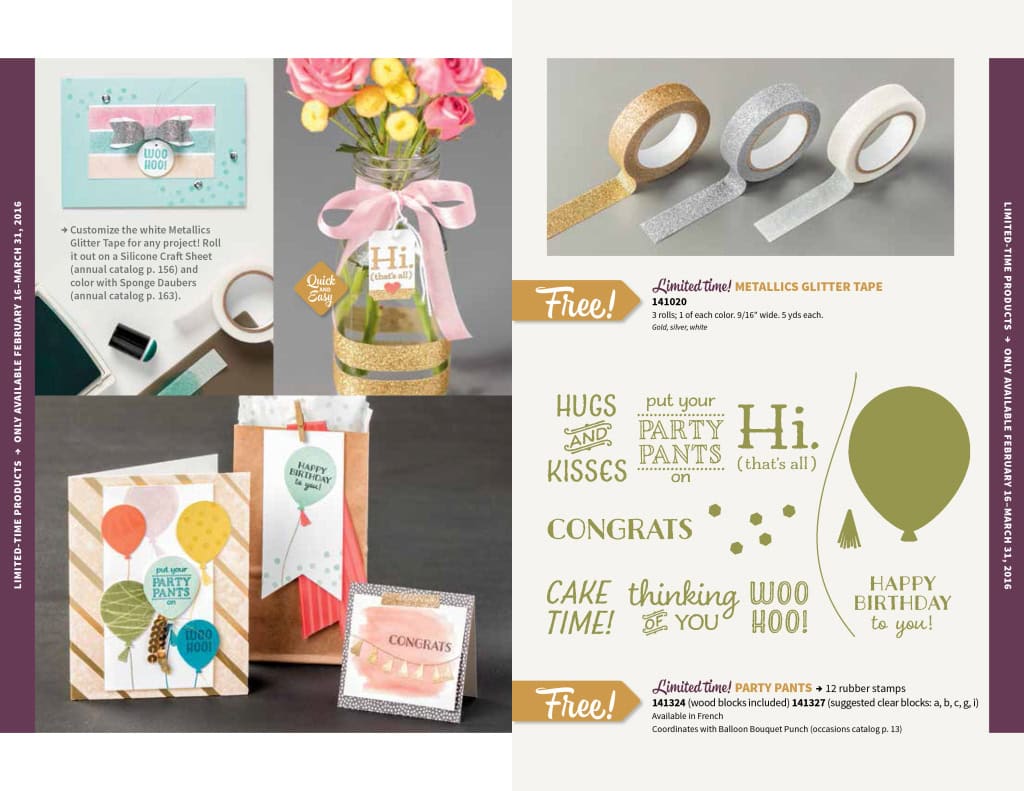
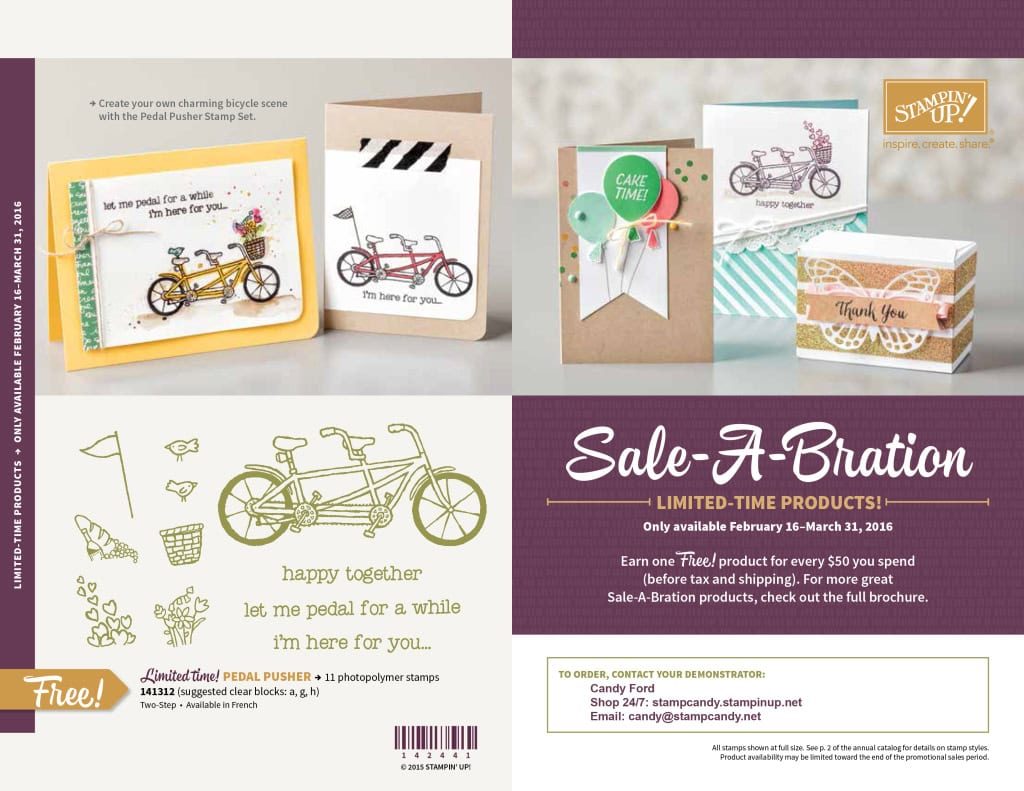
Sale-a-bration 2016 is in full swing! There are three items in the back of the brochure that are only available through February 15: two stamp sets and one Designer Series Paper pack. If you want these, be sure to place your orders soon!
Those three items will be replaced with three brand new items on February 16: two new stamp sets and some Metallic Glitter Tape!


Thanks for stopping by today, and Sweet Stamping!
Jan 23, 2016 | Classes, Deals, Events, Kits, New Products, Paper Pumpkin, Parties, Sale-A-Bration, Sales |
Can you believe January is almost over? I have only a few spots left in my classes this week. Click on the Events button at the top of this page to sign up now!
Tuesday, Jan 26 – Bloomin’ Love Bundle Class
We’ll make some projects with this beautiful bundle and you keep the stamp set AND the dies! Only $45!

Thursday, Jan 28 – Paper Pumpkin Party – RSVP by Jan 26
Bring your January Paper Pumpkin kit and we’ll assemble them together.
$5 Class Fee (FREE if you are my subscriber or my team member)

Save during Sale-a-bration, now through March 31, 2016.
3-Month Prepaid Subscription (137859) $59.85 $55
Save on a 3-month prepaid subscription and instantly qualify for a FREE Sale-A-Bration item!
12-Month Prepaid Subscription (137861) $215.40
Take it to the next level with a 12-month prepaid subscription. Save $24 a year with the everyday awesome price, earn Stampin’ Rewards, AND instantly qualify for 4 FREE Sale-A-Bration items!
Saturday, Jan 30, 1-3PM – Perpetual Calendar Kit Class
We’ll assemble this great kit together. Only $50 and you keep the kit AND the coordinating stamp set!

And don’t forget…
BOGO Sale tomorrow, Sunday, Jan 24, 1-4PM
Buy my retired items, and I’ll give you the same amount in current products!
Earn Sale-a-bration items and Gum Ball Rewards!
Please contact me with any questions. Email: candy@stampcandy.net Call/Text: 404-661-5222
You may also RSVP by clicking on the Events button at the top of this page.
Thanks for stopping by, and Sweet Stamping!