Dec 7, 2020 | Cards, Christmas, Events, Gallery, Holiday, Parties |
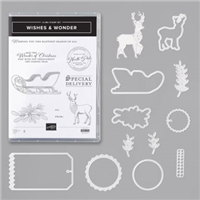
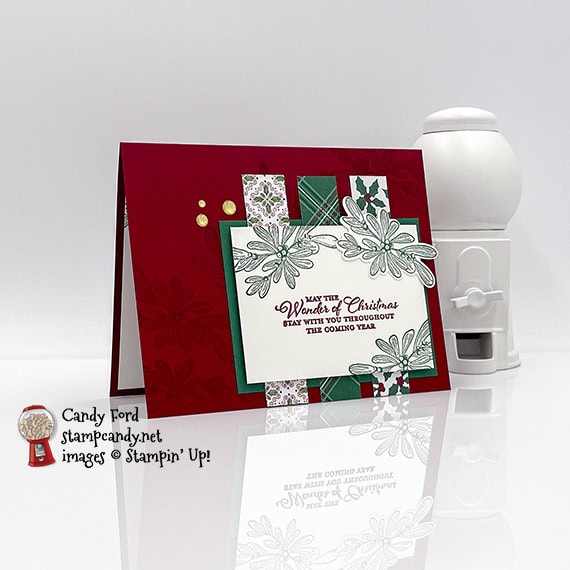
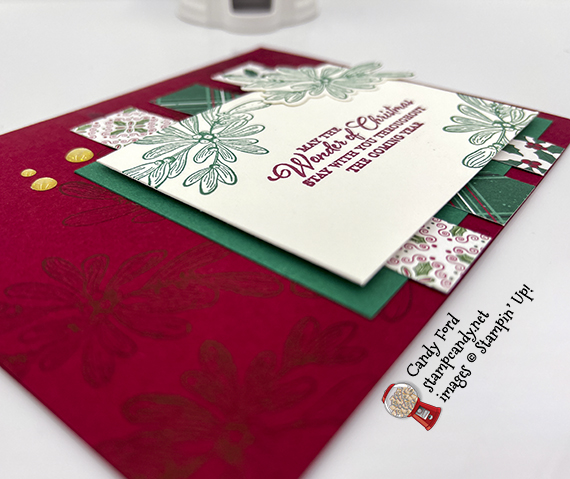
I hosted a Mystery Stamping Party on Facebook, and today I’m sharing my sample card for it. I used the Wishes & Wonder Bundle (Wishes & Wonder stamp set and North Pole Wonder Dies,) ‘Tis the Season Designer Series Paper, and Gold Glitter Enamel Dots.
Mark your calendar and tell your friends! To participate in my next free Mystery Stamping Party, join the Facebook group here. The next one will be Wednesday, 6 January 2021. I will post details in the group.
If you are reading this in email, some photos may appear blurry, or may not appear at all. Please click here to see the post on my blog.
S Wishes & Wonder Wishes & Wonder Wishes & Wonder Wishes & Wonder
Here’s what I made:
S
Here’s what I did:
Cut and scored with my paper trimmer:
- Cherry Cobbler card stock (CS) cut to 5-1/2″ x 8-1/2″, then scored in half at 4-1/4″
- ‘Tis the Season Designer Series Paper (DSP) cut to 3/4″ x 3-3/4″ (3 strips, each a different pattern)
- Shaded Spruce CS layer cut to 3-3/4″ x 2-2/3″
- Whisper White Thick CS layer cut to 3-1/2″ x 2-1/2″
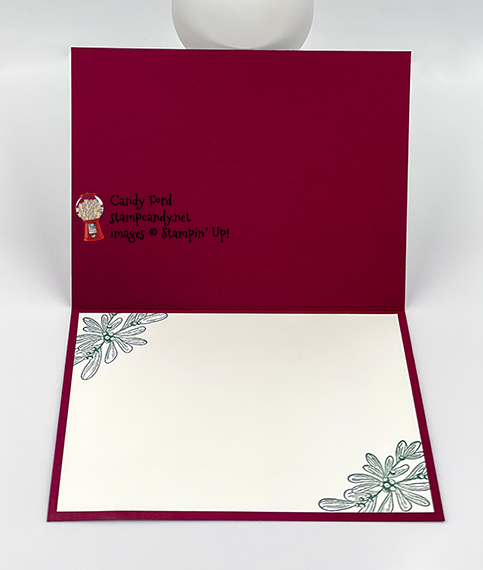
- Whisper White CS cut to 5-1/4″ x 4″ for the inside of the card base
Stamped with the Wishes & Wonder stamp set:
- sentiment in Cherry Cobbler ink onto the Whisper White Thick CS layer
- sprigs in Cherry Cobbler ink in a diagonal swath onto the front of the card base
- two sprigs in Shaded Spruce ink onto the same layer
- one sprig in Shaded Spruce ink onto a scrap of Whisper White Thick CS
- two sprigs in Shaded Spruce ink onto the Whisper White CS for the inside
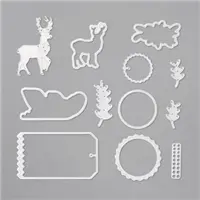
Cut using the North Pole Wonder Dies:
- the one sprig that was on a scrap of Whisper White Thick CS
Assembled the card:
- burnished the fold in the card base with a Bone Folder
- Shaded Spruce CS layer glued onto the front of the card base, 1/4″ from the bottom and right edges
- 3 DSP strips glued over the Shaded Spruce CS layer, about 1/4″ apart, and the bottom ends even with the edge of the card base
- Whisper White Thick CS layer adhered over the DSP strips, and centered over the Shaded Spruce CS layer, using strips I cut from a Foam Adhesive Sheet
- die cut sprig glued onto the top right corner of the Whisper White Thick CS layer
- 3 Gold Glitter Enamel Dots applied onto the front of the card base using my Take Your Pick tool
- Whisper White CS glued onto the inside of the card base
S
Here are today’s main colors:
You can click on each one to see all the products that come in that color!
S
Here’s what I used:
Click on these images for more details and to purchase. If you are reading this post in email, the product images may not show up. Please click here to see the post on my blog.
Supply List. <— Click for a clickable and printable list of the products!
S
Here’s the new Curvy Celebrations offering:
Click the image to see it in my online store. Some of these products are available only through January 4, or while supplies last!

S
Request a new catalog:
I will be mailing them out in early December. Click the image below to request yours:


S
Here are some helpful links:
S
Thanks for stopping by today, and Sweet Stamping!

Nov 19, 2020 | Cards, Christmas, Gallery, Holiday |
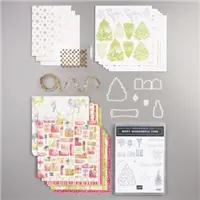
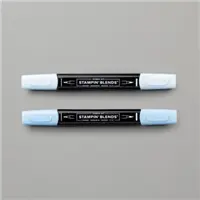
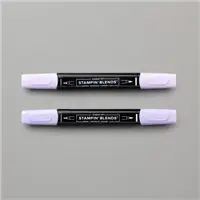
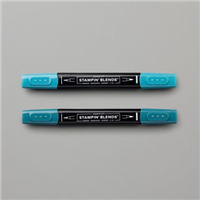
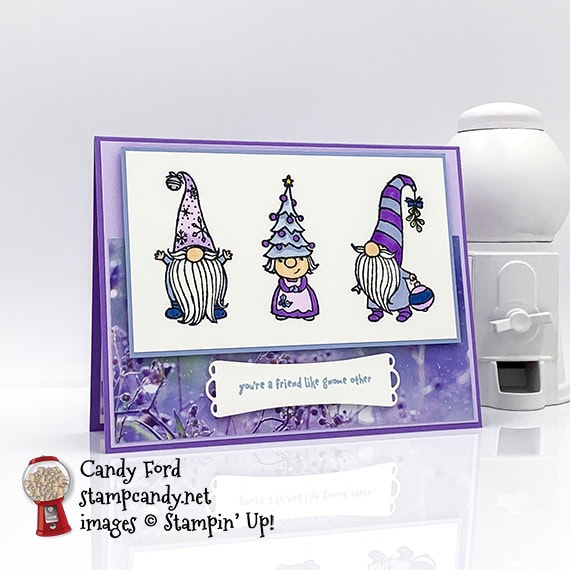
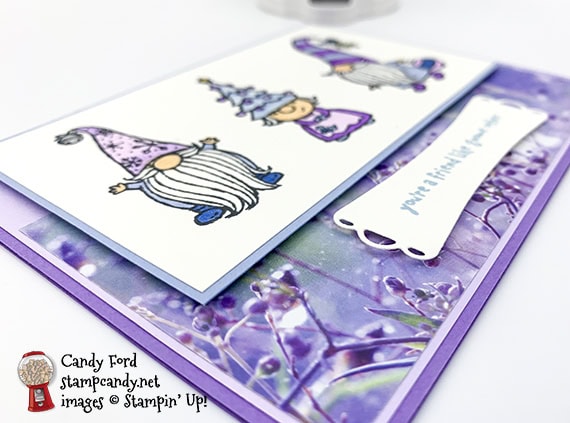
I used the Gnome for the Holidays stamp set, Most Wonderful Time Dies, Feels Like Frost Designer Series Paper, and Stampin’ Blends Markers to make today’s card. I love frosty hues of blue and purple in the paper, and those are the color I used to color the gnomes.
If you are reading this in email, some photos may appear blurry, or may not appear at all. Please click here to see the post on my blog.
S Gnome Gnome Gnome Gnome
Here’s what I made:
S
Here’s what I did:
Cut and scored with my paper trimmer:
- Highland Heather card stock (CS) cut to 5-1/2″ x 8-1/2″, then scored in half at 4-1/4″
- Purple Posy CS layer cut to 5-3/8″ x 4-1/8″
- Feels Like Frost Designer Series Paper (DSP) layer cut to 5-1/4″ x 2-3/4″
- Seaside Spray CS layer cut to 4-7/8” x 2-7/8”
- Whisper White CS layer cut to 4-3/4″ x 2-3/4″
- Whisper White CS cut to 5-1/4″ x 4″ for the inside of the card base
- DSP strip cut to 5-1/4″ x 1/2″
Stamped with the Gnome for the Holidays stamp set:
- three gnomes in Memento Tuxedo Black ink onto the Whisper White CS layer
- sentiment in Seaside Spray ink onto a scrap of Whisper White Thick CS
Cut using the Most Wonderful Time Dies:
Colored using Stampin’ Blends Markers:
- gnomes in Purple Posy, Highland Heather, Night of Navy, Seaside Spray, Ivory, Granny Apple Green (mistletoe,) Smoky Slate (bell,) and Daffodil Delight (star)
Assembled the card:
- burnished the fold in the card base with a Bone Folder
- Purple Posy CS layer glued onto the front of the card base
- DSP layer glued onto the Purple Posy CS layer, lined up at the bottom
- Whisper White CS layer with gnomes glued onto the Seaside Spray CS layer
- Seaside Spray CS layer adhered over the DSP/Purple Posy layers using Stampin’ Dimensionals
- sentiment adhered onto the DSP layer using Stampin’ Dimensionals
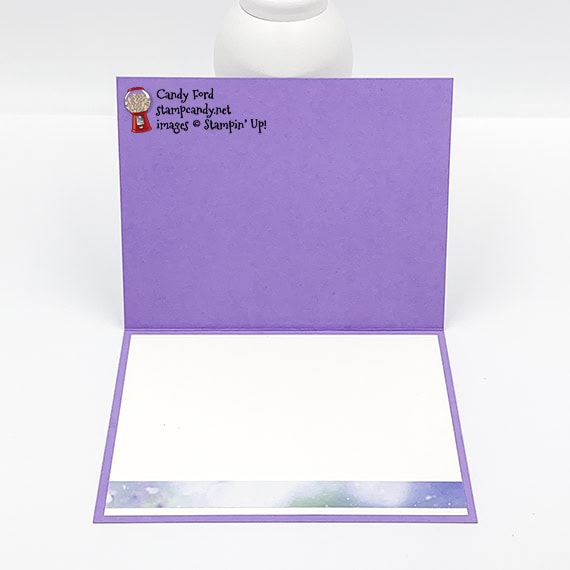
- DSP strip glued onto the Whisper White CS for the inside, then the Whisper White CS glued onto the inside of the card base
S
Here are today’s main colors:
You can click on each one to see all the products that come in that color!
S
Here’s what I used:
Click on these images for more details and to purchase. If you are reading this post in email, the product images may not show up. Please click here to see the post on my blog.
Supply List. <— Click for a clickable and printable list of the products!
S
Here’s the new Curvy Celebrations offering:
Click the image to see it in my online store.
S
Here are some helpful links:
S
Thanks for stopping by today, and Sweet Stamping!
Nov 18, 2020 | Blog Hop, Cards, Christmas, Gallery, Holiday |

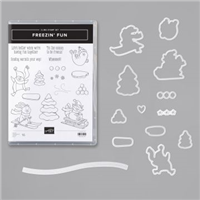
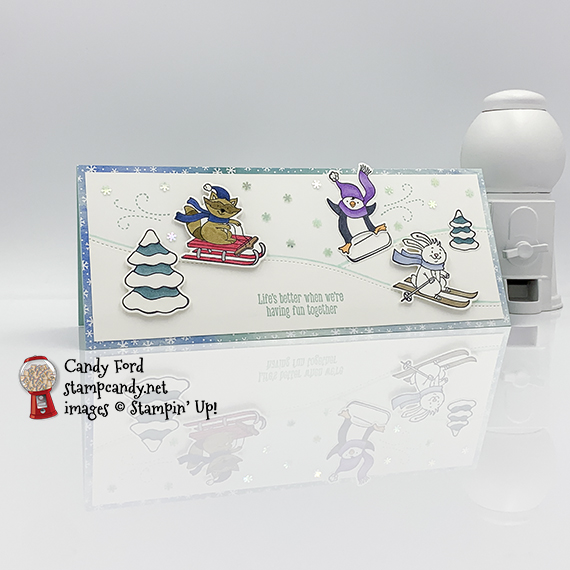
It’s time for the November 2020 IRBH! This month’s theme is Christmas. What could be more fun than playing in the snow with friends during the holidays? I used the Freezin’ Fun Bundle (Freezin’ Fun stamp set and Freezin’ Friends Dies) to create a fun scene on today’s Slimline card.
Be sure to hop around to all the stops. There’s a whole lot of talent in this group, and you don’t want to miss any of the great projects they’ve created for you today!
If you are reading this in email, some photos may appear blurry, or may not appear at all. Please click here to see the post on my blog.
S November 2020 IRBH November 2020 IRBH November 2020 IRBH November 2020 IRBH
Here’s what I made:
S
Here’s what I did:
Cut and scored with my paper trimmer:
- Pool Party card stock (CS) cut to 8-1/2″ x 7″, then scored in half at 3-1/2″
- Snowflake Splendor Designer Series Paper (DSP) layer cut to 8-1/2″ x 3-1/2″
- Whisper White CS layer cut to 8-1/4″ x 3-1/4″ (3 pieces)
- DSP strip cut to 8-1/4″ x 3/4″
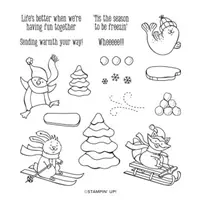
Stamped with the Freezin’ Fun stamp set:
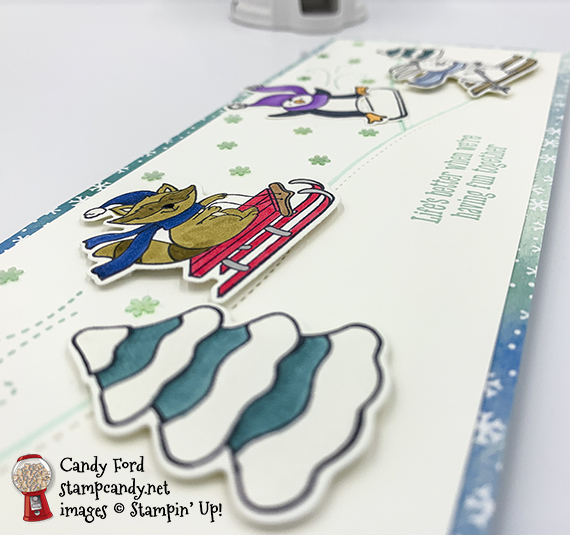
- large tree, small tree, rabbit, raccoon, penguin, and snowboard in Tuxedo Black Memento ink onto a scrap of Whisper White Thick CS
- sentiment in Pool Party ink onto the Whisper White CS at the bottom of the front of the card (after it’s die cut)
- “swooshes” in Pool Party ink behind the raccoon and penguin, to indicate motion
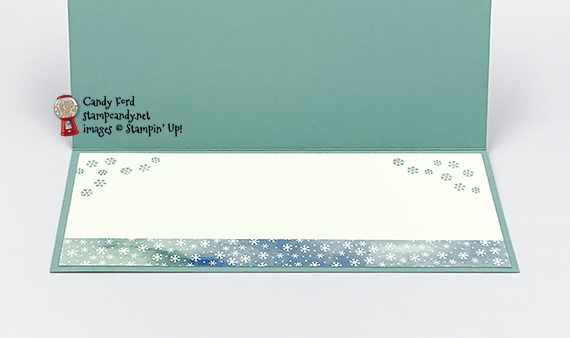
- snowflakes in Pool Party ink onto the Whisper White CS for the inside
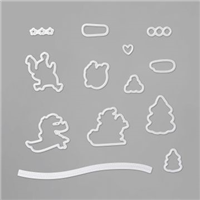
Cut using the Freezin’ Friends Dies:
- the 6 stamped images for the card front
- one of the Whisper White CS layers cut in half diagonally using the long, curved stitched die – it took two passes to cut the full length
Colored using Stampin’ Blends Markers:
- trees in Pretty Peacock (I covered the white parts of the trees in Clear Wink of Stella.)
- raccoon in Soft Suede, Crumb Cake, Bronze, Real Red, Night of Navy, Smoky Slate, and Basic Black
- rabbit in Seaside Spray, Flirty Flamingo, and Crumb Cake
- penguin in Basic Black, Highland Heather, and Pumpkin Pie
- drew a line along the top of the two “hills” in Pool Party, after gluing them down
Assembled the card:
- burnished the fold in the card base with a Bone Folder
- DSP layer glued onto the front of the card base
- a Whisper White CS layer glued onto the DSP layer
- the two die cut Whisper White CS pieces (hills) layered and glued onto the Whisper White CS layer (flipped one of the pieces over backwards, to have the higher ends of each piece at each end of the card (this is when I drew the Pool Party lines along the tops)
- large tree, raccoon, and rabbit adhered onto the card front using Stampin’ Dimensionals
- snowboard, penguin, and small tree glued onto the card front
- Adhesive Snowflakes applied onto the “sky” area using a Take Your Pick tool
- DSP strip glued along the bottom of the Whisper White CS for the inside
- Whisper White CS glued onto the inside of the card base
S
Here’s the November 2020 IRBH:
Thank you for hopping along with us. If you get stuck during the Blog Hop, please use this line-up as a guide:
- Brian King at Stamp with Brian
- Ann Murray at Murray Stamps Ink
- Candy Ford at Stamp Candy ——-> YOU ARE HERE!
- Sheryl Sharp at Sharp Notes by Sheryl
- Julie DiMatteo at The Paper Pixie
- Rachel Brumley at Artistic Designs by Rachel
- Jackie Beers at Blue Line Stamping
- Sue Jackson at Just Peachy Stamping
- Joanne Brown at The Inky Dragon
- Lynn Kolcun at Avery’s Owlery
- Pam Morris at Tap Tap Stamp
- Renae Novak at Blessed by Cards
- Linda Krueger at The Stamp Coach
- Shawn de Oliveira at Shawn Stamps
- Robin Myren at Songbird Designs by Robin
S
Here are today’s colors:
You can click on each one to see all the products that come in that color!
S
Here’s what I used:
Click on these images for more details and to purchase. If you are reading this post in email, the product images may not show up. Please click here to see the post on my blog.
Supply List. <— Click for a clickable and printable list of the products!
S
S
Here’s the new Curvy Celebrations offering:
Click the image to see it in my online store. The Curvy Christmas stamp set and Classic Christmas Designer Series Paper are available only through January 4, or while supplies last.
S
Here are some helpful links:
S
Thanks for stopping by today, and Sweet Stamping!
Nov 12, 2020 | Blog Hop, Boxes, Cards, Christmas, Gallery, Gift Wrap, Gifts, Holiday |

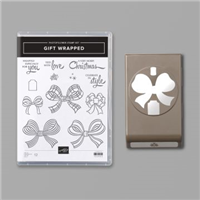
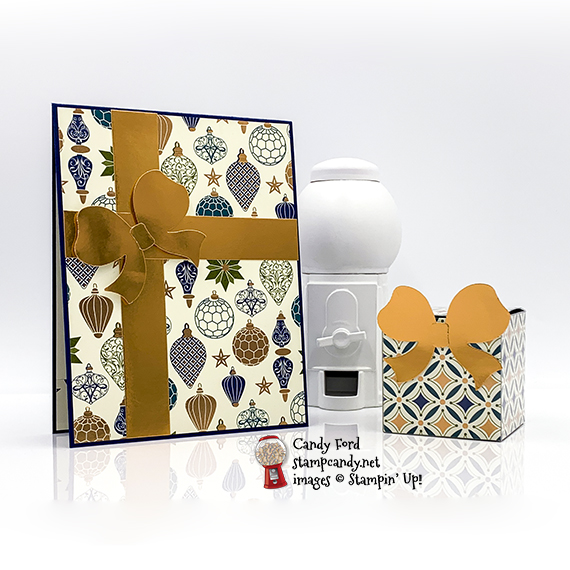
Welcome to the November 2020 OSAT Blog Hop! This month’s theme is Glad Tidings We Bring, so we’re featuring Christmas projects. I used the Gift Wrapped Bundle (Gift Wrapped stamp set ad Gift Bow Builder Punch) and Brightly Gleaming Designer Series Paper to create a Christmas card and Tiny Treat/Gift Box.
Be sure to hop all the way around to all the stops to see all the wonderful Christmas projects this team has created for you today!
If you are reading this in email, some photos may appear blurry, or may not appear at all. Please click here to see the post on my blog.
S November 2020 OSAT November 2020 OSAT November 2020 OSAT
Here’s what I made:

S
Here’s what I did:
Cut and scored with my paper trimmer:
- Night of Navy card stock (CS) cut to 4-1/4″ x 11″, then scored in half at 5-1/2″
- Brightly Gleaming Designer Series Paper (DSP) layer cut to 4-1/8″ x 5-3/8″
- DSP cut to 8-1/2″ x 2″, then scored at 2″, 4″, 6″, and 8″
- DSP cut to 2″ x 6″, then scored at 2″ and 4″
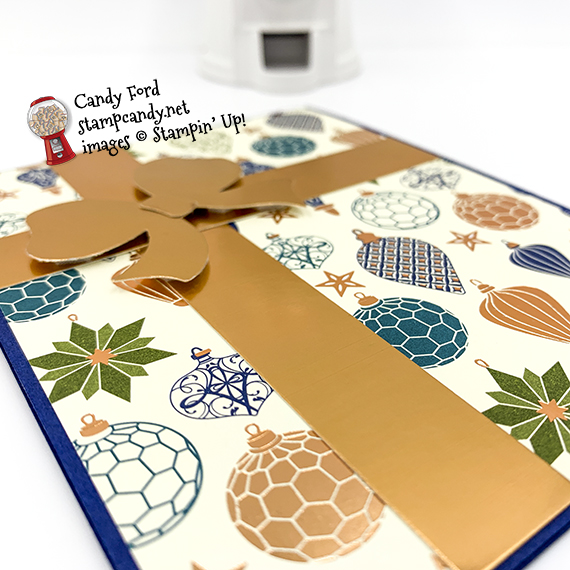
- Copper Foil strips cut to 3/4″ x 4-1/8″ and 3/4″ x 5-3/8″
- Very Vanilla CS cut to 4-1/8″ x 5-3/8″ for the inside of the card base
- DSP strip cut to 4-1/8″ x 3/4″
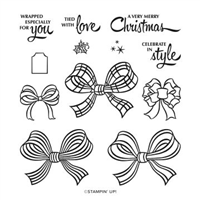
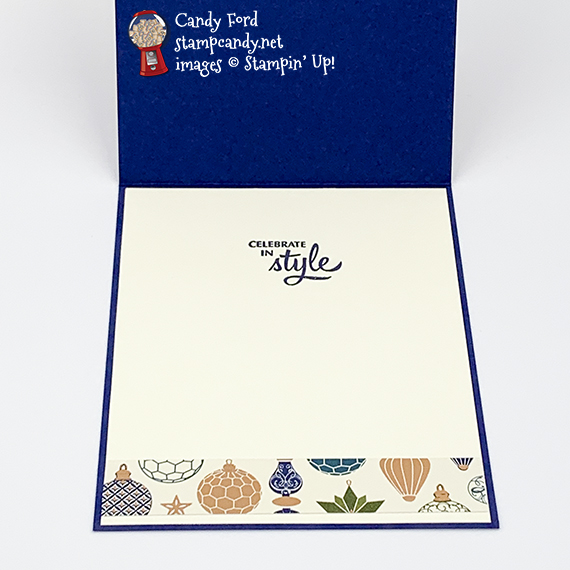
Stamped with the Gift Wrapped stamp set:
- sentiment in Night of Navy ink onto the Very Vanilla CS for the inside
Cut using the Gift Bow Builder Punch:
- 2 bows and “knots” from a scrap of Copper Foil Sheet
Assembled the card:
- burnished the fold in the card base with a Bone Folder
- DSP layer glued onto the front of the card base
- 2 Copper Foil strips adhered onto the DSP layer using Stampin’ Seal+
- a punched knot adhered onto a punched bow using Stampin’ Seal+
- punched bow adhered over the intersection of the foil strips using Stampin’ Dimensionals
- Very Vanilla CS glued onto the inside of the card base
- 3/4″ DSP strip glued onto the Very Vanilla CS, near the bottom
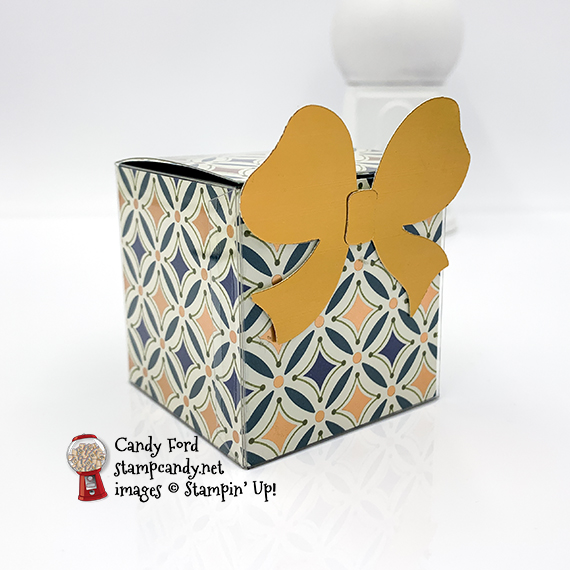
Assembled the box:
- burnished the folds in a Clear Tiny Treat Box with a Bone Folder, and folded to assemble
- burnished the folds in the two 2″ DSP strips
- longer DSP put into the box to line all four sides
- shorter DSP put into the box to line the bottom, back side, and top
- gift or treats put into the box and closed the lid
- second knot adhered onto the second punched bow using Stampin’ Seal+
- bow adhered onto the front of the box using Stampin’ Seal+
S
Here’s the November 2020 OSAT Blog Hop:
S
Here are today’s main colors:
You can click on each one to see all the products that come in that color!
S
Here’s what I used:
Click on these images for more details and to purchase. If you are reading this post in email, the product images may not show up. Please click here to see the post on my blog.
Supply List. <— Click for a clickable and printable list of the products!
S
Here’s the new Curvy Celebrations offering:
Click the image below to see it in my online store
S
Here are some helpful links:
S
Thanks for stopping by today, and Sweet Stamping!
Nov 10, 2020 | Blog Hop, Cards, Christmas, Gallery, Holiday |

Welcome t the November 2020 ICS Blog Hop! This month’s theme is Christmas is coming, so we’re featuring Christmas cards. I used the Gift Wrapped Bundle (Gift Wrapped stamp set and Gift Bow Builder Bunch) and Snowflake Splendor Designer Series Paper to create a Slimline card. This is one of the projects we made at my November Stamp Club gathering.
Be sure to hop around to all the stops to see all the great Christmas cards this team have made for you today!
If you are reading this in email, some photos may appear blurry, or may not appear at all. Please click here to see the post on my blog.
S November 2020 ICS November 2020 ICS November 2020 ICS November 2020 ICS. https://stampcandy.net/cards/November-2020-ICSBH-Christmas/ https://bit.ly/37WSEbl
Here’s what I made:


S
Here’s what I did:
Cut and scored with my paper trimmer:
- Balmy Blue card stock (CS) cut to 8-1/2″ x 7″, then scored in half at 3-1/2″
- Snowflake Splendor Designer Series Paper (DSP) layer cut to 8-1/4″ x 3-1/4″
- Whisper White CS cut to 8-1/4″ x 3-1/4″ for the inside of the card base
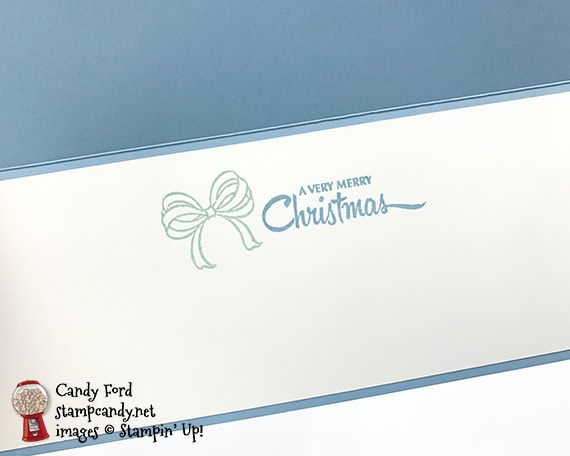
Stamped with the Gift Wrapped stamp set:
- 3 bows in Balmy Blue ink and 2 bows in Pool Party ink onto a scrap of Whisper White Thick CS
- sentiment in Balmy Blue ink onto the Whisper White CS for the inside
- small bow in Pool Party ink next to the sentiment
Cut using the Gift Bow Builder Punch:
Assembled the card:
- burnished the fold in the card base with a Bone Folder
- DSP layer glued onto the front of the card base
- 5 punched bows glued onto the DSP layer
- Adhesive Backed Snowflakes applied onto the DSP layer, on the visible centers of the snowflakes, using a Take Your Pick tool (they don’t show in the photos)
- Whisper White CS glued onto the inside of the card base
S
Here’s the November 2020 ICS Blog Hop:
Click the Next button to hop to Tricia Butts of Tricia’s Stamping Creations.
 S
S
Here are today’s colors:
You can click on each one to see all the products that come in that color!
S
Here’s what I used:
Click on these images for more details and to purchase. If you are reading this post in email, the product images may not show up. Please click here to see the post on my blog.
Supply List <— Click for a clickable and printable list of the products!
S
S
Here are some helpful links:
S
Thanks for stopping by today, and Sweet Stamping!