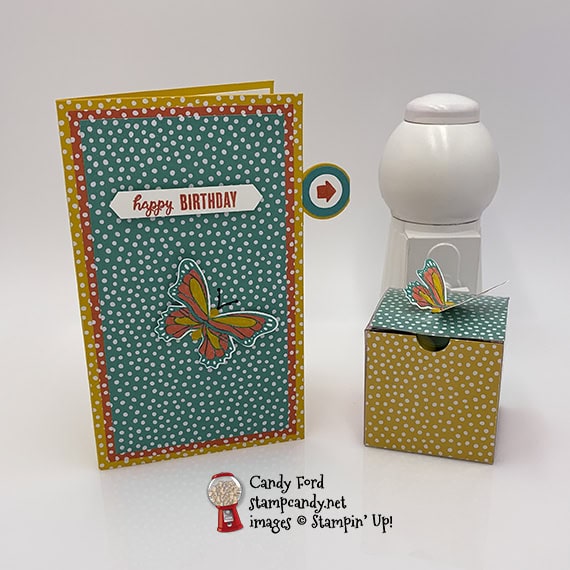
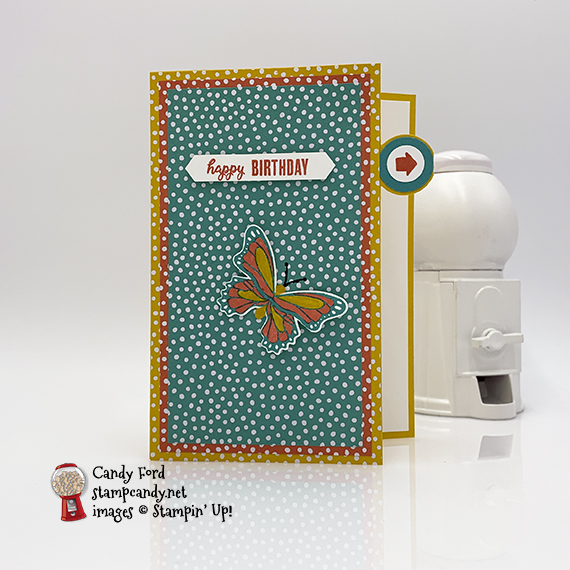
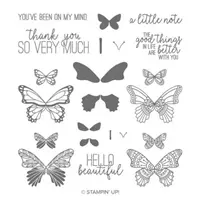
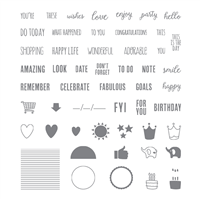
Welcome to the 04-2019 Spring Fling edition of the OSAT Blog Hop! For my projects, I used a color combination I remember being very popular in a previous Spring catalog: Bermuda Bay, Calypso Coral, and Crushed Curry. I used the Tabs for Everything stamp set for the sentiment and the Butterfly Gala stamp set for, you guessed it, the butterflies.
Be sure to hop all the way around the hop to see all the great Spring projects from this talented group!
S
Here’s what I made:
S
S
Here’s what I did:
Cut and scored with my Stampin’ Trimmer:
For the card:
Crushed Curry card stock (CS) cut to 7-1/2″ x 5-1/2″, then scored at 3-1/4″
Crushed Curry Designer Series Paper (DSP) layer cut to 3-1/4″ x 5-1/2″
Calypso Coral DSP layer cut to 3″ x 5-1/4″
Bermuda Bay DSP layer cut to 2-3/4″ x 5″
Whisper White CS cut to 4″ x 5-1/4″ for the inside of the card base
For the box:
Crushed Curry DSP cut to 2″ x 4″, and scored at 2″
Calypso Coral DSP cut to 2″ x 6″, and scored at 2″ and 4″
Bermuda Bay DSP cut to 2″ x 6″, and scored at 2″ and 4″
Stamped with the Butterfly Gala stamp set:
2 butterflies in Bermuda Bay ink onto a scrap of Whisper White CS
butterfly antennae in black ink onto the Bermuda Bay DSP layer of the card
Stamped with the Tabs for Everything stamp set:
sentiment in Calypso Coral ink onto a scrap of Whisper White CS
arrow in Calypso Coral ink onto a scrap of Whisper White CS
Cut using the Circle Tab Punch:
scrap of Crushed Curry CS
Cut using the Classic Label Punch:
sentiment
Cut using Circle Punches:
scrap of Whisper White CS with the 1/2″ punch
scrap of Bermuda Bay CS with the 3/4″ punch
finger notch cut into one end of the Crushed Curry DSP strip for the box
Colored using Stampin’ Write Markers:
butterfly in Calypso Coral and Crushed Curry
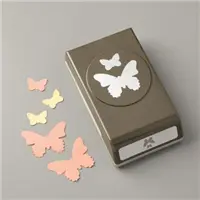
Cut using the Butterfly Duet Punch:
the two butterflies
Assembled the card:
burnished the fold in the card base with a Bone Folder
Crushed Curry CS circle tab folded in half and glued onto the front edge of the card base
Crushed Curry DSP layer glued onto the front of the card base
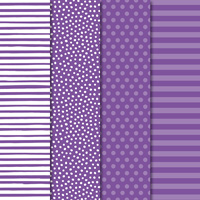
Preorder the Life is Grand Online Class by April 17:
Make 6 pretty cards at home in your PJs!
2 each of 3 designs
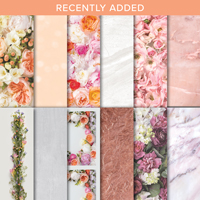
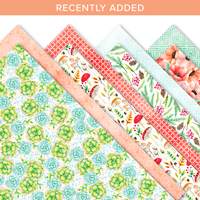
Features the Life Is Grand stamp set, Un-inked Spectrum Ink Pad (with 5 reinkers), and Petal Promenade Designer Series Paper
Featured colors: Petal Pink, Powder PInk, Blushing Bride, Flirty Flamingo, and Lovely Lipstick
I’ve done the cutting, scoring, and embossing for you!
You’ll receive all you need to make the cards, including the stamp set, spectrum Pad, reinkers, the precut/prescored/pre-embossed card kits, 6 Very Vanilla envelopes and envelope liners.
Limited spots available
Click on the image below for details and class options, or copy and paste this link into your browser: https://stampcandy.net/online-classes/life-grand-card-class-preorder/
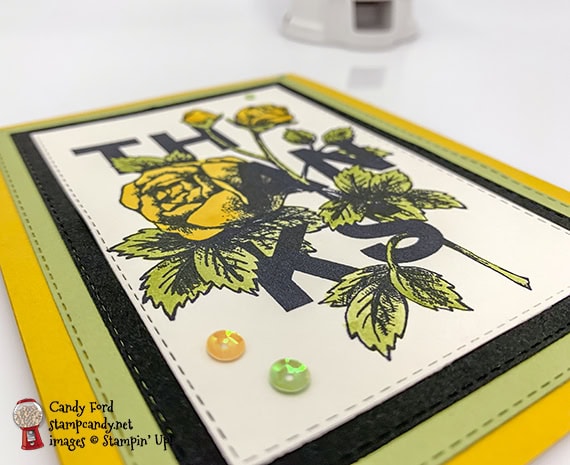
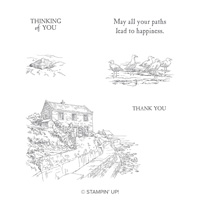
It’s time for the April 2019 ICS Blog Hop! This month’s theme is It’s a Spring Thing!!! For my project I made a thank you card (we need these all year round) using the Floral Statements stamp set, and I watercolored it in Spring time colors.
Be sure to hop around to all the stops to see all the great Spring projects from this talented group of stampers!
SS
Here’s what I made:
S
Here’s what I did:
Cut and scored with my Stampin’ Trimmer:
Daffodil Delight card stock (CS) cut to 4-1/4″ x 11″, then scored in half at 5-1/2″
Whisper White CS cut to 4″ x 5-1/4″ for the inside of the card base
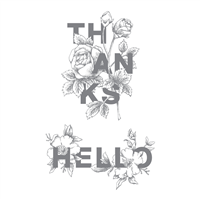
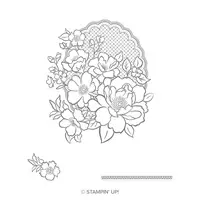
Stamped with the Floral Statements stamp set:
THANKS image in Stazon jet black ink onto a piece of Shimmery White CS
Die cut using the Rectangle Stitched Framelits:
stamped image
Basic Black CS layer
Pear Pizzazz CS layer
Colored using an Aqua Painter:
flowers in Daffodil Delight ink
leaves and stems in Pear Pizzazz Ink
NOTE: I use a Clear Acrylic Block as my pallette. I either daub on some ink from an ink pad, or put on a drop or two from an ink refill. When I’m done, the ink rinses right off with cold water.
Assembled the card:
burnished the fold in the card base with a Bone Folder
die cut Pear Pizzazz CS layer glued onto the front of the card base
die cut Basic Black CS layer glued onto the Pear Pizzazz layer
stamped and watercolored layer glued onto the Basic Black layer
3 sequins glued onto the top layer
Whisper White CS glued onto the inside of the card base
S
Here’s the hop:
Click the Next button to hop on to the next stop and see what Anastasia Radloff of stampinblondie.com has made:
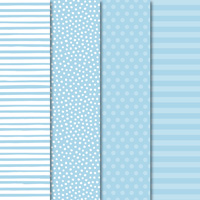
Here are today’s colors:
You can click on each one to see all the products that come in that color!
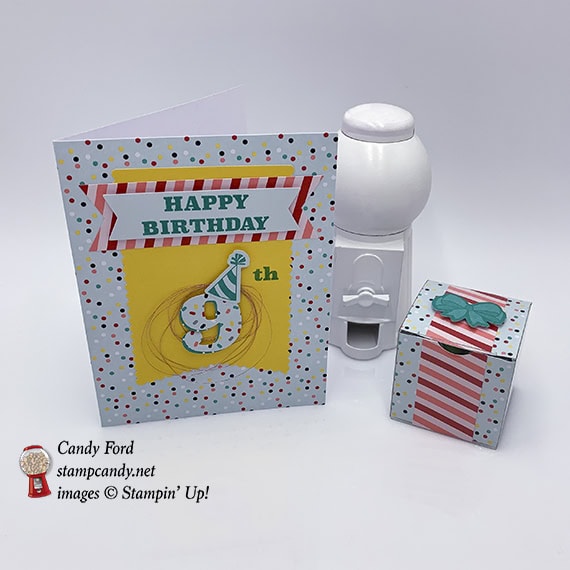
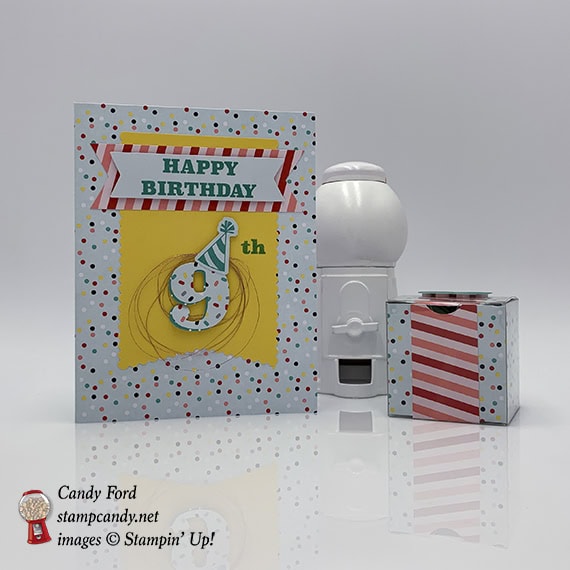
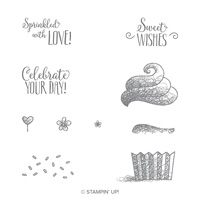
It’s time for the PPP Blog Hop! This month’s Paper Pumpkin kit, called Poppin’ Birthday, makes 8 fun pop-up birthday cards in honor of Paper Pumpkin’s 6th birthday. I can’t wait to see all the alternate projects the hoppers have come up with. Be sure to hop all the way around to see all of them!
S
Here’s what I made:
S
Here’s what I did:
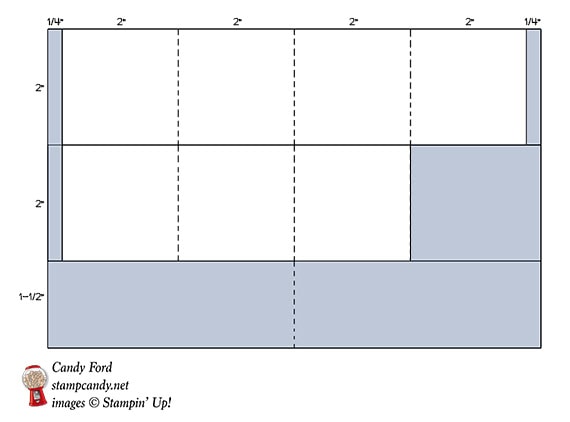
Cut and scored with my Stampin’ Trimmer:
2 of the red striped pieces cut to 4″ long, then scored in half at 2″
blue card base cut to 2″ x 8-1/2″ (two pieces)
1st piece: cut 1/4″ off each end, then scored at 2″ and 6″ (the original score line will be at 4″)
2nd piece: cut 1/4″ off one end and 2-1/4″ off the other end, then scored at 2″ (the original score line will be at 4″)
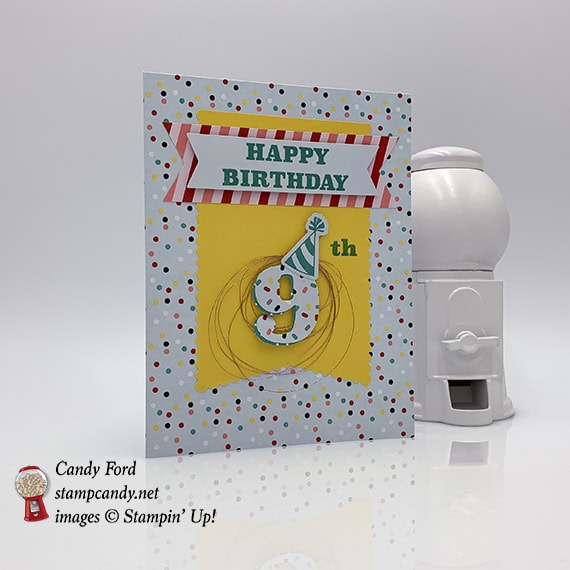
Stamped with the Poppin’ Birthday stamp set:
“Happy Birthday” in Bermuda Bay ink onto a blue label
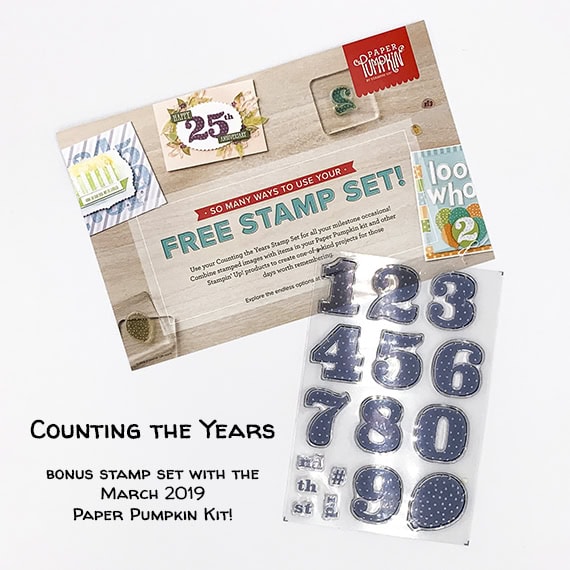
Stamped with the bonus Counting the Years stamp set:
“th” in Bermuda Bay ink onto a yellow banner
Cut using Paper Snips:
notched both ends of a red striped piece to match the blue stamped piece
Assembled the card:
burnished the fold in the card base with a Bone Folder
yellow banner glued onto the front of the card base
notched red striped piece glued over the yellow banner
sentiment adhered onto the striped piece using Stampin’ Dimensionals
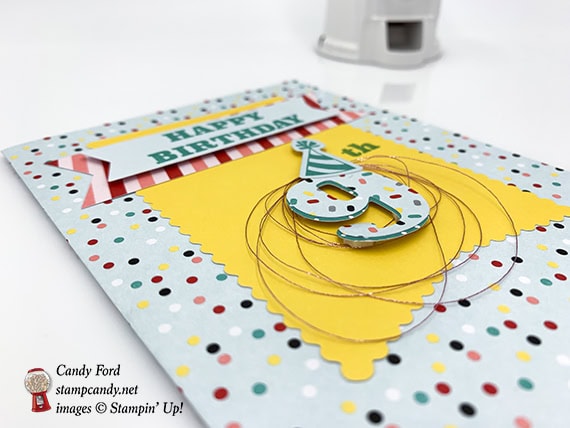
light blue “9” glued onto a dark blue “9”, offset just a little bit
party hat glued onto the top of the 9s
rose metallic thread wrapped around my fingers several time (some loops around 3 fingers and some around 2 finders)
9s adhered onto the yellow banner, over the rose thread, using Mini Stampin’ Dimensionals (The dimensionals hold the thread to the banner.)
glued onto
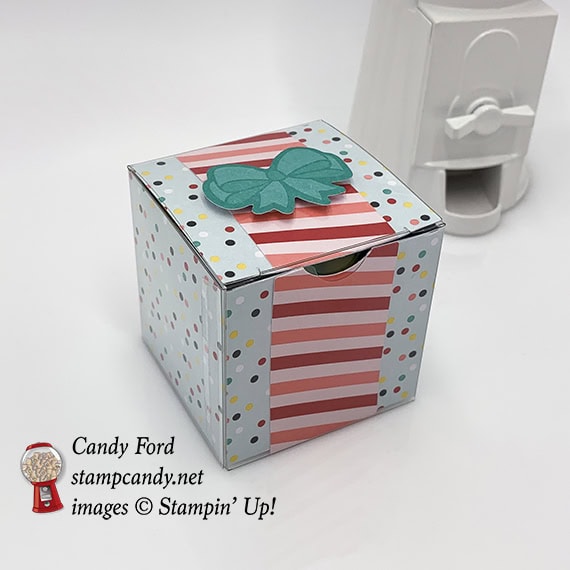
Assembled the box:
burnished the folds in the card base pieces, striped pieces, and box with a Bone Folder
assembled the box
striped pieces glued onto the 8″ piece of card base, lining up the score lines (each striped piece covers 2 sections of the card base piece)
notched one end of the 8″ strip using a 1/2″ circle punch (Actually I used the 3/4″ punch because the 1/2″ was upstairs and I was too lazy to go get it. But the 1/2″ is the right size.)
8″ strip inserted into the box, front to back, lining up the punched notch with the finger notch in the front of the box
6″ strip inserted into the box side to side
put treats inside and closed the box
adhered a bow onto the top of the box using Stampin’ Dimensionals
NOTE: I used Multipurpose Liquid Glue just because I love it, but you can certainly use the glue dots that come in the kit instead.
CLICK HERE to download the stamp case insert for this month’s kit.
S
Here’s the Poppin’ Birthday Blog Hop:
Click on the Next button to hop to the next stop, Charmane Hopkins of Renee’s Paper Treasures:
Here are today’s colors:
You can click on each one to see all the products that come in that color!
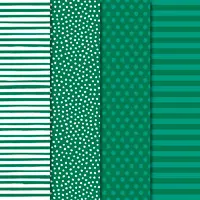
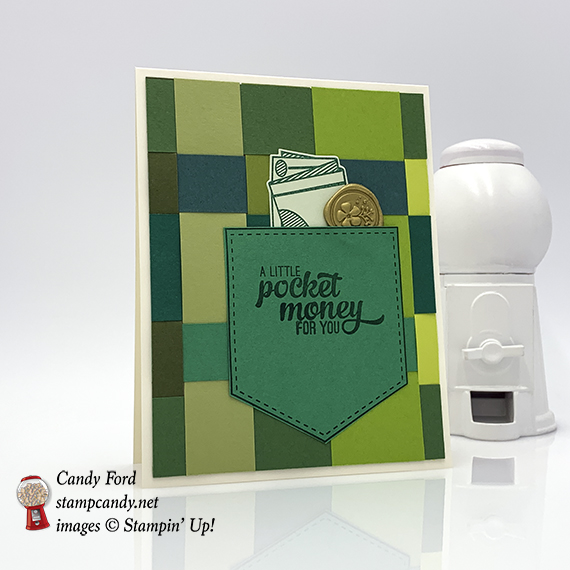
Welcome to InKing Royalty’s March Blog Hop! This year’s Blog Hop themes are inspired by a single word – and this month our projects are centered around GREEN. We are excited to share our creations with you today – there’s a wonderful variety of styles and occasions celebrated in this hop! After you read my post, I hope you’ll hop over to the next person on the list at the base of this post.
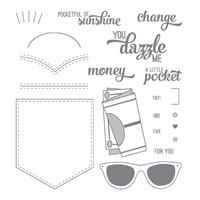
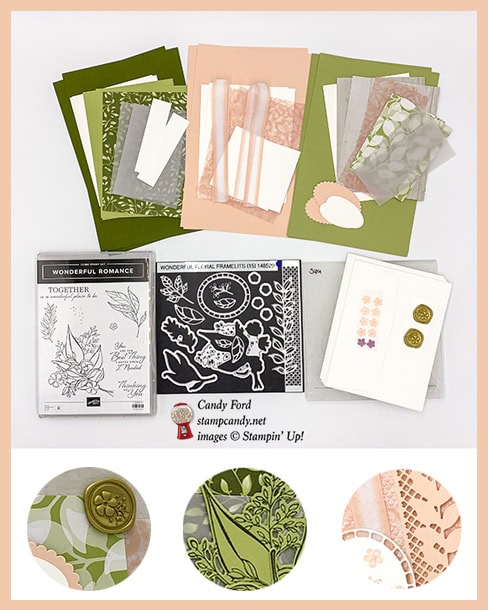
When I was trying to come up with an idea for the green theme, I thought of leaves and grass first. Then military. Saint Patrick’s Day is over so I didn’t want to go there. Then I thought of money. (If you’re outside the US you probably have different colors of currency, but here in the states we only have the one color: green.) I thought of making a money holder. Then I remembered the Pocketful of Sunshine stamp set has a stamp of a folded up bill! So I had my stamp set, and coordinating dies, picked out.
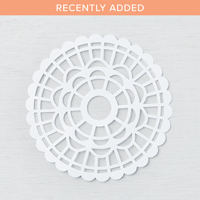
Then I had to decide which color of green. The pocket brought to mind a shirt I saw very recently that was green plaid, and had a lot of different greens, so I used that for inspiration. To loosely mimic the plaid, I wove together strips of card stock in assorted greens for the background. I used a Floral Romance Seal as a coin.
S
Here’s what I made:
I think it’s interesting to see all these greens together like this. Lemon Lime Twist looks yellow; Shaded Spruce looks blue; and Mossy Meadow looks brown.
S
Here’s what I did:
Cut and scored with my Stampin’ Trimmer:
Very Vanilla Thick card stock (CS) cut to 4-1/4″ x 11″, then scored in half at 5-1/2″
various size strips of CS: Lemon Lime Twist, Granny Apple Green, Pear Pizzazz, Old Olive, Garden Green, Mossy Meadow, Shaded Spruce, Tranquil Tide, and Call Me Clover
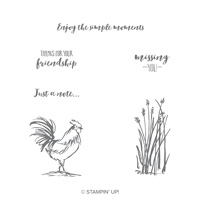
Stamped with the Pocketful of Sunshine stamp set:
pocket stitching in Shaded Spruce ink onto a scrap of Call Me Clover CS
sentiment in Shaded Spruce ink onto the pocket
money in Shaded Spruce ink onto a scrap of Soft Sea Foam CS
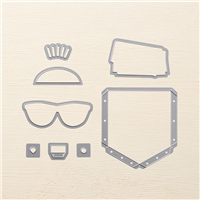
Die cut using the Pocket Framelits Dies:
pocket and money
Assembled the card:
burnished the fold in the card base with a Bone Folder
wove strips of CS together and held them together on the back with tape
cut the woven CS to 4″ x 5-1/4″, then glued it onto the front of the card base
glued pocket onto the woven layer
tucked the stamped money into the pocket and glued into place
tucked a self-adhesive gold seal “coin” into the pocket
S
Here’s the IRBH Green Blog Hop:
Thank you for hopping along with us today. I hope you’ll hop along to the next stop on the bloghop, the amazing Jennifer Spiller at Westside Paper Creations! There’s a lot of inspiration to be found in this group – and you don’t want to miss any of it!
Thank you for hopping along with us. If you get stuck during the Blog Hop, please use this line-up as a guide:
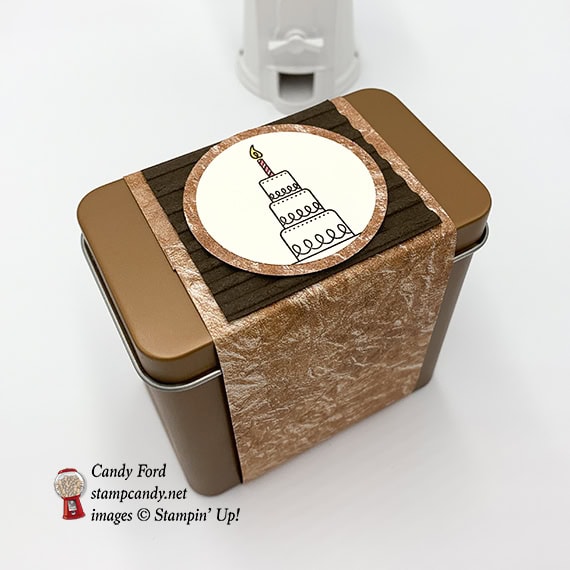
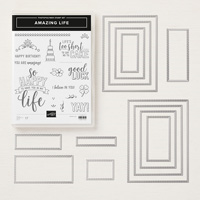
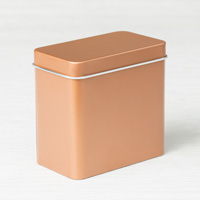
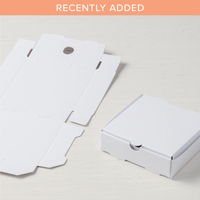
Welcome to the Bring on the Birthdays edition of the OSAT Blog Hop! For my projects, I used the Amazing Life stamp set, Corrugated Dynamic Textured Impressions Embossing Folder, and Petal Promenade Designer Series Paper to create a birthday card and to decorate a Copper Tea Tin.
S
Here’s what I made:
S
Here’s what I did:
Cut and scored with my Stampin’ Trimmer:
Early Espresso card stock (CS) cut to 4-1/4″ x 11″, then scored in half at 5-1/2″
Early Espresso CS layer cut to 4″ x 5-1/4″
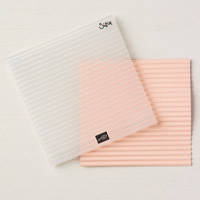
Petal Promenade Designer Series Paper (DSP) layer cut to 3-5/8″ x 2-3/8″
Very Vanilla CS layer cut to 3-1/4″ x 2″
Very Vanilla CS cut to 4″ x 5-1/4″ for the inside of the card base
DSP cut to 2-1/2″ x 12″
Early Espresso CS cut to 2-1/4″ x 2-1/4″
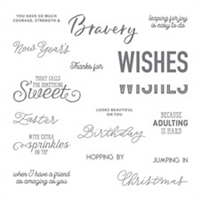
Stamped with the Amazing Life stamp set:
cake and large sentiment in Early Espresso ink onto the 3-1/4″ x 2″ Very Vanilla CS layer
cake in Early Espresso ink onto a scrap of Very Vanilla CS
small sentiment in Early Espresso ink onto a scrap of Very Vanilla CS
Cut using Circle Punches:
cake cut using 1-3/4″ punch
DSP scrap cut using 2″ punch
Cut using the Classic Label Punch:
small sentiment
Embossed using the Corrugated Dynamic embossing folder:
both Early Espresso CS layers
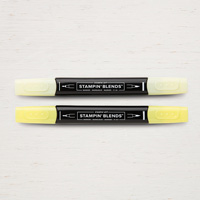
Colored using Stampin’ Blends Markers:
both cake candles in Flirty Flamingo
both candle flames in Pineapple Punch
“CAKE” in Flirty Flamingo
Assembled the card:
burnished the fold in the card base with a Bone Folder
large embossed Early Espresso CS layer glued onto the front of the card base
cake/sentiment glued onto the DSP layer
DSP layer glued onto the large embossed Early Espresso CS layer
small sentiment glued onto the large embossed Early Espresso CS layer
Very Vanilla CS glued onto the inside of the card base
Assembled the tin:
12″ DSP wrapped around the tin and the ends glued together, making sure it is snug but also loose enough to slide off the tin
small embossed Early Espresso CS glued onto the DSP, on top of the tin
punched cake glued onto the punched DSP
punched DSP glued onto the small embossed Early Espresso CS
S
Here’s the Bring on the Birthdays hop:
Be sure to check out every stop to see all the great birthday projects!
Here are today’s colors:
You can click on each one to see all the products that come in that color!
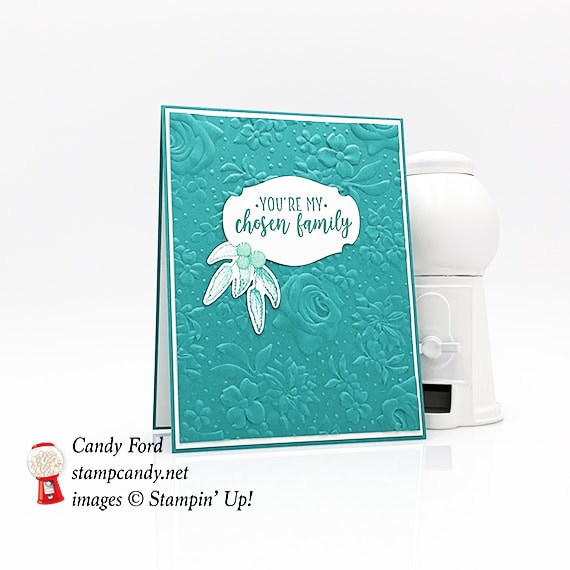
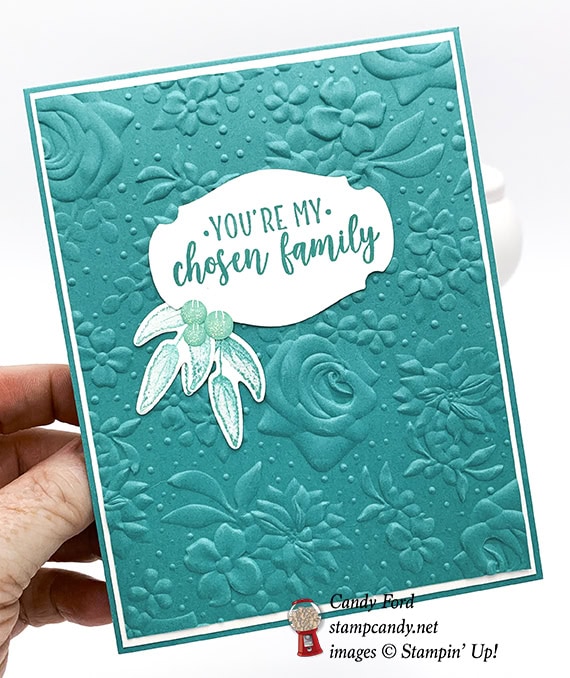
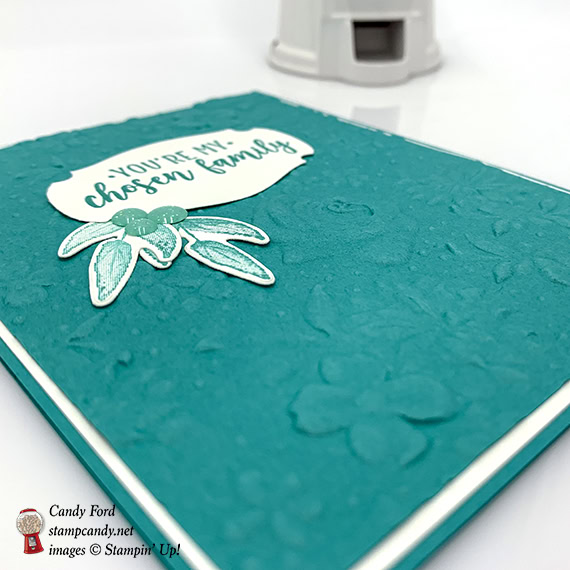
It’s time for the ICS Blog Hop 03-2019! This month’s theme is One Last Sale-a-bration. For my project I used some Sale-a-bration items and some Sale-a-bration Coordination items. March is the last month of Sale-a-bration, but don’t wait until the end of the month to get the items you want, because they will probably sell out before then.
S
Here’s what I made:
You can You
S
Here’s what I did:
Cut and scored with my Stampin’ Trimmer:
Bermuda Bay card stock (CS) cut to 4-1/4″ x 11″, then scored in half at 5-1/2″
Whisper White CS cut to 4-1/8″ x 5-3/8″ (2 pieces)
Bermuda Bay CS cut to 4″ x 5-1/4″x
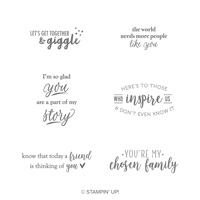
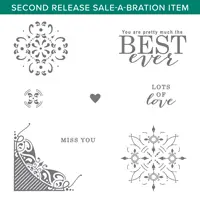
Stamped with the Part of My Story stamp set:
sentiment in Bermuda Bay ink onto a scrap of Whisper White CS
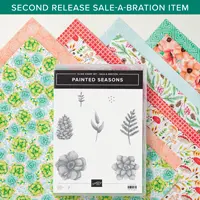
Stamped with the Painted Seasons stamp set:
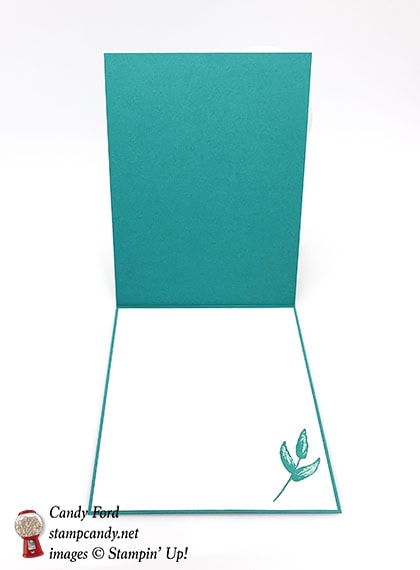
2 leaves (stamped off once) onto a scrap of Whisper White CS
1 leaf onto one of the Whisper White CS pieces
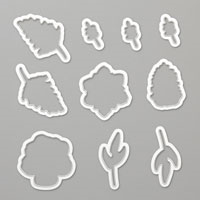
Die cut using the Four Seasons Framelits:
the 2 stamped off leaves
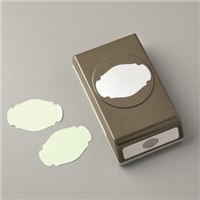
Cut using the Story Label Punch:
sentiment
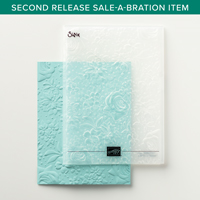
Embossed using the Country Floral Dynamic Embossing Folder:
Bermuda Bay CS layer
Assembled the card:
burnished the fold in the card base with a Bone Folder
stamped Whisper White CS glued onto the inside of the card base
the other Whisper White CS glued onto the front of the card base
embossed layer glued onto the Whisper White CS layer
2 die cut leaves glued onto the embossed layer
sentiment glued onto the embossed layer, over the leaf stems
3 Glitter Enamel Dots applied where the leaves meet the sentiment
S
Here’s the hop:
Click on the next button to hop to the next blog, Shirley Merker at Super Awesome Stamper:
Here are today’s colors:
You can click on each one to see all the products that come in that color!
 Welcome to the 04-2019 Spring Fling edition of the OSAT Blog Hop! For my projects, I used a color combination I remember being very popular in a previous Spring catalog: Bermuda Bay, Calypso Coral, and Crushed Curry. I used the Tabs for Everything stamp set for the sentiment and the Butterfly Gala stamp set for, you guessed it, the butterflies.