Jan 19, 2016 | Blog Hop, Cards, Club, Events, New Products, Occasions |

Welcome to InKing Royalty’s January Blog Hop! Today’s So In Love Blog Hop is filled with inspiring projects that share ideas for Valentine’s Day or new products we love. We are excited to share what we’ve made and hope you’ll find great inspiration from our talented team members in this hop. After you read my post, I hope you’ll hop over to the next person on the list at the base of this post.
This is one of the three projects we made at January’s Stamp Club meeting, and I thought it would be perfect for today’s blog hop. It’s a Valentine AND it’s made with new products that I love, including the Bloomin’ Love Bundle and the Love Blossoms Embellishment Kit!


The card is 4″ x 4″. The card base is Whisper White Thick card stock, with a Crumb Cake CS layer, then the Blushing Bride CS top layer.
We cut the heart from a Silver Foil Sheet with the new Bloomin’ Hearts Thinlits Dies. The Precision Cutting Plate and the new Big Shot Die Brush make intricate dies like this a breeze to work with. The Precision Cutting Plate gives you a nice, clean cut; and the Die Brush makes it super easy to get the die cut – and all the extra little bits of paper – out of the die. No more poking and poking through all those little holes.
After gluing the heart to the front layer, we adhered a piece of ribbon from the Love Blossoms Embellishment Kit using a dry adhesive, such as Fast Fuse or Snail. A dry adhesive won’t bleed through the ribbon like a wet glue can. We wrapped the ribbon to the back of the Crumb Cake layer before gluing it onto the card base.
We stamped the banner in Blushing Bride, and the sentiment in Crumb Cake – so easy to line up with the see through photopolymer stamps! – then cut it using the Large Numbers Framelits Dies. This die set has a banner that coordinates with several of the new stamp sets.
We then glued the banner on top of the ribbon. Then we glued on some scattered sequins in Blushing Bride, White, and Silver. The Silver ones are from the Metallics Sequin Assortment, and the rest are from the Love Blossoms Embellishment Kit. The kit includes gold sequins, but I was in more of a silver mood when I designed this card. I’m sure it would be just as lovely with a heart cut from a Gold Foil sheet and gold sequins.

We used the Envelope Punch Board to make the envelope from Whisper White Envelope Paper, then stamped the floral design on the flap in Crumb Cake.
I hope you’ll hop along to the next stop on the blog hop, Becky Volpp at Ink Blossom with Becky. There’s lots of inspiration to be found in this group – and you don’t want to miss it!
Dec 20, 2015 | Blog Candy, Blog Hop, Cards, Challenges, CYCI, Occasions |

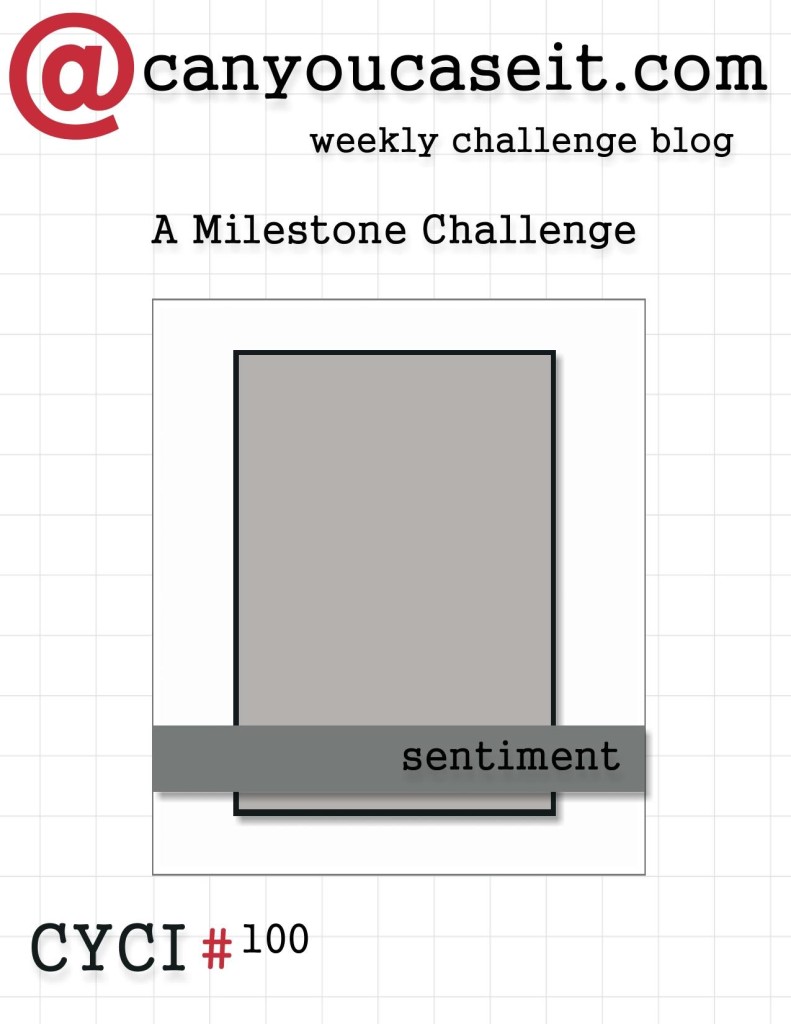
This week’s CanYouCaseIt.com challenge is a very special one. For the 100th CYCI challenge we are doing a Blog Hop AND Blog Candy!
Here is this week’s sketch…
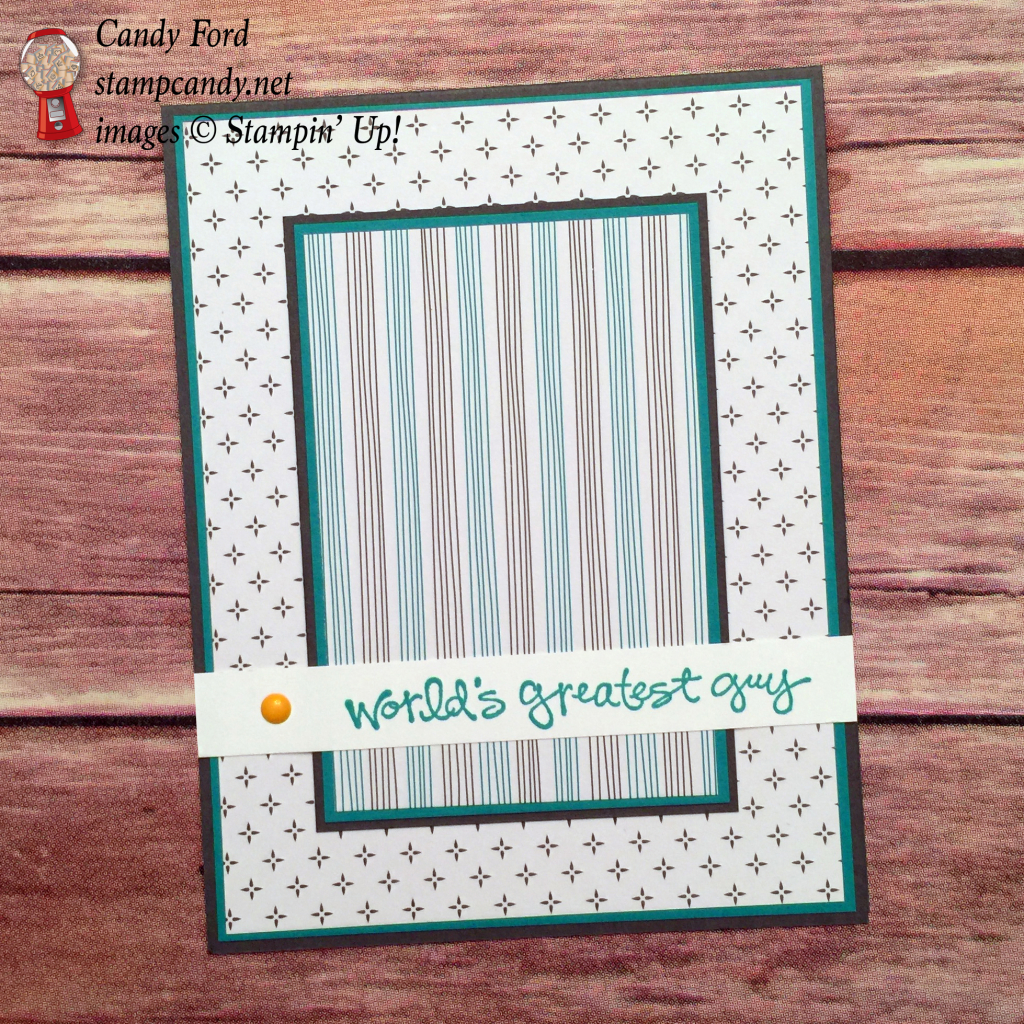
…and here is my card.
To make it even more special, I’m giving you a sneak peek at some of the new products that will be available to order on January 5 from the 2016 Occasions Catalog.
Both patterned papers are from the new Have a Cuppa Designer Series Paper Stack. The stack is very colorful, but these two patterns look stately, calm, and rather masculine.
The Crushed Curry dot, from the new It’s My Party Enamel Dots, adds a little pop of color.
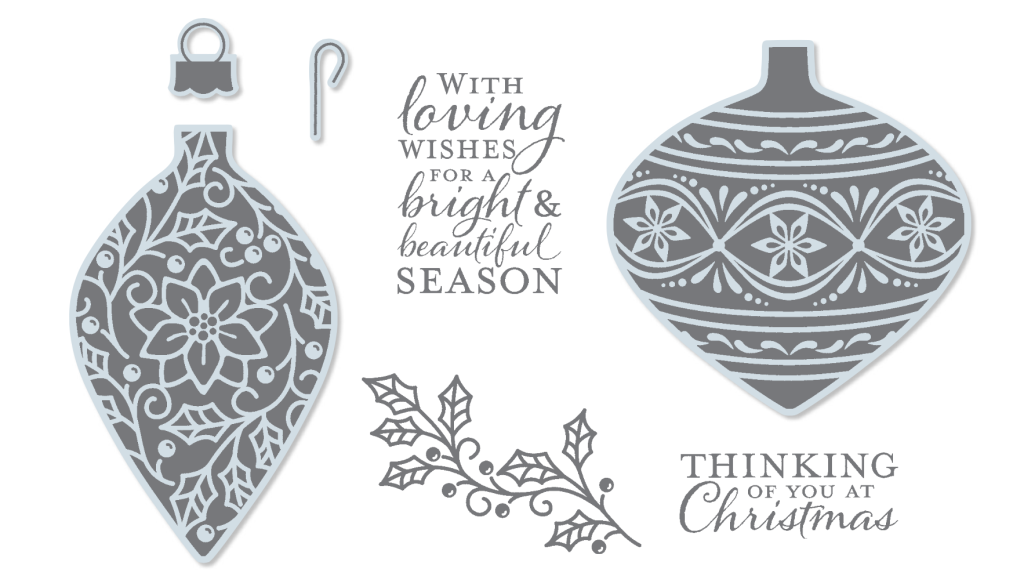
The sentiment is from the new Greatest Greetings stamp set, which has 15 different sentiments in an adorable font:

The card base and mats for both panels are Basic Grey and Bermuda Bay card stock. The sentiment is stamped in Bermuda Bay on Whisper White.
Here’s what I used:
FREE STUFF
Here is my blog candy: Versatile Christmas stamp set, Winter Wonderland Designer Vellum Stack, Metallic Silver Baker’s Twine, Home For Christmas Enamel Dots, and Season of Cheer Washi Tape. That’s a $45 value!

To enter the drawing for this blog candy, simply leave a comment below by January 1. On January 2, I will announce who the winner is – chosen using the random number generator at random.org. Be sure to check back to see if you’ve won an extra Christmas gift! (I will ship anywhere in the US.)
Everyone on the blog hop is offering blog candy, so be sure to comment on each post to enter all the different drawings.
And don’t forget to join us on canyoucaseit.com by posting your project for a chance to be a winning pick of our Design Team Members!
If you lose your place along the hop, refer to this list:
Thanks for stopping by today, and Sweet Stamping!

Dec 15, 2015 | Blog Hop, Cards, Christmas, Holiday |

Welcome to InKing Royalty’s December Blog Hop! Today’s hop is filled with inspiring projects that share lots of Holiday Cheer. We are excited to share our projects and hope you’ll find great inspiration from our talented team members in this hop. After you read my post, I hope you’ll hop over to the next person on the list at the base of this post.
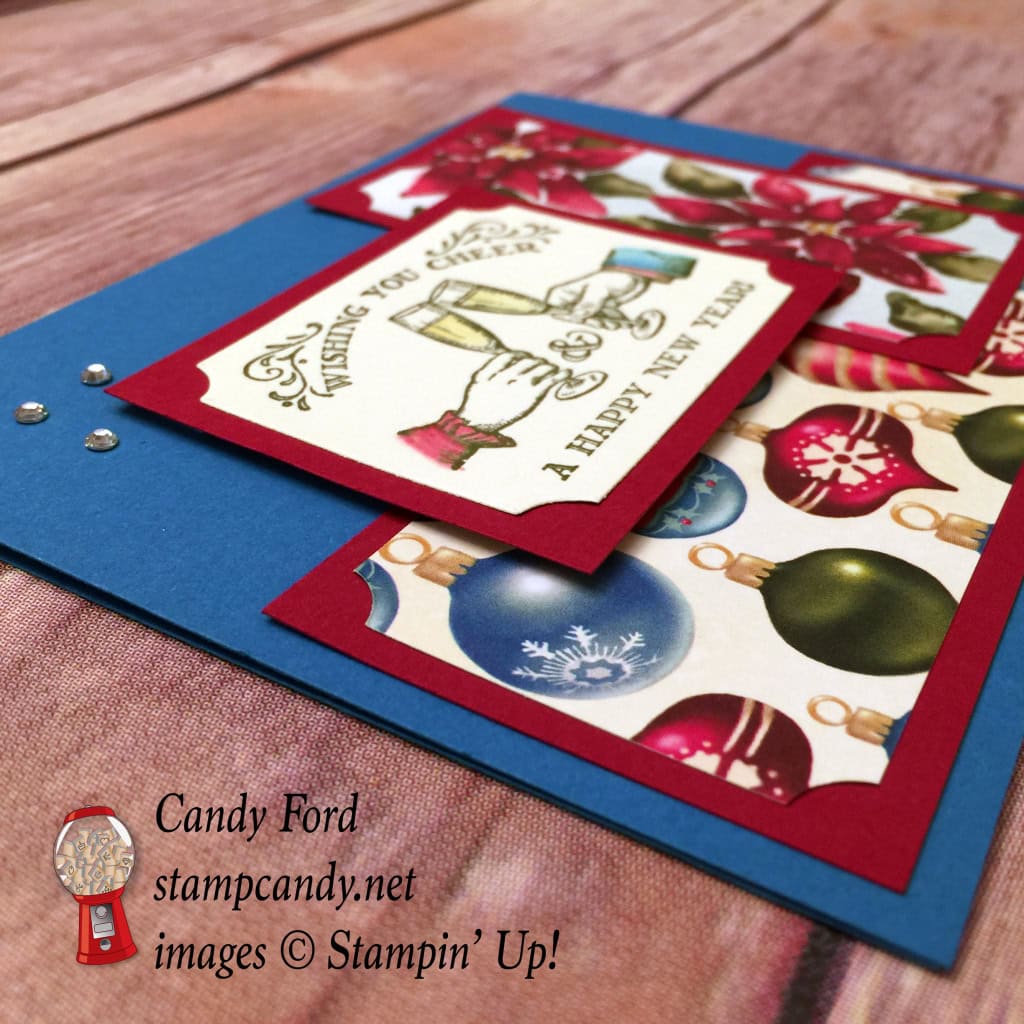
I took my first bit of inspiration for today’s card from the theme of this blog hop, Holiday Cheer. When I looked at my Designers Series Papers and saw Season of Cheer, I knew I had to use it. I chose a couple of very cheerful designs and decided to use them together. Since both designs are a little busy, I separated them by matting them in Cherry Cobbler.
I stamped the sentiment, from the Antique Tags holiday host stamp set, in Mossy Meadow on Very Vanilla. I cut it with the Tags & Labels Framelits Dies and matted it with Cherry Cobbler as well. I used a Blender Pen to color the image in Hello Honey, Cherry Cobbler, and Pacific Point.
All the colors of card stock and ink I used are in the Season of Cheer DSP.
Since the corners of the sentiment were cut out by the die, I used my 1/2″ Circle Punch to cut the DSP corners the same way. Since the card’s layout is asymmetrical, I wanted to add as much parallelism as I could.
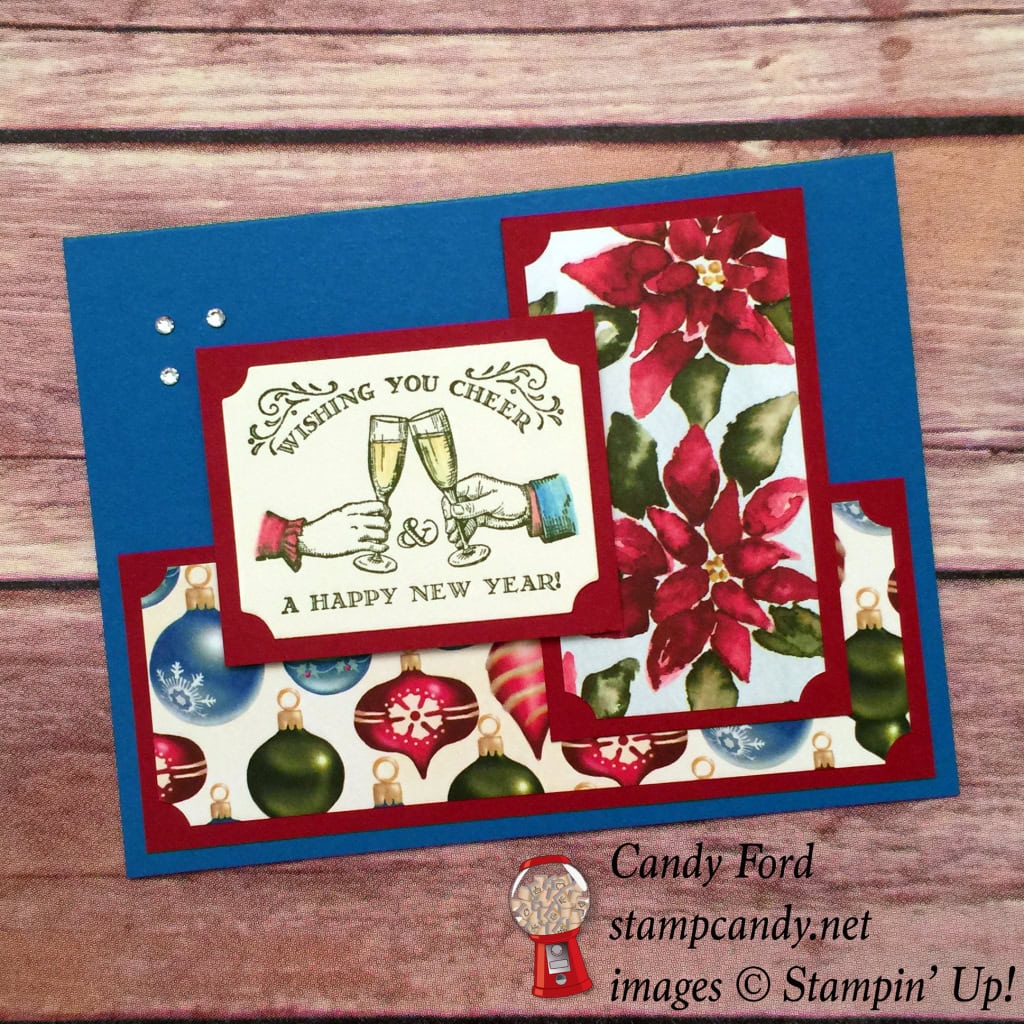
I glued the two DSP panels directly onto the Pacific Point card base, but I adhered the sentiment panel with Stampin’ Dimensionals. Three Rhinestone Basic Jewels at the corner balance the layout and add a tiny bit of sparkle to the otherwise matte card. Against the Pacific Point, they remind me of little stars in the sky.
I hope you’ll hop along to the next stop on the blog hop, Lynn Kolcun at Avery’s Owlery. There’s a lot of inspiration to be found in this group – and you don’t want to miss it!
Thanks for stopping by today, and Sweet Stamping!
Thank you for hopping along with us. If you get stuck during the Blog Hop, please use this line-up as a guide:
- Brian King at Stamp with Brian
- Shawn de Oliveira at ShawnStamps
- Denise Hoepfner at The Mountain Magpie
- Becky Volpp & Megan Quillen at Ink Blossom with Becky
- Deb Cozzone at Grand Central Stamping
- Sharon Walker at Stamp with Sharon W
- Lisa Pretto at InkBig Academy Stamps
- Julie DiMatteo at The Paper Pixie
- Candy Ford at StampCandy
- Lynn Kolcun at Avery’s Owlery
Here’s what I used today:
Nov 24, 2015 | Bags, Blog Hop, Gift Wrap, Holiday |
Welcome to InKing Royalty’s November Blog Hop! Today’s hop is filled with inspiring projects that share the gratefulness of the season. Whether you are ready to celebrate Thanksgiving this week or just feel reflective of the things that make you thankful, we are sure you’ll find great inspiration from our talented team members. After you read my post, I hope you’ll continue along the list at the base of this post.
How better to show your gratitude than with a gift? And what better way to present that gift than in a custom decorated gift bag?
The Petite Cafe Bags are perfect for so many things, including food items, and the roll down top prevents spilling. And it’s the only part of this project that wasn’t a scrap!
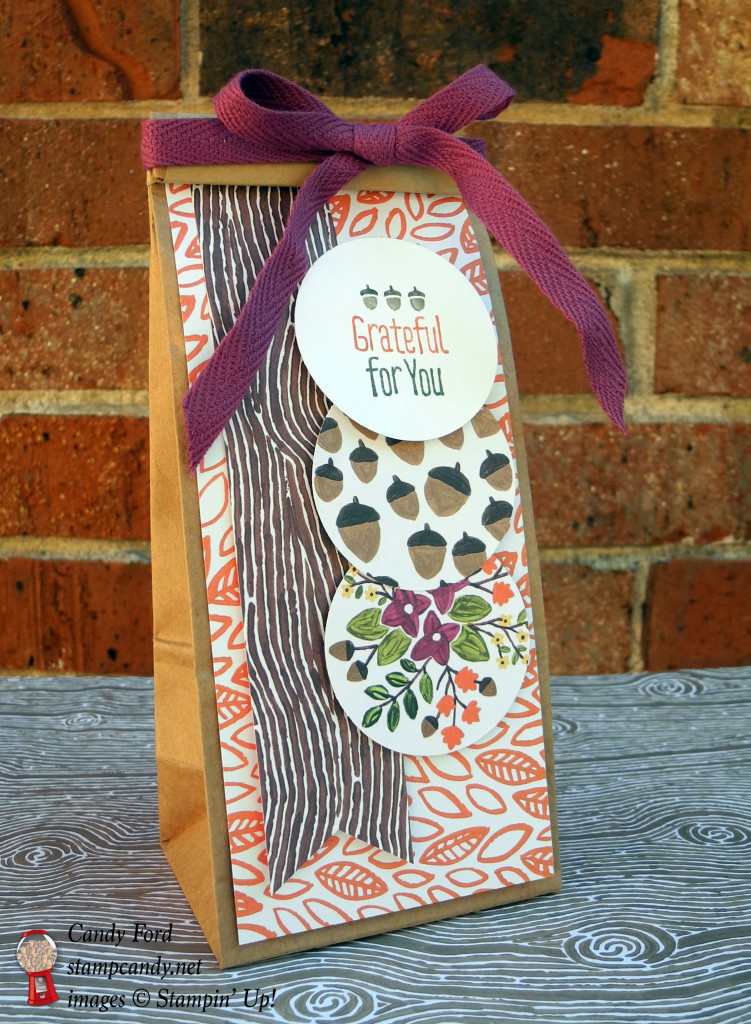
I cut a scrap of Into The Woods Designer Series Paper to 3″ x 7″ and another one to 1-1/4″ x 7″. I cut the notch in the end of the slender piece with the Banner Triple Punch. I adhered these two pieces to the bag with Fast Fuse. I cut a couple more scraps of the DSP with the 2″ Circle Punch.
On a scrap of Whisper White card stock, I stamped the sentiment from the A Little Something stamp set, coloring the stamp with Stampin’ Write Markers in Soft Suede, Early Espresso, Tangelo Twist, and Mossy Meadow (all colors in the paper.) Then I cut it with the 2″ Circle Punch.

I used Stampin’ Dimensionals to adhere all the 2″ circles.
A piece of Into The Woods 3/8″ Cotton Ribbon tied around the top completes the look.
Super duper quick and easy!
Be sure to hop along to the next stop on the blog hop, Shawn de Oliveira at ShawnStamps. There’s alot of inspiration to be found in this group – and you don’t want to miss it!
Thank you for stopping by today, and Sweet Stamping!
Thank you for hopping along with us. If you get stuck during the Blog Hop, please use this line-up as a guide:
- Brian King at Stamp with Brian
- Jennifer Spiller at Westside Paper Creations
- Becky Volpp & Megan Quillen at Ink Blossom with Becky
- Deb Cozzone at Grand Central Stamping
- Candy Ford at StampCandy
- Shawn de Oliveira at ShawnStamps
- Amy Whelan at Amy’s Inklings
- Denise Hoepfner at The Mountain Magpie
- Lynn Kolcun at Avery’s Owlery
- Pam Morris at Tap Tap Stamp
- Lisa Pretto at InkBig Academy Stamps
- Julie DiMatteo at The Paper Pixie
- Kelly DeTommaso at Kelly’s Creative Corner
- Sharon Walker at Stamp with Sharon W
Here’s what I used in today’s project. Click on the images below to get your own so you can make this adorable gift bag!
Sep 30, 2015 | Blog Hop, Decor, Halloween, Holiday, Kits, New Products |

Welcome to InKing Royalty’s September Blog Hop. We are helping to prepare you for October with super-fun Tricks OR Treats. Our projects center around fun techniques (tricks) or creative ways to package up Halloween goodies (treats.) In some cases you might get BOTH! What fun! After you read my post, I hope you’ll hop over to the next person on the list at the base of this post.
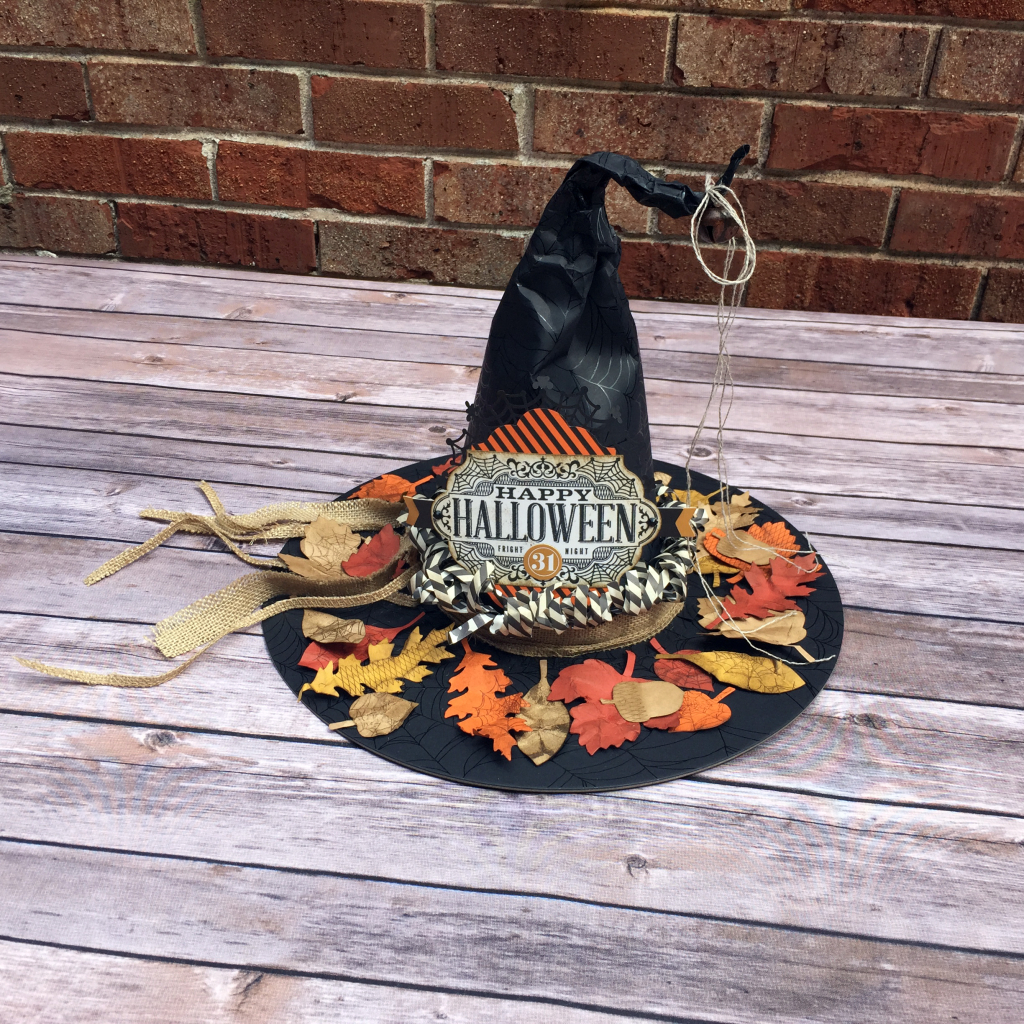
I’ve used a few tricks (sponging, heat embossing, crumpling) and leftovers from the Witching Decor Project Kit, to create this candle label. The candle itself is a battery operated black candle from the local Halloween store.
For the label, I used four leaves, a label, and a Spider Web Doily from the kit. I flipped the black doily over to the white side and inked it up in Cajun Craze.
I sponged the label in Delightful Dijon, Cajun Craze, Tangelo Twist, and Soft Suede inks to create a mottled effect. I thought about embossing in clear and inking in Basic Black or Early Espresso – the Joseph’s Coat technique. But then I decided to heat imboss the image in gold.
I crumpled the leaves with my hands and inked them up in Soft Suede.
I glued all the parts together and glued the label onto the card stock belly band.

The raven’s eye is a Pearl Basic Jewel colored with a black Sharpie marker

And here’s my completed Witching Decor Project kit, whose leftovers I used.
Thank you for hopping along with us. If you get stuck during the Blog Hop, please use this line up as a guide.
- Brian King at Stamp with Brian
- Candy Ford at StampCandy <— YOU ARE HERE
- Lynn Kolcun at Avery’s Owlery
- Lydia Fiedler at Understand Blue
- Shawn de Oliveira at ShawnStamps
- Lisa Pretto at InkBig Academy Stamps
- Sharon Walker at Stamp with Sharon W
- Jennifer Spiller at Westside Paper Creations
- Becky Volpp at Ink Blossom with Becky
Here’s what I used:
Thanks for stopping by today, and Sweet Stamping!
Aug 26, 2015 | Blog Hop, Cards, Christmas, Holiday, New Products |

Welcome to InKing Royalty’s August Blog Hop. Stampin’ Up!’s 2015 Holiday Catalog is just around the corner (it’s live on September 1) – and this amazing book is filled to the brim with incredible bundles at discounted prices. Who doesn’t love to save with bundles?!? Today we are Bundled Up for the Holidays as we celebrate these amazing stamp set bundles from the Holiday Catalog. After you read my post, I hope you’ll hop over to the next person on the list at the base of this post.
I’d like to propose a toast to all the InKing Royalty team members, and to the new Holiday catalog!
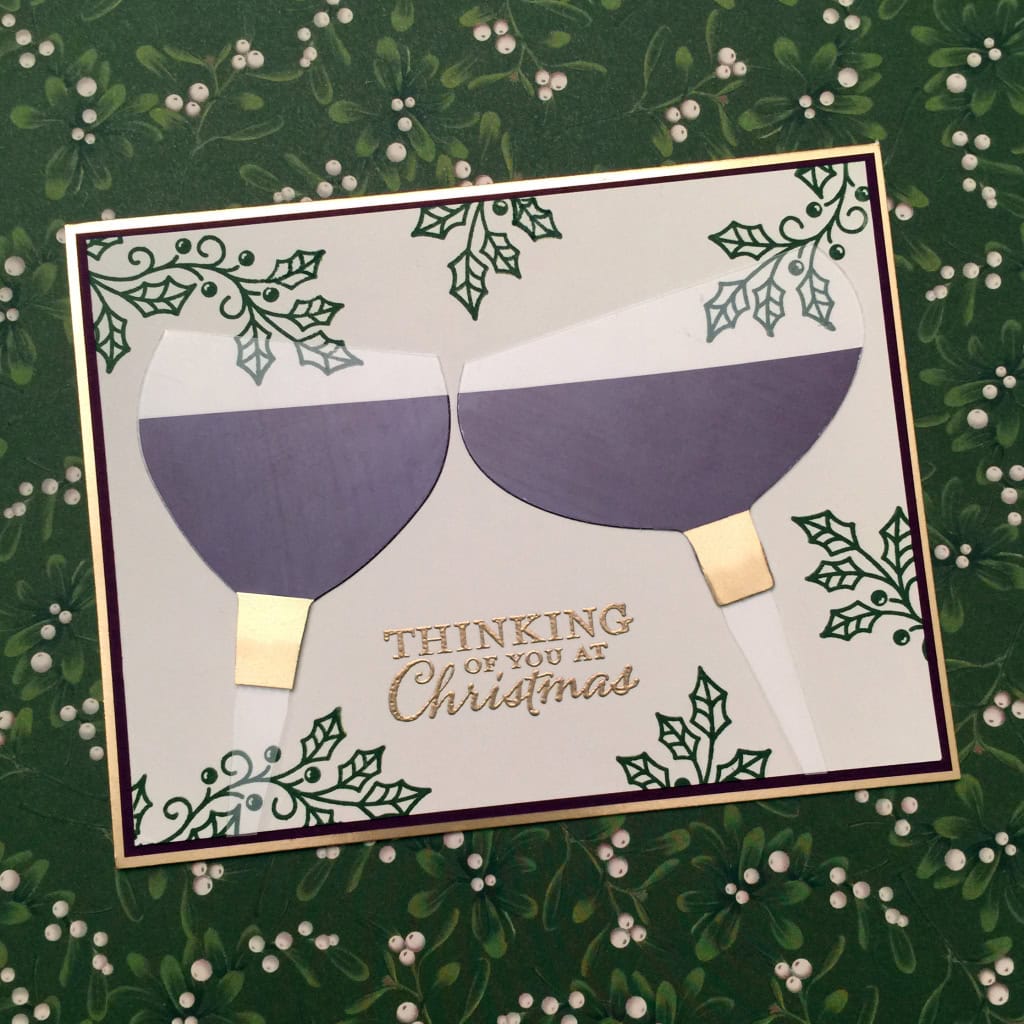
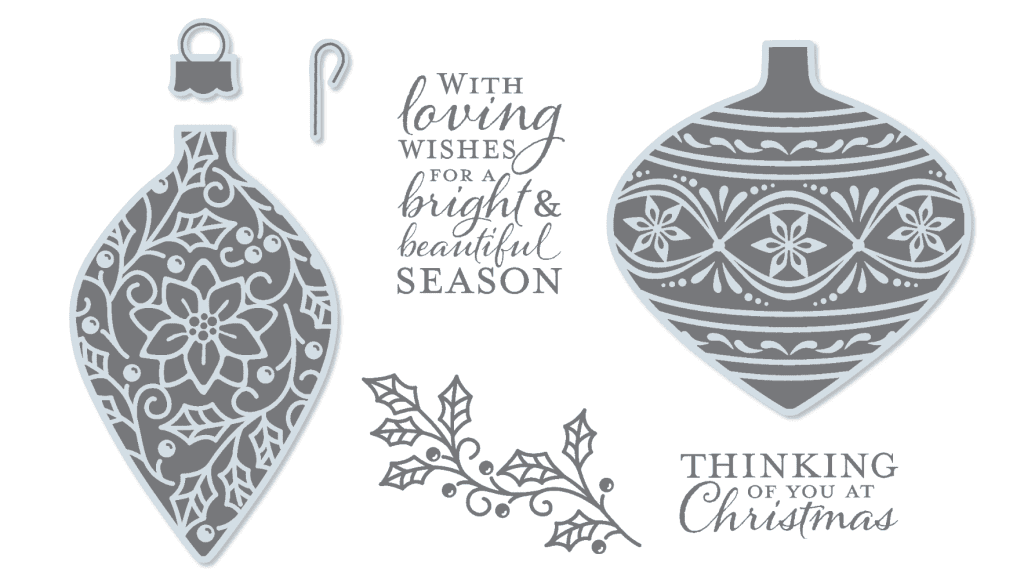
I love to use products in alternative ways from their original intention. I happened to glance at page 15 of the new Holiday catalog upside down. The Embellished Ornaments stamp set and Delicate Ornament Thinlits Dies help us create gorgeous ornaments, but upside down they reminded me of wine glasses.
I used the two open ornament dies to cut Blackberry Bliss card stock and a clear Window Sheet. I cut the clear pieces straight across to make the bowls. Then I cut the Blackberry Bliss pieces at an angle, because I knew I wanted the glasses of wine to be tilted in for a toast. I would like to note that the Blackberry Bliss looks much richer in person. In the photo, there is a lot of reflection off the clear wine glass.
I used my Paper Snips to cut the stems from the Window Sheet, and then to cut some scraps of a Gold Foil Sheet as a decorative element – and to hide where the pieces are adhered together!
On a piece of Very Vanilla card stock, I stamped the holly in Mossy Meadow, and I heat embossed the sentiment in gold. Then I adhered the wine glasses. I cut the mat from Blackberry Bliss card stock, and the card base from a Gold Foil Sheet.
The mistletoe background of the photo is a piece of Home for Christmas Designer Series Paper.
I hope you’ll hop along to the next stop on the blog hop. There’s a lot of inspiration to be found in this group – and you don’t want to miss it!
Thank you for stopping by today, and Sweet Stamping!
InKing Royalty Blog Hop Lineup – please hop over to the next person on the list for more inspiration and exciting bundles from the Holiday Catalog: