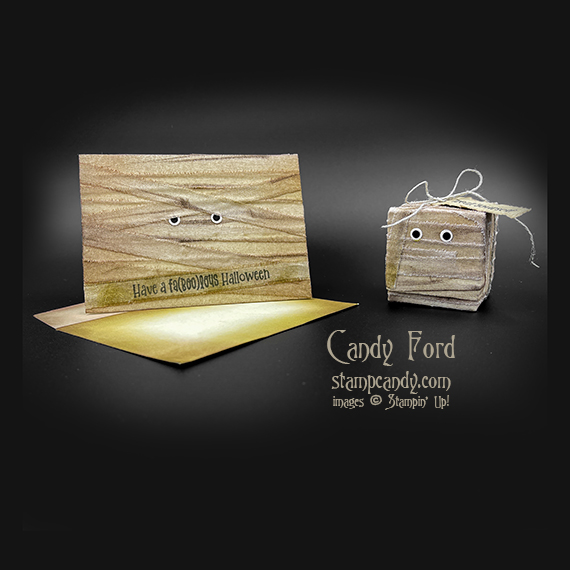
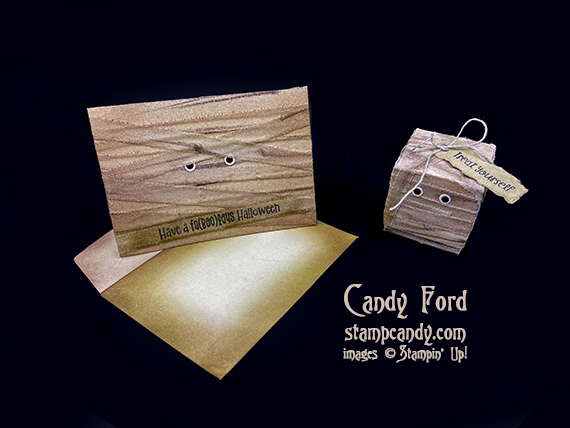
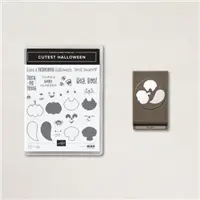
Welcome to the October 2021 OSAT Blog Hop! This month’s theme is A Ghoul’s Night Out, so we’re sharing Halloween projects with you today. The theme suggests fun, and I wanted my projects to be fun, but also spooky. I used Linen Paper and the Cutest Halloween Stamp Set to create a mummy card and treat box. The Cutest Halloween stamp set can be bundled with the Halloween punch to save 10%. The bundle is also a part of the Cute Halloween Suite Collection.
Be sure to hop all the way around to all the blogs to see all the great projects this group has created for you!
If you are reading this in email, some photos may appear blurry, or may not appear at all. Please click hereto see the post on my blog.
S October 2021 OSAT Blog Hop October 2021 OSAT Blog Hop October 2021 OSAT Blog Hop October 2021 OSAT Blog Hop
Here’s what I made:
S
Here’s what I did:
Linen Paper:
cut Linen paper to 6″ x 6″ (2 pieces)
used a Blending Brush and ink pads in Crumb Cake, Soft Suede, and Early Espresso to color the Linen paper
colored the edges and flap of a Very Vanilla Note Card envelope using the same Blending Brush and ink pads
added more color to the Linen paper with the edges of the ink pads
used Paper Snips to cut little snips along one edge of the Linen Paper, just to get it started so I could tear it into strips
tore the Linen paper into strips averaging about 3/8″ wide
Note: the backing tended to curl up or come off entirely as I tore.
Stamped with the Cutest Halloween stamp set:
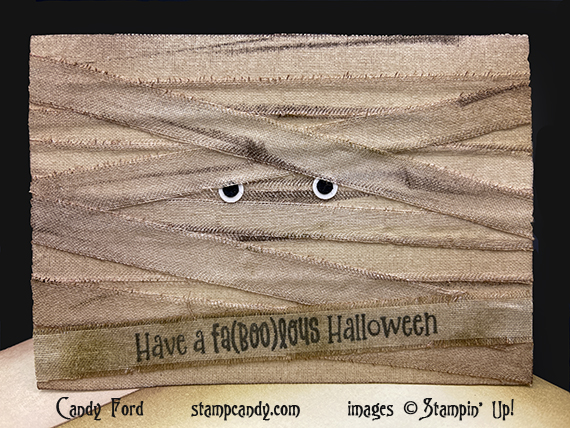
card sentiment in Jet Black Memento ink onto one of the linen strips (I used my Stamparatus to stamp a few times so it would be nice and dark.)
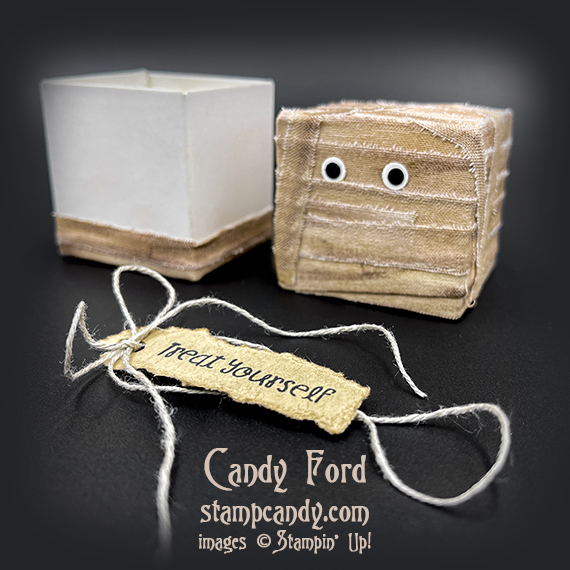
box sentiment in Jet Black Memento ink onto a scrap of Crumb Cake cardstock (CS)
Envelope:
colored the edges and flap of a Very Vanilla Note Card envelope using the same Blending Brush and ink pads
Eyes:
cut 4 circles from Basic Black CS using the Turtle Builder Punch
cut 4 circles from Basic White Thick CS using a standard hand-held 1/4″ hole punch (available anywhere you buy office or school supplies)
Tag:
tore the Crumb Cake CS around the box sentiment, leaving a little extra space at one end for the hole
cut a hole in the end using the Turtle Builder Punch
used the same Blending Brush and Soft Suede ink pad to “dirty up” the tag a little bit
Assembled the card:
burnished the fold in a Very Vanilla Note Card with a Bone Folder
applied torn strips of Linen paper onto the card front, then trimmed the excess from the ends using Paper Snips
Note: I used the strips from the cut edges of the Linen paper along the top and bottom of the card front.
applied the strip with sentiment over the other strips
ran blending brush over strips for a little more dirt
glued 2 eyes onto the strips
Assembled the box:
burnished the folds in the box and lid with a Bone Folder, and folded to assemble
applied linen strips onto the top of the lid, covering up the little ribbon handle
wrapped linen strips around the sides of the lid to cover the whole thing
Note: I used the strips from the cut edges of the Linen paper along the top and bottom of the lid.
wrapped strips around just the bottom of the box (Only cover the part of the box that shows when the lid is on, about 1/4″ to 3/8″. I sent a little above that and the strips tend to curl down in a few places when the lid goes on the box.)
wrapped any extra strips in a haphazard way over the lid
ran blending brush over strips for a little more dirt
glued 2 eyes onto one side of the lid
wrapped linen thread around the box and tied it in a bow, also tying on the tag
S
Here’s the October 2021 OSAT Blog Hop:
s
Here are today’s colors:
You can click on each one to see all the products that come in that color!
Click on these images for more details and to purchase. If you are reading this post in email, the product images may not show up. Please click hereto see the post on my blog.
Gift Certificates are available in any U.S. dollar amount from me. Contact me for details.
Have you shopped from me within the past year? Join my private VIP Facebook group for exclusive project tutorials and more!
Join my team and enjoy a 20% discount (or more) on all your purchases! You choose $125 in products and pay only $99, and get free shipping! No obligation! No selling required!
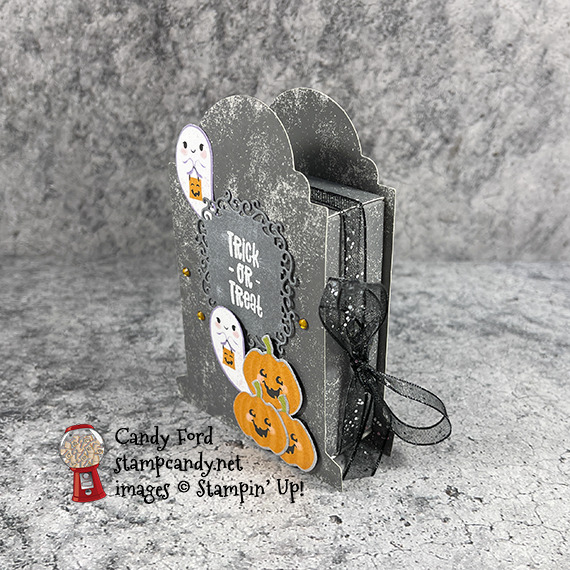
Welcome to the October 2021 ICS Blog Hop! This month we are featuring our favorite punches. Of course, it’s impossible for me to choose one punch as my favorite. I like them all! But I finally decided to use the Halloween Punch because, you know, it’s October and all. The punch can be purchased alone or in a bundle with the Cutest Halloween stamp set (save 10% when you buy the bundle!)
If you are reading this in email, some photos may appear blurry, or may not appear at all. Please click here to see the post on my blog.
S October 2021 ICS October 2021 ICS October 2021 ICS October 2021 ICS
Here’s what I made:
S
Here’s what I did:
Stamped with the Cutest Halloween stamp set:
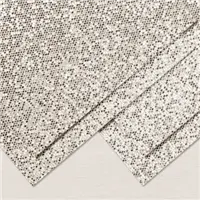
sentiment in Versamark ink onto a scrap of Basic Gray cardstock (CS), then heat embossed it in white
Cut using the Ornate Frames Dies:
sentiment
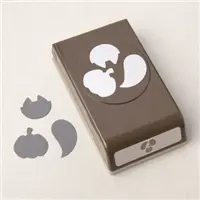
Cut using the Halloween Punch:
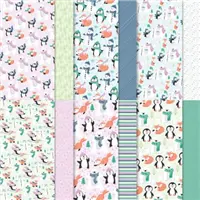
3 pumpkins and 2 ghosts from the Cute Halloween Designer Series Paper (DSP)
Inked using a Sponge Dauber:
sentiment die cut in White Craft Ink, then dried the ink using the lower setting of my Heat Tool
Assembled the project:
burnished the folds in the box and lid with a Bone Folder, then assembled the box
sentiment and one ghost glued onto the lid of the box (Note: the ghost extends past the top of the box, I was careful only to to apply glue where it would be adhered onto the box.)
3 pumpkins glued together in a cluster, then adhered onto the box lid using Black Stampin’ Dimensionals
second ghost adhered onto the box lid, as if coming out from behind the pumpkins, using Black Stampin’ Dimensionals
3 Pumpkin Pie rhinestones applied onto the box lid using my Take Your Pick Tool
ribbon wrapped around the lid, adhering in onto the top, bottom, and left side with Tear & Tape, then tied in a bow on the right side
redS
Here’s the October 2021 ICS Blog Hop:
Click the Next button to hop to the next blog:
Here are today’s main colors:
You can click on each one to see all the products that come in that color!
Click on these images for more details and to purchase. If you are reading this post in email, the product images may not show up. Please click hereto see the post on my blog.
Gift Certificates are available in any U.S. dollar amount from me. Contact me for details.
Have you shopped from me within the past year? Join my private VIP Facebook group for exclusive project tutorials and more!
Join my team and enjoy a 20% discount (or more) on all your purchases! You choose $125 in products and pay only $99, and get free shipping! No obligation! No selling required!
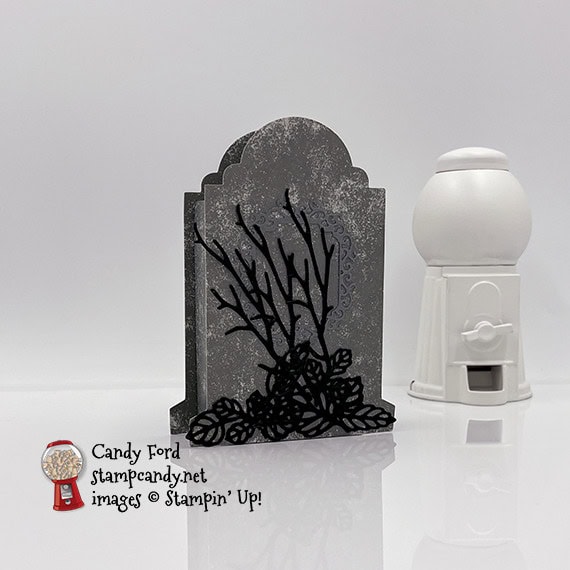
Welcome to the September 2021 InKing Royalty Blog Hop! This month’s projects feature candy and treats, so prepare your sweet tooth for some wonderful inspiration. We are excited to share our creations with you today! After you read my post, I hope you’ll hop over to the next person on the list at the base of this post.
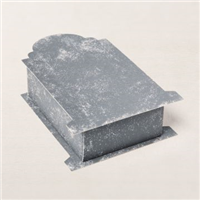
Okay, so what do you do when you’ve spent days packing for a long weekend stamping retreat, and only remember you committed to do a blog hop the night before it goes live? Oops! Well, I didn’t want to undo all that packing, so first I checked to see what I could get to easily. Stamps and inks no, but dies yes. I was able to maneuver a Mini Stampin’ Cut & Emboss Machine out of its box. And I got to a Tombstone Treat Box. Okay, that would have to do. Of course, the project had to be quick and easy so I could get my post done in time. What I came up with is a spooky tombstone with twigs and fallen leaves, that you can put goodies in.
If you are reading this in email, some photos may appear blurry, or may not appear at all. Please click here to see the post on my blog.
S September 2021 InKing September 2021 InKing September 2021 InKing September 2021 InKing https://stampcandy.net/blog-hop/september-2021-irbh-candy-treats
Here’s what I made:
S
Here’s what I did:
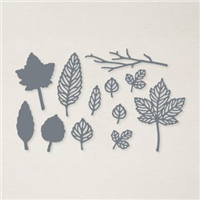
Cut using the Intricate Leaves Dies:
several of the small leaves and 3 branches from scraps of Basic Black card stock (CS)
Cut using the Ornate Frames Dies:
frame from a scrap of Basic Grey CS
Put it all together:
burnished the folds in the box base and lid with a Bone Folder, then folded them to assemble (The box comes with peel off adhesive already attached!)
frame glued onto the front of the tombstone (top of the lid)
leaves glued along the bottom of the front
That’s it! Easy Peasy, Toil & Trouble! Or is it Bubble Bubble, Lemon Squeezy?
S
Here’s the September 2021 Candy Hearts Blog Hop:
Thank you for hopping along with us. If you get stuck during the Blog Hop, please use this line-up as a guide:
Click on these images for more details and to purchase. If you are reading this post in email, the product images may not show up. Please click hereto see the post on my blog.
How would you like to get a discount on all your Stampin’ Up! purchases? Join my team of Candy Hearts (we have a lot of fun!) and you get to choose $125 in products and pay only $99 and get Free Shipping! During Sale-a-bration you also get to choose a free bundle on top of all that! Here are the bundles you can choose from:
Gift Certificates are available in any U.S. dollar amount from me. Contact me for details.
Have you shopped from me within the past year? Join my private VIP Facebook group for exclusive project tutorials and more!
Join my team and enjoy a 20% discount (or more) on all your purchases! You choose $125 in products and pay only $99, and get free shipping! No obligation! No selling required!
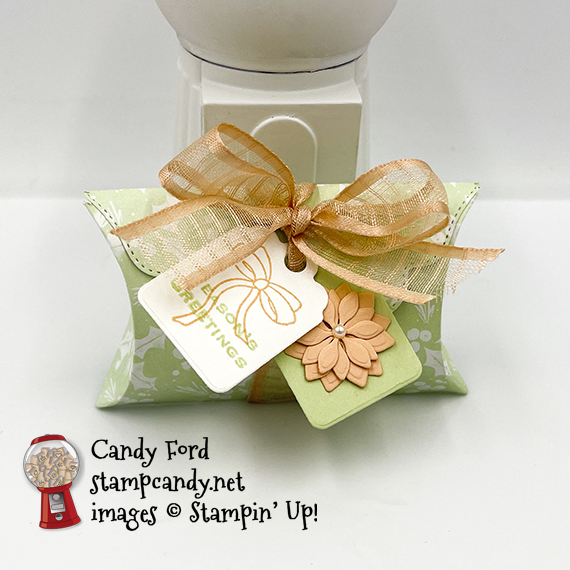
Welcome to the August 2021 CHBH! This month we are featuring 3D projects. I’m sharing a treat box I made using some new holiday products from the July-December 2021 Mini Catalog: the Pretty Pillowbox Dies and Painted Christmas Designer Series Paper.
After reading my post, be sure to hop around to all the stops to see the wonderful 3D projects this creative group has in store for you.
If you are reading this in email, some photos may appear blurry, or may not appear at all. Pleaseclick here to see the post on my blog.
S August 2021 CHBH August 2021 CHBH August 2021 CHBH August 2021 CHBH
Here’s what I made:
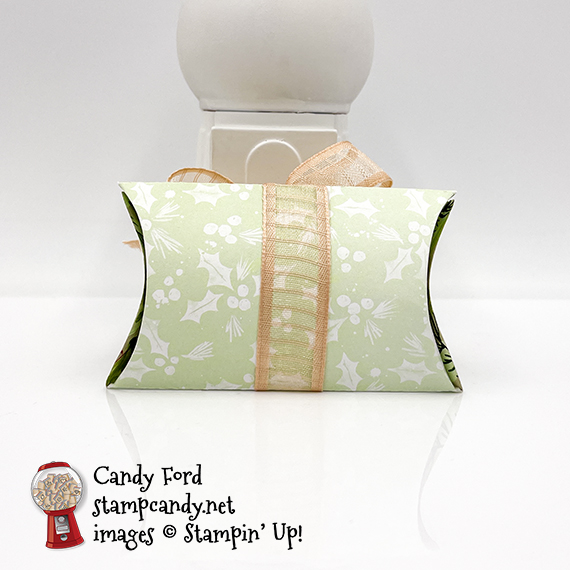
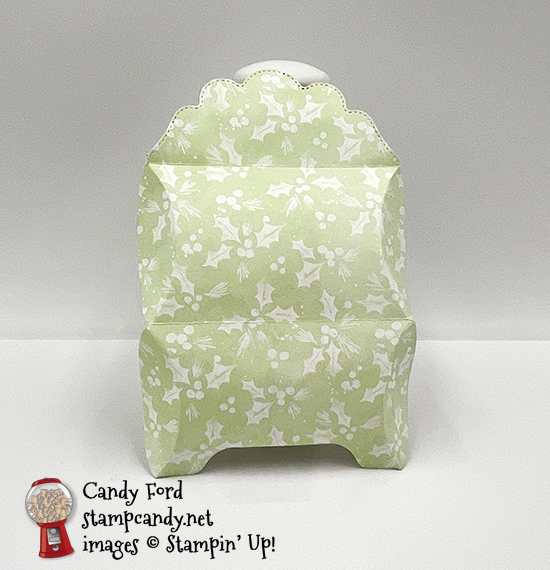
You can fold in the ends as I’ve done here, or you can glue the ends shut, since it opens at the flap.
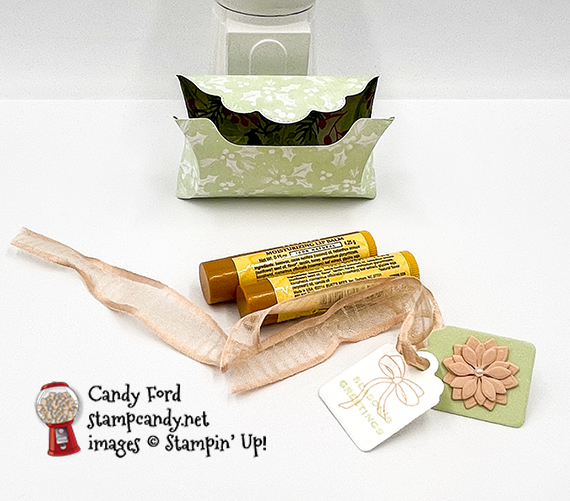
A couple of Burt’s Bees lip balms fit inside for a small and functional gift.
S
Here’s what I did:
Cut using the Pretty Pillowbox Dies:
box from a 4-1/2″ x 6″ piece of Painted Christmas DSP
2 large and 2 small flower pieces from a scrap of Petal Pink CS
tags from scraps of Soft Sea Foam and Basic White Thick CS
Stamped with the Tidings & Trimmings stamp set:
bow in Petal Pink ink onto the Basic White Thick CS tag
sentiment in Soft Sea Foam ink over the bow
Assembled the box:
burnished the folds in the box with a Bone Folder
4 flower pieces stacked and glued together, then glued onto the Soft Sea Foam CS tag
pearl applied onto the center of the flower using a Take Your Pick tool
box folded closed, and 2 lip balms put inside
tags strung onto ribbon, then the ribbon tied around the box and tied in a bow
S
Here’s the August 2021 CHBH:
Thank you for hopping with the Hearts today! Be sure to hop around to all the stops. You do not want to miss any of the creativity in this talented group of stampers! If you get lost, use the list below.
Click on these images for more details and to purchase. If you are reading this post in email, the product images may not show up. Please click hereto see the post on my blog.
Supply List. <— Click for a clickable and printable list of the products!
S
It’s Sale-a-bration time…AGAIN!
Stampin’ Up! is having the second Sale-a-bration of this year! Through 30 September 2021, you can choose a free Level 1 Sale-a-bration item for every $50 on an order, and a free Level 2 item for every $100 on an order (before tax & shipping.)
When you join my Candy Hearts team of stampers during Sale-a-bration, you get to choose $125 in product and FREE shipping and pay only $99 (plus tax) PLUS you get to choose one of a dozen new bundles! for free! You can click on each bundle below to see all the details in my online store.
Gift Certificates are available in any U.S. dollar amount from me. Contact me for details.
Have you shopped from me within the past year? Join my private VIP Facebook group for exclusive project tutorials and more!
Join my team and enjoy a 20% discount (or more) on all your purchases! You choose $125 in products and pay only $99, and get free shipping! No obligation! No selling required! Join by 30 September 2021 and you also get to choose a free bundle!!!
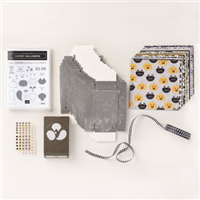
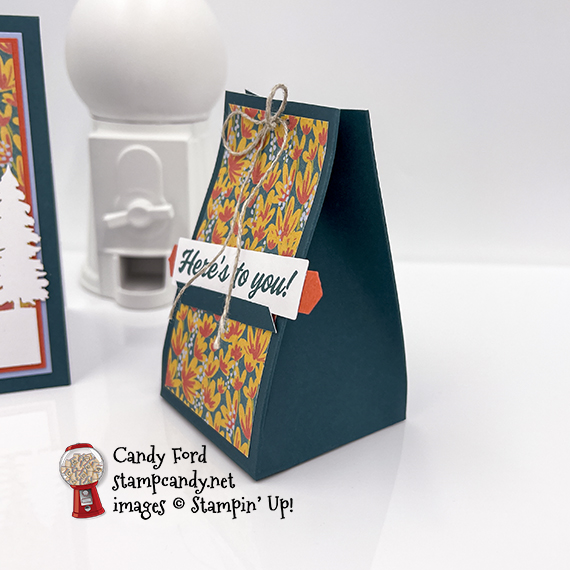
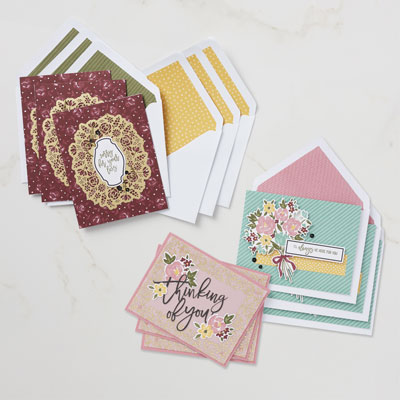
Welcome to the March 2021 Paper Pumpkin Possibilities Blog Hop! This month’s kit is called Here’s to You and it comes with everything you need to create eight fun cards with lined envelopes. I used pieces from the kit to make an alternate card and treat bag. Be sure to hop all the way around to see all the great alternate projects this group has come up with for you today!
If you are reading this in email, some photos may appear blurry, or may not appear at all. Please click here to see the post on my blog.
S March 2021 Paper March 2021 Paper March 2021 Paper March 2021 Paper
Here’s what I made:
S
Here’s what I did:
Cut and scored with my paper trimmer:
Seaside Spray card stock (CS) layer cut to 5-1/8″ x 3-7/8″
Calypso Coral CS layer cut to 5″ x 3-3/4″
floral envelope insert cut to 4-7/8″ x 3-5/8″
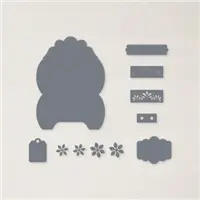
Pretty Peacock card base scored at 2-1/4″, 6-1/4″, and 8-1/4″, then horizontally 2″ from the bottom, for the bag base (It’s already scored at 4-1/4″.)
cut 1/4″ away from the left end of the bag base (keep this piece)
floral envelope insert cut to 1-1/2″ x 3-1/4″
Stamped with the Here’s to You stamp set:
“Happy Birthday” in Pretty Peacock ink onto one of the small labels from the kit
“Here’s to you!” in Pretty Peacock ink onto one of the larger labels from the kit
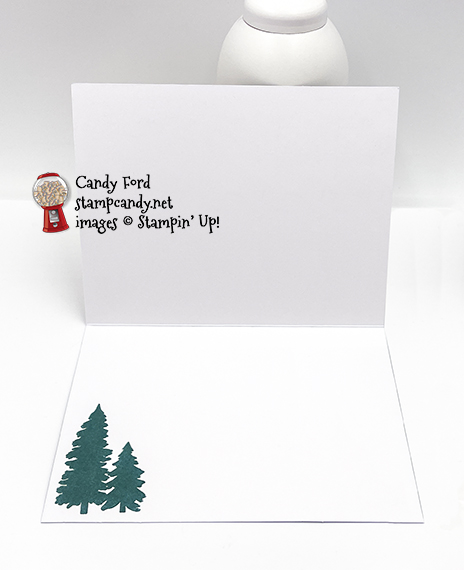
trees in Pretty Peacock ink onto the inside of the card base
Cut using the Classic Label Punch:
a scrap of Calypso Coral CS
Cut using Paper Snips:
punched shape cut in half
bottom 2 scored corners cut from the bag base, and the skinny tab angled on both sides
cut one of these extra 1/4″ pieces to 2″ long and angled both ends
cut up the score lines on the bottom of the bag, only up to the score line
Click on the template image to see it larger. For reference only – not to scale.
Assembled the card:
burnished the fold in the card base with a Bone Folder
Seaside Spray CS layer glued onto the front of the card base
Click on these images for more details and to purchase. If you are reading this post in email, the product images may not show up. Please click hereto see the post on my blog.
Supply List. <— Click for a clickable and printable list of the products!
S
Here’s the Here’s to You kit:
What comes in the kit:
What the kit makes:
The stamp set:
Click hereto download the stamp case insert, so you can keep the stamp set and any leftover parts!
s
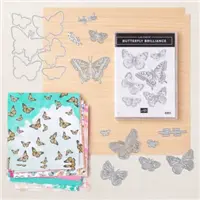
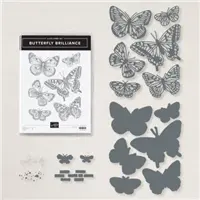
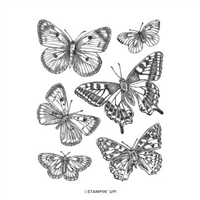
Butterfly Brilliance is here for a limited time!
These new products are out of this world gorgeous. And they’re only available for a couple months, so definitely get them as soon as you can in case they sell out! Click on the images below to see them in my online store. Or CLICK HERE to see them all.
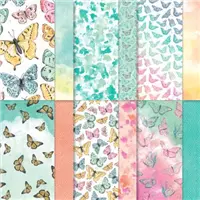
UPDATE: The Butterfly Bijou Designer Series Paper has sold out!
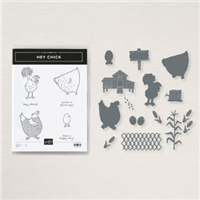
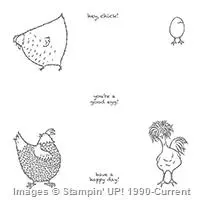
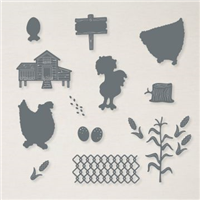
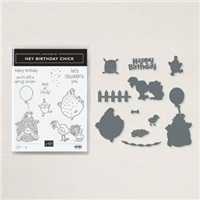
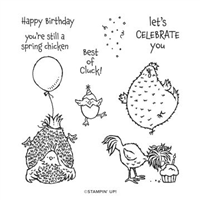
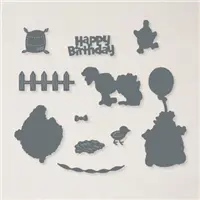
The Hey Chick stamp set from 2017 Sale-a-bration was so popular, Stampin’ Up! has brought it back. But that’s not all! Now there are coordinating dies. AND there’s a second stamp set, Hey Birthday Chick, that also has coordinating dies. One thing though – they’re available for a limited time, so get them while you can! Click on the images below to see them in my online store. Or CLICK HERE to see them all.
Gift Certificates are available in any U.S. dollar amount from me. Contact mefor details.
Have you shopped from me within the past year? Join my private VIP Facebook groupfor exclusive project tutorials and more!
Join my team and enjoy a 20% discount (or more) on all your purchases! You choose $125 in products and pay only $99, and get free shipping! No obligation! No selling required!
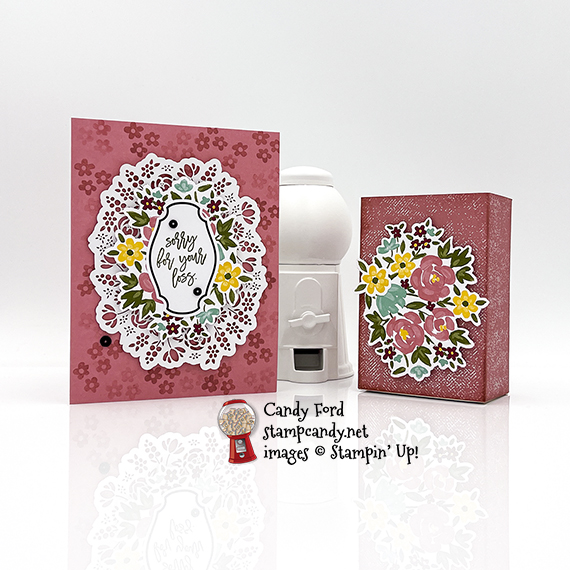
Welcome to the February 2021 PPPBH. This month’s kit is called Bouquet of Hope and it makes beautiful sympathy cards. I know these aren’t the most fun cards to make, but in my experience, it’s best to have them already made and on hand when you need them. I altered the kit to make a shabby chic style card and box: cut the stems from the large bouquet die cuts from the kit, and added smaller flowers to cover the cut area; flipped the gold doily over to the white side; and created a pop up insert for the card.
If you are reading this in email, some photos may appear blurry, or may not appear at all. Please click here to see the post on my blog.
S February 2021 PPPBH February 2021 PPPBH February 2021 PPPBH February 2021 PPPBH
Here’s the Bouquet of Hope Kit:
The stamp set:
What comes in the kit:
What the kit makes:
Click here to down load the pdf of the stamp case insert, so you can store your stamp set and any leftover parts for later use.
Click on these images for more details and to purchase. If you are reading this post in email, the product images may not show up. Please click hereto see the post on my blog.
Supply List <— Click for a clickable and printable list of the products!
S
Hey Chick is here!
The Hey Chick stamp set from 2017 Sale-a-bration was so popular, Stampin’ Up! has brought it back. But that’s not all! Now there are coordinating dies. AND there’s a second stamp set, Hey Birthday Chick, that also has coordinating dies. CLICK HERE to see them all. One thing though – they’re available for a limited time, so get them while you can!
S
Basic White is here!
The facility that manufactures Whisper White paper is closed due to COVID-19. But don’t fret. The new Basic White products are here!
Gift Certificates are available in any U.S. dollar amount from me. Contact mefor details.
Have you shopped from me within the past year? Join my private VIP Facebook groupfor exclusive project tutorials and more!
Join my team and enjoy a 20% discount (or more) on all your purchases! You choose $125 in products and pay only $99, and get free shipping! No obligation! No selling required!