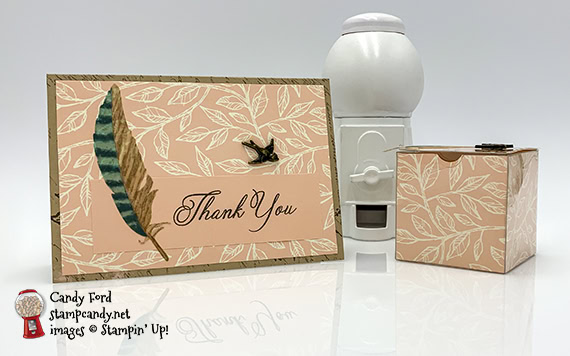
This month’s kit is called Hugs from Shelli, and it was created by Stampin’ Up! Co-founder and Board Chair Shelli Gardner. It is a beautiful kit, and I had fun using it to make alternate projects. There are lots of ways to send hugs through the mail! Be sure to scroll down for more Hugs from Shelli goodies.
S
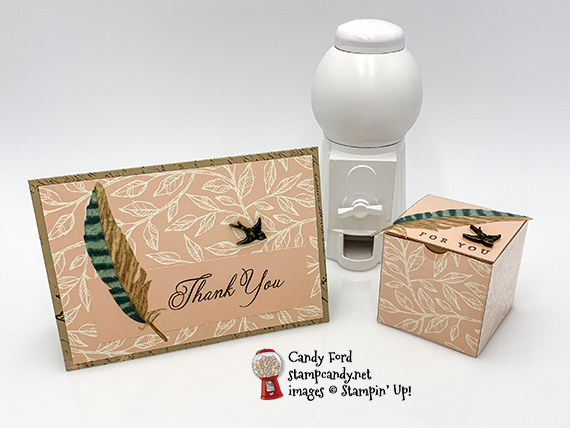
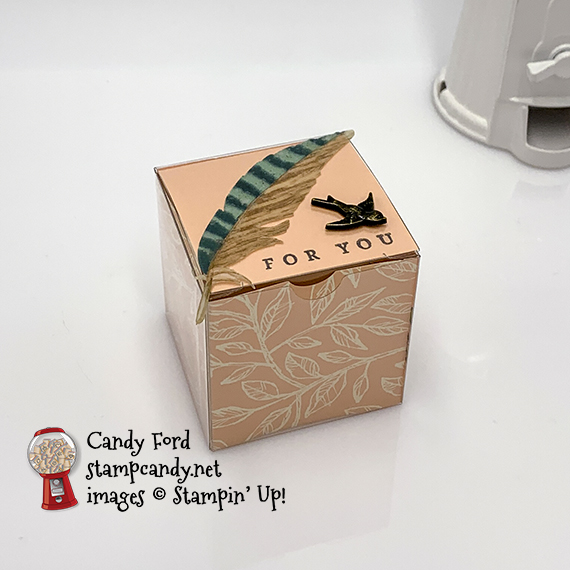
Here’s what I made:
A thank you card and coordinating treat box.
S
Here’s what I did:
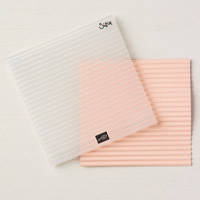
Cut and scored with my Stampin’ Trimmer:
inside of an envelope cut to 3-1/4″ x 4-3/4″ (pink pattern)
envelope flap cut to 4″ x 1-1/4″ (solid pink)
two envelope insides cut to 2″ x 4″, and scored in half at 2″ (pink pattern)
one envelope cut to 2″ x 4″, and scored in half at 2″ (solid pink)
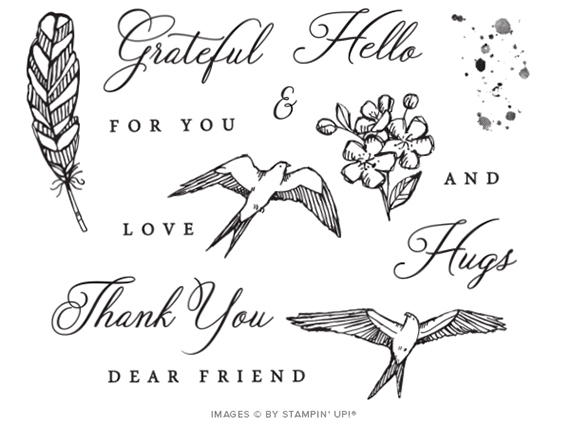
Stamped with the Hugs From Shelli stamp set:
Thank You in Early Espresso ink onto the 4″ x 1-1/4″ layer
For You in Early Espresso on one end of the 2″ x 4″ solid pink piece
Cut using the 1/2″ Circle Punch:
one side of a 2″ x 4″ pink patterned piece, to match the finger notch on the front of the box
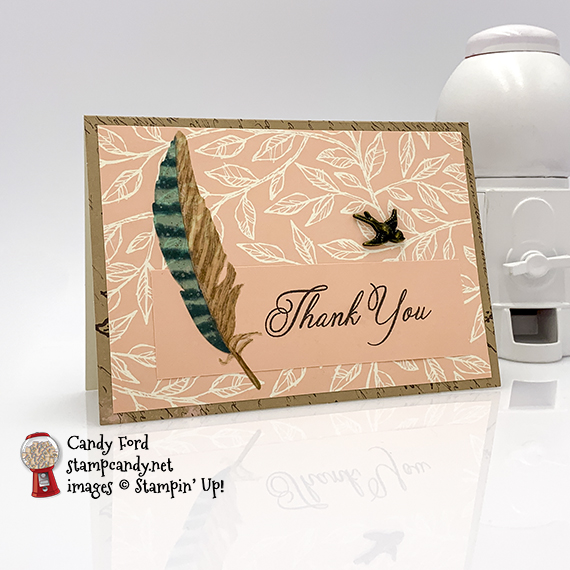
Assembled the card:
burnished the fold in a Crumb Cake card base with a Bone Folder
pink pattern layer glued onto the front of the card base
stamped layer glued onto the pink pattern layer
vellum feather adhered over the sentiment layer using Mini Glue Dots
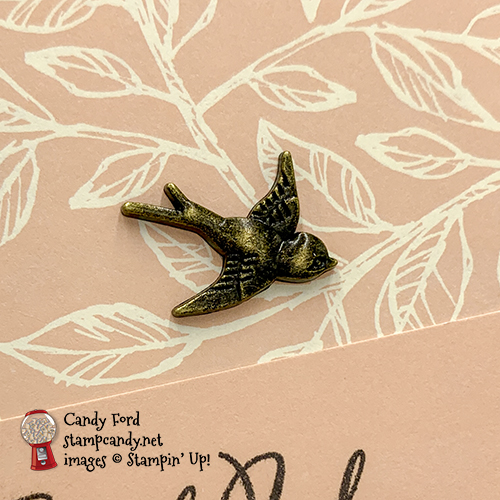
bird adhered onto the pink pattern layer using Mini Glue Dots
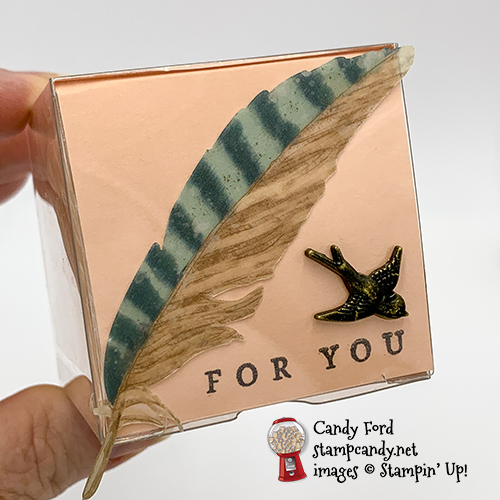
Assembled the box:
burnished the folds in the box with a Bone Folder, and folded in the bottom flaps to create the box
2″ x 4″ pink patterned pieces put in the box to line all four sides
2″ x 4″ solid pink piece put in the box so the sentiment shows through the top
feather and bird adhered onto the top of the box using Mini Glue Dots
S
Here are today’s colors:
You can click on each one to see all the products that come in that color!
Supply List <– Click here for a clickable and printable list!
S
S
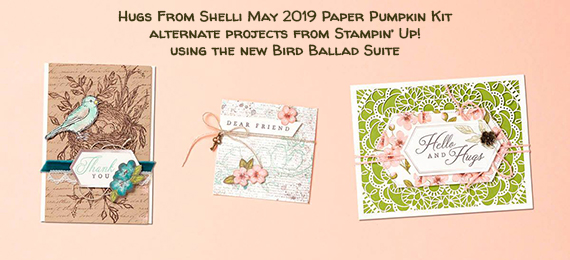
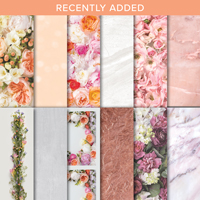
Here are some alternate projects from Stampin’ Up!:
All three of our alternate projects feature products from the stunningly beautiful Bird Ballad Suite, available for purchase beginning June 4.
Hello and Hugs Card
Just tuck a piece of cardstock behind the Bird Ballad Laser-Cut Card front to make the lacy details pop.
Free as a Bird Stamp Set; Old Olive Cardstock; ; Mossy Meadow Classic Stampin’ Pad; Bird Ballad Laser-Cut Cards & Tin; Bird Ballad Trinkets; Blender Pen; Stitched Nested Labels Dies
Thank You Card
Stamp the adorable bird from the Free as a Bird Stamp Set, watercolor (our ink colors are just a suggestion!), and fussy cut. Then, pop him up on your card front with a Stampin’ Dimensional and he will capture the heart of your recipient.
Free as a Bird Stamp Set; Shimmery White and Very Vanilla Cardstock; Coastal Cabana and Crushed Curry Classic Stampin’ Pads; 3/8″ Scalloped Lace Trim; Aqua Painter
Dear Friend Card
This card becomes an instant classic with the addition of a Bird Ballad Trinket. Just tie it to the card with linen thread (included).
Free as a Bird Stamp Set; Shimmery White and Very Vanilla Cardstock; Pool Party Classic Stampin’ Pad; Bird Ballad Trinkets
Here’s what comes in the Hugs from Shelli kit:
This kit’s coordinating colors are Crumb Cake, Old Olive, Petal Pink, Pretty Peacock, Soft Suede, Pool Party, and Very Vanilla.
Here’s the Paper Pumpkin video for Hugs From Shelli:
S
Preorder the Vibrant Vases Online Class by May 29:
Make 6 cards at home in your PJs!
2 each of 3 designs
I’ve done the trimming, scoring, and embossing for you!
You’ll receive all you need to make the cards, including the stamp set, punch, ink pads, precut/prescored/pre-embossed card kits, and 6 Whisper White envelopes.
Full detailed instructions
Limited spots available
Click on the image below for details and class options, or copy and paste this link into your browser: https://stampcandy.net/online-classes/vibrant-vases-card-class-preorder-2/
S
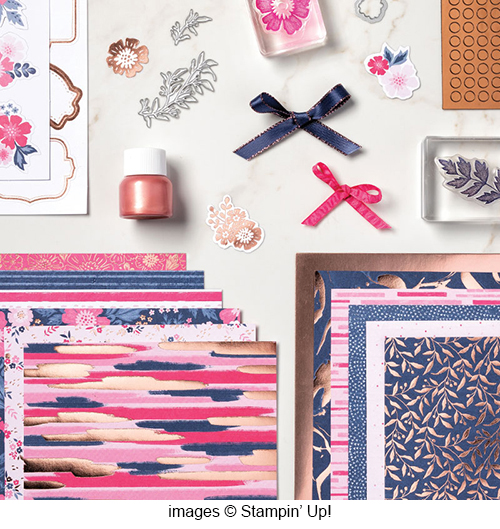
Everything is Rosy Product Medley
Available only through May 31, or while supplies last!
Item number 150059
The Everything Is Rosy Product Medley includes these exclusive products:
Everything Is Rosy Photopolymer Stamp Set—18 stamps; suggested blocks: a, b, c,
Everything Is Rosy Dies—10 dies; largest die 2-7/8″ x 1″ (7.3 x 2.5 cm)
6″ x 6″ (15.2 x 15.2 CM) Designer Series Paper Stack—48 sheets; 8 each of 6 double-sided designs
6″ x 6″ (15.2 x 15.2 CM) rose gold foil paper—8 sheets
Printed die cuts—2 sheets
Rose gold die cuts—4 sheets; 2 each of 2 designs
Rose gold adhesive backed mirror embellishments—60 embellishments; 1/4″ (6.4 mm)
Melon Mambo 1/4″ (6.4 mm) Ruched Ribbon—10 yards (9.1 m)
Night of Navy/Rose Gold 3/8″ (1 cm) Metallic –Edge Ribbon—10 yards (9.1 m)
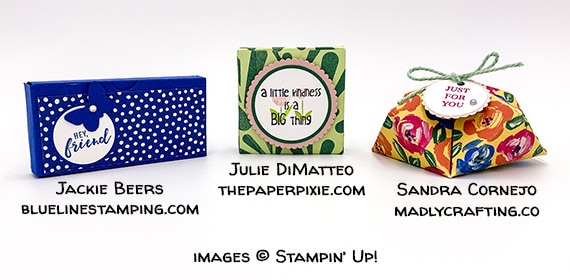
Today I’m sharing with you three adorable treats I received from friends and fellow demonstrators last weekend at Stampin’ Up!’s event called OnStage. There were multiple locations around the world, and we attended the one in Charlotte, NC. I didn’t participate in any swaps this time, but these three ladies brought gifts for everyone on the team. I’m thrilled to get to share these with you today! (A couple of them got a little squished on the way home, so they may not look quite as good here as they did when I got them.)
S
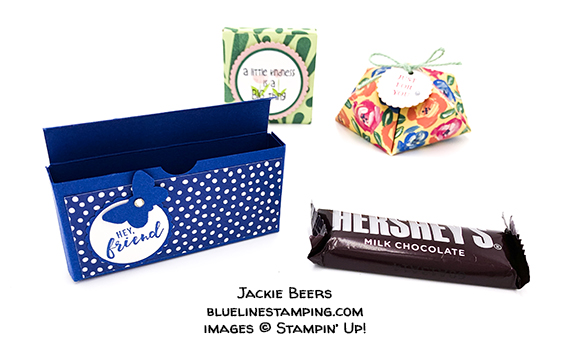
This one was made by Jackie Beers. It contained a small Hershey bar. It’s based on one made by Julie DiMatteo, and I’ve included the link to her instructions below.
S
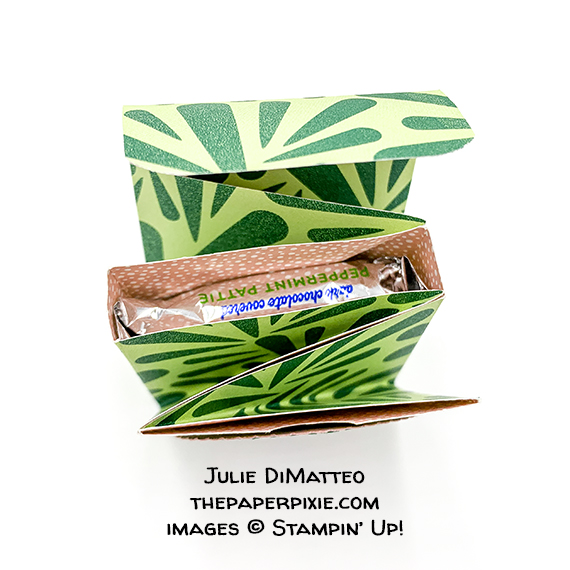
This adorable little thing holds a peppermint pattie, and was made by the adorable Paper Pixie herself, Julie DiMatteo. I’ve included the link to her instructions below.
S
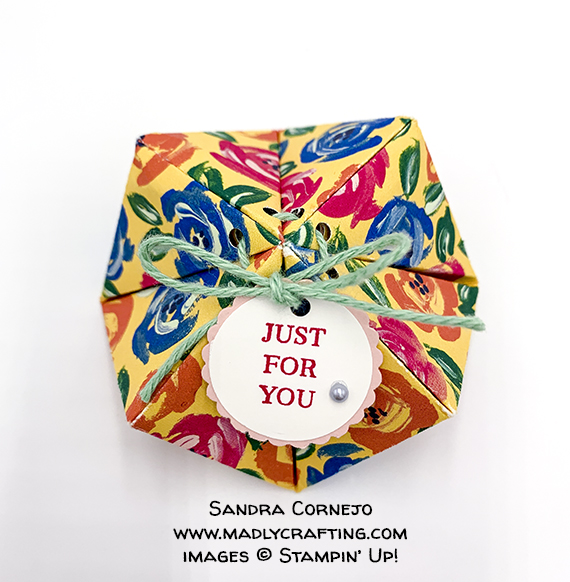
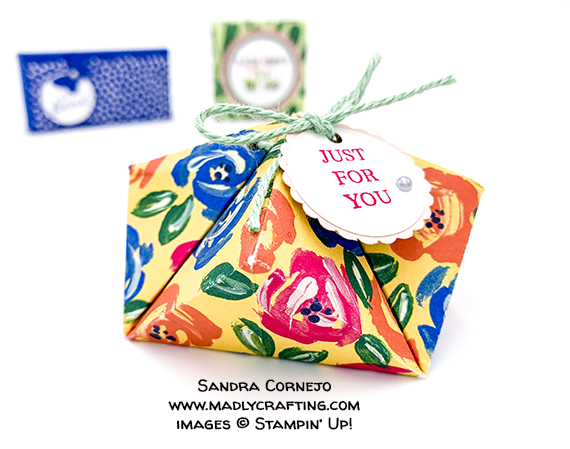
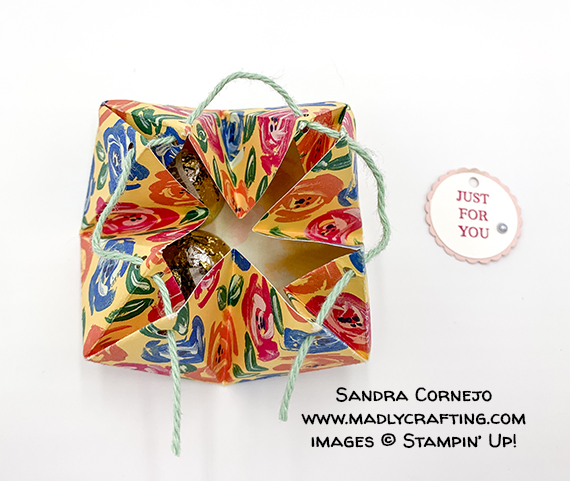
Wow, this one, made by Sandra Cornejo, is amazing! It has four little sections inside to hold small treats – this one came with Hershey’s Kisses. I haven’t found the instructions to this one yet, but I’ll keep looking.
Here are the instructions to Jackie’s box. She modified it a bit to close by tucking in the flap, instead of using a magnet closure. I believe she said she had to trim a little bit off the flap so it wasn’t quite so long.
Preorder the Sweetest Thing Online Card Class by April 24:
Make 6 cards at home in your PJs!
2 each of 3 designs
Features the Sweetest Thing Bundle and the How Sweet It Is Designer Series Paper
Featured colors: Melon Mambo, Coastal Cabana, Gorgeous Grape, Pineapple Punch, Whisper White
I’ve done the cutting, scoring, and embossing for you!
You’ll receive all you need to make the cards, including the stamp set, dies, ink pad, the precut/prescored/pre-embossed card kits, and 6 Whisper White envelopes.
Limited spots available
Click on the image below for details and class options, or copy and paste this link into your browser: https://stampcandy.net/online-classes/sweetest-thing-card-class-preorder/
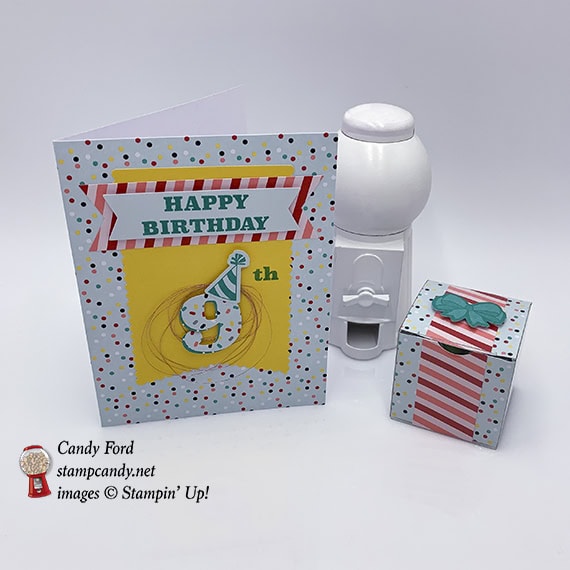
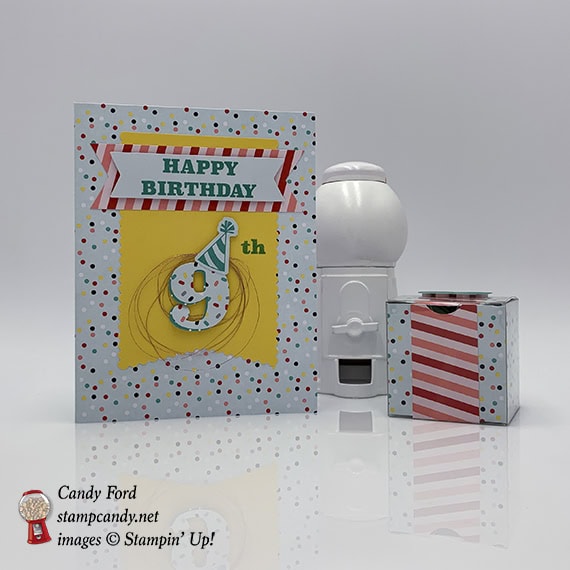
It’s time for the PPP Blog Hop! This month’s Paper Pumpkin kit, called Poppin’ Birthday, makes 8 fun pop-up birthday cards in honor of Paper Pumpkin’s 6th birthday. I can’t wait to see all the alternate projects the hoppers have come up with. Be sure to hop all the way around to see all of them!
S
Here’s what I made:
S
Here’s what I did:
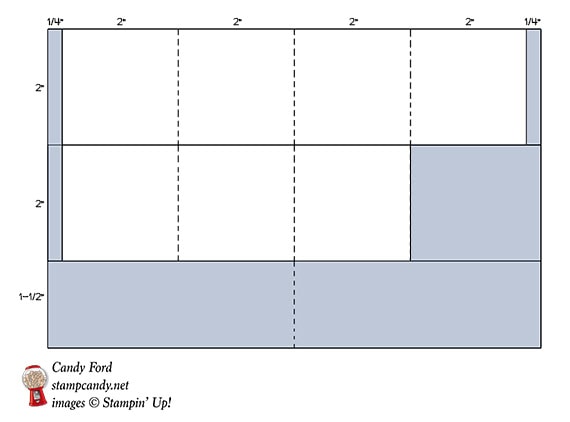
Cut and scored with my Stampin’ Trimmer:
2 of the red striped pieces cut to 4″ long, then scored in half at 2″
blue card base cut to 2″ x 8-1/2″ (two pieces)
1st piece: cut 1/4″ off each end, then scored at 2″ and 6″ (the original score line will be at 4″)
2nd piece: cut 1/4″ off one end and 2-1/4″ off the other end, then scored at 2″ (the original score line will be at 4″)
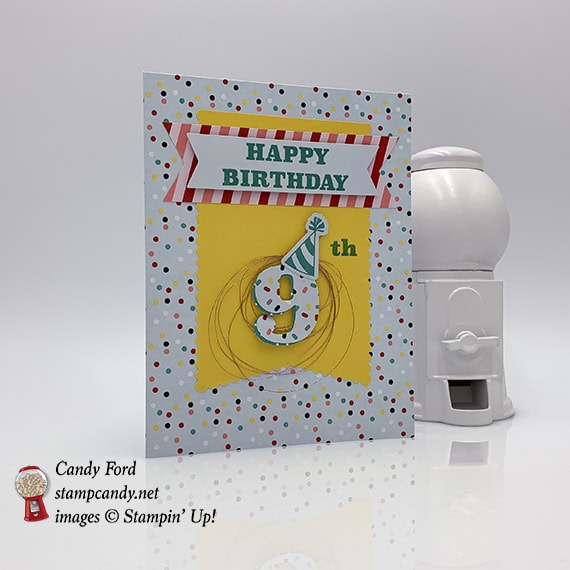
Stamped with the Poppin’ Birthday stamp set:
“Happy Birthday” in Bermuda Bay ink onto a blue label
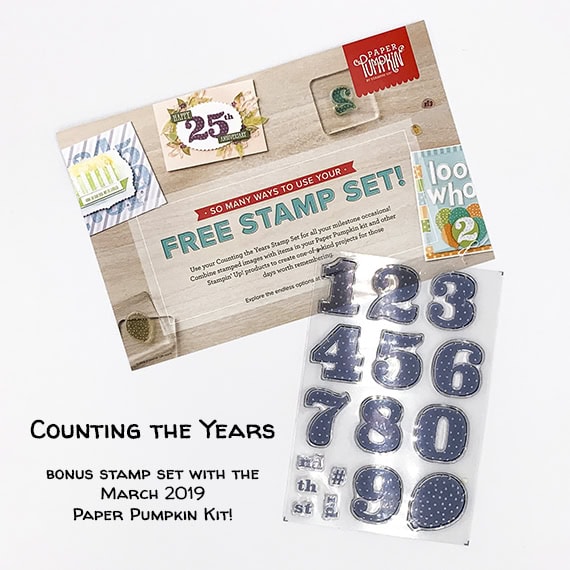
Stamped with the bonus Counting the Years stamp set:
“th” in Bermuda Bay ink onto a yellow banner
Cut using Paper Snips:
notched both ends of a red striped piece to match the blue stamped piece
Assembled the card:
burnished the fold in the card base with a Bone Folder
yellow banner glued onto the front of the card base
notched red striped piece glued over the yellow banner
sentiment adhered onto the striped piece using Stampin’ Dimensionals
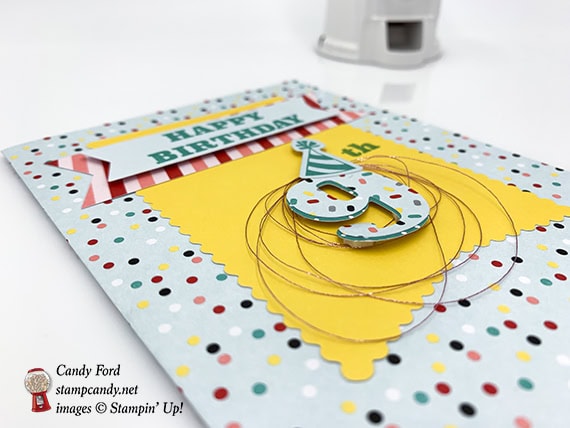
light blue “9” glued onto a dark blue “9”, offset just a little bit
party hat glued onto the top of the 9s
rose metallic thread wrapped around my fingers several time (some loops around 3 fingers and some around 2 finders)
9s adhered onto the yellow banner, over the rose thread, using Mini Stampin’ Dimensionals (The dimensionals hold the thread to the banner.)
glued onto
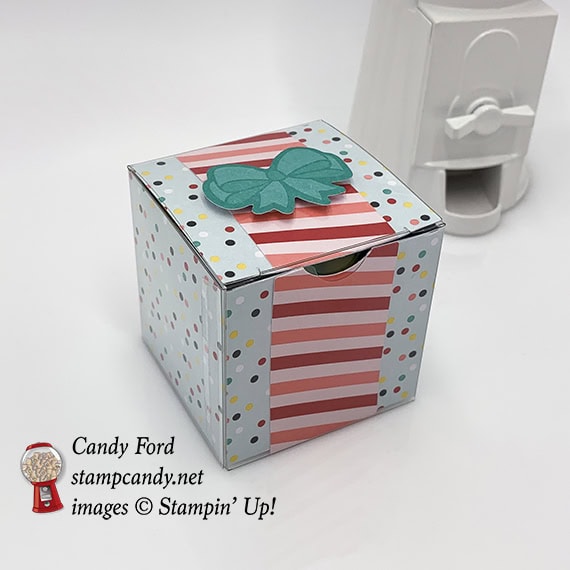
Assembled the box:
burnished the folds in the card base pieces, striped pieces, and box with a Bone Folder
assembled the box
striped pieces glued onto the 8″ piece of card base, lining up the score lines (each striped piece covers 2 sections of the card base piece)
notched one end of the 8″ strip using a 1/2″ circle punch (Actually I used the 3/4″ punch because the 1/2″ was upstairs and I was too lazy to go get it. But the 1/2″ is the right size.)
8″ strip inserted into the box, front to back, lining up the punched notch with the finger notch in the front of the box
6″ strip inserted into the box side to side
put treats inside and closed the box
adhered a bow onto the top of the box using Stampin’ Dimensionals
NOTE: I used Multipurpose Liquid Glue just because I love it, but you can certainly use the glue dots that come in the kit instead.
CLICK HERE to download the stamp case insert for this month’s kit.
S
Here’s the Poppin’ Birthday Blog Hop:
Click on the Next button to hop to the next stop, Charmane Hopkins of Renee’s Paper Treasures:
Here are today’s colors:
You can click on each one to see all the products that come in that color!
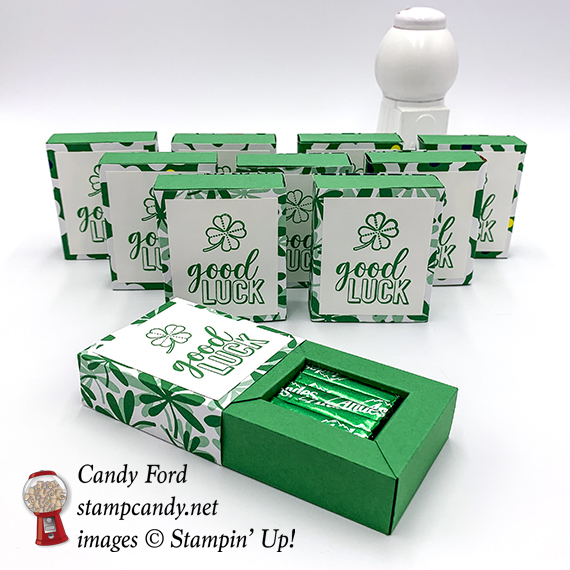
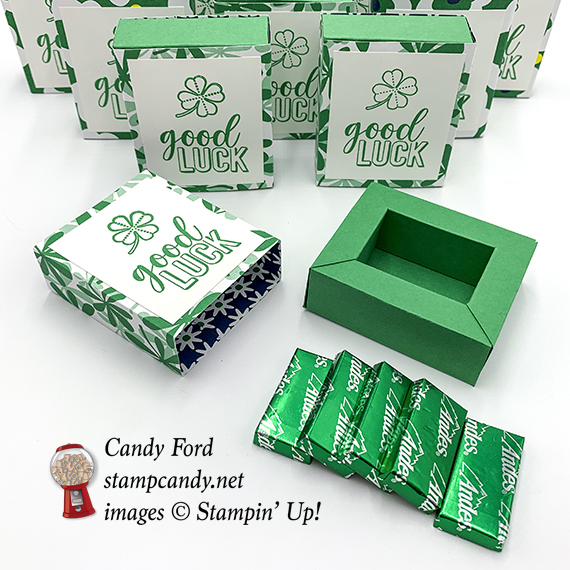
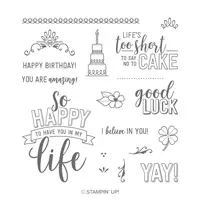
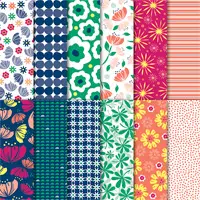
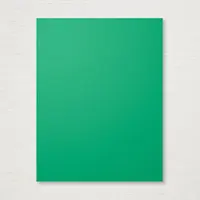
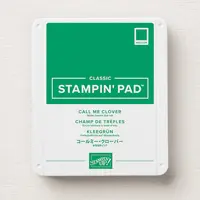
Today is the March Candy Hearts Team Meeting, and I’m sharing with you some little treat boxes I made for the Hearts. Each sliding box holds 5 Andes Mints… because they’re green… for St. Patrick’s Day. I used the Amazing Life stamp set (which contains a clover image,) Call Me Clover (of course) card stock and ink, and Happiness Blooms Designer Series Paper. I used two different patterns of the Designer Series Paper that have a lot of Call Me Clover in them.
While I made these for St. Patrick’s Day, the sentiment could easily be used to celebrate a new job, a move to a new city, or any new adventure.
One more thing, before I get to today’s project. Today is my sister Judy’s birthday. Yep, she’s a St. Patrick’s Day baby.
Happy Birthday to the best sister ever!
S
Here’s what I made:
S
Here’s what I did:
Cut and scored with my Stampin’ Trimmer:
Call Me Clover card stock (CS) cut to 7-3/4″ x 8″, then scored along all four sides at 1/2″, 1-3/8″, 1-7/8″, and 2-3/4″
NOTE: On certain projects, I find it easier to score this way, starting at each of the four corners, than to score along the whole side at once. I think it make the sides more symmetrical.
also scored along both 7-3/4″ sides at 3-1/4″ and 4-1/2″, only down to the second score line
Happiness Blooms Designer Series Paper (DSP) cut to 2-7/16″ x 6″
Whisper White CS cut to 2-1/8″ x 2-3/8″
NOTE: I actually used the Simply Scored tool for all the scoring, since there was so much of it, and I was making so many boxes.
Cut using Paper Snips:
removed yellow areas in the diagram below
Stamped with the Amazing Life stamp set:
sentiment and clover on Call Me Clover ink onto the Whisper White CS
Assembled the sliding box:
burnished all the folds in the box and cover with a Bone Folder
flaps on the two longer sides rolled inward to form the sides, and the outermost flap glued onto the bottom of the box
flaps on the two shorter sides folded inward to form the sides, and the outermost flap glued onto the bottom of the box. The skinnier center part goes between the two long sides, and the diagonal cut lies on top of the long side to create a mitered corner look. I also put a little spot of glue under the diagonally cut section so it would stick to the top of the adjacent side.
cover wrapped around the box, and pinched around the corners, then folded and burnished on the pinched areas.
cover wrapped around the box again and the ends glued together, making sure it’s snug, but also loose enough to slide on and off.
stamped piece glued onto the top of the box cover
S
Here are today’s main colors:
You can click on each one to see all the products that come in that color!
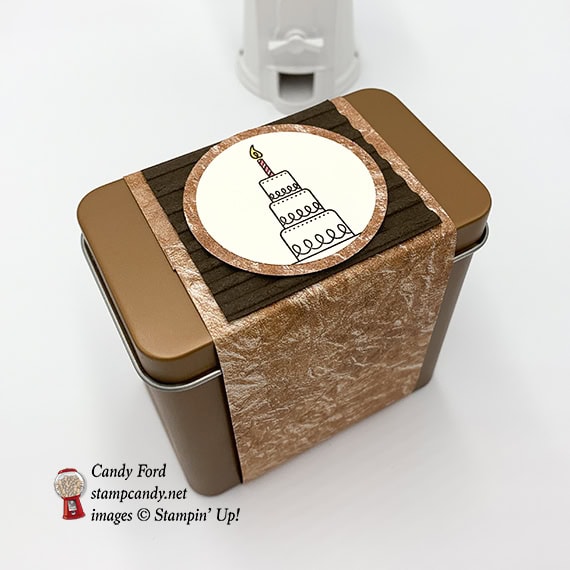
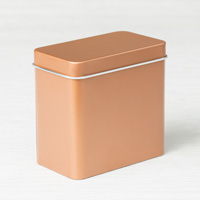
Welcome to the Bring on the Birthdays edition of the OSAT Blog Hop! For my projects, I used the Amazing Life stamp set, Corrugated Dynamic Textured Impressions Embossing Folder, and Petal Promenade Designer Series Paper to create a birthday card and to decorate a Copper Tea Tin.
S
Here’s what I made:
S
Here’s what I did:
Cut and scored with my Stampin’ Trimmer:
Early Espresso card stock (CS) cut to 4-1/4″ x 11″, then scored in half at 5-1/2″
Early Espresso CS layer cut to 4″ x 5-1/4″
Petal Promenade Designer Series Paper (DSP) layer cut to 3-5/8″ x 2-3/8″
Very Vanilla CS layer cut to 3-1/4″ x 2″
Very Vanilla CS cut to 4″ x 5-1/4″ for the inside of the card base
DSP cut to 2-1/2″ x 12″
Early Espresso CS cut to 2-1/4″ x 2-1/4″
Stamped with the Amazing Life stamp set:
cake and large sentiment in Early Espresso ink onto the 3-1/4″ x 2″ Very Vanilla CS layer
cake in Early Espresso ink onto a scrap of Very Vanilla CS
small sentiment in Early Espresso ink onto a scrap of Very Vanilla CS
Cut using Circle Punches:
cake cut using 1-3/4″ punch
DSP scrap cut using 2″ punch
Cut using the Classic Label Punch:
small sentiment
Embossed using the Corrugated Dynamic embossing folder:
both Early Espresso CS layers
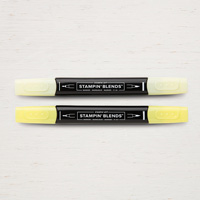
Colored using Stampin’ Blends Markers:
both cake candles in Flirty Flamingo
both candle flames in Pineapple Punch
“CAKE” in Flirty Flamingo
Assembled the card:
burnished the fold in the card base with a Bone Folder
large embossed Early Espresso CS layer glued onto the front of the card base
cake/sentiment glued onto the DSP layer
DSP layer glued onto the large embossed Early Espresso CS layer
small sentiment glued onto the large embossed Early Espresso CS layer
Very Vanilla CS glued onto the inside of the card base
Assembled the tin:
12″ DSP wrapped around the tin and the ends glued together, making sure it is snug but also loose enough to slide off the tin
small embossed Early Espresso CS glued onto the DSP, on top of the tin
punched cake glued onto the punched DSP
punched DSP glued onto the small embossed Early Espresso CS
S
Here’s the Bring on the Birthdays hop:
Be sure to check out every stop to see all the great birthday projects!
Here are today’s colors:
You can click on each one to see all the products that come in that color!
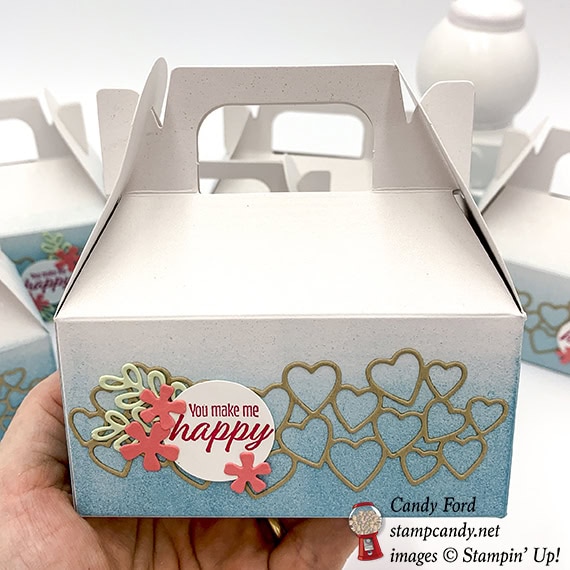
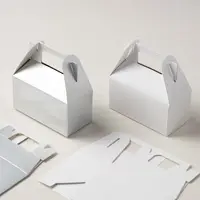
Today I’m sharing some treat boxes I made up for my February Candy Hearts team meeting. We had a small meeting this month so I only made 6. I just love the Lustrous White Mini Gable Boxes (they come in silver, too.) They have a lot of “real estate” to decorate if you want to, but they are just as lovely plain, with their shimmery white surfaces. I took the colors from the All My Love Designer Series Paper, which I had originally intended to use on the boxes, but then changed my mind. I used a Sponge Brayer to color the bottom half of each box, darker at the bottom and lighter at the top. Then I glued on the cut out pieces. I filled the boxes with assorted Dove chocolates, so I’m guessing the Hearts who missed the meeting this month are feeling a little rueful about now.
S
Here’s what I made:
S
Here’s what I did:
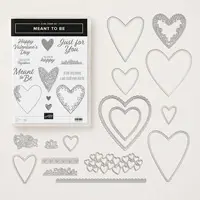
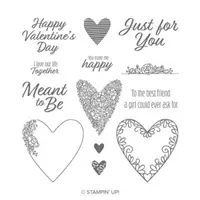
Stamped with the Meant to Be stamp set:
sentiment in Lovely Lipstick ink onto a scrap of Whisper White Thick cardstock (CS)
Die cut using the Be Mine Framelits:
hearts from a scrap of Crumb Cake CS
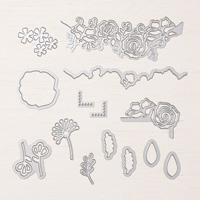
Die cut using the Lovely Flowers Edgelits:
2 leaves from a scrap of Soft Sea Foam CS
flowers from a scrap of Lovely Lipstick CS
Cut using a 1″ Circle Punch:
sentiment
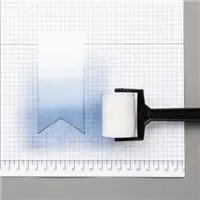
Colored using a Sponge Brayer:
all four sides of a Mini Gable Box in Balmy Blue ink, making it darker at the bottom and lighter at the top
Assembled the card:
burnished the folds in the box with a Bone Folder, then folded in the bottom flaps to create the box
Crumb Cake CS hearts glued onto the front of the box
leaves and flowers glued onto the sentiment, then the sentiment glued over the hearts
filled the boxes with assorted Valentine chocolates and closed the top
S
Here are today’s colors:
You can click on each one to see all the products that come in that color!