Feb 6, 2019 | Blog Hop, Food, Gallery, Gift Wrap, Gifts |

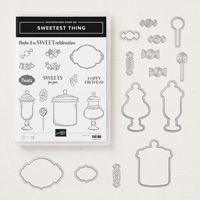
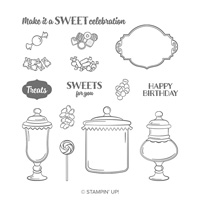
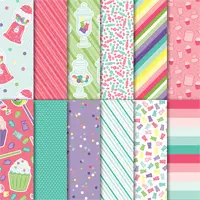
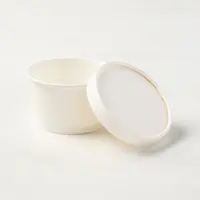
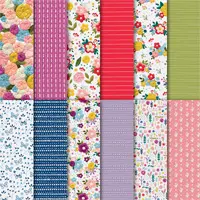
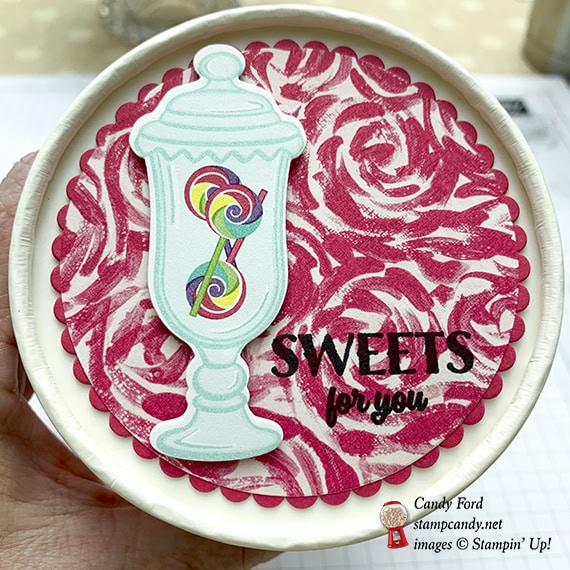
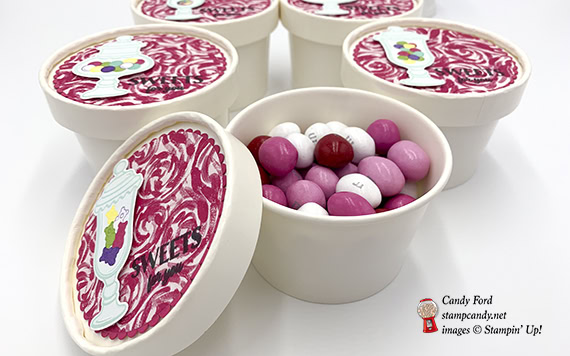
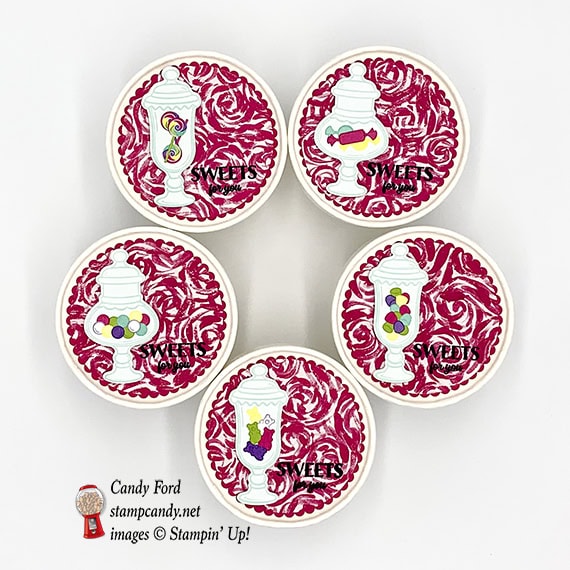
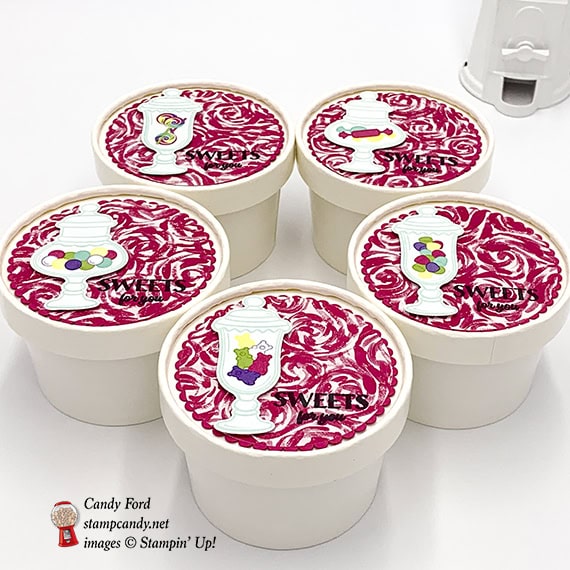
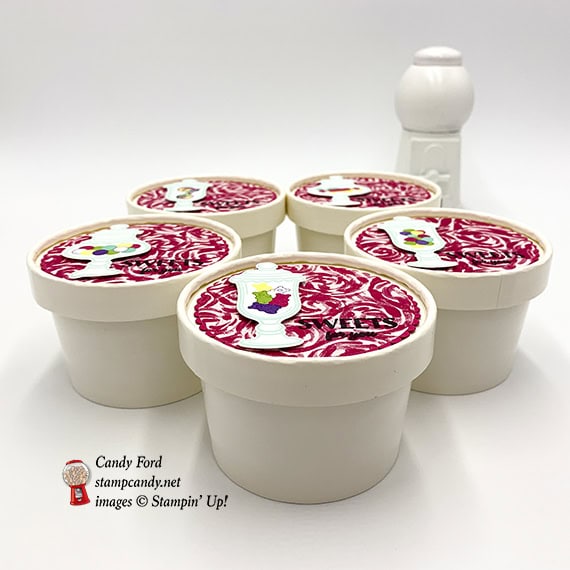
Today for the ICS Love Thing Blog Hop we are sharing projects for wedding, anniversary or Valentines Day. I’m sharing the little gifts I made for some friends of mine for Valentine’s Day. I filled Sweet Cups with Valentine themed peanut M&Ms, and decorated the lids with the Sweetest Thing bundle, How Sweet It Is and Garden Impressions Designer Series Papers, and the Layering Circles Framelits Dies. I used the Stamparatus to stamp the sentiment so it would be in exactly the same place on each one – read on to see how I did that. Super quick and easy!
Here’s what I made:

Here’s what I did:
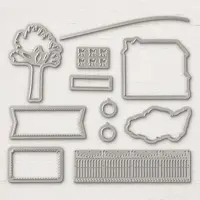
Die cut using the Layering Circles Framelits:
- largest scalloped circle from Melon Mambo card stock (CS)
- largest plain circle from Garden Impressions Designer Series Paper (DSP)
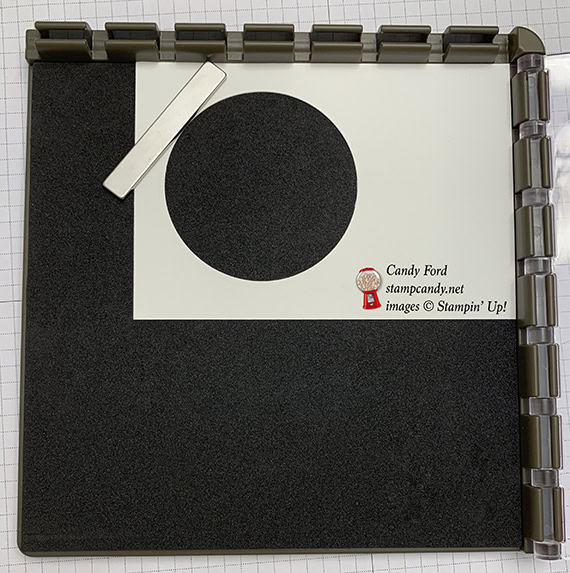
- largest plain circle from a scrap of CS (any color) for a Stamparatus template (see below)
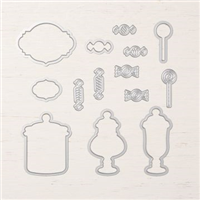
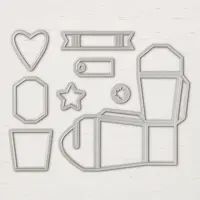
Die cut using the Jar of Sweets Framelits:
- candy jars from a piece of How Sweet It Is DSP
Stamped with the Sweetest Thing stamp set:
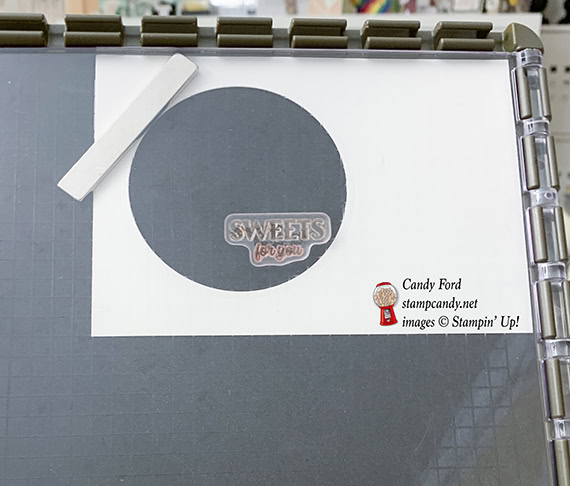
- sentiment in black ink onto the DSP circle
- I placed the die cut template on the Stamparatus and placed the stamp where I wanted it on all the circles. Then I placed each DSP circle in the template and stamped. This is great for stamping multiples of the same thing, or for stamping in the same place more than once if you didn’t get a good stamp the first time.
Assembled the sweet cups:
- DSP circle glued onto the Melon Mambo CS circle
- die cut candy jar adhered onto the DSP circle using Stampin’ Dimensionals
- Melon Mambo CS circle adhered onto the lid of the sweet cup using Tear & Tape
Here’s the It’s A Love Thing blog hop:

Here are today’s main colors:
You can click on each one to see all the products that come in that color!
Here’s what I used:
Click on these images for more details and to purchase.
Here are some helpful links to check out:
Thanks for stopping by today, and Sweet Stamping!
Jan 27, 2019 | Food, Gallery, Gift Wrap, Gifts, Occasions |
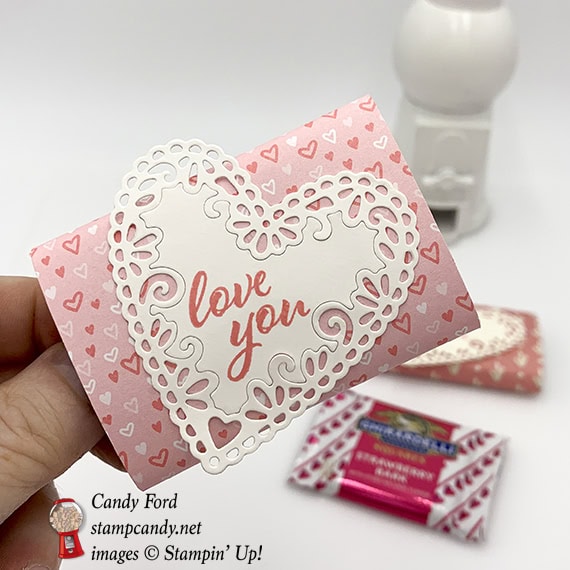
Today I’m sharing an extremely simple little treat holder. It’s basically a piece of Designer Series Paper (DSP) wrapped around a Ghirardelli square, with a die cut heart and stamped sentiment. I made a couple of versions: one with All My Love paper DSP and a Whisper White card stock (CS) heart, and one with Needlepoint Nook DSP and a Very Vanilla CS heart. I stamped the sentiment from the in Flirty Flamingo ink.
S
Here’s what I made:

 S
S
S
Here’s what I did:
Cut and scored with my Stampin’ Trimmer:
- All My Love Designer Series Paper cut to 2-7/8″ x 4-1/2″
- Needlepoint Nook Designer Series Paper (DSP) cut to 2-7/8: x 4-1/2″
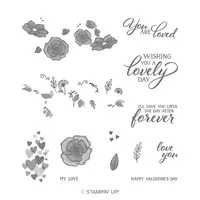
Stamped with the Forever Lovely stamp set:
- sentiment in Flirty Flamingo ink onto a scrap of Whisper White CS
- sentiment in Flirty Flamingo ink onto a scrap of Very Vanilla CS
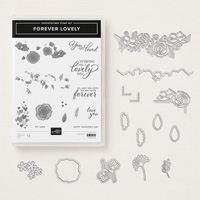
Die cut using the Be Mine Stitched Framelits:
- both sentiments with a decorative heart die
Assembled the treat holder:
- wrapped the DSP around the Ghirardelli square and glued together the overlapping ends on the back, being careful not to glue the DSP to the candy wrapper so the candy can slide out
- die cut heart (inside part with sentiment and the decorative outer part) glued onto the front of the DSP
Here are today’s main colors:
You can click on each one to see all the products that come in that color!
S
Here’s what I used:
Click on these images for more details and to purchase.
Here are some helpful links:
Thanks for stopping by today, and Sweet Stamping!
Sep 22, 2018 | Food, Gallery, Gifts, Holiday |
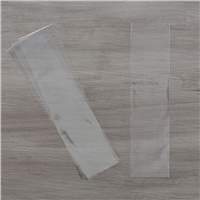
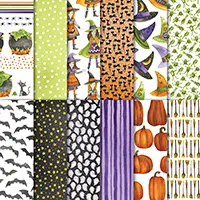
Today I’ve used the Toil & Trouble Designer Series Paper again (I gave the frogs a rest though) to make a fun Halloween treat bag of Hershey Nuggets in a 2″ x 8″ cello bag. You can put a few more nuggets in the bag, but I only had a few on hand. This is a super simple project, so you can make a lot of them for your Trick-or-Treaters, your coworkers, or anyone else who likes chocolate.
Here’s what I made:


Here’s what I did:
Cut and scored with my Stampin’ Trimmer:
- Basic Black card stock (CS) cut to 2″ x 3-1/2″, then scored in half at 1-3/4″
- Granny Apple Green CS cut to 1-3/4″ x 1-1/2″
- 4 strips of Toil & Trouble Designer Series Paper (DSP) cut to 1″ x 3″
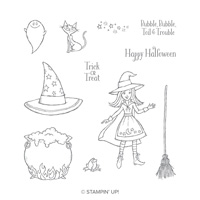
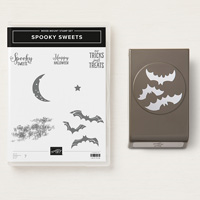
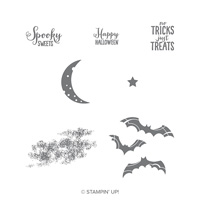
Stamped with the Spooky Sweets stamp set:
- sentiment in black ink onto a scrap of Pumpkin Pie CS
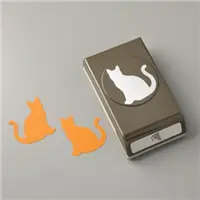
Punched using the Cat Punch:
Assembled the nugget treat:
- burnished the fold in the Basic Black topper with a Bone Folder
- a strip of DSP wrapped around each Nugget and adhered the ends together using Tear & Tape
- Nuggets inserted in a cello bag
- top of bag folded over, and covered with the Basic Black CS topper that was then stapled in place
- Granny Apple Green CS glued onto the front of the topper
- cat glued onto the Granny Apple Green CS
Here are today’s colors:
You can click on each one to see all the products that come in that color!
Here’s what I used:
Click on these images for more details and to purchase.
Here’s the Dashing Along September special:
Only 8 days left!

- Receive one pack of Dashing Along Designer Series Paper with any $250 order in September!
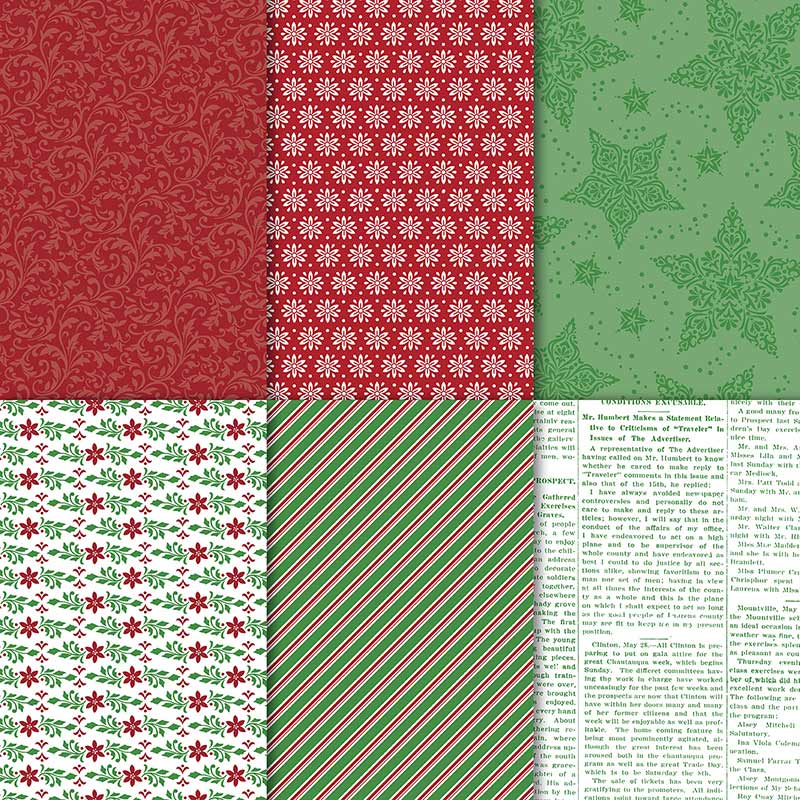
- Perfect for layering, this beautiful, traditional Christmas paper includes a mix of old favorites and new patterns to create a festive, eclectic feel.
- Item number 149903
- 12 sheets: 3 double-sided sheets (6 total designs); 4 sheets of each design – perfect for making lots of Christmas cards!
- 12″ x 12″
- Promotion period: September 1–30
- Dashing Along Designer Series Paper is exclusive to this promotion and will not be available after September 30.
- In order to qualify, the event merchandise total must reach $250 (before shipping and handling).
- One package of Designer Series Paper may be redeemed per qualifying order, with no limit on how many packages of Designer Series Paper can be earned.
- Demonstrator, Customer, Workshop, and online orders qualify.
- Dashing Along Designer Series Paper may not be redeemed using Stampin’ Rewards. You will receive this FREE gift with a qualifying order in addition to any Stampin’ Rewards you may earn.
- Dashing Along Designer Series Paper may not be exchanged for other paper.
Dashing Along DSP © Stampin’ Up!
Here’s some more cool stuff you should check out:
Thanks for stopping by today, and Sweet Stamping!
Sep 4, 2018 | Boxes, Food, Gallery, Gift Wrap, Gifts, Halloween, Holiday |
The Holiday Catalog goes live tomorrow! Today I’m sharing another sneak peek. I CASEd this project right from page 51 of the catalog. It’s made using the Spooky Sweets bundle, the Takeout Thinlits Dies, and the Farmhouse Framelits Dies.
CASE = copy and share everything OR copy and selectively edit
Here’s what I made:


Here’s what I did:
Cut and scored with my Stampin’ Trimmer:
- Gray Granite card stock (CS) cut to 5-1/2″ x 8-1/2″
Stamped with the Spooky Sweets stamp set:
- bats in Memento black ink onto a scrap of Gray Granite CS
- sentiment in Gorgeous Grape and Granny Apple green inks onto a scrap of Whisper White CS
- NOTE: I colored the sentiment using Stampin’ Write Markers
Die Cut using the Takeout Thinlit Dies:
- Takeout Box (2 pieces for one box) from the 5-1/2″ x 8-1/2″ Gray Granite CS
- NOTE: You can get 2 boxes (4 pieces) from an 8-1/2″ x 11″ piece of CS
Flecked using a Stampin’ Write Marker:
- the outsides of the 2 box pieces in Basic Black
- NOTE: I later realized the sample in the catalog was stamped with the textured image from the Spooky Sweets stamp set in black ink. That’s probably easier, and neater, than flicking ink from a marker.
Die cut using the Farmhouse Framelits:
- fence from a scrap of Basic Black CS
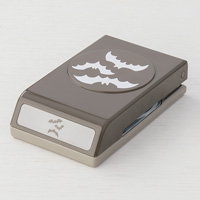
Punched using the Spooky Bat Punch:
Punched using the 1-1/4″ Circle Punch:
Assembled the box:
- burnished the folds in the 2 box pieces with a Bone Folder
- 2 box pieces glued together on the bottom and along two sides (Tear & Tape is also a good choice for this)
- closed the top of the box (after putting treats inside)
- used my fingers to bend pieces of the fence
- fence glued onto the front of the box, and the ends trimmed away using Paper Snips
- sentiment adhered onto the front of the box using Stampin’ Dimensionals
- one bat glued onto the sentiment, and the other bat glued onto the box
- tied a piece of Granny Apple Green ribbon around the box and tied a bow
Here are today’s colors:
You can click on each one to see all the products that come in that color!
Here’s what I used:
Click on these images for more details and to purchase.
Here’s the new Dashing Along September special from Stampin’ Up!
- Receive one pack of Dashing Along Designer Series Paper with any $250 order in September!
- Item number 149903
- Promotion period: September 1–30
- Dashing Along Designer Series Paper is exclusive to the host promotion and will not be available after September 30.
- In order to qualify, the event merchandise total must reach $250 (before shipping and handling).
- One package of Designer Series Paper may be redeemed per qualifying order, with no limit on how many packages of Designer Series Paper can be earned.
- Demonstrator, Customer, Workshop, and online orders qualify.
- Dashing Along Designer Series Paper may not be redeemed using Stampin’ Rewards. You will receive this FREE gift with a qualifying order in addition to any Stampin’ Rewards you may earn.
- Dashing Along Designer Series Paper may not be exchanged for other paper.
Here’s some more cool stuff you should check out:
Thanks for stopping by today, and Sweet Stamping!
Jul 28, 2018 | Boxes, Decor, Food, Gallery, Gift Wrap, Gifts, Storage |
Today I’m sharing one of the projects my stamp club members made at our July gathering, a copper tea tin decorated with the Tea Room Suite of products.
Here’s what we made:

Here’s what I did:
Cut and scored with my Stampin’ Trimmer:
- Tea Room Specialty Designer Series Paper (DSP) cut to 12″ x ___
Stamped with the Time For Tea stamp set:
- sentiment in Calypso Coral ink onto a scrap of Very Vanilla card stock (CS)
- cup in Calypso Coral ink onto a scrap of Calypso Coral CS
Die cut using the Spot of Tea Framelit Dies:
Applied Tea Room Copper Vinyl Stickers:
- small design on cup
- long design onto the front of the tin lid (I cut the sticker to the correct length.)
Decorated the tin:
- DSP wrapped around the tin and adhered using Tear & Tape (I put some at each end and a tiny piece in the very middle
- cup glued onto the sentiment piece
- cup/sentiment adhered to the DSP (covering the seam where the two DSP ends met) using Stampin’ Dimensionals
- laced Coastal Cabana ribbon through the hole on the left side of the sentiment, ran both ends around the back, laces one end through the hole on the right side, and tied a bow
Here are today’s colors:
You can click on each one to see all the products that come in that color!
Here’s what I used:
Click on these images for more details and to purchase.
Here are 3 amazing limited time offers:
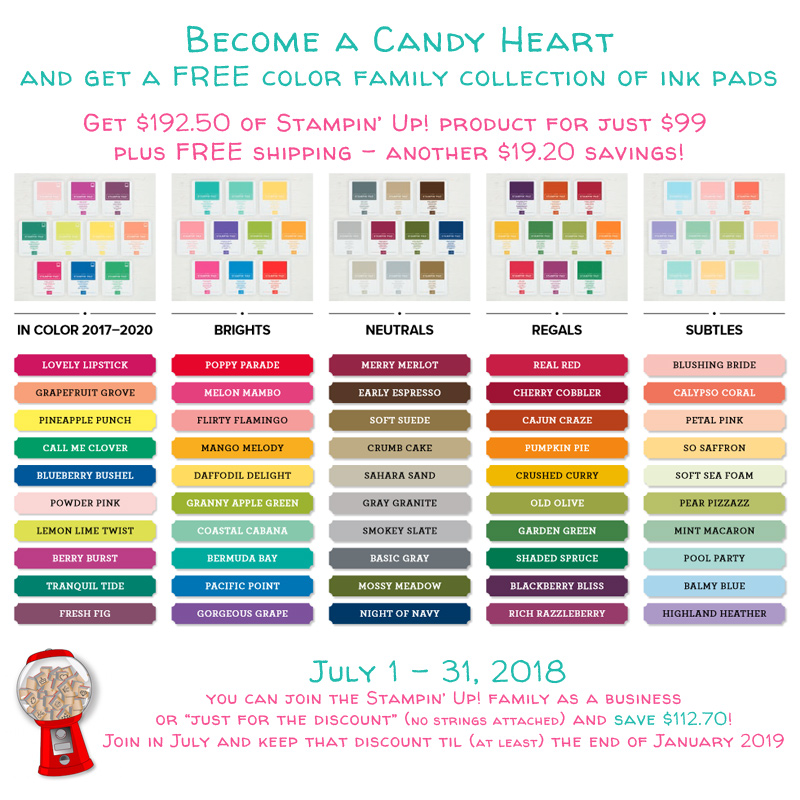
1) Free ink pads:
- Join my team by July 31 and receive a family of 10 ink pads for free!
- In addition to everything you already get with the Starter Kit!
- Click the image for more information
2) Designer Series Paper Sale:
- Buy 3 packs of select DSP and receive 1 pack free
- Mix and match
- Stock up on all your favorites
- Click the image for details and to purchase

3) Paper Pumpkin Sale:
- Subscribe between now and August 10
- Use promo code BLOOM0818
- Get 50% off your first kit
- CLICK HERE to subscribe

Here’s some more cool stuff you should check out:
Thanks for stopping by today, and Sweet Stamping!
May 28, 2018 | Food, Gallery, Gifts, Parties |
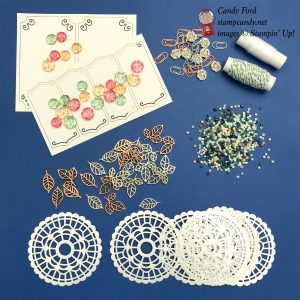
I wish I could remember where I first saw this idea. I think it’s been done many times, but not by me, so thought, you know, it was about time. You simply cut out a butterfly, dragonfly, or similar critter, and adhere a long skinny (wrapped) candy to the body. I cut these out of assorted colors of card stock, and I even cut one from a piece of Designer Series Paper. I do think the card stock ones hold up better. I used the Butterflies Thinlits Dies and Detailed Dragonfly Thinlits Dies.
Regarding colors, use whichever colors go with your particular party. I used the ones here because they were in the Designer Series Paper I used for other party projects.
Here’s what I made:


Here’s what I did:
Die cut using the Butterflies Thinlits:
- large butterflies from assorted card stock colors
Die cut using the Detailed Dragonfly Thinlits:
- large dragonflies from assorted card stock colors
NOTE: I used the Precision Base Plate with the Big Shot to get good, clean cuts from these detailed dies. Do not use this plate with Framelits Dies (open ones that cut around a shape.)
Assembled the treats:
- used Tear & Tape to adhere candies to the bodies of the butterflies and dragonflies
- I folded the Tear & Tape in half to fit onto the skinny bodies of the critters. I folded it in half first, then removed it from the backing.
- I used Smarties here. The long straws full of flavored sugar (I can’t remember what they’re called.) work well, too! Adhere the critters to one end of the straw, then they have a “handle.”
Here are today’s colors:
You can click on each one to see all the products that come in that color!
Here’s what I used:
Click on these images for more details and to purchase.
_________________________________________________________________________
Swatch Books & Product Shares
Order by May 31 to receive them early- to mid-June.
Click here for details and to order!
Here’s some stuff you should know:
Thanks for stopping by today, and Sweet Stamping!