Aug 28, 2017 | Cards, Catalogs, Deals, Events, Food, Gallery, Gift Wrap, Gifts, Halloween, Holiday, Kits, New Products, Open House, Parties, Promotions |
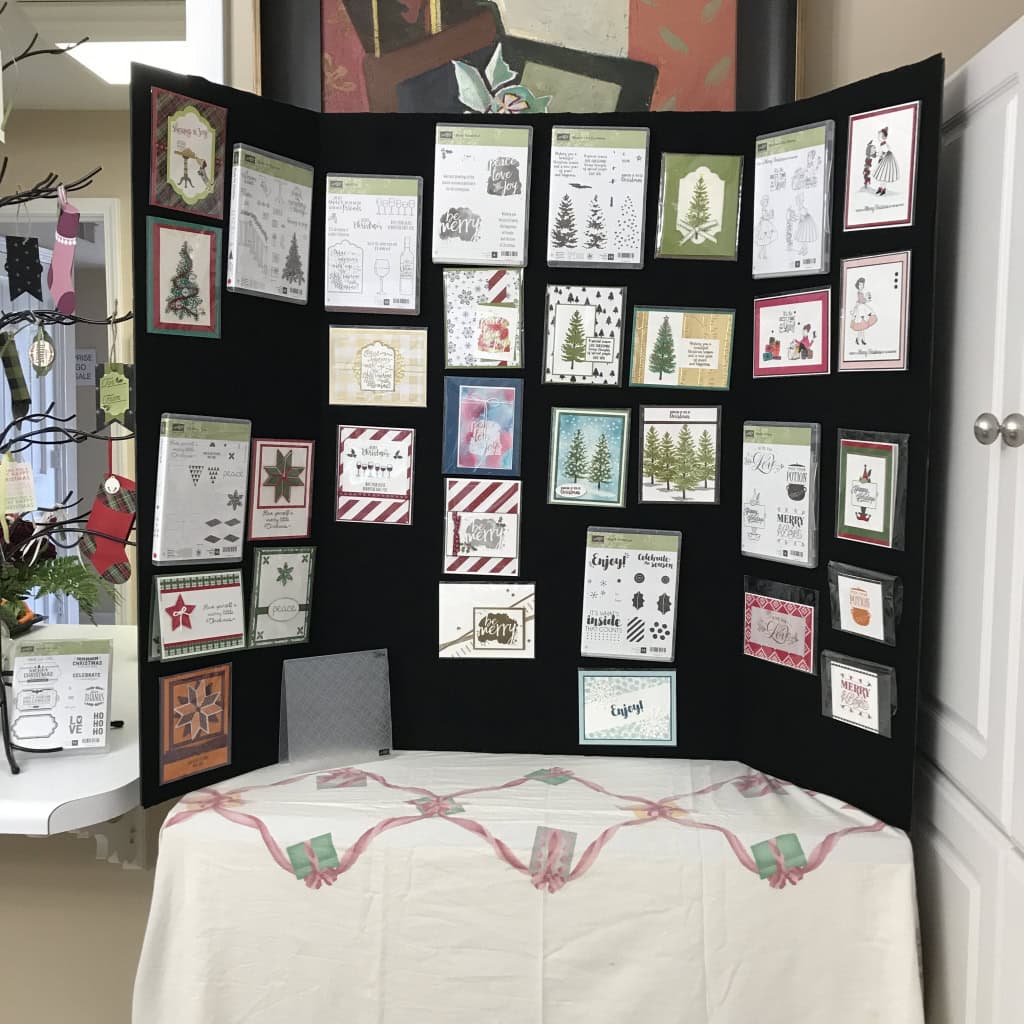
Yesterday, I hosted an Open House style Launch Party highlighting products from the new Holiday Catalog. It was a lot of fun! Below are some photos of the displays, and instructions for the Make & Take. (Wouldn’t you know, I completely forgot to take any photos during the actual event. Guess I was having too much fun!)
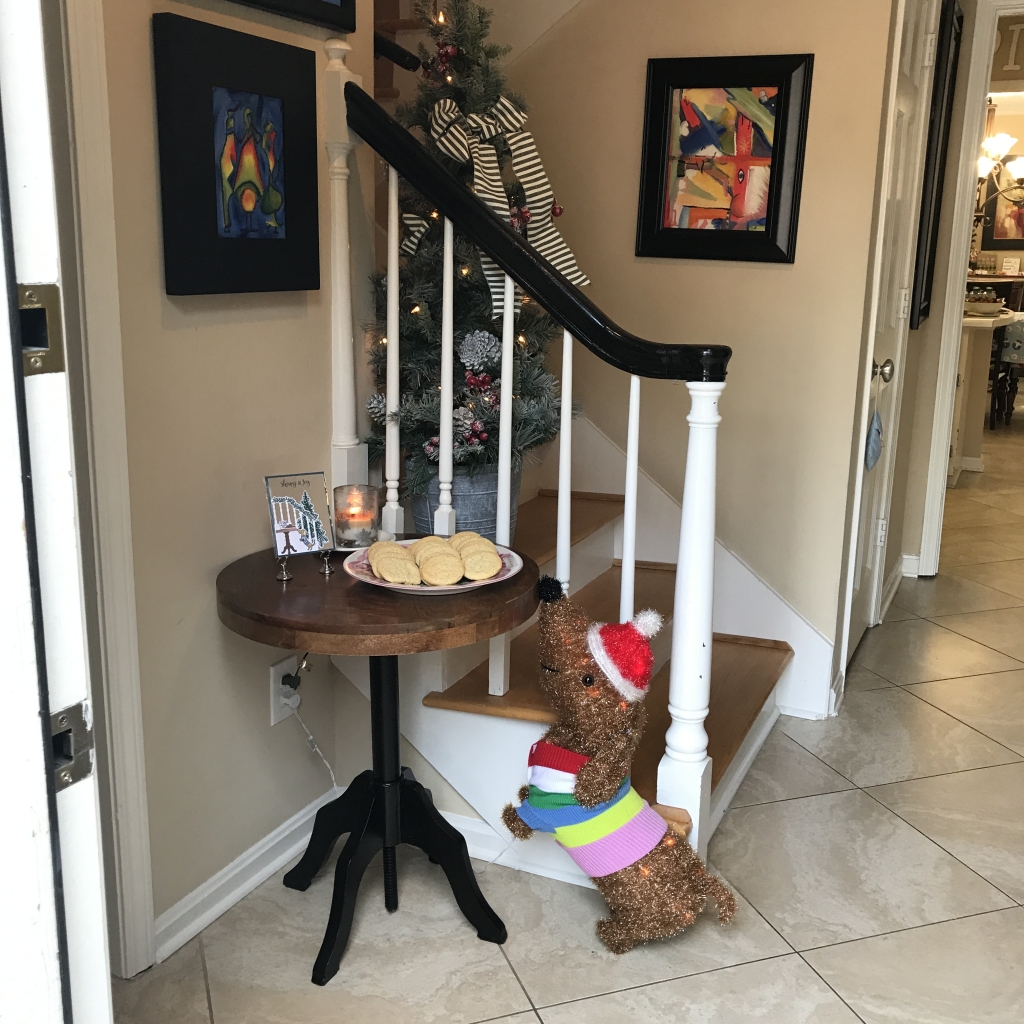
Here are the Launch Party photos:
I recreated the scene on this card made with the Ready for Christmas Bundle.

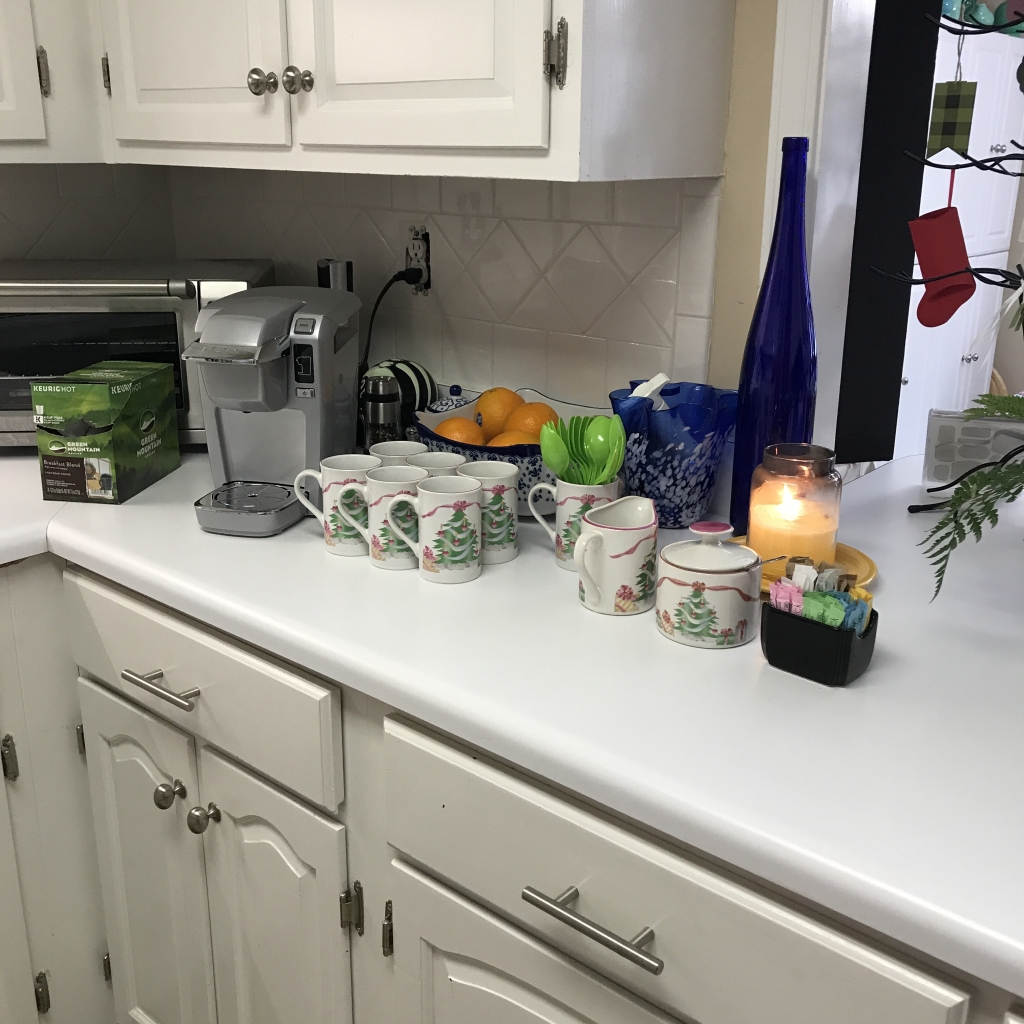
Coffee bar
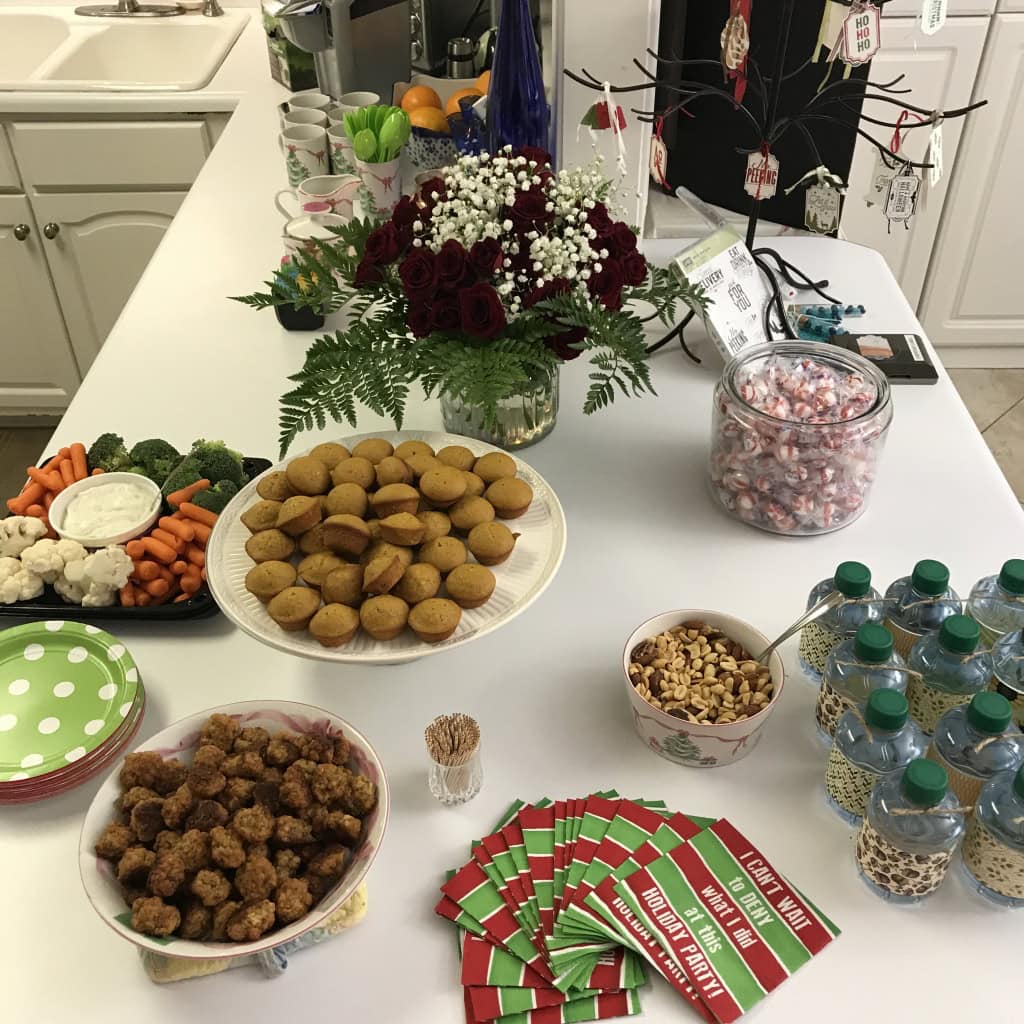
Yummy snacks, and a lovely floral arrangement from Fresh Market
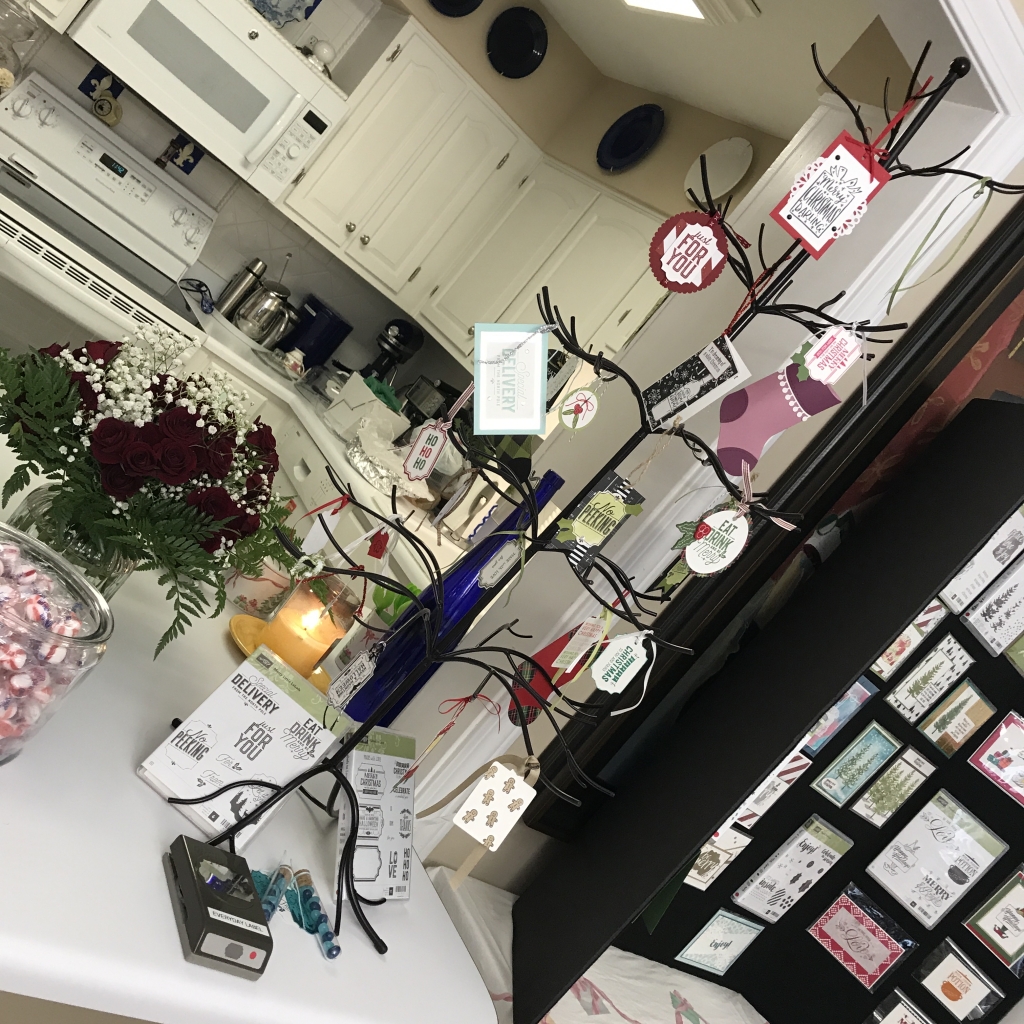
Tags and stockings on the ornament tree
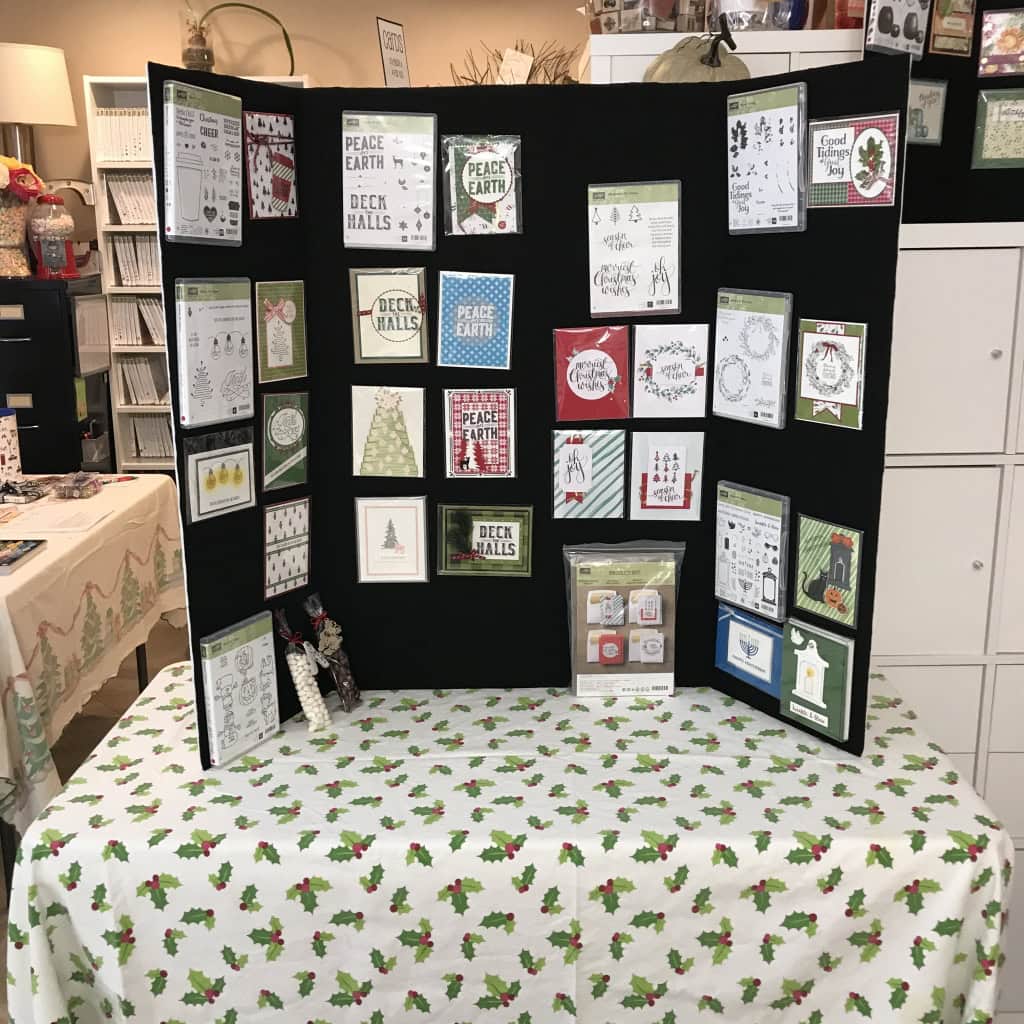
#1 display board
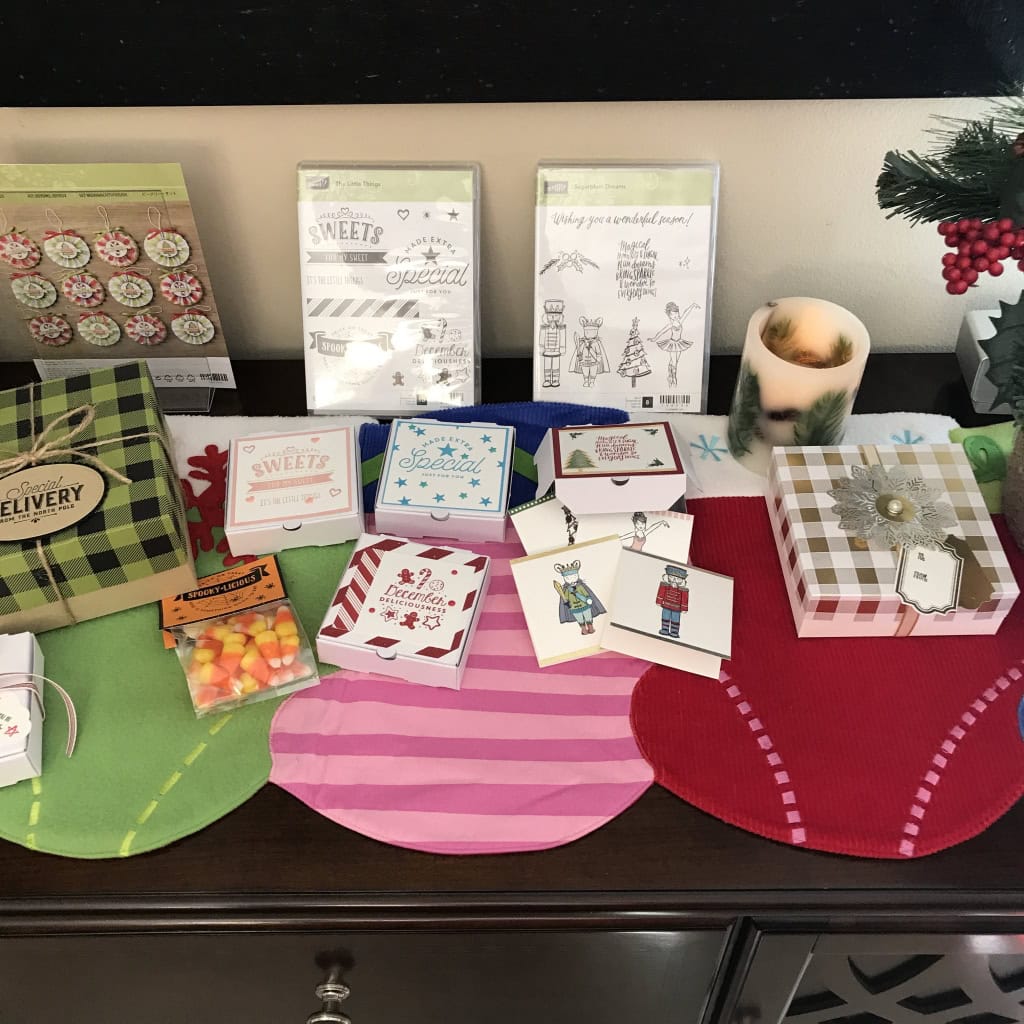
Be Merry Ornament Kit, and gift ideas

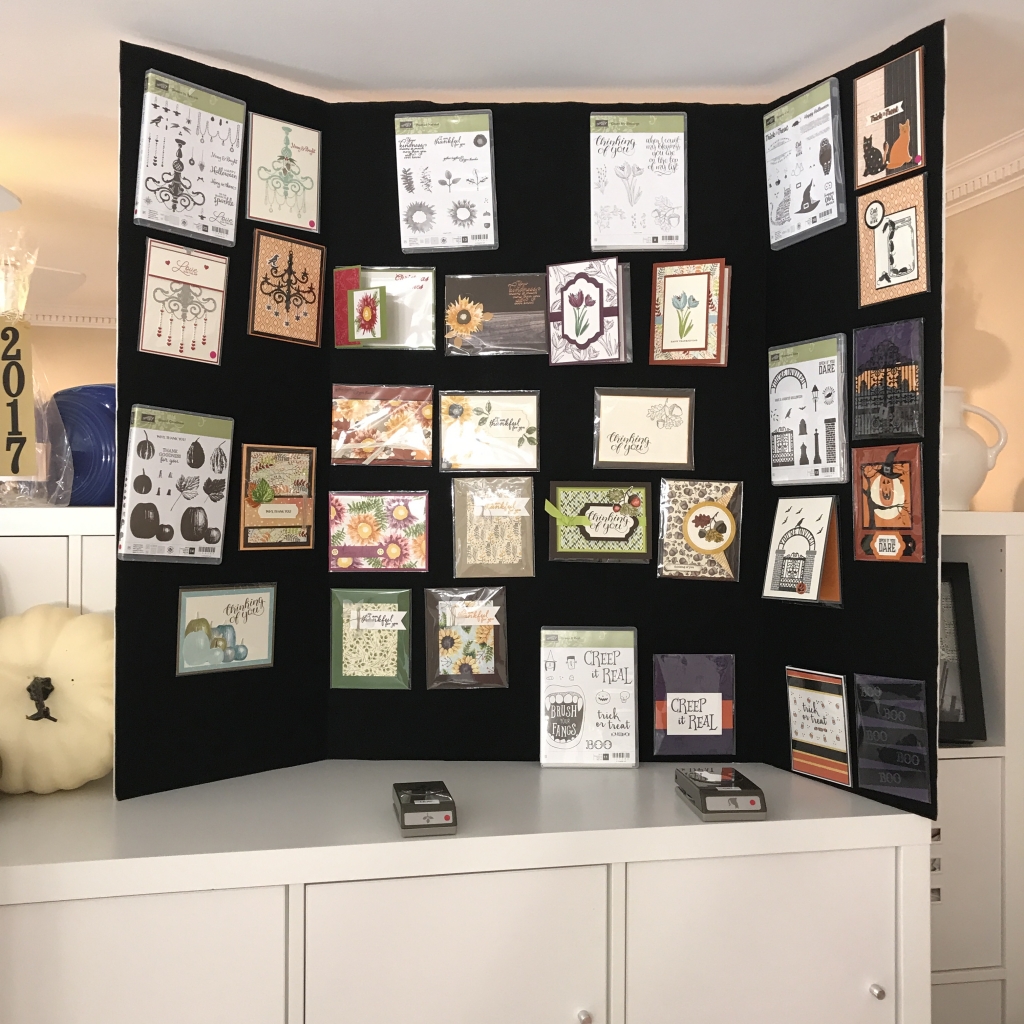
#2 display board
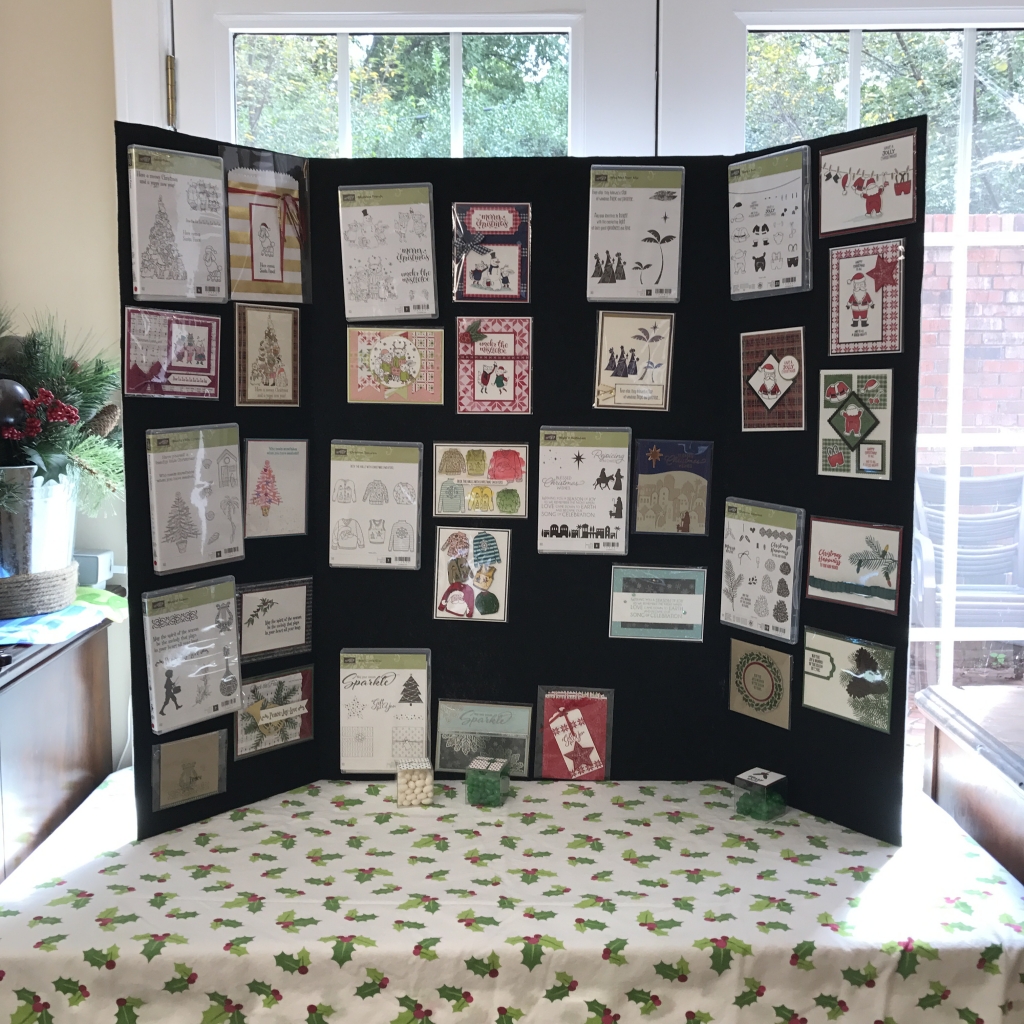
#3 display Board
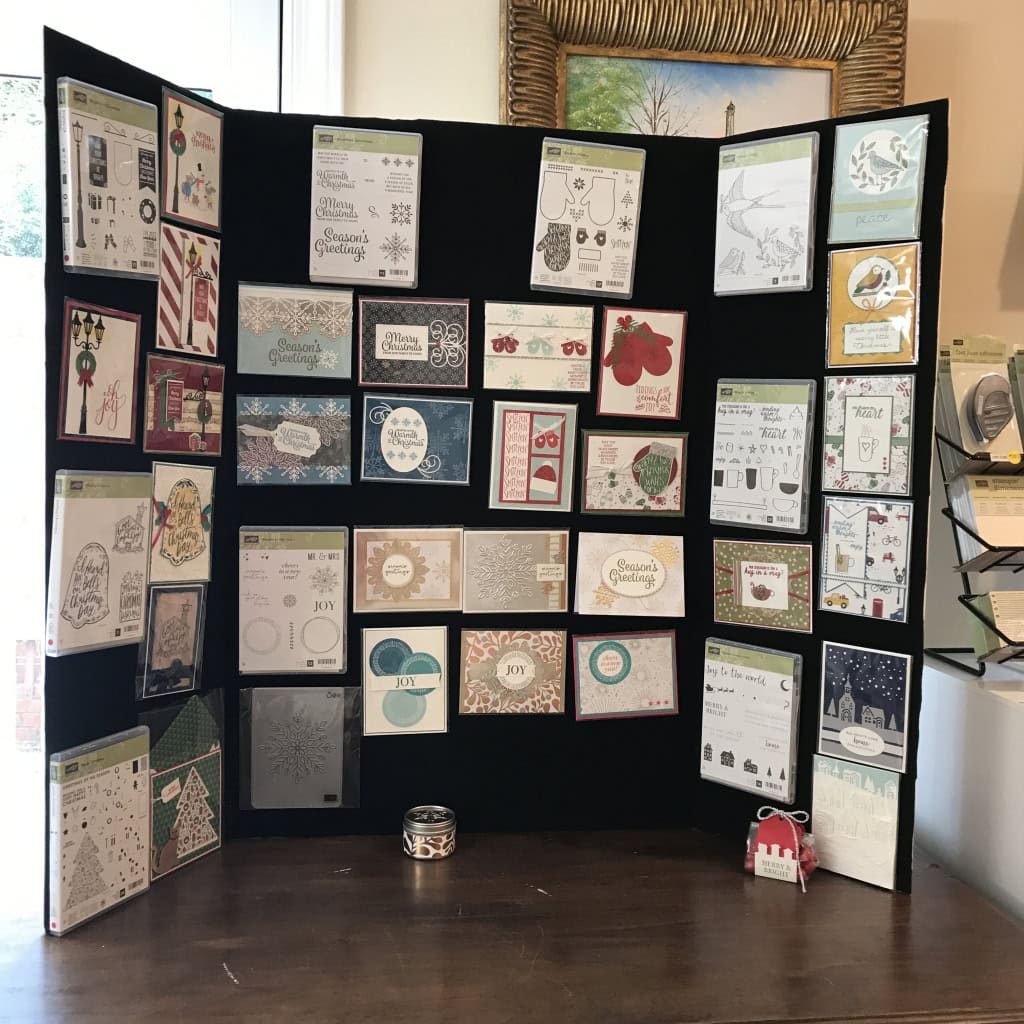
#4 display board
a little Autumn decor

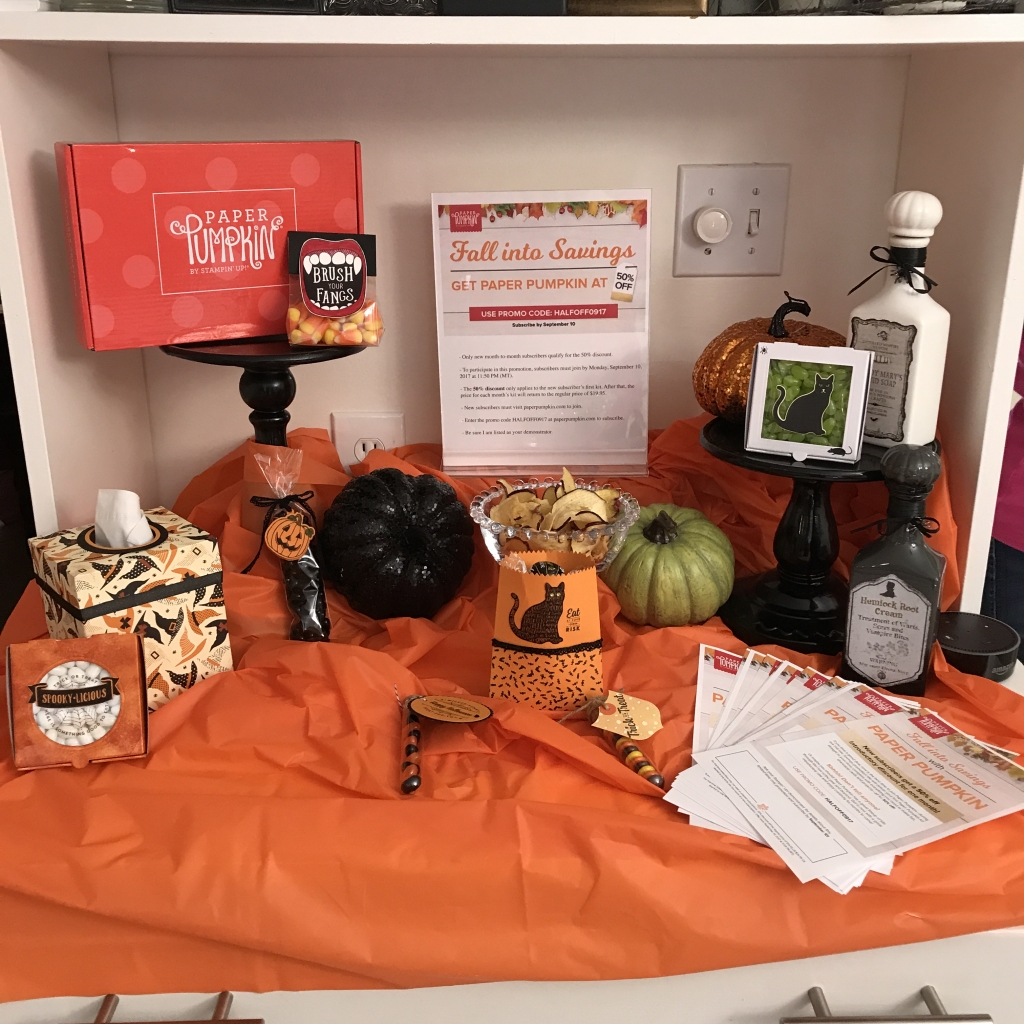
#5 display board
Paper Pumpkin Half Off Promotion, and Halloween treat ideas
catalogs, forms, and prizes

samples of ribbons and embellishments in my Product Shares, Swatch Books,
and espresso cups full of candies for bringing someone new

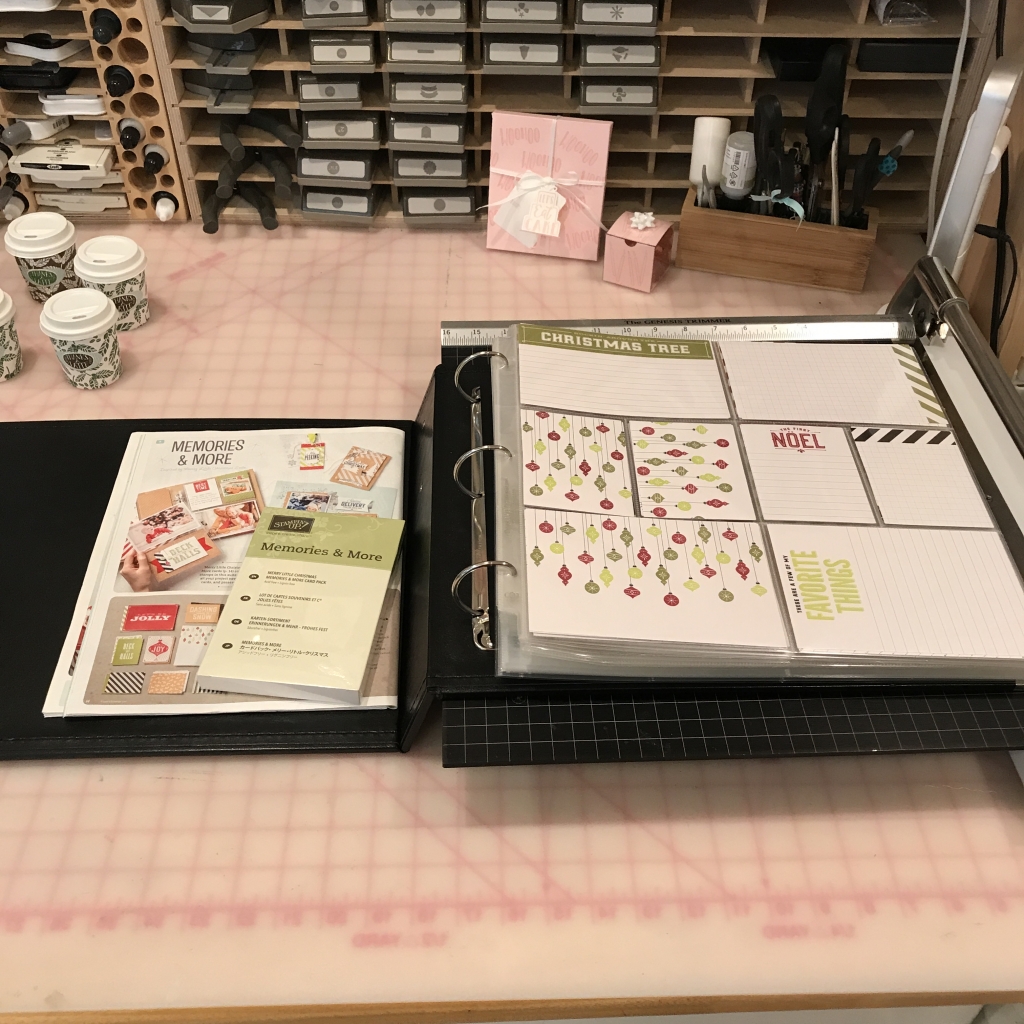
Merry Little Christmas Memories & More Card Pack display
Make & Take table
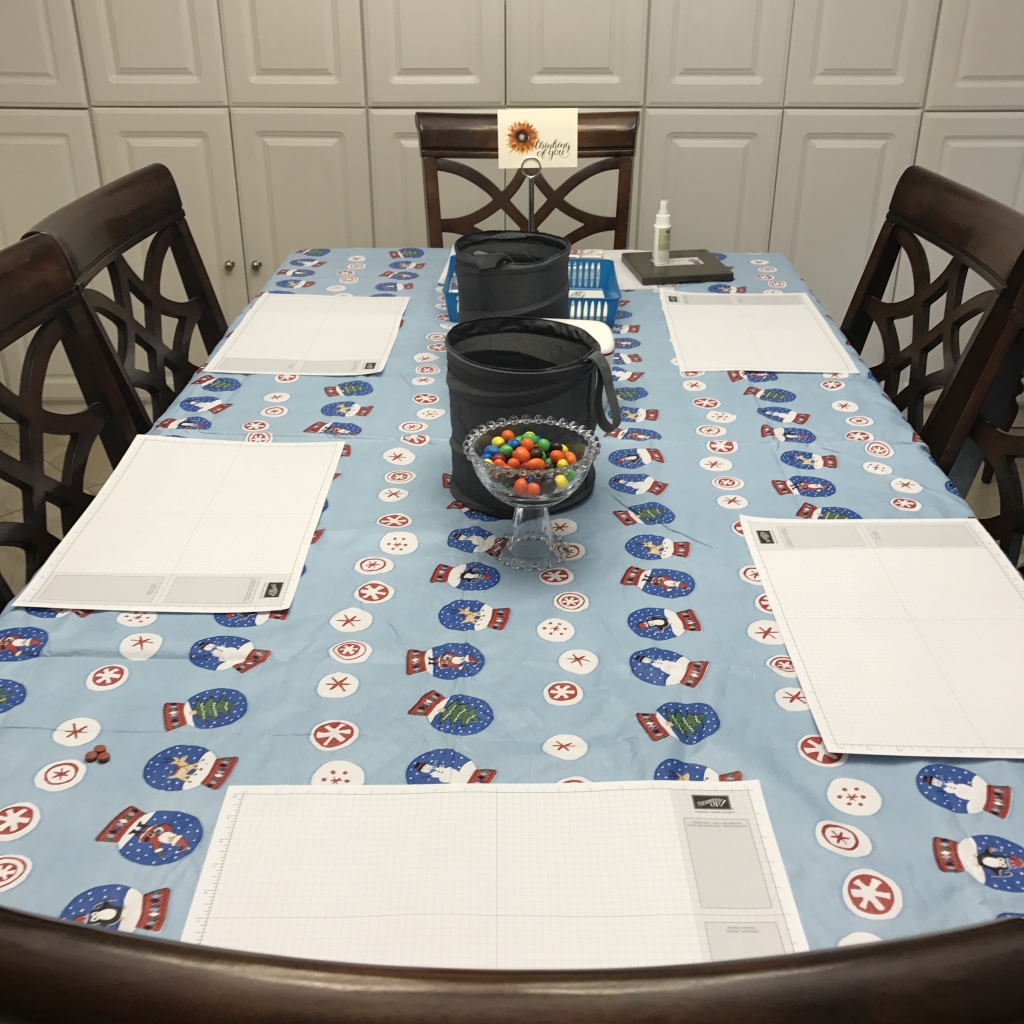
Here’s what we made:
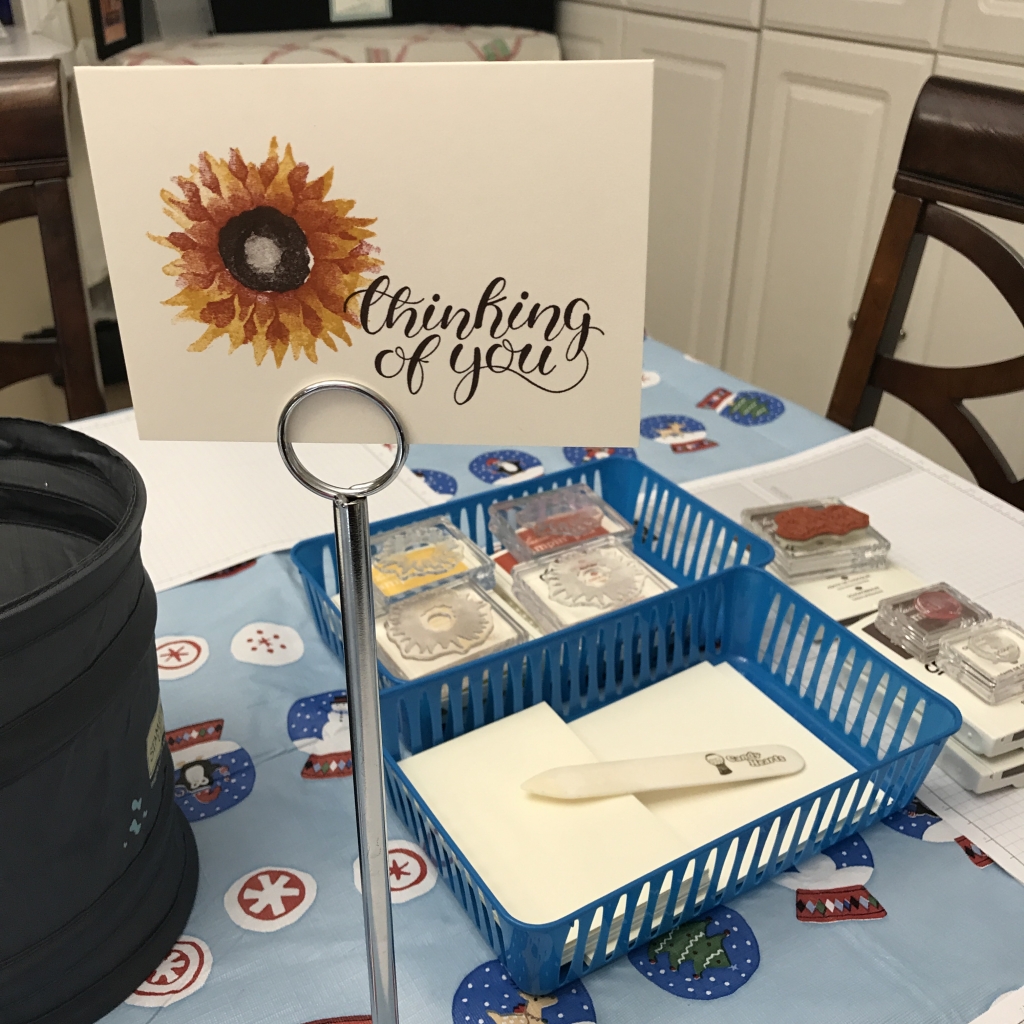
I borrowed an extra stamp set, so there are more stamps in this photo than you actually need.
We used two stamp sets for this card. The Painted Harvest stamp set (which will be available in a Bundle with the new Leaf Punch) has some lovely sentiments, but I just adore the font used in the Count My Blessings stamp set.
If you’ve wanted to try a multi-step stamp set but were afraid to, the Painted Harvest stamp set is the perfect one to try first. The flower layers don’t have to be lined up exactly, so it’s good practice for the ones that do.
Here’s what we did:
Stamped with the Painted Harvest stamp set:
- first flower layer in Crushed Curry onto the front of the card base
- second flower layer in Cajun Craze
- flower center in Chocolate Chip
Stamped with the Count My Blessing stamp set:
- sentiment in Chocolate Chip
Assembled the card:
- used a Bone Folder to burnish the score line in the Note Card
- put the card in the envelope
That’s it! Using the pre-cut and pre-scored Note Cards makes this card super easy!
Here are today’s colors:
You can click on each color to see all the products that come in/with that color!
Here’s what we used:
The new products will be available to purchase on September 1, 2017!

Just 3 more days to take advantage of these three great deals!
1) My Alaska Promotion
Through August 31, 2017, for each $50 on your order, I will give you $10 more in product of your choice!
- $50-$99.99 order gets you $10 more
- $100-$149.99 gets you $20 more
- $150-$199.99 gets you $30 more PLUS Stampin’ Rewards
- and so on
Contact me to place your order: email candy@stampcandy.net or call/text 404-661-5222.
2) My Free Gift to You
August Host Code
BF94WFWR
Use the Host Code on online orders less than $150. See how to use a Host Code here.
Online orders of $75-149.99 placed with the Host Code will receive the FREE gift of the month!
Online orders of $150 or more will automatically receive the FREE gift of the month! Do not use the Host Code.
August’s FREE gift is a pack of Touches of Nature Elements:
- 36 pieces: 6 each of 4 designs, and 12 of 1 design
- wood flowers and leaves with light whitewash finish on one side
- largest piece: 1-5/8″ x 3/4″

I can ship within US only. “No Contact” orders are not eligible for the free gift.
This promotion can be combined with my Alaska promotion above.
3) Bonus Days Coupons

CLICK HERE for directions on how to use a coupon code.
Thanks for stopping by today, and Sweet Stamping!

Jul 1, 2017 | Boxes, Food, Gallery, Gift Wrap, Gifts |
Happy July! Even though the first day of summer was 10 days ago, to me July is the epitome of the summer months. I think maybe because some schools don’t get out for the summer until June, and some schools go back in August. July was always the only pure summer month to me growing up. It’s also the month of my birthday, so it holds a special place in my heart.
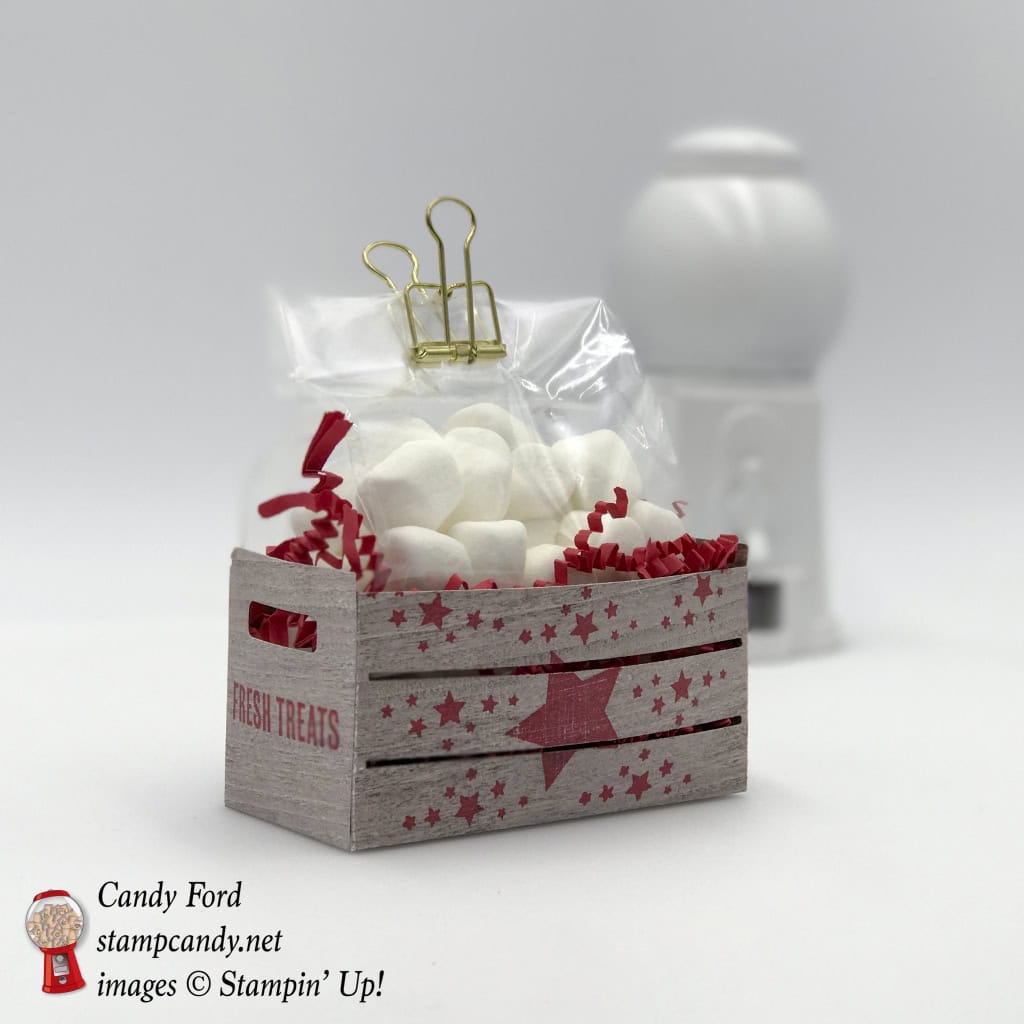
To celebrate the first day of July, I’m sharing one of the projects I made for the display board at OnStage back in April. I used the Wood Words Bundle (Wood Words Stamp Set and Wood Crate Framelits Dies) and the ever so versatile Wood Textures Designer Series Paper. The crate contains marshmallows, because I needed something lightweight so it could be held up with velcro. But just imagine the goodies you could put in it!
Here’s what I made:
Here’s what I did:
Die cut using the Wood Crate Framelits:
- 2 crate pieces from Wood Textures Designer Series Paper (DSP)
Stamped with the Wood Words stamp set:
- “Fresh Treats” in Real Red ink onto each end piece of the crate
- stars in Real Red ink onto the front of the crate
Assembled the crate:
- folded all the score lines in the crate pieces
- overlapped and glued together the bottoms
- glued the flaps inside each end piece
- put mini marshmallows in a 3″x6″ Gusseted Bag and closed with a Gold Binder Clip
- put bag in crate along with some red crinkled gift bag filler I had left over. You could also cut Real Red CS into skinny strips and crinkle them up with your hands
Here is today’s color:
Here’s what I used:
Click on the images for more details and to purchase.


For every $50 you spend in July, you get a $5 coupon to spend in August! Click here for details.

If you join my team in July, you will receive $72 EXTRA FREE PRODUCT! There is no obligation to sell. There’s no risk at all! Click here for the details.
Plus if you join now, you’ll be able to preorder items from the upcoming Holiday Catalog in July and August!
July Host Code
WXKSQ6HT
Use the Host Code on online orders less than $150. See how to use a Host Code here.
Online orders of $75-149.99 placed with the Host Code will receive the FREE gift of the month!
Online orders of $150 or more will automatically receive the FREE gift of the month! Do not use the Host Code.
July’s FREE gift is a pack of 3″ x 6″ Gusseted Cellophane Bags! Use these bags for treat or gift bags. Just pop the treat or gift into one of our shiny cellophane bags and add a stamped header. These bags are also great for storing finished projects, parts for future projects, or any other odds and ends
* 25 gusseted bags
* 3″ x 6″ (7.6 x 15.2 cm)
* Stampable with StazOn ink
* Food safe
* Acid free

(I can ship within US only.)
“No Contact” orders are not eligible for the free gift.
Swatch Books & Paper Shares
for the brand new
2017-2018 Annual Catalog
Designer Series Papers
are available to order now through July 5!
Click here to order yours now!
Gum Ball Rewards
 You always earn a Gum Ball for every $50 you spend on an order with me. Earn 10 Gum Balls and I’ll send you a free stamp set of your choice! See the Gum Ball Rewards page for details.
Click here to shop my online store!
Thanks for stopping by today, and Sweet Stamping!

Jun 16, 2017 | Bags, Gallery, Gift Wrap, Gifts, New Products |
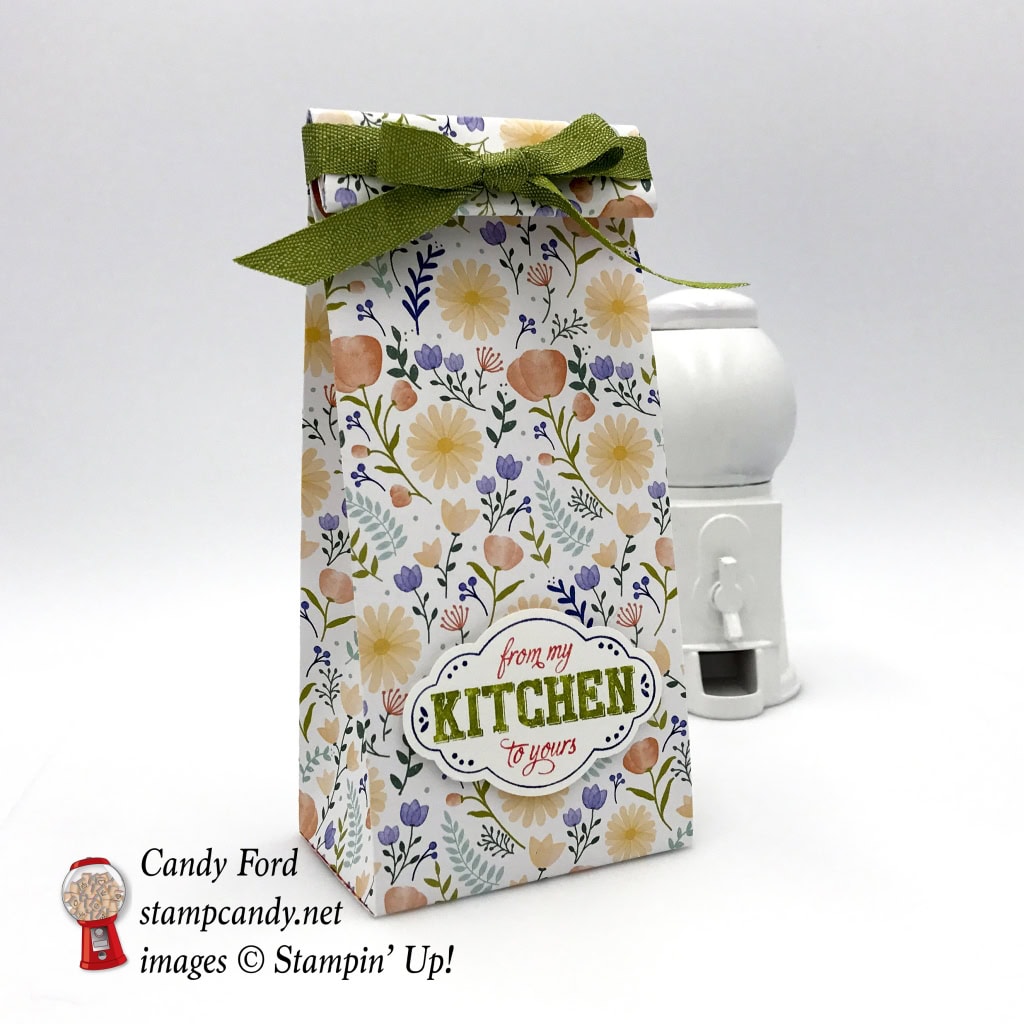
Today’s project is a super quick and easy little gift bag made with the new Delightful Daisy Designer Series Paper, the Label Me Pretty stamp set, and the Pretty Label Punch. By the way, this stamp set and punch are available as a bundle to save you 10%! Woohoo!
Here’s what I made:
Here’s what I did:
Cut and scored with my Stampin’ Trimmer:
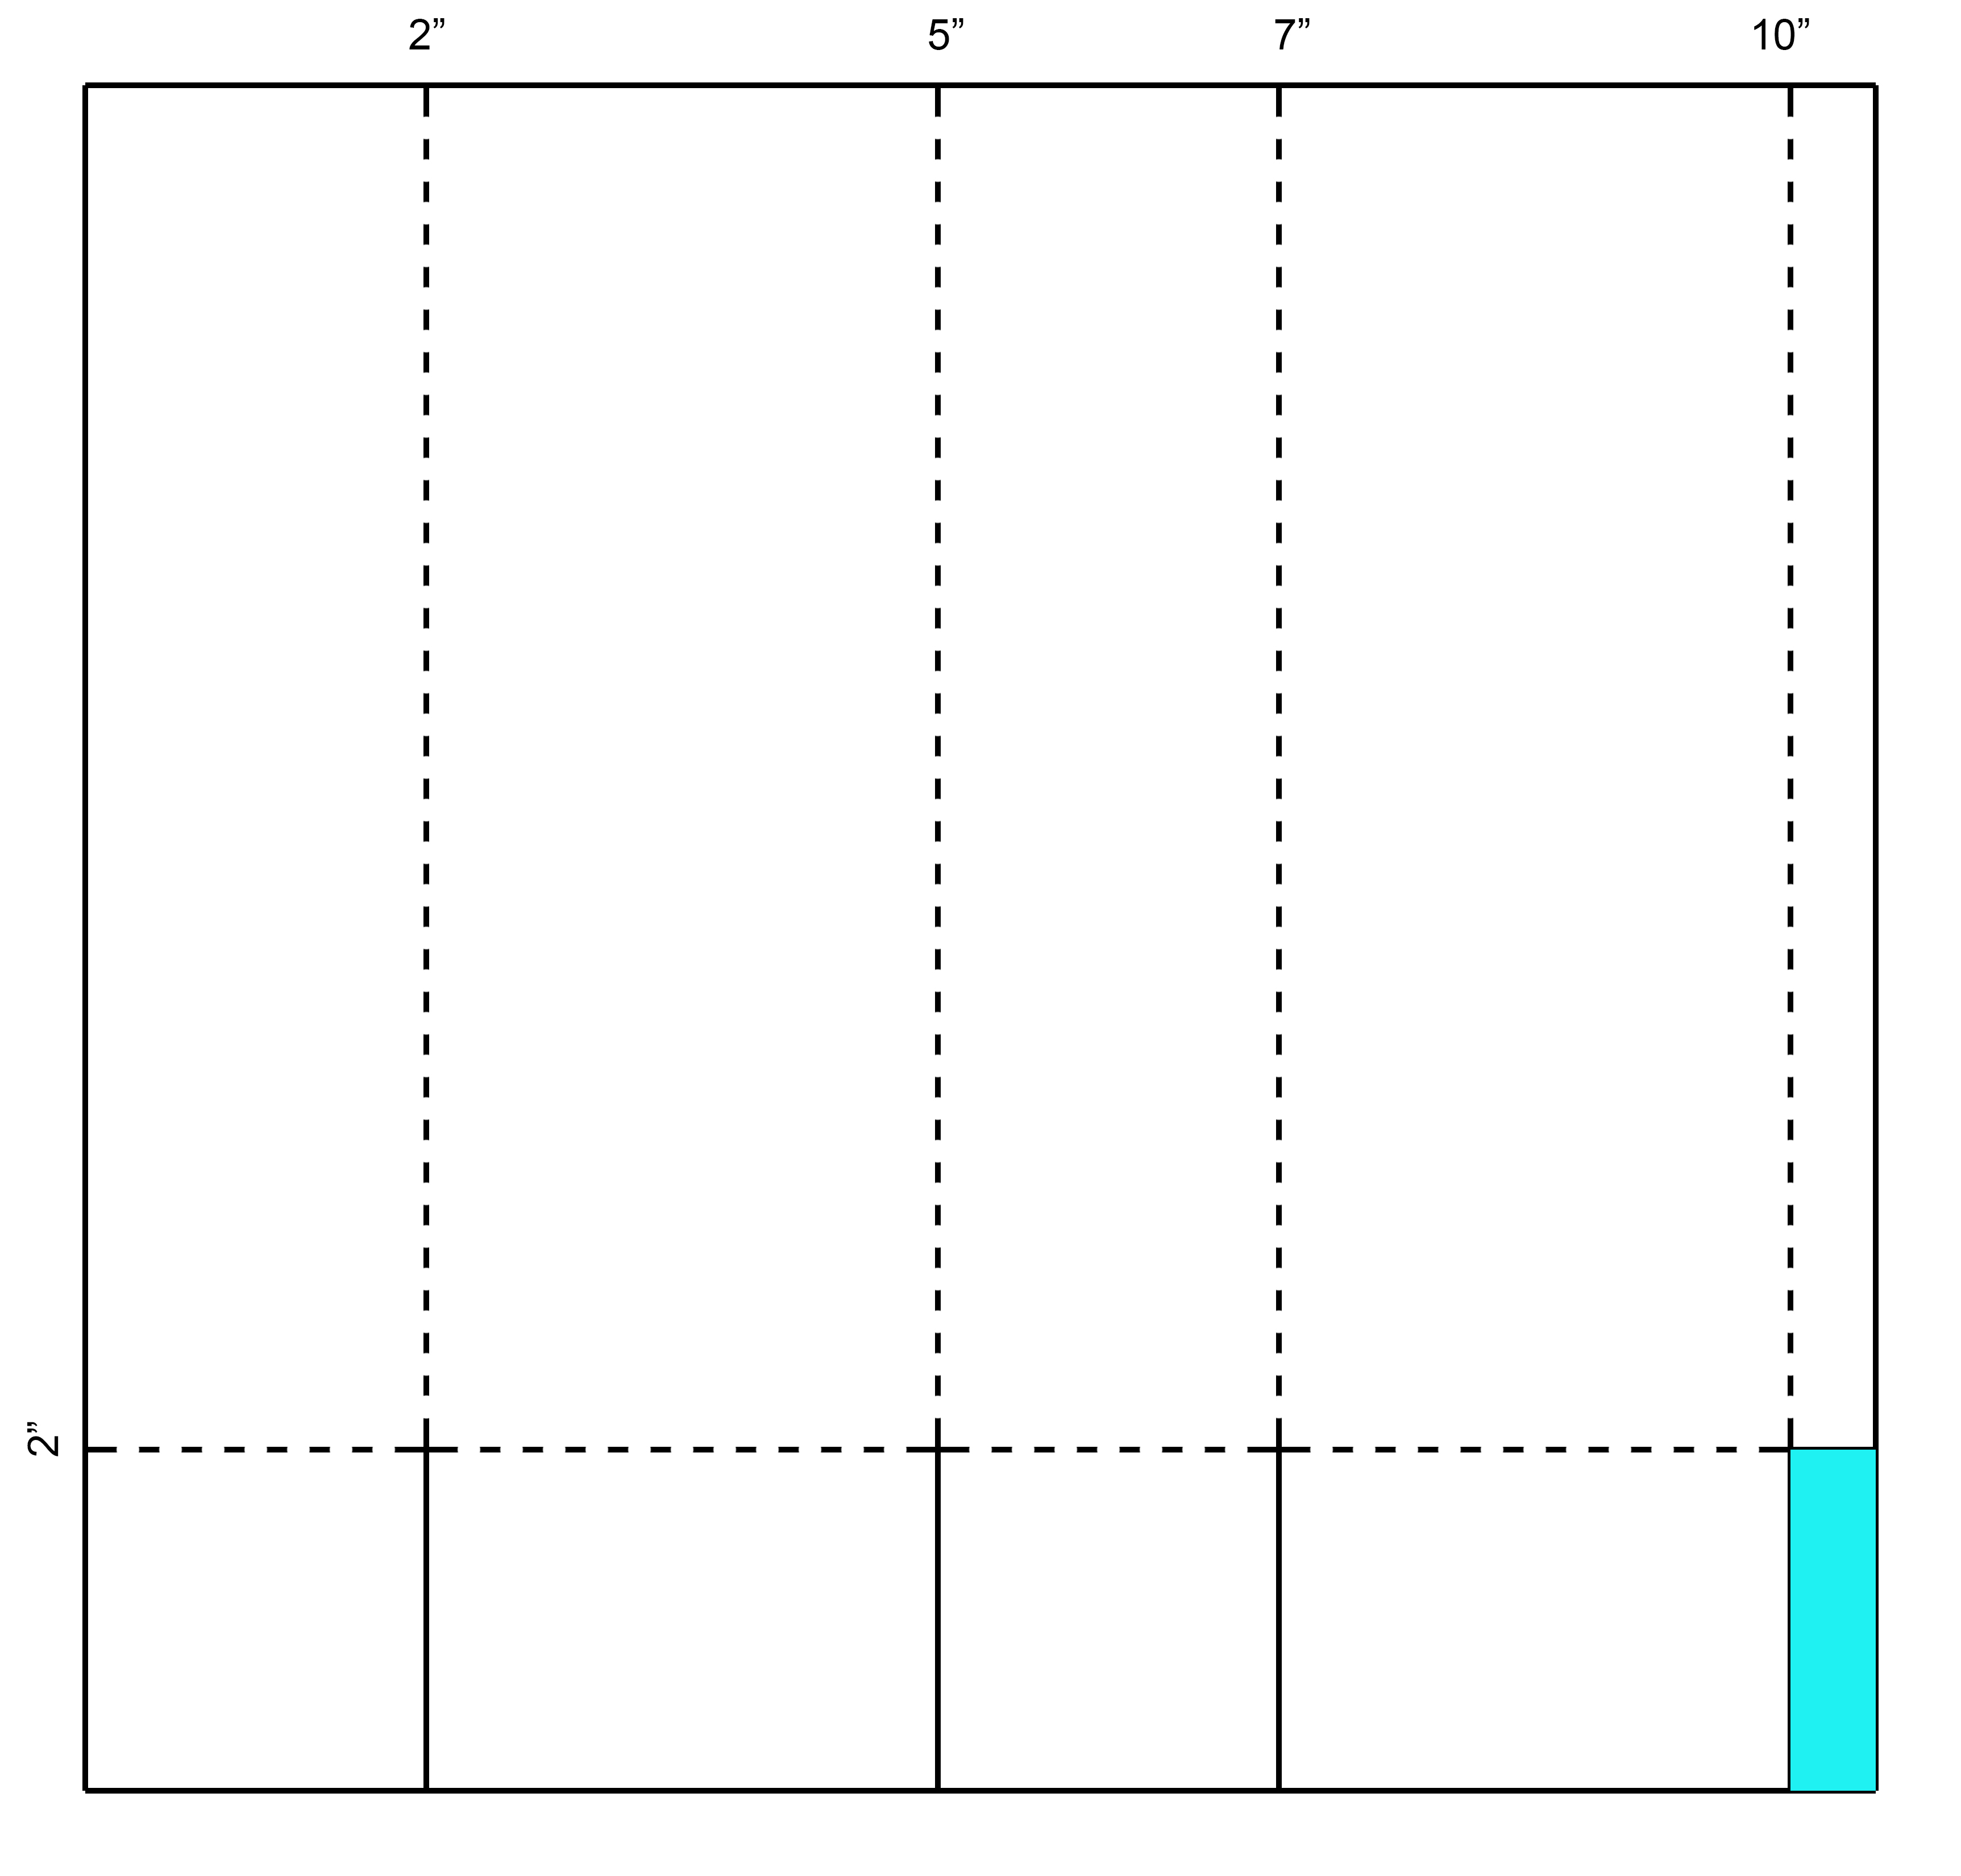
- Delightful Daisy Designer Series Paper (DSP) cut to 10-1/2″ x 10″
- scored along the 10-1/2″ side at 2″, 5″, 7″, and 10″
- scored along the 10″ side at 2″
Stamped with the Label Me Pretty stamp set:
- sentiment in Calypso Coral, Old Olive, and Night of Navy inks onto a piece of Whisper White card stock (CS)
- NOTE: instead of ink pads, I used markers to color the different parts of the stamp
Cut using the Pretty Label Punch:
Cut using Paper Snips:
- the 4 score lines along the 10-1/2″ side, but only 2″, up to the score line perpendicular to them (solid lines in diagram below)
- cut away smallest rectangle (blue area in diagram below)
Assembled the bag:
- burnished all score lines with a Bone Folder. This step isn’t absolutely necessary, but it makes the difference between an okay bag and a great looking bag.
- applied glue to the skinny flap and adhered it to the opposite end
- folded in all the bottom flaps, gluing between all of them
- turned down the top of the bag twice, and tied a piece of Old Olive 3/8″ Mini Chevron Ribbon around it
- adhered the punched sentiment to the front of the bag with Stampin’ Dimensionals
- The last step is to insert some little goodies!
Here’s the diagram:

Here’s what I used:
Click on the images for more details and to purchase.

Place an order (an individual order, a hosted workshop order, or even a demonstrator order) of at least $350 in the month of June and receive MORE Stampin’ Rewards! You can use the rewards toward free product, or toward a Starter Kit! No special code needed. Every qualifying order will automatically receive the extra rewards.
June Host Code
73VP9AQY
Use the Host Code on online orders less than $15o. See how to use a Host Code here.
Online orders of $75-149.99 placed with the Host Code will receive the FREE gift of the month!
Online orders of $150 or more will automatically receive the FREE gift of the month! Do not use the Host Code.
June’s FREE gift is a pack of the amazing new Color Theory Designer Series Paper! So many designs, so many colors, so many uses. Designed with a paint chip style color variation on one side, wood grain or paint crackle on the other side.
* Each sheet is double-sided for double the creative options
* Works beautifully on card fronts.
* 48 sheets: 4 each of 12 double-sided designs. 6” x 6”
* Acid-free
* Lignin free
* Coordinating colors: Berry Burst, Crushed Curry, Dapper Denim, Old Olive, Whisper White

“No Contact” orders are not eligible for the free gift.
(I can ship within US only.)
Swatch Books & Paper Shares
for the brand new
2017-2018 Annual Catalog
Designer Series Papers
are available to order now!
Click here to order yours now!
Gum Ball Rewards
You always earn a Gum Ball for every $50 you spend on an order with me. Earn 10 Gum Balls and I’ll send you a free stamp set of your choice! See the Gum Ball Rewards page for details.
Click here to shop my online store!
Thanks for stopping by today, and Sweet Stamping!
May 17, 2017 | Bags, Blog Hop, Gallery, Gift Wrap, Gifts, New Products |
Need a quick little gift bag to give some yummy little goodies in? Today’s project is just that, and it is soooo easy to make! It’s also a sneak peek from the new 2017-2018 Stampin’ Up! Annual Catalog, for the InKing Royalty May Blog Hop. The new products I used are the Label Me Pretty Bundle (Label Me Pretty stamp set and Pretty Label Punch,) Delightful Daisy Designer Series Paper, and 3/8″ Mini Chevron Ribbon in Old Olive, and they will be available to order on June 1!

Welcome to InKing Royalty’s May Blog Hop! Today’s Blog Hop is filled with projects that offer you a sneak peek at new items in Stampin’ Up!’s 2017-2018 Annual Catalog. We are so excited about the June 1 release of this new catalog – it’s AMAZING – and we are excited to share our sneak peek creations with you today. After you read my post, I hope you’ll hop along to the next stop on the blog hop, Robin Myren at Songbird Designs by Robin. There’s a lot of inspiration to be found in this group – and you don’t want to miss any of it!
Here’s what I made:

Scroll down to see how I made it and what I used.
Here’s the InKing Royalty May Blog Hop:
Thank you for hopping along with us. If you get stuck during the Blog Hop, please use this line-up as a guide:
- Brian King at Stamp with Brian
- Julie DiMatteo at The Paper Pixie
- Candy Ford at Stamp Candy
- Robin Myren at Songbird Designs by Robin
- Shawn de Oliveira at ShawnStamps
- Lisa Pretto at Ink Big Academy Stamps
- Jennifer Spiller at Westside Paper Creations
- Lynn Kolcun at Avery’s Owlery
- Rachael Shedeed at Bluebonnet Stampin’
- Jackie Beers at Blue Line Stamping
- Karen Browning at StampWithMeKZB
Here’s what I did:
Cut and scored with my Stampin’ Trimmer:
- Delightful Daisy Designer Series Paper (DSP) cut to 10-1/2″ x 10″
- with 10-1/2″ side at the top, scored at 2″, 5″, 7″, and 10″
- with 10″ side at the top, scored at 2″
Stamped with the Label Me Pretty stamp set:
- used Stampin’ Write Markers in Night of Navy, Old Olive, and Calypso Coral to color the stamp, then stamped image onto Whisper White card stock (CS)

Label Me Pretty Stamp Set © Stampin’ Up!
Cut using the Pretty Label Punch:
Assembled the bag:
- all scored lines folded
- used Paper Snips to cut the short vertical score lines up to the horizontal score line (see diagram below)
- used Paper Snips to cut away the smallest corner rectangle (blue area on diagram)
- applied glue to the outside of the 1/2″ tab and adhered it to the inside of the other end
- folded in four bottom flaps and glued together – I prefer to fold in the back first, then the two sides, and the front flap last.
- adhered stamped/punched piece to front of bag with Stampin’ Dimensionals
- folded over top of bag and tied a piece of ribbon around it
Diagram:
Score along dotted lines and cut along solid lines:
Here’s what I used:
Click on the images for more details and to purchase.
Stamp Camp!!!
Only 3 days left to register!
Saturday, June 3, 2017, 9am-5pm
Candy’s Stamping Studio, Atlanta, GA
You’ll have 8 hours with no kids, no pets, no job, no worries – just fun with friends stamping and shopping!
Click here for all the details!!!
Register here by May 20. Prepayment is necessary to make sure I have enough of everything on hand. Space is limited so register soon. Also, the earlier you register, the more prize drawing tickets you will receive at the door!
Swatch Books & Paper Shares
for the brand new
2017-2018 Annual Catalog
Designer Series Papers
are coming soon!
I can start taking orders May 25. I’ll order the materials on June 1, and I’ll begin shipping them out once I receive the materials and get the books and shares assembled, hopefully that same week.
Click here for more details!


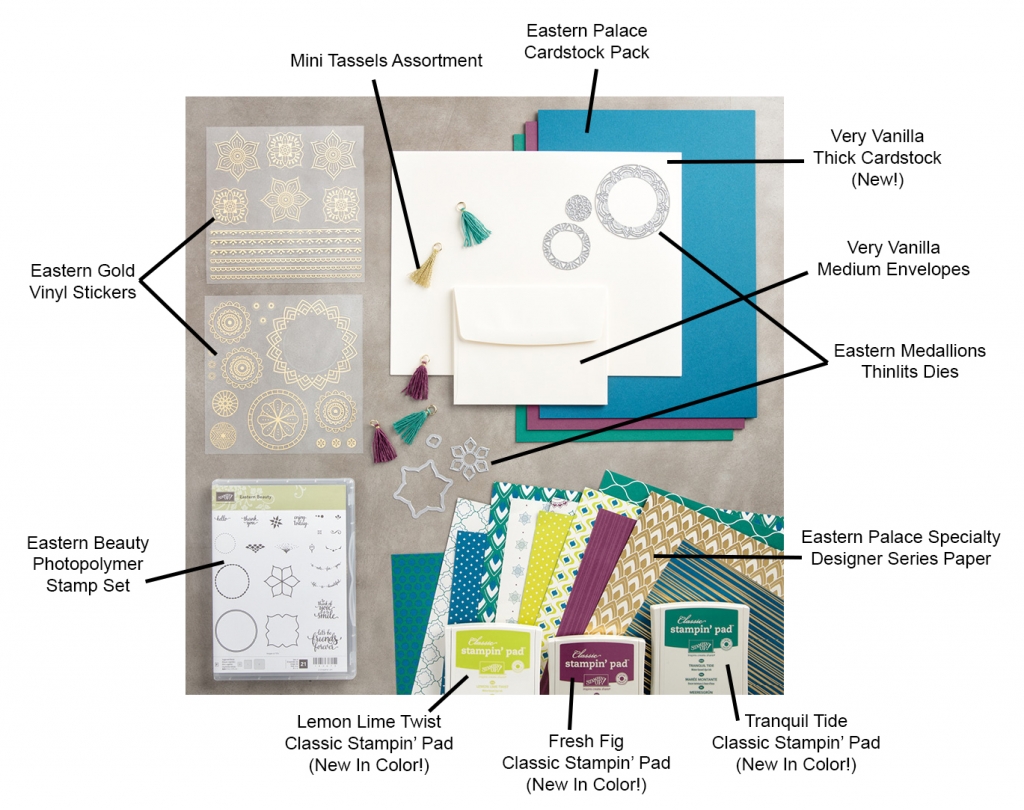
Eastern Palace Bundles
The 2017-2018 Annual Catalog goes live June 1, but you can order the brand new Eastern Palace Bundles now! Through May 31, you can order these exclusive bundles, and get a head start on making beautiful projects with these amazing new products. Included in this early release are three of the new In Colors: Fresh Fig, Lemon Lime Twist, and Tranquil Tide.
These products will still be available after May 31, BUT this incredible deal will not!
(If you join my team now, you can order these items individually as well as the bundles, PLUS other new products in the new catalog NOW!)
Get these terrific Bundles now by clicking on the images below:

May Host Code
TPR2ZNKB
Use the Host Code on online orders less than $15o. See how to use a Host Code here.
Online orders of $75-149.99 placed with the Host Code will receive the FREE gift of the month!
Online orders of $150 or more will automatically receive the FREE gift of the month! Do not use the Host Code.
May’s FREE gift is a pack of Metallic Enamel Shapes. Each pack contains:
- 100 enamel shapes, 50 each in gold and silver foil.
- 1 sheet per color: gold and silver
- Each sheet has 15 mini circles, 10 small circles, 10 hearts, and 15 stars.

Metallic Enamel Shapes © Stampin’ Up!
(I can ship within US only.)
Gum Ball Rewards
You always earn a Gum Ball for every $50 you spend on an order with me. Earn 10 Gum Balls and I’ll send you a free stamp set of your choice! See the Gum Ball Rewards page for details.
Click here to shop my online store!
Thanks for stopping by today, and Sweet Stamping!
Apr 18, 2017 | Blog Hop, Boxes, Catalogs, Gallery, Gift Wrap, New Products
Welcome to the Thailand Incentive Trip Achievers Blog Hop for April 2017. This month our theme is “Onstage April 2017”.

Onstage is an event held for Stampin’ Up!® Demonstrators only, where we get to see, feel, and play with brand-new soon-to-be-released products. This event was based on the brand new 2017-2018 Annual Catalog.

We want to show you some of the highlights of this event and hope that you can join us and other Stampin’ Up!® Demonstrators in the future. Just one more reason to join my team!
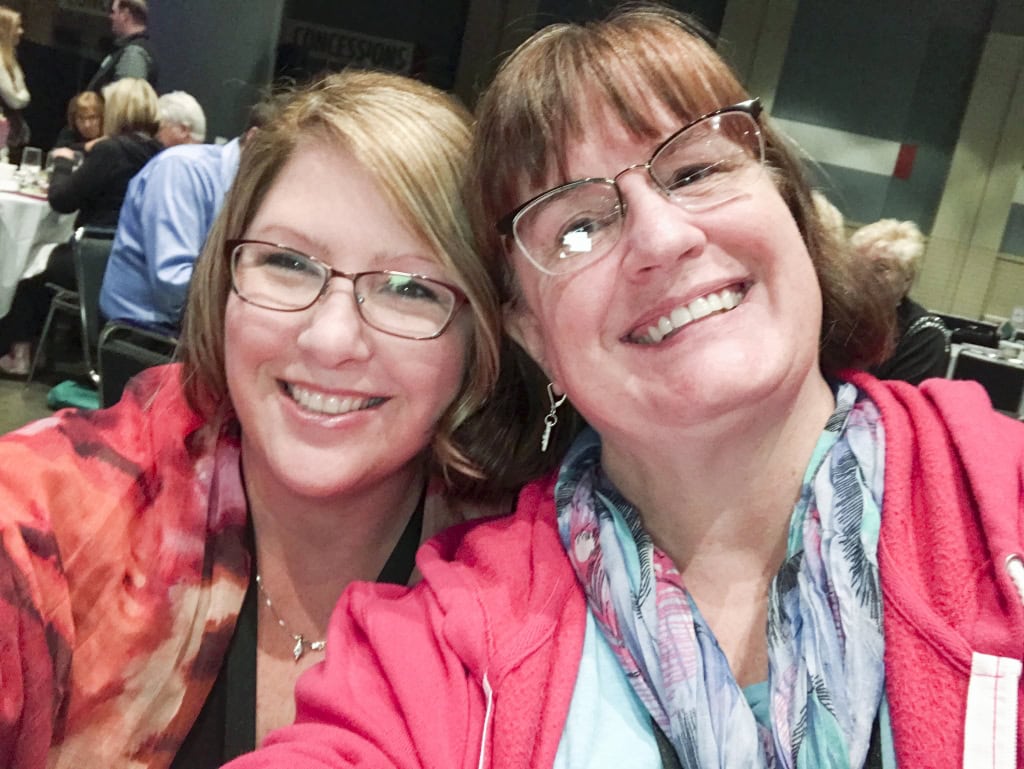
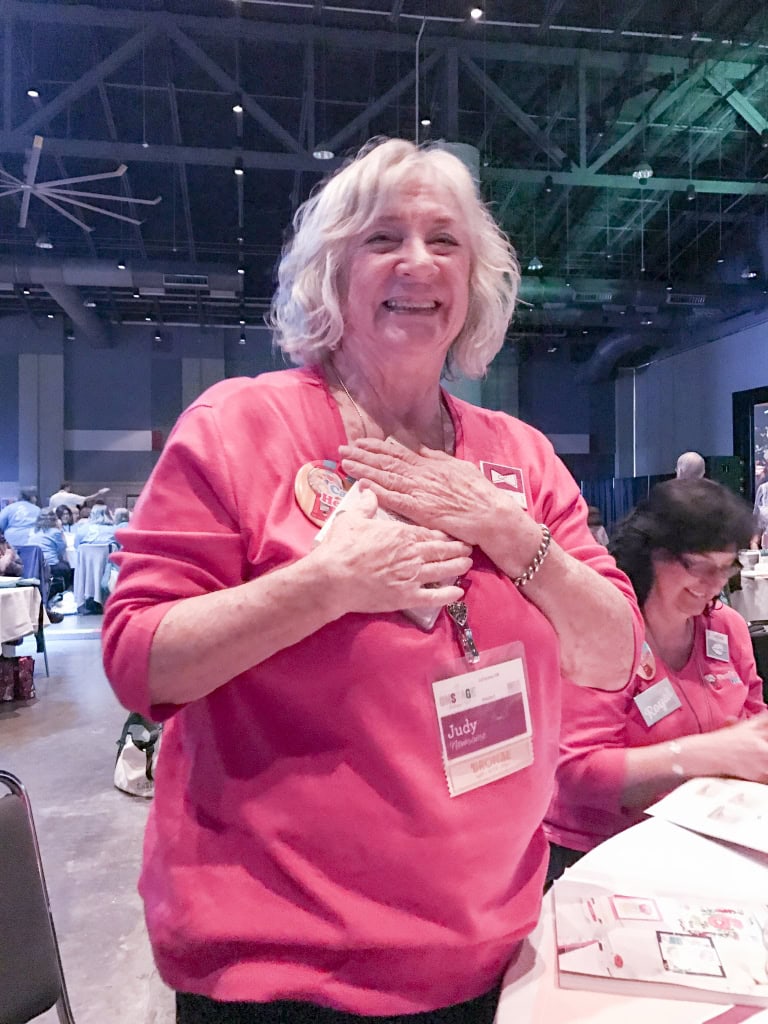
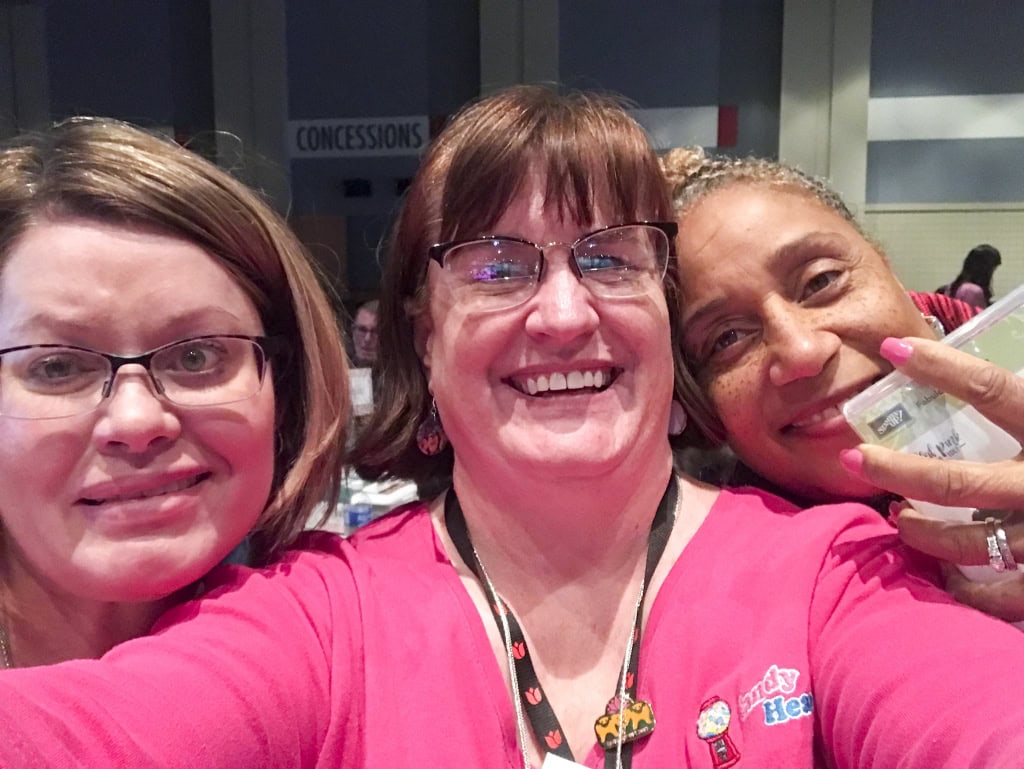
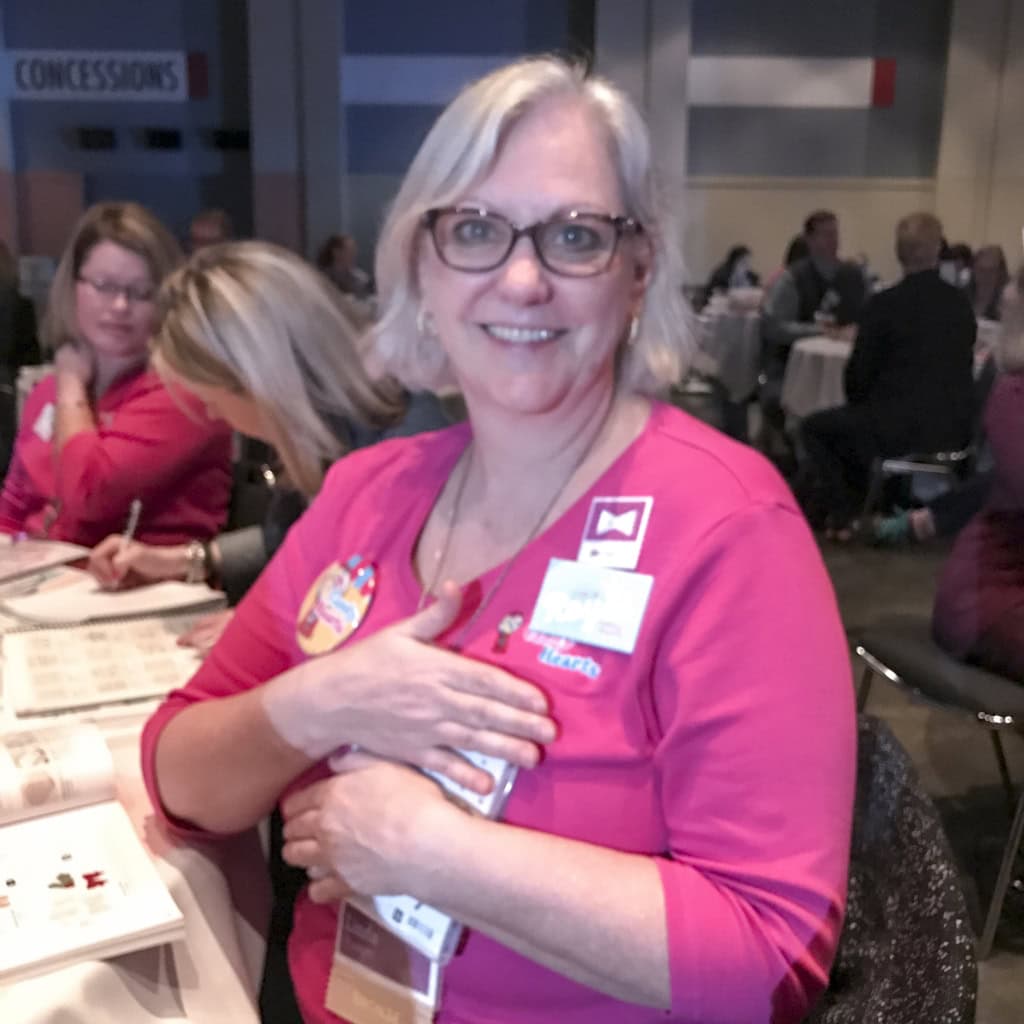
Eight members of my team attended along with me, and we had a blast. We even had matching shirts, cups, and earrings!

Judy Newsome, Debbie Catlett, Caitlin Jones, Candy Ford, Linda Krueger, Missy Wiedeman, Donica Williams, Tamara Burton, and Kimberly Laidley.
My favorite thing about OnStage is seeing the demonstrators I only get to see at events like this. Well, and making new demonstrator friends. Oh, and the presentations. And the project ideas. And participating in swaps. And getting the newest catalog before anyone else. And getting some of the brand new products FREE before anyone else has even seen them. And pre-ordering new products before anyone else. So yeah, basically all of it.
Here are some shots from OnStage:

We weren’t yet allowed to show the new products, so that’s why we are hiding the stamp sets we won during Prize Patrols. 

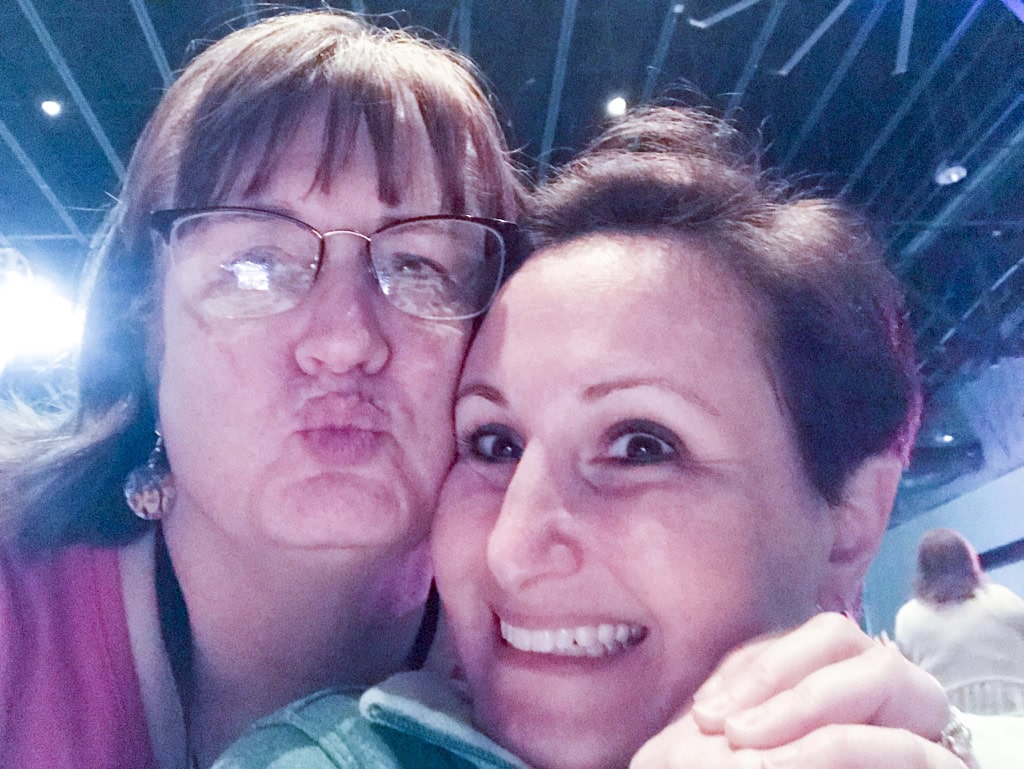

That evening, after OnStage was over and everyone had some dinner, Brian King’s team gathered in his suite for a Pajama Jam. We had snacks and went through the new catalog page by page. Of course, the Candy Hearts had matching pjs for the event (though not everyone has on their pj bottoms yet in this photo.)

I’m not sure what happened between these two shots, but Brian definitely had something to do with it. The camera caught him before he could get away. You can check out Brian’s blog post today for more photos of the Pajama Party.

Here’s what I made:
I was honored to present the new Wood Textures Suite of products at OnStage Savannah, and to create a display board of projects made with them. Today I’m sharing one of those projects. At first I filled the crate with a bag of Easter color Peanut M&Ms tied with a piece of the brand new Pool Party Solid Baker’s Twine.

Then I realized the M&Ms might be too heavy. The crate would be attached to a display board with velcro, and I was afraid the weight could cause the crate to warp or even tear. I found some small, lightweight Easter egg ornaments at Target, so I used those instead. (Most of my other display crates had miniature marshmallows in them for the same reason.)

The “grass” in the crate is some shredded gift bag filler I had on hand.
Here’s what I did:
Die cut using the Wood Crate Framelits:
- Wood Textures Designer Series Paper (DSP) using the crate die (2 pieces)
Stamped with the Wood Words stamp set:
- floral image in Pool Party ink onto one slatted side of the crate
Stamped with the Teeny Tiny wishes stamp set:
- sentiment in Pool Party ink onto a scrap of Whisper White card stock (CS)
Stamped with the Falling Flowers stamp set:
- small flower in Pink Pirouette ink over sentiment
Die cut using the Stitched Shapes Framelits:
Assembled the crate:
- two crate bottoms glued together, then tabs glued to sides to form crate
- sentiment adhered to front of crate with Stampin’ Dimensionals
Here’s the hop:
Thanks for taking part in our blog hop, there are so many amazing ideas and inspiration you don’t want to miss. Remember that currently you are at my blog (Candy Ford at stampcandy.net) so check the blog hop line up list to see who is next in the list. You don’t want to miss any of these!
Here’s what I used:
These are the new products I used, that will be available to purchase June 1, 2017:
- Wood Words Bundle (wood mount stamp set and Framelits) Item # 145315, $54.00
- Wood Words Bundle (clear mount stamp set and Framelits) Item # 145316, $46.75
- Wood Words wood mount stamp set, Item # 143925, $30.00
- Wood Words clear mount stamp set, Item # 143928, $22.00
- Wood Crate Framelits Dies, Item # 143730, $30.00
- Wood Textures Designer Series Paper, Item # 144177, $10.00
These are the current products I used. Click on the images for more details and to purchase.
Retiring Products
Click here to get them before they’re gone for good!
Gum Ball Rewards
You always earn a Gum Ball for every $50 you spend on an order with me. Earn 10 Gum Balls and I’ll send you a free stamp set of your choice! See the Gum Ball Rewards page for details.
Click here to shop my online store!
April Host Code
HV6MJT2X
Use the Host Code on online orders less than $15o. See how to use a Host Code here.
Online orders of $75-149.99 placed with the Host Code will receive the gift of the month!
Online orders of $150 or more will automatically receive the gift of the month! Do not use the Host Code.
April’s gift is a pack of Urban Underground Embellishments! Each pack contains 24 brushed silver embellishments – 8 each of 3 designs. (I can ship within US only.)
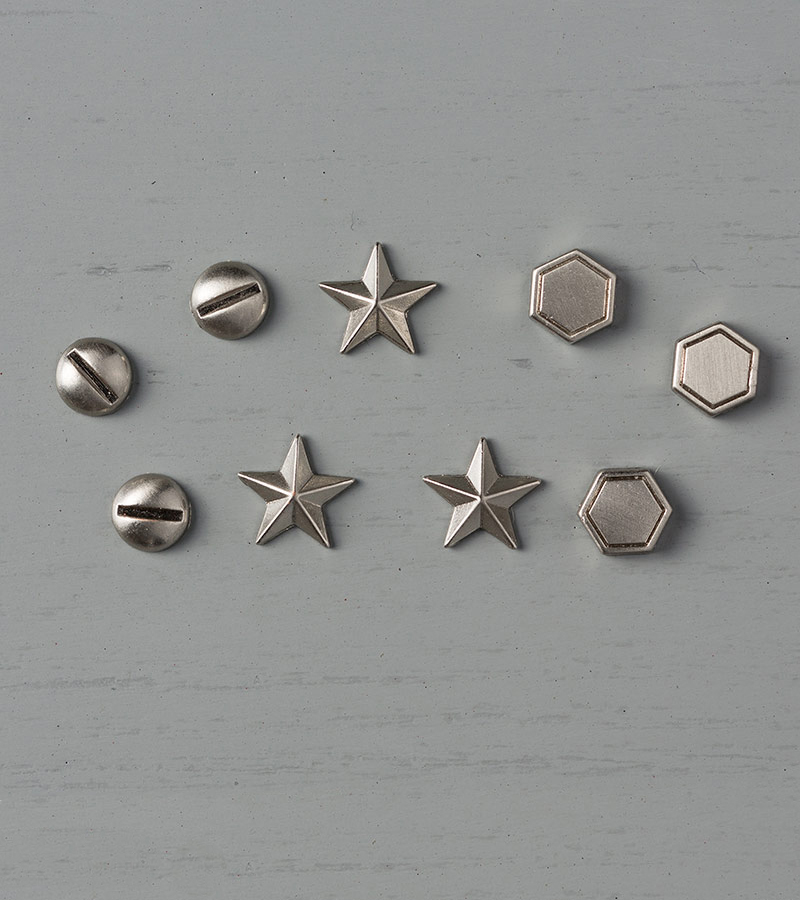
Urban Underground Embellishments © Stampin’ Up!
Thanks for stopping by today, and Sweet Stamping!
Apr 13, 2017 | Boxes, Events, Gallery, Gift Wrap, Gifts, Occasions |
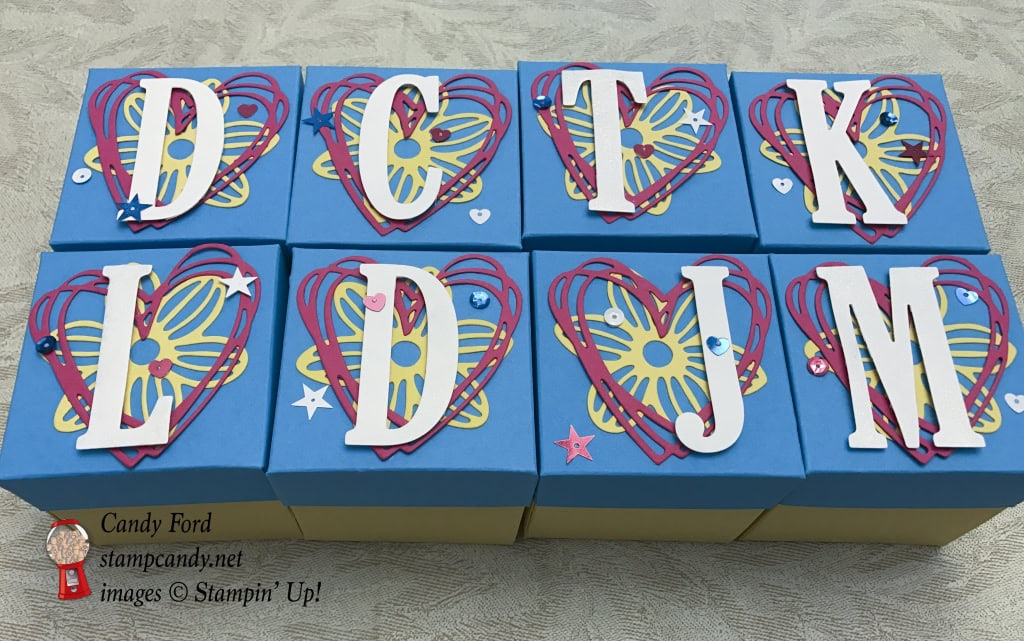
These are by far the fastest and easiest gift boxes I know how to make, and I make them all the time in various sizes. I made these for members of my team, the Candy Hearts, who attended OnStage (Stampin’ Up!’s semiannual convention type event) last weekend. In each box I put a pair of earrings with photos of candy conversation hearts on them. I didn’t use a single stamp on these boxes. Instead I used dies from the May Flowers Framelits, Sunshine Wishes Thinlits, and Large Letters Framelits.
Here’s what I made:
Here’s what I did:
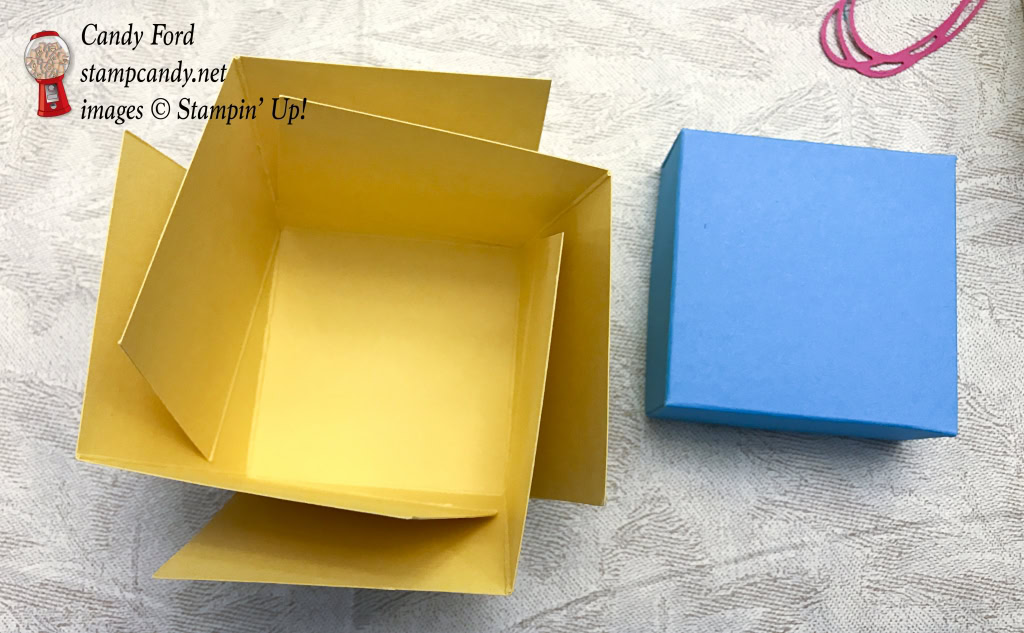
First I determined the size of the box, which was 3″ wide (side to side) x 3″ deep (front to back ) x 3″ high (top to bottom.)
Cut and scored with my Stampin’ Trimmer:
- Daffodil Delight card stock (CS) to 9″ x 9″, then scored 3″ from each side
- Tempting Turquoise CS to 5-1/16″ x 5-1/16″, then scored 1″ from each side
- See diagram below
Die cut using the May Flowers Framelits:
- flowers from Daffodil Delight CS scraps
Die cut using the Sunshine Wishes Thinlits:
- hearts from Melon Mambo CS scraps
Die cut using the Large Letters Framelits:
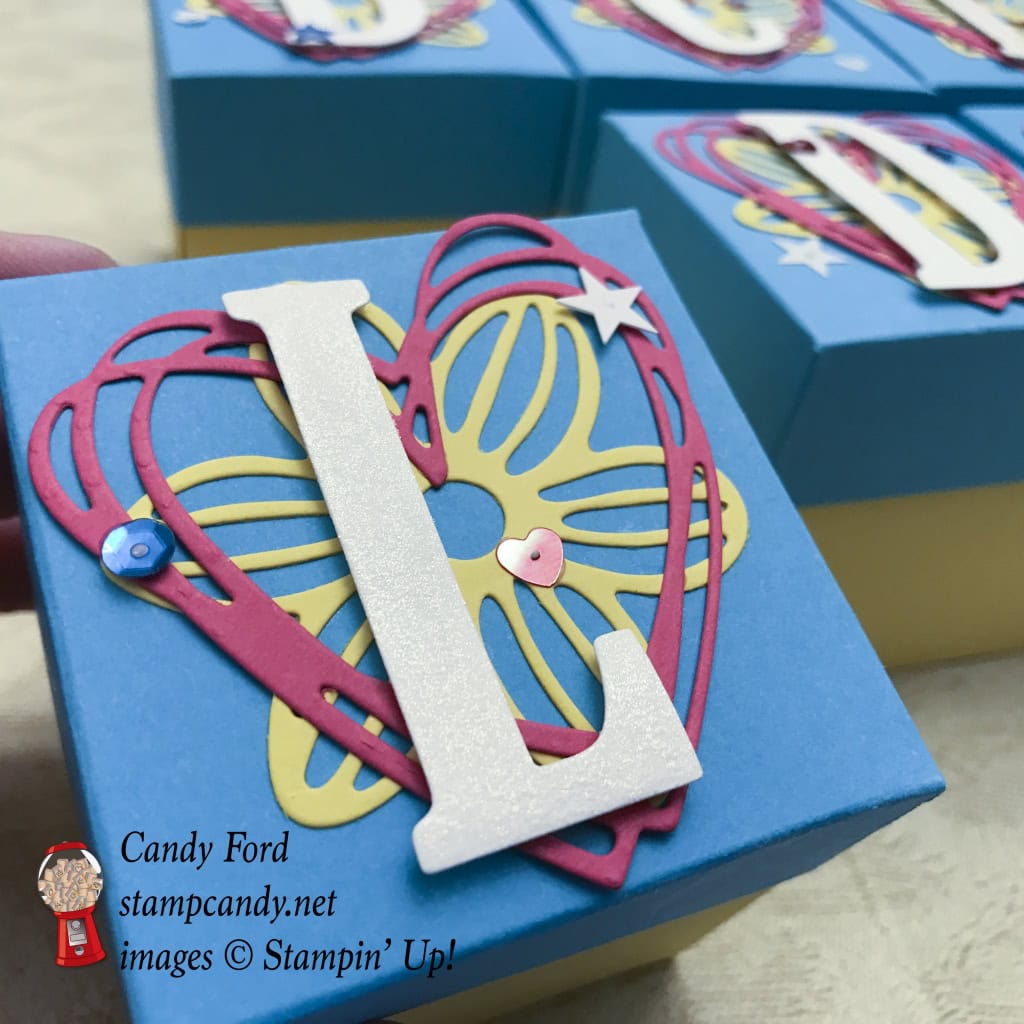
- each person’s first initial from Whisper White CS scraps, then covered it with Clear Wink of Stella (WOS) – Actually I applied the WOS after the letter was adhered to the box lid, but I recommend doing it beforehand. No matter how careful I was, I still got some WOS on the CS pieces below it.
Cut with Paper Snips:
- along one score line on each side of the Daffodil Delight CS box, only to the the first score line
- along one score line on each side of the Tempting Turquoise CS lid, only to the the first score line
- See diagram below
Assembled the gift boxes:
- folded up sides of lid and glued in place, with small tabs inside
- folded up sides of box, inserted earrings, and put lid on top to hold the sides up – You can glue the sides of the box, but I prefer to let them open up when the lid is removed (see photo below)
- Daffodil Delight flower glued onto box lid
- Melon Mambo heart glued over flower
- Whisper White letter adhered over heart and flower with Stampin’ Dimensionals
- sequins glued to lid – I put 3 sequins on each lid, and tried to make the placement look random
Here are the diagrams:
Score along dotted lines. Cut along solid lines.

Box Template

Lid Template
Here’s what I used:
Click on the images for more details and to purchase.
Retiring items are available through May 31, 2017 OR while supplies last. Many items are marked down, up to 50% off. So get them now while you still can. Please go to my online store and use the Host Code below.
Click here for the pdf.
Click here for the sortable Excel spreadsheet.
Click here to see the Retiring List in my online store.
Email me with any questions: candy@stampcandy.net
April Host Code
HV6MJT2X
Use the Host Code on online orders less than $150. See how to use a Host Code here.
Online orders of $75-149.99 placed with the Host Code will receive the gift of the month!
Online orders of $150 or more will automatically receive the gift of the month! Do not use the Host Code.
April’s gift is a pack of Urban Underground Embellishments! Each pack contains 24 brushed silver embellishments – 8 each of 3 designs. (I can ship within US only.)
Urban Underground Embellishments © Stampin’ Up!
Click here to shop my online store!
Gum Ball Rewards
You always earn a Gum Ball for every $50 you spend on an order with me. Earn 10 Gum Balls and I’ll send you a free stamp set of your choice! See the Gum Ball Rewards page for details.
Click here to shop my online store!
Thanks for stopping by today, and Sweet Stamping!
