Jun 25, 2015 | Boxes, Gift Wrap, Gifts, New Products |

Look what I got! This adorable box with its great big bow is from my darling sister, Judy. She filled it with little sweets for me. Yum!
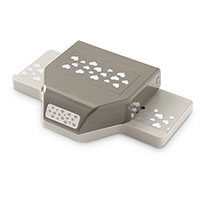
It’s so easy for you to make your own! One piece of Bohemian DSP, the Bigz L Gift Bow die, the Curvy Keepsake Box Thinlits die set, and a Clothespin – add a little adhesive and it’s done in no time. It looks like it took a lot more time and effort. I love projects that give you a “big bang for the buck.”

Here’s what she used:
Thanks for stopping by today, and Sweet Stamping!
Jun 12, 2015 | Boxes, Food, Gift Wrap, Gifts, New Products |
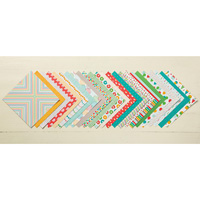
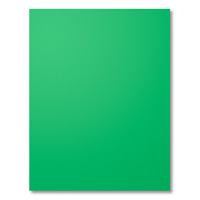
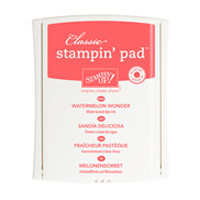
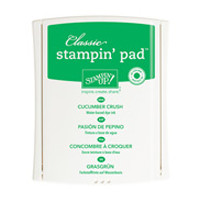
 Today I really wanted to use this sheet of the Cherry On Top DSP stack with the sweet little cherries on it. For inspiration, I looked at the list of colors in the stack. I knew I would use Watermelon Wonder and Cucumber Crush – they’re in this piece of DSP along with Whisper White. So I cut the Fry Box from Cucumber Crush card stock and lined it with the DSP. Now what?
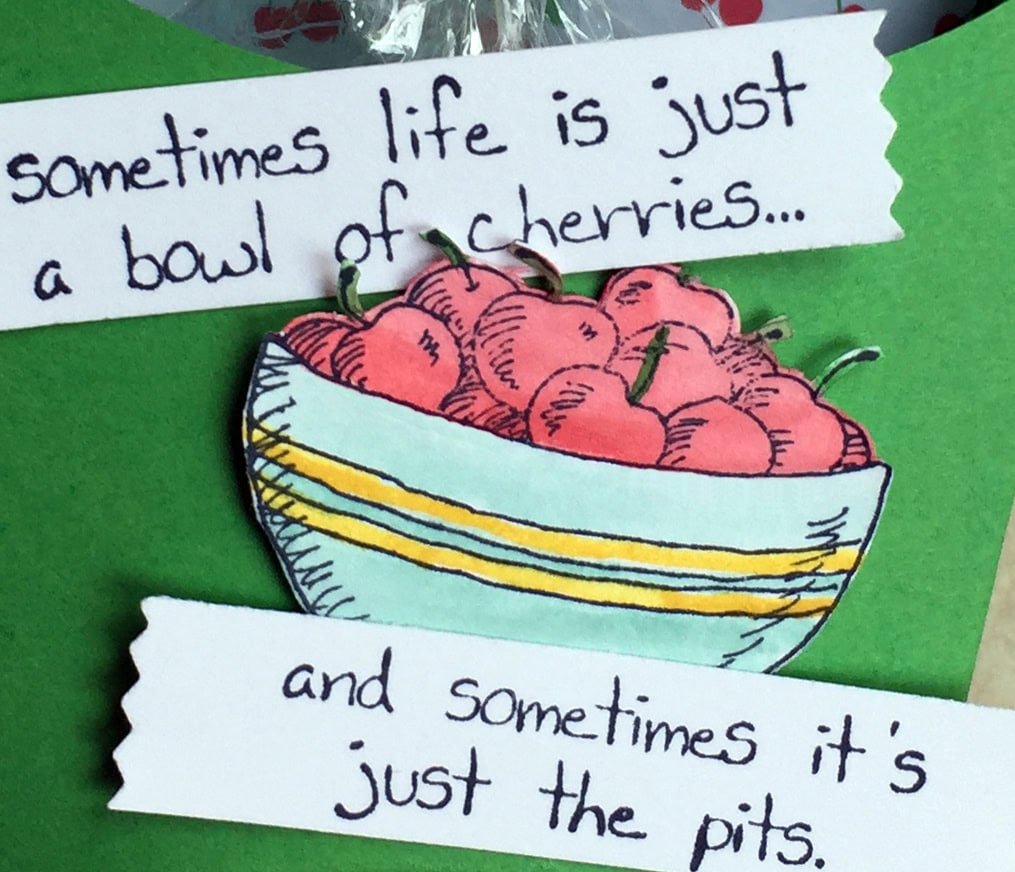
I started shopping in my catalog for a saying or image that felt right. I was thinking cherry pie, but then I came across the Giggle Greetings stamp set with its bowl of cherries and funny sentiment. Bingo!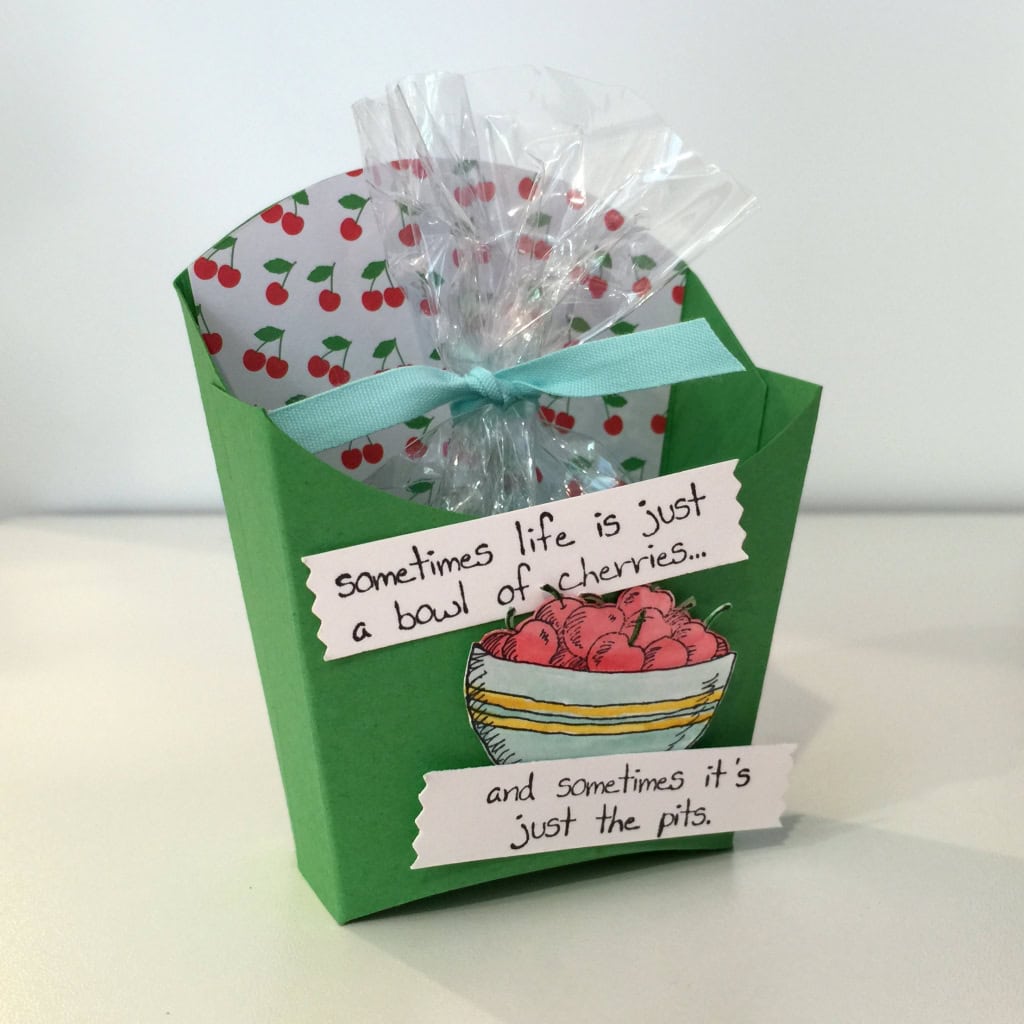
I stamped the image in black on Heavy Whisper White card stock, then cut the two parts of the sentiment with the new Washi Label punch. The punch was a bit larger than I needed, so I trimmed some off the top/bottom with my Craft Scissors. I used my Paper Snips to fussy cut the bowl of cherries.
Scissors: For the most part, I use my Paper Snips for paper; but sometimes it’s nice to have a longer pair. I keep one pair of Craft Scissors for paper and another pair for only ribbon.
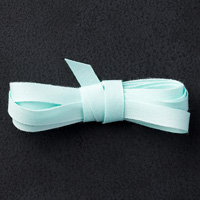
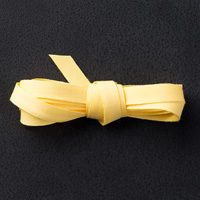
I used an Aqua Painter to color the bowl of cherries in colors from the DSP stack. The 4″x6″ Cellophane Bag tied with a piece of Pool Party ribbon contains chocolate covered dried cherries. Yum!
Don’t you think this is a cheerful gift for someone going through a rough time?
Here’s what I used:
Thanks for stopping by today, and Sweet Stamping!
May 21, 2015 | Bags, Gift Wrap, New Products, Uncategorized |

When I first got the new Cotton Paper I wasn’t sure what to do with it. It seems similar to tissue paper, but it’s slicker and stronger. It comes in 4 colors: Bermuda Bay, Crushed Curry, Cucumber Crush, and Watermelon Wonder.
While at a recent weekend retreat, Cindy Schuster (of Nutmeg Creations and the Stampin’ Up Artisan Design Team,) Lana Alsobrook, and I put our heads together to figure out just what we could use it for. Here’s what we came up with.
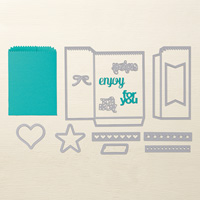
Using the Mini Treat Bag Framelits Dies, cut the bag from a sheet of Watermelon Wonder Cotton Paper. Stamp flowers in black Staz On ink on the shinier side of the paper. Also stamp the smaller flowers on a 1″ x 8-1/2″ strip of Whisper White card stock. Assemble the bag, then adhere the white strip around the top, overlapping in the back.
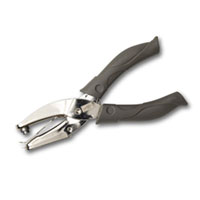
For the tag, stamp the sentiment in Versamark ink on Basic Black card stock, heat emboss in white, then cut with the Deco Labels Framelits Dies. Punch a hole in the top with the 1/8″ Handheld Circle Punch, then tie it onto the bag with Basic Black Bakers Twine.
Punch a flower from Watermelon Wonder card stock using the flower punch from the Itty Bitty Accents Punch Pack. Put a Whisper White Candy Dot in the center, then adhere the flower to the tag.

I happened to have a piece of white tissue paper, so I cut along one side with the Fringe Scissors, then tucked it into the bag with the fringe hanging out.
I think our group effort turned out well, don’t you?
Here are the new items used:
Cotton Paper Assortment
Friendly Wishes stamp set
Watermelon Wonder card stock
And here are the current items:
Thanks for stopping by today, and Sweet Stamping!
Apr 22, 2015 | Baby, Blog Hop, Boxes, Gift Wrap, Gifts |
Welcome to InKing Royalty’s April Blog Hop. Today we are celebrating April Showers – not only is this the season for Baby Showers and Wedding Showers, but May flowers are just around the corner, so you’re certain to see a great variety of projects along the hop. You may have started the Blog Hop here or may have hopped over from Amy Whelan at Amy’s Inklings. After you read my post, I hope you’ll hop over to the next. If you get off track at any point during the blog hop, there’s a complete list of participants at the end of this post.
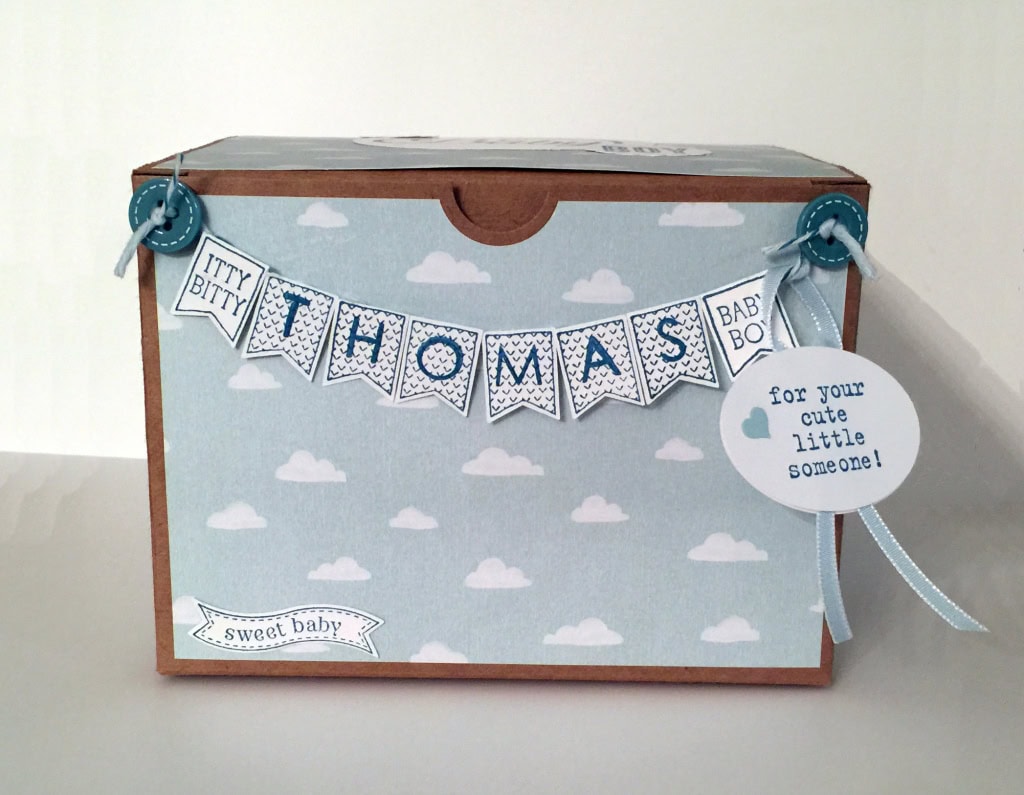
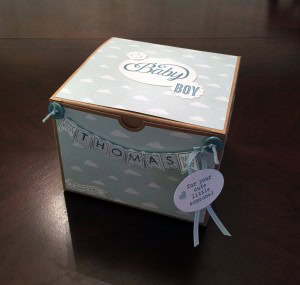
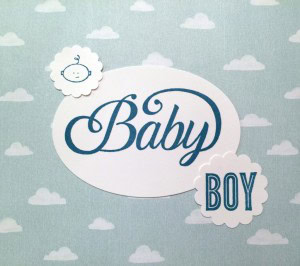
There are two new additions to my neighborhood: a boy and a girl who were born just a month apart. And they are both adorable! I wanted to make their gifts adorable, too.
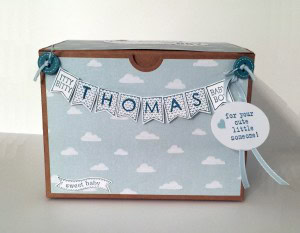
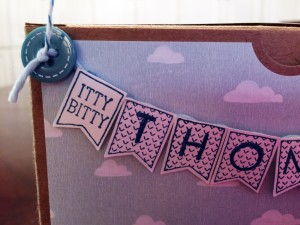
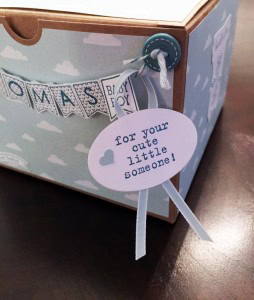
Here’s the gift box in Soft Sky and Island Indigo for Thomas…
…and here’s the gift box in Pink Pirouette and Sahara Sand for Juliette.
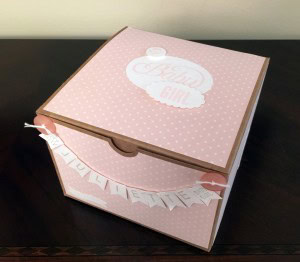
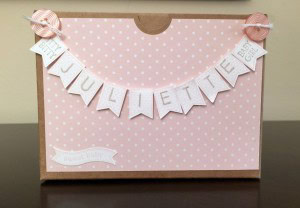
Here are a few details.
Thank you for stopping by today. I hope you’ll hop along to the next stop on the blog hop, Katie Ferguson at Cottage Paper. You certainly won’t want to miss any of these projects.
- Lynn Kolcun at Avery’s Owlery
- Pam Morris at Tap Tap Stamp
- Denise Hopefner at The Mountain Magpie
- Becky Volpp at Ink Blossom with Becky
- Lisa Pretto at DIY Royalty
- September Gray at SeptemberGray.com
- Brian King at Stamp with Brian
- Amy Whelan at Amy’s Inklings
- Candy Ford at Stamp Candy <– YOU ARE HERE
- Katie Ferguson at Cottage Paper
And as always, Sweet Stamping!
Here’s what I used for the boxes:
Mar 2, 2015 | Boxes, Cards, Decor, Gift Wrap, Gifts, Kits, Paper Pumpkin |
Here are some ideas for the February Paper Pumpkin kit.


USING THE ACCORDION FOLD CARD IN THE KIT

made according to the kit instructions

made according to the kit unstructions, but with a different stamp on the front


made according to the kit unstructions, but with Tangerine Tango and Basic Black

colored backgrounds with markers instead of stamps; used THANKS negative space, Coastal Cabana thick twine on box

cut the long accordion fold card into 4 small cards
DIFFERENT SIZED CARDS

These fit into a standard letter sized envelope


4-1/4″ x 5-1/2″ cards


5 x 7 card
GIFT BOXES

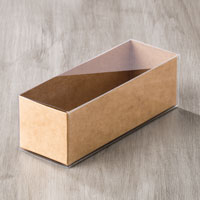
Kraft Gift Box, organza ribbon colored with Bermuda Bay Blendabilities marker

tag is stamped onto Tangerine Tango card stock with Lots of Thanks stamp set and cut with Decorative Label punch

Tag-a-Bag Gift Box, Bermuda Bay 1-1/4″ Striped Grosgrain Ribbon; filler is filter paper cut with Fringe Scissors
HANGING SIGN

Cut a piece of chipboard, cover it with card stock, add THANKS sheet negative space, hang with ribbon
Here are the supplies I used in addition to the Paper Pumpkin Kit:
Thanks for stopping by today, and Sweet Stamping!
Feb 4, 2015 | Blog Hop, Club, Food, Gift Wrap, Gifts, Kits, New Products, Occasions, Paper Pumpkin |

Welcome to the February InKing Royalty Blog Hop. We’re excited to share projects that share inspiration for Valentine’s Day and our love of Stampin’ Up! products. This hop is all about love.
You may have started the Blog Hop here or may have hopped over from Amy Whelan at Amy’s Inklings. After you read my post, I hope you’ll hop over to the next. If you get off track at any point during the blog hop, there’s a complete list of participants at the end of this post.
At each month’s Stamp Club meeting, I like to give the members a little something, just to show my love and appreciation. For the February meeting, which is today, I decorated water bottles and filled the January Paper Pumpkin bags with Valentine colored M&Ms. Aren’t they adorable?


Anyone who subscribes to Paper Pumpkin knows how amazing the kits are. Everything you need to create the project is included, except scissors and adhesive. Actually, sometimes they even include the adhesive! The projects are easy peasy, especially with included pictures and instructions. All the shapes are pre-cut. All I had to do was use the stamps and ink (included) to decorate some of the pieces and attach them to the clear bags (also included.) Such a cute way to give folks a sweet little treat!
The bottles are sooooo easy. Take the original belly band off the bottle and measure it. Cut a new belly band to fit and decorate as desired.

This particular bottle takes a 1-3/8″ wide band. I cut Basic Black background paper into 8-1/2″ x 1-3/8″ strips and adhered them with Fast Fuse. I used the Sweetheart Punch and the Modern Label Punch to cut Stacked With Love DSP. The sentiment from Teeny Tiny Wishes is stamped in Memento black ink and cut with the Word Window punch. I used Stampin’ Dimensionals behind the Modern Label shape. Everything else was adhered with Fast Fuse or Multipurpose Liquid Glue.
Thank you for stopping by today. I hope you’ll hop along to the next stop on the blog hop, Pam Morris at Tap Tap Stamp. You certainly won’t want to miss any of these projects.
And as always, Sweet Stamping!
- September Gray at SeptemberGray.com
- Brian King at Stamp with Brian
- Amy Whelan at Amy’s Inklings
- Candy Ford at StampCandy
- Pam Morris at Tap Tap Stamp
- Lynn Kolcun at Avery’s Owlery
- Becky Volpp at Ink Blossom with Becky
- Angie Coleman at Coastal Stamping
- Kelly DeTommaso at Kelly’s Creative Corner
- Katie Ferguson at Cottage Paper