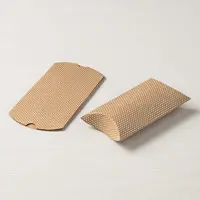
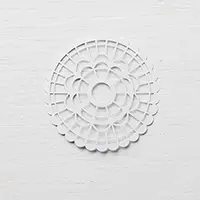
Happy Thanksgiving! Today I’m sharing with you a super duper quick and simple project. It has three pieces: a pillow box, a doily, and a piece of ribbon. That’s it! No stamping. No adhesive. The ribbon is the only thing you even need to cut. You can certainly dress it up all you want to, but when you need something in a hurry, this is the ticket.
Here’s what I made:
Here’s what I did:
Fold in one end of a pillow box.
Fill it with treats or a small gift and fold in the other end.
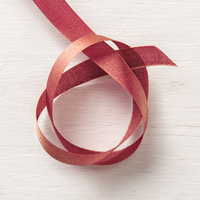
Wrap a piece of ribbon around the box and tie it in a knot on the front.
Slip a Pearlized Doily over the ends of the ribbon and over the knot, which will hold it in place.
Done!
Here are today’s colors:
You can click on each one to see all the products that come in that color!
(The boxes are kraft, but Crumb Cake is pretty close.)
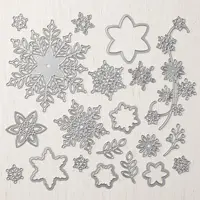
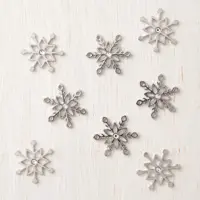
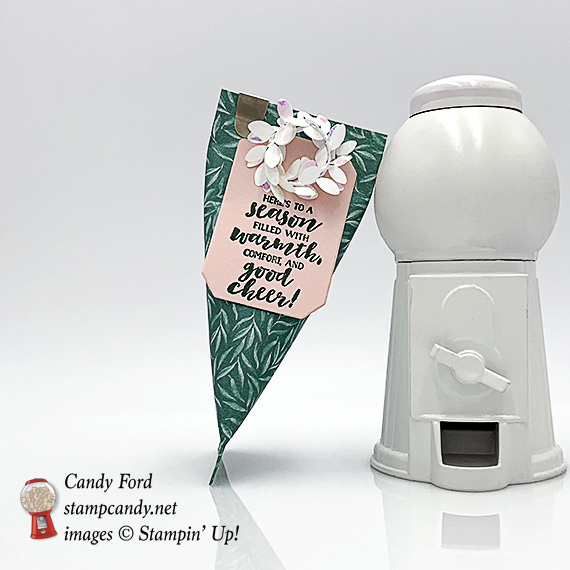
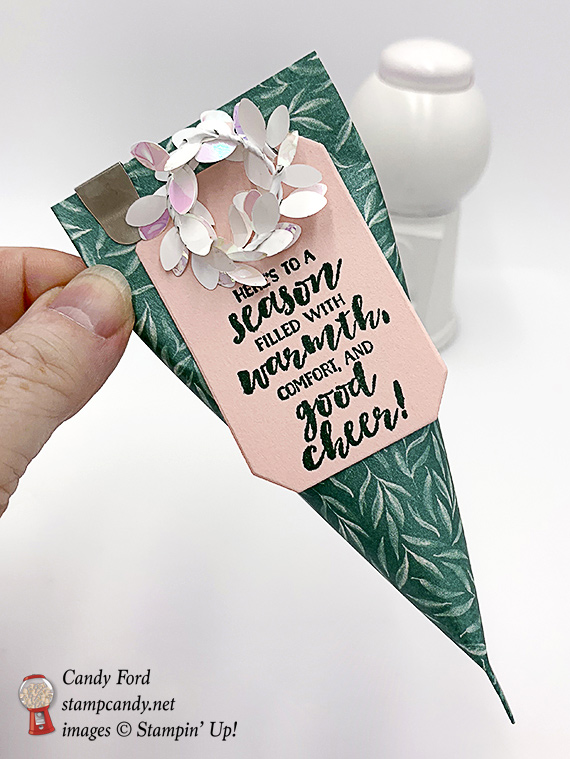
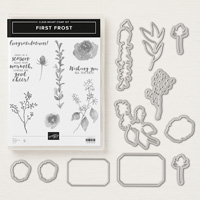
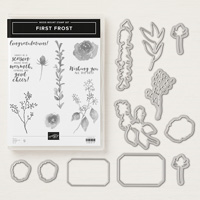
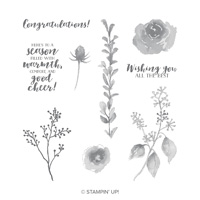
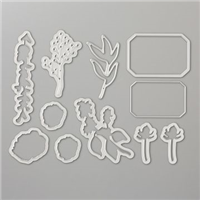
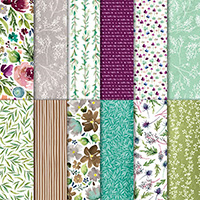
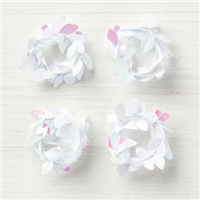
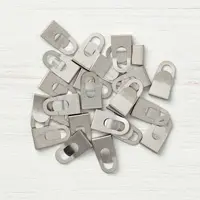
This is the time of year when we make lots of little treats and gifts, from Halloween through New Years. Today I’m sharing a quick and easy “sour cream container” made with the First Frost Bundle and Frosted Floral Specialty Designer Series Paper. I also used an Iridescent Boxwood Wreath Embellishment and a Galvanized Clip to decorate the container.
Here’s what I made:
Here’s what I did:
Cut and scored with my Stampin’ Trimmer:
Frosted Floral Specialty Designer Series Paper (DSP) cut to 6″ x 6″
Stamped with the First Frost stamp set:
sentiment in Tranquil Tide ink onto a scrap of Blushing Bride card stock (CS)
Die cut using the Frosted Bouquet Framelits:
sentiment
Assembled the container:
applied Tear & Tape along 3 sides of the inside of the DSP
rolled the side without adhesive onto the opposite edge, overlapping and adhering the edges together
pinched the bottom closed
added treats to the container
pinched the top closed perpendicular to the bottom
glued the sentiment label onto the container
adhered the wreath onto the label using a Mini Glue Dot
added the clip onto the top of the container
Here are today’s colors:
You can click on each one to see all the products that come in that color!
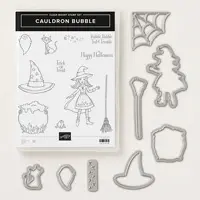
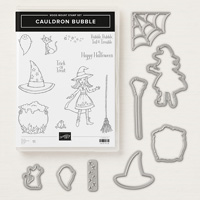
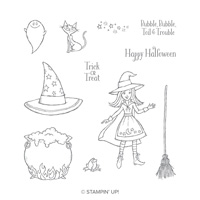
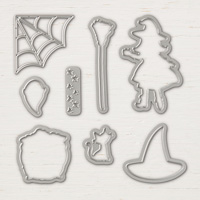
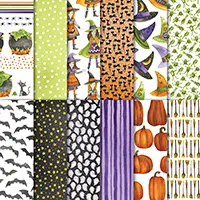
Today’s project is an adorable Halloween treat box made with a Mini Pizza Box, the Layering Squares Framelits Dies, Toil & Trouble Designer Series Paper, and the Cauldron Bubble Bundle. the Cauldron Framelits Die actually cut images from the Toil & Trouble DSP! Easy peasy! The finishing touch on the treat box is 3 sequins from the Black Mini Sequin Trim.
Have you seen the Mini Pizza Boxes? The inside is coated so it keeps any oil from seeping through. (You know how the butter can come out of cookies and seep through the box? That won’t happen with these.)
Here’s what I made:
Here’s what I did:
Die cut using the Layering Squares Framelits:
Granny Apple Green and Gorgeous Grape card stock (CS) cut using plain square dies
Basic Black CS cut using a scalloped square die
Stamped with the Cauldron Bubble stamp set:
sentiment in black ink onto the Granny Apple Green CS square
Die cut using the Cauldron Framelits:
witch hat from the Toil & Trouble Designer Series Paper
Assembled the treat box:
burnished the fold in the box with a Bone Folder, then assembled the box
hat glued onto onto the Granny Apple Green CS square
3 black mini sequins glued onto the Granny Apple Green CS square
Granny Apple Green CS square glued onto the Gorgeous Grape square
Gorgeous Grape square glued onto the Basic Black scalloped square
Basic Black scalloped square glued onto the top of the box
Here are today’s colors:
You can click on each one to see all the products that come in that color!
Here’s the new Dashing Along September special from Stampin’ Up:
Receive one pack of Dashing Along Designer Series Paper with any $250 order in September!
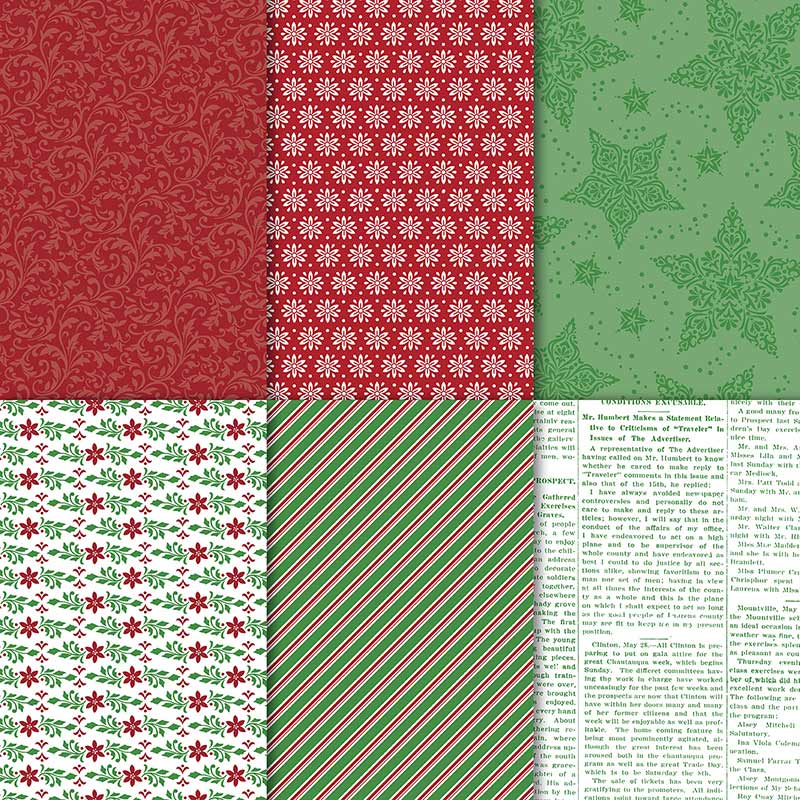
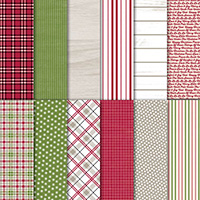
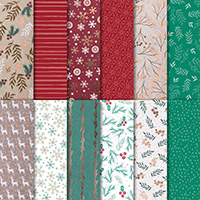
Perfect for layering, this beautiful, traditional Christmas paper includes a mix of old favorites and new patterns to create a festive, eclectic feel.
Item number 149903
12 sheets: 3 double-sided sheets (6 total designs); 4 sheets of each design – perfect for making lots of Christmas cards!
12″ x 12″
Promotion period: September 1–30
Dashing Along Designer Series Paper is exclusive to this promotion and will not be available after September 30.
In order to qualify, the event merchandise total must reach $250 (before shipping and handling).
One package of Designer Series Paper may be redeemed per qualifying order, with no limit on how many packages of Designer Series Paper can be earned.
Demonstrator, Customer, Workshop, and online orders qualify.
Dashing Along Designer Series Paper may not be redeemed using Stampin’ Rewards. You will receive this FREE gift with a qualifying order in addition to any Stampin’ Rewards you may earn.
Dashing Along Designer Series Paper may not be exchanged for other paper.
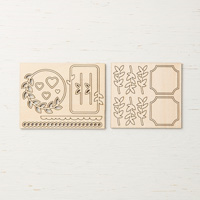
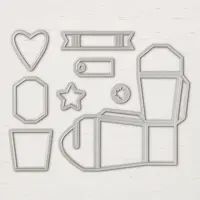
It’s time for the OSAT Blog Hop for September! This month’s theme is “I Need a Hero.” I opted to make a CAS eclipse card using the Festive Farmhouse Designer Series Paper (DSP) and the Large Letters Framelits Dies. I also used the Sunshine Sayings stamp set, Classic Label Punch, and Festive Farmhouse Elements wooden embellishments. The coordinating Tiny Treat Box is made with the same DSP, and with Burlap ribbon and Frames Elements wooden embellishments. You can give these to any hero in your life.
Here’s what I made:
Here’s what I did:
Cut and scored with my Stampin’ Trimmer:
Basic Black card stock (CS) cut to 5-1/2″ x 8-1/2″, then scored in half at 4-1/4″
Festive Farmhouse Designer Series Paper (DSP) cut to 5-1/4″ x 4″
Whisper White CS cut to 5-1/4″ x 4″ for the inside of the card base
DSP cut to 2″ x 6″ and scored at 2″ and 4″
DSP cut to 2″ x 8″ and scored at 2″, 4″, and 6″
Stamped with the Sunshine Sayings stamp set:
card sentiment in Mossy Meadow ink onto a scrap of Whisper White Thick CS
box sentiment in black Stazon ink onto a wooden embellishment
Die cut using the Large Letters Framelits:
HERO from the DSP card layer, saving all the pieces
Cut using the Classic Label Punch:
card sentiment
Cut using the 1/2″ Circle Punch:
a semicircle from the front end of the 2″ x 8″ DSP strip
Colored using a Stampin’ Write Marker:
frame of the wooden element on the box in Basic Black
Assembled the card:
burnished the fold in the card base with a Bone Folder
DSP layer glued onto the front of the card base
inside pieces of the die cut letters R and O glued in place onto the card base
die cut letters HERO adhered over the cut out spaces in the DSP layer using Mini Stampin’ Dimensionals
sentiment adhered onto the DSP layer using Mini Stampin’ Dimensionals
3 small wooden stars glued onto the card front as shown
Whisper White CS glued onto the inside of the card base
Assembled the box:
Burnished all scored lines in the two 2″ wide DSP strips.
Assembled a Tiny Treat Box
inserted the 8″ strip into the box, to line the front, bottom, back and lid, being sure to have the semicircle cut out in the front
inserted the 6″ strip into the box, to line the two sides and the bottom
put treats in the box and closed it up
wrapped Burlap ribbon around the box and adhered the ends to the back of the wooden element using Tear & Tape, just loose enough to be able to slide it on and off the box
Here’s the OSAT Blog Hop:
Click on the Next button to see Barb Millikin’s projects. You can use the guide below if you get lost during the hop.
Here are today’s colors:
You can click on each one to see all the products that come in that color!
Here’s the new Dashing Along September special from Stampin’ Up:
Receive one pack of Dashing Along Designer Series Paper with any $250 order in September!
Perfect for layering, this beautiful, traditional Christmas paper includes a mix of old favorites and new patterns to create a festive, eclectic feel.
Item number 149903
12 sheets: 3 double-sided sheets (6 total designs); 4 sheets of each design – perfect for making lots of Christmas cards!
12″ x 12″
Promotion period: September 1–30
Dashing Along Designer Series Paper is exclusive to this promotion and will not be available after September 30.
In order to qualify, the event merchandise total must reach $250 (before shipping and handling).
One package of Designer Series Paper may be redeemed per qualifying order, with no limit on how many packages of Designer Series Paper can be earned.
Demonstrator, Customer, Workshop, and online orders qualify.
Dashing Along Designer Series Paper may not be redeemed using Stampin’ Rewards. You will receive this FREE gift with a qualifying order in addition to any Stampin’ Rewards you may earn.
Dashing Along Designer Series Paper may not be exchanged for other paper.
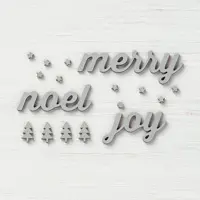
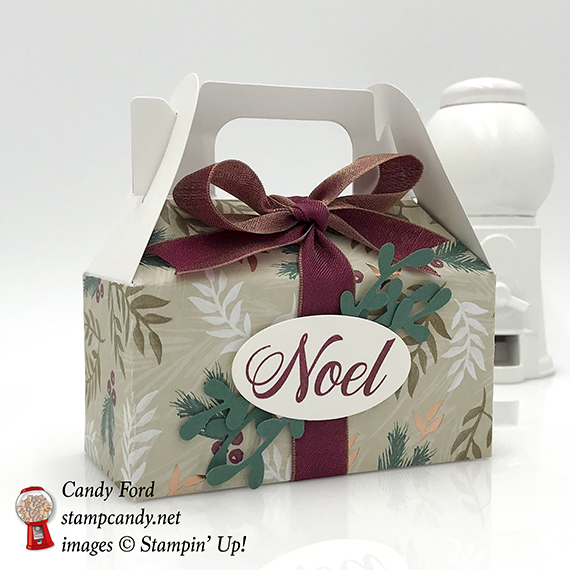
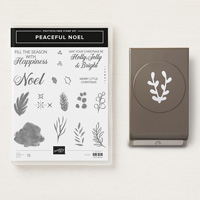
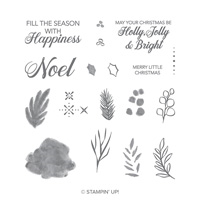
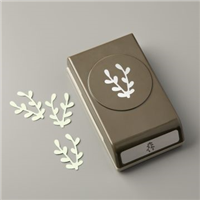
It’s time for the August edition of the Inspire, Create, & Share Blog Hop! This month our theme is Passion for Punches. I’ve decided to feature a brand new punch from the 2018 Holiday Catalog (which is now live!) It’s called the Sprig Punch and it’s part of the new Joyous Noel Suite on pages 28-29. You can buy it bundled with the Peaceful Noel stamp set to save 10%!
For some reason I keep calling this a Twig Punch instead of Sprig Punch. Even though “Sprig” makes more sense, once I get something wrong like that in my head, it’s hard to remember the right word. So if I missed correcting “Twig” anywhere in this post, know that I mean “Sprig.”
Here’s what I made:
Here’s what I did:
Cut and scored with my Stampin’ Trimmer:
Joyous Noel Designer Series Paper (DSP) cut to 12″ x 3-1/4″
scored DSP along the long side at 4″, 6″, and 10″
scored DSP along the short side at 2″
Cut using Paper Snips:
cut away the two 2″ x 1-1/4″ sections from the DSP
Stamped with the Peaceful Noel stamp set:
sentiment in Merry Merlot ink onto a scrap of Shimmery White cardstock (CS)
Cut using the Sprig Punch:
3 sprigs from a scrap of Tranquil Tide CS
Die cut using the Layering Ovals Framelits:
sentiment
Decorated the box:
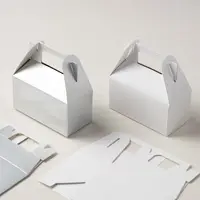
DSP glued onto a Lustrous White Mini Gable Box
*excess pieces trimmed around the top flaps of the box using Paper Snips
folded in bottom flaps of box, first the long tab with two arms, then the two short sides, then tucked in the long flap with one arm
put treats in the box, then closed the top by tucking the top tabs through the slots on the end tabs
ribbon tied around the box and tied in a bow, then *notched the ends of the ribbon using Paper Snips
sprigs glued onto the back of the sentiment
sentiment adhered onto the front of the box, over the ribbon, using Stampin’ Dimensionals
Here’s where you click to get to the next stop on the hop:
Here are today’s colors:
You can click on each one to see all the products that come in that color!
Here’s the new Dashing Along September special from Stampin’ Up:
Receive one pack of Dashing Along Designer Series Paper with any $250 order in September!
Perfect for layering, this beautiful, traditional Christmas paper includes a mix of old favorites and new patterns to create a festive, eclectic feel.
Item number 149903
12 sheets: 3 double-sided sheets (6 total designs); 4 sheets of each design – perfect for making lots of Christmas cards!
12″ x 12″
Promotion period: September 1–30
Dashing Along Designer Series Paper is exclusive to this promotion and will not be available after September 30.
In order to qualify, the event merchandise total must reach $250 (before shipping and handling).
One package of Designer Series Paper may be redeemed per qualifying order, with no limit on how many packages of Designer Series Paper can be earned.
Demonstrator, Customer, Workshop, and online orders qualify.
Dashing Along Designer Series Paper may not be redeemed using Stampin’ Rewards. You will receive this FREE gift with a qualifying order in addition to any Stampin’ Rewards you may earn.
Dashing Along Designer Series Paper may not be exchanged for other paper.
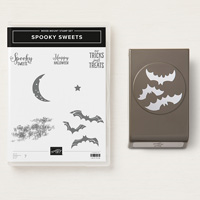
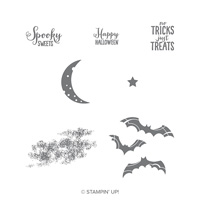
The Holiday Catalog goes live tomorrow! Today I’m sharing another sneak peek. I CASEd this project right from page 51 of the catalog. It’s made using the Spooky Sweets bundle, the Takeout Thinlits Dies, and the Farmhouse Framelits Dies.
CASE = copy and share everything OR copy and selectively edit
Here’s what I made:
Here’s what I did:
Cut and scored with my Stampin’ Trimmer:
Gray Granite card stock (CS) cut to 5-1/2″ x 8-1/2″
Stamped with the Spooky Sweets stamp set:
bats in Memento black ink onto a scrap of Gray Granite CS
sentiment in Gorgeous Grape and Granny Apple green inks onto a scrap of Whisper White CS
NOTE: I colored the sentiment using Stampin’ Write Markers
Die Cut using the Takeout Thinlit Dies:
Takeout Box (2 pieces for one box) from the 5-1/2″ x 8-1/2″ Gray Granite CS
NOTE: You can get 2 boxes (4 pieces) from an 8-1/2″ x 11″ piece of CS
Flecked using a Stampin’ Write Marker:
the outsides of the 2 box pieces in Basic Black
NOTE: I later realized the sample in the catalog was stamped with the textured image from the Spooky Sweets stamp set in black ink. That’s probably easier, and neater, than flicking ink from a marker.
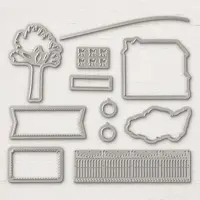
Die cut using the Farmhouse Framelits:
fence from a scrap of Basic Black CS
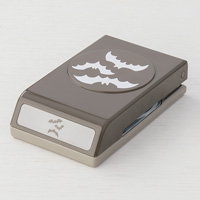
Punched using the Spooky Bat Punch:
bats
Punched using the 1-1/4″ Circle Punch:
sentiment
Assembled the box:
burnished the folds in the 2 box pieces with a Bone Folder
2 box pieces glued together on the bottom and along two sides (Tear & Tape is also a good choice for this)
closed the top of the box (after putting treats inside)
used my fingers to bend pieces of the fence
fence glued onto the front of the box, and the ends trimmed away using Paper Snips
sentiment adhered onto the front of the box using Stampin’ Dimensionals
one bat glued onto the sentiment, and the other bat glued onto the box
tied a piece of Granny Apple Green ribbon around the box and tied a bow
Here are today’s colors:
You can click on each one to see all the products that come in that color!
Here’s the new Dashing Along September special from Stampin’ Up!
Receive one pack of Dashing Along Designer Series Paper with any $250 order in September!
Item number 149903
Promotion period: September 1–30
Dashing Along Designer Series Paper is exclusive to the host promotion and will not be available after September 30.
In order to qualify, the event merchandise total must reach $250 (before shipping and handling).
One package of Designer Series Paper may be redeemed per qualifying order, with no limit on how many packages of Designer Series Paper can be earned.
Demonstrator, Customer, Workshop, and online orders qualify.
Dashing Along Designer Series Paper may not be redeemed using Stampin’ Rewards. You will receive this FREE gift with a qualifying order in addition to any Stampin’ Rewards you may earn.
Dashing Along Designer Series Paper may not be exchanged for other paper.