Oct 11, 2018 | Blog Hop, Cards, Christmas, Gallery, Halloween, Holiday |

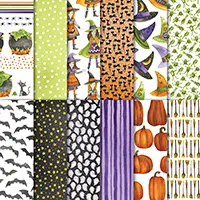
It’s time for the One Stamp at a Time blog hop for October. We’re featuring Halloweeny projects this month. I used the In the Woods Framelits Dies and the Christmas Staircase Thinlits Dies to create the card, which happens to be the invitation to our Halloween party this year. The front of the card is a homey Christmas scene, and the inside is the same scene in the dark, when the frightful creatures come out to play. I used the In the Woods dies along with the Toil & Trouble Designer Series Paper to create the treat bag.
I used only one stamp on this invitation, the one for the garland, mainly because I didn’t have sentiment stamps that said exactly what I wanted it to say in the size I needed. So I printed the sentiments onto card stock (Whisper White and Smoky Slate) and cut them using the Layering Squares Framelits Dies. I used two stamps on the treat bag, from two different stamp sets.

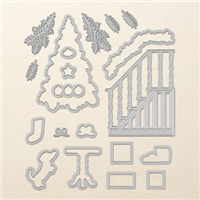
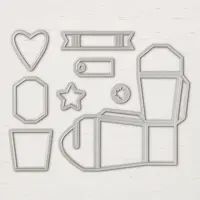
Christmas Staircase Framelits Dies © Stampin’ Up!

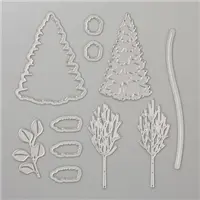
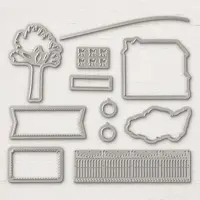
In the Woods Thinlits Dies © Stampin’ Up!
My husband and I have a big Halloween party each year with lots of decorations, yummy food, and even a costume contest. As a matter of fact, right now our house is full of boxes of Halloween decorations, as well as Christmas decorations, because the theme of this year’s Halloween party is Christmas.
Most years, after the Halloween party, we just don’t have the energy to put up a Christmas tree. I was determined to have a tree this year, so that’s why the unusual Halloween theme. It’s been very interesting combining Christmas and Halloween. All the rats and bats will have red bows around their necks, or tiny Santa hats. And I was amazed to find so many Halloween ornaments, and even black trees!
If there are any days in October when I have no blog post, it’s because the Halloween party prep has taken its toll. I will attempt to post every day, but I know from past experience that sometimes I’m just too tired from hanging cobwebs and bats and such to concentrate on creating a post, or even a project to blog about. So please forgive any gaps in my posting in the next few weeks. Thank you!
Here’s what I made:


This is a close up of the shiny red eyes peeking out from the tree.

I forgot to take more photos during the assembly line process, but here are a few. I made 100 invitations!
100 Whisper White staircases:

With 200 hundred little stars to adhere with Mini Glue Dots (1 on the front and 1 on the inside of each card) I found it easier and quicker to attach the stars to the strip of Glue Dots, then pull them off one by one as I needed them.
Ready to go in the envelopes:

Here’s what I did:
Cut and scored with my Stampin’ Trimmer:
- Real Red card stock (CS) cut to 5-1/2″ x 8-1/2″, then scored in half at 4-1/4″
- Crumb Cake CS cut to 5-1/4″ x 4″
- Basic Gray CS cut to 5-1/4″ x 4″
- Toil & Trouble Designer Series Paper (DSP) cut to 8-1/4″ x 6″, then scored at 4″ and 8″, also scored 1/2″ from the top and bottom
Stamped with the Ready for Christmas stamp set:
- garland in Garden Green ink onto Garden Green CS
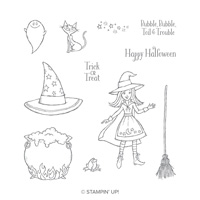
Stamped with the Cauldron Bubble stamp set:
- “Halloween” in Real Red ink onto a scrap of Whisper White CS *
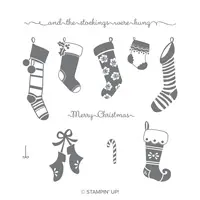
Stamped with the Hung with Care stamp set:
- “Merry” in Real Red ink above “Halloween” *
* NOTE: I inked up only the part of the stamp I needed. I used a Real Red ink pad, but you can also use a Real Red Stampin’ Write Marker.
Cut using Circle Punches:
- Merry Halloween sentiment using the 1-1/4″ punch
- hole above the sentiment using the 1/8″ punch
- hole in the top of the Whisper White CS tree, 1 larger and 1 smaller Garden Green trees using the 1/8″ punch
Die cut using the In the Woods Framelits:
- larger Christmas tree shape from Garden Green CS (2 pieces), Whisper White, and Basic Black CS
- smaller Christmas tree shape from Garden Green CS (2 pieces) and Basic Black CS
Die cut using the Christmas Staircase Thinlits:
- staircase from Whisper White CS and Basic Black CS
- garland from Garden Green CS and Basic Black CS
- ornaments from Real Red CS and Basic Gray CS
- star from Gold Foil Sheet and Black Foil Sheet
Die cut using the Layering Squares Framelits:
- printed sentiments for card
- frames from Soft Suede CS and Basic Black CS
Assembled the card:
- burnished the fold in the card base with a Bone Folder
- Crumb Cake CS layer glued onto the front of the card base
- Whisper White staircase, larger Garden Green tree, gold star, Whisper White sentiment, and Soft Suede frame glued onto the Crumb Cake CS layer
- Garden Green garland adhered over the staircase using Mini Stampin’ Dimensionals
- smaller Garden Green tree adhered over larger tree using Mini Stampin’ Dimensionals
- Real Red ornaments glued onto the smaller Garden Green tree
- Basic Gray CS layer glued onto the inside of the card base
- Basic Black staircase, larger Basic Black tree, black star, Smoky Slate sentiment, and Basic Black frame glued onto the Basic Gray CS layer
- the Basic Black garland adhered over the staircase using Mini Stampin’ Dimensionals
- smaller Basic Black tree glued onto the larger tree
- Basic Gray ornaments glued onto the smaller Garden Green tree
- 2 Red Rhinestones applied to the tree, for the scary eyes peeking out from under a bough
All the information about the party (where, when, etc.) was printed on a separate piece of paper and enclosed in the envelope.

Assembled the treat bag
- burnished the folds in the DSP with a Bone Folder
- cut away one of the tiny corner sections and the adjacent 1/2″ section using Paper Snips
- put Tear & Tape along both of the tabs, one at the side and one at the bottom, and folded over to create the bag
- put treat in the bag
- folded over the top along the score lines and secured with a Galvanized Clip
- Whisper White CS tree glued to the back of the larger Garden Green tree – this is where you can write the recipient’s name
- smaller Garden Green tree adhered to the larger Garden Green tree using Mini Stampin’ Dimensionals
- 2 Red Rhinestones applied to the smaller Garden Green tree, for the scary eyes peeking out from under a bough
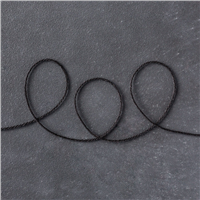
- Basic Black twine run through the hole in the Merry Halloween tag and tied in a knot just above it, then run through the holes in the tree
- the twine is held on to the bag using the Galvanized Clip
Here’s the OSAT Ghouls, Goblins, and Gourds Blog Hop:
Here are today’s colors:
You can click on each one to see all the products that come in that color!
Here’s what I used:
Click on these images for more details and to purchase.
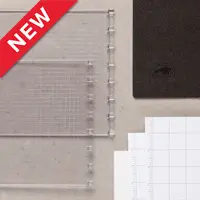
Here are the new Stamparatus Accessories!
You can now order individual accessories for your Stamparatus! (Be sure to keep an eye out for more in the future.)
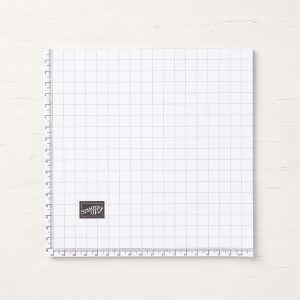
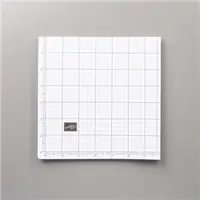
Grid paper perfectly sized to fit the Stamparatus, for precision stamp alignment every time. (50 sheets)

Additional plates allow you to have multiple stamp arrangements ready to go! (2 plates)
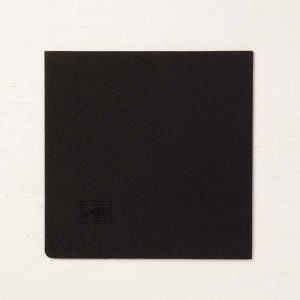
Extra foam mat for photopolymer stamping. (1 mat)
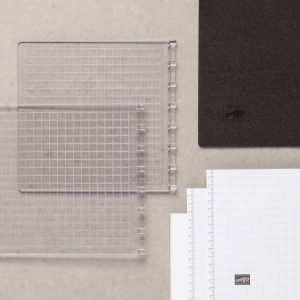
Stamparatus Accessories Pack includes 2 Stamparatus plates, a foam mat, and grid paper.

Stamparatus Magnets. These rare earth magnets are strong! They’re also brittle by nature, so be careful not to let them slam together. (2 magnets)
Here’s more cool stuff you should check out:
Thanks for stopping by today, and Sweet Stamping!
Oct 6, 2018 | Blog Hop, Cards, Gallery, Halloween, Holiday, Paper Pumpkin |

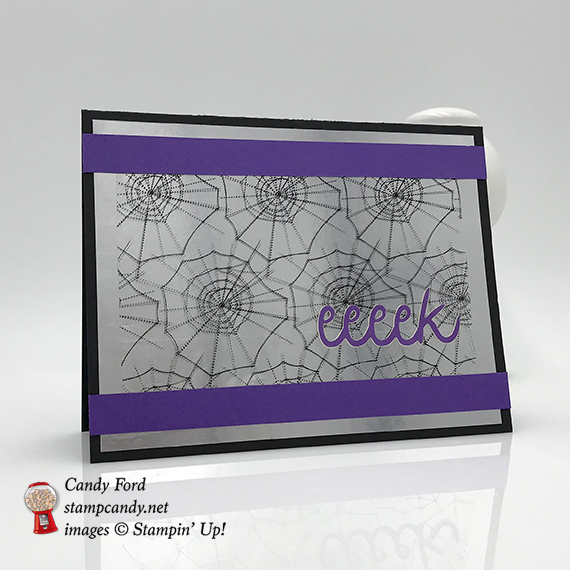
It’s time for the Paper Pumpkin Pop-Up Blog Hop! Yes, this is my second Paper Pumpkin themed blog hop using the September Frights & Delights Paper Pumpkin kit. The alternate project I made for today’s hop coordinates with the projects I made for the other hop, which you can see here. The kit makes 24 adorable Halloween treat bags, but I used some of the pieces to make this shiny card. I like the way the spider webs on the clear bag reflect in the Silver Foil layer.
Here’s what I made:

Here’s what I did:
Cut and scored with my Stampin’ Trimmer:
- Basic Black card stock (CS) cut to 5-1/2″ x 8-1/2″, then scored in half at 4-1/4″
- Silver Foil Sheet cut to 5-1/4″ x 4″
- Gorgeous Grape CS cut to 5-1/2″ x 1/2″ (2 pieces)
- a treat bag cut open and cut to 4-5/8″ x 3″
- Whisper White CS cut to 5-1/2″ x 1/2″ for the inside of the card
Assembled the card:
- burnished the fold in the card base with a Bone Folder
- Silver Foil layer adhered onto the front of the card base using Tear & Tape
- bag piece laid on the Silver Foil layer
- Gorgeous Grape CS strips adhered onto the card front, overlapping the top and bottom edges of the bag, using Tear & Tape (This is what holds the bag onto the card.)
- Gorgeous Grape self stick word applied onto the Bag.
- Whisper White CS glued onto the inside of the card base.
Here’s the Paper Pumpkin Pop-Up Blog Hop:
Click on the pumpkin below to hop to the next stop, Debbie Green.

Here are today’s colors:
You can click on each one to see all the products that come in that color!
Here’s what I used:
Click on these images for more details and to purchase.
Here’s some cool stuff you should check out:
Thanks for stopping by today, and Sweet Stamping!
Sep 26, 2018 | Boxes, Gallery, Gift Wrap, Gifts, Halloween, Holiday |
Today’s project is an adorable Halloween treat box made with a Mini Pizza Box, the Layering Squares Framelits Dies, Toil & Trouble Designer Series Paper, and the Cauldron Bubble Bundle. the Cauldron Framelits Die actually cut images from the Toil & Trouble DSP! Easy peasy! The finishing touch on the treat box is 3 sequins from the Black Mini Sequin Trim.
Have you seen the Mini Pizza Boxes? The inside is coated so it keeps any oil from seeping through. (You know how the butter can come out of cookies and seep through the box? That won’t happen with these.)
Here’s what I made:


Here’s what I did:
Die cut using the Layering Squares Framelits:
- Granny Apple Green and Gorgeous Grape card stock (CS) cut using plain square dies
- Basic Black CS cut using a scalloped square die
Stamped with the Cauldron Bubble stamp set:
- sentiment in black ink onto the Granny Apple Green CS square
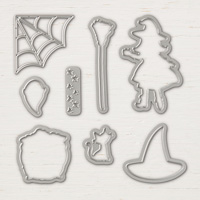
Die cut using the Cauldron Framelits:
- witch hat from the Toil & Trouble Designer Series Paper
Assembled the treat box:
- burnished the fold in the box with a Bone Folder, then assembled the box
- hat glued onto onto the Granny Apple Green CS square
- 3 black mini sequins glued onto the Granny Apple Green CS square
- Granny Apple Green CS square glued onto the Gorgeous Grape square
- Gorgeous Grape square glued onto the Basic Black scalloped square
- Basic Black scalloped square glued onto the top of the box
Here are today’s colors:
You can click on each one to see all the products that come in that color!
Here’s what I used:
Click on these images for more details and to purchase.
Here’s the new Dashing Along September special from Stampin’ Up:

- Receive one pack of Dashing Along Designer Series Paper with any $250 order in September!
- Perfect for layering, this beautiful, traditional Christmas paper includes a mix of old favorites and new patterns to create a festive, eclectic feel.
- Item number 149903
- 12 sheets: 3 double-sided sheets (6 total designs); 4 sheets of each design – perfect for making lots of Christmas cards!
- 12″ x 12″
- Promotion period: September 1–30
- Dashing Along Designer Series Paper is exclusive to this promotion and will not be available after September 30.
- In order to qualify, the event merchandise total must reach $250 (before shipping and handling).
- One package of Designer Series Paper may be redeemed per qualifying order, with no limit on how many packages of Designer Series Paper can be earned.
- Demonstrator, Customer, Workshop, and online orders qualify.
- Dashing Along Designer Series Paper may not be redeemed using Stampin’ Rewards. You will receive this FREE gift with a qualifying order in addition to any Stampin’ Rewards you may earn.
- Dashing Along Designer Series Paper may not be exchanged for other paper.
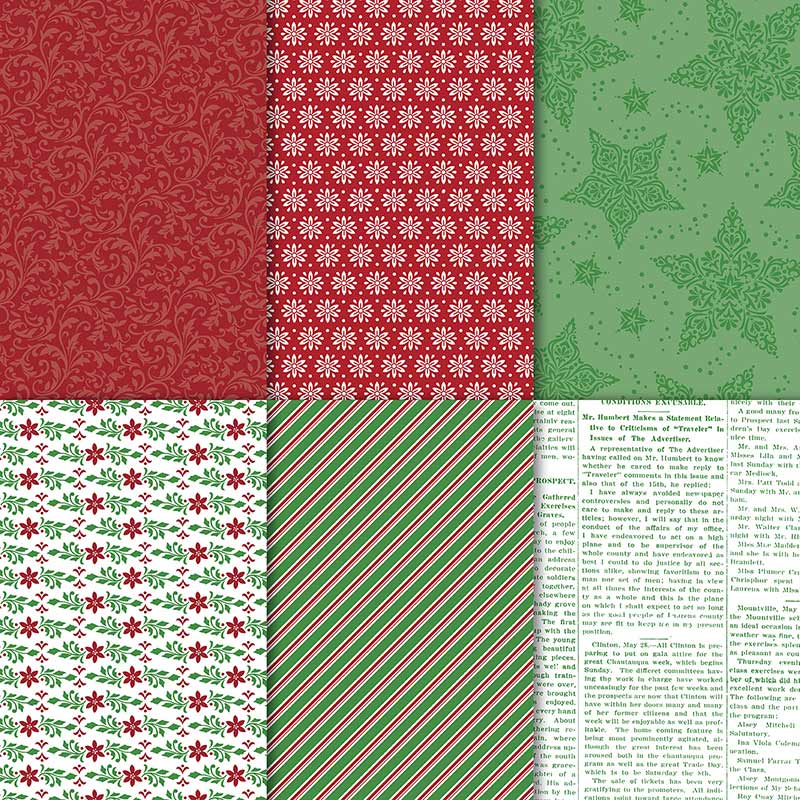
Dashing Along DSP © Stampin’ Up!
Here’s some more cool stuff you should check out:
Thanks for stopping by today, and Sweet Stamping!
Sep 23, 2018 | Boxes, Gallery, Halloween, Holiday |
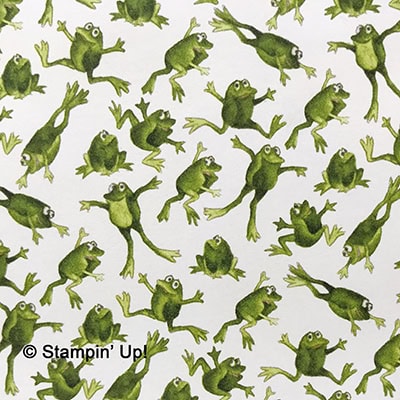
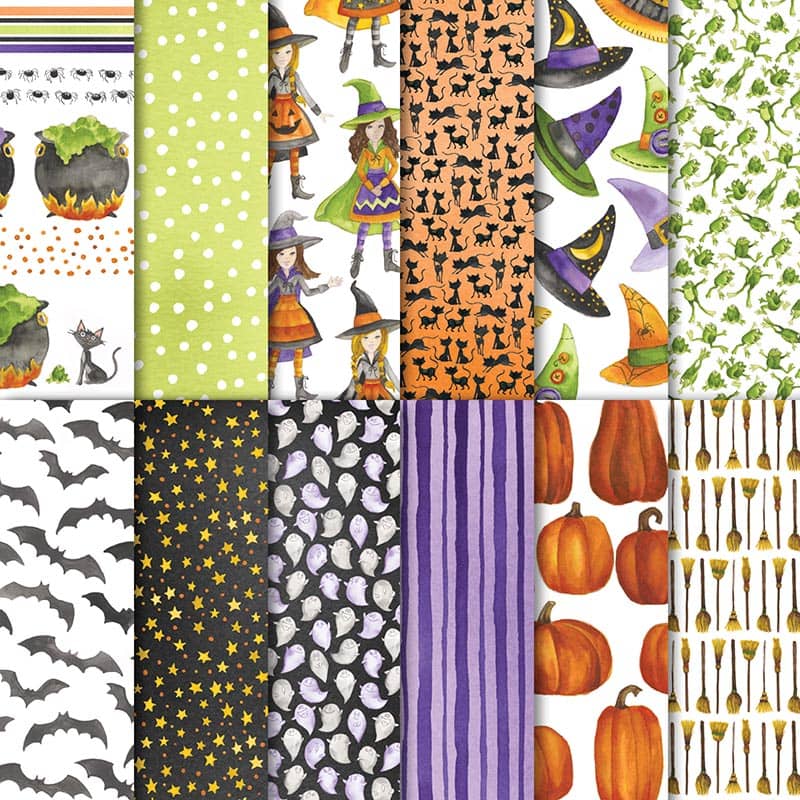
The frogs are back! Today I’m sharing a tissue box cover made from the Toil & Trouble Designer Series Paper, and yes, I used the frogs again. I can’t help it; it’s my favorite design in the pack. This little cutie will sit in our downstairs bathroom until and during our Halloween party.
Here’s what I made:
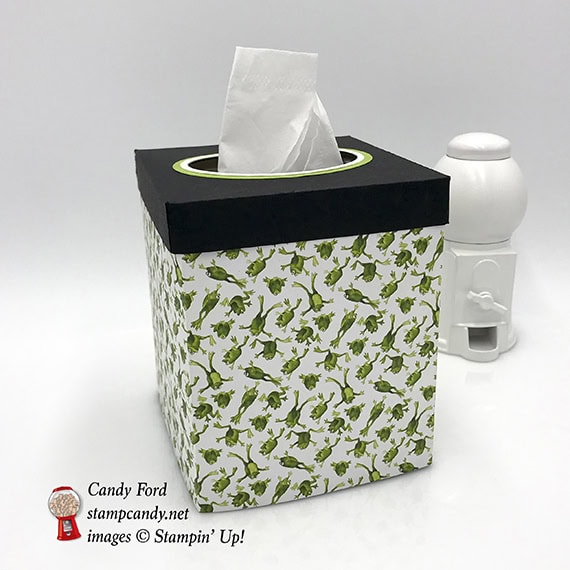
Frogs! Just look at these fun little critters. Aren’t they a hoot? They make me smile.
Here’s what I did:
Cut and scored with my Stampin’ Trimmer:
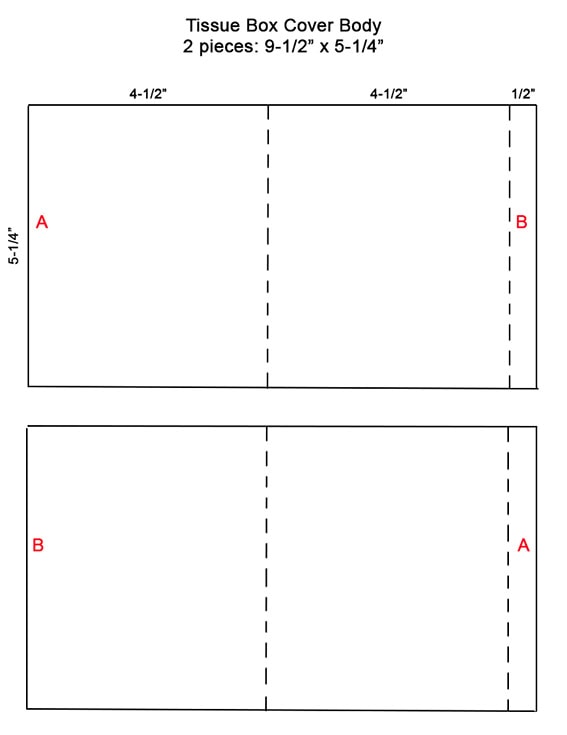
These measurements are for the tissues I have on hand, which are Kleenex brand. In the diagrams below, score along the dotted lines, and cut along the solid lines.
- Basic Black card stock (CS) cut to 6-9/16″ x 6-9/16″, then scored 1″ from each edge
- NOTE: The lid piece is 6-1/2″, but adding 1/16″ helps make sure it will fit over the body of the cover nicely.

- Toil & Trouble Designer Series Paper (DSP) cut to 5-1/4″ x 9-1/2″, then scored at 4-1/2″ and 9″ (2 pieces)
Die cut using the Layering Ovals Framelits:
- used 3 dies – I’ll call them small, medium, and large – the small should be about the size of the hole in the tissue box
- a scrap of Whisper White CS cut using the medium die
- a scrap of Granny Apple Green CS cut using the large die
- centers cut from both the Whisper White and Granny Apple Green CS ovals, using the small die – this creates 2 oval frames
- hole cut from the center of the Basic Black CS lid using the small die (fold in two of the sides so it will fit better through the Big Shot, and so it’s easier to line up the die.
Cut using Paper Snips:
- one score line at each corner of the Basic Black CS lid, cut only 1″ to the first score line, to create a tab at each corner
Assembled the tissue box cover:
- burnished the folds in all three large pieces with a Bone Folder
- small flap of each DSP piece adhered onto the inside of the other DSP piece using Tear & Tape, to create a four sided box (with no top or bottom at this point)
- NOTE: looking at the graphic above, adhere A to A, and B to B
- Granny Apple Green oval frame glued onto the top of the lid, lining up the inside edges of the holes
- Whisper White oval frame glued onto the Granny Apple Green oval frame, lining the inside edges of the holes
- corner tabs on the lid glued to the inside of the adjacent side, to create the four sides of the lid
- lay down the lid, inside up, and insert the top of the DSP box *
- put a small amount of glue inside the sides of the lid, between the DSP and the lid
- lay the whole thing on one side at a time, pressing down on the inside to make sure the box and lid adhere well
- slide down over a box of tissues
* You may notice in the photo above that I glued the lid onto the bottom of the DSP box. You can tell because the frogs are upside down. Oops. Here’s what I can do, if it bothers me enough
- create another lid
- turn over the cover, so the frogs are right side up, and drop the tissue box down into the lid
- put the new lid on top – not gluing it to the DSP cover, so I can reuse it when the tissues run out
Here are today’s colors:
You can click on each one to see all the products that come in that color!
Here’s what I used:
Click on these images for more details and to purchase.
Here’s the Dashing Along September special:
Only 1 week left!
- Receive one pack of Dashing Along Designer Series Paper with any $250 order in September!
- Perfect for layering, this beautiful, traditional Christmas paper includes a mix of old favorites and new patterns to create a festive, eclectic feel.
- Item number 149903
- 12 sheets: 3 double-sided sheets (6 total designs); 4 sheets of each design – perfect for making lots of Christmas cards!
- 12″ x 12″
- Promotion period: September 1–30
- Dashing Along Designer Series Paper is exclusive to this promotion and will not be available after September 30.
- In order to qualify, the event merchandise total must reach $250 (before shipping and handling).
- One package of Designer Series Paper may be redeemed per qualifying order, with no limit on how many packages of Designer Series Paper can be earned.
- Demonstrator, Customer, Workshop, and online orders qualify.
- Dashing Along Designer Series Paper may not be redeemed using Stampin’ Rewards. You will receive this FREE gift with a qualifying order in addition to any Stampin’ Rewards you may earn.
- Dashing Along Designer Series Paper may not be exchanged for other paper.
Dashing Along DSP © Stampin’ Up!
Here’s some more cool stuff you should check out:
Thanks for stopping by today, and Sweet Stamping!
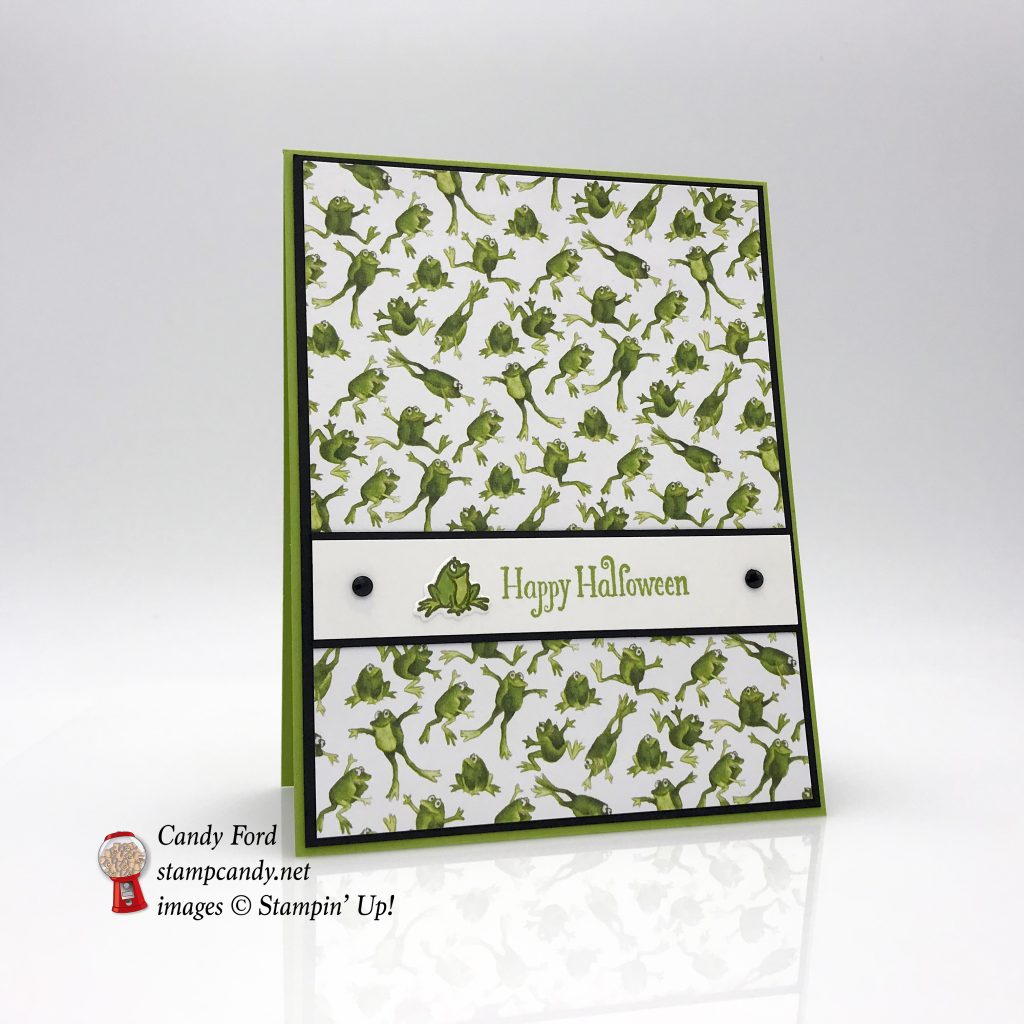
Sep 18, 2018 | Cards, Gallery, Halloween |
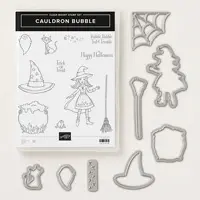
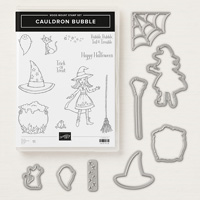
You may already know that I enjoy Halloween. Well, I don’t just enjoy Halloween; I love Halloween. I mean, I am a Halloween nut! So of course, I’ve really been enjoying playing with the Cauldron Bubble bundle (Cauldron Bubble stamp set and Cauldron Framelits Dies) and the coordinating Toil & Trouble Designer Series Paper (DSP.) The images are adorable and fun, as well as creepy and scary. You can see the entire Toil & Trouble Suite of products here.
I like Stampin’s Up!’s write up of the Cauldron Bubble stamp set in the online store. Isn’t this a hoot?
Double, double toil and trouble;
Fire burn and caldron bubble.
Fillet of a fenny snake,
In the caldron boil and bake;
Eye of newt and toe of frog,
Wool of bat and tongue of dog,
Adder’s fork and blind-worm’s sting,
Yes, it’s Halloween, let’s sing!
(Not-Quite-Shakespeare)

Cauldron Bubble Bundle © Stampin’ Up!
One of my favorite items in the whole suite is the DSP with frogs. These little critters are so funny, especially the one with all four limbs outstretched, like it’s jumping for joy. You can see one of these in the bottom left corner of today’s card.
Toil & Trouble Designer Series Paper © Stampin’ Up!
Here’s what I made:
Here’s what I did:
Cut and scored with my Stampin’ Trimmer:
- Granny Apple Green card stock (CS) cut to 4-1/4″ x 11″, then scored in half at 5-1/2″
- Basic Black CS cut to 4-1/8″ x 5-3/8″
- Toil & Trouble Designer Series Paper (DSP) cut to 4″ x 5-1/4″
- Basic Black CS cut to 4″ x 1″
- Whisper White CS cut to 4″ x 7/8″
- Whisper White CS cut to 4″ x 5-1/4″ for the inside of the card
Stamped with the Cauldron Bubble stamp set:
- sentiment in Granny Apple Green ink onto the Whisper White CS strip
- frog in black Memento ink onto a scrap of Whisper White CS
Colored using Stampin’ Blends Markers:
- frog in Granny Apple Green
Die cut using the Cauldron Framelits:
Assembled the card:
- burnished the fold in the card base with a Bone Folder
- Basic Black CS layer glued onto the front of the card base
- DSP layer glued onto the Basic Black CS layer
- Basic Black CS strip glued onto the DSP layer
- sentiment strip glued onto the Basic Black CS strip
- die cut frog glued onto the sentiment strip
- 2 Basic Black Faceted Dots applied to the sentiment strip
- 4″ x 5-1/4″ Whisper White CS glued onto the inside of the card base
Here are today’s colors:
You can click on each one to see all the products that come in that color!
Here’s what I used:
Click on these images for more details and to purchase.
Here’s the new Dashing Along September special from Stampin’ Up:
- Receive one pack of Dashing Along Designer Series Paper with any $250 order in September!
- Perfect for layering, this beautiful, traditional Christmas paper includes a mix of old favorites and new patterns to create a festive, eclectic feel.
- Item number 149903
- 12 sheets: 3 double-sided sheets (6 total designs); 4 sheets of each design – perfect for making lots of Christmas cards!
- 12″ x 12″
- Promotion period: September 1–30
- Dashing Along Designer Series Paper is exclusive to this promotion and will not be available after September 30.
- In order to qualify, the event merchandise total must reach $250 (before shipping and handling).
- One package of Designer Series Paper may be redeemed per qualifying order, with no limit on how many packages of Designer Series Paper can be earned.
- Demonstrator, Customer, Workshop, and online orders qualify.
- Dashing Along Designer Series Paper may not be redeemed using Stampin’ Rewards. You will receive this FREE gift with a qualifying order in addition to any Stampin’ Rewards you may earn.
- Dashing Along Designer Series Paper may not be exchanged for other paper.
Dashing Along DSP © Stampin’ Up!
Here’s some more cool stuff you should check out:
Thanks for stopping by today, and Sweet Stamping!
Sep 4, 2018 | Boxes, Food, Gallery, Gift Wrap, Gifts, Halloween, Holiday |
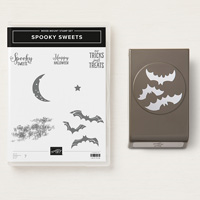
The Holiday Catalog goes live tomorrow! Today I’m sharing another sneak peek. I CASEd this project right from page 51 of the catalog. It’s made using the Spooky Sweets bundle, the Takeout Thinlits Dies, and the Farmhouse Framelits Dies.
CASE = copy and share everything OR copy and selectively edit
Here’s what I made:


Here’s what I did:
Cut and scored with my Stampin’ Trimmer:
- Gray Granite card stock (CS) cut to 5-1/2″ x 8-1/2″
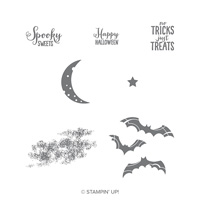
Stamped with the Spooky Sweets stamp set:
- bats in Memento black ink onto a scrap of Gray Granite CS
- sentiment in Gorgeous Grape and Granny Apple green inks onto a scrap of Whisper White CS
- NOTE: I colored the sentiment using Stampin’ Write Markers
Die Cut using the Takeout Thinlit Dies:
- Takeout Box (2 pieces for one box) from the 5-1/2″ x 8-1/2″ Gray Granite CS
- NOTE: You can get 2 boxes (4 pieces) from an 8-1/2″ x 11″ piece of CS
Flecked using a Stampin’ Write Marker:
- the outsides of the 2 box pieces in Basic Black
- NOTE: I later realized the sample in the catalog was stamped with the textured image from the Spooky Sweets stamp set in black ink. That’s probably easier, and neater, than flicking ink from a marker.
Die cut using the Farmhouse Framelits:
- fence from a scrap of Basic Black CS
Punched using the Spooky Bat Punch:
Punched using the 1-1/4″ Circle Punch:
Assembled the box:
- burnished the folds in the 2 box pieces with a Bone Folder
- 2 box pieces glued together on the bottom and along two sides (Tear & Tape is also a good choice for this)
- closed the top of the box (after putting treats inside)
- used my fingers to bend pieces of the fence
- fence glued onto the front of the box, and the ends trimmed away using Paper Snips
- sentiment adhered onto the front of the box using Stampin’ Dimensionals
- one bat glued onto the sentiment, and the other bat glued onto the box
- tied a piece of Granny Apple Green ribbon around the box and tied a bow
Here are today’s colors:
You can click on each one to see all the products that come in that color!
Here’s what I used:
Click on these images for more details and to purchase.
Here’s the new Dashing Along September special from Stampin’ Up!
- Receive one pack of Dashing Along Designer Series Paper with any $250 order in September!
- Item number 149903
- Promotion period: September 1–30
- Dashing Along Designer Series Paper is exclusive to the host promotion and will not be available after September 30.
- In order to qualify, the event merchandise total must reach $250 (before shipping and handling).
- One package of Designer Series Paper may be redeemed per qualifying order, with no limit on how many packages of Designer Series Paper can be earned.
- Demonstrator, Customer, Workshop, and online orders qualify.
- Dashing Along Designer Series Paper may not be redeemed using Stampin’ Rewards. You will receive this FREE gift with a qualifying order in addition to any Stampin’ Rewards you may earn.
- Dashing Along Designer Series Paper may not be exchanged for other paper.
Here’s some more cool stuff you should check out:
Thanks for stopping by today, and Sweet Stamping!