Feb 7, 2015 | Cards, Club, New Products, Occasions, Techniques |
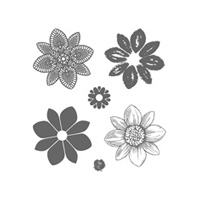
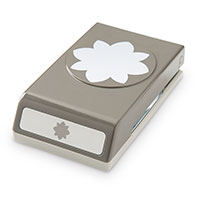
In February’s Stamp Club meeting, we used the Petal Potpourri stamp set and the Flower Medallion punch to create this card. You can buy both together in a Bundle and save 15%!

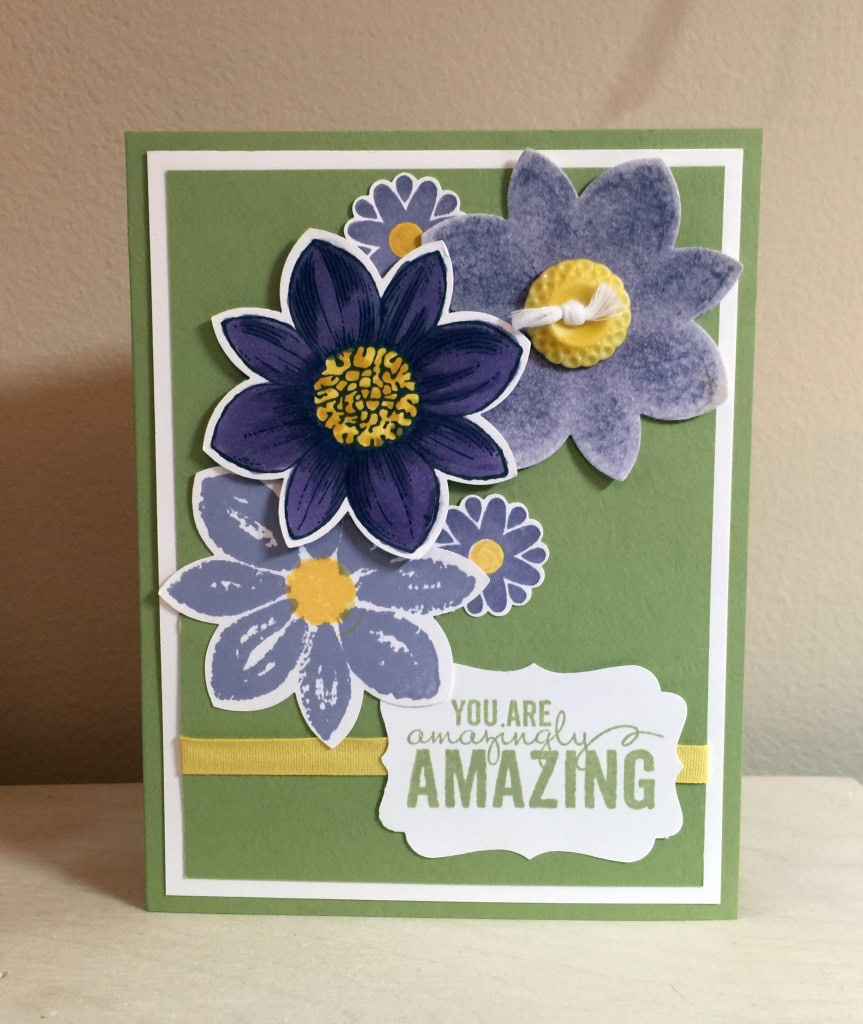
We used three different techniques to make the flowers on this card. Here’s how we made the large flowers, from bottom left to upper right:
1) We used the Stamp-a-ma-jig to stamp the Daffodil Delight directly in the center of the Wisteria Wonder flower.
2) We stamped this flower in black Memento ink, then colored it with Daffodil Delight and Wisteria Wonder Blendabilities markers.
3) We stamped this flower onto watercolor paper, then spritzed it with water. The button is colored with a Daffodil Delight Blendabilities Marker.
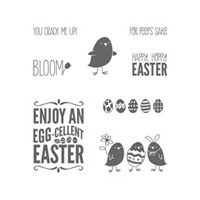
The sentiment is from the Painted Petals stamp set, which comes in wood, clear, AND photopolymer. The leaves are cut with the Bird Builder punch.
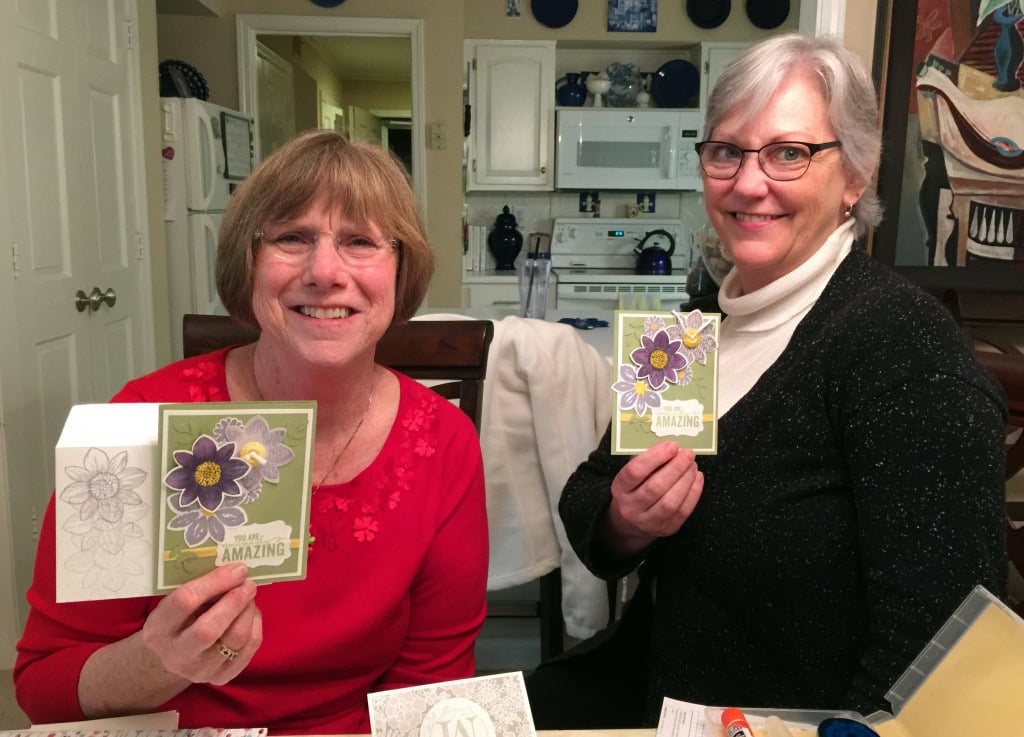
Stamp Club members Martha and Linda with their cards: 
Here’s what we used:
Thanks for stopping by today, and Sweet Stamping!
Feb 6, 2015 | Cards, Club, New Products, Occasions |
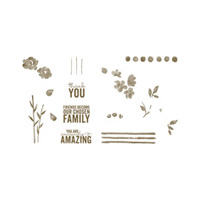
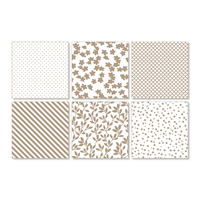
I don’t have any weddings coming up in my circle of friends and family, but not to worry. The soft hues of Sahara Sand and Whisper White make the Something Borrowed DSP an elegant, understated choice for many projects. Here’s one of the cards we made in February’s Stamp Club meeting this week.


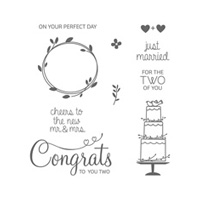
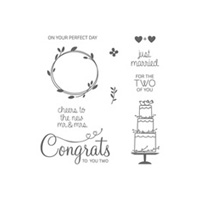
The Your Perfect Day stamp set has a sweet little wreath that fits perfectly around one of the large letters from the Sophisticated Serif Stamp set. And have you noticed that the Your Perfect Day set comes in wood, clear, AND photopolymer?
This note card is CASEd from one of the presentations at Leadership 2015. It is super easy to make and only takes a few minutes. (CASE = copy and share everything)

Stamp Club members Martha and Linda showing off their note cards.

Here’s what we used:
Thanks for stopping by today, and Sweet Stamping!
Feb 4, 2015 | Blog Hop, Club, Food, Gift Wrap, Gifts, Kits, New Products, Occasions, Paper Pumpkin |

Welcome to the February InKing Royalty Blog Hop. We’re excited to share projects that share inspiration for Valentine’s Day and our love of Stampin’ Up! products. This hop is all about love.
You may have started the Blog Hop here or may have hopped over from Amy Whelan at Amy’s Inklings. After you read my post, I hope you’ll hop over to the next. If you get off track at any point during the blog hop, there’s a complete list of participants at the end of this post.
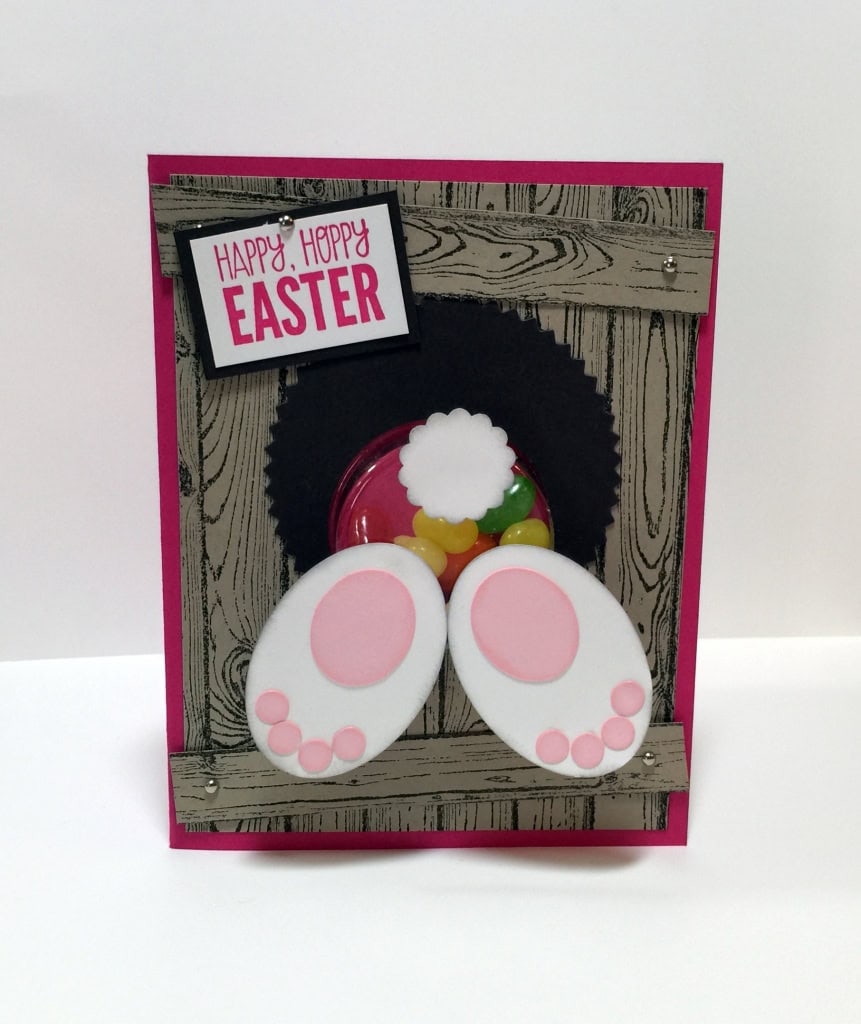
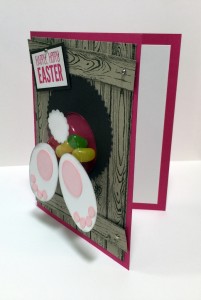
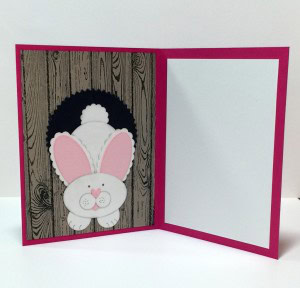
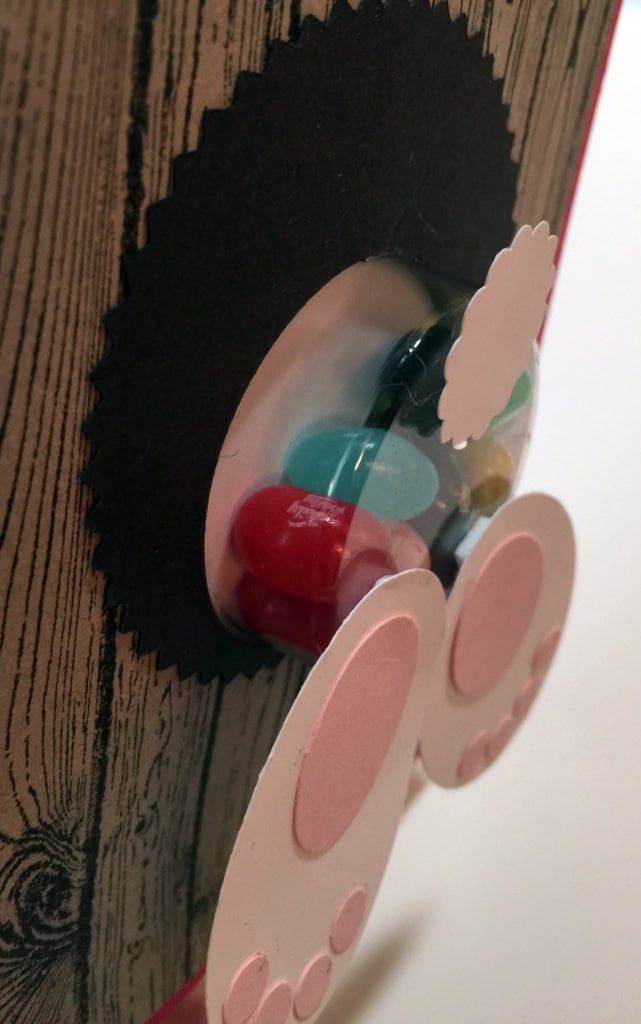
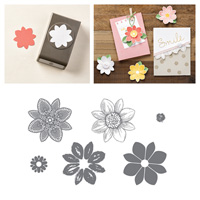
At each month’s Stamp Club meeting, I like to give the members a little something, just to show my love and appreciation. For the February meeting, which is today, I decorated water bottles and filled the January Paper Pumpkin bags with Valentine colored M&Ms. Aren’t they adorable?


Anyone who subscribes to Paper Pumpkin knows how amazing the kits are. Everything you need to create the project is included, except scissors and adhesive. Actually, sometimes they even include the adhesive! The projects are easy peasy, especially with included pictures and instructions. All the shapes are pre-cut. All I had to do was use the stamps and ink (included) to decorate some of the pieces and attach them to the clear bags (also included.) Such a cute way to give folks a sweet little treat!
The bottles are sooooo easy. Take the original belly band off the bottle and measure it. Cut a new belly band to fit and decorate as desired.

This particular bottle takes a 1-3/8″ wide band. I cut Basic Black background paper into 8-1/2″ x 1-3/8″ strips and adhered them with Fast Fuse. I used the Sweetheart Punch and the Modern Label Punch to cut Stacked With Love DSP. The sentiment from Teeny Tiny Wishes is stamped in Memento black ink and cut with the Word Window punch. I used Stampin’ Dimensionals behind the Modern Label shape. Everything else was adhered with Fast Fuse or Multipurpose Liquid Glue.
Thank you for stopping by today. I hope you’ll hop along to the next stop on the blog hop, Pam Morris at Tap Tap Stamp. You certainly won’t want to miss any of these projects.
And as always, Sweet Stamping!
- September Gray at SeptemberGray.com
- Brian King at Stamp with Brian
- Amy Whelan at Amy’s Inklings
- Candy Ford at StampCandy
- Pam Morris at Tap Tap Stamp
- Lynn Kolcun at Avery’s Owlery
- Becky Volpp at Ink Blossom with Becky
- Angie Coleman at Coastal Stamping
- Kelly DeTommaso at Kelly’s Creative Corner
- Katie Ferguson at Cottage Paper
Feb 3, 2015 | Events, New Products, Occasions, Paper Pumpkin, Sale-A-Bration |
Hello, Sweet Stampers!
I’m back from Leadership 2015 which was held in Orlando, FL. This was my first ever Leadership and I had a blast. Well, mostly. The second day I woke up feeling like I was coming down with some sort of plague, so I decided to stay in the hotel room, take vitamins and supplements and meds, get lots of rest, and try to nip it in the bud. Evidently I was successful, because I was up and at ’em the next day.
I got to meet lots of new people. And I loved getting to see a lot of my Stampin’ Up! family I hadn’t seen since Convention back in July.
Since I can’t get into my stamping studio right now to create a new project (some work being done in our the house has it blocked by furniture) I thought I’d share some of the photos I took at Leadership. These are right off my phone and haven’t been tweaked or anything, so please forgive my less than stellar photography.
I got lots of selfies…

…with Nicole Watt…

…with Lisa Pretto and Mary Fish…

…with Deb Simonis…

…with my roomie Karen Browning…

…with Pootles herself, Sam Donald…

…with Justin Krieger, Maggie Mata, & Nicole Watt…

…with Windy Ellard…

…with Jennifer Buchanan…

…with Michelle Gleeson…

…with Hilary Sosebee…

…with Julie diMatteo…

…with Debbie Dean…

…with Bonnie Thurber…

…with Lynn Kolcun and Christine Oehlman…

…with Ginger Toivonen…

…with Spencer Willis…

…with SU President & COO Rich Jutkins and InkBig Academy’s Lisa Pretto…

…with Krista Frattin…

…with Pam Morgan…

…being silly with Debbie Dean and Patti Carbonell.


This is a series of selfies with Brian King: one at his 6 ‘5″ level, one at my 5’ 2″ level, and one with him stooped over so both our faces could be in the same frame.

This is how I spent the second day of Leadership.

Thrilled to be back up and at ’em!

Lunch with Windy, Cheryl Ann, Paula, Debbie, Kindra, Jennifer, Christine, Lynn, & Patti.

The “Prius Party” – answers the age old question, “How many demos will fit into a Prius?”

Three sisters – Katy McGloin, Denise Basile, and Debbie Mageed – all Stampin’ Up! Demonstrators!

Signing the Paper Pumpkin wall. (What is going on with my hair in the back?)

Shopping with Hilary Sosebee

I always look forward to seeing what new hair ditty Jennifer is wearing.

Teri Seippel and Hilary Sosebee, with Deb Simonis and Michelle Gleeson in the back.


I love this series of Shelli Gardner getting tickled during her stamping presentation.

She tried to get serious but of course we were all laughing. Knowing there was only so much time left before the break, she said,

“Okay now, you are wasting my time.”


But then she started laughing again. It was too funny!

And just look at all the goodies I got! Four stamp sets, 2 DSPs, Project Life cards and accessories, Paper Pumpkin, Hooray It’s Your Day Card Kit, lots of card swaps, journal, washi tape, and a really nice tote bag.
I learned a lot at Leadership, both from the classes & presentations and from speaking with other demonstrators. One thing I learned is not to try to do too much all at once. At the beginning of 2015, I set myself a goal of posting every day to this blog. I have not been successful. Life just keeps getting in the way. So for now, I’m adjusting that goal. I will still try to post every day, but will commit to posting at least once a week.
Thanks for stopping by today, and Sweet Stamping!
Jan 22, 2015 | Cards, New Products, Occasions, Sale-A-Bration, Techniques |
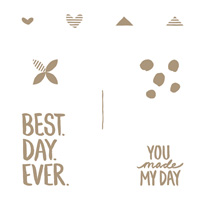
Okay, yes, I know I start a lot of my posts with the words “I love…” but it’s only because it’s true. I love Stampin’ Up! Products. Today I’m showing my love for two new products from the Sale-a-bration catalog: Irresistibly Yours Specialty DSP and Best Day Ever stamp set (which is available in wood, clear, and photopolymer). You can get either of them FREE with any $50 purchase, or BOTH FREE with a $100 purchase, before tax & shipping. I think FREE is a pretty good deal, don’t you?

This Specialty DSP is white with glossy white designs. When you ink up the paper, then wipe with a cloth or paper towel, the designs show through as white. For this card I used Stampin’ Sponges to swirl ink on the paper. The sponge actually did a great job of both applying the ink to the background paper and wiping it off the glossy parts at the same time. In the photo, you can see the uninked version of the same floral pattern behind the card and the striped pattern underneath.
Using 1/8 of a sponge for each color, I swirled on Crushed Curry, Calypso Coral, and Bermuda Bay inks, in that order, to create the card front. To see how I organize my sponges and daubers for the different colors see my previous post here.
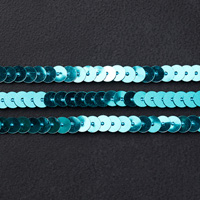
The card base is Bermuda Bay and the horizontal strip is Calypso Coral. The sentiment was stamped in Bermuda Bay on Whisper White, then cut with the Label Bracket Punch. I used a sponge dauber to ink the edges in Crushed Curry, then used Stampin’ Dimensionals to attach it. The Whisper White leaves were cut with the Bird Builder Punch. Don’t they match the leaves of the DSP really well? Lastly I added a few sequins from the new Bermuda Bay Sequin Trim, which is in the Occasions Catalog. I think they add just a little sumthin sumthin.
Here’s the recipe. Click on the images to buy. Remember the Sale-a-bration items ($0.00) are free with a $50 purchase.
Thanks for stopping by today and Sweet Stamping!