May 14, 2018 | Cards, Gallery, Retiring Products |
You’re number one! Who would you like to give this card to? You can personalize it to almost anyone using the World’s Best Trophy stamp set. This stamp set is retiring, and is only guaranteed to be available until May 25. This is a wonderfully versatile set that everyone would benefit from having in their stamping arsenal. The colors I used were inspired by the Sweet Soiree Specialty Designer Series Paper.
Here’s what I made:


Here’s what I did:
Cut and scored with my Stampin’ Trimmer:
- Sweet Soiree Specialty Designer Series paper (DSP) cut to 4-3/4″ x 3-1/4″ (green stripes)
- Whisper White card stock (CS) layer cut to 2-1/2″ x 1-1/2″
Stamped with the World’s Best Trophy stamp set:
- hand outline and sentiment in Memento black ink onto the Whisper White CS layer
- hand fill in in Daffodil Delight ink
- sparkles in Marina Mist ink
Die cut using the Lots of Labels Framelits:
- a scrap of the DSP (pink)
Assembled the card:
- burnished the fold in the note card base with a Bone Folder
- DSP layer (green stripes) glued onto the front of the note card base
- die cut DSP (pink) glued onto the DSP layer (green stripes)
- Whisper White CS layer adhered to the die cut DSP using Stampin’ Dimensionals
Here are today’s colors:
You can click on each one to see all the products that come in that color!
Here’s what I used:
Click on these images for more details and to purchase.
Here’s some information you should check out:
Thanks for stopping by today, and Sweet Stamping!
May 13, 2018 | Gallery, Gifts, Parties, Retiring Products |
Today I’m sharing a party favor or activity for a child’s birthday party. It’s a coloring book and watercolor pencils in a decorated stamp case. I used the Picture Perfect Party and Just Add Color Designer Series Papers (DSP) and the Crafting Forever stamp set to create this fun gift. All the colors I used were inspired by the Picture Perfect Party DSP.
Here’s what I made:


Here’s what I did:
Cut and scored with my Stampin’ Trimmer:
- Bermuda Bay card stock (CS) cut to 7-1/4″ x 4-1/4″, then scored at 1″ and 1-1/8″ from the left side, for the coloring book cover
- Peekaboo Peach CS cut to 6-1/8″ x 4-1/4″, then scored 1″ from the left side
- Berry Burst CS cut to 4-7/8″ x 4″
- Lemon Lime Twist CS cut to 11″ x 7″, for the stamp case cover insert
- Berry Burst CS cut to 5″ x 6-1/4″
- Whisper White CS cut to 3-7/8″ x 3″
- Picture Perfect Party Designer Series Paper (DSP) cut to 4-3/4″ x 6″
- Just Add Color DSP cut to 6″ x 4″ (6 different pieces)
Stamped with the Crafting Forever stamp set:
- jar of brushes in black ink onto the Whisper White CS layer
- creative sentiment in Bermuda Bay ink onto a scrap of Whisper White CS
Stamped with the Birthday Delivery stamp set:
- birthday sentiment in Bermuda Bay ink onto the Picture Perfect Party DSP
Die cut using the Stitched Shapes Framelits:
- creative sentiment with circle die
Die cut using the Layering Circles Framelits:
- a scrap of Lemon Lime Twist CS with a scalloped circle die
Assembled the project:
- Picture Perfect Party DSP layer glued onto the larger Berry Burst CS layer
- Berry Burst CS layer glued onto the Lemon Lime Twist CS case insert
- stamp case cover insert inserted into the stamp case cover (That looks odd but I’m not sure how else to say it.)
- Just Add Color DSP pieces stapled together at the left end
- burnished the folds in the Bermuda Bay CS book cover using a Bone Folder
- back piece of Just Add Color DSP glued onto the Bermuda Bay CS cover
- Peekaboo Peach CS glued to the underside of the front of the Bermuda Bay CS cover
- smaller Berry Burst CS layer glued onto the Peekaboo Peach CS
- Whisper White CS layer glued onto the Berry Burst CS layer
- creative sentiment glued onto the Lemon Lime Twist CS die cut circle, then glued onto the Whisper White CS layer
- Lemon Lime Twist ribbon tied around the left end of the book
- Watercolor Pencils and coloring book put inside the case
Here are today’s colors:
You can click on each one to see all the products that come in that color!
Here’s what I used:
Click on these images for more details and to purchase.
Here’s some stuff you should know:
Thanks for stopping by today, and Sweet Stamping!
May 8, 2018 | Deals, Promotions, Retiring Products, Sales |

Stampin’ Up! has discounted many of the remaining retiring products.
These are sure to sell out soon, so don’t wait to get yours.
Download the list:
Discounted Retiring Items (pdf)
Discounted Retiring Items (Excel spreadsheet)
See all the retiring products in my online store, available through May 31 or while supplies last.
x
x
Here’s some more stuff you should check out:
Thanks for stopping by today, and Sweet Stamping!
May 8, 2018 | Cards, Gallery, Retiring Products |
For today’s card, I wanted to make something patriotic, since we have Memorial Day and Independence Day coming before long. I looked at my Designer Series Papers and realized the perfect pattern came from the Be Merry set. While it was designed for Christmas projects, it’s actually quite versatile. See how well it works with the Loyal & True stamp set on this card. The cracked ice technique looks great on this paper, too. It lends a worn, antique look to the card, like it’s seen lots of battle, carried in the pocket of a soldier.
Here’s what I made:


Here’s what I did:
Cut and scored with my Stampin’ Trimmer:
- Dapper Denim card stock (CS) cut to 5-1/2″ x 8-1/2″, then scored in half at 4-1/4″
- Daffodil Delight CS layer cut to 5-1/4″ x 4″
- Be Merry Designer Series Paper (DSP) layer cut to 5″ x 3-3/4″
- Whisper White CS cut to 5-1/4″ x 4″ for the inside of the card
Stamped with the Loyal & True stamp set:
- sentiment image in Dapper Denim ink onto a scrap of Whisper White CS
Cut using the Best Badge Punch:
Cracked Ice Technique:
- covered the DSP layer with Versamark ink, then covered it in Clear embossing powder, then melted it with a Heat Tool
- repeated the process 5 more times, to make it 6 layers thick
- put the DSP layer in a plastic baggie in the freezer for a while (I left it overnight, but I’m sure an hour or so would be fine.)
- removed the DSP layer from the plastic bag, then bent it in various places with my fingers
- NOTE: Just bend the paper, don’t fold it, or it may split all the way through
Assembled the card:
- burnished the fold in the Dapper Denim card base with a Bone Folder
- Daffodil Delight CS layer glued onto the front of the card base
- cracker ice DSP layer glued onto the Daffodil Delight CS layer
- sentiment adhered to the DSP layer using Stampin’ Dimensionals
- Whisper White CS glue onto the inside of the card base
Here are today’s colors:
You can click on each one to see all the products that come in that color!
Here’s what I used:
Click on these images for more details and to purchase.
Here’s some stuff you should check out:
Thanks for stopping by today, and Sweet Stamping!
May 7, 2018 | Decor, Food, Gallery, Gifts, Occasions, Parties, Retiring Products |
Today I’m sharing a super easy way to decorate a container for a party. I used the Picture Perfect Party Designer Series Paper, Bermuda Bay card stock, and Lemon Lime Twist ribbon. The colors in the paper look great with the multicolor gumballs in the jar.
I’ve had this jar for years, and I decorate it in different ways for different events. This is perfect for a fun birthday party, maybe for a child. I think I bought the jar at Target, or maybe T.J.Maxx or Home Goods.
I recommend using a small plastic scoop, so there aren’t a bunch of sticky little hands all over the gumballs. Don’t ask me how I learned that lesson.
Here’s what I made:


Here’s what I did:
Cut and scored with my Stampin’ Trimmer:
- Bermuda Bay card stock (CS) cut to 12″ x 4″ (2 pieces)
- Picture Perfect Party Designer Series Paper (DSP) cut to 6″ x 3-1/2″ (4 pieces)
- NOTE: I cut the top and bottom off the DSP pieces to have as much of the candles as possible.
Assembled the project:
- Bermuda Bay CS pieces wrapped around the jar and adhered with Tear & Tape, to each other and to the jar
- DSP pieces glued onto the CS, all the way around the jar
- tied a piece of Lemon Lime Twist Finely Woven Ribbon around the lid handle and tied it in a bow
Here are today’s main colors:
You can click on each one to see all the products that come in that color!
Here’s what I used:
Click on these images for more details and to purchase.
Here’s some stuff you should check out:
Thanks for stopping by today, and Sweet Stamping!
May 4, 2018 | Catalogs, Deals, Events, New Products, Open House, Parties, Retiring Products, Sales |

If you’ll be in the Atlanta area Saturday, June 2, 2018, you must stop by for my BOGO Yard Sale and Open House. The door opens at noon. You can drop in anytime between noon and 4pm. Of course, the closer to noon you arrive, the better your chances of getting all the BOGO sale goodies you want!
It’s free to attend, but please RSVP here so I’ll have enough of everything prepared.
VERY IMPORTANT: Park along the street (Woodcliff) behind our building. DO NOT part next to any of the units in the complex, or you will be towed and I will be fined. Thanks!
BOGO Yard Sale:
Why am I calling it a BOGO Yard Sale? Because you pay yard sale prices, plus you still get the Buy One Get One deal!
Usually at a BOGO Sale of this type, the BOGO Sale items are marked full retail price, then whatever you spend gets applied to an order from the catalog. This time I’m doing it a little differently.
I’m reclaiming my room upstairs, so I must make space. I have a LOT of great craft supplies that must go. So I’ve marked them down drastically – most items are at least 50% off, many even more than that. So you’ll save a ton of money on the yard sale items PLUS whatever you spend still gets applied to an order from the brand new 2018-2019 Stampin’ Up! Annual Catalog!
- shop my craft yard sale
- whatever you spend gets applied to an order of new items from the new catalog
- you only pay shipping and tax on the new items
- lots of retired Stampin’ Up! products, even the ones I’ve been holding onto because I love them so much!
- other brands are included in the BOGO Yard Sale including Martha Stewart, Tim Holtz, Anna Griffin, Sizzix, Cuttlebug, Darice, McGill, Creative Memories, and many more!
- have your new catalog order ready to save time ordering
- If you’ve ordered from me in the past year, I will send you a catalog in May. If not, you can get your catalog at the event. I’ll have the pdf version of the full catalog posted HERE on June 1.
A sea of stamps, still to be marked down to 50% or more off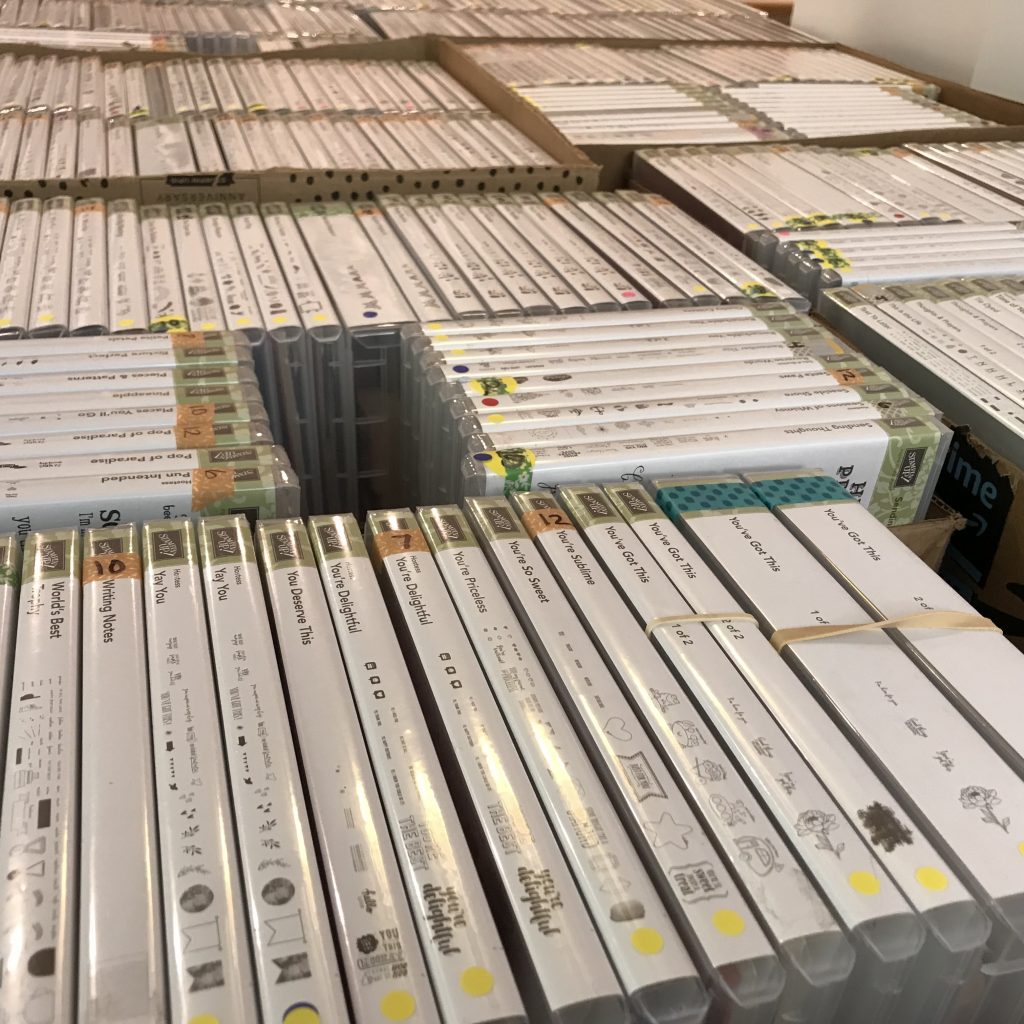
Open House:
- free Make & Take using new products
- see the new products, and lots of project ideas for inspiration
- get your free new catalog
- order from the brand new catalog
- sign up for live classes
- preorder online classes
- join my monthly stamp club and receive a free gift
- schedule a private class and receive a gift
- bring me a new customer and receive a gift
- subscribe to Paper Pumpkin and receive a gift
- get the starter kit – the ULTIMATE DEAL – and receive my welcome kit
- earn Gumball Rewards for a free stamp set of your choice!
- light refreshments
Here’s some other stuff you should check out:
Thanks for stopping by today, and Sweet Stamping!

