Nov 16, 2022 | Autumn, Blog Hop, Cards, Fun Folds, Gallery, Thanks, Thanksgiving |
 s
s
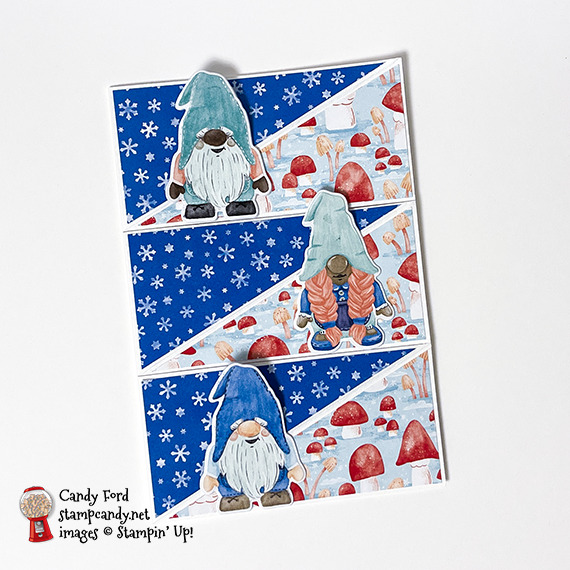
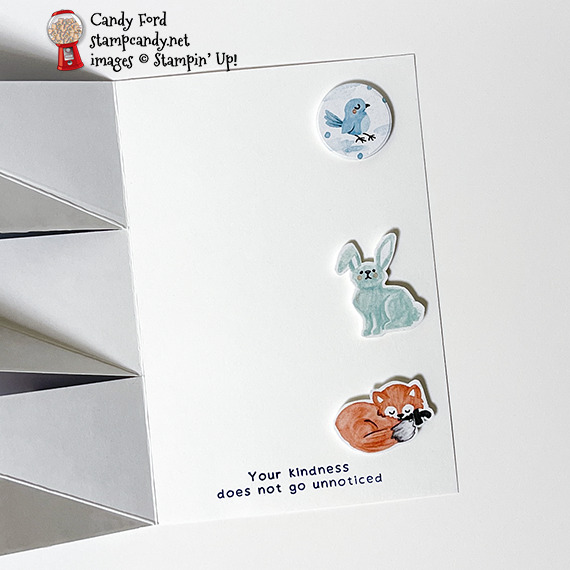
Welcome to the November 2022 Inking Royalty Blog Hop! This month’s blog hop is dedicated to showing Thanks. I used products from the Storybook Gnomes Suite Collection to create Tri-Panel Twisted Easel Card. I CASEd a card made by Marciene Ingram, but I changed the measurements and a few other things about it. We both used products from the Storybook Gnomes Suite Collection, just different ones. And I love that this Designer Series Paper (DSP) is so inclusive with black, brown, and white gnomes.
I am a paper gal. I love stamping, but I’m really all about the paper. The sentiment is the only stamped element of this card. It’s all DSP and cardstock.
We are excited to share our creations and hope you love them! After reading my post, I hope you will hop to the next person on the list below. Be sure to hop around to see ALL the great projects the Royals have created for you!
If you are reading this in email, some photos may appear blurry, or may not appear at all. Please click here to see the post on my blog.
S November 2022 Inking Royalty Blog Hop November 2022 Inking Royalty Blog Hop November 2022 Inking Royalty Blog Hop November 2022 Inking Royalty Blog Hop
Here’s what I made:


S
Here’s what I did:
Cut with my Paper Trimmer:
- Storybook Gnomes Designer Series Paper (DSP) (2 pieces snowflake pattern) cut to 4″ x 1-7/8″ then cut in half diagonally from top right corner to bottom left corner (should have 4 triangular pieces)*
- DSP (3 pieces mushroom pattern) cut to 4″ x 1-7/8″ then cut in half diagonally from top right corner to bottom left corner (should have 6 triangular pieces)*
- 4-1/4″ x 6-1/4″ Basic White Memories & More Card cut to 6-3/16″ tall
- front of the card base cut horizontally at 2-1/16″ and 4-1/8″ to create 3 flaps
- each flap scored diagonally from top right corner to bottom left corner
* I needed 3 pieces of each DSP pattern. I cut 4 of the snowflake pattern triangles because I could rotate one and have only one left over. I cut 6 of the mushroom pattern because it is directional, so I used all three bottom triangles and have the three others left over.
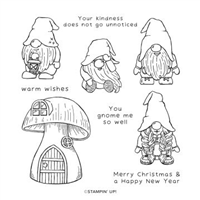
Stamped with the Kindest Gnomes stamp set:
- sentiment in Pacific Point ink onto the inside of the card base, at the bottom
Cut using Paper Snips:
- 3 gnomes, a bird, a bunny, and a fox from DSP – roughly cut with extra around the edges
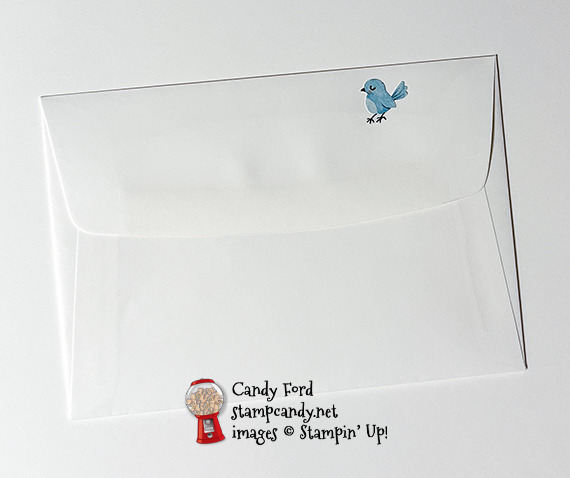
- fussy cut a second bird for the envelope
- the bird, bunny, and fox, after they were glued onto Basic White Thick CS
Glued:
- 3 gnomes, bird, bunny, and fox to scraps of Basic White Thick CS – layered to make them stronger
Cut using the Gnomes Dies:
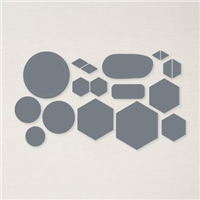
Cut using the Beautiful Shapes:
- the layered bird with the smallest circle die (the bird was just too small to fussy cut and pop up with Dimensionals)
Assembled the card:
- burnished the folds in the card base with a Bone Folder
- 3 snowflake DSP layers glued onto the top left triangular section of each card flap
- 3 mushroom DSP layers glued onto the bottom right triangular section of each card flap
- bottom parts of gnomes glued onto the mushroom DSP, being careful not to have any exposed glue above the bottom right triangular section of each card flap
- layered bird, bunny, and fox adhered onto the inside of the card base with various foam adhesives, so they would keep the flaps propped open
- fussy cut bird glued onto the flap of the Memories & More envelope
S
Here’s the November 2022 Inking Royalty Blog Hop:
Thank you for hopping along with us. If you get stuck during the Blog Hop, please use this line-up as a guide:
- Brian King at Stamp with Brian
- Jackie Beers at Blue Line Stamping
- Jan Dufour at Stamp Me Silly
- Candy Ford at Stamp Candy <—– YOU ARE HERE!
- Lynn Kolcun at Avery’s Owlery
- Marilyn Jones at Stamp with MJ
- Sue Jackson at Just Peachy Stamping
- Renae Novak at Blessed by Cards
- Sheryl Sharp at Sharp Notes by Sheryl
- Robin Myren at Songbird Designs by Robin
ss
Here are today’s main colors:
You can click on each one to see all the products that come in that color!
S
Here’s what I used:
Click on these images for more details and to purchase. If you are reading this post in email, the product images may not show up. Please click here to see the post on my blog.
Sale: $23.20
Price: $29.00
Supply List. <— Click for a clickable and printable list of the products!
S
Here are some helpful links:
S
Thanks for stopping by today, and Sweet Stamping!
Nov 14, 2022 | Blog Hop, Cards, Gallery, Holiday, Thanks |
 s
s
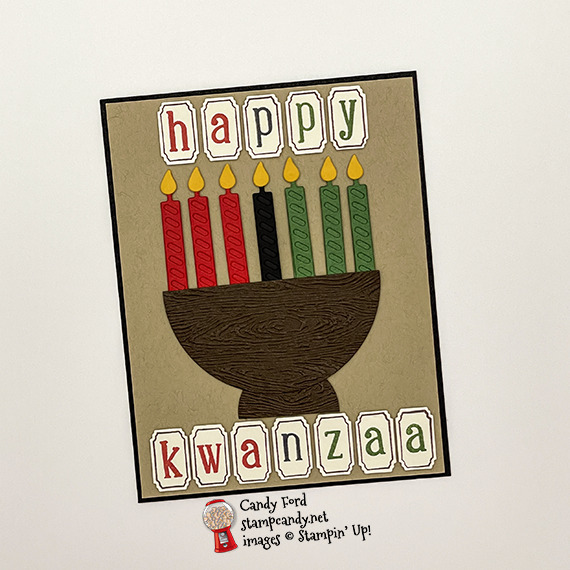
Welcome to the November 2022 Candy Hearts Blog Hop! This month we’re sharing Holiday themed projects. We all know that Stampin’ Up! has lots of great Christmas products to choose from, but I wanted to show how easy it is to use Stampin’ Up! products to make a card, even though there isn’t a specific stamp set for it in the current catalogs. I used the Alphabest Bundle, Sentiment Silhouettes Dies, and Layering Circles Dies to create a Happy Kwanzaa card. Change the colors and add two more candles for a Hannukah card.
After reading my post, I hope you will hop to the next person on the list below. Be sure to hop around to see ALL the great projects the Candy Hearts have created for you!
If you are reading this in email, some photos may appear blurry, or may not appear at all. Please click here to see the post on my blog.
S November 2022 Candy Hearts Blog Hop November 2022 Candy Hearts Blog Hop November 2022 Candy Hearts Blog Hop November 2022 Candy Hearts Blog Hop
Here’s what I made:
S
Here’s what I did:
Cut with my Paper Trimmer:
- Basic Black Cardstock (CS) cut to 8-1/2″ x 5-1/2″, scored in half at 4-1/4″
- Crumb Cake CS cut to 4-1/8″ x 5-3/8″
- Early Espresso CS cut to 3-1/4″ x 5″ for die cutting
- Very Vanilla Thick CS cut to 1-1/2″ x 6″ for punching
- Real Red CS cut to 1-1/2″ x 3″ for die cutting
- Garden Green CS cut to 1-1/2″ x 3″ for die cutting
- Basic Black CS cut to 1″ x 1-1/2″ for die cutting
- Crushed Curry CS cut to 3-1/2″ x 1/2″ for die cutting
- Very Vanilla CS cut to 4″ x 5-1/4″ for the inside
Stamped with the Alphabest stamp set:
- letters in Real Red, Garden Green, and Memento inks onto the 1-1/2″ x 6″ Very Vanilla Thick CS
- border around letters in Early Espresso ink
Cut using the Best Label Punch:
Cut using the Layering Circle Dies:
- 3-1/4″ x 5″ Early Espresso CS using the largest plain circle die and the second smallest plain circle die
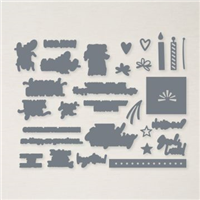
Cut using the Sentiment Silhouettes Dies:
- 3 solid candles & 3 striped candles from the 1-1/2″ x 3″ Real Red CS
- 1 solid candle & 1 striped candle from the 1″ x 1-1/2″ Basic Black CS
- 3 solid candles & 3 striped candles from the 1-1/2″ x 3″ Garden Green CS
- 7 flames from the 3-1/2″ x 1/2″ Crushed Curry CS
Embossed with the Timber 3D Embossing Folder:
- both die cut circles, then cut both in half
Assembled the card:
- fold in the card base burnished with a Bone Folder
- Crumb Cake CS layer glued onto the front of the card base
- striped candles glued onto solid candles
- flames glued onto all candles
- one smaller half circle glued onto the back of one larger half circle to make the candle holder (save the other halves for another project)
- candles glued onto the back of the candle holder top
- letters and candle holder with candles adhered onto the Crumb Cake CS layer with Black Dimensionals (minis on the candles; regular size on everything else)
- Very Vanilla CS glued onto the inside of the card base
S
Here’s the November 2022 Candy Hearts Blog Hop:
s
Here are today’s colors:
You can click on each one to see all the products that come in that color!
sS
Here’s what I used:
Click on these images for more details and to purchase. If you are reading this post in email, the product images may not show up. Pleaseclick here to see the post on my blog.
Supply List. <— Click for a clickable and printable list of the products!
S
Here are some helpful links:
S
Thanks for stopping by today, and Sweet Stamping!
Oct 10, 2022 | Autumn, Blog Hop, Cards, Gallery, Thanks, Thanksgiving |
 s
s
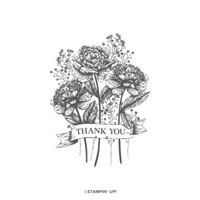
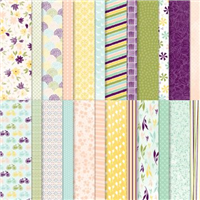
Welcome to the October 2022 Candy Hearts Blog Hop! With Thanksgiving coming soon, today we’re sharing ideas on how to say Thanks to those you know and love. I used the Bouquet of Thanks stamp set and Design a Daydream Designer Series Paper to create an easy thank you card. You can get the Design a Daydream DSP for free with Stampin’ Rewards! Place an order of $150 or more to earn the rewards.
After reading my post, I hope you will hop to the next person on the list below. Be sure to hop around to see ALL the great projects the Candy Hearts have created for you!
If you are reading this in email, some photos may appear blurry, or may not appear at all. Please click here to see the post on my blog.
S October 2022 Candy Hearts Blog Hop October 2022 Candy Hearts Blog Hop October 2022 Candy Hearts Blog Hop October 2022 Candy Hearts Blog Hop
Here’s what I made:
 S
S
Here’s what I did:
Cut with my Paper Trimmer:
- Soft Suede Cardstock (CS) cut to 4-1/4″ x 11″, scored in half at 5-1/2″
- Design a Daydream Designer Series Paper (DSP) layer cut to 4-1/4″ x 5-1/2″
- Basic White CS cut to 4″ x 5-1/4″ for the inside
Cut using the Stitched Rectangle Dies:
- large center from the DSP, to create a layer and a frame
Stamped with the Bouquet of Thanks stamp set:
- bouquet image in Soft Suede ink onto the DSP layer
- sentiment portion of image in Soft Suede ink onto a scrap of Daffodil Delight CS
Fussy cut using Paper Snips:
- banner from the image on Daffodil Delight CS
Assembled the card:
- fold in the card base burnished with a Bone Folder
- DSP frame adhered onto the front of the base using Foam Adhesive Strips
- DSP layer glued onto the front of the card base in the center of the frame
- banner glued over the image on the DSP layer
- Tear & Tape (about 3-3/8″ long) folded in half, then applied across the DSP layer
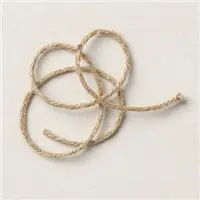
- 3-1/2″ piece of twine laid on the Tear & Tape and the ends tucked under the frame
- twine tied into a bow, then adhered using a couple of Mini Glue Dots
- Basic White CS glued onto the inside of the card base
S
Here’s the September 2022 Candy Hearts Blog Hop:
s
Here are today’s colors:
You can click on each one to see all the products that come in that color!
sS
Here’s what I used:
Click on these images for more details and to purchase. If you are reading this post in email, the product images may not show up. Please click here to see the post on my blog.
Supply List. <— Click for a clickable and printable list of the products!
S
Here are some helpful links:
S
Thanks for stopping by today, and Sweet Stamping!