Dec 24, 2020 | Christmas, Food, Gallery, Holiday |
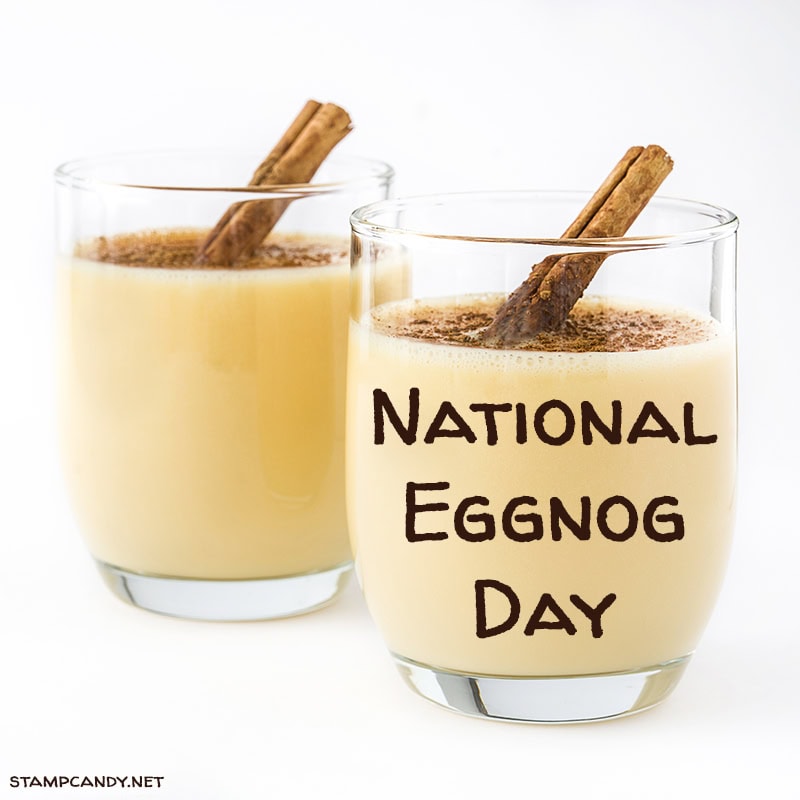
It’s Christmas Eve! It’s also National Eggnog Day, so today I’m sharing my favorite eggnog recipe. I’ve pieced it together from several different recipes I’ve come across over the years, until it’s just how I like it. This makes about a quart. I usually double everything to make about a half gallon. If more eggnog lovers are going to be around, I’ll make several double batches. Of course, it doesn’t matter how much there is, I’ll always find a way to finish it off!
Many people like to add liquor to their eggnog, whether it’s bourbon, rum, brandy, or something else. Feel free to add whatever you want. I prefer to leave it out, to get the full taste of the eggs and cream and vanilla. It’s almost like drinking egg custard, which is one of my favorite desserts.
This is not a low calorie recipe. It isn’t supposed to be. I believe in enjoying all the yummy things in moderation, instead of changing them to something less yummy just so I can have more. Eggnog is only a once a year thing for me, so I fully enjoy it at Christmas, then don’t have it again until the next year.
I hope you enjoy this yummy beverage whether you’re trimming the tree, lighting the Kinara, reciting Gita verses, reminiscing about this year’s Menorah, or doing something else to celebrate this time of year.
If you are reading this in email, some photos may appear blurry, or may not appear at all. Please click here to see the post on my blog.
S Eggnog Eggnog Eggnog Eggnog
Candy’s Eggnog Recipe:
Eggnog Ingredients:
- 6 egg yolks (*See note below about the egg whites.)
- 1/2 cup sugar (you can use up to 3/4 cup if you want it sweeter)
- 2 cups whole milk
- 2 whole cloves
- 1 cup heavy cream
- 1-1/2 teaspoon vanilla extract
- whole nutmeg
You’ll also need:
- mixer – a stand mixer makes this super easy because you have both hands free, but any mixer will do. Or a whisk if you’re into that sort of thing.
- heavy saucepan
- whisk
- wooden spoon
- wire mesh strainer – not too fine or the thick eggnog will take forever to go through
- nutmeg grater, or any fine grater
- food thermometer, optional
Eggnog Directions:
- Beat the egg yolks until they are lighter in color.
- Slowly beat in the sugar.
- Heat milk and cloves on medium heat until steamy hot, but not quite boiling.
- Temper the eggs: Slowly whisk about half of the warm milk into the eggs, to warm them up without curdling them.
- Add the egg mixture back to the pan with the rest of the milk, and add the cream.
- Heat on medium heat, stirring constantly with a wooden spoon, until it reaches 160 degrees F or until it coats the back of the spoon.
- Strain and let cool about an hour.
- Stir in the vanilla and chill thoroughly.
- Grate fresh nutmeg onto each serving.
* Some people like to whip the unused egg whites into a meringue, then fold it into the cold eggnog. This is not my preference, for multiple reasons. One reason is that I just prefer it without. Another reason is that I don’t want raw egg in my nog. The yolks in this recipe are cooked just enough so there’s nothing to upset my tummy. (I can’t drink eggnog from a store for that reason.)
Tip: To serve this in a punch bowl, pour some eggnog into a mold/molds and freeze it. That will keep it cold without watering it down with ice. Last year I set up an eggnog bar, with a big punchbowl of nog, a nutmeg grater, and an assortment of liquors. Bailey’s Irish Cream, Godiva Chocolate Liqueur, Amaretto, and Kahlua were popular add-ins, along with the regulars listed above.
S
And now back to stamping news:
Reserve your Designer Series Paper Swatch Books and Product Shares
I’ll be selling Swatch Books of all the new papers in the Jan-Jun 2021 Mini Catalog, paper shares, ribbon shares, and embellishment shares. You’ll save $25 when you get it all! Click on the image to get all the details and reserve yours today:

S
Whisper White is going away
The facility that manufactures Whisper White paper is closing due to COVID-19. But don’t fret. The new Basic White products are in the works! No other colors are affected. The following items are available only while supplies last, with an order limit of 2 per item per order.
- Cardstock, Whisper White 12″ x 12″ (124302)
- Cards & Envelopes, Assorted Memories & More (149710)
- Cards & Envelopes, Whisper White Note (131527)
- Envelopes, Whisper White 3″ x 3″ (145829)
- Cardstock, Whisper White 8-1/2″ x 11″ (100730)
- Cardstock, Whisper White 8-1/2″ x 11″ Thick (140272)
- Envelopes, Whisper White Medium (107301)
S
Here’s the Year-End Closeout
All retiring items will be available through 4 January 2021, or while supplies last. Click on the image to shop now!

S
Here’s the Curvy Celebrations offering:
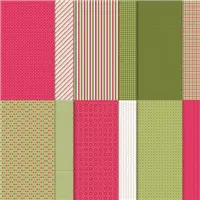
Click the image to see it in my online store. The Curvy Christmas stamp set and Classic Christmas Designer Series Paper are available only through January 4, or while supplies last! The Quite Curvy stamp set and Curvy Dies will be in the Jan-Jun 2021 Mini Catalog.

S
Here’s the new catalog:
Click the image below to request your January-June 2021 Mini Catalog AND Sale-a-bration Brochure:


S
Here are some helpful links:
S
Thanks for stopping by today, and Sweet Stamping!

Nov 17, 2020 | Christmas, Food, Gallery, Gift Wrap, Gifts, Holiday |
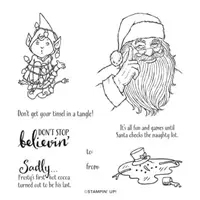
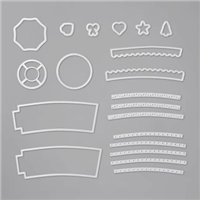
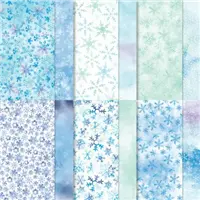
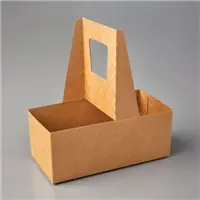
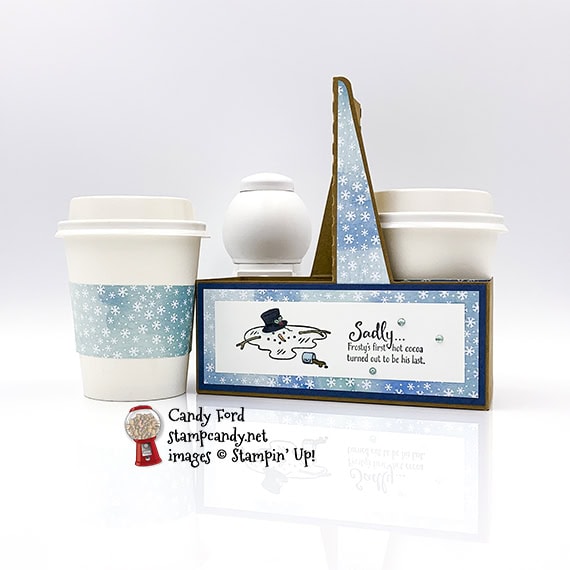
I used the Don’t Stop Believin’ stamp set, Snowflake Splendor Designer Series Paper, and Warm Wraps Dies to decorate these Mini Coffee Cups and Holder. Poor Frosty thought some hot cocoa sounded so tasty, but no one warmed him of the danger. This is a perfect way to give someone some hot cocoa mix. or maybe some K-cups.
If you are reading this in email, some photos may appear blurry, or may not appear at all. Please click here to see the post on my blog.
S Don’t Stop Believin Don’t Stop Believin Don’t Stop Believin Don’t Stop Believin
Here’s what I made:
S
Here’s what I did:
Cut and scored with my paper trimmer:
- Night of Navy card stock (CS) cut to 5-3/4″ x 2-1/4″ (2 pieces)
- Snowflake Splendor Designer Series Paper (DSP) cut to 5-1/2″ x 2″ (2 pieces)
- Night of Navy CS cut to 2-3/4″ x 2-1/4″ (2 pieces)
- DSP cut to 2-1/2″ x 2″ (2 pieces)
- DSP cut to 1-1/4″ x 4-1/2″ (2 pieces)
- Whisper White CS cut to 5″ x 1-1/2″
Stamped with the Don’t Stop Believin’ stamp set:
- image and sentiment in Memento Tuxedo Black ink onto the Whisper White CS
Cut using the Warm Wraps Dies:
- DSP for the cups (4 pieces)
Cut using Paper Snips:
- laid the coffee holder on its side and traced around the handle onto the back of the DSP strips
- cut around the traced shapes using Paper Snips, then cut about 1/8″ off the long straight side with my Paper Trimmer
- You could lay the holder over the strip so that the straight side of the handle extends 1/8″ past the edge of the DSP strip. That will keep you from having to trim off the 1/8″ afterward.
Colored using Stampin’ Blends Markers:
- stamped image in Basic Black, Just Jade, Real Red, Pumpkin Pie, Soft Suede, Pool Party, and Seaside Sprayx
Assembled the project:
- burnished the folds in the holder with a Bone Folder, then popped up to open
- fussy cut strips glued onto the sides of the holder handles
- stamped layer glued onto one of the longer DSP layers
- DSP layers glued onto the corresponding Night of Navy CS layers
- Night of Navy CS layer glued onto the sides of the holder
- 3 Coastal Cabana rhinestones applied onto the stamped layer using a Take Your Pick tool
- die cut DSP glued together at the ends to make 2 cup wraps, then the wraps slipped onto the cups
S
Here are today’s main colors:
You can click on each one to see all the products that come in that color!
S
Here’s what I used:
Click on these images for more details and to purchase. If you are reading this post in email, the product images may not show up. Please click here to see the post on my blog.
Supply List. <— Click for a clickable and printable list of the products!
S
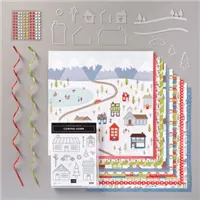
Here’s the new Curvy Celebrations offering:
Click the image to see the products in my online store. Available through 4 January 2021.

S
Here are some helpful links:
S
Thanks for stopping by today, and Sweet Stamping!
Oct 27, 2020 | Blog Hop, Cards, Christmas, Food, Gallery, Gift Wrap, Holiday, Paper Pumpkin |

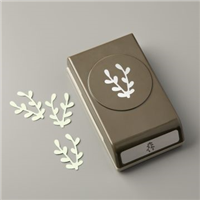
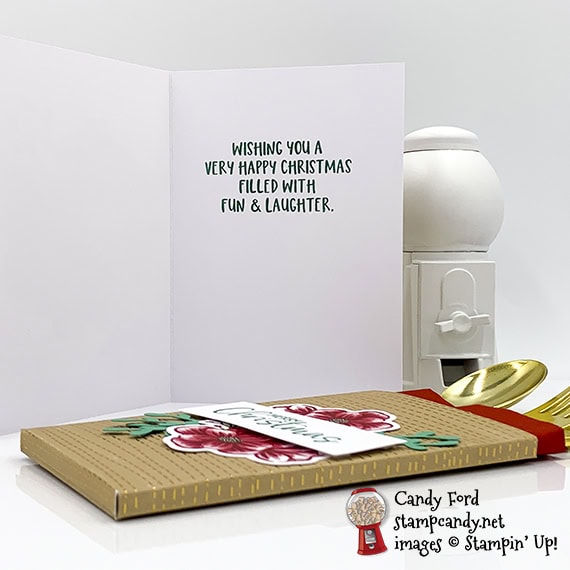
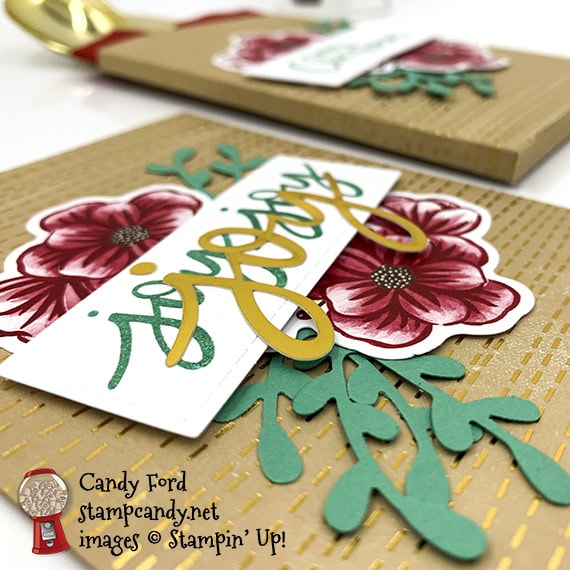
Welcome to the October 2020 PPP Blog Hop! This month’s kit is called Joy to the World and it makes lovely holiday cards in two designs. I used the kit to make a card and a flatware/napkin holder for a holiday table setting. I used the Sprig Punch to add some greenery to the die cut flowers that come with the kit.
Be sure to hop around to all the stops, to see all the great alternative projects made for you by this group!
If you are reading this in email, some photos may appear blurry, or may not appear at all. Please click here to see the post on my blog.
S October 2020 PPP October 2020 PPP October 2020 PPP October 2020 PPP
Here’s what I made:
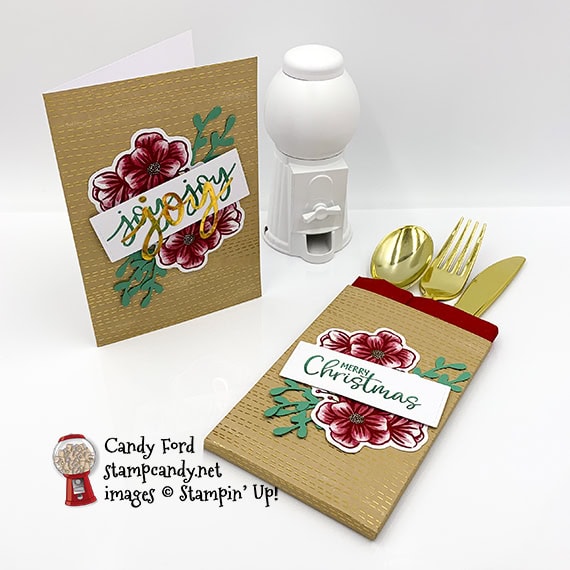
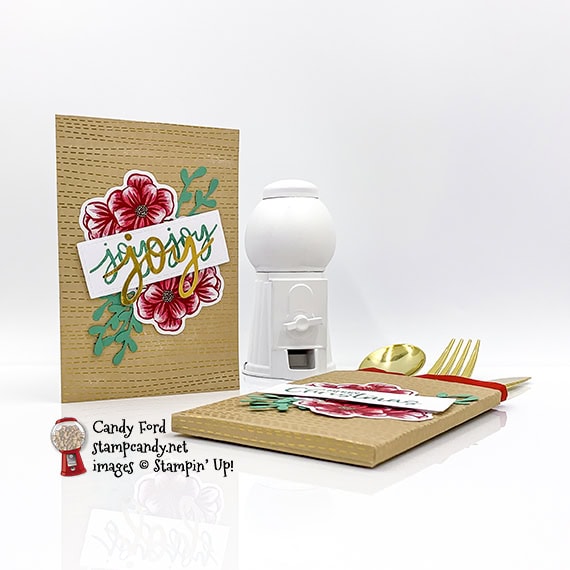
S
Here’s what I did:
Scored with my paper trimmer:
- 1/4″ cut from the right side of an open card base
- then scored horizontally 1/4″ from the bottom
- and scored vertically 1/4″ from each end
- and scored vertically 1/4″ to the right of the card’s original score line
Stamped with the Joy to the World stamp set:
- “Merry Christmas” and “Joy Joy” onto the labels in Just Jade ink
- inner sentiment in Just Jade ink onto the inside of another card base
Cut using the Sprig Punch:
- 6 sprigs from a scrap of Just Jade card stock
Cut using Paper Snips:
- 1/4″ up from the bottom along the 4 vertical score lines
Assembled the card:
- burnished the fold in the card base with a Bone Folder
- two flower die cuts adhered onto the front of the card base
- three punched sprigs tucked and adhered under the flower edges
- sentiment adhered over the center part of the die cuts using Stampin’ Dimensionals
- gold “joy” glued onto the sentiment, over the stamped words
Assembled the holder:
- burnished the folds with a Bone Folder
- folded up and adhered the bottom flaps
- two flower die cuts adhered onto the front of the holder
- three punched sprigs tucked and adhered under the flower edges
- sentiment adhered over the center part of the die cuts using Stampin’ Dimensionals
- napkin and flatware tucked inside
S
Here’s the October 2020 PPP Blog Hop:
Click the pumpkin to hop to the next stop, Elizabeth Ames of Cards by Elizabeth.

S
Here are today’s colors:
You can click on each one to see all the products that come in that color!
S
Here’s what I used, other than the kit:
Click on these images for more details and to purchase. If you are reading this post in email, the product images may not show up. Please click here to see the post on my blog.
Supply List. <— Click for a clickable and printable list of the products!
S
S
Designer Series Paper Sale ENDS THIS SATURDAY!
Don’t miss this opportunity to stock up on your favorite paper packs! Click the image to see the sale:

S
Here are some helpful links:
S
Thanks for stopping by today, and Sweet Stamping!
Oct 26, 2020 | Christmas, Food, Gallery, Gifts |
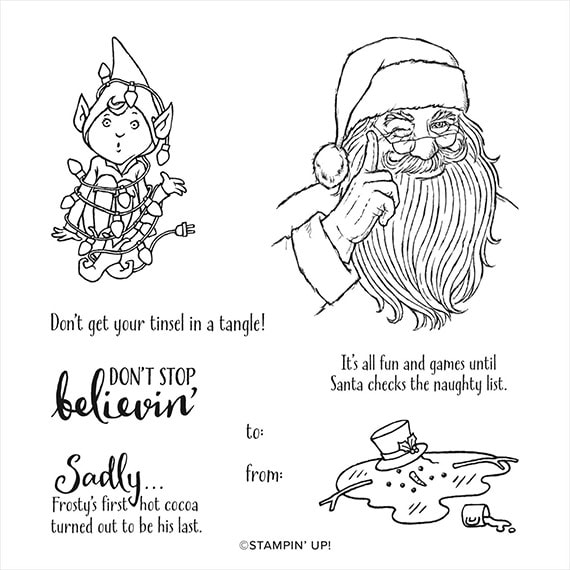
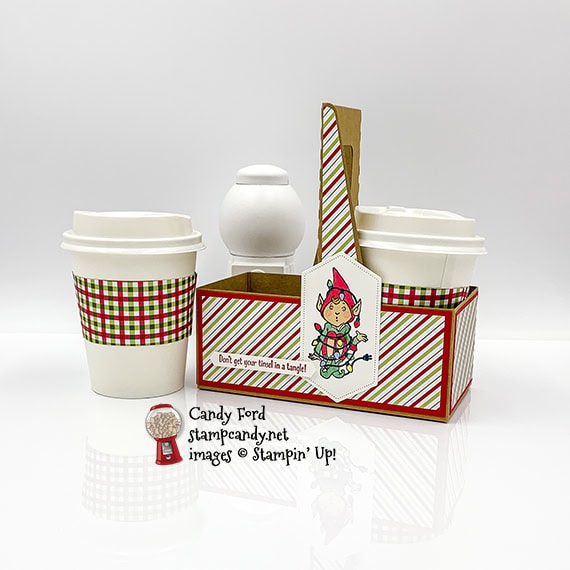
I used the Don’t Stop Believin’ stamp set and Heartwarming Hugs Designer Series Paper to decorate these Mini Coffee Cups and Mini Coffee Holder. This is a great way to give a gift of hot cocoa, K-Cups, or any small gifts. I think this elf all tangled up on Christmas lights is adorable. Actually, I think everything in this stamp set is adorable. Don’t you?
If you are reading this in email, some photos may appear blurry, or may not appear at all. Please click here to see the post on my blog. https://stampcandy.net/dont-stop-believin-mini-coffee-holder/
S Don’t Stop Don’t Stop Don’t Stop Don’t Stop
Here’s what I made:
S
Here’s what I did:
Cut and scored with my paper trimmer:
- Real Red card stock (CS) cut to 5-3/4″ x 2-1/4″ (2 pieces)
- Heartwarming Hugs Designer Series Paper (DSP) cut to 5-1/2″ x 2″ (2 pieces)
- Real Red CS cut to 2-3/4″ x 2-1/4″ (2 pieces)
- DSP cut to 2-1/2″ x 2″ (2 pieces)
- DSP cut to 1-1/4″ x 4-1/2″ (2 pieces)
- Whisper White Thick CS cut to 3″ x 5/16″
Cut using Paper Snips:
- laid the coffee holder on its side and traced around the handle onto the back of the DSP strips
- cut around the traced shapes using Paper Snips, then cut about 1/8″ off the long straight side with my Paper Trimmer
- You could lay the holder over the strip so that the straight side of the handle extends 1/8″ past the edge of the DSP strip. That will keep you from having to trim off the 1/8″ afterward.
Stamped with the Don’t Stop Believin’ stamp set:
- elf in Tuxedo Black Memento ink onto a scrap of Whisper White Thick CS
- sentiment in Real Red ink onto the Whisper White Thick CS strip
- NOTE: You may find it easier to stamp the sentiment onto a larger piece of CS, then cut it down to 5/16″.
Cut using the Stitched Nested Labels Dies:
Cut using the Warm Wraps Dies:
- DSP (plaid pattern) for the cups (4 pieces)
Cut using the Classic Label Punch:
- both ends of the sentiment, by inserting the strip into the back of the punch
Colored using Stampin’ Blends Markers:
- elf in Real Red, Just Jade, and Ivory
- NOTE: I intended to use Old Olive, but for some reason picked up Just Jade instead. I didn’t realize until it was all done.
- elf’s cheeks in Flirty Flamingo
- elf’s hair in Daffodil Delight and Mango Melody
- lights in Daffodil Delight, Real Red, Just Jade, and Seaside Spray
- to color the light string, I used the small end of a Shaded Spruce Stampin’ Write Marker
Assembled the card:
- burnished the folds in the coffee holder with a Bone Folder, and folded it to assemble
- larger DSP layer glued onto the larger Real Red CS layers
- smaller DSP layer glued onto the smaller Real Red CS layers
- DSP strips glued onto the handles of the holder
- all Real Red CS layer glued onto the sides of the holder
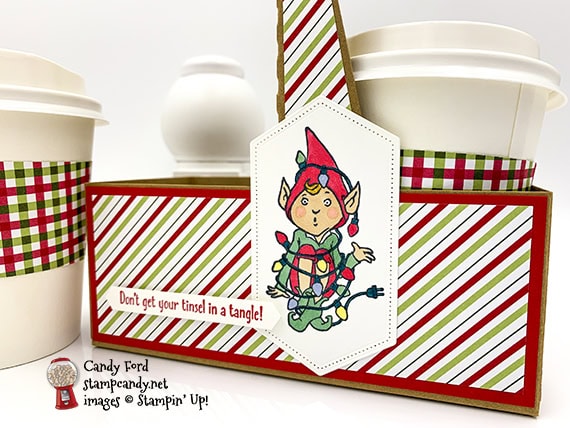
- elf glued onto one side of the holder, near the handle
- sentiment adhered using Mini Stampin’ Dimensionals onto the DSP layer and overlapping the elf
- ends of 2 die cut pieces of plaid DSP glued together to create a cup wrap, then the same done with the other 2 pieces
- wraps slipped onto the cups, from the bottom
S
Here are today’s main colors:
You can click on each one to see all the products that come in that color!
S
Here’s what I used:
Click on these images for more details and to purchase. If you are reading this post in email, the product images may not show up. Please click here to see the post on my blog.
Supply List. <— Click for a clickable and printable list of the products!
S
S
Only 5 More Days! Stock up now!
Click the image to see the sale:
S
Here are some helpful links:
S
Thanks for stopping by today, and Sweet Stamping!
Oct 8, 2020 | Blog Hop, Cards, Food, Gallery, Gift Wrap, Gifts, Halloween, Holiday |

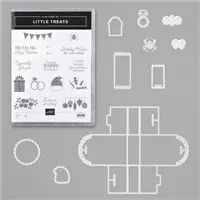
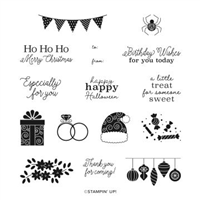
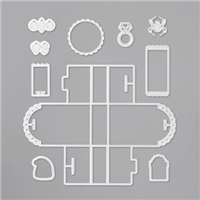
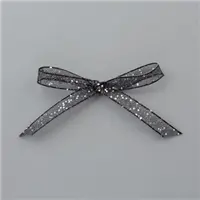
Welcome to the October 2020 OSAT Blog Hop! This month’s theme is Trick or Treats, so we’re featuring Halloween projects, cards, and treat holders. I made a note card and treat holder using the Little Treats Bundle (Little Treats stamp set and Little Treat Box Dies,) Stitched So Sweetly Dies, and Black Glittered Organdy Ribbon.
Be sure to hop all the way around to all the stops to see all the great projects this group has created for you today!
If you are reading this in email, some photos may appear blurry, or may not appear at all. Please click here to see the post on my blog.
S October 2020 OSAT October 2020 OSAT October 2020 OSAT
Here’s what I made:


S
Here’s what I did:
Cut and scored with my paper trimmer:
- Basic Black card stock (CS) cut to 5″ x 7″, then scored in half at 3-1/2″
- Whisper White CS cut to 4-1/2″ x 3″ for the inside of the card base
Stamped with the Little Treats stamp set:
- card sentiment and 3 spiders in Tuxedo Black Memento ink onto a scrap of Real Red CS
- box sentiment and candies in Tuxedo Black Memento ink onto a scrap of Real Red CS
Cut using the Little Treat Box Dies:
- box from a scrap of Basic Black CS
Cut using the Stitched So Sweetly Dies:
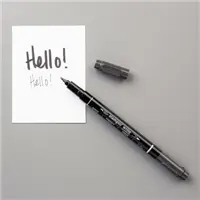
Colored using Basic Black Stampin’ Write Marker:
- a straight line from each spider to the top of the die cut panel (I used a clear block as a straight edge.)
Assembled the card:
- burnished the fold in the card base with a Bone Folder
- ribbon wrapped around the front of the card base and tied in a bow
- Real Red die cut adhered onto the front of the card base using Black Stampin’ Dimensionals
- Whisper White CS glued onto the inside of the card base
Assembled the box:
- burnished the folds in the box with a Bone Folder
- box assembled by inserting tabs into the slots and glued in place
- Real Red die cut glued onto the front of the box
- box tied closed with a piece of ribbon
S
Here’s the October 2020 OSAT Blog Hop:
S
Here are today’s colors:
You can click on each one to see all the products that come in that color!
S
Here’s what I used:
Click on these images for more details and to purchase. If you are reading this post in email, the product images may not show up. Please click here to see the post on my blog.
S
S
Designer Series Paper Sale!
Click the image below to see the sale:

stitched so sweetly
Here are some helpful links:
S
Thanks for stopping by today, and Sweet Stamping!
Sep 22, 2020 | Boxes, Christmas, Food, Gallery, Gift Wrap, Gifts, Holiday |
Today I’m sharing a Treat Holder that holds 5 Andes Mints. This is one of the projects we made this weekend at our Candy Hearts team meeting. I was inspired by the little treat holders on page 26 of the August – December 2020 Mini Catalog.
If you are reading this in email, some photos may appear blurry, or may not appear at all. Please click here to see the post on my blog.
S Treat Holder Treat Holder Treat Holder Treat Holder
Here’s what I made:

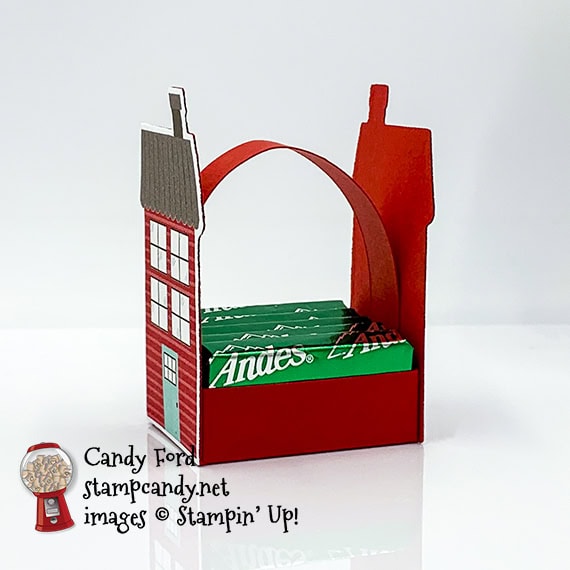
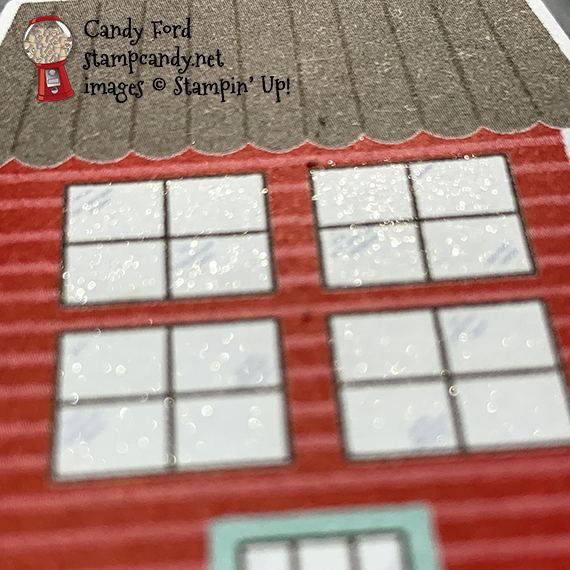
Wink of Stella can add so much to a project, but it seems almost impossible to photograph. Here are a couple of feeble attempts at getting it to show in a photo. It’s much more visible in person, but without being too glitzy.

S
Here’s what I did:
Cut and scored with my paper trimmer:
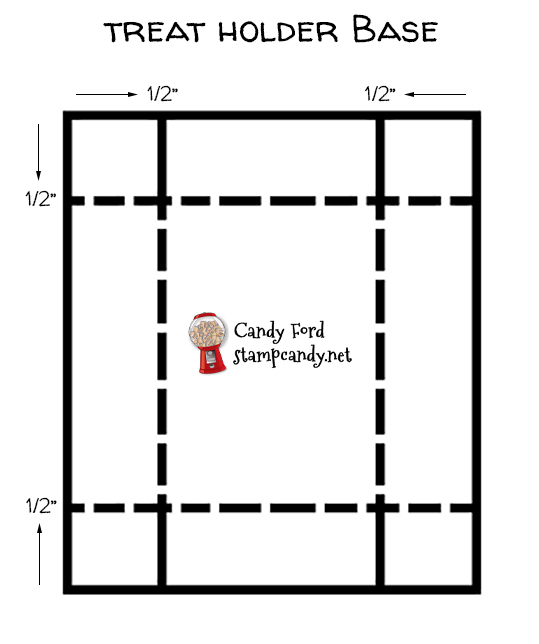
- Poppy Parade card stock (CS) cut to 2-5/8″ x 2-1/4″, then scored 1/2″ from all four sides
- strip of Poppy Parade CS cut to 1/2″ x 5″ (feel free to make this longer if you wish)
Cut using Paper Snips:
- one score line at each corner, to create a flap at each corner
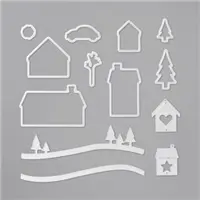
Cut using the Home Together Dies:
- 2 houses from a scrap of Trimming the Town Designer Series Paper (DSP)
- 2 houses from a scrap of Poppy Parade CS
Colored using Clear Wink of Stella:
- windows of both DSP houses (allow to dry thoroughly before handling)
Assembled the treat holder:
- burnished the folds in the base with a Bone Folder
- corner flaps glued onto the inside of the adjacent sides, to form the open top box
- ran a Bone Folder along the 1/2″ strip, like you would do to curl ribbon, to soften the fibers (This is so it will curve and not bend.)
- one end of the strip glued to the inside of one of the shorter sides of the box
- opposite end of the strip glued to the inside of the opposite short side of the box
- each die cut DSP house glued onto a die cut Poppy Parade CS house
- one house glued onto the outside of each end of the box, only putting along the bottom where it meets the side of the box and a little up the center where it meets the handle
- This will hold 5 Andes Mints perfectly.
S
Here are today’s colors:
You can click on each one to see all the products that come in that color!
S
Here’s what I used:
Click on these images for more details and to purchase. If you are reading this post in email, the product images may not show up. Please click here to see the post on my blog.
Supply List. <— Click for a clickable and printable list of the products!
S
Two ways to save in September!
Buy the Starter Kit and receive even more! It’s already the best deal: $99 for $125 in product of your choice plus Free shipping! In September you will also receive the Queen Anne’s Lace stamp set, the So Much Love stamp set, Rhinestone Basic Jewels, and 16 precut card kits! Wow! This is the perfect time to work on your wish list of Stampin’ Up! products! CLICK HERE for more details.

Buy the new Stampin’ Cut & Emboss Machine (standard size) from me by September 30 and I will give you a Magnetic Cutting Plate FREE! You’ll save almost $30! CLICK HERE for more details and to order.

S
Mystery Stamping Party!

Go ahead and click the image above to join the Facebook group now. A few days before the party I will post what you will need to complete the mystery card. On September 23 at 8:00pm ET, I will begin posting clues you can follow to create the card. We’ll also have games and prizes! And it’s all FREE!
S
World Card Making Day 2020:

- Join me for an afternoon of Bingo, cardmaking, prizes, and fun!
- October 3 at 2:00 pm ET
- See details and register HERE by September 25
- $25 (extra Bingo cards available for $5 each)
- Tell your friends! The more people who register, the bigger the prizes!
S
Here are some helpful links:
S
Thanks for stopping by today, and Sweet Stamping!


