Dec 29, 2020 | Cards, Gallery |
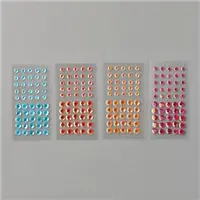
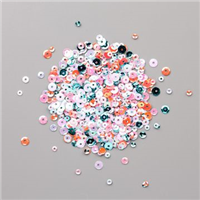
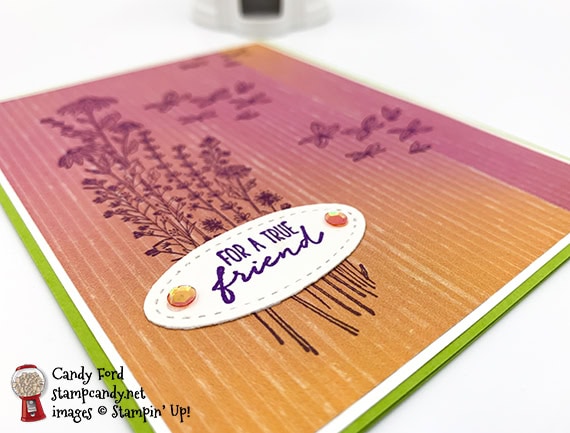
I used the new Dragonfly Garden stamp set along with the Artistry Blooms Designer Series Paper, Stitched Shapes Dies, and Artistry Blooms Adhesive Backed Sequins to create today’s card. I cut a strip from one side of the DSP layer and flipped it around. It doesn’t make a huge difference, but it just adds a little something-something. The stamp set will be available to order 5 January 2021, either alone, in a bundle with the Dragonflies Punch, and as part of the Dandy Garden Suite Collection. That’s only a week away!
I love hearing from you! Please leave your comments and questions in the comments section at the bottom of this post!
If you are reading this in email, some photos may appear blurry, or may not appear at all. Please click here to see the post on my blog.
S Dragonfly Garden Dragonfly Garden Dragonfly Garden Dragonfly Garden
Here’s what I made:

S
Here’s what I did:
Cut and scored with my paper trimmer:
- Granny Apple Green card stock (CS) cut to 4-1/4″ x 11″, then scored in half at 5-1/2″
- Whisper White CS layer cut to 4-1/8″ x 5-3/8″
- Artistry Blooms Designer Series Paper (DSP) layer cut to 4″ x 5-1/4″, then a 3/4″ strip cut from the right side
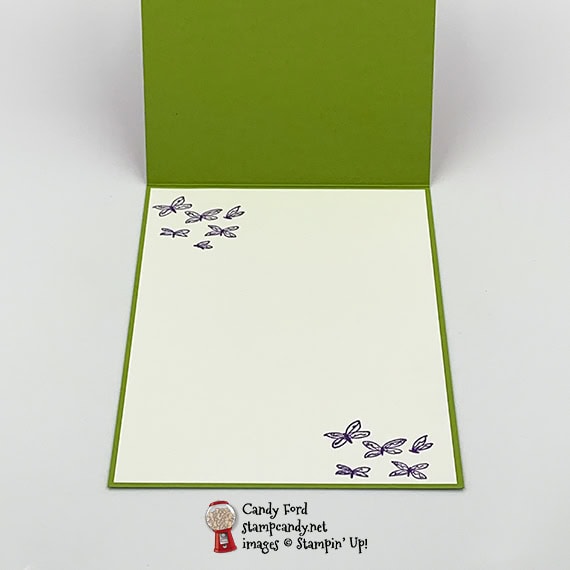
- Whisper White CS cut to 4″ x 5-1/4″ for the inside of the card base
Stamped with the Dragonfly Garden stamp set:
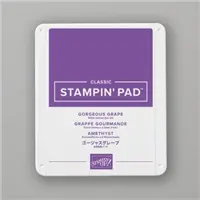
- sentiment in Gorgeous Grape ink onto a scrap of Whisper White CS
- flowers and dragonflies (or are they butterflies? I’ll just call them critters) in Gorgeous Grape ink onto the DSP layer (after it’s glued onto the Whisper White CS layer)
- critters in Gorgeous Grape ink onto the Whisper White CS for the inside
Cut using the Stitched Shapes Dies:
Assembled the card:
- burnished the fold in the card base with a Bone Folder
- larger DSP layer glued onto the Whisper White CS layer, lining it up at the left
- DSP strip rotated 180 degrees (pink at bottom instead of the top) and glued beside the larger DSP (then stamped on the DSP layer)
- sentiment glued onto the DSP layer at the base of the flower stems
- Whisper White CS layer glued onto the front of the card base
- 2 sequins applied onto the sentiment using my Take Your Pick tool
- Whisper White CS glued onto the inside of the card base
S
Order your Swatch Books & Product Shares by January 4!

S
Here are today’s colors:
You can click on each one to see all the products that come in that color!
S
Here’s what I used:
The Dragonfly Garden stamp set will be available 5 January 2021! See the note below regarding Whisper White.
Click on these images for more details and to purchase. If you are reading this post in email, the product images may not show up. Please click here to see the post on my blog.
Supply List. <— Click for a clickable and printable list of the products!
S
Here’s some news: Whisper White is going away
The facility that manufactures Whisper White paper is closing due to COVID-19. But don’t fret. The new Basic White products are in the works! No other colors are affected. The following items are now available while supplies last with an order limit of 2 per item per order.
- Cardstock, Whisper White 12″ x 12″ (124302)
- Cards & Envelopes, Assorted Memories & More (149710)
- Cards & Envelopes, Whisper White Note (131527)
- Envelopes, Whisper White 3″ x 3″ (145829)
- Cardstock, Whisper White 8-1/2″ x 11″ (100730)
- Cardstock, Whisper White 8-1/2″ x 11″ Thick (140272)
- Envelopes, Whisper White Medium (107301)
S
Only one week left for the Year-End Closeout
All retiring items will be available through 4 January 2021, or while supplies last. Click on the image to shop now!

S
Only one week left for the Curvy Celebrations offering!
Click the image to see it in my online store. The Curvy Christmas stamp set and Classic Christmas Designer Series Paper are available only through January 4, or while supplies last!

S
The new catalog goes live in one week!
Click the image below to request your January-June 2021 Mini Catalog AND Sale-a-bration Brochure:


S
Here are some helpful links:
S
Thanks for stopping by today, and Sweet Stamping!

Dec 28, 2020 | Cards, Gallery |
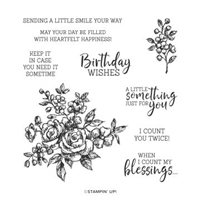
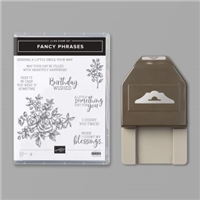
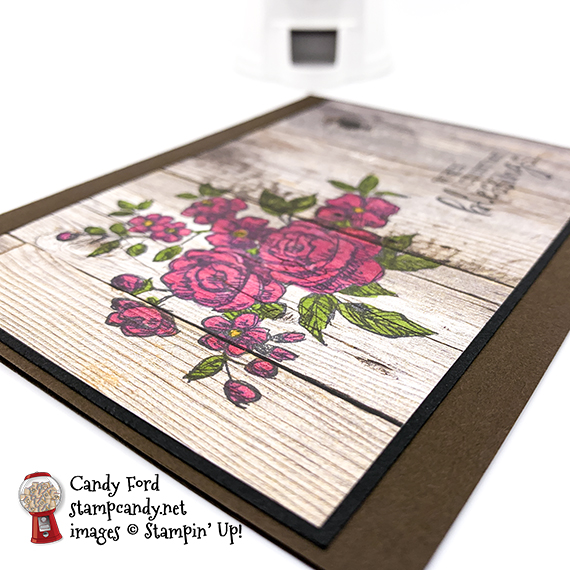
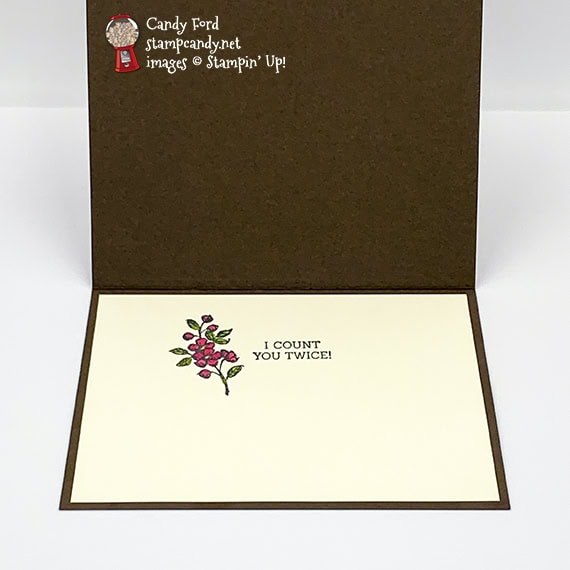
I used the Fancy Phrases stamp set and In Good Taste Designer Series Paper to make today’s card. I colored the floral images with Stampin’ Blends Markers. It’s a sweet and simple card that you can make in a jiffy.
If you are reading this in email, some photos may appear blurry, or may not appear at all. Please click here to see the post on my blog.
S Fancy Phrases Fancy Phrases Fancy Phrases Fancy Phrases
Here’s what I made

S
Here’s what I did:
Cut and scored with my paper trimmer:
- Early Espresso card stock (CS) cut to 5-1/2″ x 8-1/2″, then scored in half at 4-1/4″
- In Good Taste Designer Series Paper (DSP) layer cut to 5-1/4″ x 3-1/2″
- Basic Black CS layer cut to 5-3/8″ x 3-3/8″
- Very Vanilla CS cut to 5-1/4″ x 4″ for the inside of the card base
Stamped with the Fancy Phrases stamp set:
- large floral image and front sentiment in Tuxedo Black Memento ink onto the DSP layer
- small floral image and inner sentiment in Tuxedo Black Memento ink onto the Very Vanilla CS
Colored using Stampin’ Blends Markers:
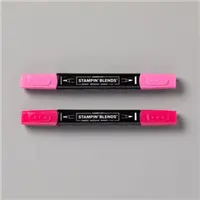
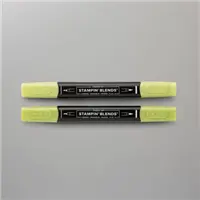
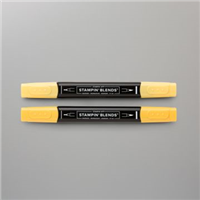
- both floral images in Melon Mambo, Daffodil Delight, and Granny Garden Green
Assembled the card:
- burnished the fold in the card base with a Bone Folder
- DSP layer glued onto the Basic Black CS layer
- Basic Black CS layer glued onto the front of the card base
- Very Vanilla CS glued onto the inside of the card base
S
Here are today’s colors:
You can click on each one to see all the products that come in that color!
S
Here’s what I used:
Click on these images for more details and to purchase. If you are reading this post in email, the product images may not show up. Please click here to see the post on my blog.
Supply List. <— Click for a clickable and printable list of the products!
S
Here’s some news: Whisper White is going away
The facility that manufactures Whisper White paper is closing due to COVID-19. But don’t fret. The new Basic White products are in the works! No other colors are affected. The following items are now available while supplies last with an order limit of 2 per item per order.
- Cardstock, Whisper White 12″ x 12″ (124302) – SOLD OUT
- Cards & Envelopes, Assorted Memories & More (149710)
- Cards & Envelopes, Whisper White Note (131527)
- Envelopes, Whisper White 3″ x 3″ (145829)
- Cardstock, Whisper White 8-1/2″ x 11″ (100730)
- Cardstock, Whisper White 8-1/2″ x 11″ Thick (140272)
- Envelopes, Whisper White Medium (107301)
S
Here’s the Year-End Closeout
All retiring items will be available through 4 January 2021, or while supplies last. Click on the image to shop now!

S
Here’s the Curvy Celebrations offering:
Click the image to see it in my online store. The Curvy Christmas stamp set and Classic Christmas Designer Series Paper are available only through January 4, or while supplies last!

S
Here’s the new catalog:
Click the image below to request your January-June 2021 Mini Catalog AND Sale-a-bration Brochure:


S
Here are some helpful links:
S
Thanks for stopping by today, and Sweet Stamping!

Dec 25, 2020 | Cards, Christmas, Gallery, Holiday |
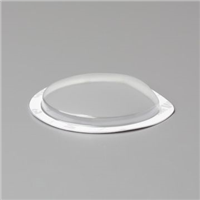
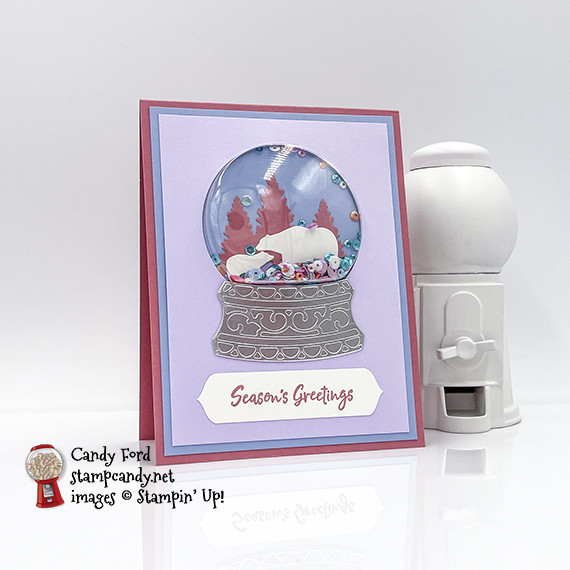
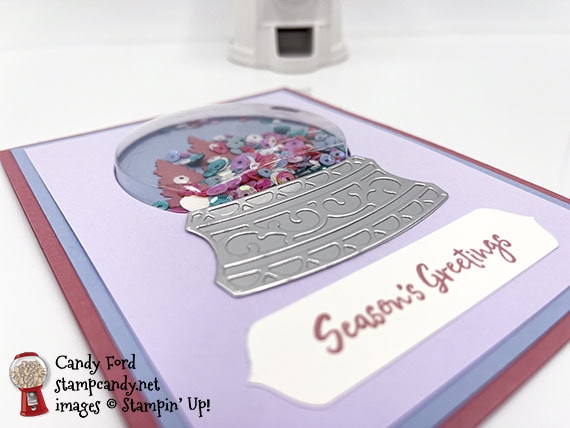
Happy Christmas Day! I hope you have a wonderful day full of cheer and love. Today I’m sharing the fourth and last card we made during my December Stamp Club. We used the In the Pines stamp set, the Snow Globe Scenes Dies, and the new Treasured Tags Pick a Punch to create this sweet pastel card. The Snow Globe Shaker Domes make shaker cards nice and easy. They do add thickness, so this card should be delivered by hand or mailed in a sturdy box.
If you are reading this in email, some photos may appear blurry, or may not appear at all. Please click here to see the post on my blog.
S Snow Globe Snow Globe Snow Globe Snow Globe
Here’s what I made:
S
Here’s what I did:
Cut and scored with my paper trimmer:
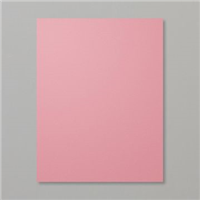
- Rococo Rose card stock (CS) cut to 4-1/4″ x 11″, then scored in half at 5-1/2″
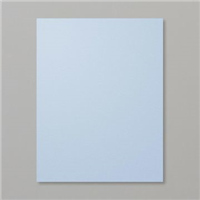
- Seaside Spray CS layer cut to 4″ x 5-1/4″
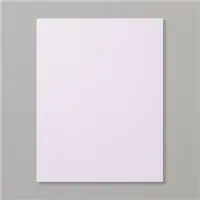
- Purple Posy CS layer cut to 3-3/4″ x 5″
- Whisper White CS cut to 3/4″ x 3-1/2″
- Whisper White CS cut to 4″ x 5-1/4″ for the inside of the card base
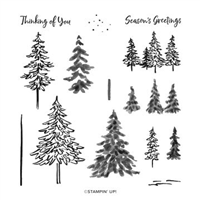
Stamped with the In the Pines stamp set:
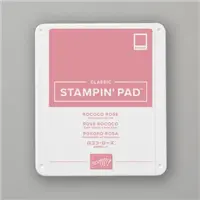
- sentiment in Rococo Rose ink onto the Whisper White CS strip
Cut using the Treasured Tags Pick a Punch:
- both ends of the sentiment strip
Cut using the Snow Globe Scenes Dies:
- snowglobe shape from the Purple Posy CS layer
- trees from a scrap of Rococo Rose CS
- bears from a scrap of Whisper White CS
- solid base and decorative base from a scrap of a Silver Foil Sheet
Assembled the card:
- burnished the fold in the card base with a Bone Folder
- Purple Posy CS layer lined up on the Seaside Spray CS layer (do not adhere yet) and used a pencil to trace around the hole onto the Seaside Spray CS layer
- set aside the Purple Posy CS layer
- trees glued onto the Seaside Spray CS layer at the bottom of the penciled area
- bears glued over the trees
- adhesive backing removed from the front of the snow globe shaker dome, laid the Purple Posy CS layer over the dome, lining up the dome with the hole, and press to adhered the layer to the front side of the dome
- sequins put in the center of the penciled area
- adhesive backing removed from the back of the snow globe shaker dome, and liquid glue applied to the back of the Purple Posy CS layer, then the layer adhered onto the Seaside Spray CS layer, being careful to keep the sequins under the dome
- pressed around the dome to make sure it adheres well to the layer underneath (I didn’t do this well enough and you can see how some sequins are stuck around the perimeter.)
- ornate foil base glued onto the solid base
- solid base glued onto the Purple Posy CS layer, up against the bottom of the dome
- sentiment strip glued onto the Purple Posy CS layer
- Seaside Spray CS layer glued onto the front of the card base
- Whisper White CS glued onto the inside of the card base
S
Here are today’s colors:
You can click on each one to see all the products that come in that color!
S
Here’s what I used:
Click on these images for more details and to purchase. If you are reading this post in email, the product images may not show up. Please click here to see the post on my blog.
Supply List. <— Click for a clickable and printable list of the products!
S
Here’s some news: Whisper White is going away
The facility that manufactures Whisper White paper is closing due to COVID-19. But don’t fret. The new Basic White products are in the works! No other colors are affected. The following items are now available while supplies last with an order limit of 2 per item per order.
- Cardstock, Whisper White 12″ x 12″ (124302)
- Cards & Envelopes, Assorted Memories & More (149710)
- Cards & Envelopes, Whisper White Note (131527)
- Envelopes, Whisper White 3″ x 3″ (145829)
- Cardstock, Whisper White 8-1/2″ x 11″ (100730)
- Cardstock, Whisper White 8-1/2″ x 11″ Thick (140272)
- Envelopes, Whisper White Medium (107301)
S
Here’s the Year-End Closeout
All retiring items will be available through 4 January 2021, or while supplies last. Click on the image to shop now!

S
Here’s the Curvy Celebrations offering:
Click the image to see it in my online store. The Curvy Christmas stamp set and Classic Christmas Designer Series Paper are available only through January 4, or while supplies last!

S
Here’s the new catalog:
Click the image below to request your January-June 2021 Mini Catalog AND Sale-a-bration Brochure:


S
Here are some helpful links:
S
Thanks for stopping by today, and Sweet Stamping!

Dec 24, 2020 | Christmas, Food, Gallery, Holiday |
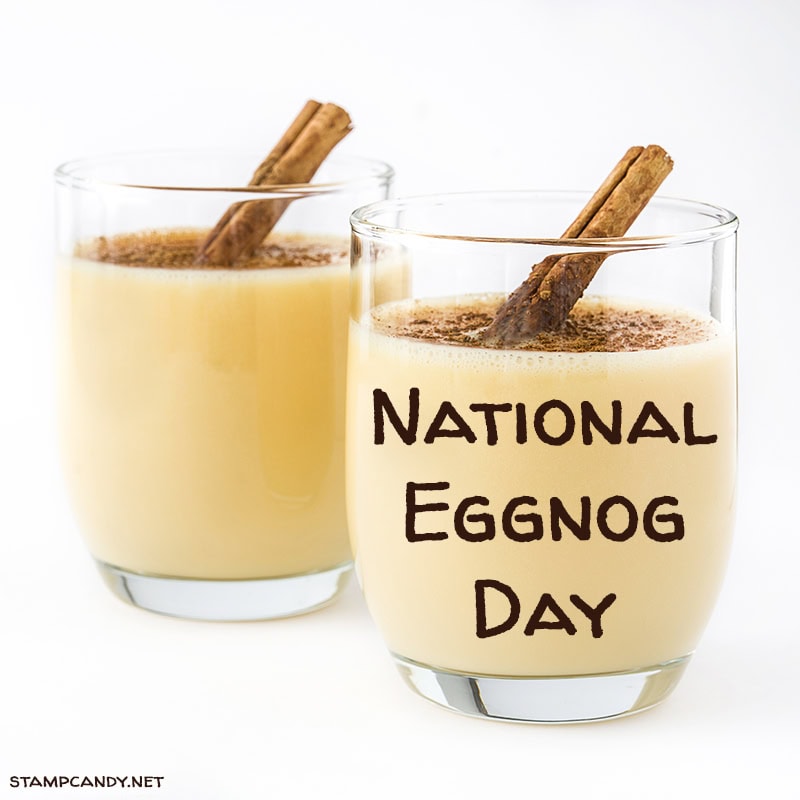
It’s Christmas Eve! It’s also National Eggnog Day, so today I’m sharing my favorite eggnog recipe. I’ve pieced it together from several different recipes I’ve come across over the years, until it’s just how I like it. This makes about a quart. I usually double everything to make about a half gallon. If more eggnog lovers are going to be around, I’ll make several double batches. Of course, it doesn’t matter how much there is, I’ll always find a way to finish it off!
Many people like to add liquor to their eggnog, whether it’s bourbon, rum, brandy, or something else. Feel free to add whatever you want. I prefer to leave it out, to get the full taste of the eggs and cream and vanilla. It’s almost like drinking egg custard, which is one of my favorite desserts.
This is not a low calorie recipe. It isn’t supposed to be. I believe in enjoying all the yummy things in moderation, instead of changing them to something less yummy just so I can have more. Eggnog is only a once a year thing for me, so I fully enjoy it at Christmas, then don’t have it again until the next year.
I hope you enjoy this yummy beverage whether you’re trimming the tree, lighting the Kinara, reciting Gita verses, reminiscing about this year’s Menorah, or doing something else to celebrate this time of year.
If you are reading this in email, some photos may appear blurry, or may not appear at all. Please click here to see the post on my blog.
S Eggnog Eggnog Eggnog Eggnog
Candy’s Eggnog Recipe:
Eggnog Ingredients:
- 6 egg yolks (*See note below about the egg whites.)
- 1/2 cup sugar (you can use up to 3/4 cup if you want it sweeter)
- 2 cups whole milk
- 2 whole cloves
- 1 cup heavy cream
- 1-1/2 teaspoon vanilla extract
- whole nutmeg
You’ll also need:
- mixer – a stand mixer makes this super easy because you have both hands free, but any mixer will do. Or a whisk if you’re into that sort of thing.
- heavy saucepan
- whisk
- wooden spoon
- wire mesh strainer – not too fine or the thick eggnog will take forever to go through
- nutmeg grater, or any fine grater
- food thermometer, optional
Eggnog Directions:
- Beat the egg yolks until they are lighter in color.
- Slowly beat in the sugar.
- Heat milk and cloves on medium heat until steamy hot, but not quite boiling.
- Temper the eggs: Slowly whisk about half of the warm milk into the eggs, to warm them up without curdling them.
- Add the egg mixture back to the pan with the rest of the milk, and add the cream.
- Heat on medium heat, stirring constantly with a wooden spoon, until it reaches 160 degrees F or until it coats the back of the spoon.
- Strain and let cool about an hour.
- Stir in the vanilla and chill thoroughly.
- Grate fresh nutmeg onto each serving.
* Some people like to whip the unused egg whites into a meringue, then fold it into the cold eggnog. This is not my preference, for multiple reasons. One reason is that I just prefer it without. Another reason is that I don’t want raw egg in my nog. The yolks in this recipe are cooked just enough so there’s nothing to upset my tummy. (I can’t drink eggnog from a store for that reason.)
Tip: To serve this in a punch bowl, pour some eggnog into a mold/molds and freeze it. That will keep it cold without watering it down with ice. Last year I set up an eggnog bar, with a big punchbowl of nog, a nutmeg grater, and an assortment of liquors. Bailey’s Irish Cream, Godiva Chocolate Liqueur, Amaretto, and Kahlua were popular add-ins, along with the regulars listed above.
S
And now back to stamping news:
Reserve your Designer Series Paper Swatch Books and Product Shares
I’ll be selling Swatch Books of all the new papers in the Jan-Jun 2021 Mini Catalog, paper shares, ribbon shares, and embellishment shares. You’ll save $25 when you get it all! Click on the image to get all the details and reserve yours today:

S
Whisper White is going away
The facility that manufactures Whisper White paper is closing due to COVID-19. But don’t fret. The new Basic White products are in the works! No other colors are affected. The following items are available only while supplies last, with an order limit of 2 per item per order.
- Cardstock, Whisper White 12″ x 12″ (124302)
- Cards & Envelopes, Assorted Memories & More (149710)
- Cards & Envelopes, Whisper White Note (131527)
- Envelopes, Whisper White 3″ x 3″ (145829)
- Cardstock, Whisper White 8-1/2″ x 11″ (100730)
- Cardstock, Whisper White 8-1/2″ x 11″ Thick (140272)
- Envelopes, Whisper White Medium (107301)
S
Here’s the Year-End Closeout
All retiring items will be available through 4 January 2021, or while supplies last. Click on the image to shop now!

S
Here’s the Curvy Celebrations offering:
Click the image to see it in my online store. The Curvy Christmas stamp set and Classic Christmas Designer Series Paper are available only through January 4, or while supplies last! The Quite Curvy stamp set and Curvy Dies will be in the Jan-Jun 2021 Mini Catalog.

S
Here’s the new catalog:
Click the image below to request your January-June 2021 Mini Catalog AND Sale-a-bration Brochure:


S
Here are some helpful links:
S
Thanks for stopping by today, and Sweet Stamping!

Dec 23, 2020 | Cards, Christmas, Club, Gallery, Holiday, Retiring Products, Techniques |
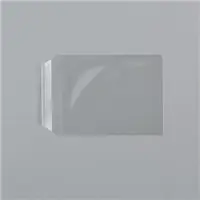
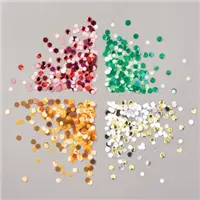
Today I’m sharing an envelope shaker card that we made at my December Stamp Club meeting. We used the In the Pines stamp set, Pine Woods Dies, In Good Taste Designer Series Paper, Sequins for Everything, and a Clear Medium Envelope. You won’t believe how quick and easy it is!
If you are reading this in email, some photos may appear blurry, or may not appear at all. Please click here to see the post on my blog.
S envelope shaker envelope shaker envelope shaker envelope shaker
Here’s what I made:
It looks like a bunch of pine trees growing up against a huge stone wall.

S
Here’s what I did:
Cut and scored with my paper trimmer:
- Shaded Spruce card stock (CS) cut to 4-1/4″ x 11″, then scored in half at 5-1/2″
- In Good Taste Designer Series Paper (DSP) layer cut to4″ x 5-1/4″
- Whisper White CS cut to 4″ x 5-1/4″ for the inside of the card base (Oops! I forgot to photograph the inside.)
Stamped with the In the Pines stamp set:
- trees in Shaded Spruce ink onto the DSP layer
- sentiment in Shaded Spruce ink onto the Whisper White CS
Cut using the Pine Woods Dies:
- 3 trees from a scrap of Shaded Spruce CS
Created the envelope shaker:
- put the DSP layer in a clear medium envelope, making sure it was snugly down in one corner
- put some Sequins for Everything in the envelope in front of the DSP layer
- closed the envelope flap, folding down the envelope to the edge of the DSP layer
- folded over the extra envelope to the back and secured with Tear & Tape (Stampin’ Seal or Seal + would work well, too.)
Assembled the card:
- burnished the fold in the card base with a Bone Folder
- envelope shaker adhered onto the front of the card base using Tear & Tape
- 3 die cut trees glued together, then adhered onto the front of the envelope using Stampin’ Seal+ (I pulled off the little strips and placed them on the back of the trees where they wouldn’t show
- Whisper White CS glued onto the inside of the card base
S
Here are today’s main colors:
You can click on each one to see all the products that come in that color!
S
Here’s what I used:
The In the Pines stamp set and Pines Woods Dies are retiring. The dies have already sold out, but the stamp set is still available. Click on the images below for more details and to purchase. If you are reading this post in email, the product images may not show up. Please click here to see the post on my blog.
Supply List. <— Click for a clickable and printable list of the products!
S
Here’s some news: Whisper White is going away
The facility that manufactures Whisper White paper is closing due to COVID-19. But don’t fret. The new Basic White products are in the works! No other colors are affected. The following items are now available while supplies last with an order limit of 2 per item per order.
- Cardstock, Whisper White 12″ x 12″ (124302)
- Cards & Envelopes, Assorted Memories & More (149710)
- Cards & Envelopes, Whisper White Note (131527)
- Envelopes, Whisper White 3″ x 3″ (145829)
- Cardstock, Whisper White 8-1/2″ x 11″ (100730)
- Cardstock, Whisper White 8-1/2″ x 11″ Thick (140272)
- Envelopes, Whisper White Medium (107301)
S
Here’s the Year-End Closeout
All retiring items will be available through 4 January 2021, or while supplies last. Click on the image to shop now!

S
Here’s the Curvy Celebrations offering:
Click the image to see it in my online store. The Curvy Christmas stamp set and Classic Christmas Designer Series Paper are available only through January 4, or while supplies last!

S
Here’s the new catalog:
Click the image below to request your January-June 2021 Mini Catalog AND Sale-a-bration Brochure:


S
Here are some helpful links:
S
Thanks for stopping by today, and Sweet Stamping!

Dec 22, 2020 | Cards, Christmas, Gallery, Holiday, Techniques |
Today I’m sharing another card we made at my Stamp Club’s December virtual gathering. It could be a Christmas holiday card, or just a wintery thinking of you card. We used the In the Pines stamp set, Snow Globe Scenes Dies, Snow Globe Shaker Domes, and Snowflake Sequins to make this lovely shaker dome card.
If you are reading this in email, some photos may appear blurry, or may not appear at all. Please click here to see the post on my blog.
S Snow Globe Snow Globe Snow Globe Snow Globe
Here’s what I made:


S
Here’s what I did:
Cut and scored with my paper trimmer:
- Whisper White Thick card stock (CS) cut to 5-1/2″ x 8-1/2″, then scored in half at 4-1/4″
- Whisper White Thick CS layer cut to 5-1/4″ x 4″
Cut using the Snow Globe Scenes Dies:
- globe shaped hole in the white layer
- globe base from a scrap of a Silver Foil Sheet
Stamped with the In the Pines stamp set:
- First I laid the die cut layer on the card base where it would later be adhered, and used a pencil to lightly trace the shape of the die cut hole, so I would know where to stamp on the front of the card base.
- small tree outlines in Pretty Peacock ink
- small tree fills in Shaded Spruce ink
- sentiment in Shaded Spruce ink onto the white layer
Assembled the card:
- burnished the fold in the card base with a Bone Folder
- adhesive backing removed from the front of the shaker dome, then the white layer places over the dome and pressed to adhere the dome onto the back of the layer
- snowflake sequins (about 1/2 teaspoon or so) placed on the card base, making sore to keep them well within the pencil line
- adhesive backing removed from the back of the dome, and glue applied to the rest of the back of the layer
- white layer pressed in place over the sequins
- dome base glued onto the layer, under the dome
S
Here are today’s colors:
You can click on each one to see all the products that come in that color!
S
Here’s what I used:
Click on these images for more details and to purchase. If you are reading this post in email, the product images may not show up. Please click here to see the post on my blog.
Supply List. <— Click for a clickable and printable list of the products!
S
Here’s some news: Whisper White is going away
The facility that manufactures Whisper White paper is closing due to COVID-19. But don’t fret. The new Basic White products are in the works! No other colors are affected. The following items are now available while supplies last with an order limit of 2 per item per order.
- Cards & Envelopes, Assorted Memories & More (149710)
- Envelopes, Whisper White 3″ x 3″ (145829)
- Cardstock, Whisper White 8-1/2″ x 11″ (100730)
- Envelopes, Whisper White Medium (107301)
- Cardstock, Whisper White 12″ x 12″ (124302) <—SOLD OUT
- Cards & Envelopes, Whisper White Note (131527) <—SOLD OUT
- Cardstock, Whisper White 8-1/2″ x 11″ Thick (140272) <—SOLD OUT
S
Here’s the Year-End Closeout
All retiring items will be available through 4 January 2021, or while supplies last. Click on the image to shop now!

S
Here’s the Curvy Celebrations offering:
Click the image to see it in my online store. The Curvy Christmas stamp set and Classic Christmas Designer Series Paper are available only through January 4, or while supplies last!

S
Here’s the new catalog:
Click the image below to request your January-June 2021 Mini Catalog AND Sale-a-bration Brochure:


S
Here are some helpful links:
S
Thanks for stopping by today, and Sweet Stamping!


