Dec 13, 2021 | Blog Hop, Cards, Gallery, Winter |

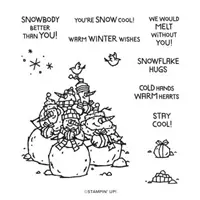
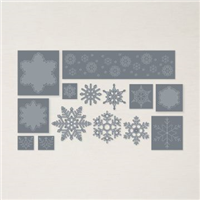
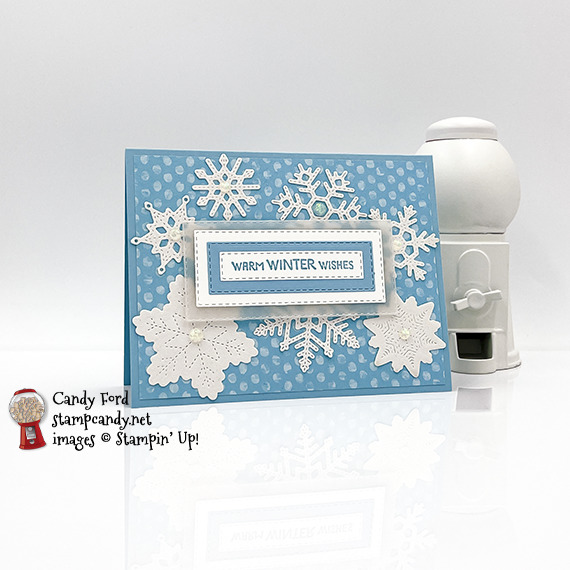
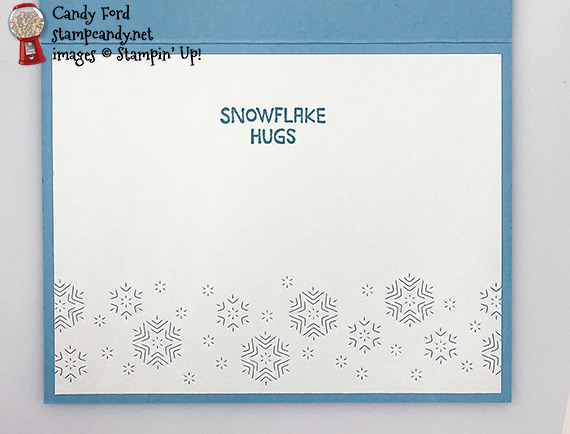
Welcome to the December 2021 Candy Hearts Blog Hop! Today we are sharing Winter themed projects. I used the Snowbody Better stamp set along with the Stitched Snowflakes Dies and the Rectangle Stitched Dies to create a wintery, snowy card. It’s a great way to send warm wishes when the weather is cold. After reading my post, I hope you will hop to the next person on the list below. Be sure to hop around to see all the great projects the Candy Hearts have created for you!
If you are reading this in email, some photos may appear blurry, or may not appear at all. Please click here to see the post on my blog.
S December 2021 Candy Hearts Blog Hop December 2021 Candy Hearts Blog Hop December 2021 Candy Hearts Blog Hop December 2021 Candy Hearts Blog Hop
Here’s what I made:
 Inside:
S
Here’s what I did:
Cut and scored with my paper trimmer:
- Balmy Blue card stock (CS) cut to 5-1/2″ x 8-1/2″, then scored in half at 4-1/4″
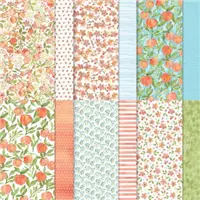
- You’re A Peach Designer Series Paper (DSP) layer cut to 5-1/4″ x 4″
- Basic White CS cut to 5-1/4″ x 4″ for the inside of the card base
Stamped with the Snowbody Better stamp set:
- front sentiment in Balmy Blue ink onto a scrap of Basic White CS
- inside sentiment onto the 5-1/4″ x 4″ Basic White CS for the inside
Cut using the Stitched Snowflake Dies:
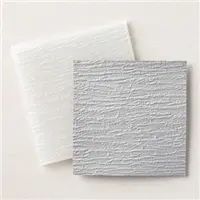
- 7 snowflakes from Snowy White Velvet Paper
- snowflakes cut into the 5-1/4″ x 4″ Basic White CS for the inside
Cut using the Stitched Rectangle Dies:
- front sentiment
- first mat from a scrap of Balmy Blue CS
- second mat from a scrap of Basic White CS
- third mat from a scrap of Vellum
Assembled the card:
- burnished the fold in the card base with a Bone Folder
- DSP layer glued onto the front of the card base
- snowflakes glued onto the DSP layer
- front sentiment glued onto the Balmy Blue CS mat
- Balmy Blue CS mat glued onto the Basic White CS mat
- Basic White CS mat adhered onto the Vellum mat using Stampin’ Seal+
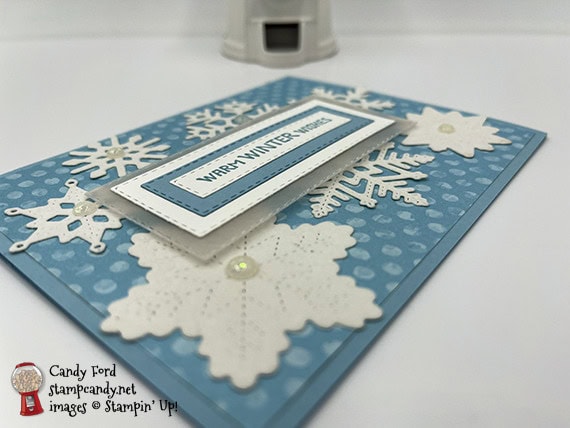
- Vellum mat adhered over the snowflakes using a piece of a Foam Adhesive Sheet
- Opal Rounds applied onto the exposed centers of the snowflakes using my Take Your Pick tool
- Basic White CS glued onto the inside of the card base
S
Here’s the December 2021 Candy Hearts Blog Hop:
s
Here are today’s colors:
You can click on each one to see all the products that come in that color!
S
Here’s what I used:
Click on these images for more details and to purchase. If you are reading this post in email, the product images may not show up. Please click here to see the post on my blog.
Sale: $16.80
Price: $21.00
Supply List. <— Click for a clickable and printable list of the products!
Here are some helpful links:
S
Thanks for stopping by today, and Sweet Stamping!
Nov 17, 2021 | Bags, Blog Hop, Cards, Christmas, Gallery, Holiday |
 s
s
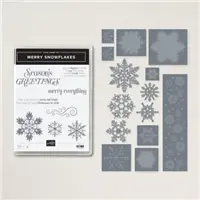
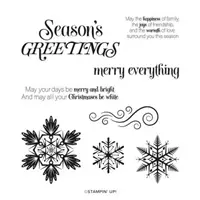
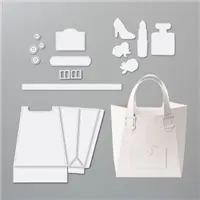
Welcome to the November 2021 IRBH! This month’s theme is Pretty Packages & Tags, and we’re featuring Christmas gift packaging. I used the All Dressed Up Dies with the Merry Snowflakes Bundle (Merry Snowflakes stamp set and Stitched Snowflakes Dies) and the Whimsy & Wonder designer Series paper to create a cute little bag that can hold any number of small gifts.
If you are reading this in email, some photos may appear blurry, or may not appear at all. Please click here to see the post on my blog.
S November 2021 IRBH November 2021 IRBH November 2021 IRBH November 2021 IRBH
Here’s what I made:
You can tuck in the sides for a slim look…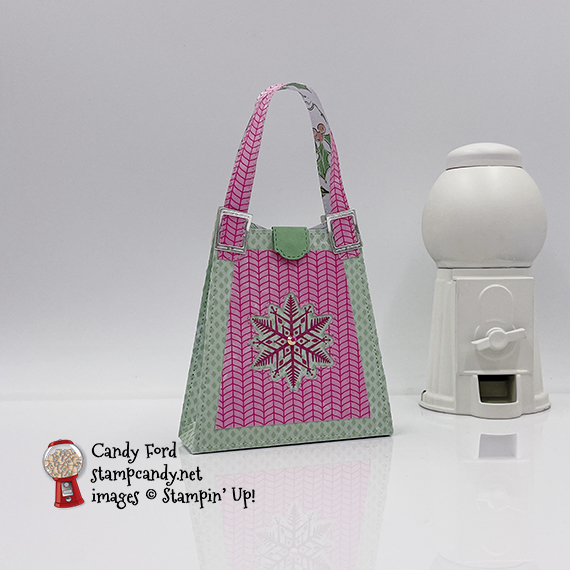
… or you can pull out the sides for a wider look.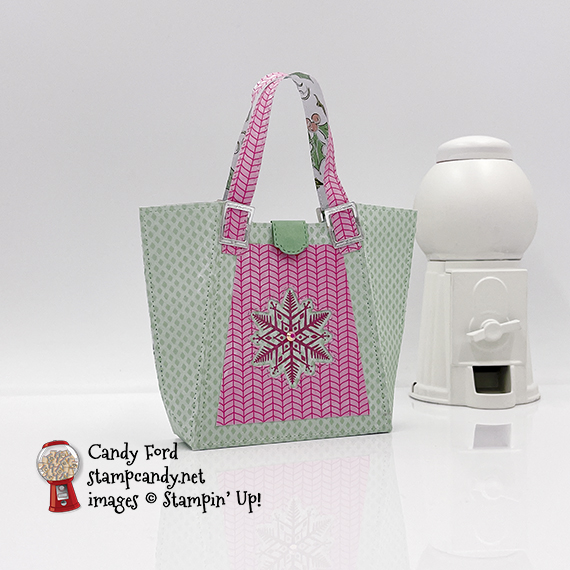
The back:
Close up of the front:
S
Here’s what I did:
Stamped with the Merry Snowflakes stamp set:
- snowflake in Polished Pink ink onto the front of the purse
Cut using the All Dressed Up Dies:
- 2 pieces of Whimsy & Wonder Designer Series Paper (DSP) for the body of the purse (green)
- 1 piece of Whimsy & Wonder DSP using the same die (pink)
- 2 straps cut from the pink DSP
- latch cut from a scrap of Mint Macaron card stock (CS)
- 4 buckle pieces cut from a scrap of Silver Foil paper
Cut and scored with my paper trimmer:
- trimmed down the pink DSP purse half to about 1/4″ smaller on each side than the green purse
Cut using the Stitched Snowflakes Dies:
- snowflake out of the center of the pink DSP front piece
Assembled the bag:
- burnished the folds in the bag with a Bone Folder
- glued the tabs of each half of the purse onto the inside of the other half
- bottom tabs glued together to form the bottom of the purse
- pink straps threaded through silver buckles and glued onto the purse, one strap on the front and one on the back
- pink DSP glued onto the front of the purse so that stamped snowflake shows through the die cut hole
- Polished Pink gem applied onto the center of the snowflake using my Take Your Pick tool
- tiny magnets adhered onto the latch and the inside of the purse using Mini Glue Dots…

S
Here’s the November 2021 IRBH:
Thank you for hopping along with us. If you get stuck during the Blog Hop, please use this line-up as a guide:
- Brian King at Stamp with Brian
- Marilyn Jones at Stamp with MJ
- Ann Murray at Murray Stamps Ink
- Pam Morris at Tap Tap Stamp
- Jackie Beers at Blue Line Stamping
- Renae Novak at Blessed by Cards
- Candy Ford at Stamp Candy <——- YOU ARE HERE!
- Jan Dufour at Stamp Me Silly
- Sue Jackson at Just Peachy Stamping
- Robin Myren at Songbird Designs by Robin
- Lynn Kolcun at Avery’s Owlery
- Sheryl Sharp at Sharp Notes by Sheryl
- Lisa Graham at Lisa’s Little Ink Spots
s
Here are today’s colors:
You can click on each one to see all the products that come in that color!
S
Here’s what I used:
Click on these images for more details and to purchase. If you are reading this post in email, the product images may not show up. Please click here to see the post on my blog.
Sale: $28.00
Price: $35.00
Supply List. <— Click for a clickable and printable list of the products!
Here are some helpful links:
S
Thanks for stopping by today, and Sweet Stamping!
Nov 8, 2021 | Blog Hop, Cards, Christmas, Gallery, Holiday |

Welcome to the Candy Hearts Blog Hop for November! Today we are sharing Holiday projects. I used the Stockings Dies to make a hobby horse. I remember having one of these when I was very little. It had jingle bells on it. I usually played with it outside, because inside I had my rocking horse. It was on a metal stand with springs, so it didn’t rock so much as it bounced. I would get going so fast that it would scoot across the room. After reading my post, I hope you will hop to the next person on the list below. Be sure to hop around to see ALL the great projects the Candy Hearts have created for you!
If you are reading this in email, some photos may appear blurry, or may not appear at all. Please click here to see the post on my blog.
S November 2021 Candy Hearts Blog Hop November 2021 Candy Hearts Blog Hop November 2021 Candy Hearts Blog Hop November 2021 Candy Hearts Blog Hop
Here’s what I made:
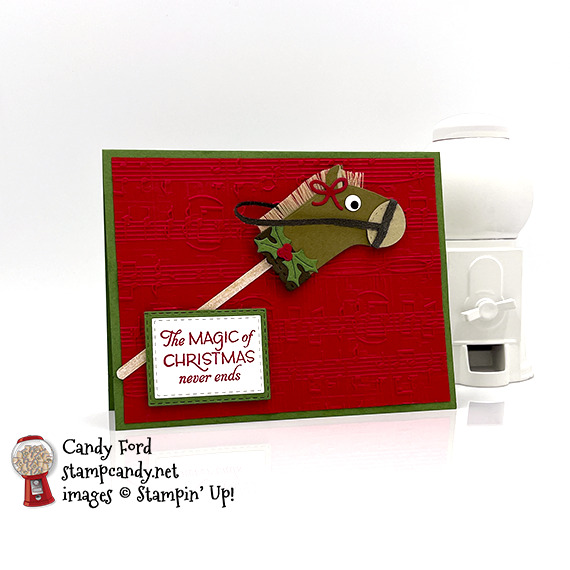
You can see the embossing better in this photo:

S
Here’s what I did:
Cut and scored with my paper trimmer:
- Garden Green card stock (CS) cut to 5-1/2″ x 8-1/2″, then scored in half at 4-1/4″
- Real Red CS layer cut to 5-1/4″ x 4″
- In Good Taste Designer Series Paper (DSP) cut to 1/8″ x 5″
- Basic White CS cut to 5-1/4″ x 4″ for the inside of the card base
- Note: All the other pieces of CS I used were left over scraps.
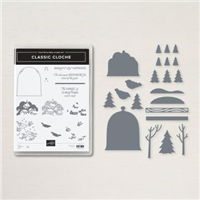
Stamped with the Classic Cloche stamp set:
- sentiment in Real Red ink onto Basic White Thick CS
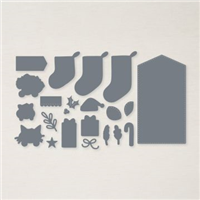
Cut using the Stockings Dies:
- stocking from Soft Suede CS
- toe from Crumb Cake CS
- topper from Early Espresso CS
- holly from Garden Green CS
- bow and berries from Real Red CSx
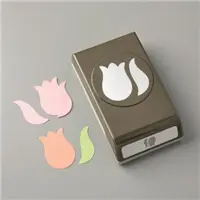
Cut using the Tulip Builder Punch:
- leaf cut from Soft Suede CS (2 pieces) and from Crumb Cake CS (1 piece)
Cut using the Stitched Rectangle Dies:
- sentiment
- Garden Green CS for the mat
Cut using circle punches:
- 1/4″ circle from a scrap of Basic White Thick CS
- 1/8″ circle from a scrap of Basic Black CS
- Note: The punches I used by Stampin’ Up! are retired, but you can find punches like them almost anywhere.
Embossed using the Merry Melody 3D Embossing Folder:
- the 5-1/4″ x 4″ Real Red CS layer
Mane:
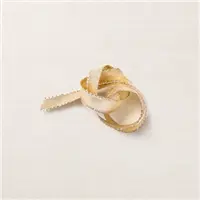
- trimmed one edge from a piece of Gold 3/8″ Shimmer Ribbon using Paper Snips (I keep one pair just for ribbon)
- pulled out the long gold threads, leaving a fringe
Assembled the card:
- burnished the fold in the card base with a Bone Folder
- Real Red CS layer glued onto the front of the card base
- Basic White CS glued onto the inside of the card base
- topper glued onto the stocking
- fringe adhered onto the back of the stocking using Tear & Tape
- Crumb Cake leaf glued offset onto the front of a Soft Suede leaf, then trimmed using Paper Snips to create the ear shape
- second Soft Suede leaf trimmed using Paper Snips to create the ear shape
- 2-color ear glued onto the front of the horse head
- second ear glued onto the back of the head
- Basic Black circle glued onto the Basic White circle
- Basic White circle glued onto the head as the eye
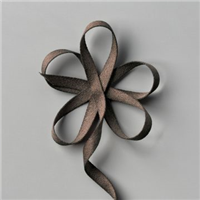
- Early Espresso Faux Suede ribbon cut in half lengthwise using Paper Snips
- Faux Suede ribbon strip glued onto the stocking toe piece
- toe piece glued onto the head as the nose
- one end of another Faux Suede ribbon strip glued under the first strip
- the other end of the ribbon strip adhered onto the back of the head
- holly and berries glued onto the stocking topper
- bow glued onto the head in front of the ear
- DSP strip glued onto the Real Red CS layer
- head adhered over the DSP strip using Black Stampin’ Dimensionals
- sentiment glued onto the Garden Green CS mat
- Garden Green CS mat adhered onto the Real Red CS layer using Black Stampin’ Dimensionals
S
Here’s the November 2021 Candy Hearts Blog Hop:
Thank you for hopping with the Candy Hearts today! Be sure to hop around to all the stops. You do not want to miss any of the creativity in this talented group of stampers!
s
Here are today’s colors:
You can click on each one to see all the products that come in that color!
S
Here’s what I used:
Click on these images for more details and to purchase. If you are reading this post in email, the product images may not show up. Please click here to see the post on my blog.
Supply List. <— Click for a clickable and printable list of the products!
Here are some helpful links:
S
Thanks for stopping by today, and Sweet Stamping!
Oct 14, 2021 | Autumn, Blog Hop, Boxes, Cards, Gallery, Gift Wrap, Gifts, Halloween, Holiday, Treat Holders |

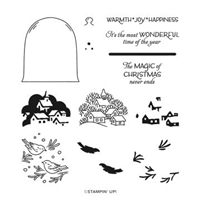
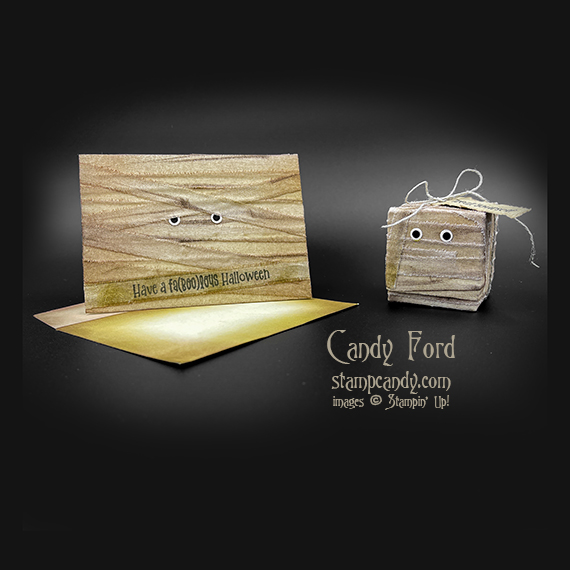
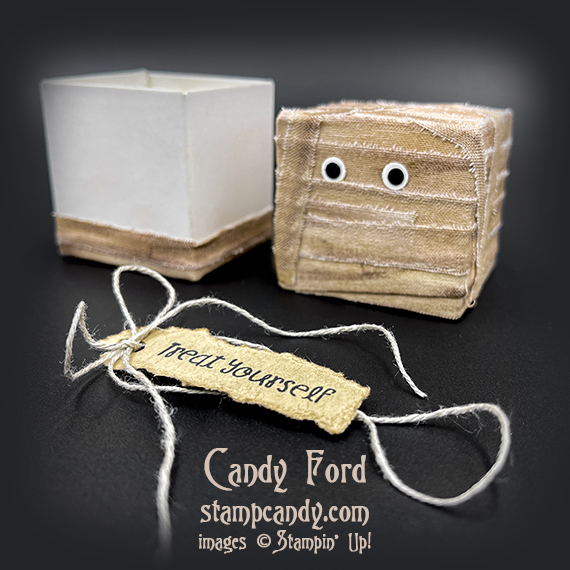
Welcome to the October 2021 OSAT Blog Hop! This month’s theme is A Ghoul’s Night Out, so we’re sharing Halloween projects with you today. The theme suggests fun, and I wanted my projects to be fun, but also spooky. I used Linen Paper and the Cutest Halloween Stamp Set to create a mummy card and treat box. The Cutest Halloween stamp set can be bundled with the Halloween punch to save 10%. The bundle is also a part of the Cute Halloween Suite Collection.
Be sure to hop all the way around to all the blogs to see all the great projects this group has created for you!
If you are reading this in email, some photos may appear blurry, or may not appear at all. Please click here to see the post on my blog.
S October 2021 OSAT Blog Hop October 2021 OSAT Blog Hop October 2021 OSAT Blog Hop October 2021 OSAT Blog Hop
Here’s what I made:

S
Here’s what I did:
Linen Paper:
- cut Linen paper to 6″ x 6″ (2 pieces)
- used a Blending Brush and ink pads in Crumb Cake, Soft Suede, and Early Espresso to color the Linen paper
- colored the edges and flap of a Very Vanilla Note Card envelope using the same Blending Brush and ink pads
- added more color to the Linen paper with the edges of the ink pads
- used Paper Snips to cut little snips along one edge of the Linen Paper, just to get it started so I could tear it into strips
- tore the Linen paper into strips averaging about 3/8″ wide
- Note: the backing tended to curl up or come off entirely as I tore.
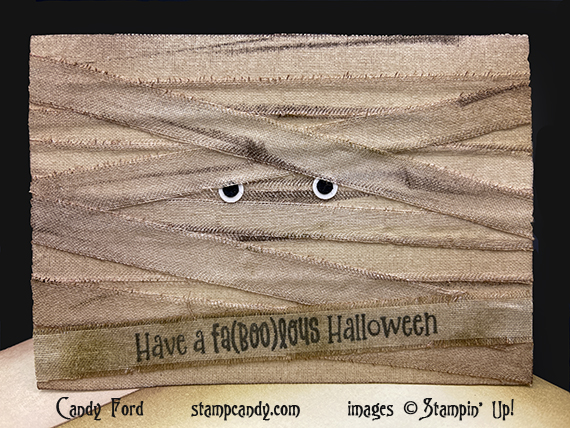
Stamped with the Cutest Halloween stamp set:
- card sentiment in Jet Black Memento ink onto one of the linen strips (I used my Stamparatus to stamp a few times so it would be nice and dark.)
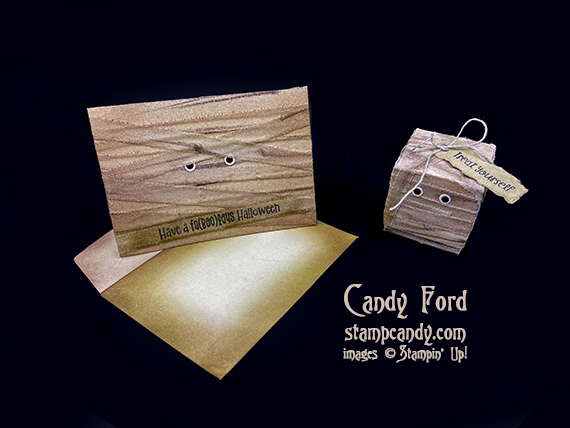
- box sentiment in Jet Black Memento ink onto a scrap of Crumb Cake cardstock (CS)
Envelope:
- colored the edges and flap of a Very Vanilla Note Card envelope using the same Blending Brush and ink pads
Eyes:
- cut 4 circles from Basic Black CS using the Turtle Builder Punch
- cut 4 circles from Basic White Thick CS using a standard hand-held 1/4″ hole punch (available anywhere you buy office or school supplies)
Tag:
- tore the Crumb Cake CS around the box sentiment, leaving a little extra space at one end for the hole
- cut a hole in the end using the Turtle Builder Punch
- used the same Blending Brush and Soft Suede ink pad to “dirty up” the tag a little bit
Assembled the card:
- burnished the fold in a Very Vanilla Note Card with a Bone Folder
- applied torn strips of Linen paper onto the card front, then trimmed the excess from the ends using Paper Snips
- Note: I used the strips from the cut edges of the Linen paper along the top and bottom of the card front.
- applied the strip with sentiment over the other strips
- ran blending brush over strips for a little more dirt
- glued 2 eyes onto the strips
Assembled the box:
- burnished the folds in the box and lid with a Bone Folder, and folded to assemble
- applied linen strips onto the top of the lid, covering up the little ribbon handle
- wrapped linen strips around the sides of the lid to cover the whole thing
- Note: I used the strips from the cut edges of the Linen paper along the top and bottom of the lid.
- wrapped strips around just the bottom of the box (Only cover the part of the box that shows when the lid is on, about 1/4″ to 3/8″. I sent a little above that and the strips tend to curl down in a few places when the lid goes on the box.)
- wrapped any extra strips in a haphazard way over the lid
- ran blending brush over strips for a little more dirt
- glued 2 eyes onto one side of the lid
- wrapped linen thread around the box and tied it in a bow, also tying on the tag
S
Here’s the October 2021 OSAT Blog Hop:
s
Here are today’s colors:
You can click on each one to see all the products that come in that color!
S
Here’s what I used:
Click on these images for more details and to purchase. If you are reading this post in email, the product images may not show up. Please click here to see the post on my blog.
Supply List. <— Click for a clickable and printable list of the products!
Here are some helpful links:
S
Thanks for stopping by today, and Sweet Stamping!
Oct 12, 2021 | Blog Hop, Boxes, Gallery, Gift Wrap, Gifts, Halloween, Holiday, Treat Holders |

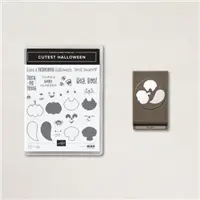
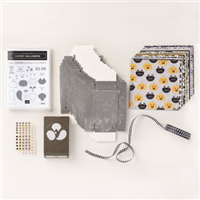
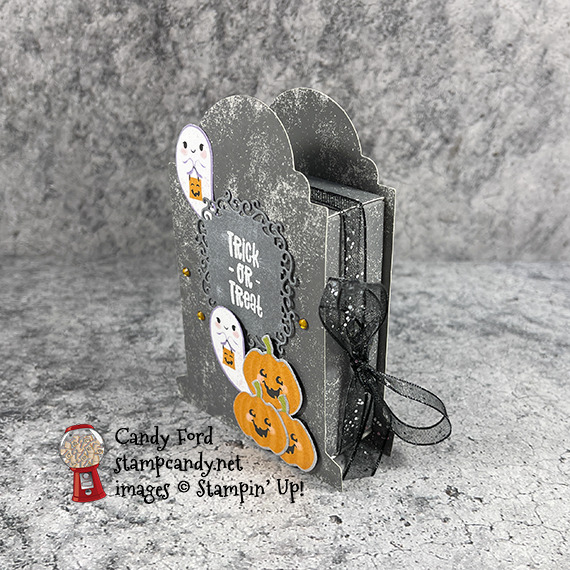
Welcome to the October 2021 ICS Blog Hop! This month we are featuring our favorite punches. Of course, it’s impossible for me to choose one punch as my favorite. I like them all! But I finally decided to use the Halloween Punch because, you know, it’s October and all. The punch can be purchased alone or in a bundle with the Cutest Halloween stamp set (save 10% when you buy the bundle!)

If you are reading this in email, some photos may appear blurry, or may not appear at all. Please click here to see the post on my blog.
S October 2021 ICS October 2021 ICS October 2021 ICS October 2021 ICS
Here’s what I made:

S
Here’s what I did:
Stamped with the Cutest Halloween stamp set:
- sentiment in Versamark ink onto a scrap of Basic Gray cardstock (CS), then heat embossed it in white
Cut using the Ornate Frames Dies:
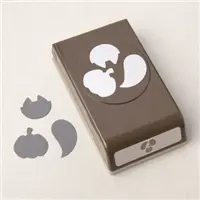
Cut using the Halloween Punch:
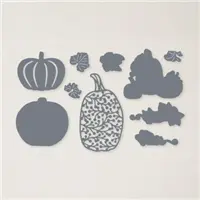
- 3 pumpkins and 2 ghosts from the Cute Halloween Designer Series Paper (DSP)
Inked using a Sponge Dauber:
- sentiment die cut in White Craft Ink, then dried the ink using the lower setting of my Heat Tool
Assembled the project:
- burnished the folds in the box and lid with a Bone Folder, then assembled the box
- sentiment and one ghost glued onto the lid of the box (Note: the ghost extends past the top of the box, I was careful only to to apply glue where it would be adhered onto the box.)
- 3 pumpkins glued together in a cluster, then adhered onto the box lid using Black Stampin’ Dimensionals
- second ghost adhered onto the box lid, as if coming out from behind the pumpkins, using Black Stampin’ Dimensionals
- 3 Pumpkin Pie rhinestones applied onto the box lid using my Take Your Pick Tool
- ribbon wrapped around the lid, adhering in onto the top, bottom, and left side with Tear & Tape, then tied in a bow on the right side

redS
Here’s the October 2021 ICS Blog Hop:
Click the Next button to hop to the next blog:

Here are today’s main colors:
You can click on each one to see all the products that come in that color!
S
Here’s what I used:
Click on these images for more details and to purchase. If you are reading this post in email, the product images may not show up. Please click here to see the post on my blog.
Supply List. <— Click for a clickable and printable list of the products!
Here are some helpful links:
S
Thanks for stopping by today, and Sweet Stamping!
Oct 11, 2021 | Blog Hop, Cards, Gallery |

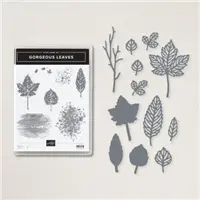
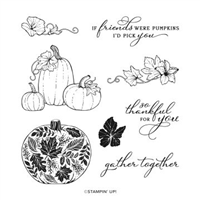
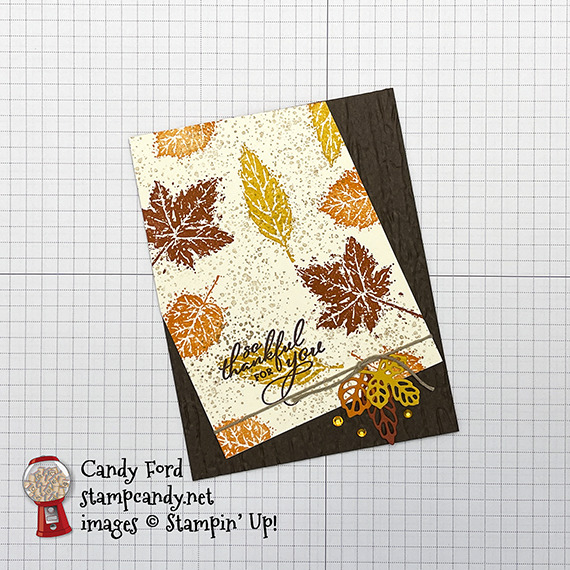
Welcome to the October 2021 Candy Hearts Blog Hop! Today we are sharing Thank You projects. I used the Gorgeous Leaves Bundle, Pretty Pumpkins stamp set, and Bark 3D Embossing Folder to create my card. After reading my post, I hope you’ll hop to the next person on the list below. Be sure to hop around to see ALL the great projects the Candy Hearts have created for you!
If you are reading this post in email, the product images may not show up. Please click here to see the post on my blog.
S October 2021 Candy Hearts October 2021 Candy Hearts October 2021 Candy Hearts October 2021 Candy Hearts
Here’s what I made:
inside the card: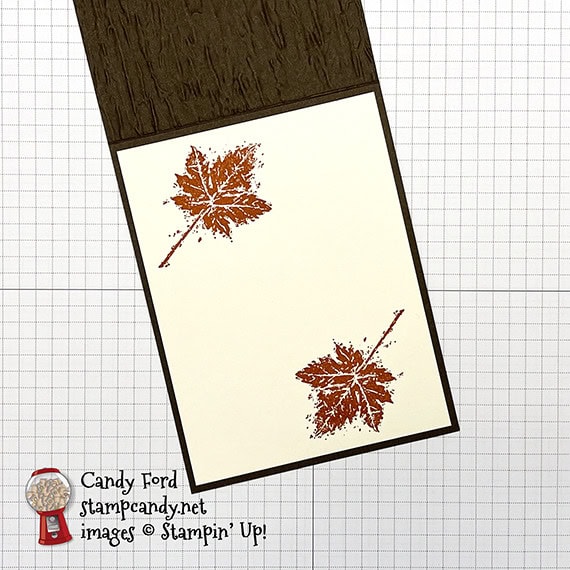
S
Here’s what I did:
Cut and scored with my paper trimmer:
- Early Espresso card stock (CS) cut to 4-1/4″ x 11″, then scored in half at 5-1/2″
- Very Vanilla CS layer cut to 3-3/4″ x 5″, then cut at an angle as shown (Note: I laid it on the card base front and marked with a pencil where I wanted to cut.)
- Very Vanilla CS cut to 4″ x 5-1/4″ for the inside of the card base
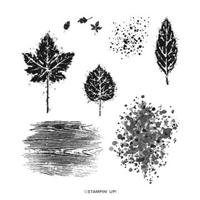
Stamped with the Gorgeous Leaves stamp set:
- leaves in Crushed Curry, Pumpkin Pie, and Cajun Craze inks onto the Very Vanilla CS layer
- speckled background between the leaves in Crumb Cake ink
- 2 leaves in Cajun Craze ink onto the Very Vanilla CS for the inside
Stamped with the Pretty Pumpkins stamp set:
- sentiment in Early Espresso ink over one of the Crushed Curry stamped leaves
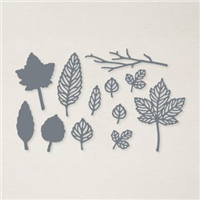
Cut using the Intricate Leaves Dies:
- 3 small leaves, one each from a scrap of Crushed Curry, Pumpkin Pie, and Cajun Craze CS
Embossed using the Bark 3D Embossing Folder:
- the front of the card base
Assembled the card:
- burnished the fold in the card base with a Bone Folder
- Crumb Cake twine wrapped around the stamped layer, secured on the back with Stampin’ Seal, and tied in a knot on the front
- knot secured to the front of the layer using a Mini Glue Dot
- stamped layer glued onto the front of the card base
- 3 die cut leaves glued at the knot
- 3 Pumpkin Pie rhinestones applied onto the card front using my Take Your Pick tool
- Very Vanilla CS glued onto the inside of the card base
S
Here’s the October 2021 Candy Hearts Blog Hop:
Thank you for hopping with the Candy Hearts today! Be sure to hop around to all the stops. You do not want to miss any of the creativity in this talented group of stampers! If you get lost, use the list below.
s
Here are today’s colors:
You can click on each one to see all the products that come in that color!
S
Here’s what I used:
Click on these images for more details and to purchase. If you are reading this post in email, the product images may not show up. Please click here to see the post on my blog.
Supply List. <— Click for a clickable and printable list of the products!
Here are some helpful links:
S
Thanks for stopping by today, and Sweet Stamping!