Jun 9, 2019 | Gallery, New Products, Tags |
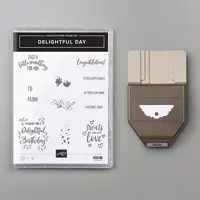
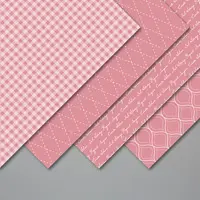
Today I’m sharing another tag made with the Delightful Day Bundle. This one is perfect for a wedding, shower, or engagement. Seaside Spray, a beautiful new In Color, gives this tag a soft and sweet look.

S
Here’s what I made:
S

Here’s what I did:
Cut and scored with my Stampin’ Trimmer:
- Seaside Spray card stock (CS) cut to 2″ x 4″
- Seaside Spray Designer Series Paper (DSP) cut to 1-7/8″ x 3″
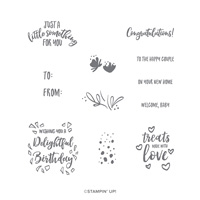
Stamped with the Delightful Day stamp set:
- dots in Seaside Spray ink in a line on a scrap of Whisper White CS
- sentiments in Seaside Spray ink above and below the dots
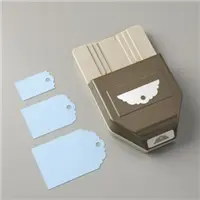
Cut using the Delightful Tag Topper Punch:
- one end of the Seaside Spray CS
Cut using the Everyday Label Punch:
Cut using the Stitched Be Mine Dies:
- two decorative edge pieces from a scrap of Whisper White CS
Assembled the card:
- DSP glued onto the Seaside Spray CS
- stamped piece glued onto the DSP
- die cut pieces glued onto the DSP along the top and bottom of the stamped piece, and the excess trimmed from the sides using Paper Snips
- 3 pearls applied onto the Seaside Spray CS above the DSP
- ribbon tied through the hole in the top of the tag
 S
S
S
Here are today’s colors:
You can click on each one to see all the products that come in that color!
S
Here’s what I used:
Click on these images for more details and to purchase.
Supply List <– Click here for a clickable and printable list!
S
Preorder the Perennial Essence Online Class by June 12:
- Make 6 cards at home in your PJs!
- 2 each of 3 designs
- Features the Perennial Essence Suite on pages 106-108 of the 2019-2020 Annual Catalog
- I’ve done the trimming and scoring for you!
- You’ll receive all you need to make the cards, including the stamp set, punch, ink pads, precut/prescored card kits, and 6 Whisper White envelopes.
- Full detailed instructions
- Limited spots available
Click on the image below for details and class options, or copy and paste this link into your browser: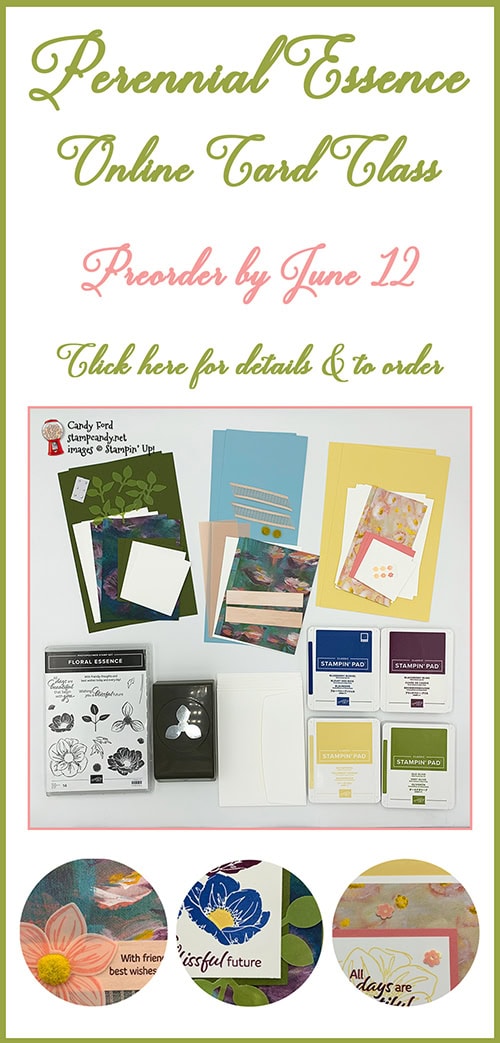
S
Here are some helpful links:
Thanks for stopping by today, and Sweet Stamping!

Jun 6, 2019 | Cards, Gallery, New Products |
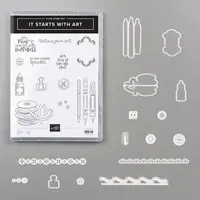
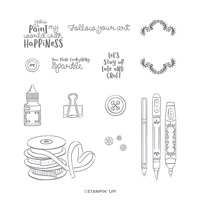
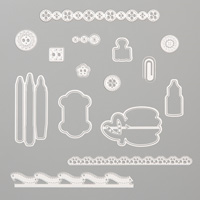
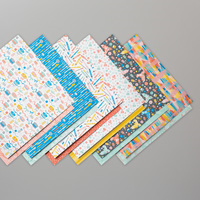
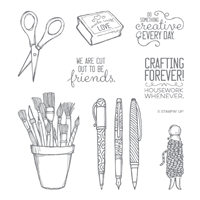
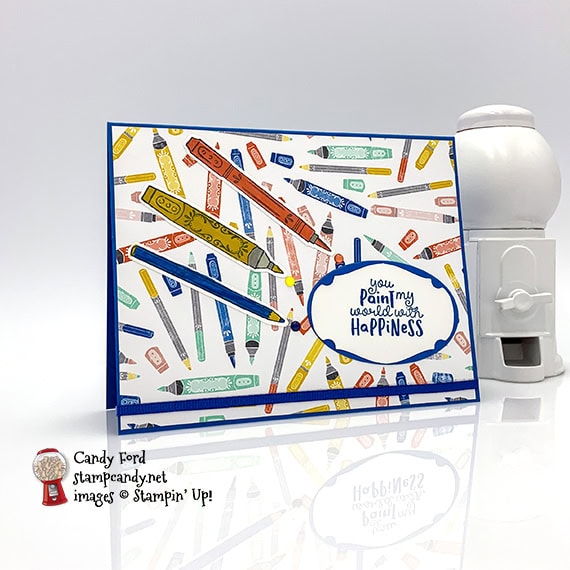
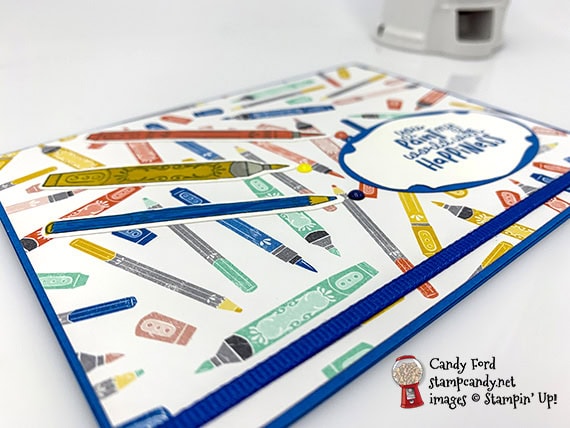
Today’s card is made with the It Starts With Art bundle (It Starts With Art stamp set and Arts & Crafts Dies) and Follow Your Art Designer Series Paper, new products from the 2019-2020 Annual Catalog that are now available to purchase! It’s a colorful and fun card made with a colorful and fun suite. It’s a perfect way to tell someone how happy they make you.
S
Here’s what I made:
Here’s what I did:
Cut and scored with my Stampin’ Trimmer:
- Pacific Point card stock (CS) cut to 5-1/2″ x 8-1/2″, then scored in half at 4-1/4″
- Follow Your Art Designer Series Paper (DSP) layer cut to 5-3/8″ x 4-1/8″
- Whisper White CS cut to 5-1/4″ x 4″ for the inside of the card base
Stamped with the It Starts With Art stamp set:
- sentiment in Pacific Point ink onto a scrap of Whisper White CS
- pens in Stazon black ink onto a scrap of Whisper White CS
Cut using the Arts & Crafts Dies:
- pens (okay, one of them is a pencil)
Cut using the Layering Ovals Dies:
- a scrap of Pacific Point CS
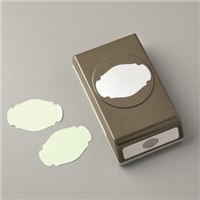
Punched using the Story Label Punch:
Colored using Stampin’ Write Markers:
- pens in Pacific Point, Crushed Curry, and Calypso Coral, and Gray Granite
Assembled the card:
- burnished the fold in the card base with a Bone Folder
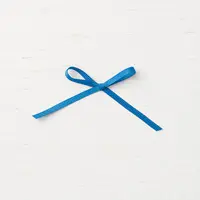
- Blueberry Bushel ribbon adhered onto the DSP layer using Tear & Tape, and the ends wrapped around to the back of the layer (I folded the Tear & Tape in half to use on the skinny ribbon.)
- DSP layer glued onto the front of the card base
- sentiment glued onto the Pacific Point CS oval
- Pacific Point CS oval glued onto the DSP layer
- pens glued onto the DSP layer
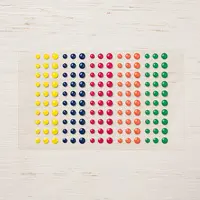
- 3 Happiness Blooms Enamel Dots (one Night of Navy, one Pineapple Punch, and one Grapefruit Grove) applied to the DSP layer, to look like spots drawn by the pens
- Whisper White CS glued onto the inside of the card basex
S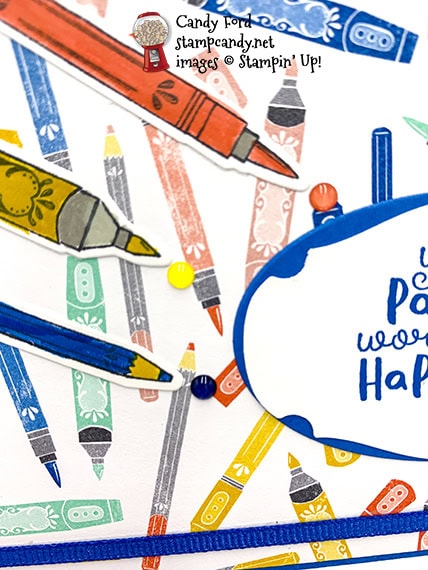
S
Here are today’s main colors:
You can click on each one to see all the products that come in that color!
S
Here’s what I used:
Click on these images for more details and to purchase.
Supply List <– Click here for a clickable and printable list!
S
Preorder the Perennial Essence Online Class by June 12:
- Make 6 cards at home in your PJs!
- 2 each of 3 designs
- Features the Perennial Essence Suite on pages 106-108 of the 2019-2020 Annual Catalog
- I’ve done the trimming and scoring for you!
- You’ll receive all you need to make the cards, including the stamp set, punch, ink pads, precut/prescored card kits, and 6 Whisper White envelopes.
- Full detailed instructions
- Limited spots available
Click on the image below for details and class options, or copy and paste this link into your browser:
S
Here are some helpful links:
S
Thanks for stopping by today, and Sweet Stamping!
Jun 3, 2019 | Cards, Gallery, New Products |
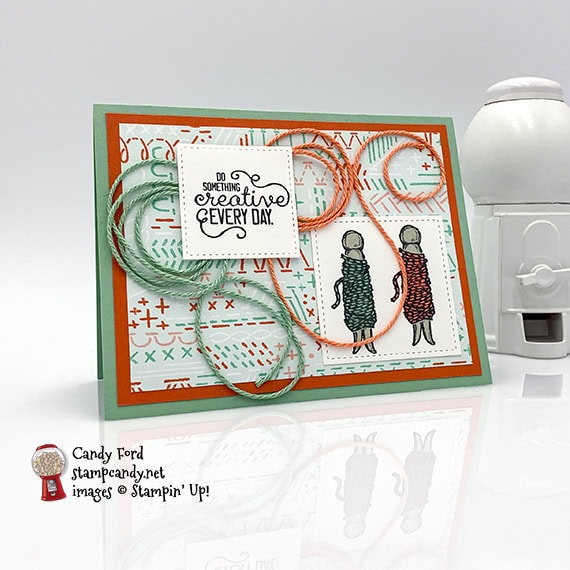
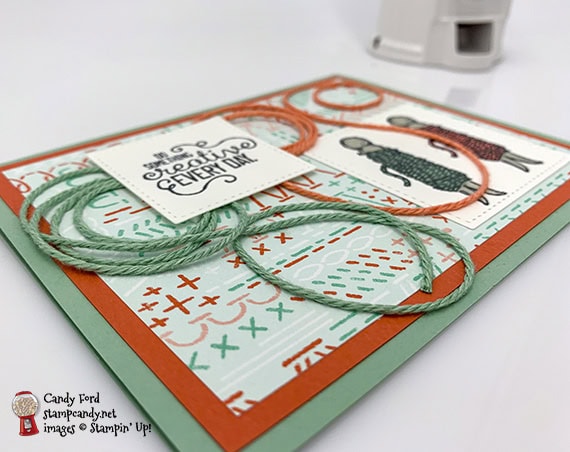
Today’s card is a fun one made using the new Follow Your Art Designer Series Paper along with the returning Crafting Forever stamp set, Stitched Shapes Dies, and Nature’s Twine.
Today is the last day to order your 2019-2020 Annual Catalog Swatch Books and Product Shares. CLICK HERE for the details and to order.
Today is also the last day to order from the 2018-2019 Annual Catalog and the 2019 Occasions Catalog. CLICK HERE to shop now!
S
Here’s what I made:
Here’s what I did:
Cut and scored with my Stampin’ Trimmer:
- Mint Macaron card stock (CS) cut to 5-1/2″ x 8-1/2″, then scored in half at 4-1/4″
- Calypso Coral CS cut to 5-1/8″ x 3-7/8″
- Follow Your Art Designer Series Paper (DSP) cut to 4-3/4″ x 3-1/2″
- Whisper White CS cut to 5-1/2″ x 4″ for the inside of the card
Stamped with the Crafting Forever stamp set:
- sentiment in black Memento ink onto a scrap of Whisper White CS
- two clothespins in black Memento ink onto a scrap of Whisper White CS
Die cut using the Stitched Shapes Dies:
Colored using Stampin’ Blends:
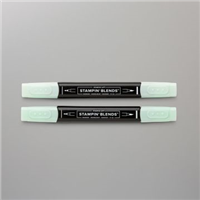
- one clothespin in Crumb Cake and Mint Macaron
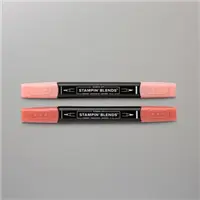
- one clothespin in Crumb Cake and Calypso Coral
Assembled the card:
- burnished the fold in the card base with a Bone Folder
- Calypso Coral CS layer glued onto the front of the card base
- DSP layer glued onto the Calypso Coral CS layer
- clothespins piece glued onto the DSP layer, at bottom right
- Mint Macaron and Grapefruit Grove twine glued onto the dsp layer, and allowed to dry
- sentiment adhered over the twine using Stampin’ Dimensionals
- Whisper White CS glued onto the inside of the card base
S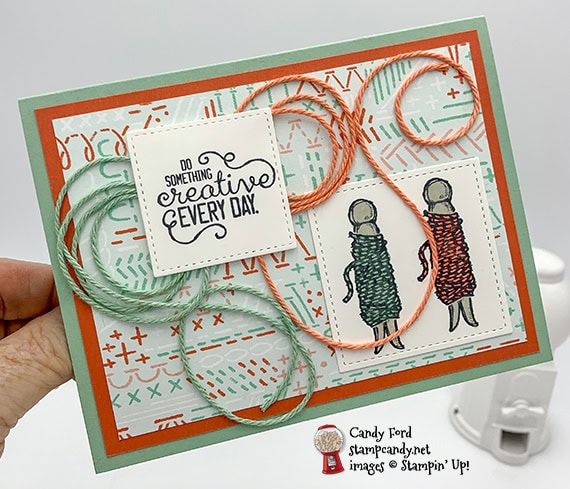 S
S
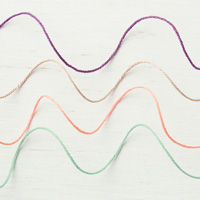
Here are today’s colors:
You can click on each one to see all the products that come in that color!
S
Here’s what I used:
Click on these images for more details and to purchase.
New products will be available tomorrow at 2pm ET, 1pm CT, noon MT, 11am PT. But if you join now, you can add new products to your Starter Kit!
Supply List <– Click here for a clickable and printable list!
S
Preorder the Perennial Essence Online Class by June 12:
- Make 6 cards at home in your PJs!
- 2 each of 3 designs
- Features the Perennial Essence Suite on pages 106-108 of the 2019-2020 Annual Catalog
- I’ve done the trimming and scoring for you!
- You’ll receive all you need to make the cards, including the stamp set, punch, ink pads, precut/prescored card kits, and 6 Whisper White envelopes.
- Full detailed instructions
- Limited spots available
Click on the image below for details and class options, or copy and paste this link into your browser:
S
Here are some helpful links:
S
Thanks for stopping by today, and Sweet Stamping!
Jun 1, 2019 | Cards, Gallery, New Products |
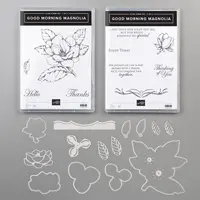
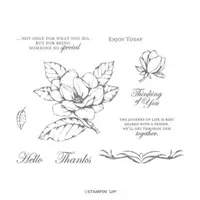
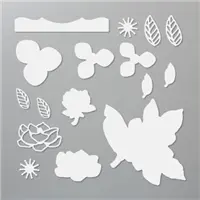
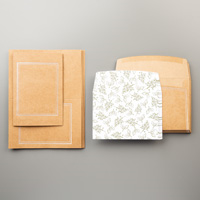
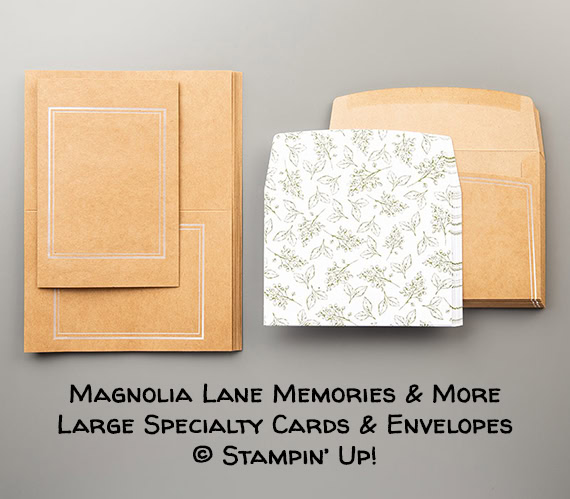
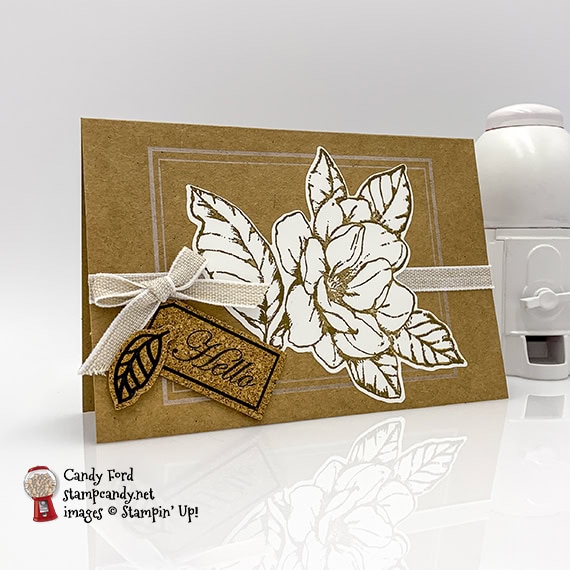
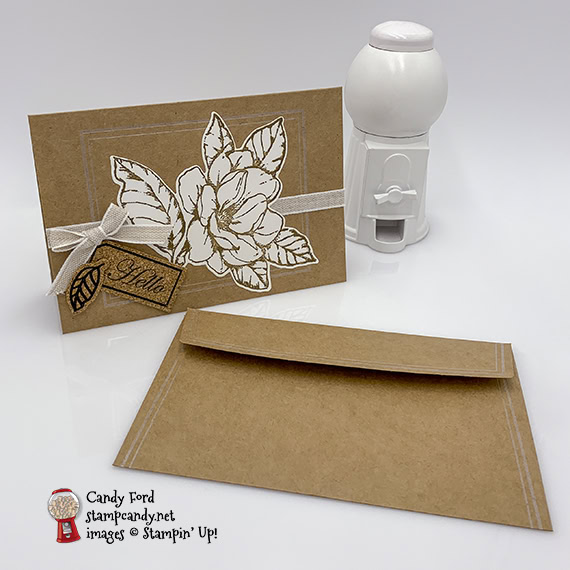
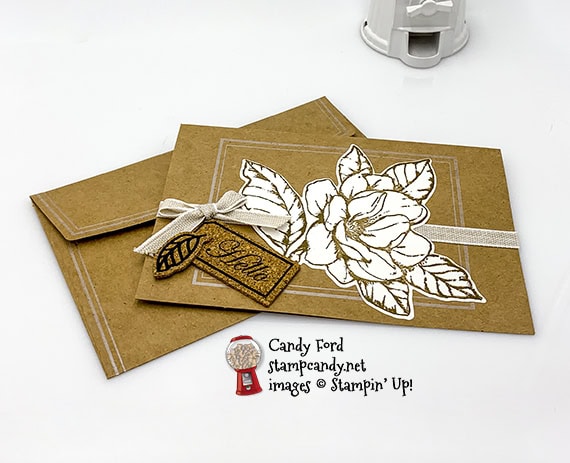
Premade cards and envelopes make your projects super quick and easy. For today’s card, I used the new Magnolia Lane Large Specialty Memories & More Cards & Envelopes along with the Good Morning Magnolia bundle (Good Morning Magnolia stamp set and Magnolia Memory Dies.) Both the cards and envelopes are kraft with white foil accents, and they even come with printed envelope liners that coordinate with the Magnolia Lane Suite.
S
Here’s what I made:
S
Here’s what I did:
Cut and scored with my Stampin’ Trimmer:
- Whisper White card stock (CS) cut to 6″ x 4″ for the inside of the card base
Stamped with the Good Morning Magnolia stamp set:
- flower in Soft Suede ink onto a piece of Whisper White CS
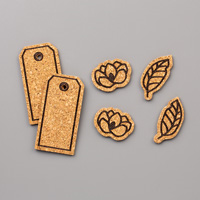
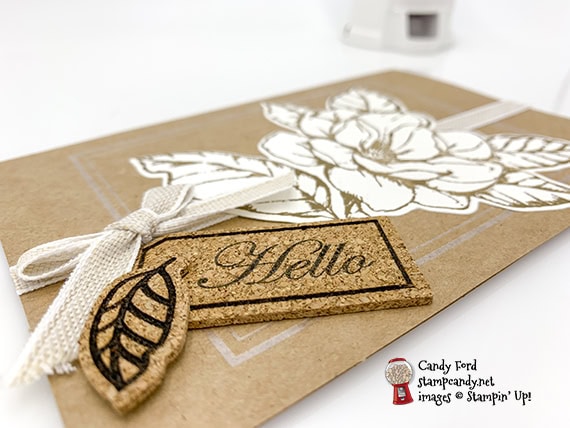
- sentiment in black ink onto a cork tag
Cut using the Magnolia Memory Dies:
Assembled the card:
- burnished the fold in the large note card base with a Bone Folder
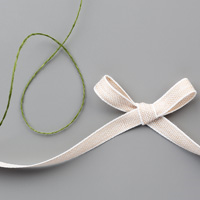
- ribbon wrapped around the front of the card base, with the ends meeting on the front, and adhered using Tear & Tape
- flower glued onto the front of the card base
- another piece of ribbon tied in a bow and adhered onto the first piece of ribbon using Mini Glue Dots
- cork embellishments adhered onto the card using Mini Glue Dots
- Whisper White CS glued onto the inside of the card base
Scroll down to see the products I used.
SS
Order your Swatch Books and Product Shares by June 3!

S
S
Preorder the Perennial Essence Online Class by June 12:
- Make 6 cards at home in your PJs!
- 2 each of 3 designs
- Features the Perennial Essence Suite on pages 106-108 of the 2019-2020 Annual Catalog
- I’ve done the trimming and scoring for you!
- You’ll receive all you need to make the cards, including the stamp set, punch, ink pads, precut/prescored/pre-embossed card kits, and 6 Whisper White envelopes.
- Full detailed instructions
- Limited spots available
Click on the image below for details and class options, or copy and paste this link into your browser: https://stampcandy.net/online-classes/perennial-essence-card-class-preorder/
S
Here are today’s colors:
You can click on each one to see all the products that come in that color!
S
Here’s what I used:
Click on these images for more details and to purchase.
New products will be available June 4, 2019. But if you join, you can add new products to your Starter Kit now!
Supply List <– Click here for a clickable and printable list!
S
Here are some helpful links:
S
Thanks for stopping by today, and Sweet Stamping!
May 29, 2019 | Cards, Gallery, New Products |
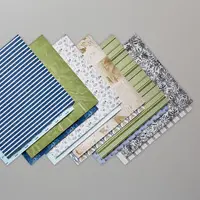
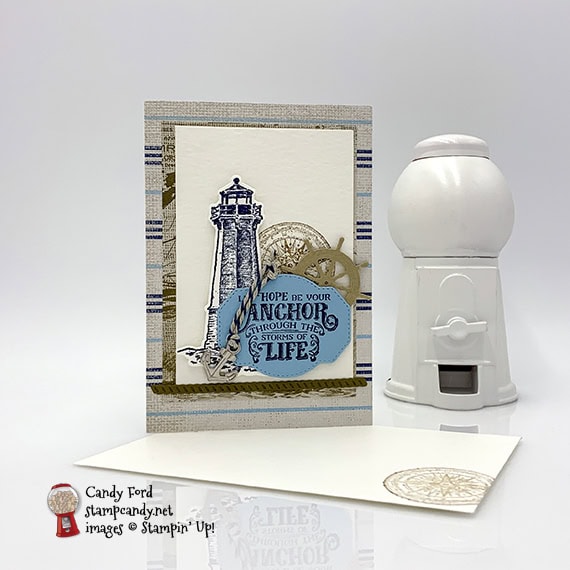
Today’s project was a Make & Take at Stampin’ Up!’s OnStage event in April. It’s a Note Card & Envelope decorated with the new Come Sail Away Suite. I made mine a little differently from the original, which had a swash of blue ink on the Watercolor Paper background. Since I didn’t want to wait for the Aqua Painter to make its way around the table, I left that off. I think it’s fine without it. How about you?
Let hope be your anchor through the storms of life. The sentiment on this card is perfect for so many occasions. From giving advice to people starting out on a new adventure like graduation or wedding, and comfort to people experiencing loss.
Here’s what I made:
S
Here’s what I did:
Cut and scored with my Stampin’ Trimmer:
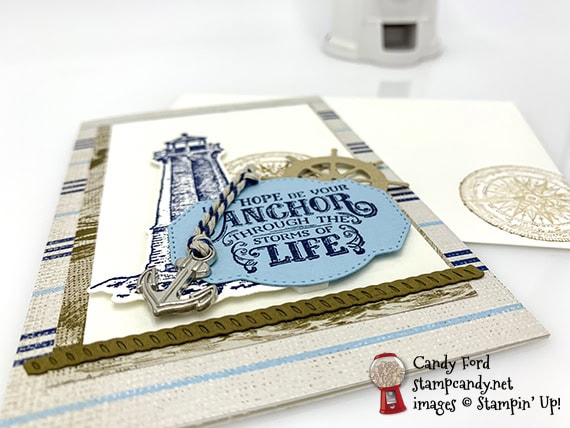
- Come Sail Away Designer Series Paper (DSP) cut to 3-1/2″ x 5″ (blue stripe)
- DSP cut to 3″ x 4-1/4″ (brown print)
- Watercolor Paper cut to 2-3/4″ x 4″
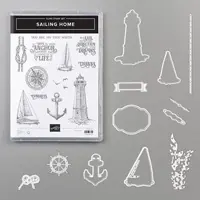
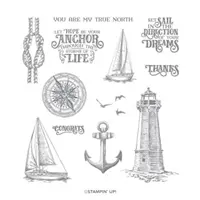
Stamped with the Sailing Home stamp set:
- compass in Crumb Cake ink onto the Watercolor Paper
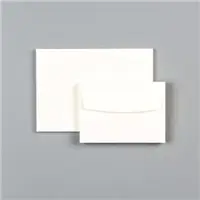
- compass in Crumb Cake ink onto the front of a Very Vanilla Note Card Envelope
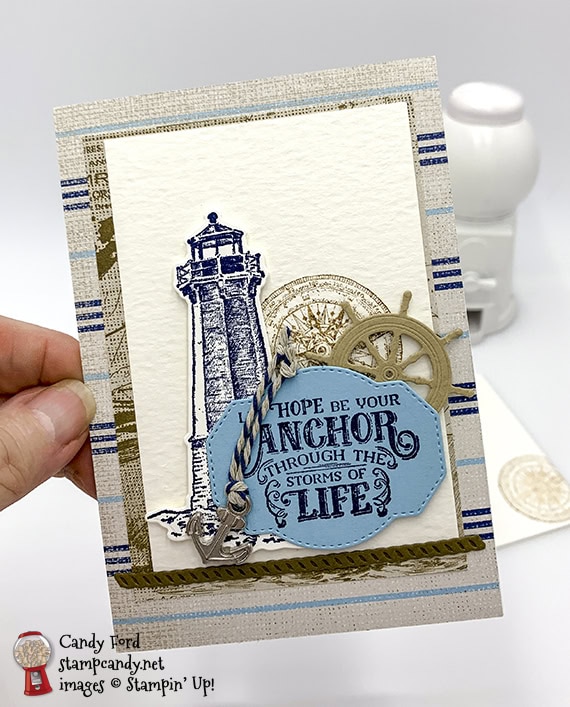
- lighthouse in Night of Navy ink onto a scrap of Very Vanilla CS
- sentiment in Night of Navy ink onto a scrap of Balmy Blue CS
Die cut using the Smooth Sailing Dies:
- sentiment and lighthouse
- helm from a scrap of Crumb Cake CS
- rope from a scrap of Soft Suede CS
Assembled the card:
- burnished the fold in the Very Vanilla Note Card base with a Bone Folder
- blue striped DSP glued onto the front of the note card base
- brown DSP glued onto the blue striped DSP
- Watercolor Paper glued onto the brown DSP
- die cut rope glued onto the brown DSP along the bottom of the Watercolor Paper
- sentiment, lighthouse, and helm glued together, then adhered onto the Watercolor Paper using Stampin’ Dimensionals
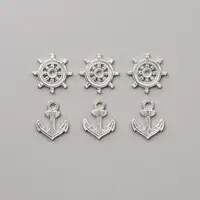
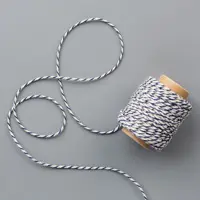
- twine tied through an anchor trinket, and the ends tied in knots
- trinket and twine adhered onto the popped up pieces using Mini Glue Dots
 S
S
S
Last Chance! Preorder the Vibrant Vases Online Class by TODAY:
- Make 6 cards at home in your PJs!
- 2 each of 3 designs
- I’ve done the trimming, scoring, and embossing for you!
- You’ll receive all you need to make the cards, including the stamp set, punch, ink pads, precut/prescored/pre-embossed card kits, and 6 Whisper White envelopes.
- Full detailed instructions
- Limited spots available
Click on the image below for details and class options, or copy and paste this link into your browser: https://stampcandy.net/online-classes/vibrant-vases-card-class-preorder-2/

S
Here are today’s colors:
You can click on each one to see all the products that come in that color!
S
Here’s what I used:
Click on these images for more details and to purchase.
New products will be available June 4, 2019. But if you join now, you can add new products to your Starter Kit!
Supply List <– Click here for a clickable and printable list!
S
Everything is Rosy Product Medley
- Available only through May 31, or while supplies last!
- Item number 150059
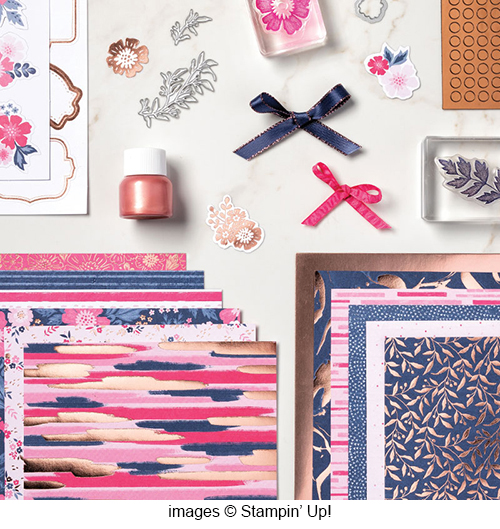

The Everything Is Rosy Product Medley includes these exclusive products:
- Everything Is Rosy Photopolymer Stamp Set—18 stamps; suggested blocks: a, b, c,
- Everything Is Rosy Dies—10 dies; largest die 2-7/8″ x 1″ (7.3 x 2.5 cm)
- 6″ x 6″ (15.2 x 15.2 CM) Designer Series Paper Stack—48 sheets; 8 each of 6 double-sided designs
- 6″ x 6″ (15.2 x 15.2 CM) rose gold foil paper—8 sheets
- Printed die cuts—2 sheets
- Rose gold die cuts—4 sheets; 2 each of 2 designs
- Rose gold adhesive backed mirror embellishments—60 embellishments; 1/4″ (6.4 mm)
- Melon Mambo 1/4″ (6.4 mm) Ruched Ribbon—10 yards (9.1 m)
- Night of Navy/Rose Gold 3/8″ (1 cm) Metallic –Edge Ribbon—10 yards (9.1 m)
- Rose Gold Shimmer Paint—1/2 oz. (15 ml)
- Only $80 for all that!!!
S
Here are some helpful links:
S
Thanks for stopping by today, and Sweet Stamping!
May 27, 2019 | Gallery, New Products, Tags |
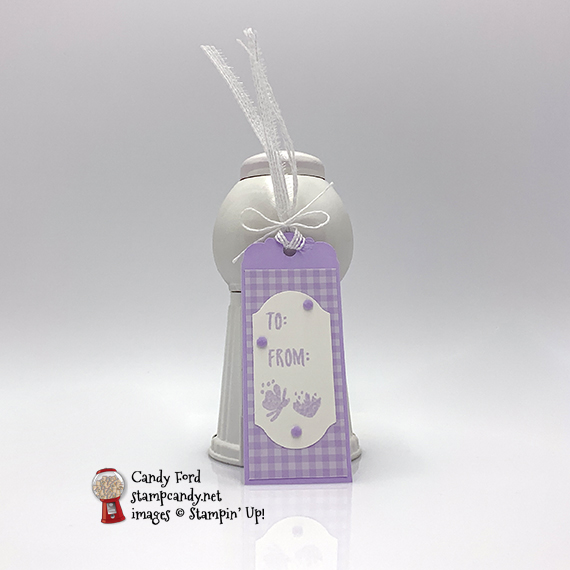
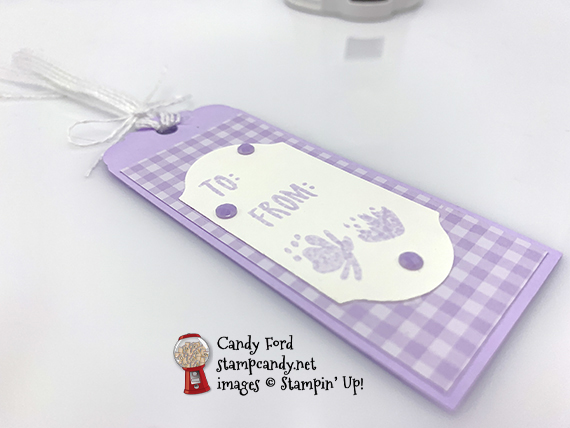
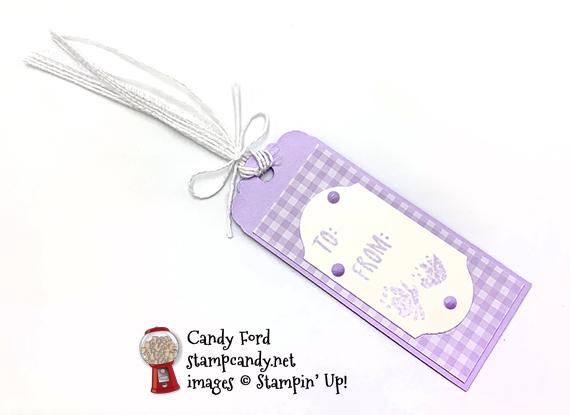
Today I’m sharing a sweet little tag made using the new Delightful Day bundle (Delightful Day stamp set and Delightful Tag Topper Punch) and Timeless Label Punch. It’s made up of Purple Posy card stock and ink, Purple Posy Designer Series Paper, Purple Posy Faceted Dots, and Whisper White Flax Ribbon. Wouldn’t you love to receive something with this little beauty attached?
S
Here’s what I made:
S
Here’s what I did:
Cut and scored with my Stampin’ Trimmer:
- Purple Posy card stock (CS) cut to 2″ x 5″
- Purple Posy Designer Series Paper (DSP) cut to 1-3/4″ x 4″
Stamped with the Delightful Day stamp set:
- sentiment and flower images in Purple Posy ink onto a scrap of Whisper White CS
Cut using the Timeless Label Punch:
Cut using the Delightful Tag Topper Punch:
- one end of the Purple Posy CS
Assembled the card:
- DSP glued onto the Purple Posy CS
- stamped CS glued onto the DSP
- 3 Purple Posy faceted dots applied to the stamped piece
- flax ribbon pulled apart, and the pieces tied through the hole in the top of the tag
- one strand of the ribbon tied in a bow around the other strands
 S
S
S
Here are today’s colors:
You can click on each one to see all the products that come in that color!
S
Here’s what I used:
Click on these images for more details and to purchase.
New products will be available June 4, 2019. But if you join now, you can add new products to your Starter Kit!
Purple Posy ink pad, Item # 150084, isn’t in the system yet.
Supply List <– Click here for a clickable and printable list!
S
Preorder the Vibrant Vases Online Class by May 29:
- Make 6 cards at home in your PJs!
- 2 each of 3 designs
- I’ve done the trimming, scoring, and embossing for you!
- You’ll receive all you need to make the cards, including the stamp set, punch, ink pads, precut/prescored/pre-embossed card kits, and 6 Whisper White envelopes.
- Full detailed instructions
- Limited spots available
Click on the image below for details and class options, or copy and paste this link into your browser: https://stampcandy.net/online-classes/vibrant-vases-card-class-preorder-2/
S
Here are some helpful links:
S
Thanks for stopping by today, and Sweet Stamping!