May 11, 2020 | Blog Hop, Cards, Gallery, Wedding |

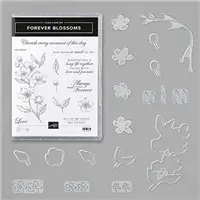
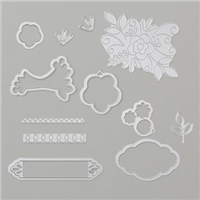
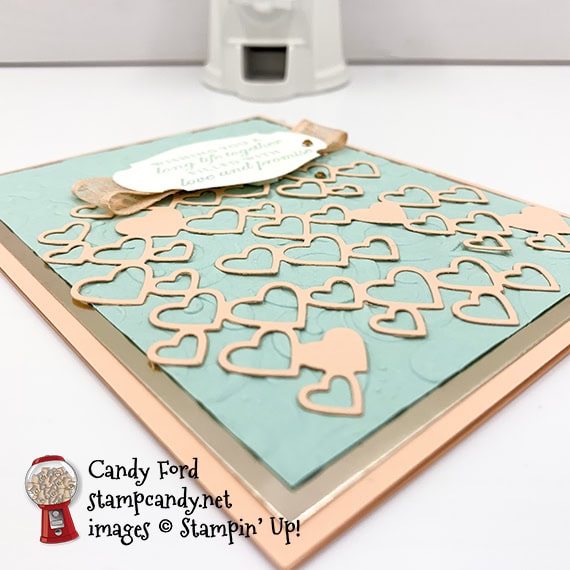
It’s time for the May 2020 CHBH! This month’s theme is Wedding and Anniversary. I used the Forever Blossoms stamp set, Detailed Hearts Die, Parisian Flourish 3D Embossing Folder, and Story Label Punch to create my wedding card.
If you are reading this in email, some photos may appear blurry, or may not appear at all. Please click here to see the post on my blog.
S May 2020 CHBH May 2020 CHBH May 2020 CHBH
Here’s what I made:

S
Here’s what I did:
Cut and scored with my paper trimmer:
- Petal Pink card stock (CS) cut to 4-1/4″ x 11″, then scored in half at 5-1/2″
- Champagne Foil Sheet layer cut to 4″ x 5-1/4″
- Pool Party CS layer cut to 3-3/4″ x 5″
- Whisper White CS cut to 4″ x 5-1/4″ for the inside of the card base
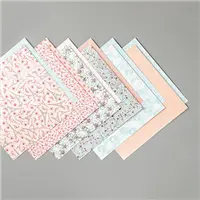
- Parisian Blossoms Specialty Designer Series Paper (DSP) strip cut to 4″ x 3/4″
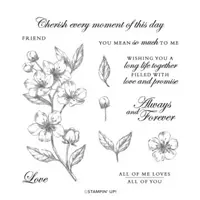
Stamped with the Forever Blossoms stamp set:
- sentiment in Pool Party ink onto a scrap of Whisper White Thick CS
Cut using the Detailed Hearts Die:
- a scrap of Petal Pink CS
- then cut into two pieces using Paper Snips

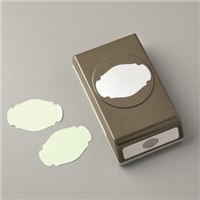
Cut using the Story Label Punch:
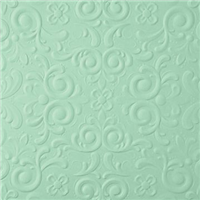
Embossed using the Parisian Flourish 3D Embossing Folder:
Assembled the card:
- burnished the fold in the card base with a Bone Folder
- foil layer adhered onto the front of the card base using Tear & Tape
- Pool Party layer adhered onto the foil layer using Tear & Tape
- Petal Pink CS hearts die cut glued onto the Pool Party CS layer
- Petal Pink ribbon adhered onto the bak of the sentiment using Tear & Tape, with a loop on each side
- sentiment adhered onto the Pool Party layer using Stampin’ Dimensionals
- 2 Champagne Rhinestones applied onto the sentiment and Pool Party CS layer
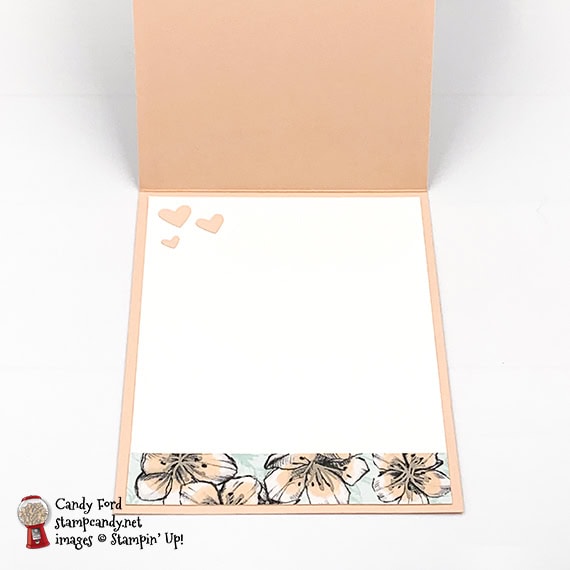
- DSP strip glued onto the bottom edge of the Whisper White CS for the inside
- Whisper White CS glued onto the inside of the card base
S
Here’s the May 2020 CHBH:
Thank you for hopping with the Hearts today! Be sure to hop around to all the stops. You do not want to miss any of the creativity in this talented group of stampers!
Here are today’s colors:
You can click on each one to see all the products that come in that color!
S
Here’s what I used:
Click on these images for more details and to purchase. If you are reading this post in email, the product images may not show up. Click here to see the post on my blog.
Sale: $11.60
Price: $14.50
Supply List <— Click for a clickable and printable list of the products!
S
Here are some helpful links:
Thanks for stopping by today, and Sweet Stamping!
Jun 29, 2019 | Cards, Gallery, Wedding |
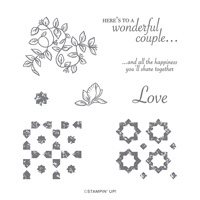
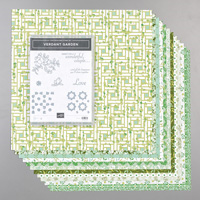
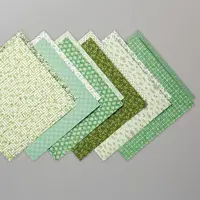
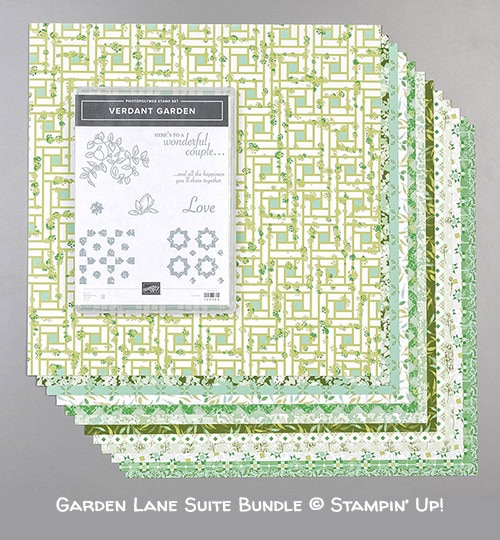
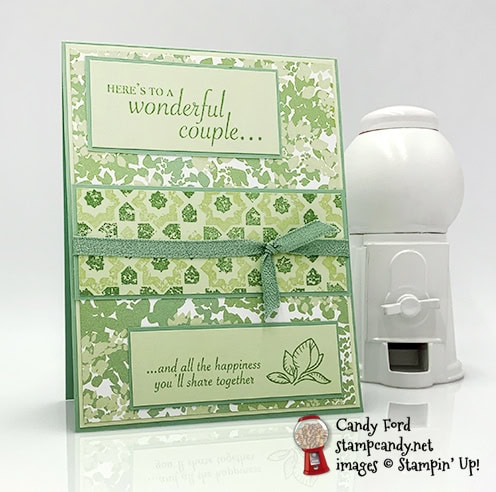
Today’s card is made with the Verdant Garden stamp set and Garden Lane Designer Series Paper (DSP.) It’s perfect for an engagement or wedding. Don’t you just love all the greens in this DSP? At first I was afraid it was a bit too much, but now that I’ve worked with it, I love it. It’s very versatile.
Here’s what I made:
Here’s what I did:
Cut and scored with my paper trimmer:
- Mint Macaron card stock (CS) cut to 4-1/4″ x 11″, then scored in half at 5-1/2″
- Soft Sea Foam CS layer cut to 4-1/8″ x 5-3/8″
- Garden Lane Designer Series Paper (DSP) cut to 4″ x 5-1/4″
- Mint Macaron CS layer cut to 2-7/8″ x 1-3/8″
- Soft Sea Foam CS layer cut to 2-3/4″ x 1-1/4″
- Mint Macaron CS layer cut to 4-1/8″ x 1-5/8″
- DSP layer cut to 4″ x 1-1/2″
- Mint Macaron CS layer cut to 3-1/8″ x 1-1/8″
- Soft Sea Foam CS layer cut to 3″ x 1″
- Whisper White CS cut to 4″ x 5-1/4″ for the inside of the card base
Stamped with the Verdant Garden stamp set:
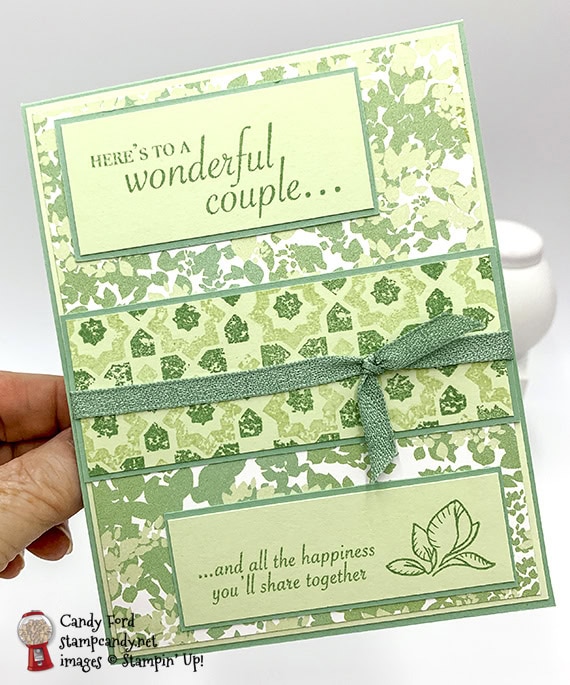
- top sentiment in Mint Macaron ink onto the 2-3/4″ x 1-1/4″ Soft Seam Foam CS layer
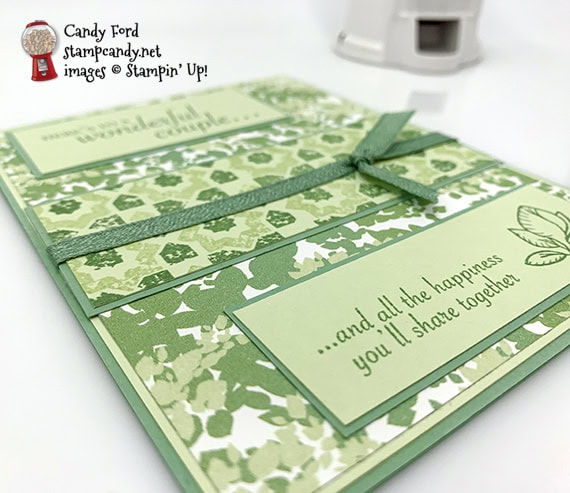
- bottom sentiment and flower in Mint Macaron ink onto the 3″ x 1″ Soft Sea Foam CS layer
Assembled the card:
- burnished the fold in the card base with a Bone Folder
- largest Soft Sea Foam CS layer glued onto the front of the card base
- largest DSP layer glued onto the largest Soft Sea Foam CS layer
- top sentiment layer glued onto the 2-7/8″ x 1-3/8″ Mint Macaron CS layer
- bottom sentiment layer glued onto the 3-1/8″ x 1-1/8″ Mint Macaron CS layer
- smallest DSP layer glued onto the 4-1/8″ x 1-5/8″ MInt Macaron CS layer
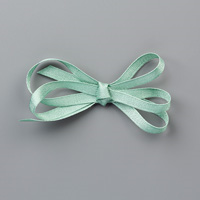
- Mint Macaron ribbon adhered onto the smallest DSP layer using Tear & Tape, and wrapped around to the back of the CS mat
- smaller piece of the ribbon tied around the first piece of ribbon
- DSP with ribbon glued onto the largest DSP layer, in the center
- sentiments glued onto the largest DSP layer as shown.
- Whisper White CS glued onto the inside of the card base
 S
S
Here are today’s colors:
You can click on each one to see all the products that come in that color!
S
Here’s what I used:
Click on these images for more details and to purchase.
Supply List <– Click here for a clickable and printable list!
S
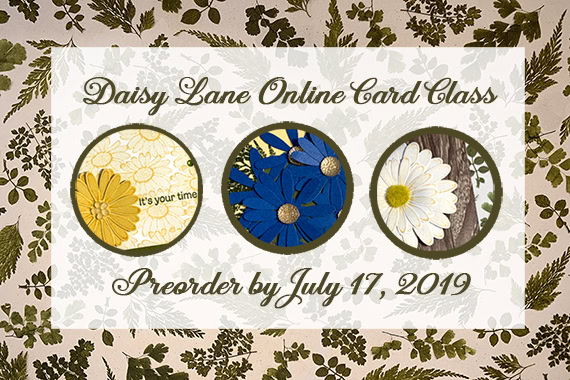
Preorder the Daisy Lane Online Class by July 17:
- Make 6 cards at home in your PJs!
- 2 each of 3 designs
- Features the Daisy Lane Bundle on page 23 of the 2019-2020 Annual Catalog
- I’ve done the trimming and scoring for you!
- You’ll receive all you need to make the cards, including the stamp set, punches, pre-cut/pre-scored/pre-embossed card kits, and 6 envelopes.
- Full detailed instructions
- Limited spots available
Click on the image below for details and class options, or copy and paste this link into your browser: https://stampcandy.net/online-classes/daisy-lane-card-class-preorder/
S
Here are some helpful links:
S
Thanks for stopping by today, and Sweet Stamping!

Apr 25, 2019 | Blog Hop, Cards, Decor, Gallery, Parties, Wedding |

It’s time for the APPT April 2019 Blog Hop! This month’s kit is called Sentimental Rose, and includes all you need to make 9 beautiful cards AND a box to put them in. Be sure to hop around to all the stops. You don’t want to miss any of the great alternative projects you can make with this month’s kit.
S
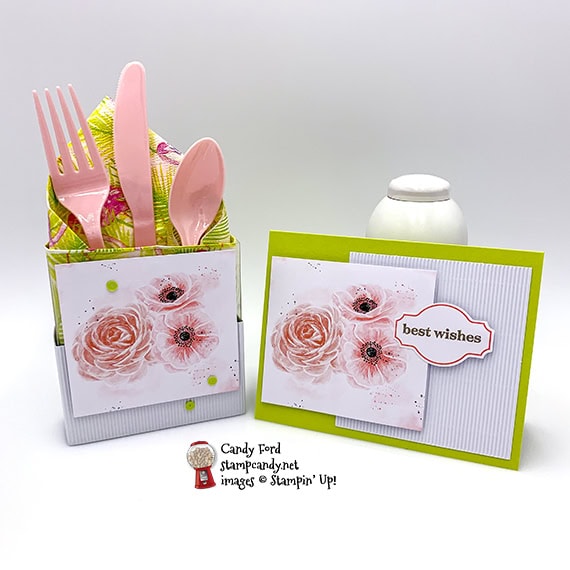
Here’s what I made:
A flatware/napkin holder and a card for a wedding shower. Since these were the only napkins I had with pink in them, I took the color (Lemon Lime Twist) from them for the projects. The Lemon Lime Twist card base and the Gingham Gala Adhesive Backed sequins are the only things you see that didn’t come in the kit. (I put the sequins on the box, but forgot to put them on the card before I took the photo. Oops!)
S
Here’s what I did:
Cut and scored with my Stampin’ Trimmer:
- Lemon Lime Twist card stock (CS) cut to 5-12″ x 8-1/2″, then scored in half at 4-1/4″
- acrylic box from the kit cut down from 5-1/4″ long to 4″ long – just cut off one end of the box
Stamped with the Sentimental Rose stamp set:
- sentiment in Gray Granite ink onto a die cut tag from the kit
Assembled the card:
- burnished the fold in the card base with a Bone Folder
- corrugated piece glued onto the front of the card base
- printed piece from the kit adhered over the corrugated piece using Stampin’ Dimensionals
- left half of sentiment glued onto the printed piece, and the right half adhered onto the corrugated piece using Stampin’ Dimensionals
- 3 Lemon Lime Twist sequins applied onto the card front (Oops! I forgot to put these on the card before I took the photos.)
Assembled the flatware holder:
- burnished the folds in the cut down acrylic box with a Bone Folder
- folded in the flaps on the bottom end to form the holder
- long corrugated piece wrapped around the bottom of the holder and adhered the ends together with the attached peel and stick adhesive (This helps the holder stand up.) If you feel the need, you can put a couple of glue dots under the back of the corrugated piece to hold it to the acrylic box.
- adhered a printed piece onto the corrugated piece and the acrylic holder using Stampin’ Dimensionals
- 3 Lemon Lime Twist sequins applied onto the front of the holder
- napkin and flatware inserted into holder
S
Here’s the APPT April 2019 hop:
Here are today’s colors:
You can click on each one to see all the products that come in that color!
S
Here’s what I used, other than what came in the kit:
Click on these images for more details and to purchase.
Supply List <– Click here for a clickable and printable list!
S
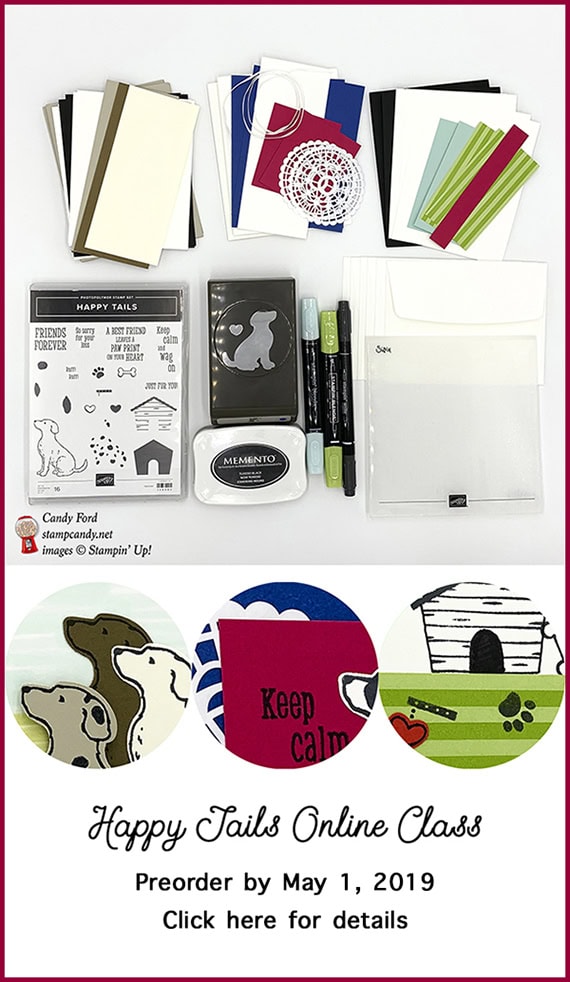
Back by popular demand!
Preorder the Happy Tails Online Class by May 1!
- Make 6 cards at home in your PJs!
- 2 each of 3 designs
- If you or someone you know is a dog lover, this class is for you!
- Limited spots available
Click on the image below for details:
S
Here are some helpful links:
S
Thanks for stopping by today, and Sweet Stamping!
Mar 11, 2019 | Cards, Gallery, Guest Stamper, Wedding |
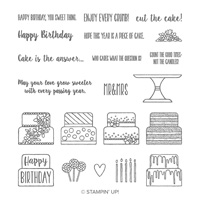
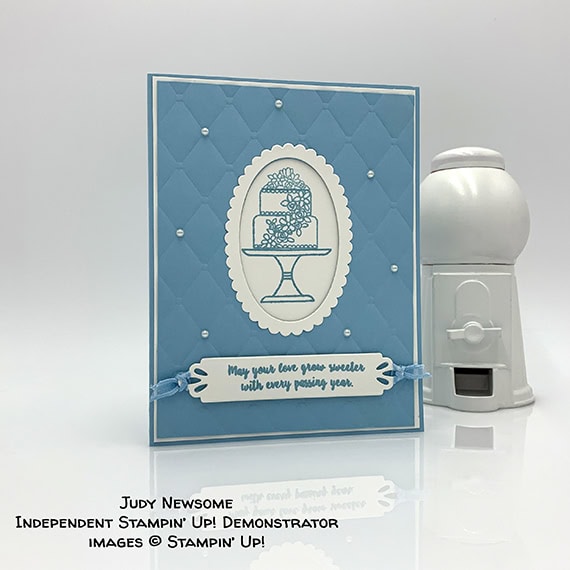
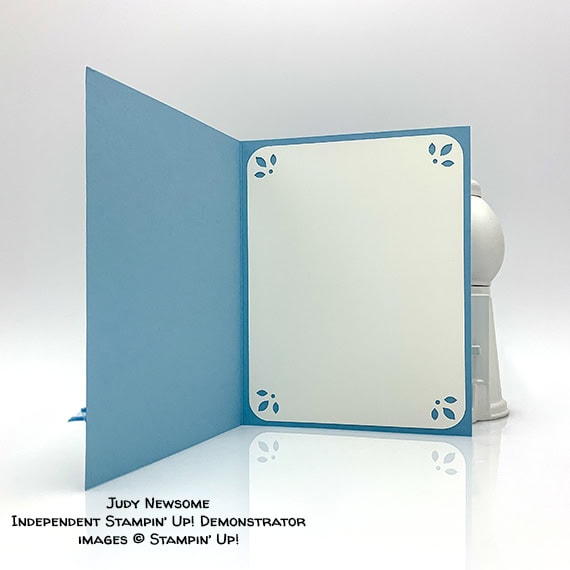
Judy Newsome made this lovely window card for our Candy Hearts card swap last month. The theme was wedding/anniversary. She used the Piece of Cake stamp set for the sentiment and for inside the window. The background texture comes from the Tufted Dynamic Textured Embossing Folder, and it’s highlighted by some Pearl Basic Jewels. You can see how she made it and what she used below.
S
Here’s what I made:

S
Here’s what Judy did:
Cut and scored with her Stampin’ Trimmer:
- Balmy Blue card stock (CS) cut to 8-1/2″ x 5-1/2″, then scored in half at 4-1/4″
- Whisper White CS cut to 4-1/8″ x 5-3/8″
- Balmy Blue CS cut to 4″ x 5-1/4″
- Whisper White CS cut to 4″ x 5-1/4″ for the inside of the card base
Die cut using the Layering Ovals Framelits:
- center from Balmy Blue CS layer using a plain oval die
- same plain oval die to cut a scrap of Whisper White CS, then cut around that hole using a scalloped oval die, to create the white frame
Die cut using the Needlepoint Elements Framelits:
Stamped with the Piece of Cake stamp set:
- sentiment in Balmy Blue ink onto a scrap of Whisper White CS
- cake stamp, cake, and cake topper in Balmy Blue ink onto the larger Whisper White CS
- NOTE: lay the Blamy Blue CS layer with the oval cut out over the Whisper White CS layer to determine where the images should be stamped. The Stamparatus makes easy work of getting the images in just the right place.
Embossed using the Tufted embossing folder:
Cut using the Detailed Trio Punch:
- all four corners of the Whisper White CS for the inside of the card base with the floral design and with the rounder
Assembled the window card:
- burnished the fold in the card base with a Bone Folder
- Whisper White CS layer glued onto the front of the card base
- embossed Balmy Blue CS layer glued onto the Whisper White CS layer, making sure the cake image shows through
- Whisper White frame glued around the oval window in the Balmy Blue CS layer
- tied a piece of ribbon through each end of the die cut sentiment
- NOTE: She used Balmy Blue ribbon from the Organdy Ribbon Combo Pack, which is a Sale-a-bration item that has sold out. If you didn’t get that ribbon, you can use any Whisper White Ribbon, or even leave the ribbon off.
- adhered the sentiment onto the Balmy Blue CS layer using Stampin’ Dimensionals
- applied pearls to the Balmy Blue CS layer in the corners of some of the tufts
- punched Whisper White CS glued onto the inside of the card base
S
Here are today’s colors:
You can click on each one to see all the products that come in that color!
S
Here’s what Judy used:
Click on these images for more details and to purchase.
S
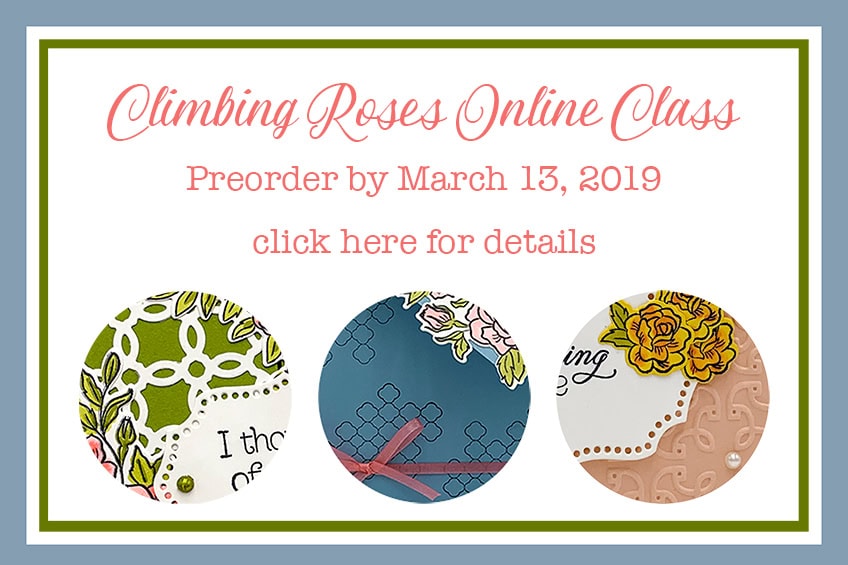
Preorder the Climbing Roses Online Class by March 13!
- Make 6 beautiful cards at home in your PJs!
- 2 each of 3 designs
- perfect for anyone, including for Mom on Mother’s Day!
- Limited spots available!
Click on the image below for details:
S
Here are some helpful links to check out:

S
Thanks for stopping by today, and Sweet Stamping!
Feb 27, 2019 | Cards, Gallery, Paper Pumpkin, Wedding |
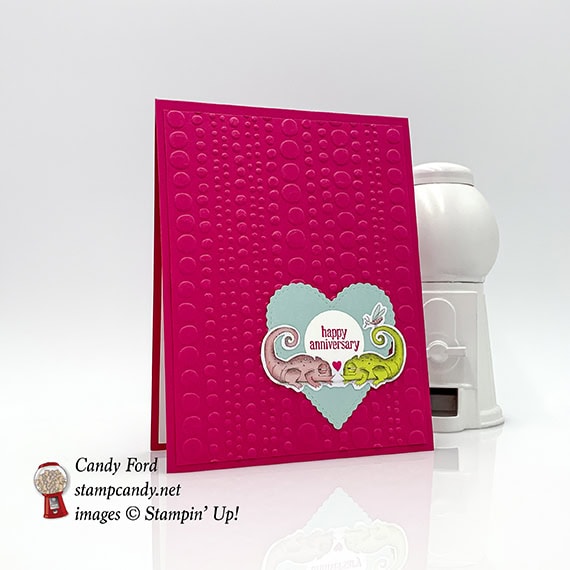
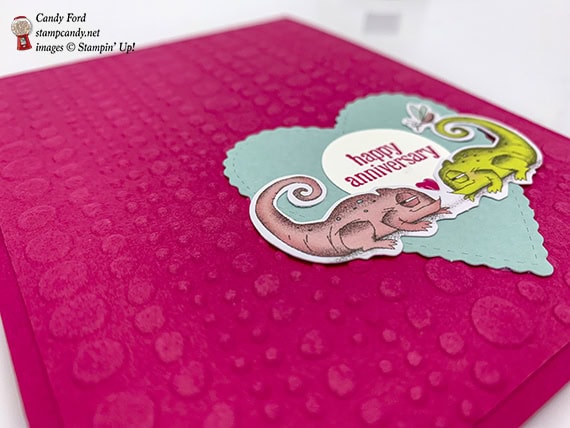
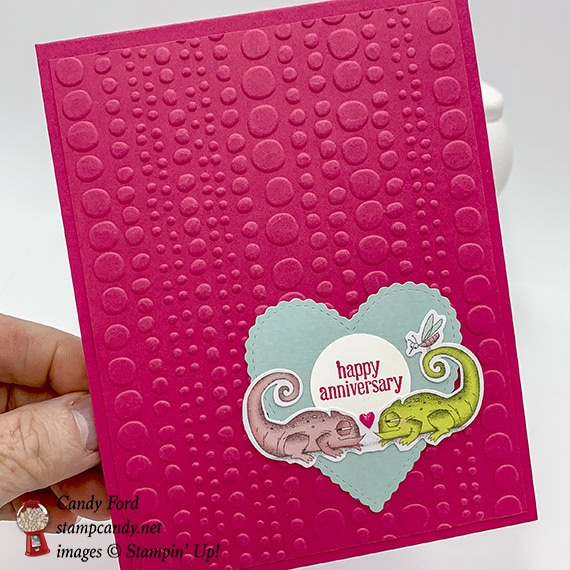
If you got the January “Be Mine” Paper Pumpkin kit, you know you got a whole lot of extra die cut pieces. I used some of them for my swap cards for the February Candy Hearts team meeting. The theme for the swap was wedding or anniversary, and I thought the pair of chameleons would be perfect for a fun and whimsical anniversary card. The Dot to Dot embossing folder added to the whimsy by creating a background full of “bubbles.” I chose the colors based on the kit.
S
Here’s what I made:
 S
S
Here’s what I did:
Cut and scored with my Stampin’ Trimmer:
- Melon Mambo card stock (CS) cut to 4-1/4″ x 11″, then scored in half at 5-1/2″
- Melon Mambo CS layer cut to 4″ x 5-1/4″
- Whisper White CS cut to 4″ x 5-1/4″ for the inside of the card
Stamped with the Itty Bitty Greetings stamp set:
- sentiment in Melon Mambo ink onto a scrap of Whisper White CS
Cut using the 1″ Circle Punch:
Embossed using the Dot to Dot embossing folder”
Assembled the anniversary card:
- burnished the fold in the card base with a Bone Folder
- embossed layer glued onto the front of the card base
- sentiment glued onto a die cut heart from the kit
- chameleon die cut glued onto the heart, over the sentiment
- heart enamel shape from kit applied between the chameleons
- heart glued onto the embossed layer
- Whisper White CS glued onto the inside of the card base
S
Here are today’s colors:
You can click on each one to see all the products that come in that color!
S
Here’s what I used, other than pieces from the Be Mine Paper Pumpkin kit:
Click on these images for more details and to purchase.
Subscribe by March 10 to get the March Paper Pumpkin kit!
You can buy a prepaid subscription below, or subscribe month to month HERE.
Here’s a stamp case insert for your Be Mine kit!
Do you like to keep your Paper Pumpkin stamp sets, and maybe any leftover kit pieces? The perfect way to do that is in a stamp case. CLICK HERE to download a printable insert for your January 2019 Paper Pumpkin kit case. CLICK HERE to purchase stamp cases.
S
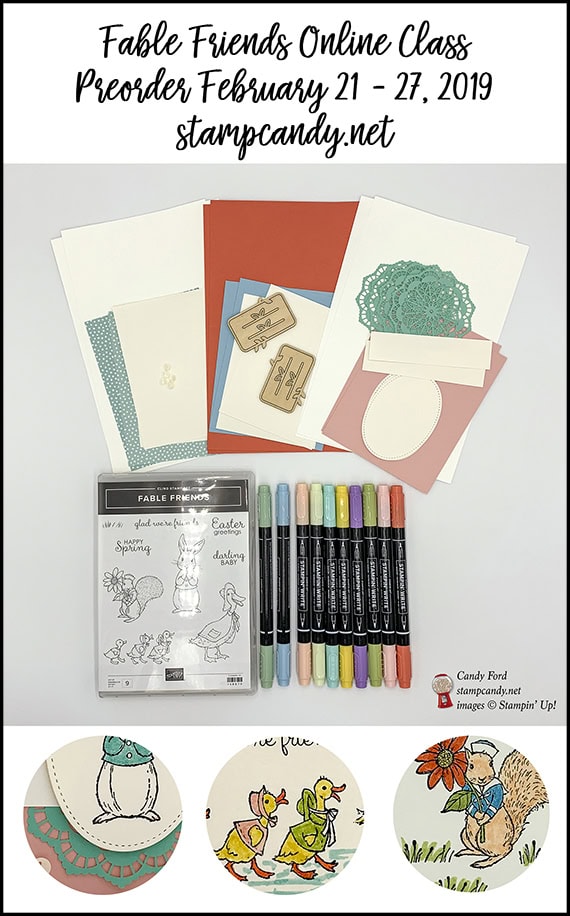
Preorder the Fable Friends Online Class TODAY!
- Make 6 adorable cards at home in your PJs!
- 2 each of 3 designs
- Details instructions
- Perfect for Spring!
- Limited spots available!
Click on the image below for details:
S
Here are some helpful links to check out:
S
Thanks for stopping by today, and Sweet Stamping!
Feb 26, 2019 | Cards, Gallery, Guest Stamper, Wedding |
Today I’m happy to get to share a wedding card made by Joanne Brown, one of my Candy Hearts team members. She made it for the February team meeting card swap, which had a wedding/anniversary theme. She used both the Tufted and the Subtle Dynamic Textured Impressions embossing folders, along with the Be Mine Stitched Framelits Dies, Layering Ovals Framelits Dies, and Floral Phrases stamp set to create an elegant card with lots of texture.
The Lovely Lipstick Foil paper she used for the heart is from a Sale-a-bration item that has sold out, but you can make this card with Lovely Lipstick card stock, or with another color foil paper, for the same look.
S
Here’s what she made: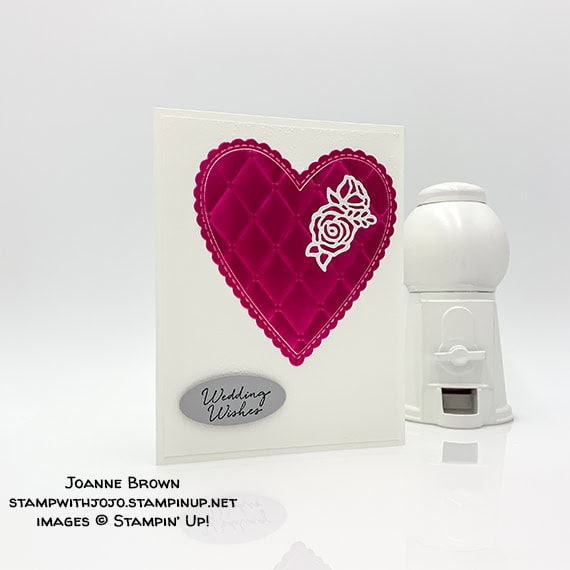
Here you can really see the embossing from both embossing folders: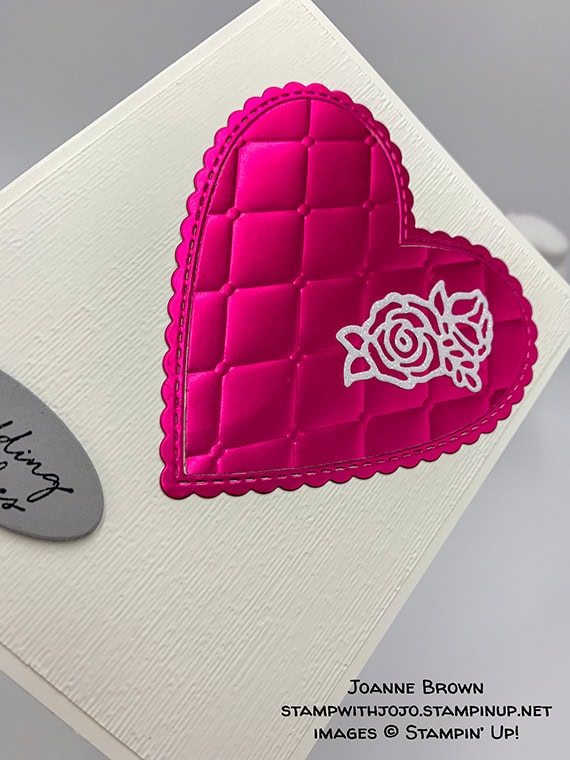
S
Here’s what she did:
Cut and scored with her Stampin’ Trimmer:
- Whisper White Thick CS cut to 8-1/2″ x 5-1/2″, then scored in half at 4-1/4″
- Whisper White CS cut to 4″ x 5-1/4″
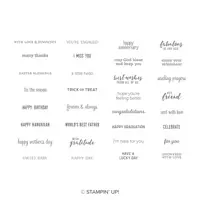
Stamped with the Floral Phrases stamp set:
- sentiment in Basic Gray ink onto a scrap of Smoky Slate CS
Cut using the Be Mine Stitched Framelits:
- large heart from a piece of Lovely Lipstick Foil paper
- flower from a scrap of Sparkle Glimmer Paper, with a Multipurpose Adhesive Sheet on the back
Cut using the Layering Ovals Framelits:
Embossed using the Tufted embossing folder:
- middle piece of die cut heart
Embossed using the Subtle embossing folder:
Assembled the card:
- burnished the fold in the card base with a Bone Folder
- Whisper White CS layer glued onto the front of the card base
- heart (tufted middle and frame) glued onto the Whisper White CS layer
- die cut flower applied to the heart
- sentiment adhered onto the Whisper White CS layer using Stampin’ Dimensionals
S
Here are today’s colors:
You can click on each one to see all the products that come in that color!
S
Here’s what she used:
Click on these images for more details and to purchase.
Preorder the Fable Friends Online Class by TOMORROW!
- Make 6 adorable cards at home in your PJs!
- 2 each of 3 designs
- Perfect for Spring!
- Limited spots available!
Click on the image below for details:
S
S
Here are some helpful links:
Thanks for stopping by today, and Sweet Stamping!