Welcome to February 2021 IRBH! During this year’s blog hops, we are having fun with our stamping favorites – our favorite themes for seasonal cards and projects. This month’s projects feature balloons, so you are in for a celebratory treat. We are excited to share our creations with you today! After you read my post, I hope you’ll hop over to the next person on the list at the base of this post, Brian King at Stamp with Brian.There’s a lot of inspiration to be found in this group and you don’t want to miss it!
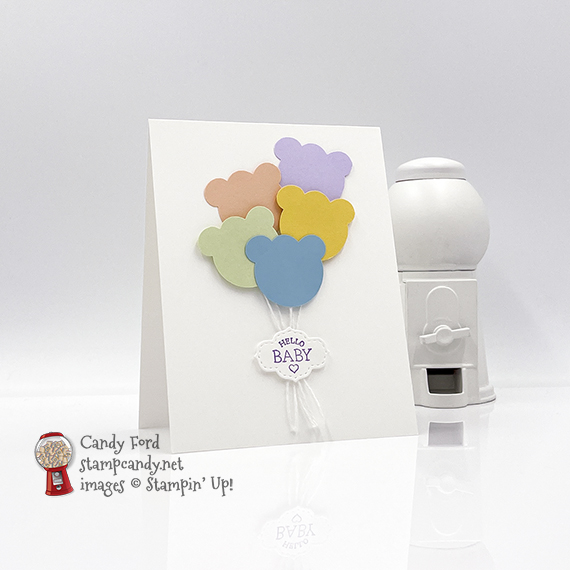
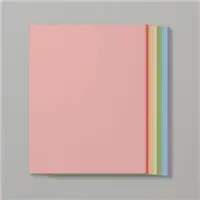
My card is very simple. It’s a card base with some punched and die cut shapes and a small sentiment. The balloons are made with the Ice Cream Cone Builder Punch – the scoop of ice cream flipped upside down looks like a bear or mouse, and I thought it would make adorable balloons. I used several soft colors of card stock for this baby card. You can buy each color separately of course, but most of the colors come in a multi-pack. I’ve listed them all at the bottom of this post.
If you are reading this in email, some photos may appear blurry, or may not appear at all. Please click here to see the post on my blog.
S February 2021 IRBH February 2021 IRBH February 2021 IRBH February 2021 IRBH
Here’s what I made:
S
Here’s what I did:
Cut and scored with my paper trimmer:
Basic White Thick card stock (CS) cut to 4-1/4″ x 11″, then scored in half at 5-1/2″
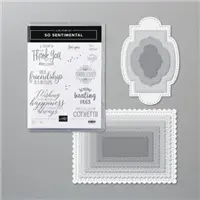
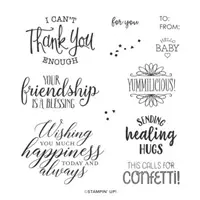
Stamped with the So Sentimental stamp set:
sentiment in Highland Heather ink onto a scrap of Basic White Thick CS
Cut using the Stitched So Sweetly Dies:
sentiment
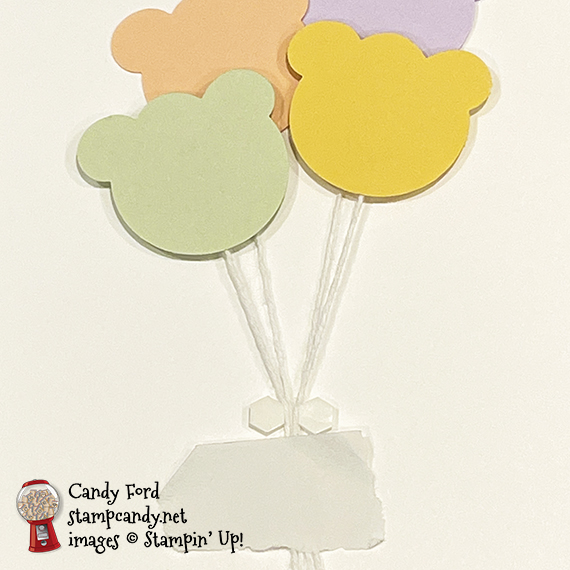
Cut using the Ice Cream Cone Builder Punch:
scoops from scraps of Petal Pink, So Saffron, Soft Sea Foam, Balmy Blue, and Purple Posy CS
Assembled the card:
burnished the fold in the card base with a Bone Folder
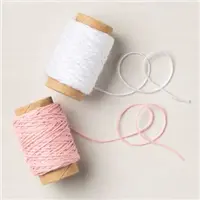
white twine adhered onto the back of the upside-down-scoop-balloons using Tear & Tape
2 of the balloons glued onto the front of the card base, near the top
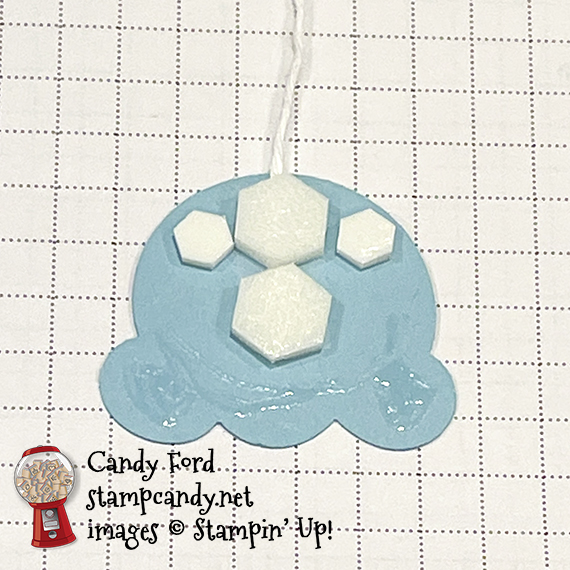
a couple of mini Stampin’ Dimensionals applied onto the front of the card base, where the sentiment will go, with a tiny gap between them about 1/8″ wide
strings of the balloons strung between the mini Stampin’ Dimensionals, and held in place with a piece of Post-It Tape (or you could use a Post-It Note) I left the backings on the dimensionals for this part.
2 more balloons adhered beneath the first ones using Stampin’ Dimensionals, and the strings added to the first ones
the fifth balloon adhered using Stampin’ Dimensionals in the center, and glue along the top where it overlaps the 2 balloons above it, then the string added to the others
2 Mini Stampin’ Dimensionals applied onto the back of the sentiment, one at each end, making sure there is space between them for the strings and two dimensionals on the card front
backs of all four dimensionals removed and sentiment adhered over the strings
ends of the strings trimmed using Paper Snips (I keep a separate pair just for ribbon.)
S
Here’s the February 2021 IRBH:
Thank you for hopping along with us. If you get stuck during the Blog Hop, please use this line-up as a guide:
Click on these images for more details and to purchase. If you are reading this post in email, the product images may not show up. Please click hereto see the post on my blog.
Supply List <— Click for a clickable and printable list of the products!
S
Hey Chick is here!
The Hey Chick stamp set from 2017 Sale-a-bration was so popular, Stampin’ Up! has brought it back. But that’s not all! Now there are coordinating dies. AND there’s a second stamp set, Hey Birthday Chick, that also has coordinating dies. CLICK HERE to see them all. One thing though – they’re available for a limited time, so get them while you can!
S
Basic White is here!
The facility that manufactures Whisper White paper is closed due to COVID-19. But don’t fret. The new Basic White products are here!
Gift Certificates are available in any U.S. dollar amount from me. Contact mefor details.
Have you shopped from me within the past year? Join my private VIP Facebook groupfor exclusive project tutorials and more!
Join my team and enjoy a 20% discount (or more) on all your purchases! You choose $125 in products and pay only $99, and get free shipping! No obligation! No selling required!
I’m Wildly Happy that it’s time for the Inking Royalty June Blog Hop! This year we’re featuring one word each month. June’s word is NEW, which is appropriate since this is the month when the new annual catalog went live. I imagine a lot of us will be using new products for our projects – I know I am!
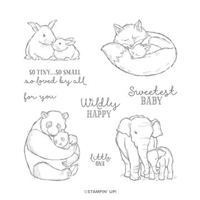
As soon as the new catalog went live, I couldn’t wait to get the new Wildly Happy stamp set on page 101. It has some of the sweetest images in the whole catalog.
I especially love the elephants. I learned a lot about these magnificent creatures when I visited the Phuket Elephant Sanctuary in Thailand a couple years ago. One of the elephants I saw was using her trunk to pull down bamboo trees – very big bamboo trees. The pattern of Garden Lane Designer Series Paper I used for the background on this card reminds me of bamboo leaves. It looks like mommy and baby are nuzzling in a cozy bamboo forest. So sweet!
S
Here’s what I made:
S
Here’s what I did:
Cut and scored with my paper trimmer:
Pear Pizzazz card stock (CS) cut to 5-1/2″ x 8-1/2″, then scored in half at 4-1/4″
Garden Lane Designer Series Paper (DSP) layer cut to 5-1/4″ x 2-1/2″
Perennial Essence DSP layer cut to 5-1/4″ x 1-1/2″
Whisper White CS cut to 5-1/4″ x 4″ for the inside of the card base
Stamped with the Wildly Happy stamp set:
elephants in Memento black ink onto a scrap of Whisper White CS
sentiment in Pear Pizzazz ink onto a scrap of Whisper White CS
elephants in Memento black ink onto the DSP layers, after they were glued onto the front of the card base
Cut using the Layering Circles Dies:
sentiment
a slightly larger circle from a scrap of Pear Pizzazz CS
Colored using Stampin’ Blends Markers:
elephants in Gray Granite
2 pearls in Gray Granite
1 pearl in Mossy Meadow
shading in Gray Granite onto the DSP layers around the elephants
Colored using a Sponge Dauber:
edges of the Whisper White CS for the inside of the card in Gray Granite ink
Cut using Paper Snips:
the colored elephants
Assembled the card:
burnished the fold in the card base with a Bone Folder
DSP layers glued onto the front of the card base, Garden Lane at the top and Perennial Essence at the bottom (then stamped the elephants onto the layers)
colored elephants glued over the elephants stamped onto the DSP layers
sentiment glued onto the Pear Pizzazz die cut circle
Pear Pizzazz die cut circle glued onto the DSP layers
colored pearls applied onto the DSP layers and the sentiment
S
Here’s the hop:
Thank you for hopping along with us. I hope you’ll hop along to the next stop on the bloghop,Pam Morris at Tap Tap Stamp. There’s a lot of inspiration to be found in this group – and you don’t want to miss it! If you get stuck during the Blog Hop, please use this line-up as a guide:
Supply List <– Click here for a clickable and printable list!
S
Preorder the Sailing Home Online Class by June 26:
Make 6 cards at home in your PJs!
2 each of 3 designs
Features the Come Sail Away Suite on pages 144-146 of the 2019-2020 Annual Catalog
I’ve done the trimming and scoring for you!
You’ll receive all you need to make the cards, including the stamp set, dies, pre-cut/pre-scored/pre-embossed card kits, and 6 Whisper White envelopes.
Full detailed instructions
Limited spots available
Click on the image below for details and class options, or copy and paste this link into your browser:
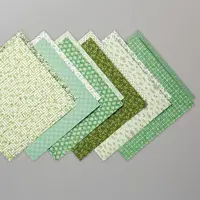
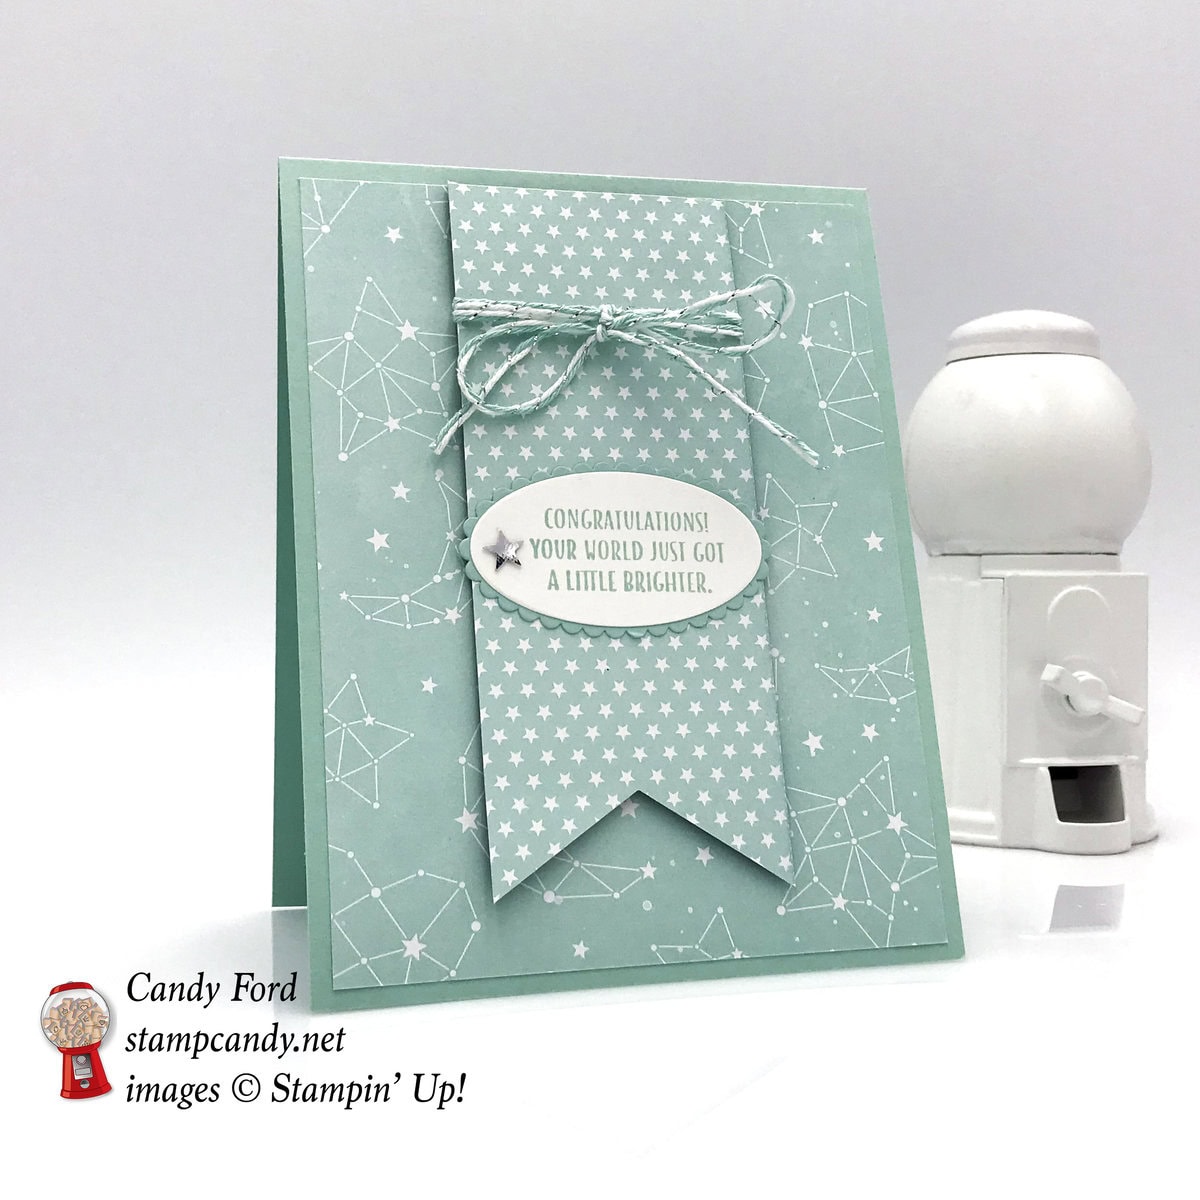
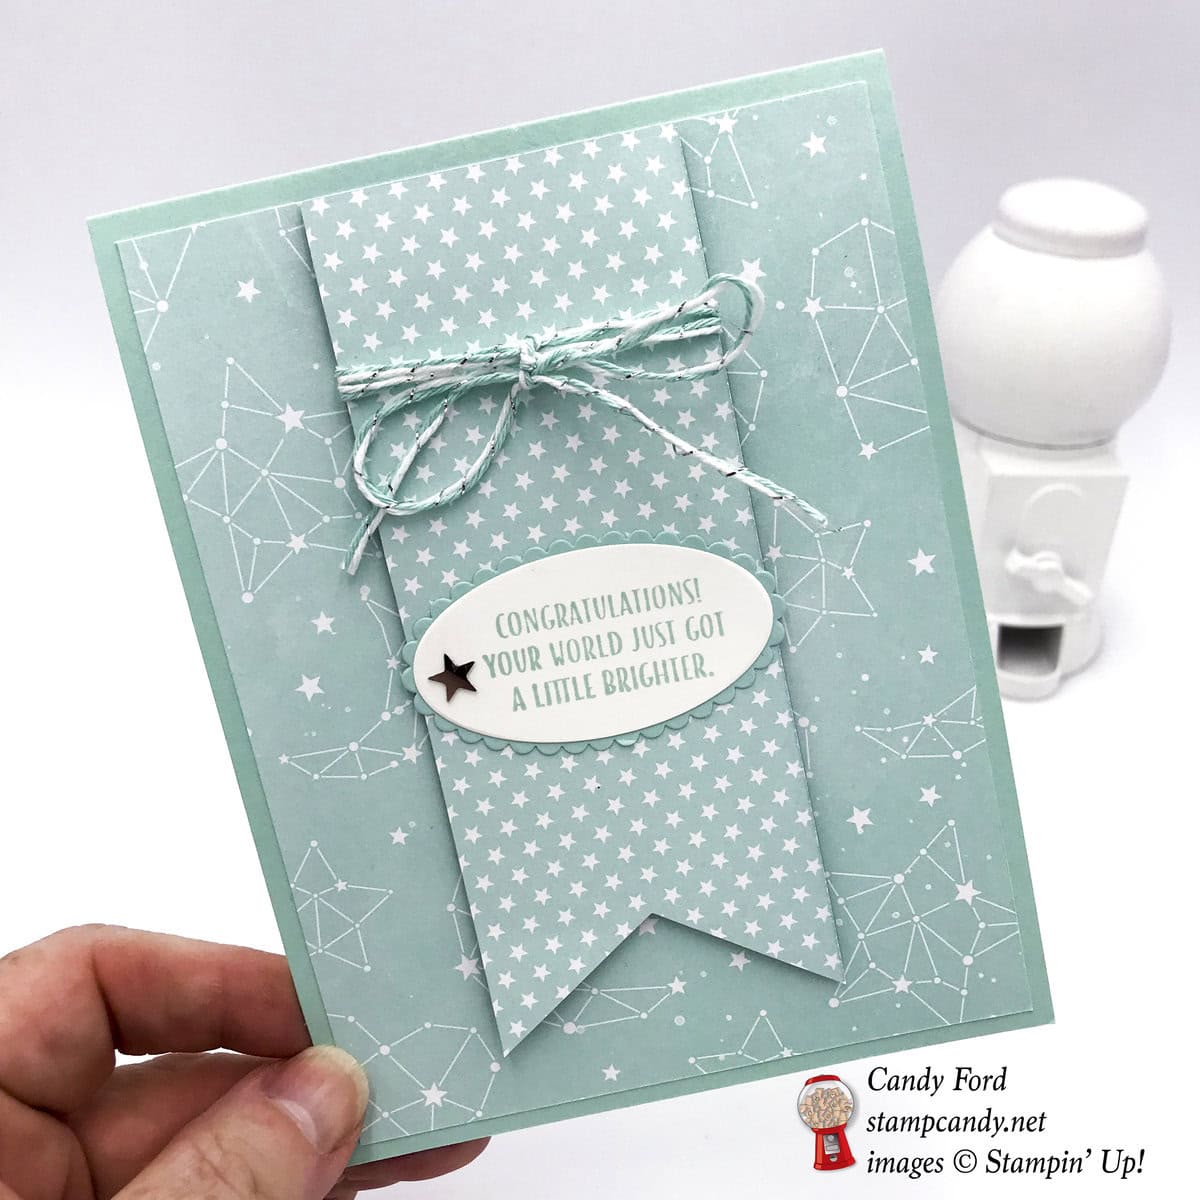
I made today’s card with the Twinkle Twinkle suite of products. I used the Twinkle Twinkle Designer Series Paper, Little Twinkle stamp set, Twinkle Adhesive Backed Sequins, and Silver & Pool Party Baker’s Twine. I also used the Banner Triple Punch and Layering Ovals Framelits Dies. It’s meant to be congratulations card for new parents, but could also be for anyone with something new and exciting happening in their life, like a new house, now job, new marriage, even new brighter lighting!
Here’s what I made:
Here’s what I did:
Cut and scored with my Stampin’ Trimmer:
Pool Party card stock (CS) cut to 4-1/4″ x 11″ , then scored in half at 5-1/2″
Twinkle Twinkle Designer Series Paper (DSP) cut to 4″ x 5-1/4″ (constellations)
DSP cut to 2″ x 5″ (stars)
Optional: Whisper White CS cut to 4″ x 5-1/4″ for the inside of the cards – the Pool Party card base is light enough to write on without it
Stamped with the Little Twinkle stamp set:
sentiment in Pool Party ink onto a scrap of Whisper White CS
Die cut using the Layering Ovals Framelits:
sentiment
scallop oval from a scrap of Pool Party CS
Cut using the Banner Triple Punch:
one end of the 2″ strip of DSP
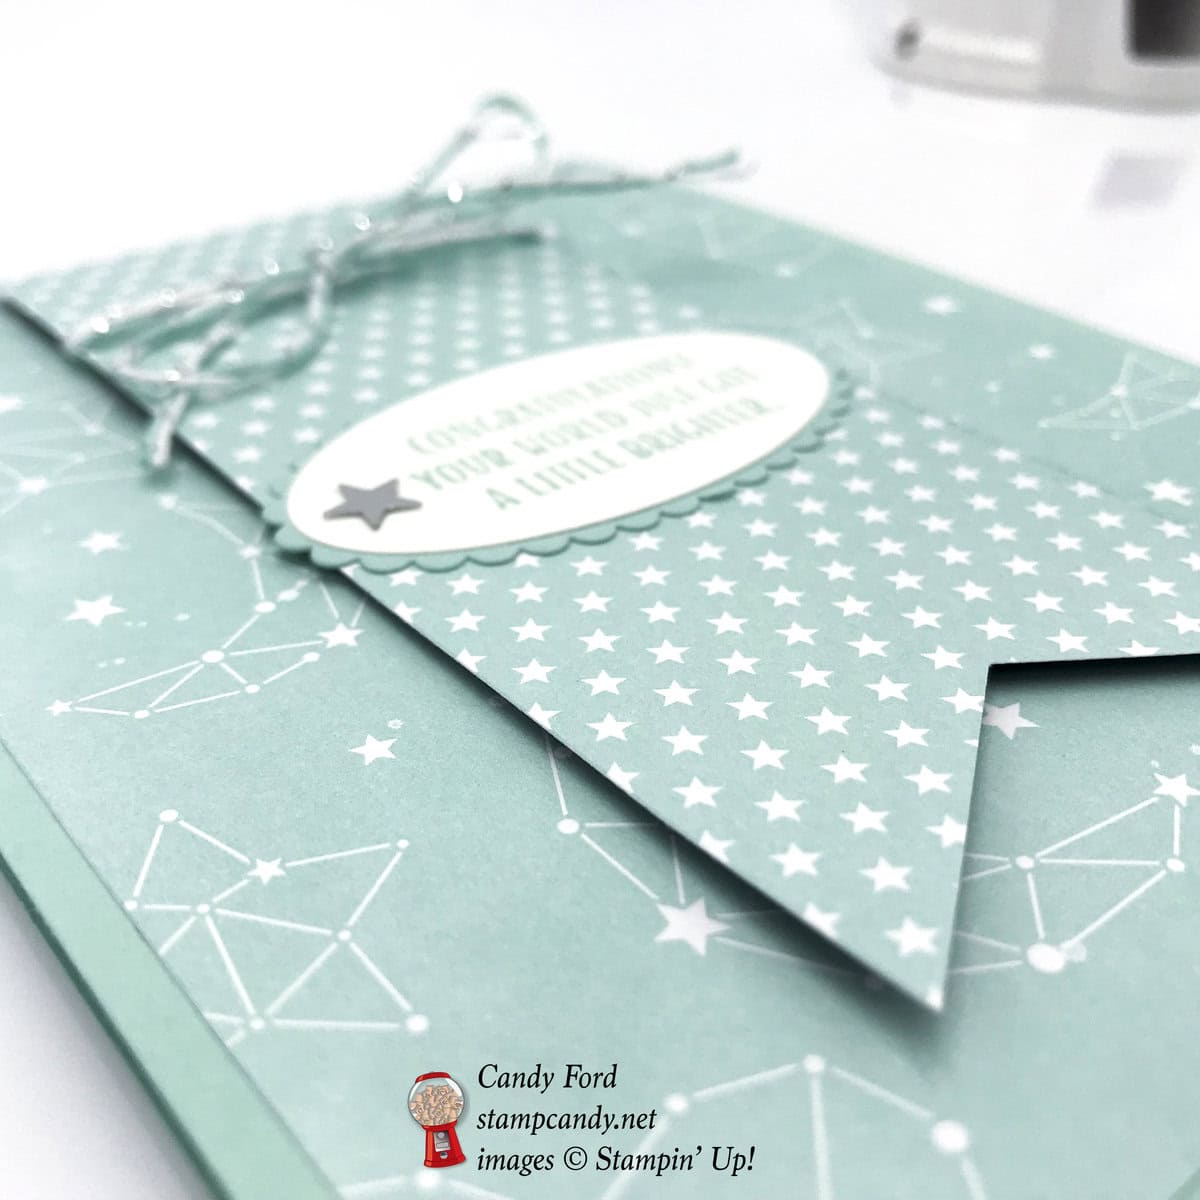
Assembled the card:
burnished the fold in the card base with a Bone Folder
larger DSP layer glued onto the front of the card base
twine wrapped a few times around the DSP banner and tied in a bow
sentiment oval glued onto the Pool Party CS oval
Pool Party oval glued onto the DSP banner
DSP banner adhered to the DSP layer using Stampin’ Dimensionals
Twinkle Adhesive Backed Sequin applied to the sentiment
Optional: Whisper White CS glued onto the inside of the card base
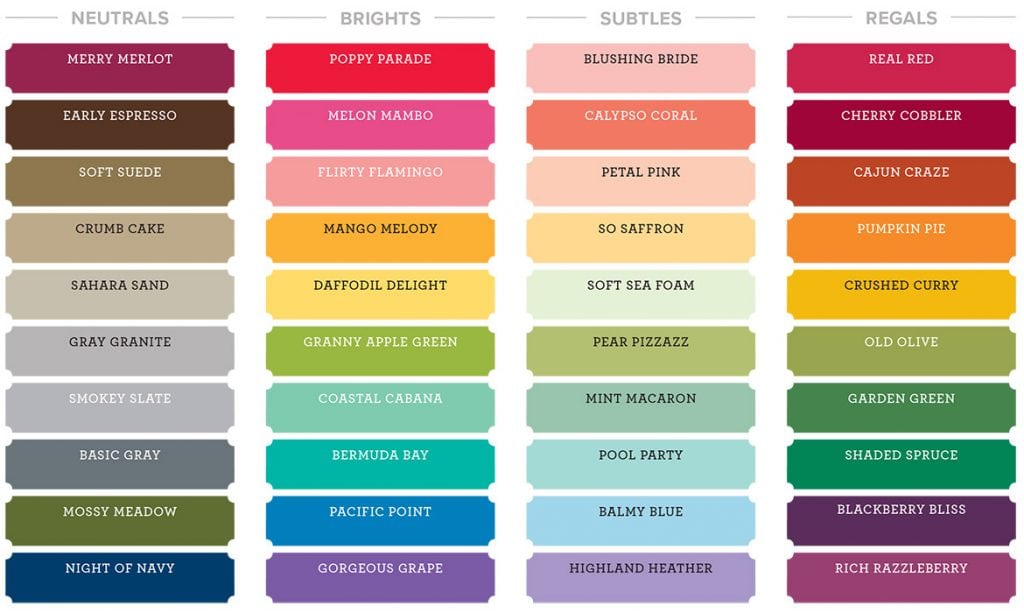
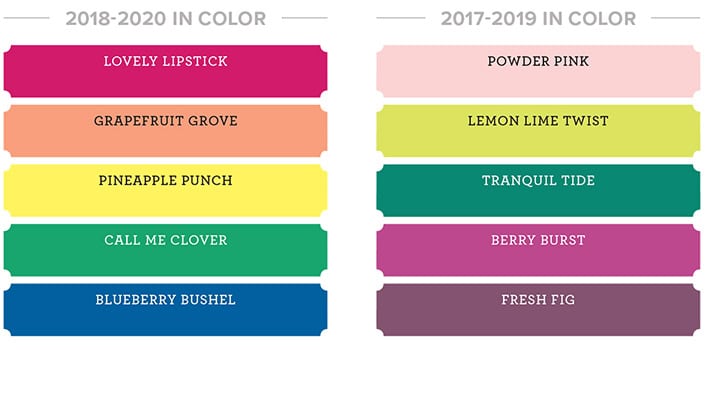
Here are today’s colors:
You can click on each one to see all the products that come in that color!
Click on these images for more details and to purchase.
Here are 3 amazing limited time offers – only 9 days left!:
1) Color Your Seasons Special, August 1-31, 2018, While Supplies Last!
Check out this new video from Stampin’ Up! about this special promotion:
Stampin’ Up!’s® Blended Seasons Stamp Set, coordinating Framelits™ Dies, and Watercolor Pencils are perfect for every season of creating! Plus, save 10% when you buy the stamp set and Framelits in a bundle! But don’t wait—these exclusive products are only available until August 31 while supplies last. So get in the mood to create something full of colors and seasons!
Introducing the all-new, limited-time Color Your Season products:
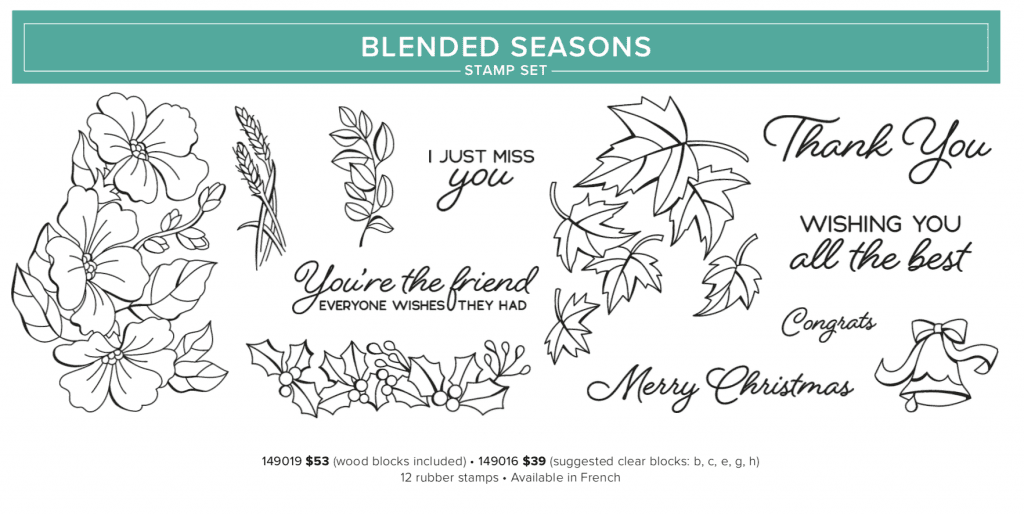
Blended Seasons Stamp Set, an exclusive 12-piece wood- or clear-mount stamp set with images for every season – #149019 @ $53 (wood blocks included); #149016 @ $39 (suggested clear blocks: b, c, e, g, h)
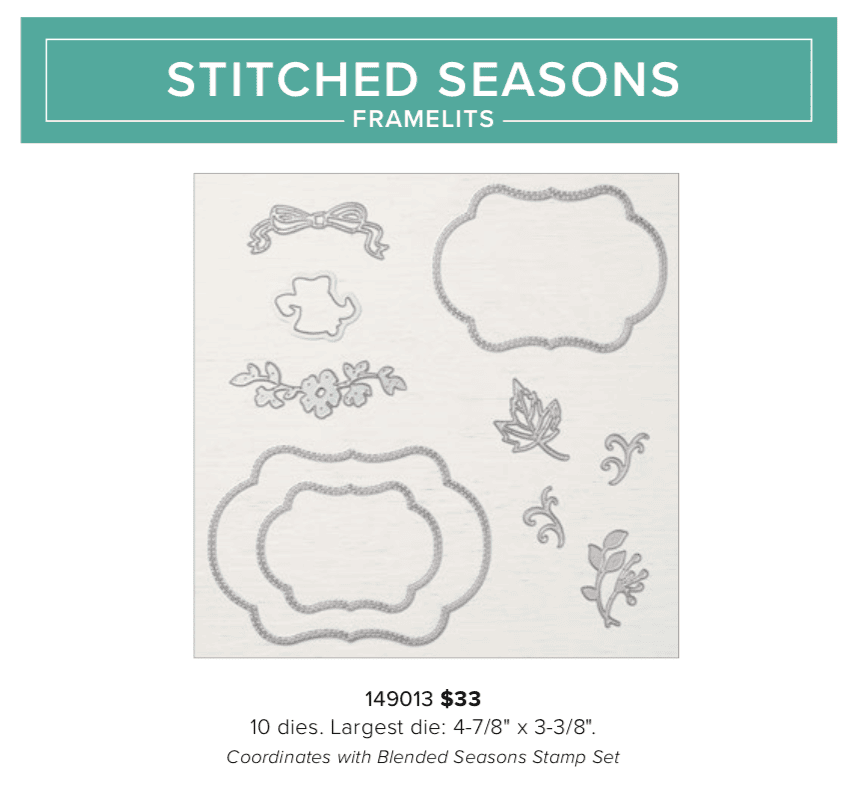
Stitched Season Framelits Dies, a coordinating stitched die that includes stitching on both the positive and negative images! #149013 @ $33. Has10 dies. Largest die: 4-7/8″ x 3-3/8″.
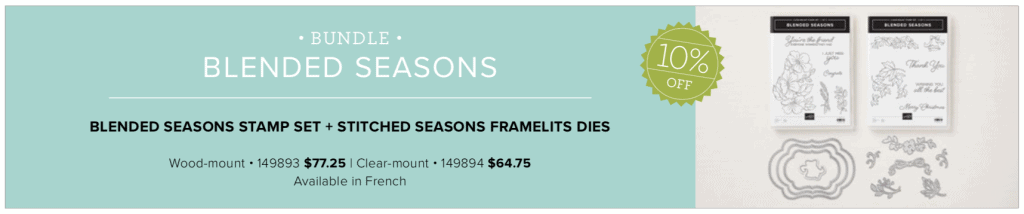
Save 10%! Blended Seasons BUNDLE – BLENDED SEASONS STAMP SET + STITCHED SEASONS FRAMELITS DIES – Wood-mount #149893 @ $77.25, Clear-mount #149894 @ $64.75
Watercolor Pencils in 10 new colors! #149014 @ $12.50. Acid free, lignin free.10 pencils in Stampin’ Up! colors: Balmy Blue, Cajun Craze, Cherry Cobbler, Coastal Cabana, Crushed Curry, Flirty Flamingo, Garden Green, Gorgeous Grape, Granny Apple Green, Night of Navy
Products available while supplies last until August 31, 2018 – while supplies last
Items may be included as part of a new demonstrator’s Starter Kit.
2) Bonus Days are back!
For every $50 you spend on an order in August, you will receive a $5 coupon to use in September!
There is no limit to the number of coupons you may earn.
An email address is required to participate; Bonus Days coupon codes can be delivered only via email.
Bonus Days coupon codes may be redeemed for any product (excluding Starter Kits, demonstrator supply items, and Paper Pumpkin subscriptions.) Although new prepaid Paper Pumpkin codes may be discounted with Bonus Days coupon codes.
3) Buy 10 Stampin’ Ink pads in August and get one FREE!!
Buy any 10 ink pads from me in August, I will give you another one FREE!
Contact me to place your order, so I can add your FREE ink pad!
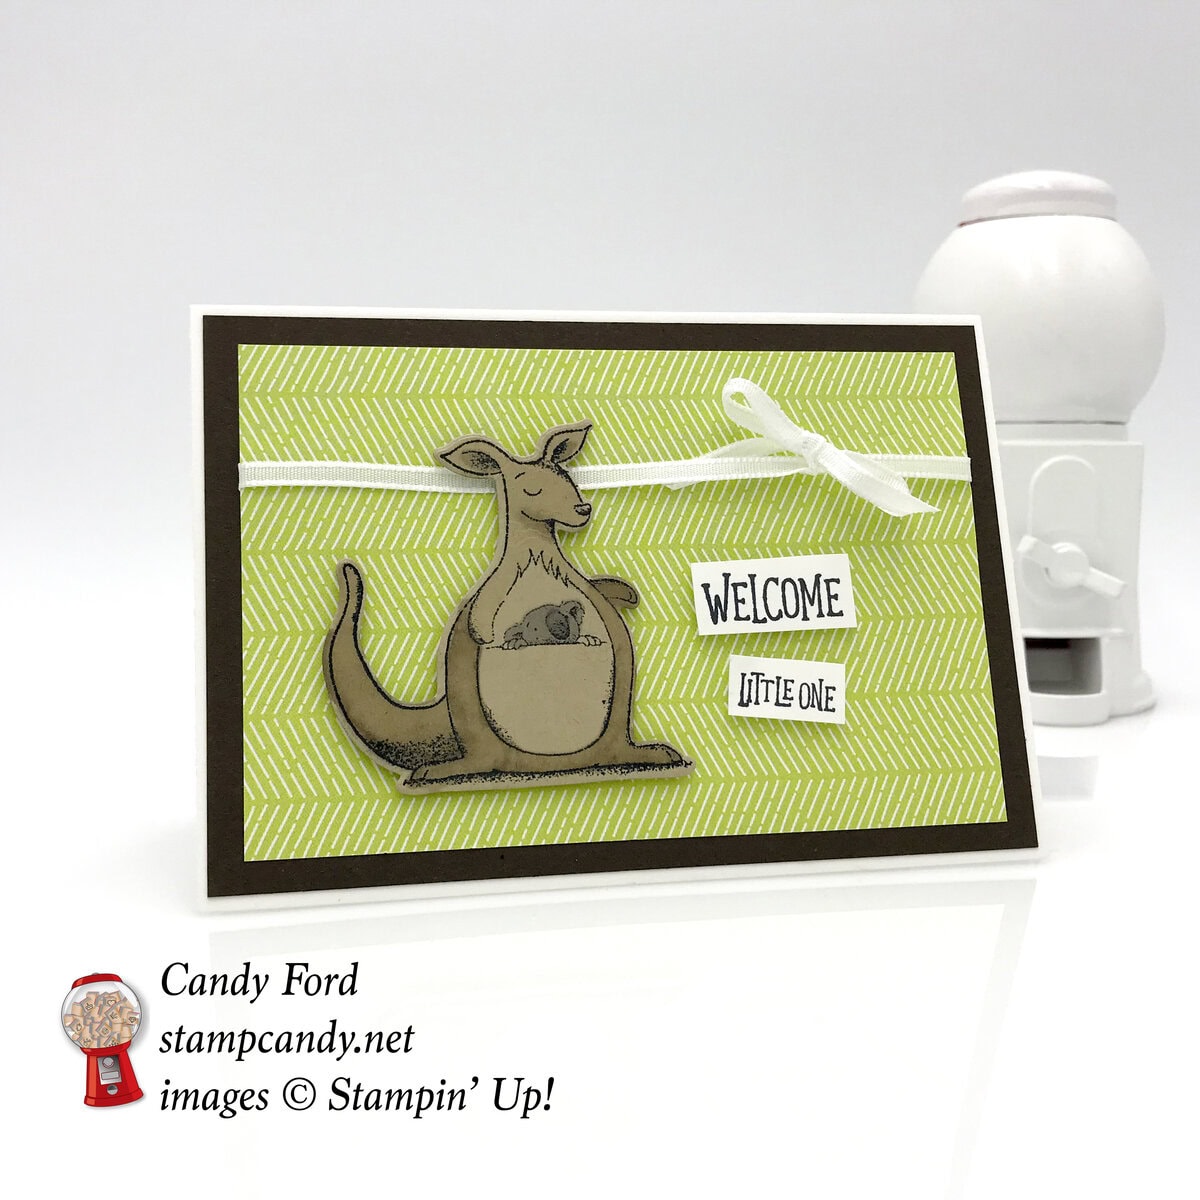
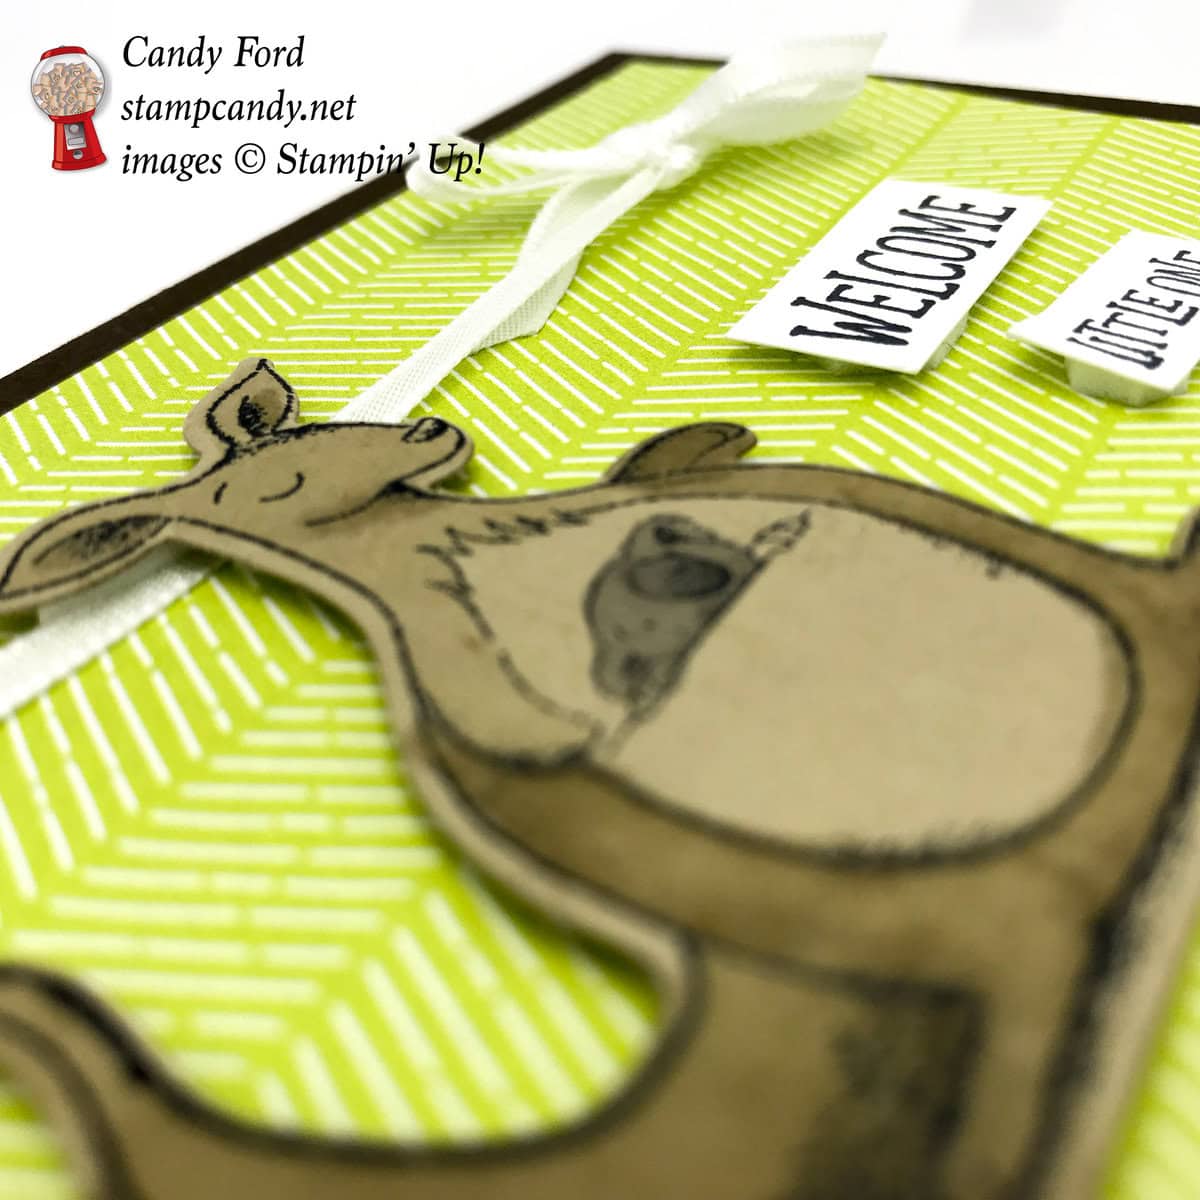
Today I’m sharing a baby card I made using the Animal Expedition suite of products. It’s really quick and simple, with just a little coloring on the kangaroo and koala. It’s a 3-1/2″ x 5″ note card, which you can buy pre-cut and scored, so that makes it even quicker.
Here’s what I made:
Here’s what I did:
Cut and scored with my Stampin’ Trimmer:
Early Espresso card stock (CS) cut to 4-7/8″ x 3-3/8″
Animal Expedition Designer Series Paper (DSP) cut to 4-1/2″ x 3″
Stamped with the Animal Outing stamp set:
kangaroo/koala in Memento black ink onto a scrap of Crumb Cake CS
sentiment in Memento black ink onto a scrap of Whisper White CS
Die cut using the Animal Friends Thinlits:
kangaroo
Cut using Paper Snips:
sentiment
Colored using Stampin’ Blends Markers:
kangaroo in Crumb Cake
koala in Smoky Slate
Assembled the card:
burnished the fold in the note card base with a Bone Folder
Early Espresso CS layer glued onto the front of the note card base
Whisper White ribbon tied around the DSP layer
Whisper White ribbon tied in a bow around the first piece of ribbon
DSP layer glued onto the Early Espresso CS layer
kangaroo and sentiment adhered onto the DSP layer, over the ribbon
Here are today’s colors:
You can click on each one to see all the products that come in that color!
Click on these images for more details and to purchase.
Here are 3 amazing offers that expire soon!:
1) Color Your Seasons Special, August 1-31, 2018, While Supplies Last!
Check out this new video from Stampin’ Up! about this special promotion:
Stampin’ Up!’s® Blended Seasons Stamp Set, coordinating Framelits™ Dies, and Watercolor Pencils are perfect for every season of creating! Plus, save 10% when you buy the stamp set and Framelits in a bundle! But don’t wait—these exclusive products are only available until August 31 while supplies last. So get in the mood to create something full of colors and seasons!
Introducing the all-new, limited-time Color Your Season products:
Blended Seasons Stamp Set, an exclusive 12-piece wood- or clear-mount stamp set with images for every season – #149019 @ $53 (wood blocks included); #149016 @ $39 (suggested clear blocks: b, c, e, g, h)
Stitched Season Framelits Dies, a coordinating stitched die that includes stitching on both the positive and negative images! #149013 @ $33. Has10 dies. Largest die: 4-7/8″ x 3-3/8″.
Save 10%! Blended Seasons BUNDLE – BLENDED SEASONS STAMP SET + STITCHED SEASONS FRAMELITS DIES – Wood-mount #149893 @ $77.25, Clear-mount #149894 @ $64.75
Watercolor Pencils in 10 new colors! #149014 @ $12.50. Acid free, lignin free.10 pencils in Stampin’ Up! colors: Balmy Blue, Cajun Craze, Cherry Cobbler, Coastal Cabana, Crushed Curry, Flirty Flamingo, Garden Green, Gorgeous Grape, Granny Apple Green, Night of Navy
Products available while supplies last until August 31, 2018 – while supplies last
Items may be included as part of a new demonstrator’s Starter Kit.
2) Bonus Days are back!
For every $50 you spend on an order in August, you will receive a $5 coupon to use in September!
There is no limit to the number of coupons you may earn.
An email address is required to participate; Bonus Days coupon codes can be delivered only via email.
Bonus Days coupon codes may be redeemed for any product (excluding Starter Kits, demonstrator supply items, and Paper Pumpkin subscriptions.) Although new prepaid Paper Pumpkin codes may be discounted with Bonus Days coupon codes.
3) Buy 10 Stampin’ Ink pads in August and get one FREE!!
Buy any 10 ink pads from me in August, I will give you another one FREE!
Contact me to place your order, so I can add your FREE ink pad!
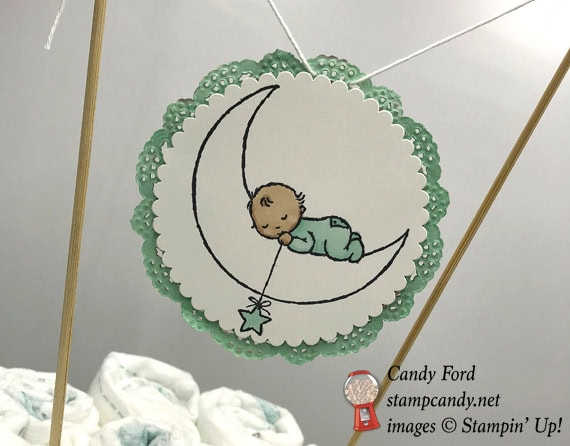
I recently made my very first diaper cake. I know, I know, they’ve been ubiquitous at baby showers for years now, but somehow I just never got around to making one. Until now. It was surprisingly easy. The hardest part was getting all those diapers bundled together without them going every which way. It helps to have an extra pair of hands for that step. Otherwise it was a piece of cake. <wink> I used the Moon Baby stamp set as well and the Pretty Kitty and Bella & Friends stamp sets, and the Whole Lot of Lovely Designer Series Paper (DSP.) I used Powder Pink and Pool Party to create a gender neutral cake, for times when you don’t know the baby’s gender, or for when you know there are a boy AND a girl.
Kittens and puppies seemed like an appropriate baby theme. I mean, they’re babies, too. So Pretty Kitty and Bella & Friends were the perfect stamp sets to use.
Here’s what I made:
Here’s what I did:
Cut and scored with my Stampin’ Trimmer:
Whole Lot of Lovely Designer Series Paper (DSP) cut to 3″ x 12″, 4 pieces of one pattern for the bottom tier, and 3 pieces of another pattern for the top tier
Stamped with the Pretty Kitty stamp set:
6 cats in Memento black ink onto scraps of Whisper White card stock (CS)
Stamped with the Bella & Friends stamp set:
6 dogs in Memento black ink onto scraps of Whisper White CS
Stamped with the Moon Baby stamp set:
2 of the baby-on-moon images in Memento black ink onto scraps of Whisper White CS
Die cut using the Layering Circles Framelits:
cats, dogs, and babies
slightly larger circles from Powder Pink and Pool Party CS, to mat the stamped cat and dog images
Colored using Stampin’ Blends Markers:
cats & dogs in Pink Pirouette and Pool Party
babies in Pink Pirouette, Pool Party, Ivory, and Bronze
one white doily in Pink Pirouette
one white doily in Pool Party
NOTE: I only colored the outer edges of the doilies, since most of the center would be covered up. I also learned – the hard way – to be sure to color the front side of the doily. The back side is too rough and will tear up the brush tip of your marker. Also, you can just use an ink pad to color the doilies.
Assembled the cake:
rolled individual diapers and held them with rubber bands
gathered enough diaper rolls together to create the bottom tier of the cake, and tied ribbon around to keep them together
did the same thing to create the smaller top tier of the cake
NOTE: I think I used about 50 diapers or so. It will depend on the diapers you use and on the size of your cake platter.
glued together the lengths of DSP and wrapped around each cake tier
glue the stamped images onto the larger die cut circles, then glued them onto the DSP strips
glued the two doilies together, lining up the holes around the edges
adhered a baby image to each side of the doilies using Stampin’ Dimensionals
threaded a length of Solid Whisper White twine through the holes in the doilies at the top, and tied the ends to two wooden skewers
poked the skewers down into the cake, careful not to puncture the diapers
Here are today’s colors:
You can click on each one to see all the products that come in that color!
Today’s project is made with several retiring products: World’s Best Trophy stamp set, Archival Basic Black ink pad, and card stock in Chocolate Chip, Pink Pirouette, and Soft Sky. Chocolate Chip is the perfect reddish brown color for a cigar. I wrapped it around large rolls of Sweetarts candies. The cigar bands are strips of card stock with 1″ punched circles. I didn’t have a stamp set that included “boy,” although there are a few that have the word “girl.” So I used the “son” and “daughter” from the World’s Best Trophy stamp set. These make great party favors for a baby shower. You can change the band color and sentiment for any occasion.
You can see everything that is retiring HERE. Everything is available through May 31, or while supplies last.
Here’s what I made:
Here’s what I did:
Cut and scored with my Stampin’ Trimmer:
Chocolate Chip card stock (CS) cut to 3″ x 7-1/4″ (one for each cigar)
Pink Pirouette CS cut to 3″ x 3/4″
Soft Sky CS cut to 3″ x 3/4″
Stamped with the World’s Best Trophy stamp set:
son in Basic Black ink onto a scrap of Soft Sky CS
daughter in Basic Black ink onto a scrap of Pink Pirouette CS
Cut using the 1″ Circle Punch:
both sentiments
Assembled the cigars:
burnished the Chocolate Chip CS pieces, and both of the CS strips, with a Bone Folder to soften and curl them
wrapped the Chocolate Chip CS pieces around rolls of SweetTarts candy and secured using Tear & Tape
wrapped the CS strips around the cigars and secured using Tear & Tape
adhered the punched sentiments onto the cigar bands using Tear & Tape
Here are today’s colors:
You can click on each one to see all the products that come in that color!