Aug 17, 2020 | Cards, Gallery |
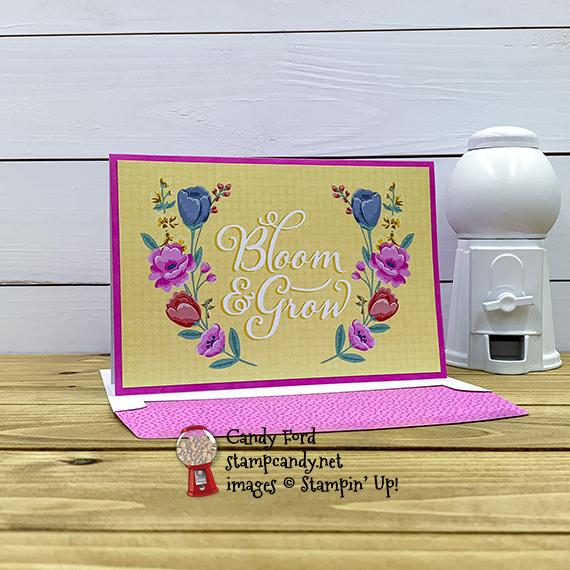
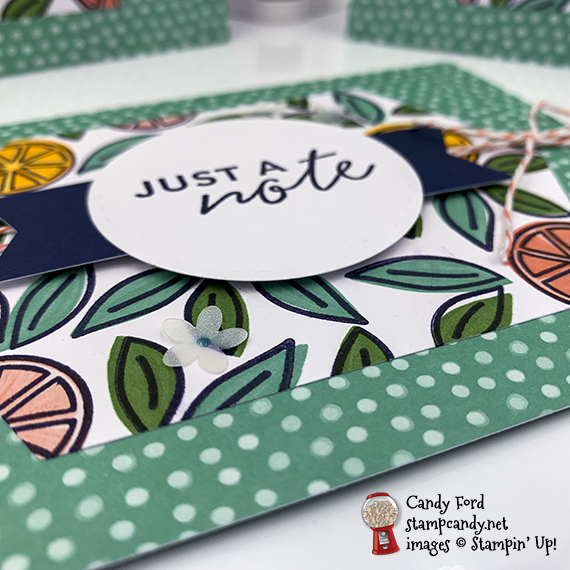
Today’s card could not be easier! I used the Flowers for Every Season Memories & More Cards & Envelopes and Flowers for Every Season Memories & More Card Pack. That’s it! And just look at how pretty it is! The colors are just lovely. And that matching envelope is divine. Now of course, you could dress it up with ribbon, embellishments, etc., but the thing is, you don’t have to.
If you are reading this in email, some photos may appear blurry, or may not appear at all. Please click here to see the post on my blog.
S card card card card
Here’s what I made:
S
Here’s what I did:
- burnished the fold in the card base with a Bone Folder
- 4″ x 6″ M&M card glued onto the front of the card base
- Done!
S
Here are today’s colors:
You can click on each one to see all the products that come in that color!
S
Here’s what I used:
Click on these images for more details and to purchase. If you are reading this post in email, the product images may not show up. Please click here to see the post on my blog.
Supply List. <— Click for a clickable and printable list of the products!
S
Use your Bonus Days coupons by August 31!
Click the image below to shop now and use your Bonus Days coupons!

S
Here are some helpful links:
S
Thanks for stopping by today, and Sweet Stamping!
Aug 14, 2020 | Cards, Gallery, Kits |
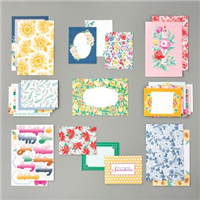
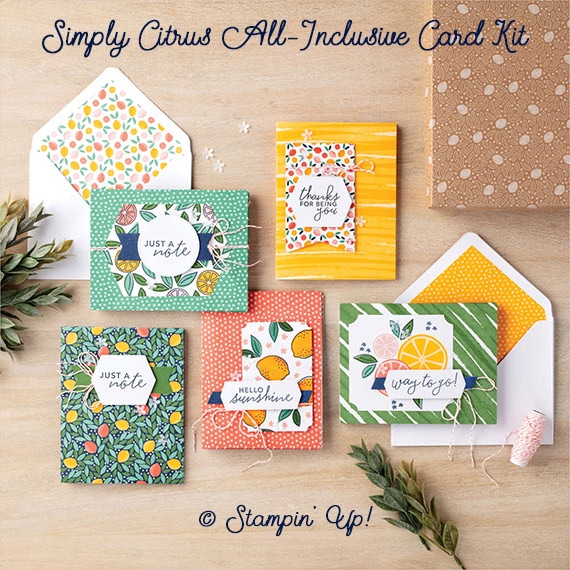
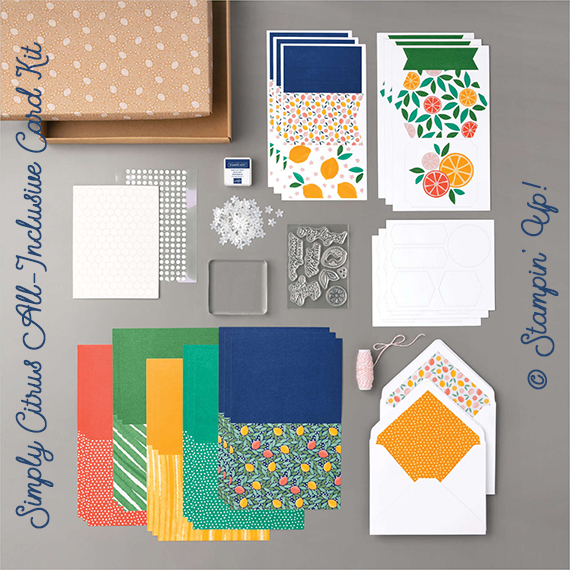
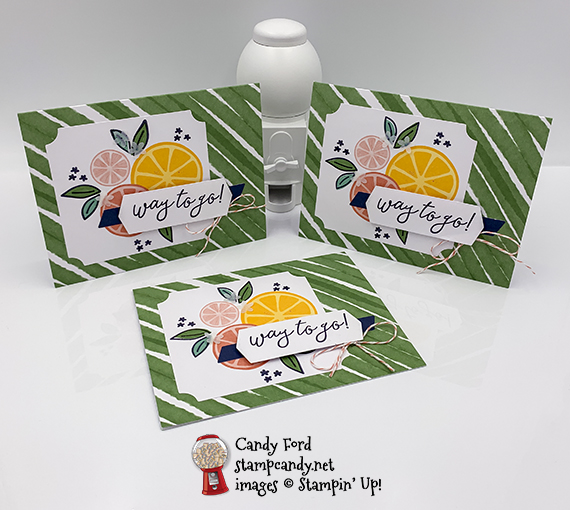
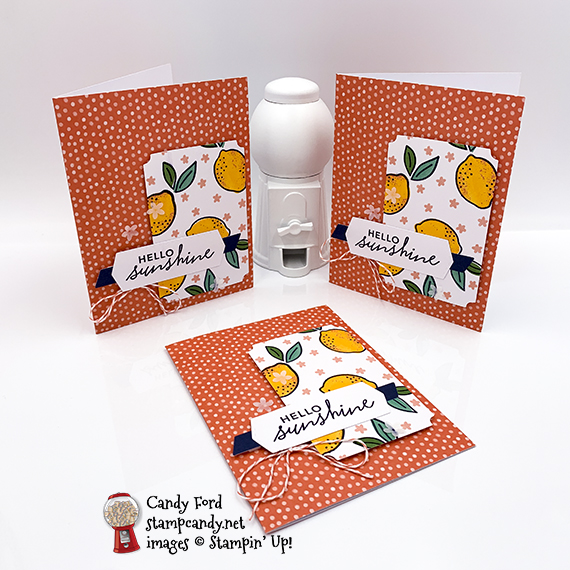
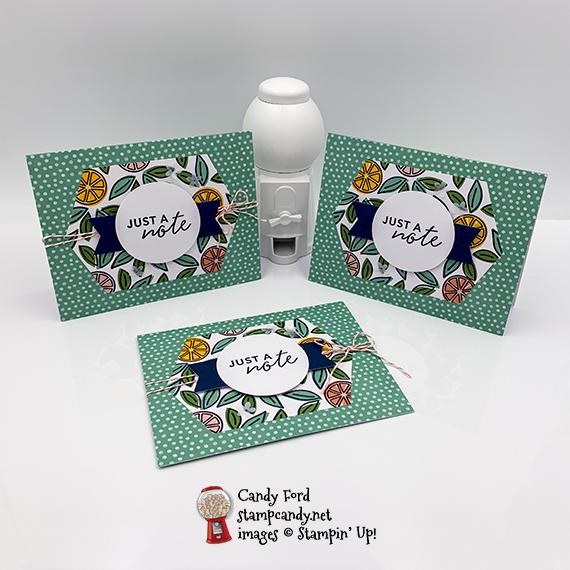
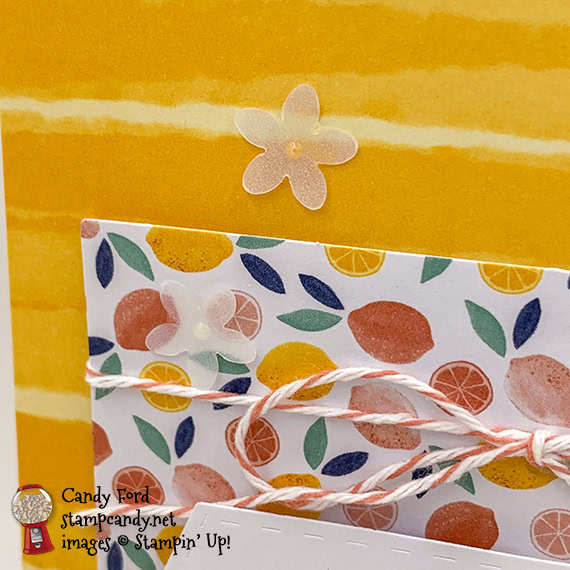
Today I’m sharing the cards I made using the Simply Citrus Card Kit. This kit is perfect for beginner stampers! It’s an all-inclusive kit, meaning it has everything you need to make the cards (except scissors to cut the twine.) You get the card bases, envelopes, die cut labels and images, stamp set, clear block, ink pad, embellishments, twine, adhesives, and a sweet box to hold it all. A lot of people could use a little sunshine these days. These 15 colorful and fun cards will help you send it to them.
If you are reading this in email, some photos may appear blurry, or may not appear at all. Please click here to see the post on my blog.
S Simply Citrus Simply Citrus Simply Citrus Simply Citrus
Here’s the kit:
S
Here’s what I made:
S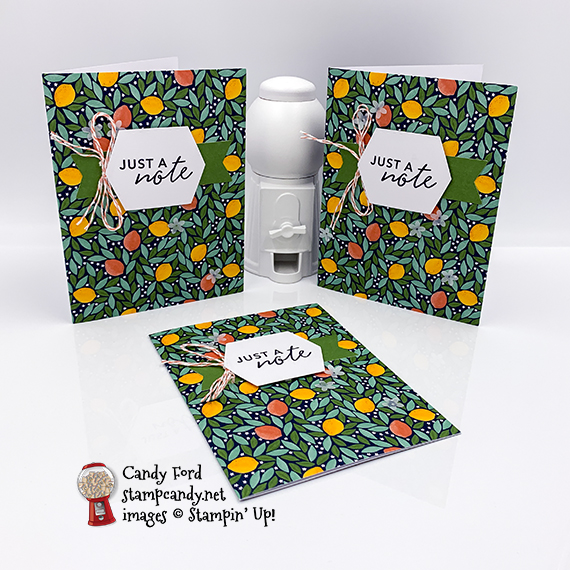
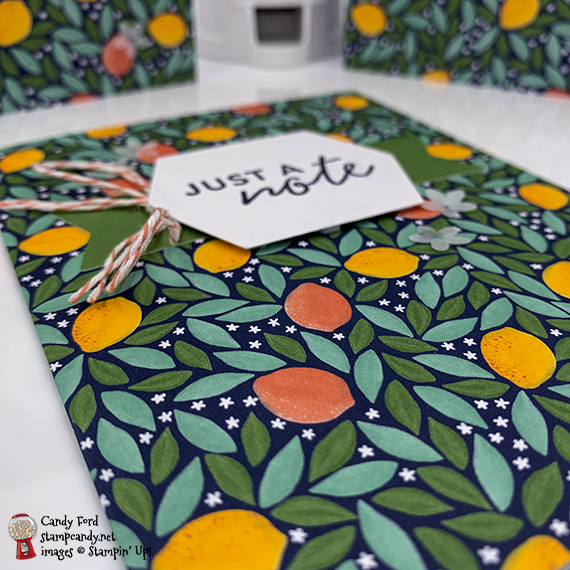
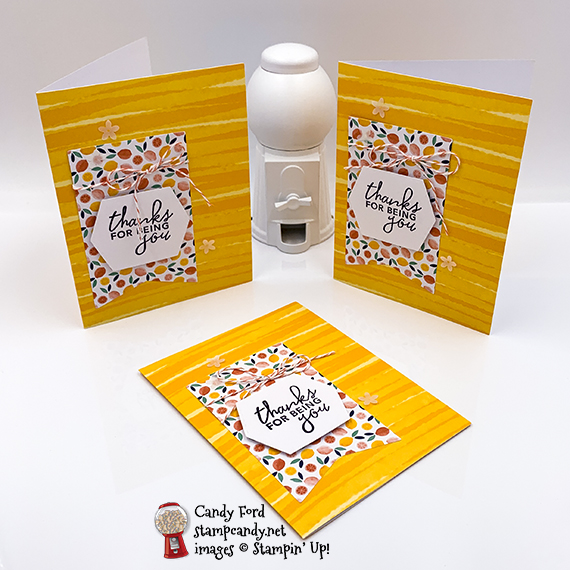
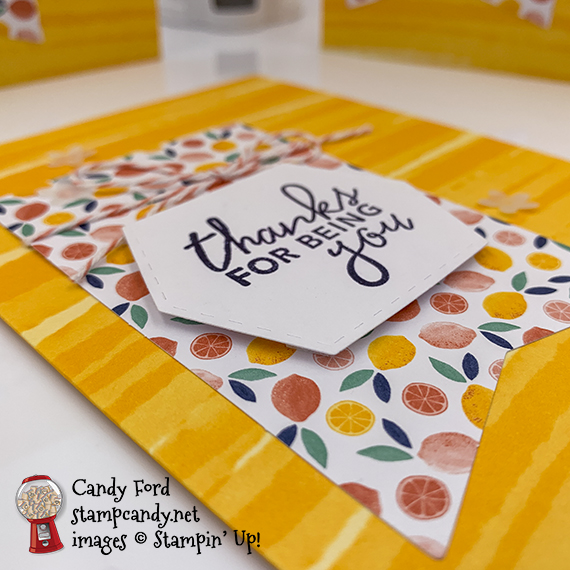
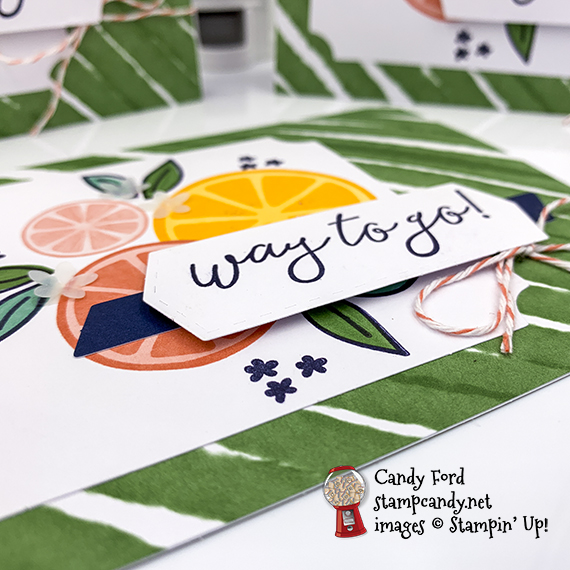
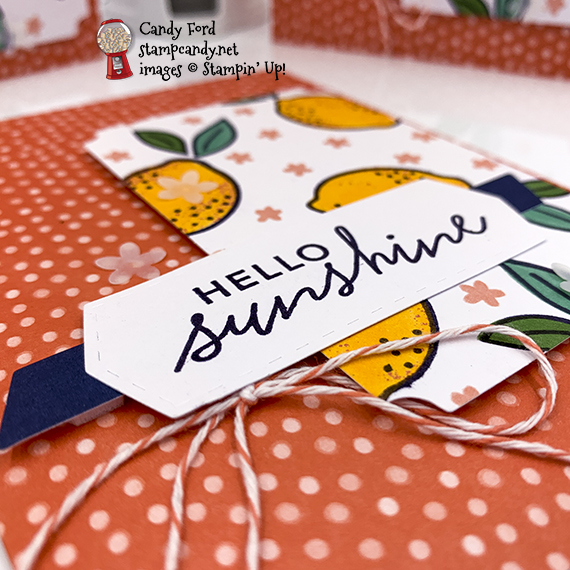
I just love these little flower details.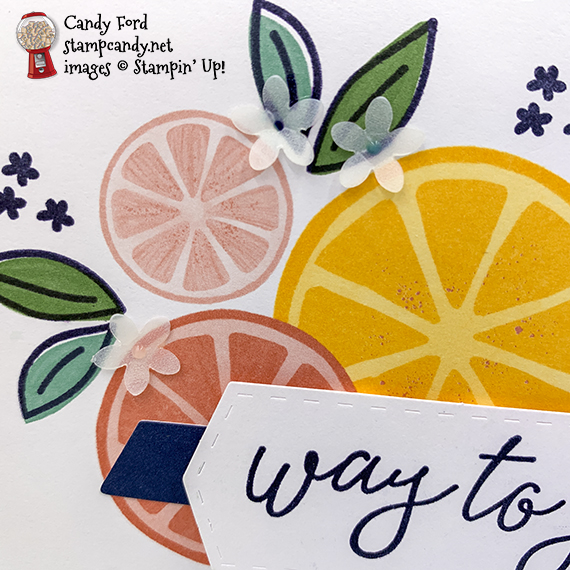
Here’s what I did:
Stamped with the Simply Citrus stamp set:
- sentiments in Night of Navy ink onto the included labels
- fruit and leaf outlines in Night of Navy ink onto some of the die cut layers
Assembled the cards:
- burnished the fold in the card bases with a Bone Folder
- followed the kit directions and adhered the layers and sentiments onto the card fronts
- cut twine with Paper Snips and adhered onto the cards according to the kit instructions
- flower embellishments glued onto the card fronts (adhesives are included in the kit, but I really love my glue)
S
Here are today’s colors:
You can click on each one to see all the products that come in that color!
S
Here’s what I used:
Click on these images for more details and to purchase. If you are reading this post in email, the product images may not show up. Please click here to see the post on my blog.
Supply List. <— Click for a clickable and printable list of the products!
S
Use your Bonus Days coupons by August 31!
Click the image below to shop now and use your Bonus Days coupons!
S
Here are some helpful links:
S
Thanks for stopping by today, and Sweet Stamping!
Aug 13, 2020 | Blog Hop, Boxes, Cards, Gallery |

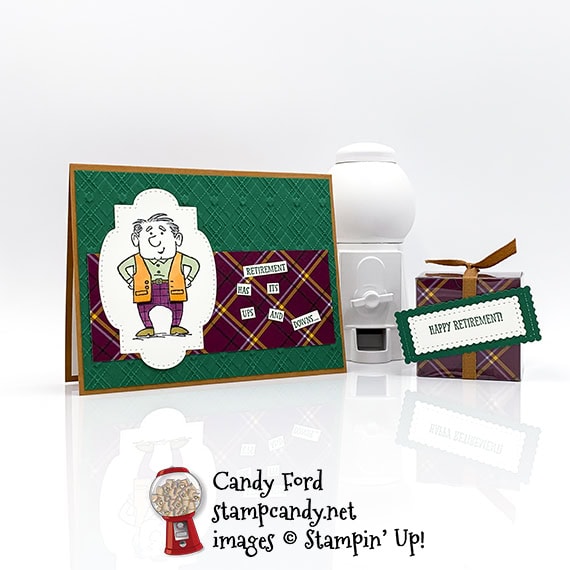
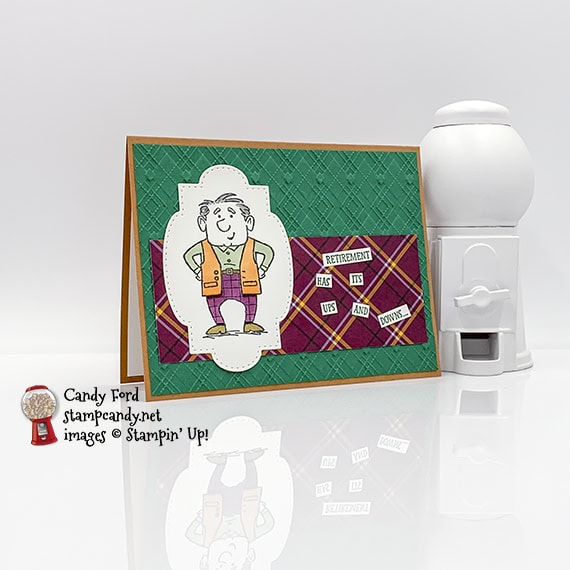
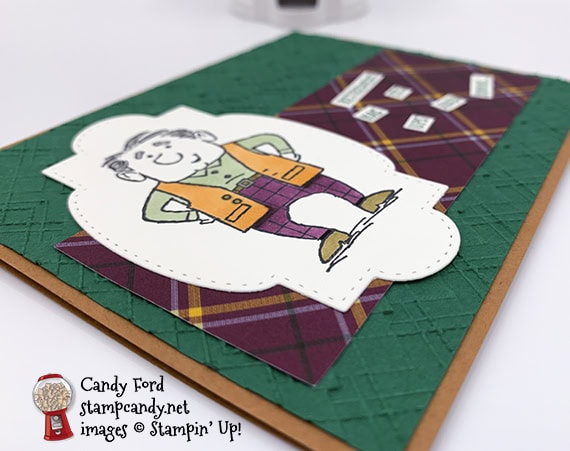
Welcome to the August 2020 OSAT Blog Hop! This month’s theme is New Beginnings, so we’re featuring projects celebrating new job, new marriage, new school year, etc. I used the Senior Years stamp set to make a happy retirement card and gift box. You may think of retirement as the end of a career, but I think of it as the beginning of a new life without the day to day worries of a job. I used the Plaid Tidings Designer Series Paper and Absolutely Argyle 3D Embossing Folder to echo the plaid pants the man is wearing. When I think of a retired man, the first thing that pops into my head is a man wearing mismatched patterns to play golf. And this guy seems very happy with his wardrobe choice, from the Pumpkin Pie vest to the Blackberry Bliss plaid pants.
If you are reading this in email, some photos may appear blurry, or may not appear at all. Please click here to see the post on my blog.
S August 2020 OSAT August 2020 OSAT August 2020 OSAT
Here’s what I made:

 S
S
Here’s what I did:
Cut and scored with my paper trimmer:
- Cinnamon Cider card stock (CS) cut to 5-1/2″ x 8-1/2″, then scored in half at 4-1/4″
- Shaded Spruce CS layer cut to 5-1/4″ x 4″
- Plaid Tidings Designer Series Paper (DSP) layer cut to 5″ x 2″
- Whisper White CS cut to 5-1/4″ x 4″ for the inside of the card base
- Plaid Tidings Designer Series Paper (DSP) cut to 6″ x 2″ (2 pieces)
Stamped with the Senior Years stamp set:
- man in Tuxedo Black Memento ink onto a scrap of Whisper White Thick CS
- front sentiments in Shaded Spruce ink onto a scrap of Whisper White Thick CS
- inner sentiment in Shaded Spruce ink onto the Whisper White CS for the inside of the card base
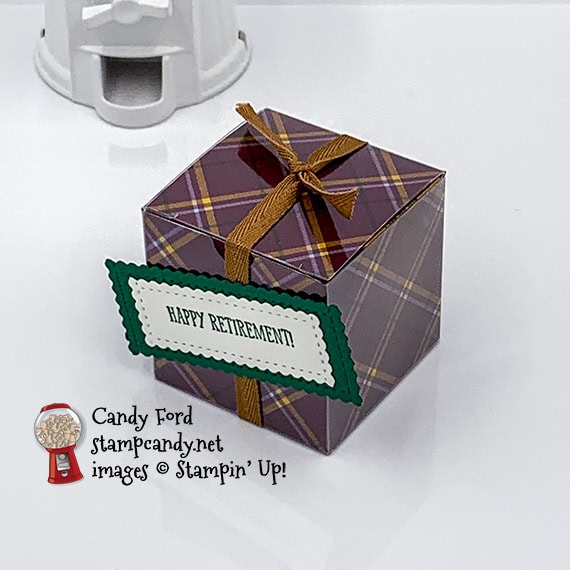
- box sentiment in Shaded Spruce ink onto a scrap of Whisper White Thick CS
Cut using the Stitched So Sweetly Dies:
- man
- box sentiment
- scrap of Shaded Spruce CS to mat the box sentiment
Embossed using the Absolutely Argyle 3D Embossing Folder:
Colored using Stampin’ Blends Markers:
- man in Pumpkin Pie, Soft Sea Foam, Blackberry Bliss, and Soft Suede
Cut using Paper Snips:
- words of front sentiments cut apart
Assembled the card:
- burnished the fold in the card base with a Bone Folder
- embossed Shaded Spruce CS layer glued onto the front of the card base
- DSP layer glued onto the Shaded Spruce CS layer
- man and front sentiments glued onto the card front
- Whisper White CS glued onto the inside of the card base
Assembled the box:
- burnished the folds in the Tiny Treat box and folded it to assemble
- burnished the folds in the two DSP pieces
- Inserted one DSP piece into the box around the front and two sides
- inserted the second DSP piece into the box around the bottom, back, and top
- put treats inside the box and closed the lid
- Cinnamon Cider ribbon tied around the box and tied in a simple knot on top
- die cut sentiment glued onto the die cut Shaded Spruce CS mat
- Shaded Spruce CS mat adhered onto the front of the box using Mini Glue Dots
S
Here’s the August 2020 OSAT Blog Hop:
Here are today’s colors:
You can click on each one to see all the products that come in that color!
S
Here’s what I used:
Click on these images for more details and to purchase. If you are reading this post in email, the product images may not show up. Please click here to see the post on my blog.
Supply List. <— Click for a clickable and printable list of the products!
S
Use your Bonus Days coupons by August 31!
Click the image below to shop now and use your Bonus Days coupons!
S
Here are some helpful links:
S
Thanks for stopping by today, and Sweet Stamping!
Aug 11, 2020 | Autumn, Blog Hop, Cards, Gallery |

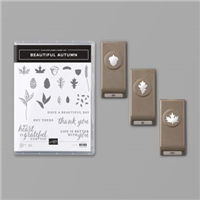
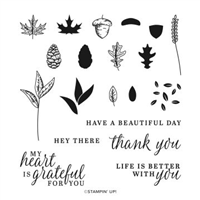
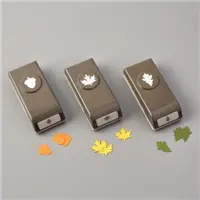
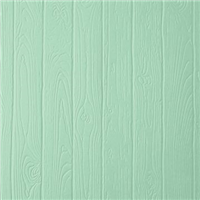
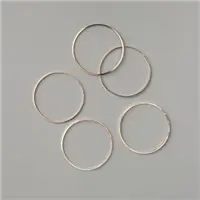
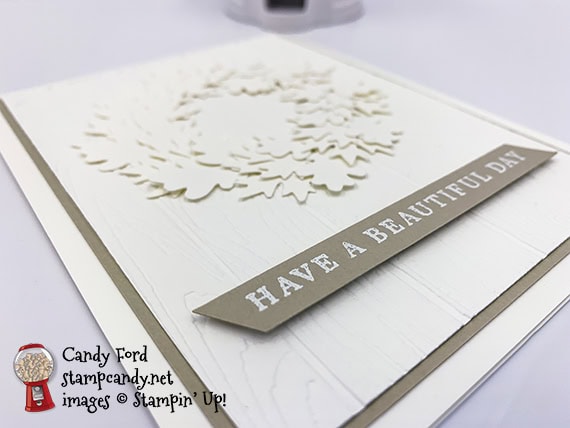
Welcome to the August 2020 ICS Blog Hop! This month’s theme is Punch Me Out, and we’re featuring Stampin’ Up!’s amazing punches. I used the Autumn Punch Pack and coordinating Beautiful Autumn stamp set for my project today, as well as the Pinewood Plank 3D Embossing Folder. The embossing folder creates the background for the wreath, which is one color (white) but made of two different leaf types. To make sure the wreath turned out round, I drew a circle on the background layer by tracing a Gold Hoop Embellishment with a pencil, and glued the leaves around that.
Be sure to hop around to all the stops to see all the projects from this great group of stampers!
If you are reading this in email, some photos may appear blurry, or may not appear at all. Please click here to see the post on my blog.
S August 2020 ICS Blog Hop August 2020 ICS Blog Hop August 2020 ICS Blog Hop August 2020 ICS Blog Hop
Here’s what I made:

S
Here’s what I did:
Cut and scored with my paper trimmer:
- Whisper White Thick card stock (CS) cut to 4-1/4″ x 11″, then scored in half at 5-1/2″
- Sahara Sand CS layer cut to 3-7/8″ x 5-1/8″
- Whisper White Thick CS layer cut to 3-3/4″ x 5″
- Sahara Sand CS cut to 3/8″ x 3-1/2″ for the sentiment
Stamped with the Beautiful Autumn stamp set:
- sentiment in Versamark ink onto the Sahara Sand CS strip, then heat embossed in white
Cut using the Autumn Punch Pack:
- 16 each of the 2 leaves from a scrap of Whisper White Thick CS
Cut using Paper Snips:
- both ends of the sentiment strip
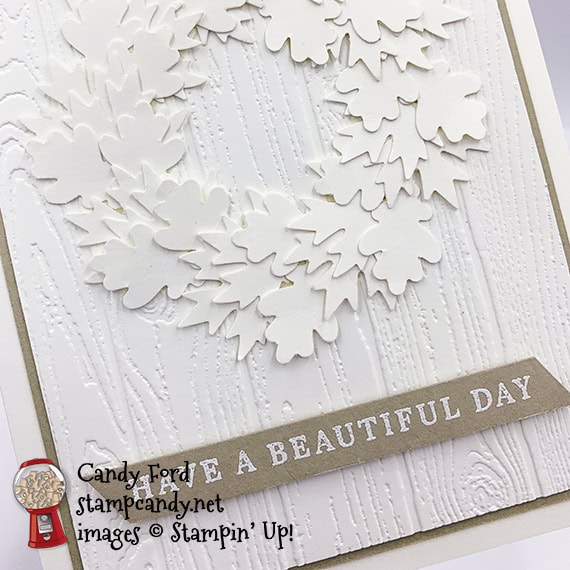
Embossed using the Pinewood Planks 3D Embossing Folder:
- Whisper White Thick CS layer
Assembled the card:
- burnished the fold in the card base with a Bone Folder
- Sahara Sand CS layer glued onto the front of the card base
- embossed Whisper White Thick CS layer glued onto the Sahara Sand CS layer
- circle drawn onto the Whisper White CS layer using a pencil and a Gold Hoop Embellishment, as a guide for the wreath
- leaves glued onto the White White CS layer around the circle
- sentiment strip adhered onto the Whisper White CS layer using Mini Stampin’ Dimensionals
S
Here’s the August 2020 ICS Blog Hop:
Click the next button to hop to the next stop, Sandra Roberts of Sandra’s Stamp & Craft Studio in the UK.

SS
Here are today’s colors:
You can click on each one to see all the products that come in that color!
S
Here’s what I used:
Click on these images for more details and to purchase. If you are reading this post in email, the product images may not show up. Please click here to see the post on my blog.
Supply List. <— Click for a clickable and printable list of the products!
S
Use your Bonus Days coupons by August 31!
Click the image below to shop now and use your Bonus Days coupons!
S
Here are some helpful links:
S
Thanks for stopping by today, and Sweet Stamping!
Aug 10, 2020 | Blog Hop, Cards, Gallery |

S
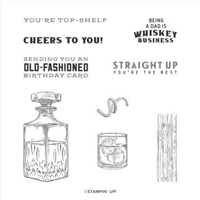
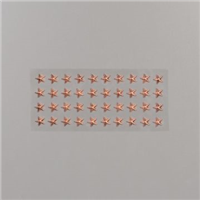
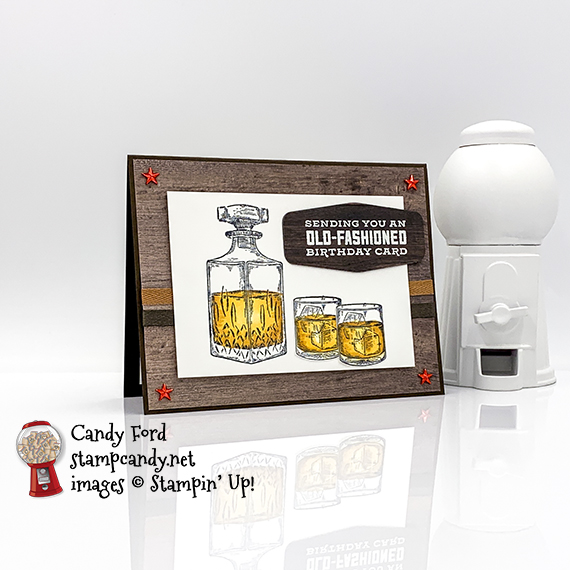
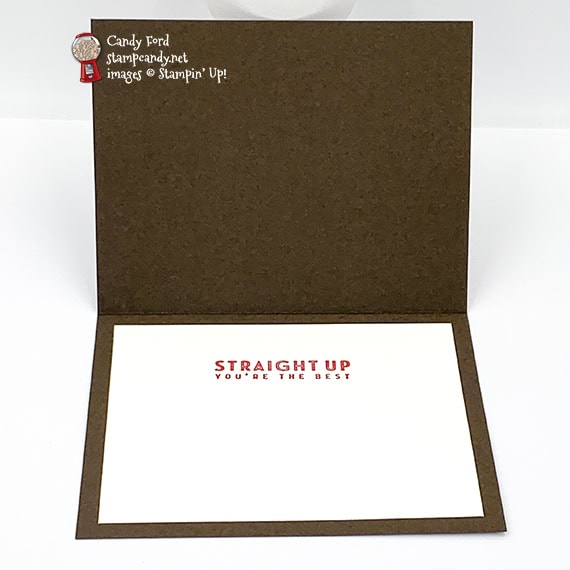
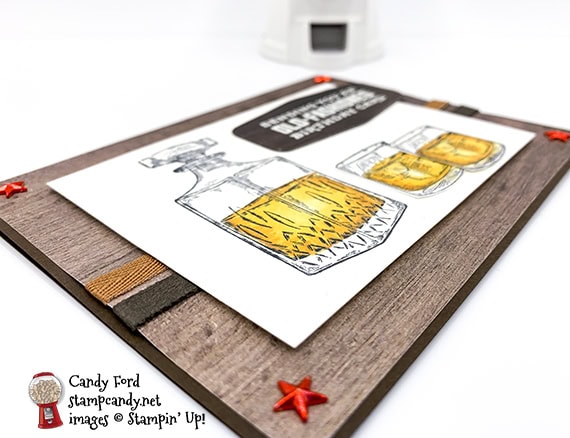
Welcome to the August 2020 Candy Hearts Blog Hop! This month’s theme is Birthday. I used the Whiskey Business stamp set, the Tasteful Labels Dies, and In Good Taste Designer Series paper to create my card. The main colors are browns, yellows, and white. I added a few Real Red touches because the person I made this card for really likes red. If you don’t want the red, you can leave the Star Designer Elements copper, and use Early Espresso ink on the inside of the card.
Be sure to hop around to all the stops to see all the great projects this talented group has for you! The amazing Lisa Ann Bernard of Queen B Creations is joining us, and I’m sure she has made something wonderful to share.
If you are reading this in email, some photos may appear blurry, or may not appear at all. Please click here to see the post on my blog.
S August 2020 Candy Hearts August 2020 Candy Hearts August 2020 Candy Hearts August 2020 Candy Hearts
Here’s what I made:
S
Here’s what I did:
Cut and scored with my paper trimmer:
- Early Espresso card stock (CS) cut to 5-1/2″ x 8-1/2″, then scored in half at 4-1/4″
- In Good Taste Designer Series Paper (DSP) layer cut to 5-3/8″ x 4-1/8″
- Whisper White Thick CS layer cut to 4-3/8″ x 3-1/8″
- Whisper White CS cut to 5-1/4″ x 4″ for the inside of the card base
Stamped with the Whiskey Business stamp set:
- decanter in Tuxedo Black Memento ink onto the Whisper White Thick CS layer
- 2 glasses in Tuxedo Black Memento ink onto a scrap of Whisper White Thick CS
- sentiment in Versamark ink onto a scrap of DSP (darker wood) then heat embossed in white
- inside sentiment in Real Red ink onto the Whisper White CS for the inside
Cut using the Tasteful Labels Dies:
Cut using Paper Snips:
Colored using Stampin’ Blends Markers:
- “whiskey” in the decanter and glasses in Light So Saffron, Dark So Saffron, and Light Cinnamon Cider
- 4 Star Designer Elements in Dark Real Red
Assembled the card:
- burnished the fold in the card base with a Bone Folder
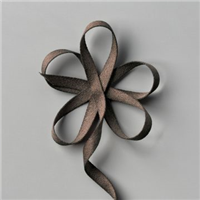
- Early Espresso Faux Suede Ribbon and Cinnamon Cider Ribbon adhered onto the larger DSP using Tear & Tape
- NOTE: I folded the Tear & Tape in half so it wouldn’t be too wide for the ribbon.
- larger DSP layer glued onto the front of the card base
- 2 glasses glued onto the Whisper White Thick CS layer
- die cut sentiment glued onto the die cut Early Espresso CS
- die cut Early Espresso CS glued onto the Whisper White Thick CS layer
- Whisper White Thick CS layer adhered onto the larger DSP layer using Stampin’ Dimensionals
- star elements applied onto the 4 corners of the large DSP layer
- Whisper White CS glued onto the inside of the card base
S
Here’s the August 2020 Candy Hearts Blog Hop:
S
Here are today’s colors:
You can click on each one to see all the products that come in that color!
S
Here’s what I used:
Click on these images for more details and to purchase. If you are reading this post in email, the product images may not show up. Please click here to see the post on my blog.
Supply List. <— Click for a clickable and printable list of the products!
S
The new catalog AND the new online store are live!
Click the image to check it out now!
S
Use your Bonus Days coupons by August 31!
Click the image below to shop now and use your Bonus Days coupons!
S
Here are some helpful links:
S
Thanks for stopping by today, and Sweet Stamping!
Aug 7, 2020 | Cards, Gallery |
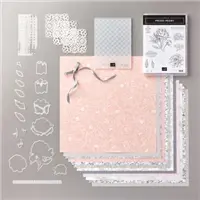
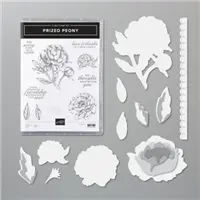
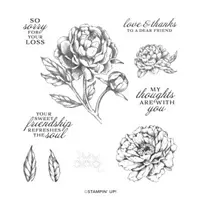
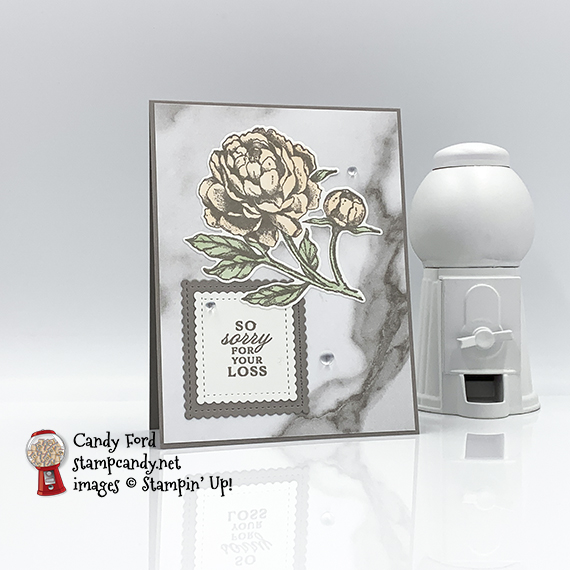
Today I’m sharing the Prized Peony cards I made for the July Candy Hearts team swap. The theme was sympathy. None of us really enjoy making these, but it’s best to make them when you don’t need them, and have them on hand for when you do. I used the Prized Peony Bundle (Prized Peony stamp set and Peony Dies,) Stitched So Sweetly Dies, and Peony Garden Designer Series Paper.
If you are reading this in email, some photos may appear blurry, or may not appear at all. Please click here to see the post on my blog.
S Prized Peony Prized Peony Prized Peony Prized Peony
Here’s what I made:


S
Here’s what I did:
Cut and scored with my paper trimmer:
- Gray Granite card stock (CS) cut to 4-1/4″ x 11″, then scored in half at 5-1/2″
- Peony Garden Designer Series Paper (DSP) layer cut to 4″ x 5-1/4″
- Whisper White CS cut to 4″ x 5-1/4″ for the inside of the card base
Stamped with the Prized Peony stamp set:
- large peony image in Gray Granite ink onto a scrap of Whisper White CS
- sentiment in Gray Granite CS onto a scrap of Whisper White CS
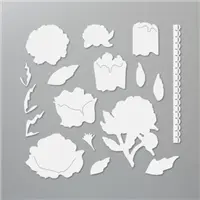
Cut using the Peony Dies:
Cut using the Stitched So Sweetly Dies:
- scrap of Gray Granite CS using a scalloped stitched rectangle die
- sentiment using a smaller scalloped stitched rectangle die
- NOTE: The dies are longer than the finished pieces. I cut each one with a die that was the width I wanted. I lined up one end of the die around the sentiment and cut it, then moved the die to cut the other end, lining up the die along the scallops. I used that as a guide for where to cut the mat piece.
Colored using Stampin’ Blends:
- flower and bud in Light Petal Pink
- leaves and stems in light Soft Sea Foam
Assembled the card:
- burnished the fold in the card base with a Bone Folder
- DSP layer glued onto the front of the card base
- sentiment glued onto the Gray Granite CS die cut
- Gray Granite CS die cut glued onto the DSP layer
- peony glued onto the DSP layer, overlapping the sentiment
- 3 Frosted Epoxy Droplets applied, 1 onto the sentiment and 2 onto the DSP layer – I find the easiest way to transfer the dots from the plastic sheet to where I want it on the card is to use the Paper Piercing Tip (pokey tool) of my Take Your Pick Tool
- Whisper White CS glued onto the inside of the card base
S
Here are today’s colors:
You can click on each one to see all the products that come in that color!
S
Here’s what I used:
Click on these images for more details and to purchase. If you are reading this post in email, the product images may not show up. Please click here to see the post on my blog.
Supply List. <— Click for a clickable and printable list of the products!
S
The new catalog, and the new online store, are live!
Click the image to check out the online store’s new look and to shop the new catalog:
S
Use your Bonus Days coupons by August 31!
Click the image below to shop now and use your Bonus Days coupons!
S
Here are some helpful links:
S
Thanks for stopping by today, and Sweet Stamping!