Jun 4, 2018 | Cards, Gallery, Guest Stamper, New Products |
At our Candy Hearts team meeting in May, I received some great swap cards. Today I’m sharing one that was made by Susan Ballentine. She used the new Share What You Love Designer Series Paper along with some great products that carried over to the new catalog to make this great card in shades of green. I love all the “white space” on this card, with all the decor concentrated at the bottom right. It has an asymmetrical but balanced look.
Here’s what she made:


Here’s what she did:
Cut and scored with her Stampin’ Trimmer:
- Tranquil Tide card stock (CS) cut to 8-1/2″ x 5-1/2″, then scored in half at 4-1/4″
- Share What You Love Designer Series Paper (DSP) cut to 4-1/4″ x 3″, then cut diagonally from the top right to the bottom left
- Whisper White CS cut to 4″ x 5-1/4″
Die cut using the Eclectic Layers Thinlits:
- leaves from a scrap of Lemon Lime Twist CS x 3
- the geometric pattern from a scrap of Mint Macaron CS, then cut it out around the edges using Paper Snips
Die cut using the Detailed Dragonfly Thinlits:
- one dragonfly from a scrap of Tranquil Tide CS
- one dragonfly from a scrap of the DSP
Assembled the card:
- burnished the fold in the card base with a Bone Folder
- triangular DSP glued onto the front of the card base
- geometric pattern glued onto the front of the card base
- leaves adhered to the card front using Mini Stampin’ Dimensionals
- dragonflies glued together, then adhered over the leaves using Mini Stampin’ Dimensionals
- pearls applied to the card base inside the geometric shape
- Whisper White CS glued to the inside of the card base
Here are today’s main colors:
You can click on each one to see all the products that come in that color!
Here’s what she used:
Click on these images for more details and to purchase.
Here’s some information you should check out:
Thanks for stopping by today, and Sweet Stamping!
Jun 2, 2018 | Cards, Gallery, New Products |
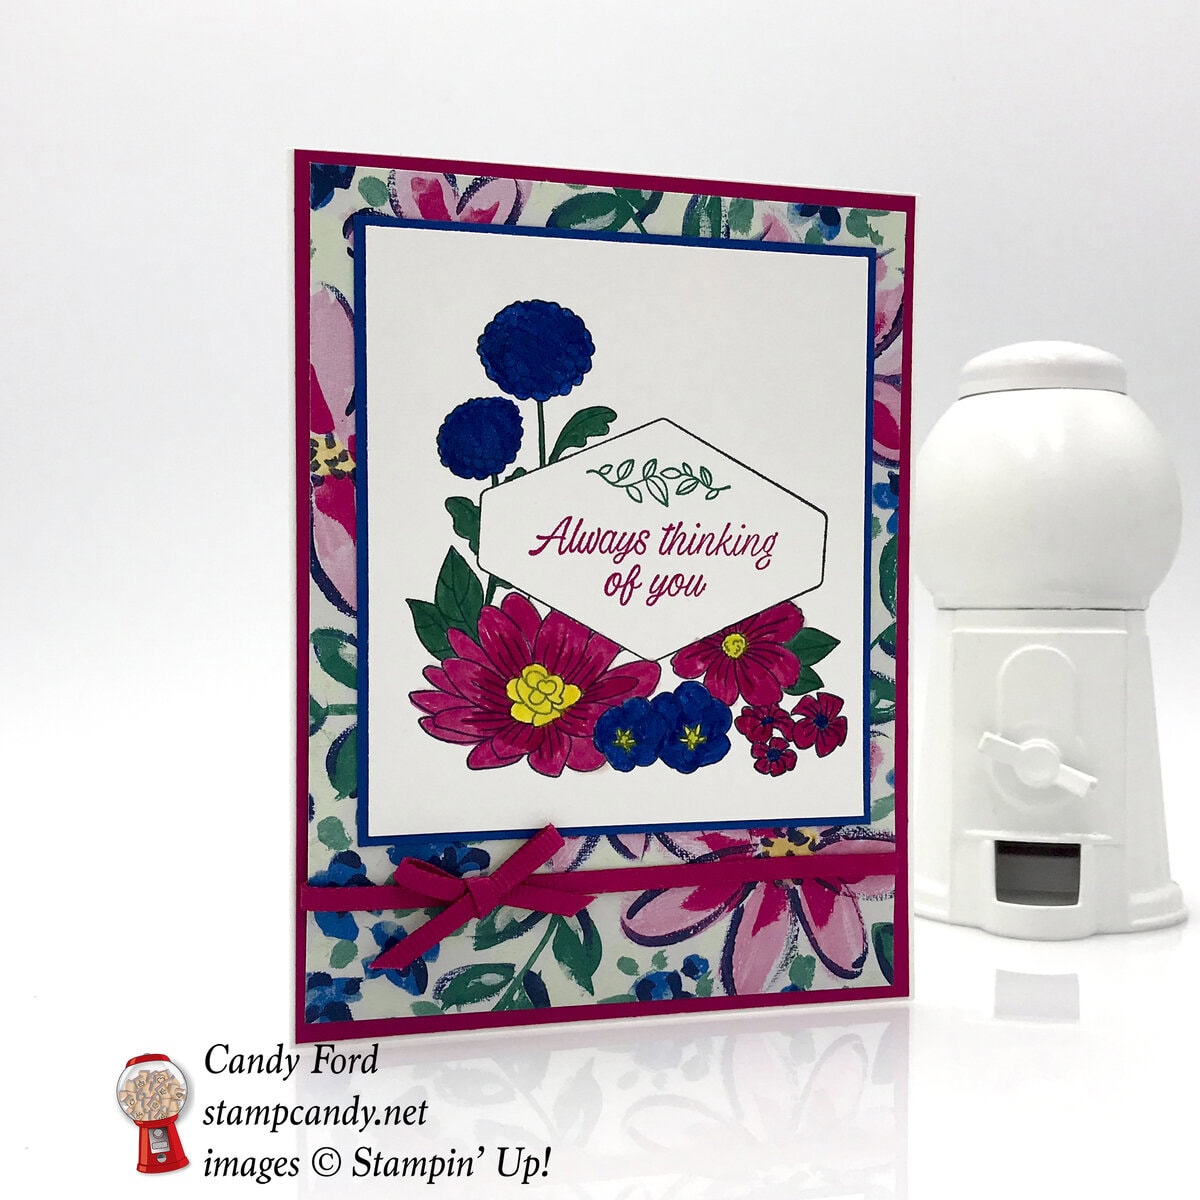
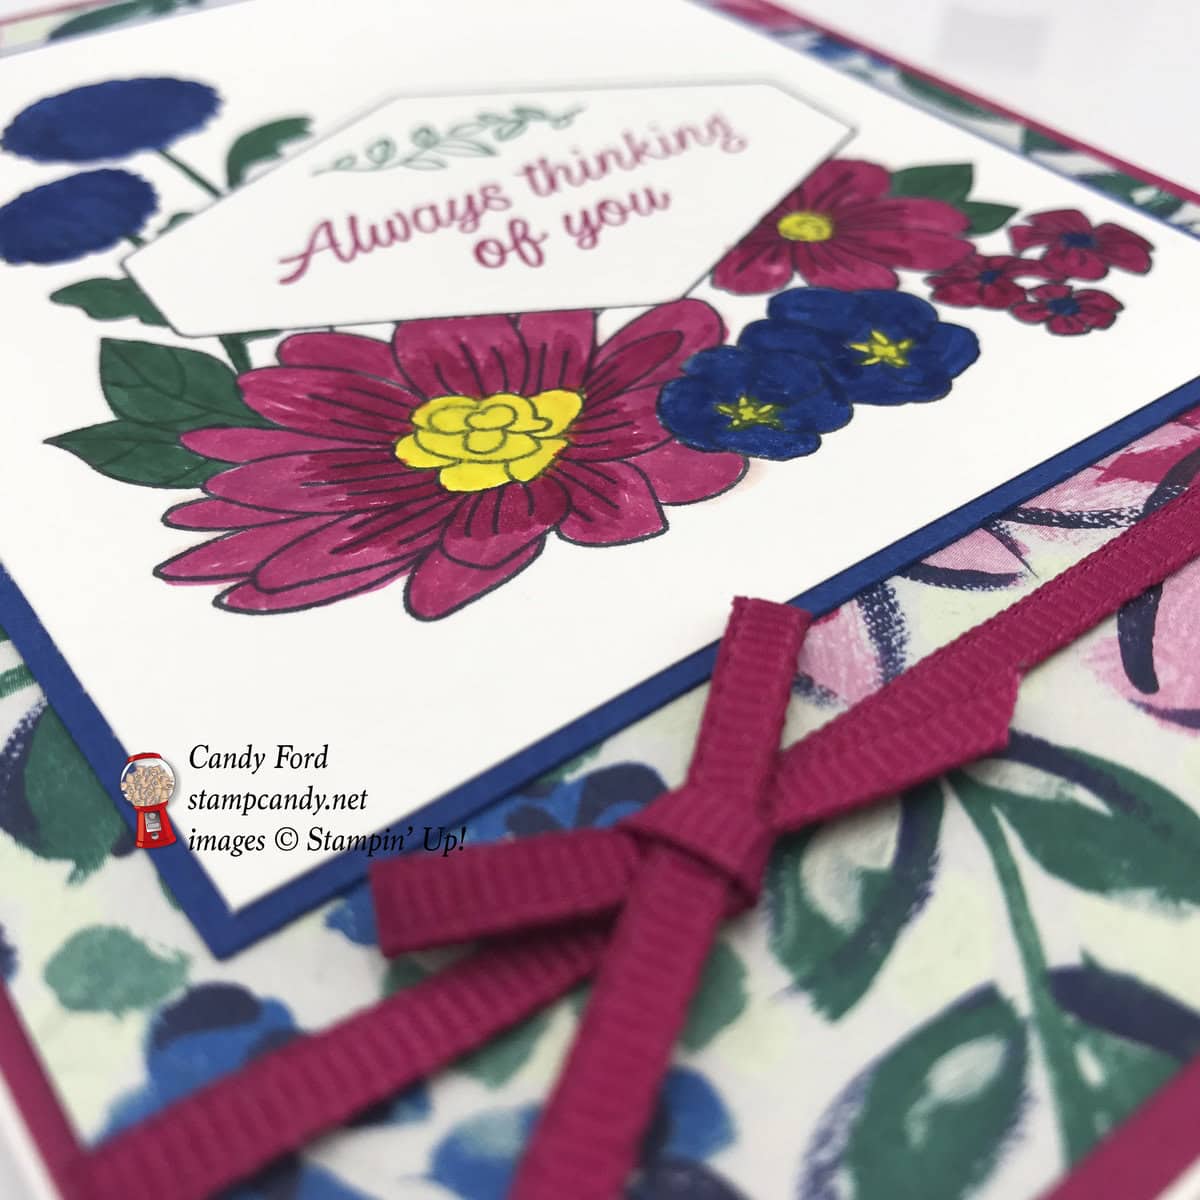
I love the new 2018-2020 In Colors. They make today’s card so bright and cheerful. I used the new Accented Blooms stamp set and the Tailored Tag Punch to make this sweet Always Thinking of You card.
Here’s what I made:
Here’s what I did:
Cut and scored with my Stampin’ Trimmer:
- Whisper White Thick card stock (CS) cut to 8-1/2″ x 5-1/2″, then scored in half at 4-1/4″
- Lovely Lipstick CS cut to 4-1/8″ x 5-3/8″
- Garden Impressions Designer Series Paper (DSP) cut to 4″ x 5-1/4″
- Blueberry Bliss CS cut to 3-1/2″ x 4″
- Whisper White CS cut to 3-3/8″ x 3-7/8″
Stamped with the Accented Blooms stamp set:
- large image in black Staz-on ink
- sentiment in Lovely Lipstick ink
- small leaves in Shaded Spruce ink above the sentiment
Colored using Stampin’ Write Markers:
- flowers in Lovely Lipstick, Blueberry Bushel, Shaded Spruce, and Pineapple Punch
Assembled the card:
- burnished the fold in the card base with a Bone Folder
- stamped Whisper White CS layer glued onto the Blueberry Bushel CS layer
- Blueberry Bushel CS layer glued onto the DSP layer
- Lovely Lipstick 1/8″ Grosgrain ribbon adhered across the DSP layer and wrapped around to the back
- another piece of the ribbon tied around the first piece and tied in a bow
- DSP layer glued onto the Lovely Lipstick CS layer
- Lovely Lipstick CS layer glued onto the front of the card base
Here are today’s main colors:
You can click on each one to see all the products that come in that color!
Here’s what I used:
Click on these images for more details and to purchase.
Here’s some stuff you should check out:
Thanks for stopping by today, and Sweet Stamping!
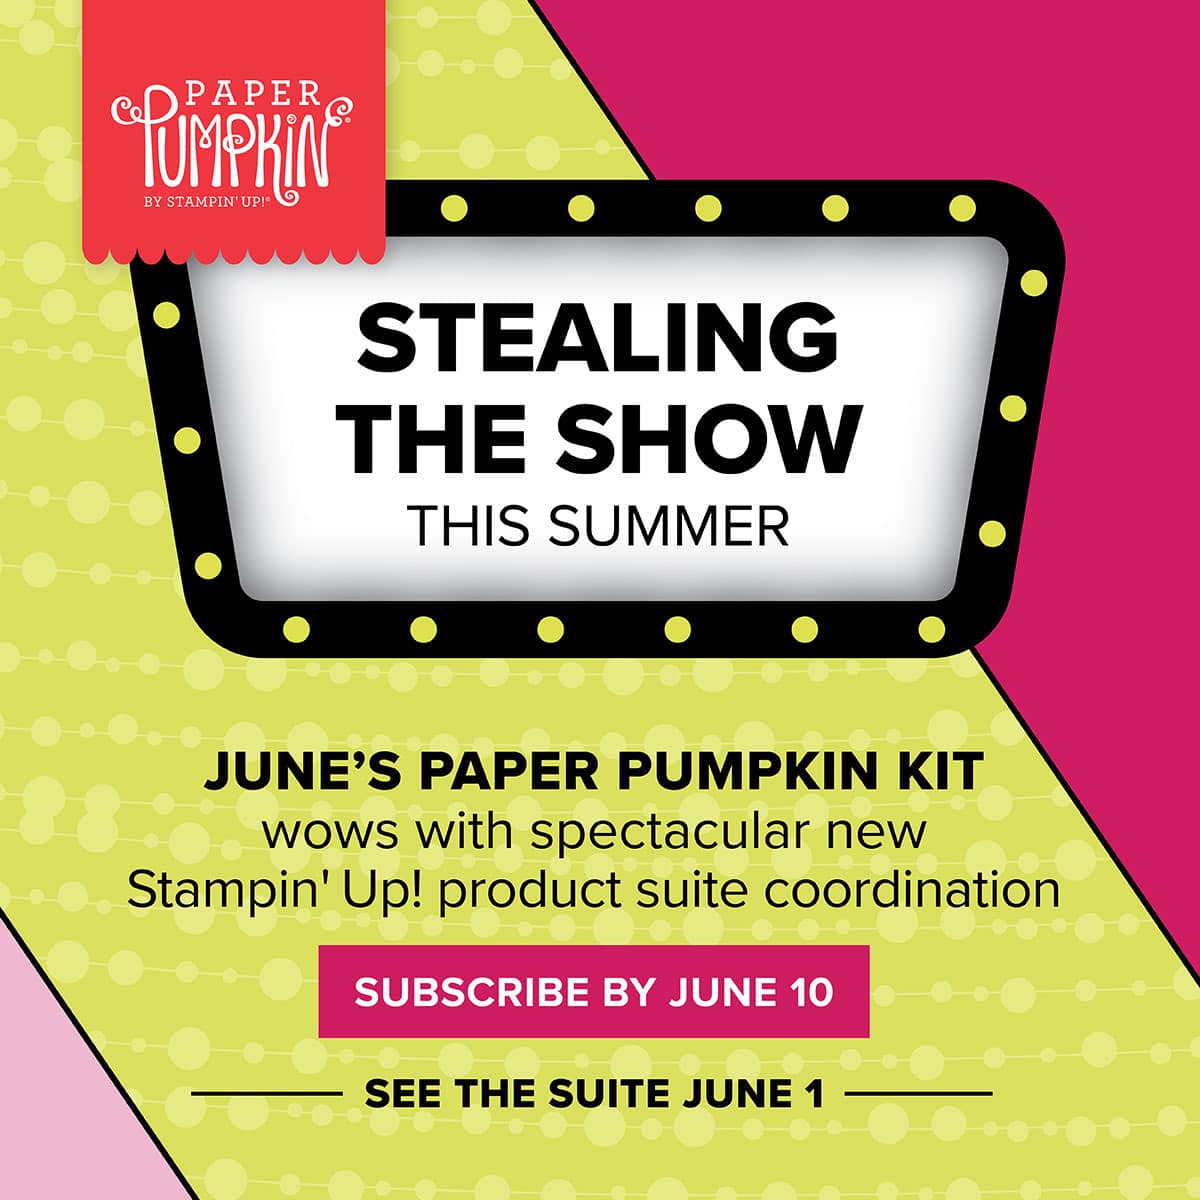
Jun 1, 2018 | Catalogs, New Products, Paper Pumpkin |
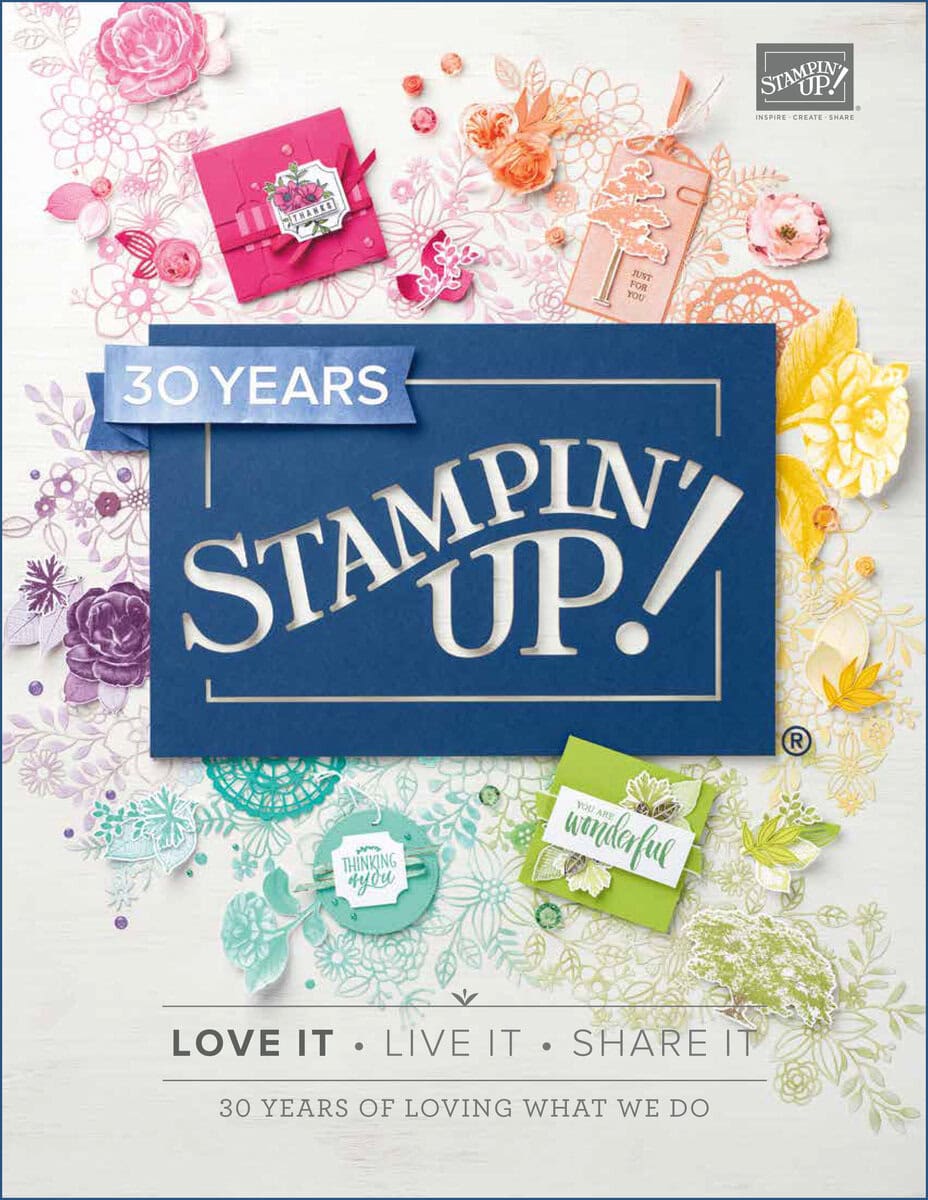
New Catalog:
It’s finally here! Today is the day we’ve all been waiting for! The 2018-2019 Stampin’ Up! Annual Catalog goes live today! You can begin placing online orders here at:
- 11am Pacific Time
- noon Mountain Time
- 1pm Central Time
- 2pm Eastern Time
If you don’t have your new catalog yet:
- check out the Catalog page here for the pdf of the full catalog, a list of the new bundles, and a list of the colors in the new Designer Series Papers
- request a free catalog here
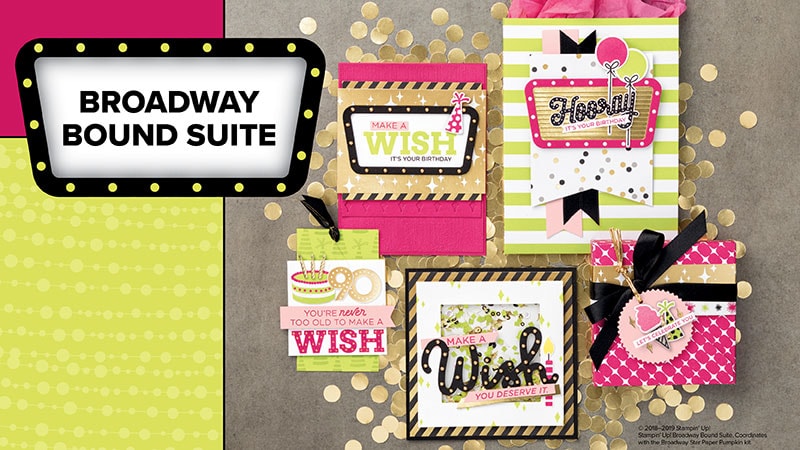
Paper Pumpkin:
That’s isn’t all that’s new today! Stampin’ Up! has announced that the June Paper Pumpkin kit will coordinate with the Broadway Bound Suite from the new catalog! Be sure to subscribe by June 10 to get the June kit! Please be sure I’m listed as your demonstrator when you subscribe. Thanks!
Here’s some more stuff you should check out:
Thanks for stopping by today, and Sweet Stamping!
May 30, 2018 | Cards, Gallery, New Products |
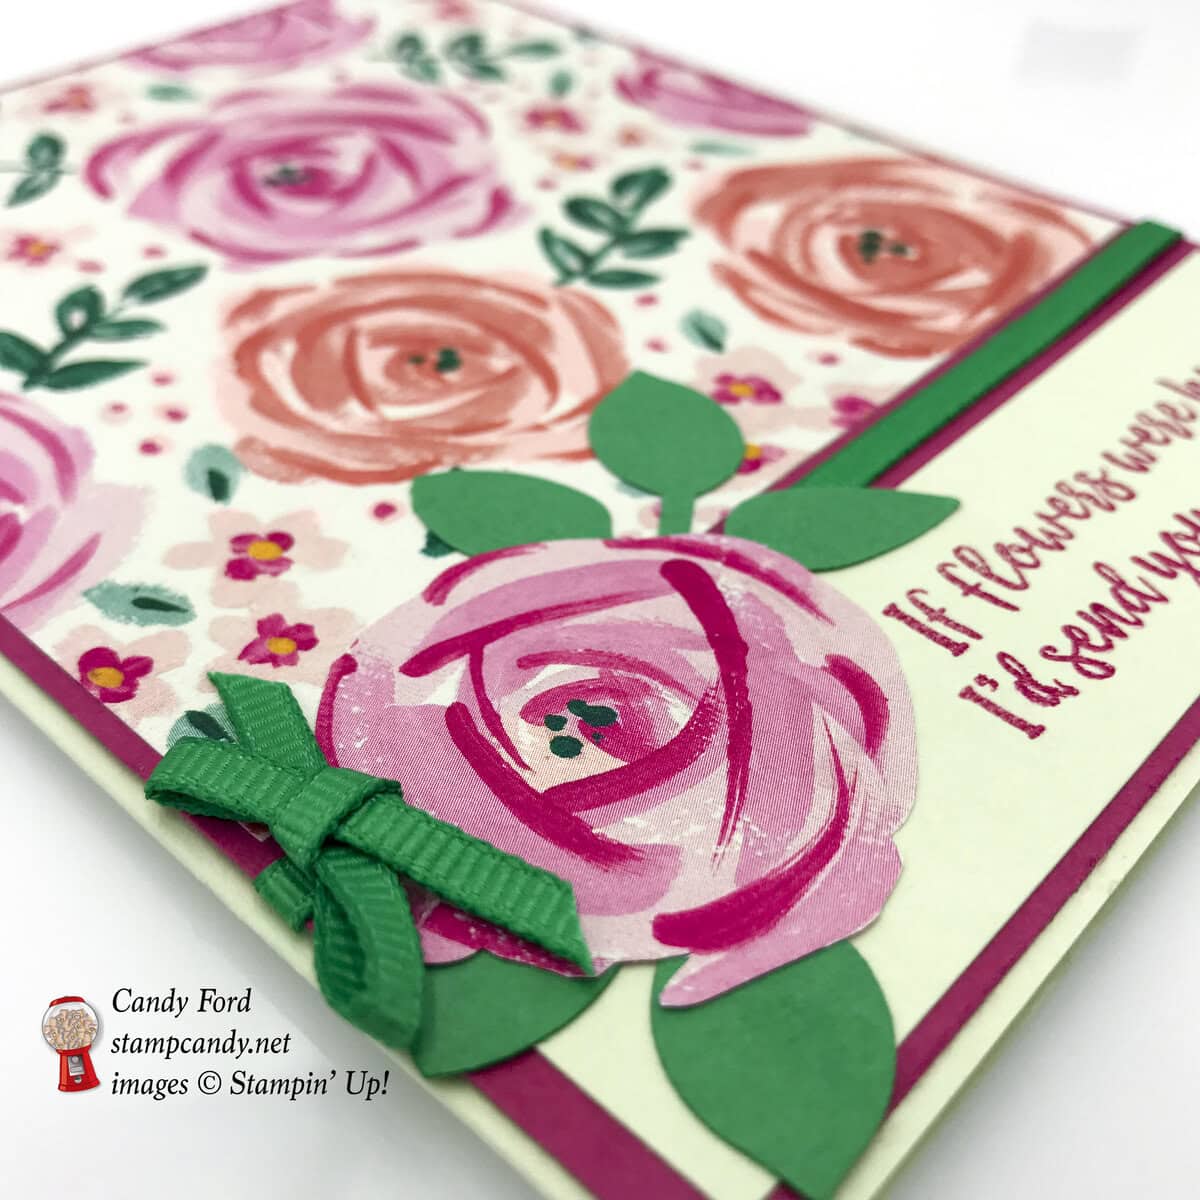
Today’s card is a very pretty floral one for sending hugs to someone you care about. The Abstract Impressions stamp set and the Garden Impressions Designer Series Paper are perfect together. The Leaf Punch and Call Me Clover 1/8″ Grosgrain Ribbon add the perfect little touches. I’d love to hear what you think! Please comment below.
Here’s what I made:

Here’s what I did:
Cut and scored with my Stampin’ Trimmer:
- Soft Sea Foam card stock (CS) cut to 8-1/2″ x 5-1/2″, then scored in half at 4-1/4″
- Melon Mambo CS cut to 4-1/8″ x 5-3/8″
- Garden Impressions Designer Series Paper (DSP) cut to 4″ x 4″
- Soft Sea Foam CS cut to 4″ x 1″
Stamped with the Abstract Impressions stamp set:
- sentiment in Melon Mambo ink onto the Soft Sea Foam CS strip, near the right end
Cut using Paper Snips:
- large pink flower from a scrap of the DSP
Cut using the Leaf Punch:
- a scrap of Call Me Clover CS, 2 pieces
Assembled the card:
- burnished the fold in the Soft Sea Foam card base with a Bone Folder
- glued DSP and sentiment strip onto the Melon Mambo CS layer, as shown in photos
- adhered a piece of Call Me Clover 1/8″ ribbon onto the Melon Mambo CS layer with Tear & Tape, wrapping the ends around to the back
- tied a shorter piece of the same ribbon around the first piece of ribbon, and tied in a bow
- glued the Melon Mambo CS layer onto the front of the card base
- glued the leaves and the DSP flower onto the card front as shown in photos
Here are today’s main colors:
- Melon Mambo
- Soft Sea Foam
- Call Me Clover
Here’s what I used:
Click on these images for more details and to purchase.
________________________________________________________________________________________________________________________________________
Swatch Books & Product Shares
for the 2018-2019 Annual Catalog
________________________________________________________________________________________________________________________________________
Here’s some more stuff you should check out:
Thanks for stopping by today, and Sweet Stamping!
May 29, 2018 | Cards, Gallery, New Products |
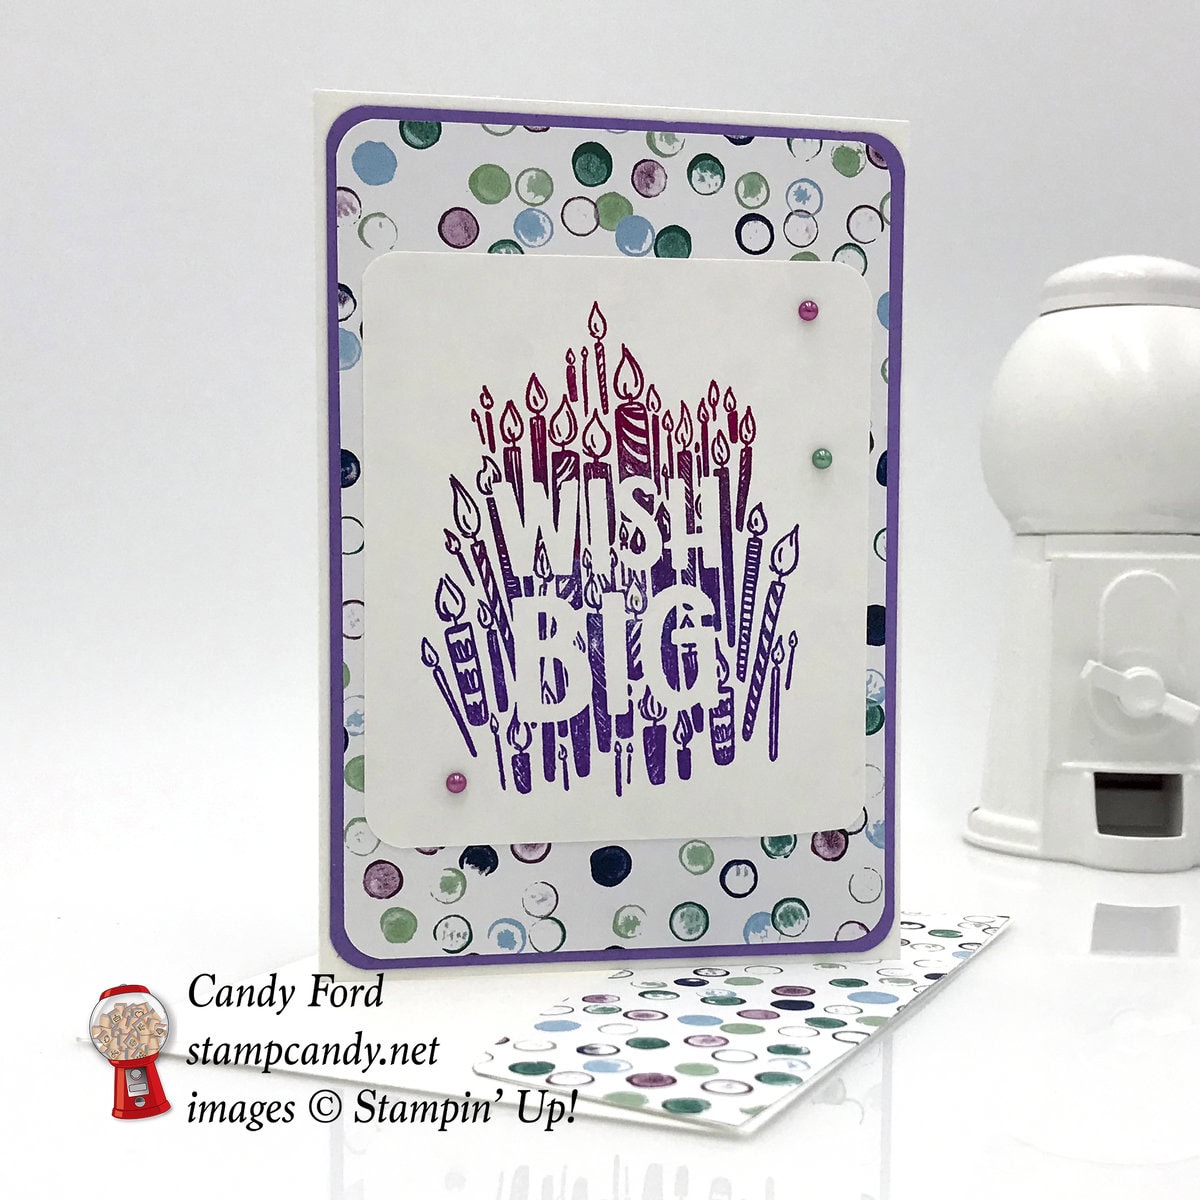
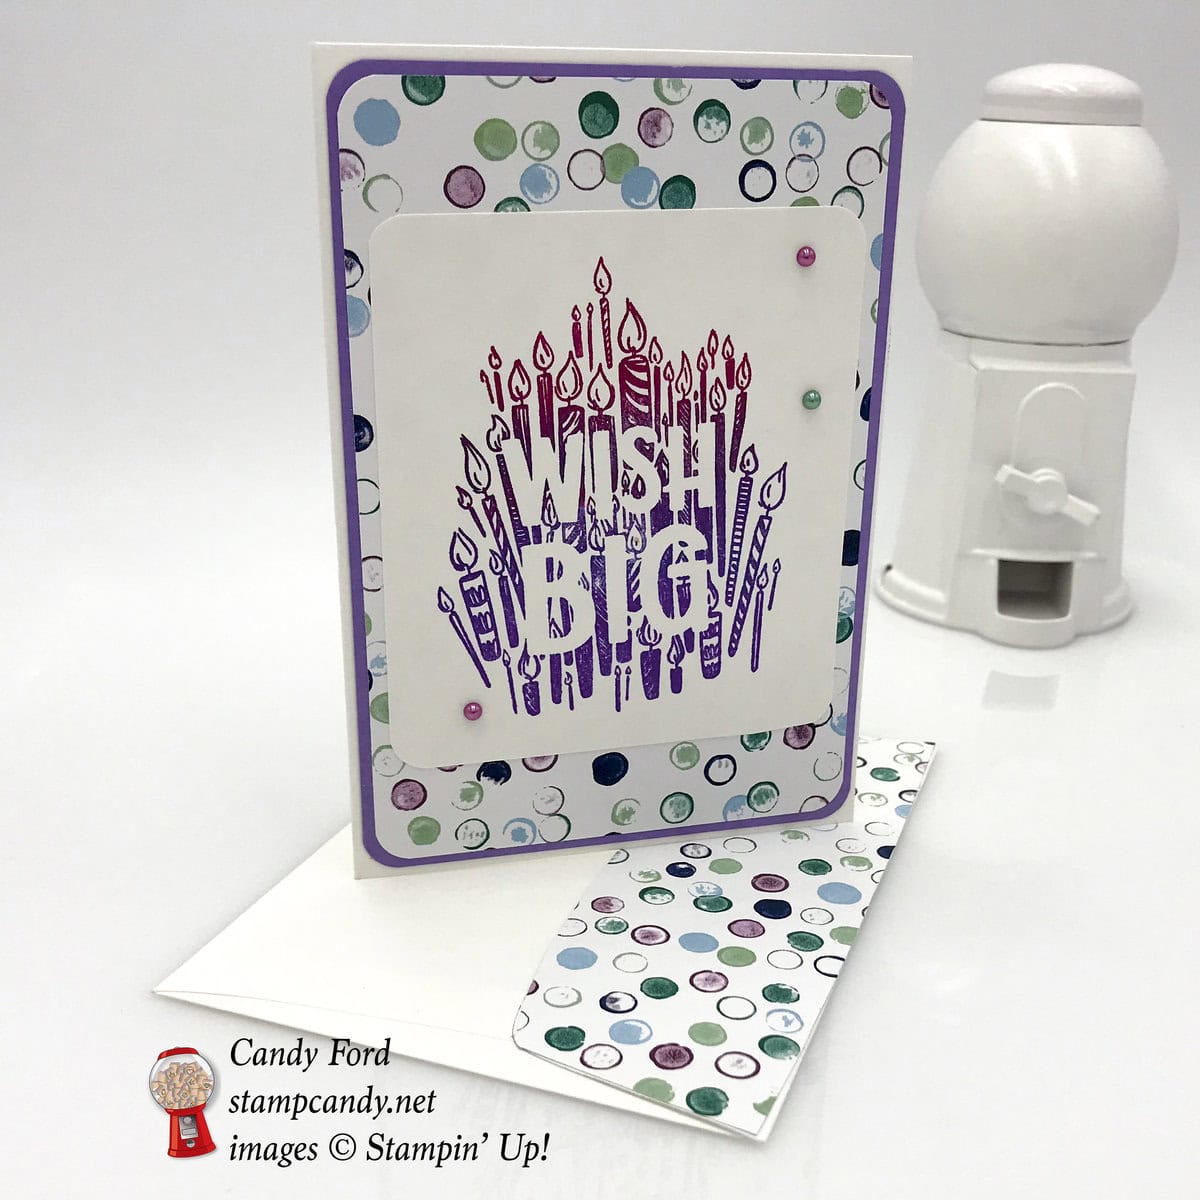
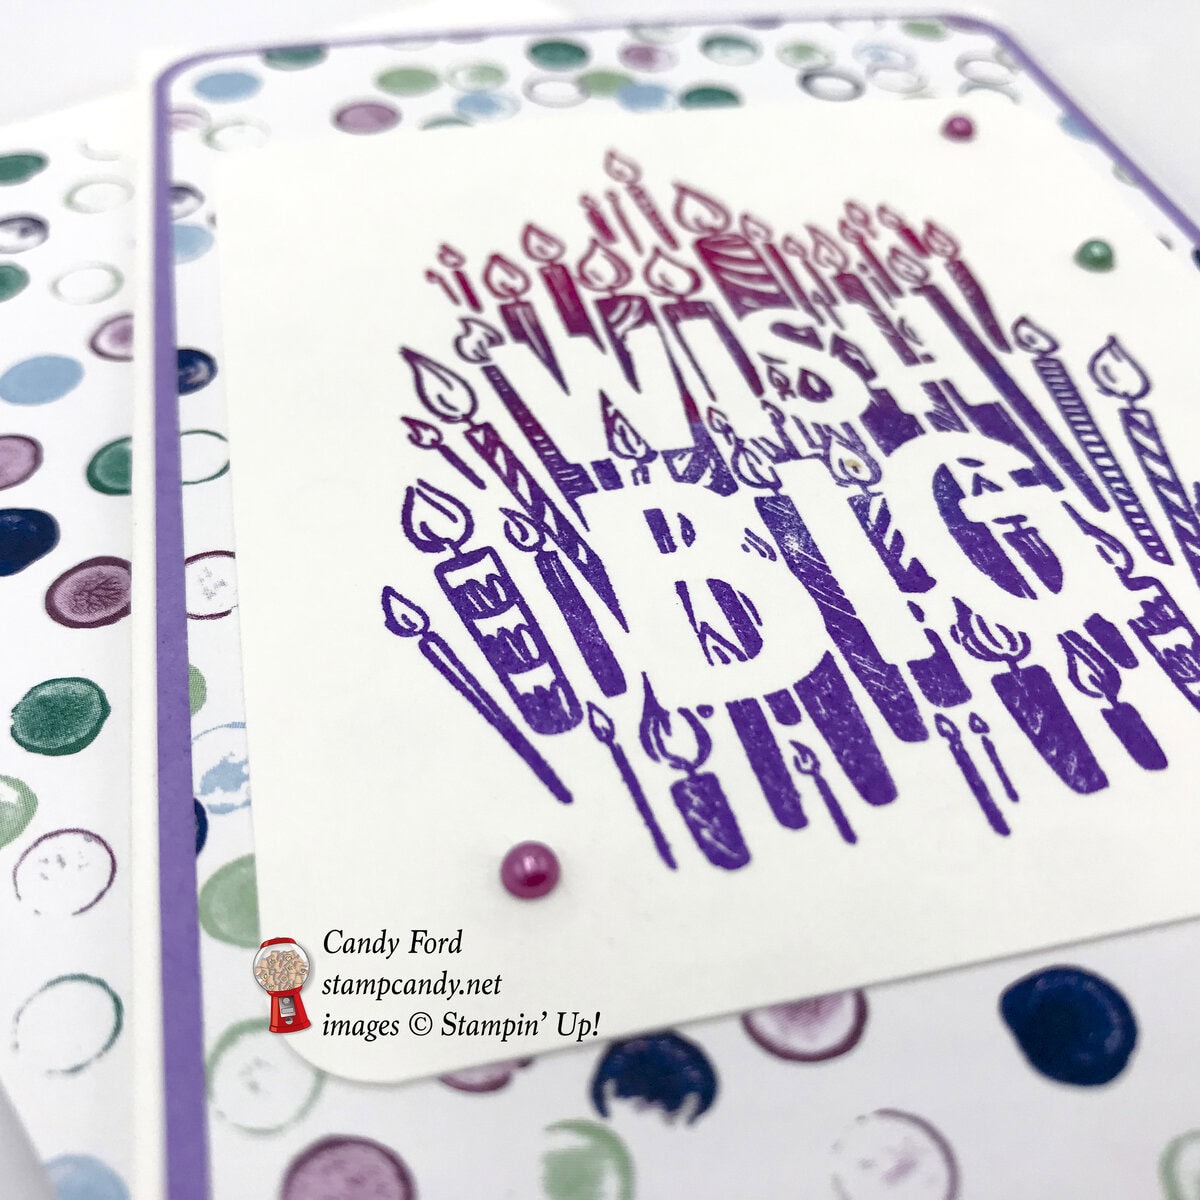
Today I’m sharing another note card made with the Big Wishes stamp set. This one uses the Tranquil Textures Designer Series Paper (DSP.) This is also an example showing that you don’t have to use card stock in colors from the DSP to “match” it. Fresh Fig is in this DSP, but Highland Heather isn’t, and it “goes” with it just fine. See what different color combos you can come up with using your DSPs.
Here’s what I made:
Here’s what I did:
Cut and scored with my Stampin’ Trimmer:
- Highland Heather card stock (CS) layer cut to 3-3/8″ x 4-7/8″
- Tranquil Textures Designer Series Paper (DSP) layer cut to 3-1/4″ x 4-3/4″
- Whisper White card stock (CS) layer cut to 3″ x 3-3/8″
- DSP cut to 5-1/4″ x 2″ for envelope flap
Stamped with the Big Wishes stamp set:
- image in Fresh Fig & Highland Heather inks onto the Whisper White CS layer
- NOTE: I inked up half the stamp in one color, then sponged the other color onto the other half of the stamp
Die cut using the Detailed Trio Punch:
- rounded the corners of all three card layers
Assembled the card:
- burnished the fold in the note card base with a Bone Folder
- stamped layer glued onto the DSP layer
- DSP layer glued onto the Highland Heather CS layer
- Highland Heather CS layer glued onto the front of the note card base
- 3 Artisan pearls applied to the stamped layer
- 5-1/4″ x 2″ DSP glued onto envelop flap, one long side even with the fold, then trimmed around the edges with Paper Snips
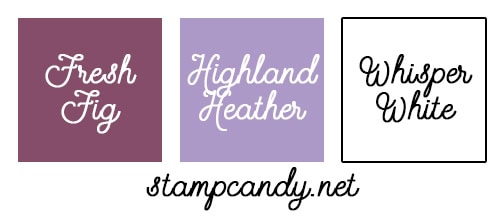
Here are today’s colors:
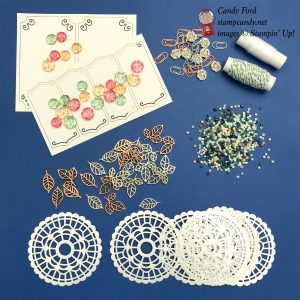
Here’s what I used:
Click on these images for more details and to purchase.
Also:
- Highland Heather card stock (146986)
- Highland Heather ink pad (147103)
_______________________________________________________________________________________________________________________________________________________
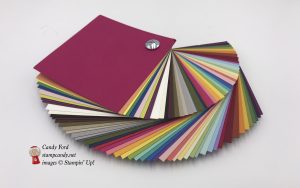
Swatch Books & Paper Shares
Order by May 31 to receive them early- to mid-June. Click here for details and to order!
_______________________________________________________________________________________________________________________________________________________
Here’s some information you should check out:
Thanks for stopping by today, and Sweet Stamping!
May 24, 2018 | Cards, Gallery, New Products |
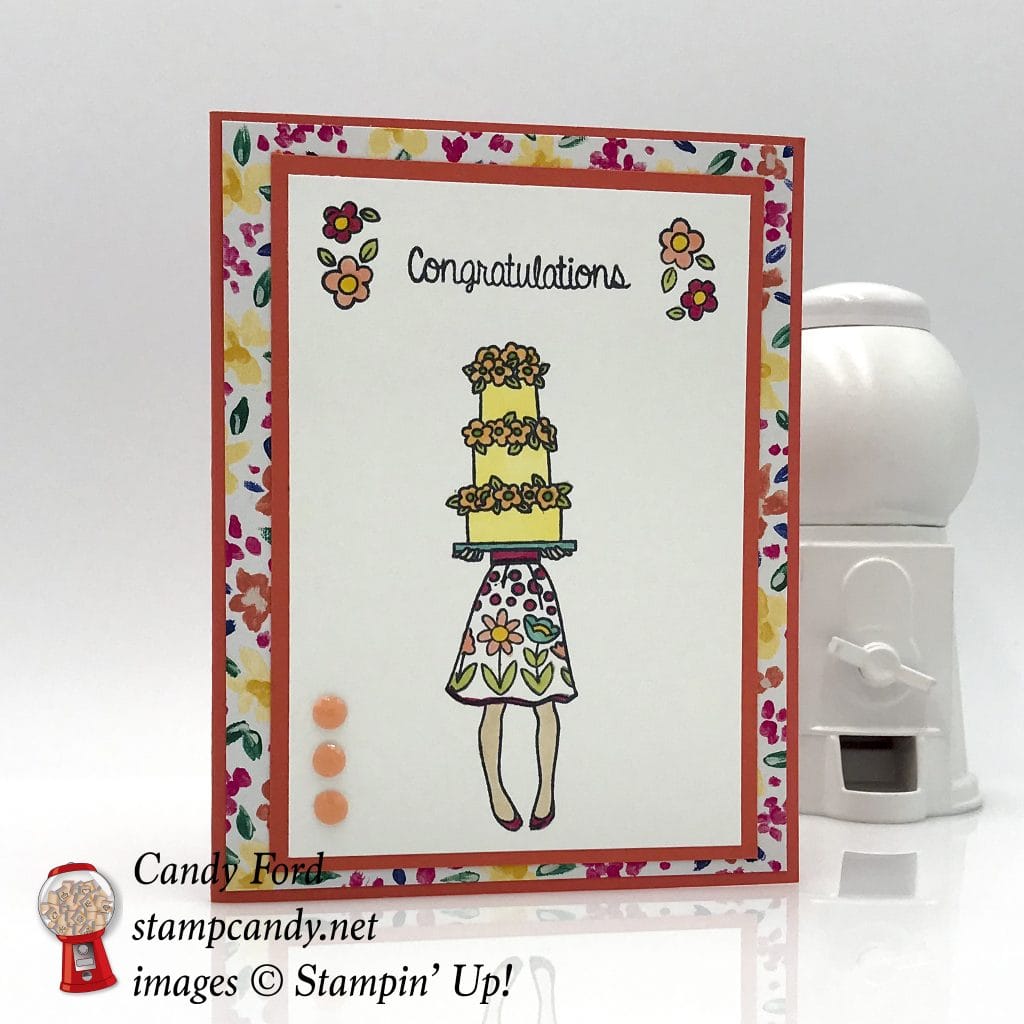
Today’s card features one of the new host stamp sets from the 2018-2019 Annual Catalog from Stampin’ Up! The Hand Delivered stamp set has images for different occasions: a lady carrying balloons, a cake, books, or a sign. It’s so sweet, and I love the font of the sentiments.
June 1, 2018, you’ll be able to order this stamp set with your Stampin’ Rewards. It has 16 stamps and costs only $13! Just place an order of $150 or more and you can get one for yourself!
Here’s what I made:
Here’s what I did:
Cut and scored with my Stampin’ Trimmer:
- Calypso Coral card stock (CS) cut to 8-1/2″ x 5-1/2″, then scored in half at 4-1/4″
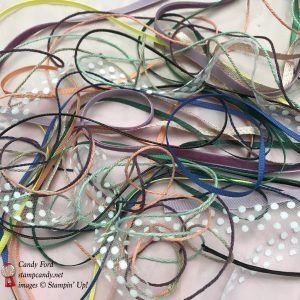
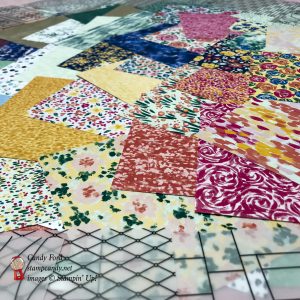
- Garden Impressions Designer Series Paper (DSP) layer cut to 4-1/8″ x 5-3/8″
- Calypso Coral CS layer cut to 3-1/2″ x 5″
- Whisper White CS layer cut to 3-1/1/4″ x 4-3/4″
- Whisper White CS cut to 5-1/4″ x 4″ for the inside of the card base
Stamped with the Hand Delivered host stamp set:
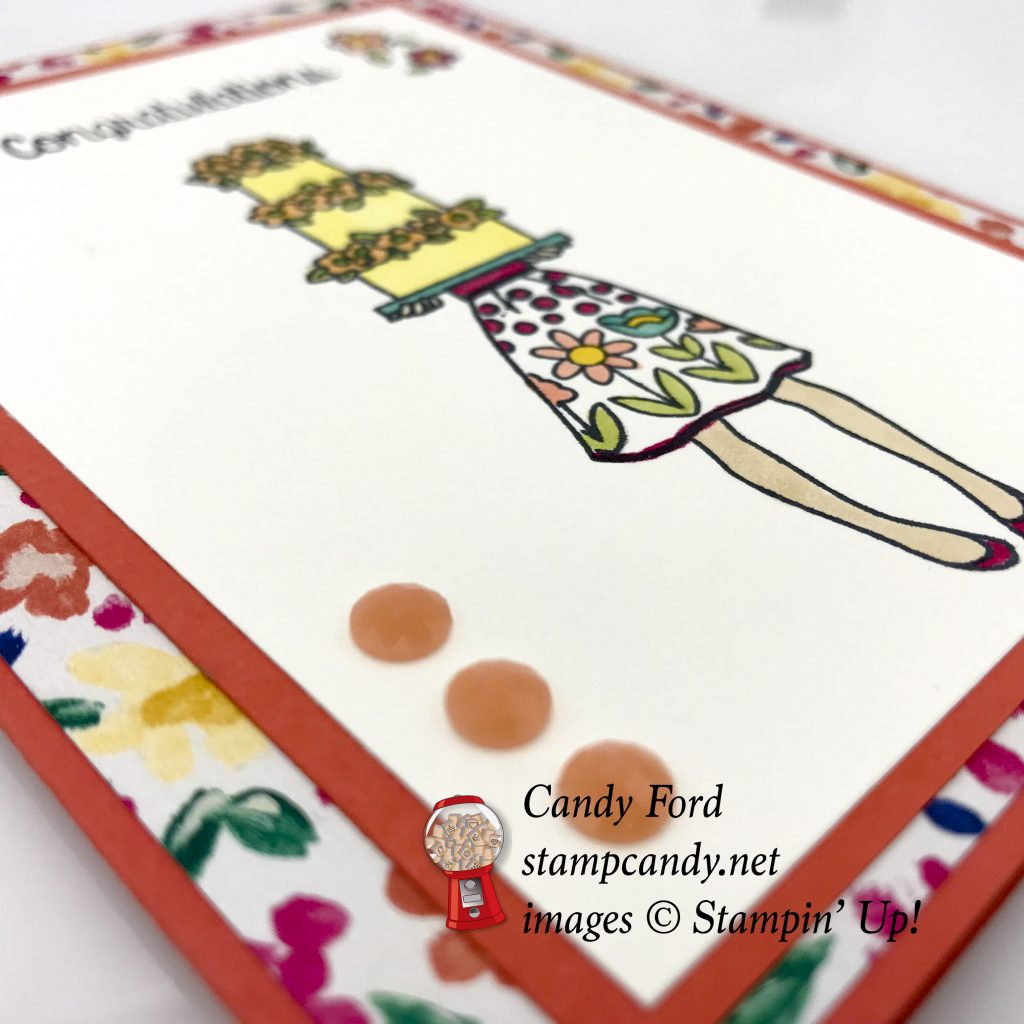
- skirt/legs, cake/hands, sentiment, and flowers in Tuxedo Black Memento ink onto the Whisper White CS Layer
Colored using Stampin’ Write Markers and Stampin’ Blends Markers:
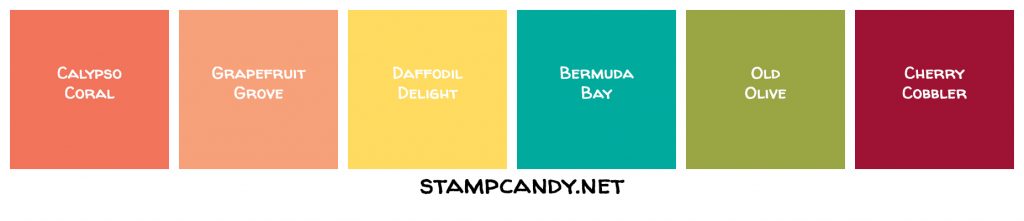
- flowers in Grapefruit Grove, Cherry Cobbler, and Old Olive
- cake in Bermuda Bay, Daffodil Delight, Grapefruit Grove, and Old Olive
- hands and legs in Ivory
- skirt and shoes in Cherry Cobbler, Grapefruit Grove, Daffodil Delight, Bermuda Bay
Assembled the card:
- burnished the fold in the card base with a Bone Folder
- stamped CS layer glued onto the Calypso Coral CS layer
- Calypso Coral CS layer glued onto the DSP layer
- DSP layer glued onto the front of the card base
- 3 Grapefruit Grove Faceted Dots applied to the stamped layer
- Whisper White CS glued to the inside of the card base
Here are today’s colors:
Here’s what I used:
Click on these images for more details and to purchase.
Here’s some information you should check out:
Thanks for stopping by today, and Sweet Stamping!

