Apr 5, 2019 | Cards, Gallery, Occasions |
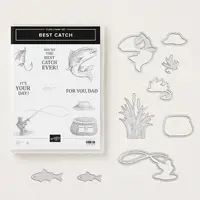
Today I have a masculine card to share with you. I think the colors are what makes it masculine. Obviously it’s perfect for a fisherman. But the sentiment, taken as a pun, makes it great for anyone. The layers are cut using the Rectangle Stitched Framelits Dies (I LOVE them!) and lined up at a corner, instead of centered. I did that so I would have more space for the die cuts from the Catch of the Day Thinlits Dies, which I tucked in around the layers.

S
Here’s what I made:
Up 
Can you tell how the fins on the large fish are curved up just a little bit? I just used my fingers to do that. I love how the die cuts the fin in the middle of the fish so you can curl it up separately from the body.


Here’s what I did:
Cut and scored with my Stampin’ Trimmer:
- Early Espresso card stock (CS) cut to 5-1/2″ x 8-1/2″, then scored in half at 4-1/4″
- Very Vanilla CS cut to 5-1/4″ x 4″ for the inside of the card base
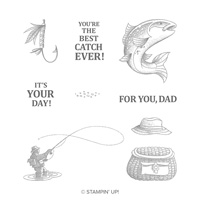
Stamped with the Best Catch stamp set:
- creel, hook, hat, large fish, and small fish spots in black Memento ink onto a scrap of Very Vanilla CS
- creel in Crumb Cake ink into the front of a Very Vanilla envelope, bottom left
- fisherman in Crumb Cake ink onto the envelope flap, and onto a scrap of Very Vanilla CS that will be the top layer of the card
- sentiment in Early Espresso ink next to the fisherman on the Very Vanilla CS scrap
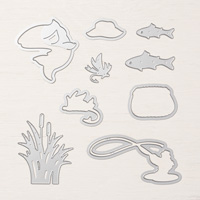
Die cut using the Catch of the Day Thinlits:
- creel, hook, hat, large fish, and small fish
- 3 cattails from a scrap of Mossy Meadow CS
Die cut using the Rectangle Stitched Framelits:
- fisherman/sentiment
- second layer from Early Espresso CS
- third layer from Crumb Cake CS
- fourth layer from Very Vanilla CS
- fifth and largest layer from Soft Suede CS
Colored using Stampin’ Blends Markers:
- hat and creel in Crumb Cake
- hook in Pool Party
- large fish in Soft Sea Foam
Assembled the card:
- burnished the fold in the card base with a Bone Folder
- die cut layers glued together in order of size, lining them all up at the bottom right corner, and leaving some of the left sides and top with no adhesive.
- bottom layer glued onto the front of the card base
- die cut pieces (except for the large fish) tucked into the spaces between the layers and glued in place
- large fish adhered onto the left side of the card using Stampin’ Dimensionals
- Very Vanilla CS glued onto the inside of the card base
S
Here are today’s colors:
You can click on each one to see all the products that come in that color!
S
Here’s what I used:
Click on these images for more details and to purchase.
S
Preorder the Vibrant Vases Online Class by April 10:
- Make 6 gorgeous cards at home in your PJs!
- 2 each of 3 designs
- perfect for assorted occasions including love, celebration, and thanks
- You’ll receive all you need to make the cards, including the stamp set, punch, and the precut/prescored card kits.
- Limited spots available
Click on the image below for details and class options:

S
Here are some helpful links:
S
Thanks for stopping by today, and Sweet Stamping!

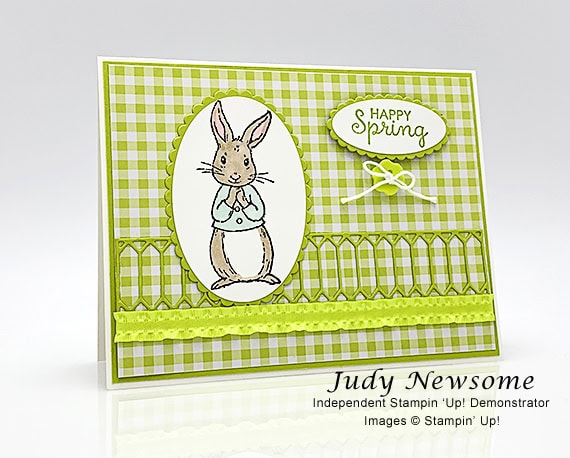
Apr 3, 2019 | Cards, Gallery, Guest Stamper, Occasions |
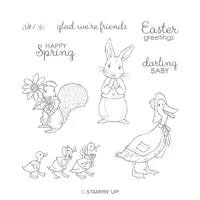
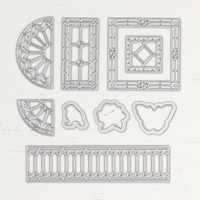
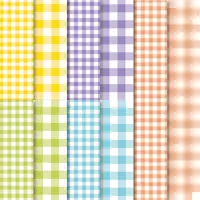
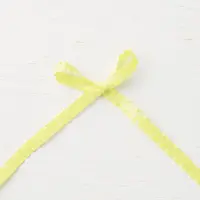
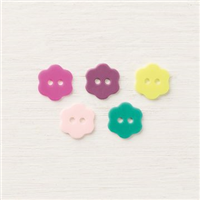
Candy Hearts team member Judy Newsome made today’s card. She used the Fable Friends stamp set withe the Gingham Gala Designer Series Paper to create an adorable Happy Spring card. She also used the Layering Ovals Framelits Dies, Stained Glass Thinlits Dies, Lemon Lime Twist 3/8″ Mini Ruffled Ribbon, and 2017-2019 In Color Flower Buttons, and Stampin’ Blends Markers. That little bunny is just too, too sweet in its little blue jacket, don’t you think so?S
S
Here’s what she made:
 Spring

S
Here’s what she did:
Cut and scored with her Stampin’ Trimmer:
- Whisper White Thick card stock (CS) cut to 5-1/2″ x 8-1/2″, then scored in half at 4-1/4″
- Lemon Lime Twist CS cut to 5-3/8″ x 4-1/8″
- Gingham Gala Designer Series Paper (DSP) cut to 5-1/4″ x 4″x
Stamped with the Fable Friends stamp set:
- bunny in Memento black ink onto a scrap of Whisper White CS
- sentiment in Lemon Lime Twist ink onto a scrap of Whisper White CS
Colored using Stampin’ Blends Markers:
- bunny in Crumb Cake, Pool Party, and Flirty Flamingo (ears, nose, buttons)
Die cut using the Layering Ovals Framelits:
- sentiment
- bunny
- two scalloped ovals, to fit around the stamped pieces, from a scrap of Lemon Lime Twist CS
Die cut using the Stained Glass Thinlits:
- “fence” shape from a scrap of Lemon Lime Twist CS
Assembled the card:
- burnished the fold in the card base with a Bone Folder
- Lemon Lime Twist CS layer glued onto the front of the card base
- “fence” glued onto the DSP layer
- ribbon adhered onto the DSP layer, along the bottom edge of the “fence,” using Tear & Tape, wrapping the ends around to the back
- DSP layer glued onto the Lemon Lime Twist CS layer
- bunny glued onto its coordinating Lemon Lime Twist CS scalloped oval
- sentiment glued onto its coordinating Lemon Lime Twist CS scalloped oval
- bunny glued onto the DSP layer, over the fence
- sentiment adhered onto the DSP layer using Stampin’ Dimensionals
- twine tied in a bow through a button, and the button adhered onto the DSP layer using a Stampin’ Dimensional

S
Here are today’s colors:
You can click on each one to see all the products that come in that color!
S
Here’s what she used:
Click on these images for more details and to purchase.
S
Today’s is the last day to preorder the Wonderful Moments Wedding Card Online Class!
Need some cards for all those weddings and showers that inevitably come up this time of year? This class is for you.
- Make 6 gorgeous cards at home in your PJs!
- 2 each of 3 designs
- perfect for weddings and showers
- I do all the cutting and embossing. You just stamp, color, and assemble!
- Limited spots available
Click on the image below for details and color options (Lovely Lipstick was used in the sneak peeks below, though it looks darker in the photos.) Also options for skin and hair color.

S
Preorder the Vibrant Vases Online Class April 4 – 10:
- Make 6 gorgeous cards at home in your PJs!
- 2 each of 3 designs
- perfect for assorted occasions including love, celebration, and thanks
- You’ll receive all you need to make the cards, including the stamp set, punch, and the precut/scored/embossed card kits and envelopes
- Limited spots available
Click on the image below for details and class options:

Here are some helpful links:
S
Thanks for stopping by today, and Sweet Stamping!
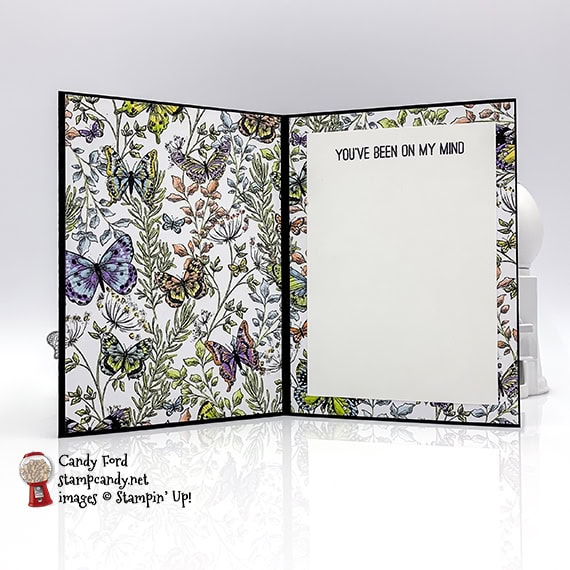
Mar 31, 2019 | Cards, Gallery, Occasions, Sale-A-Bration |
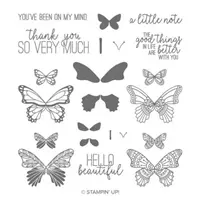
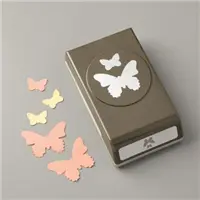
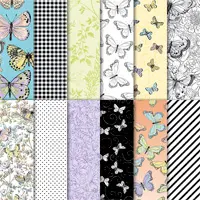
Today is the last day of Sale-a-bration 2019. If there’s anything you haven’t gotten, now is the time to do it. You can earn a free Sale-a-bration item with each $50 on an order. Click here to shop Sale-a-bration. I used a Sale-a-bration item on today’s card, the beautiful Botanical Butterfly Designer Series Paper. In fact, today’s tri-fold card is really all about this paper. I also used the Butterfly Gala Bundle (Butterfly Gala stamp set and Butterfly Duet Punch) which is now back in stock!
S
Here’s what I made:


 SS
SS
Here’s what I did:
Cut and scored with my Stampin’ Trimmer:
- Basic Black card stock (CS) cut to 12″ x 5-1/2″ , then scored at 4″ and 8″
- Botanical Butterfly Designer Series Paper (DSP) cut to 3-7/8″ x 5-3/8″ (3 pieces)
- Whisper White CS cut to 2-7/8″ x 4-3/8″
Stamped with the Butterfly Gala stamp set:
- front sentiment in Stazon black ink onto a scrap of Whisper White CS
- inside sentiment in Stazon black ink onto the Whisper White CS piece
- butterflies in Stazon black ink onto a scrap of Vellum CS
Cut using the Butterfly Duet Punch:
Die cut using the Layering Ovals Framelits:
- front sentiment using a plain oval die
- scrap of Basic Black CS using a scalloped oval die
Assembled the card:
- burnished the folds in the card base with a Bone Folder
- DSP layers glued onto the three sections of the card base
- front sentiment glued onto the Basic Black CS oval
- Basic Black oval adhered onto the front DSP layer using Stampin’ Dimensionals
- butterflies adhered onto the front DSP layer using Stampin’ Dimensionals
- NOTE: I cut skinny strips from the edge of a sheet of Stampin’ Dimensionals, then applied them to the bodies of the butterflies. I adhered only the bodies, and not the wings, onto the card
- Whisper White CS glued onto the third DSP layer


S
Here are today’s colors:
You can click on each one to see all the products that come in that color!
S
Here’s what I used:
Click on these images for more details and to purchase.
S
Preorder the Wonderful Moments Wedding Card Online Class by April 3!
Need some cards for all those weddings and showers that inevitably come up this time of year? This class is for you.
- Make 6 gorgeous cards at home in your PJs!
- 2 each of 3 designs
- perfect for weddings and showers
- I do all the cutting and embossing. You just stamp, color, and assemble!
- Limited spots available
Click on the image below for details and color options (Lovely Lipstick was used in the sneak peeks below, though it looks darker in the photos.)
S
S
Here are some helpful links:
S
Thanks for stopping by today, and Sweet Stamping!
Mar 29, 2019 | Cards, Gallery, Occasions, Techniques |
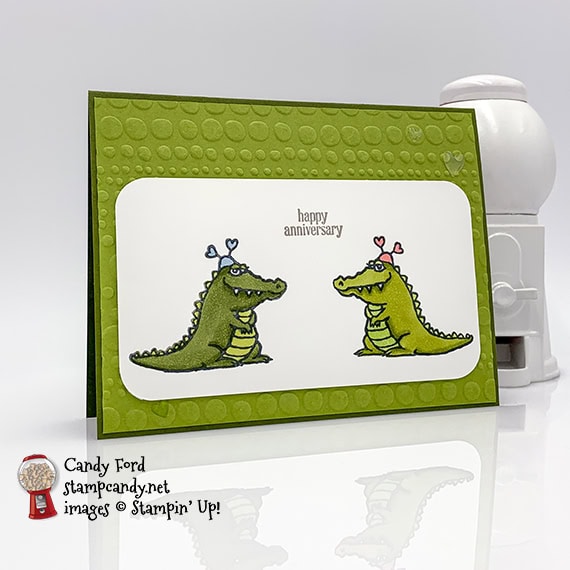
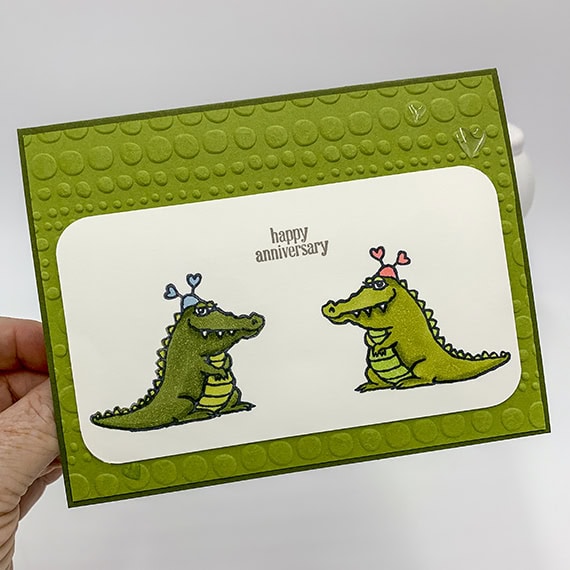
There are lots of ways to stamp an mirror image, but by far the easiest I’ve found is with the Stampatarus and a Silicone Craft Sheet. I used this technique on today’s Happy Anniversary card I made with the Hey Love stamp set, Dot to Dot embossing folder, and Detailed Trio Punch. the hearts on the inside of the card were cut using the multi-heart die in the Be Mine Stitched Framelits Dies, but I had them left over from previous projects – I actually have a little container full of them.
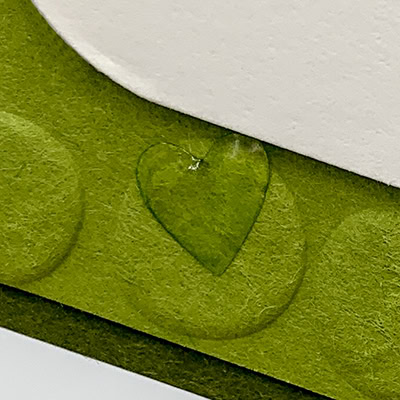
I’ve used the Dot to Dot embossing folder a lot lately. It’s so cute and whimsical and can represent so many things, like bubbles, stones, etc. I thought it lent a reptilian air to this card, appropriate for the cute little lovey-dovey crocodiles.
S
Here’s what I made:
S
Here’s what I did:
Cut and scored with my Stampin’ Trimmer:
- Mossy Meadow card stock (CS) cut to 5-1/2″ x 8-1/2″, then scored in half at 4-1/4″
- Old Olive CS layer cut to 5-3/8″ x 4-1/8″
- Whisper White CS layer cut to 5″ x 2-3/4″
- Whisper White CS cut to 5-1/4″ x 4″ for the inside of the card base
Stamped with the Hey Love stamp set and the Stamparatus:
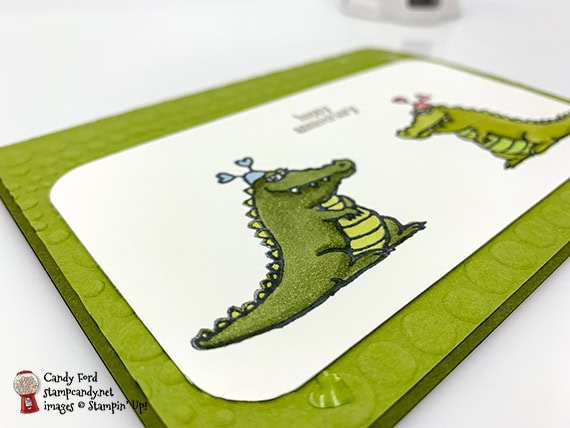
- crocodile in Memento black ink onto the Whisper White CS layer on the right side
- crocodile in Memento black ink onto the Silicone Craft Sheet ( I stamped it a couple times to make sure there was plenty of ink on the craft sheet.)
- flipped over the layer horizontally, laid it very carefully over the craft sheet, then stamped again. You don’t need to ink up the stamp for this one. This is to press the CS onto the image on the craft sheet and transfer the ink onto the underside of the paper.
- NOTE: When you line up the stamp for the first stamp, be sure it doesn’t cross the center of the layer, or the images may overlap.
- sentiment in Gray Granite ink between the two crocs
Cut using the Detailed Trio Punch:
- rounded all four corners of the Whisper White CS layer and of the Whisper White CS for the inside of the card
Colored using Stampin’ Blends Markers:
- left crocodile in Mossy Meadow, Old Olive , and Balmy Blue
- right crocodile in Old Olive, Granny Apple Green, and Flirty Flamingo
Die cut using the Be Mine Stitched Framelits:
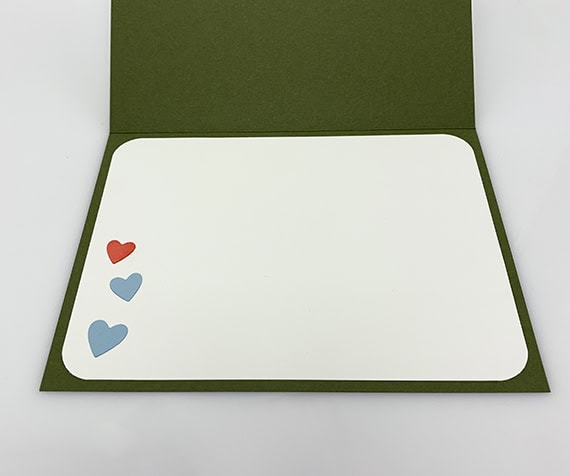
- tiny hearts, using the multi-heart die, from scraps of Flirty Flamingo and Balmy Blue CS
- NOTE: I had the hears left over from previous projects. The pink one was actually Petal Pink, so I colored it with the light Flirty Flamingo marker.
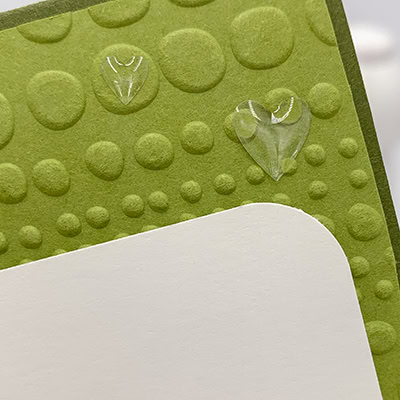
Ran through the Big Shot in the Dot to Dot embossing folder:
Assembled the card:
- burnished the fold in the card base with a Bone Folder
- Old Olive CS layer glued onto the front of the card base
- croc layer glued onto the Old Olive CS layer
- 3 Heart Epoxy Droplets applied onto the Old Olive CS layer
- 3 hearts glued onto the Whisper White CS for the inside
- Whisper White CS glued onto the inside of the card base
S
Here are today’s colors:
You can click on each one to see all the products that come in that color!
S
Here’s what I used:
Click on these images for more details and to purchase.
S
Preorder the Wonderful Moments Wedding Card Online Class by April 3!
Need some cards for all those weddings and showers that inevitably come up this time of year? This class is for you.
- Make 6 gorgeous cards at home in your PJs!
- 2 each of 3 designs
- perfect for weddings and showers
- I do all the cutting and embossing. You just stamp, color, and assemble!
- Limited spots available
Click on the image below for details and color options (Lovely Lipstick was used in the sneak peeks below, though it looks darker in the photos.)
S
Here are some helpful links:
S
Thanks for stopping by today, and Sweet Stamping!
Mar 24, 2019 | Cards, Gallery, Occasions |
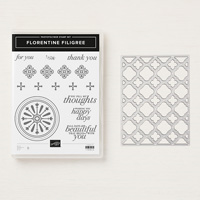
Today I’m sharing a card I made using the lovely Florentine Filigree Bundle (Florentine Filigree stamp set and Florentine Framelits Die.) I think it would be a pretty card in almost any color combination, but for today I used Bermuda Bay and Coastal Cabana, a couple of watery blue-greens, along with Whisper White. The sentiment is raised on Stampin’ Dimensionals, and Pear Basic Jewels are placed in each stamped flourish area for the final touch.
TIP: You can use the Stamparatus to line up the stamps with the die cut, or you can cut a template and use that to line up the stamps.
S
Here’s what I made:


S
Here’s what I did:
Cut and scored with my Stampin’ Trimmer:
- Bermuda Bay card stock (CS) cut to 4-1/4″ x 11″, then scored in half at 5-1/2″
- Coastal Cabana CS layer cut to 4″ x 5-1/4″
- Whisper White CS cut to 4″ x 5-1/4″ for the inside of the card
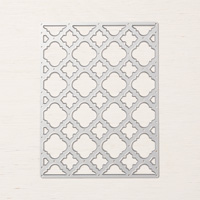
Die cut using the Florentine Thinlits Die:
- one piece from a scrap of Whisper White CS
- one piece from a scrap piece of paper (any kind) as a stamping guide
Stamped with the Florentine Filigree stamp set:
- sentiment in Bermuda Bay ink onto a scrap of Whisper White CS
- larger filigree images in Bermuda Bay ink onto the Coastal Cabana CS layer
- smaller filigree images in Coastal Cabana ink onto the Coastal Cabana CS layer
- NOTE: I used a scrap piece of paper cut using the Filigree Thinlits Die as a guide to know where to stamp.
Die cut using the Layering Circles Framelits:
- sentiment
- a slightly larger circle from a scrap of Bermuda Bay CS
Assembled the card:
- burnished the fold in the card base with a Bone Folder
- Whisper White CS die cut glued onto the Coastal Cabana CS layer, lining up the stamped images in the die cut spaces
- sentiment glued onto the Bermuda Bay CS circle
- Bermuda Bay CS circle adhered onto the card front using Stampin’ Dimensionals
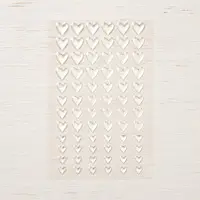
- small and medium pearls applied onto the exposed stamped filigree areas
- Whisper White CS glued onto the inside of the card base
S
Here are today’s colors:
You can click on each one to see all the products that come in that color!
S
Here’s what I used:
Click on these images for more details and to purchase.
Preorder the Easter Treat Holder Online Class by March 27!
- Make 10 adorable treat holders at home in your PJs!
- perfect for Easter or Spring
- fill with your own treats or gifts
- class kits include 270 precut pieces!
- Limited spots available
Click on the image below for details:

S
Here are some helpful links:
S
Thanks for stopping by today, and Sweet Stamping!
Mar 21, 2019 | Cards, Gallery, Occasions |
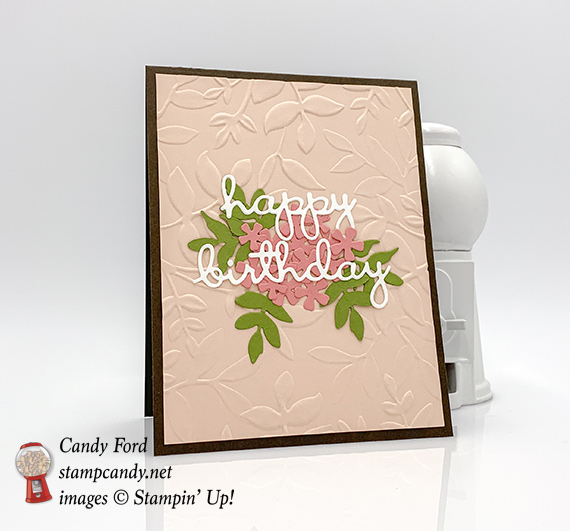
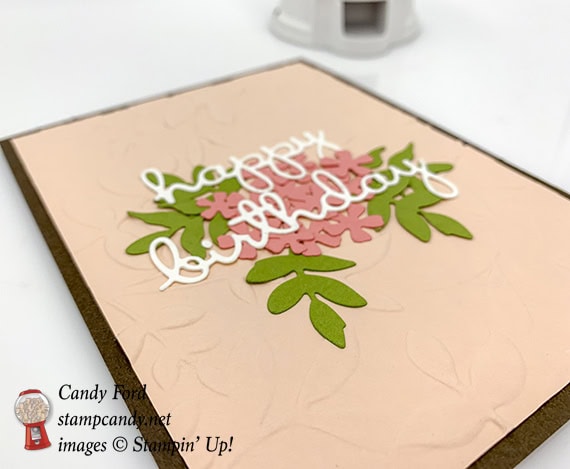
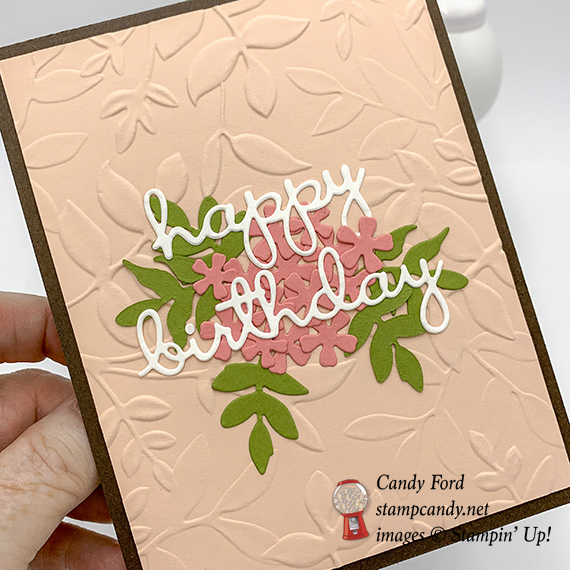
Today I’m sharing another card I made using leftovers from other projects. I may have cut more than I needed at the time, or I may have changed my mind about the paper color or something else. The pieces were perfectly good, just not for what I was working on at the time. So I kept them for when I can use them. I remember I decided to use a different embossing folder after trying the Layered Leaves Dynamic folder, but the Layered Leaves design was perfect for today’s card. The only parts of this card I didn’t take from my pile of leftovers are the Early Espresso card base and the Whisper White cardstock on the inside.
S
Here’s what I made:
 S
S
Here’s what I did:
Cut and scored with my Stampin’ Trimmer:
- Early Espresso card stock (CS) cut to 4-1/4″ x 11″, then scored in half at 5-1/2″
- Petal Pink CS layer cut to 4″ x 5-1/4″
- Whisper White CS cut to 4″ x 5-1/4″ for the inside of the card
Embossed using the Layered Leaves Dynamic embossing folder:
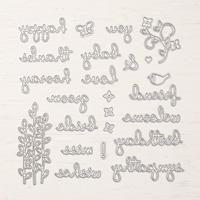
Die cut using the Well Written Framelits:
- “happy” and “birthday” from a scrap of Whisper White Thick CS
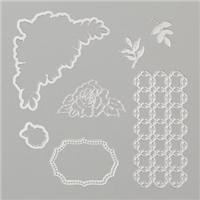
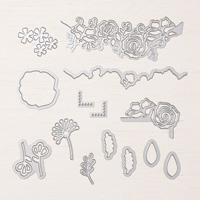
Die cut using the Rose Trellis Thinlits:
- 6 leaves from a scrap of Old Olive CS
Die cut using the Lovely Flowers Edgelits:
- a bunch of little flowers from a scrap of Flirty Flamingo CS
- NOTE: I think I used somewhere between 12 and 16 flowers. The die cuts 4 flowers at a time.
Assembled the card:
- burnished the fold in the card base with a Bone Folder
- embossed layer glued onto the front of the card base
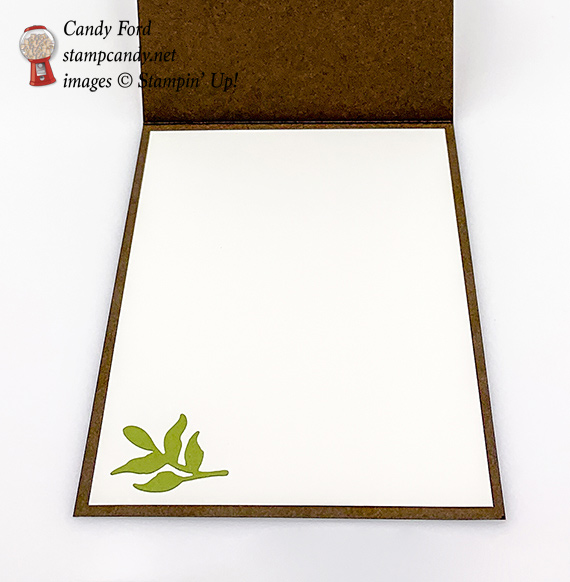
- 1 leaf glued onto the Whisper White CS
- flowers and remaining leaves glued onto the embossed layer
- die cut words glued over the flowers and leaves
- Whisper White CS glued onto the inside of the card base
S
Here are today’s colors:
You can click on each one to see all the products that come in that color!
S
S
Here’s what I used:
Click on these images for more details and to purchase.
Preorder the Easter Treat Holder Online Class by March 27:
- Make 10 adorable treat holders for Easter or Spring
- different class options so you get exactly what you need
- perfect for anyone of any age
- fill them with yummy treats or gifts of your choice
Click on the image below for details:
S
Here are some helpful links:
S
Thanks for stopping by today, and Sweet Stamping!