Mar 9, 2019 | Cards, Gallery, Occasions |
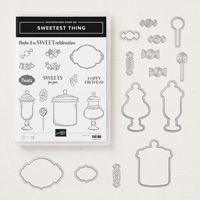
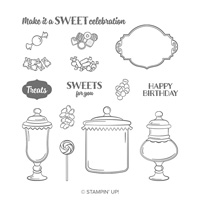
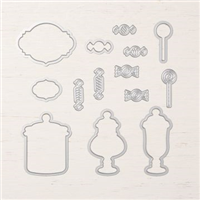
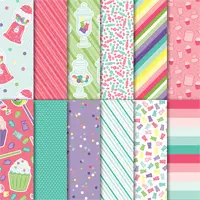
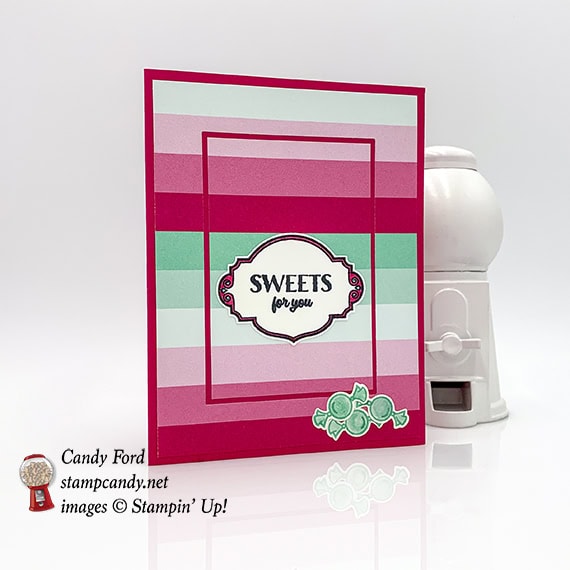
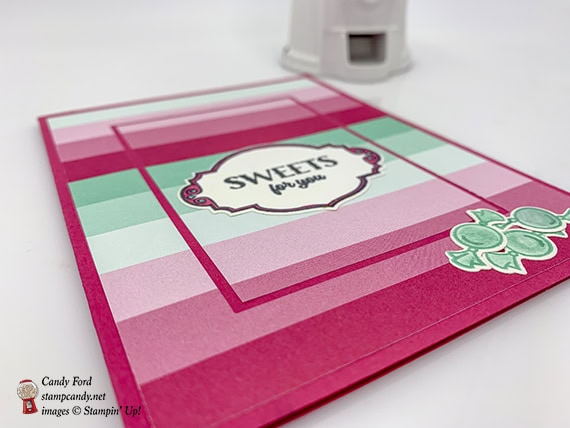
I love the How Sweet It Is suite of products. Of course, why wouldn’t I? It’s all about candy. No really, it isn’t even a pun. The colors are bright and happy. And the images are fun. For today’s card I used the Sweetest Thing Bundle (Sweetest Thing stamp set and Jar of Sweets Framelits Dies) and the How Sweet It Is Designer Series Paper. This paper pattern may not be one of the first that catches your eye, but it’s a wonderful stripe in shades of Melon Mambo and Coastal Cabana. (Sounds like we’re at the beach, doesn’t it?)
S
Here’s what I made:
 S
S
Here’s what I did:
Cut and scored with my Stampin’ Trimmer:
- Melon Mambo card stock (CS) cut to 8-1/2″ x 5-1/2″, then scored in half at 4-1/4″
- How Sweet It Is Designer Series Paper (DSP) cut to 4″ x 5-1/4″
- center cut out of the DSP layer, 3/4″ from each side
- center DSP cut to 2-3/8″ x 3-5/8″
- Whisper White CS cut to 4″ x 5-1/4″ for the inside of the card base
Stamped with the Sweetest Thing stamp set:
- sentiment in Stazon black ink onto a scrap of Whisper White CS
- label in Stazon Black ink around the sentiment
- 3 candies in Coastal Cabana ink onto a scrap of Whisper White CS
Colored using Stampin’ Write Markers:
- label edges in Melon Mambo and Coastal Cabana
- candies in Coastal Cabana, using a Blender Pen
Die cut using the Jar of Sweets Framelits:
Assembled the card:
- burnished the fold in the card base with a Bone Folder
- DSP frame glued onto the front of the card base
- DSP center glued inside the DSP frame, lining up the stripes
- sentiment glued onto the DSP center
- candies glued onto the DSP frame
- Whisper White CS glued onto the inside of the card base
S
Here are today’s colors:
You can click on each one to see all the products that come in that color!
S
Here’s what I used:
Click on these images for more details and to purchase.
S
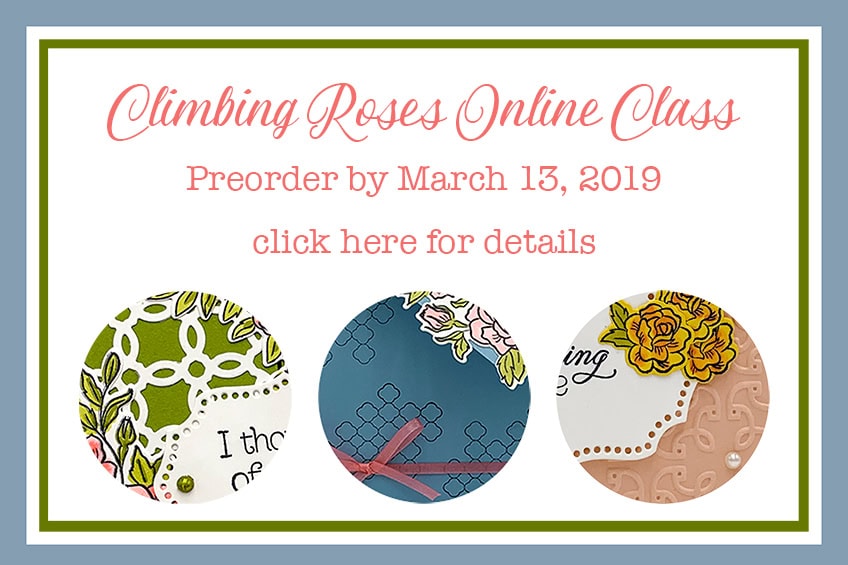
Preorder the Climbing Roses Online Class by March 13!
- Make 6 beautiful cards at home in your PJs!
- 2 each of 3 designs
- perfect for anyone, including for Mom on Mother’s Day
- Limited spots available!
Click on the image below for details:
S
Here are some helpful links to check out:

S
Thanks for stopping by today, and Sweet Stamping!
Feb 25, 2019 | Cards, Gallery, Holiday, Occasions, Sale-A-Bration |
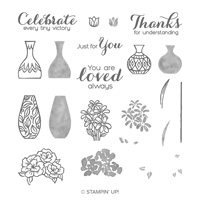
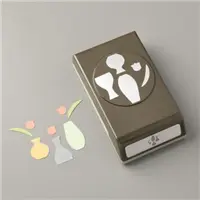
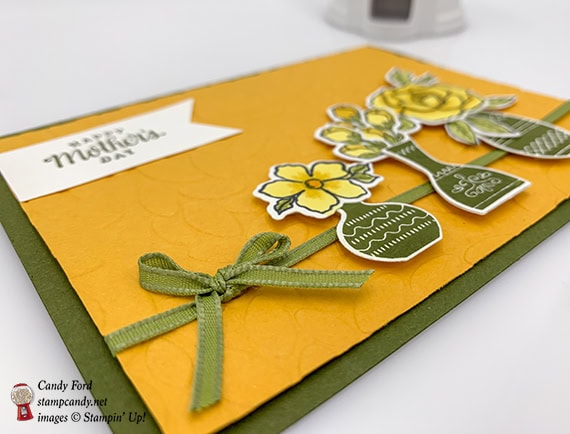
Today’s card is for Mother’s Day. I used the Tea Together stamp set and the coordinating Tea Time Framelits Dies, but only the flowers, and not the more obvious teapot and teacup. I plopped the flowers into vases from the Vibrant Vases stamp set, and cut using the Vases Builder Punch. For the background, I used the Petal Burst Textured Impressions Embossing Folder (TIEF) to create a totally floral motif.
S
Here’s what I made:
 You may notice at the bottom right corner of the card front, I neglected to get the corner of the layer stuck down properly before taking the picture. I’m not sure how I didn’t notice that, but rest assured it is fixed now.

 S
S
Here’s what I did:
Cut and scored with my Stampin’ Trimmer:
- Mossy Meadow card stock (CS) cut to 5-1/2″ x 8-1/2″, then scored in half at 4-1/4″
- Mango Melody CS cut to 5-1/4″ x 4″
- Whisper White CS cut to 4″ x 1″
- Whisper White Cs cut to 5-1/4″ x 4″ for the inside of the card
Stamped with the Tea Together stamp set:
- sentiment in Mossy Meadow ink onto the 1″ strip of Whisper White CS
- flowers (1 large, 1 medium, and 3 rose buds) and 3 leaves in Memento black ink onto a scrap of Whisper White CS
- 2 large flowers in Daffodil Delight ink onto the Whisper White CS for the inside of the card
Stamped with the Vibrant Vases stamp set:
- the 3 vases in Mossy Meadow ink onto a scrap of Whisper White CS
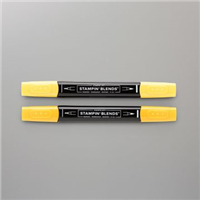
Colored using Stampin’ Blends Markers:
- all the Memento black ink stamped flowers and leaves: flowers in Daffodil Delight and Mango Melody, and leaves in Old Olive
Die cut using the Tea Time Framelits:
- the colored flowers and leaves
Embossed using the Petal Burst embossing folder:
Cut using the Vases Builder Punch:
Cut using the Banner Triple Punch:
- the left end of the sentiment strip
Assembled the card:
- burnished the fold in the card base with a Bone Folder
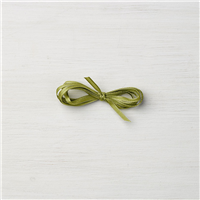
- adhere a piece of Old Olive 1/8″ ribbon onto the embossed Mango Melody CS layer, securing the ends on the back with Tear & Tape
- embossed Mango Melody CS layer glued onto the front of the card base
- piece of the same ribbon tied around the first piece, and tied in a bow – I secured the bow to the card using a Mini Glue Dot
- flowers and leaves glued together with vases, then adhered onto the embossed Mango Melody CS layer, over the ribbon, using Stampin’ Dimensionals
- sentiment glued onto the embossed Mango Melody CS layer
- Whisper White CS glued onto the inside of the card base
S
Here are today’s colors:
You can click on each one to see all the products that come in that color!
S
Here’s what I used:
Click on these images for more details and to purchase.
S
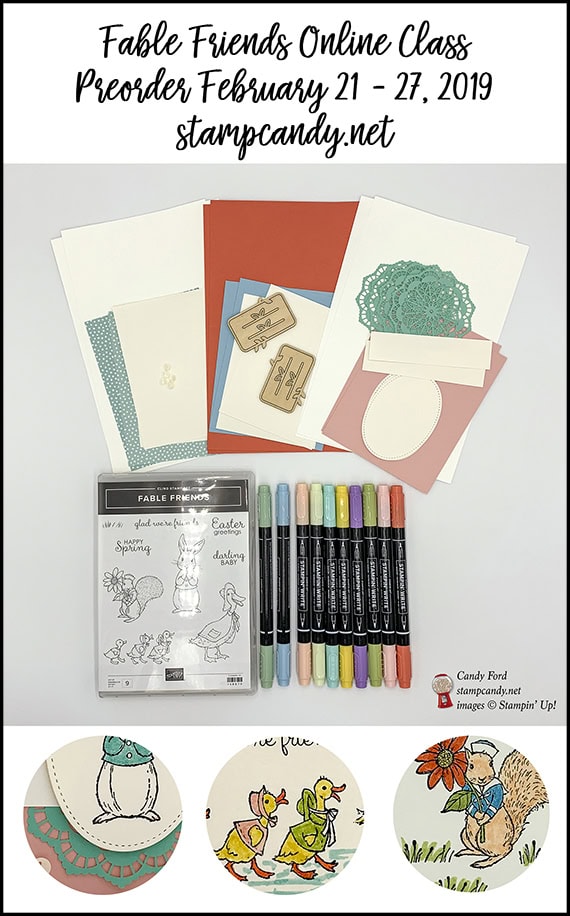
Preorder the Fable Friends Online Class by February 27!
- Make 6 adorable cards at home in your PJs!
- 2 each of 3 designs
- Perfect for Spring!
- Limited spots available!
Click on the image below for details:
S
Here are some helpful links to check out:
S
Thanks for stopping by today, and Sweet Stamping!

Feb 24, 2019 | Cards, Gallery, Occasions |
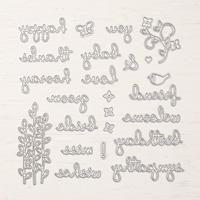
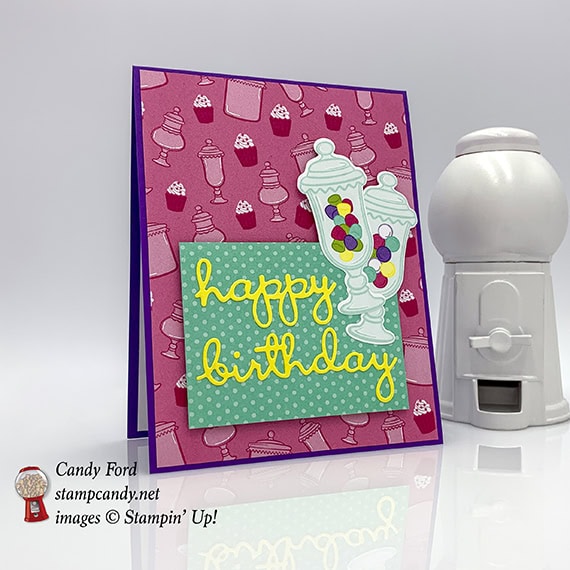
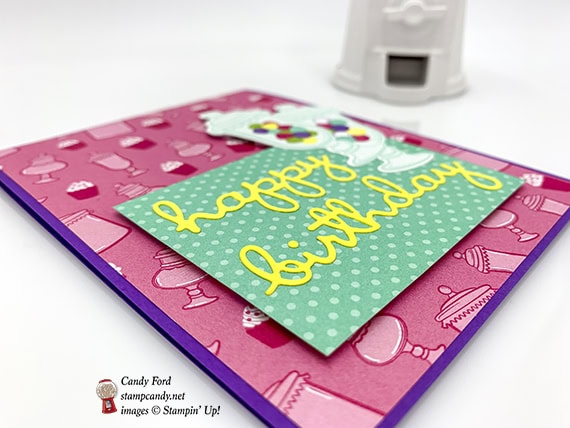
Even though I’ve had it for a while, I’ve really just started using the Well Said bundle. The stamp set is great, and the dies are amazing. There are so many words, and so many different uses. I used the dies on today’s card, and didn’t use a single stamp. No ink smudges! It’s a birthday card for someone you care about and haven’t seen for a while. The colors are from the How Sweet It Is Designer Series Paper.
S
Here’s what I made:
 S
S
Here’s what I did:
Cut and scored with my Stampin’ Trimmer:
- Gorgeous Grape card stock (CS) cut to 4-1/4″ x 11″ , then scored in half at 5-1/2″
- How Sweet It Is Designer Series Paper (DSP) cut to 4-1/8″ x 5-3/8″ (pink background layer)
- DSP cut to 3-1/4″ x 2-1/2″ (polka dot layer)
- Whisper White CS cut to 4″ x 5-1/4″ for the inside of the card
Die cut using the Well Written Framelits:
- “happy birthday” from a scrap of Pineapple Punch CS
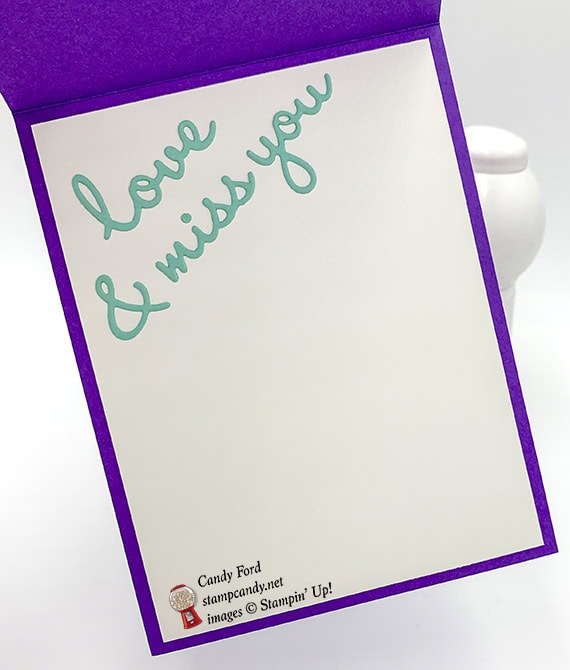
- “love & miss you” from a scrap of Coastal Cabana CS
Die cut using the Jar of Sweets Framelits:
- 2 candy jars from a scrap piece of the DSP
Assembled the card:
- burnished the fold in the card base with a Bone Folder
- pink DSP layer glued onto the front of the card base
- “happy birthday” and 2 die cut jars glued onto the polka dot DSP layer
- polka dot DSP layer/die cut jars adhered onto the pink DSP layer using Stampin’ Dimensionals
- “love & miss you” glued onto the Whisper White CS
- Whisper White CS glued onto the inside of the card base
S
Here are today’s main colors:
You can click on each one to see all the products that come in that color!
S
Here’s what I used:
Click on these images for more details and to purchase.
S
Preorder the Fable Friends Online Class by February 27!
- Make 6 adorable cards at home in your PJs!
- 2 each of 3 designs
- Perfect for Spring!
- Limited spots available!
Click on the image below for details:
S
Here are some helpful links to check out:
S
Thanks for stopping by today, and Sweet Stamping!
Feb 23, 2019 | Cards, Gallery, Occasions, Sale-A-Bration |
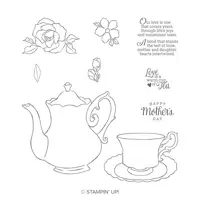
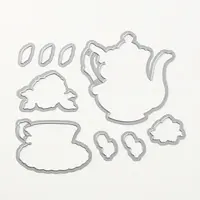
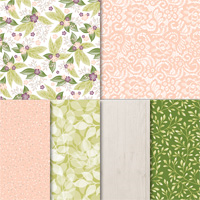
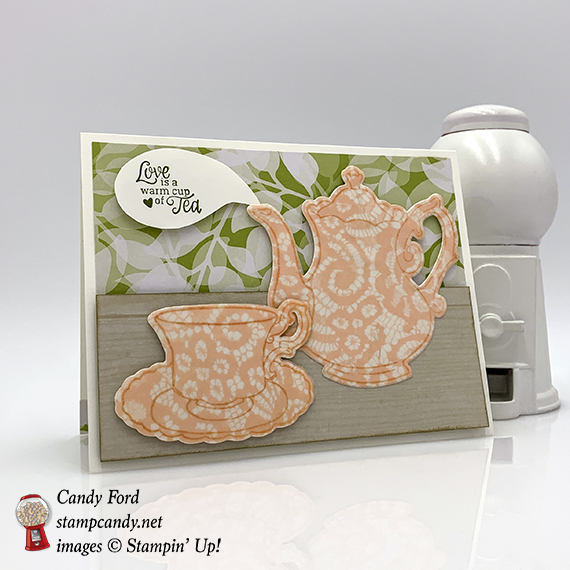
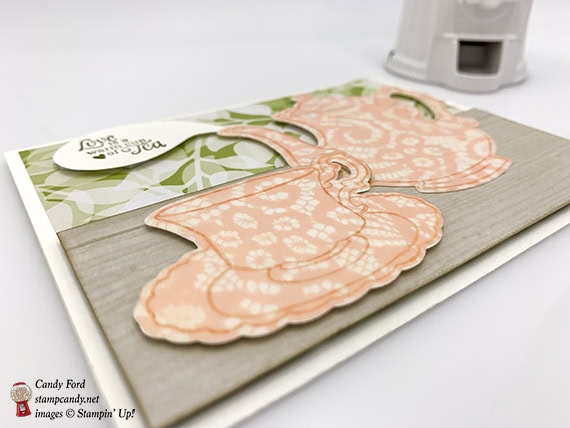
For today’s card I tried to create a scene of a teapot and cup & saucer on a wooden table. I thought the lacy pink vellum from the Floral Romance Designer Series Paper was a perfect pattern for a china tea set. The china pieces and sentiment are from the Tea Together stamp set from the Occasions catalog, and the coordinating Tea Time Framelits Dies. The dies are a Sale-a-bration item and are available for free with a $100 order, but only through March 31 or while supplies last, so don’t wait.
Here’s what I made:
Very often I put nothing on the inside of my cards, leaving plenty of room for a handwritten note. But lately I’ve been more in the mood to adorn the inside, even if it’s just with a strip of paper, like this one: 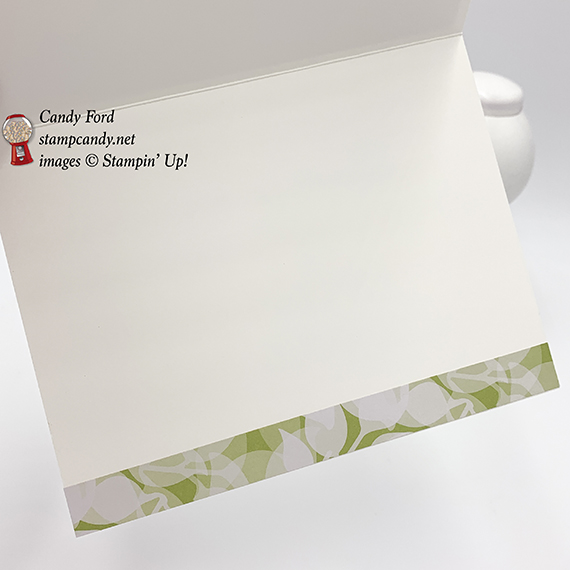 S
S
Here’s what I did:
Cut and scored with my Stampin’ Trimmer:
- Whisper White Thick card stock (CS) cut to 5-1/2″ x 8-1/2″, then scored in half at 4-1/4″
- Floral Romance Designer Series Paper (DSP) cut to 5-1/4″ x 2-1/2″ (leaves)
- DSP (leaves) cut to 5-1/2″ x 1/2″
- DSP (wood) cut to 5-1/4″ x 2″
Stamped with the Tea Together stamp set:
- teapot and cup images in Petal Pink ink onto the lacy vellum DSP
- NOTE: the Stamparatus makes this much easier since the stamps tends to slide around on the vellum
- sentiment in Mossy Meadow ink onto a scrap of Whisper White Thick CS
Die cut using the Tea Time Framelits:
- the stamped vellum teapot and cup
- teapot and cup shapes from a scrap of Whisper White Thick CS, to back the vellum ones
Colored using a Sponge Dauber:
- the edges of the wood DSP layer in Sahara Sand ink, to give the “table” some dimension
Cut using Paper Snips:
- the stamped sentiment so look like steam coming out of the teapot
- I first laid the scrap of CS with the sentiment under the teapot and drew the shape with a pencil
Assembled the card:
- burnished the fold in the card base with a Bone Folder
- small DSP strip glued onto the inside bottom edge of the card base
- larger leaves DSP layer glued onto the front of the card base
- vellum teapot and cup glued onto the Whisper White CS versions of the same shapes
- NOTE: I applied glue to the entire front of the Whisper White die cut shapes, then applied the vellum on top. If the glue is everywhere, you don’t notice it through the vellum. Be very careful when doing this step. I accidentally got a cat hair between two of the layers, which luckily doesn’t show in the photos.
- teapot glued onto the wood DSP layer
- cup adhered onto the wood DSP layer using Stampin’ Dimensionals (if you think this makes the card too thick, you can glue the cup onto the layer)
- wood DSP/teapot adhered onto the front of the card base using Stampin’ Dimensionals
- sentiment adhered onto the leaves DSP layer using Stampin’ Dimensionals, with the tip tucked under the teapot spout.
S
Here are today’s colors:
You can click on each one to see all the products that come in that color!
S
Here’s what I used:
Click on these images for more details and to purchase.
The Tea Time Framelits Dies are free with a $100 purchase, through March 31 or while supplies last.
S
Preorder the Fable Friends Online Class by February 27!
- Make 6 adorable cards at home in your PJs!
- 2 each of 3 designs
- Perfect for Spring occasions
- Limited spots available!
Click on the image below for details:
S
Here are some helpful links to check out:
S
Thanks for stopping by today, and Sweet Stamping!
Feb 18, 2019 | Boxes, Gallery, Gift Wrap, Gifts, Occasions |
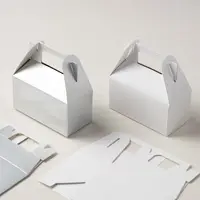
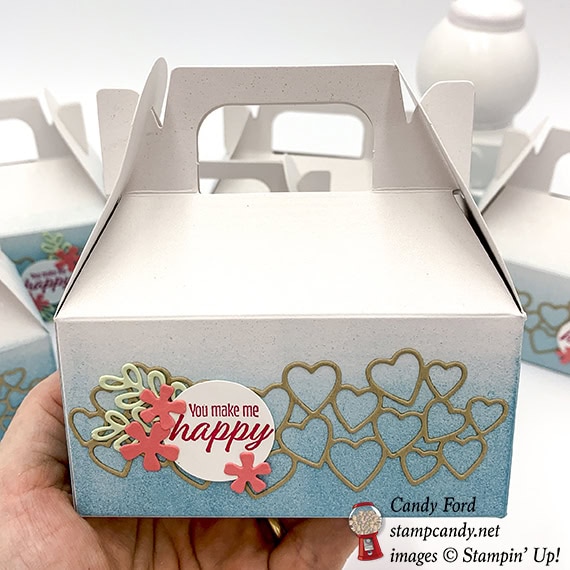
Today I’m sharing some treat boxes I made up for my February Candy Hearts team meeting. We had a small meeting this month so I only made 6. I just love the Lustrous White Mini Gable Boxes (they come in silver, too.) They have a lot of “real estate” to decorate if you want to, but they are just as lovely plain, with their shimmery white surfaces. I took the colors from the All My Love Designer Series Paper, which I had originally intended to use on the boxes, but then changed my mind. I used a Sponge Brayer to color the bottom half of each box, darker at the bottom and lighter at the top. Then I glued on the cut out pieces. I filled the boxes with assorted Dove chocolates, so I’m guessing the Hearts who missed the meeting this month are feeling a little rueful about now.
S
Here’s what I made:


 S
S
Here’s what I did:
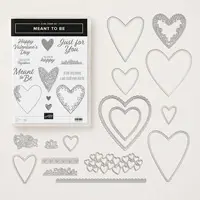
Stamped with the Meant to Be stamp set:
- sentiment in Lovely Lipstick ink onto a scrap of Whisper White Thick cardstock (CS)
Die cut using the Be Mine Framelits:
- hearts from a scrap of Crumb Cake CS
Die cut using the Lovely Flowers Edgelits:
- 2 leaves from a scrap of Soft Sea Foam CS
- flowers from a scrap of Lovely Lipstick CS
Cut using a 1″ Circle Punch:
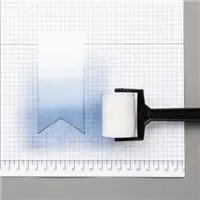
Colored using a Sponge Brayer:
- all four sides of a Mini Gable Box in Balmy Blue ink, making it darker at the bottom and lighter at the top
Assembled the card:
- burnished the folds in the box with a Bone Folder, then folded in the bottom flaps to create the box
- Crumb Cake CS hearts glued onto the front of the box
- leaves and flowers glued onto the sentiment, then the sentiment glued over the hearts
- filled the boxes with assorted Valentine chocolates and closed the top
S
Here are today’s colors:
You can click on each one to see all the products that come in that color!
S
Here’s what I used:
Click on these images for more details and to purchase.
S
Here is this week’s online class!
Happiness Blooms Online Class
- make 26 colorful cards at home in your PJs!
- 2 each of 10 designs, plus 6 individual card designs
- Preorder February 14-20, 2019
- limited spots available
Click on the image below for details:

S
Here are some helpful links to check out:
S
Thanks for stopping by today, and Sweet Stamping!
Jan 27, 2019 | Food, Gallery, Gift Wrap, Gifts, Occasions |
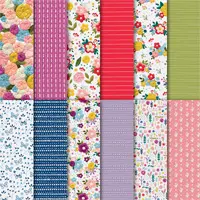
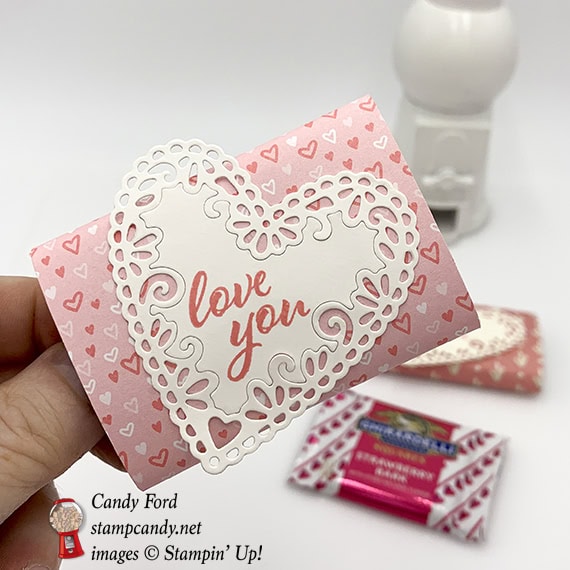
Today I’m sharing an extremely simple little treat holder. It’s basically a piece of Designer Series Paper (DSP) wrapped around a Ghirardelli square, with a die cut heart and stamped sentiment. I made a couple of versions: one with All My Love paper DSP and a Whisper White card stock (CS) heart, and one with Needlepoint Nook DSP and a Very Vanilla CS heart. I stamped the sentiment from the in Flirty Flamingo ink.
S
Here’s what I made:

 S
S
S
Here’s what I did:
Cut and scored with my Stampin’ Trimmer:
- All My Love Designer Series Paper cut to 2-7/8″ x 4-1/2″
- Needlepoint Nook Designer Series Paper (DSP) cut to 2-7/8: x 4-1/2″
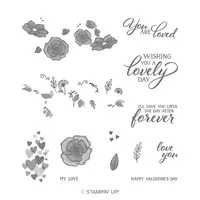
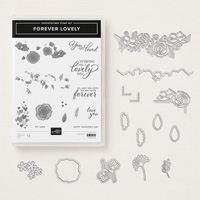
Stamped with the Forever Lovely stamp set:
- sentiment in Flirty Flamingo ink onto a scrap of Whisper White CS
- sentiment in Flirty Flamingo ink onto a scrap of Very Vanilla CS
Die cut using the Be Mine Stitched Framelits:
- both sentiments with a decorative heart die
Assembled the treat holder:
- wrapped the DSP around the Ghirardelli square and glued together the overlapping ends on the back, being careful not to glue the DSP to the candy wrapper so the candy can slide out
- die cut heart (inside part with sentiment and the decorative outer part) glued onto the front of the DSP
Here are today’s main colors:
You can click on each one to see all the products that come in that color!
S
Here’s what I used:
Click on these images for more details and to purchase.
Here are some helpful links:
Thanks for stopping by today, and Sweet Stamping!