Jan 20, 2019 | Cards, Gallery, Occasions |
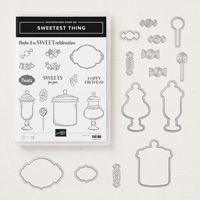
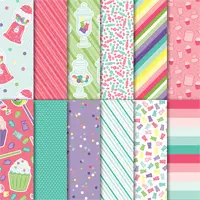
Today I have a very simple card for you. It’s a birthday card made with the Sweetest Thing bundle and How Sweet It Is Designer Series Paper. I stamped the label in black ink, then colored in the decorative edges with markers in Coastal Cabana and Melon Mambo. A simple piece of ribbon is the only embellishment. Of course, the paper is so decorative with the cute gumball machines, a lot of embellishment isn’t necessary.
Here’s what I made:


Here’s what I did:
Cut and scored with my Stampin’ Trimmer:
- Melon Mambo card stock (CS) cut to 4-1/4″ x 11″, then scored in half at 5-1/2″
- Basic Black CS cut to 4″ x 5-1/4″
- How sweet It Is Designer Series Paper (DSP) cut to 3-7/8″ x 5-1/8″
- Whisper White CS cut to 4″ x 5-1/4″
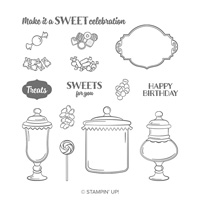
Stamped with the Sweetest Thing stamp set:
- sentiment and label in black ink onto a scrap of Whisper White CS
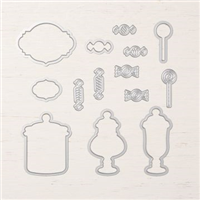
Die cut using the Jar of Sweets Framelits:
Colored using Stampin’ Write Markers:
- edge design of label in Coastal Cabana and Melon Mambo
Assembled the card:
- burnished the fold in the card base with a Bone Folder
- Basic Black CS layer glued onto the front of the card base
- DSP layer glued onto the Basic Black CS layer
- a piece of ribbon adhered onto the DSP layer using Tear & Tape
- sentiment label adhered over ribbon using Stampin’ Dimensionals
- Whisper White CS glued onto the inside of the card base

Here are today’s main colors:
You can click on each one to see all the products that come in that color!
Here’s what I used:
Click on these images for more details and to purchase.
Sale-a-brate good times, come on!

Here’s more cool stuff to check out:
Thanks for stopping by today, and Sweet Stamping!
Jan 19, 2019 | Cards, Gallery, Occasions |
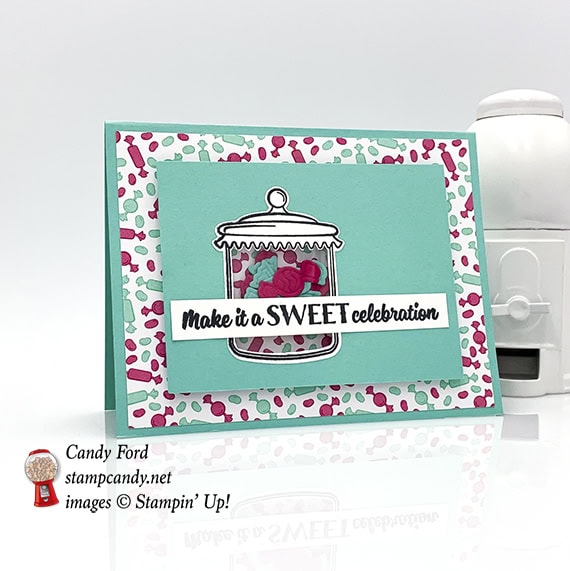
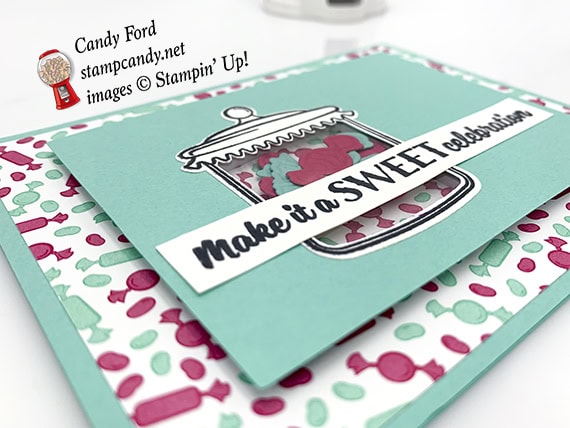
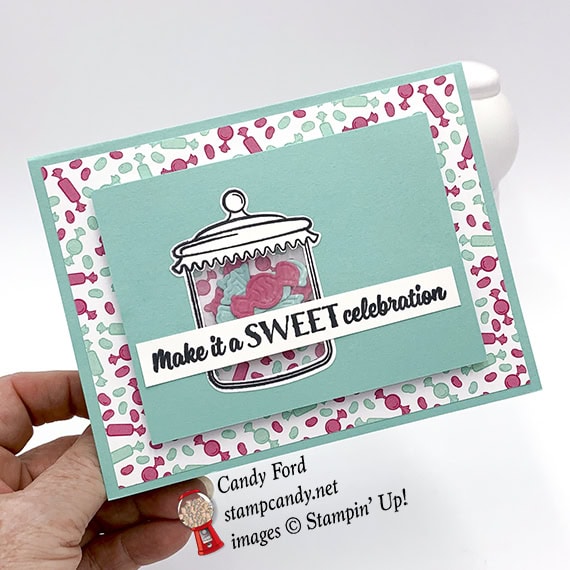
Have you seen the How Sweet It Is suite in the new Occasions catalog? It’s all about candy! At OnStage Orlando in November, there must have been 30 people who came up to me and said, “There’s a whole suite all about you!” While I’m sure I wasn’t on the designer’s mind when they created this suite, it really is perfect for me, don’t you think? There’s even a paper with gumball machines on it! Today’s project is made using this suite. It’s a shaker card you can use for a birthday or any other celebration.
S
Here’s what I made:
S
Here’s what I did:
Cut and scored with my Stampin’ Trimmer:
- Coastal Cabana card stock (CS) cut to 5-1/2″ x 8-1/2″, then scored in half at 4-1/4″
- How Sweet It Is Designer Series Paper (DSP) cut to 5-1/4″ x 4″
- Coastal Cabana CS cut to 4-1/4″ x 3-1/4″
- Window Sheet cut to 3″ x 3″
- Whisper White CS cut t 3″ x 1/2″
- Whisper White CS cut to 5-1/4″ x 4″ for the inside of the card base
Stamped with the Sweetest Thing stamp set:
- jar in Memento black ink onto a scrap of Whisper White CS
- sentiment in Memento black ink onto the Whisper White CS strip
Die cut using the Jar of Sweets Framelits:
- jar
- candies from scraps of Melon Mambo and Coastal Cabana CS
Cut using Paper Snips:
- inside from jar
- used a pencil to trace the same shape (inside of the jar) onto the Coastal Cabana CS layer, then cut it out
Assembled the card:
- burnished the fold in the card base with a Bone Folder
- DSP layer glued onto the front of the card base
- jar outline glued onto the Coastal Cabana CS layer, matching up the snipped out areas
- Window Sheet adhered onto the back of the Coastal Cabana CS layer using Tear & Tape, being sure to cover the jar area
- applied Foam Adhesive Strips onto the back of the Coastal Cabana CS layer, around all the edges, and around the jar area
- die cut candies laid onto the DSP layer where the jar will be, then removed the backing from the Foam Adhesive Strips and adhered the Coastal Cabana CS layer onto the DSP layer
- NOTE: You should be able to move the candies around by shaking the card. I put too many (7 pieces) so they don’t have enough room to move. I would suggest 3 or 4 pieces of candy. Alternatively, you can stuff it full of candies (maybe 10 pieces) for a 3D look without the “shaker” aspect.
- adhered the sentiment onto the Coastal Cabana CS layer using Tear & Tape
- Whisper White CS glued onto the inside of the card base
- NOTE: You can use the Foam Adhesive Strips (they’re designer for shaker cards!) or Stampin’ Dimensionals, but don’t use them together. The strips are thicker than the Dimensionals, but not as thick as two dimensionals stacked together. The Mini Dimensionals are the same thickness as the regular Dimensionals so you can can use them together, which I do all the time!
S
Here are today’s colors:
You can click on each one to see all the products that come in that color!
Here’s what I used:
Click on these images for more details and to purchase.
S
Here’s how to get your copy of the new catalogs:
Just click on this button and I’ll send you the new catalogs, along with a list of the new bundles, the Designer Series Paper coordinating colors, and a handmade card!
S
Here’s some stuff to check out:
Thanks for stopping by today, and Sweet Stamping!
Jan 3, 2019 | Catalogs, New Products, Occasions, Sale-A-Bration |


It’s finally here! Today is the day! The new 2019 Occasions & Sale-a-bration catalogs are live!
Click here to shop all the new products in my store.
Watch this video highlighting some of the new products.
Click here to request your free catalogs.
Click here to see information on the new catalogs, including the new bundles, the coordinating colors in the new papers, information on the new Cling Stamps, and more!
Here are 3 ways to save during Sale-a-bration!
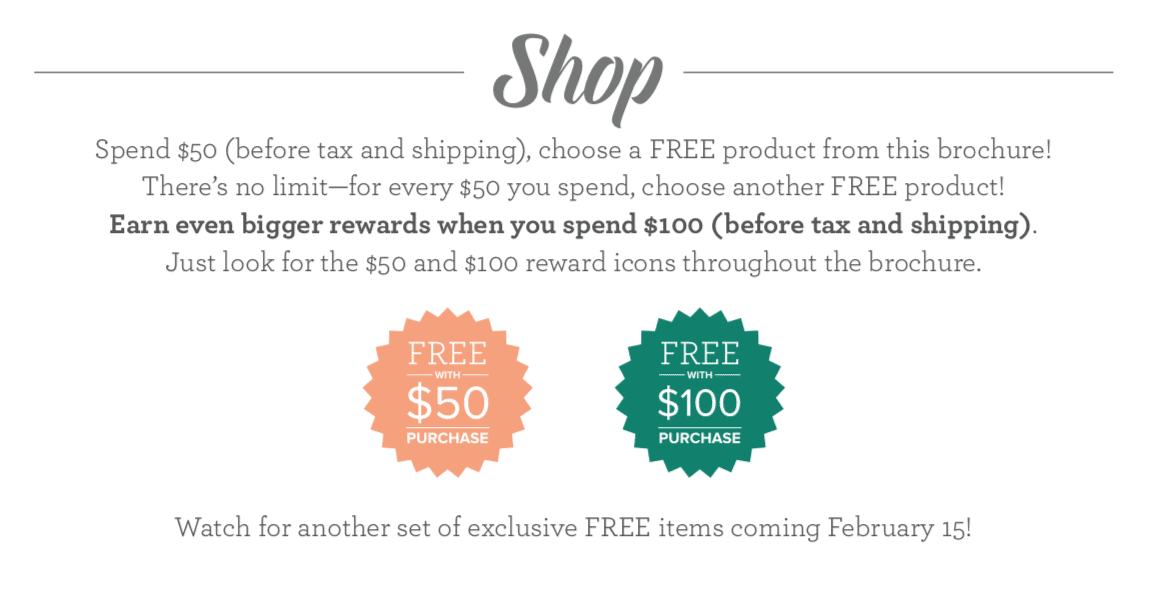
1) Shop
2) Shop BIG! Place a large order for yourself, or host a workshop:

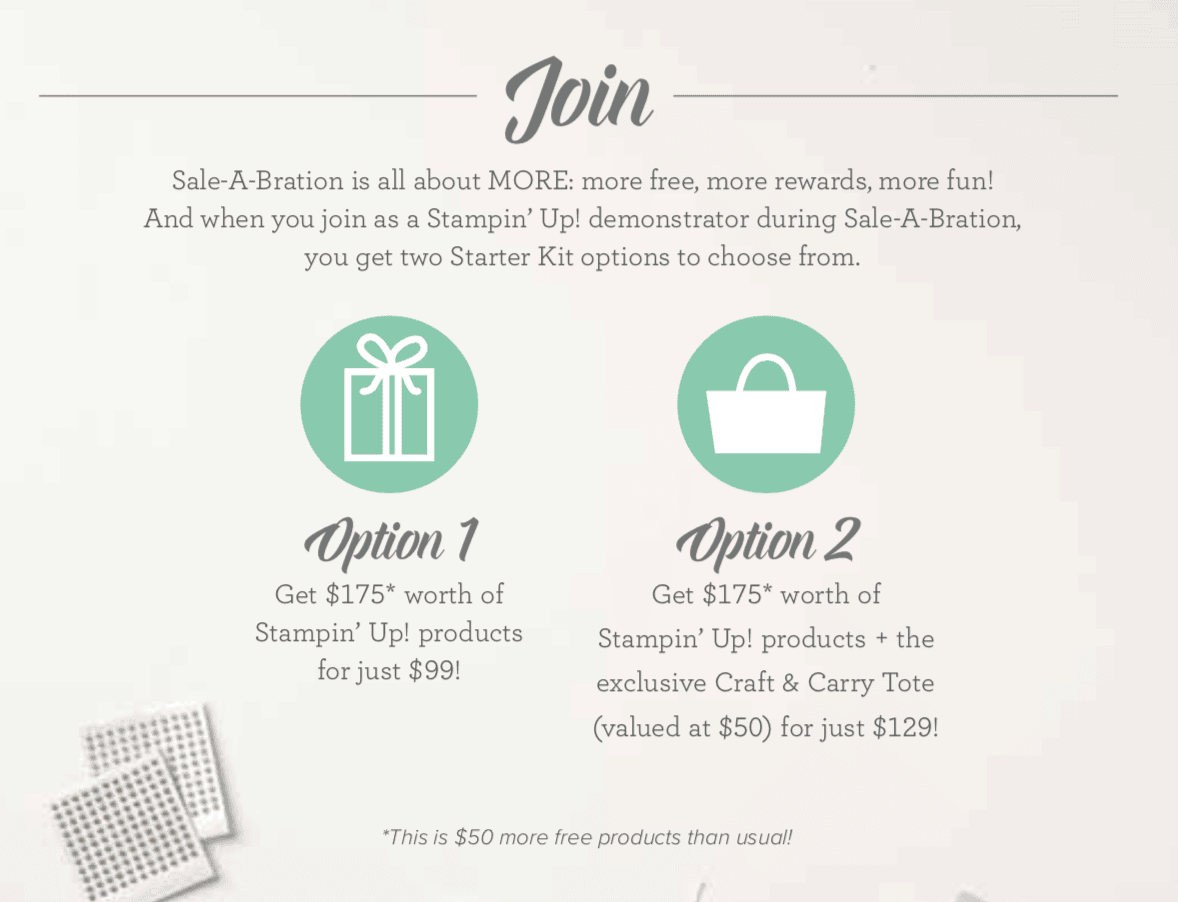
3) Join
You get so much more when you join during Sale-a-bration!
S
Here’s how to get a 20% discount and much more!!!
- Become a Candy Heart!
- Join my team during Sale-a-bration, and receive lots more in your Starter Kit!
- No selling required! I welcome Hobby Demos! (Hobby Demos join to get the discount for themselves.)
- NO RISK! You never have to do another thing! No penalties or fees if you stop!
- For $99 you get to choose $175 in product of your choice, and you get FREE shipping!
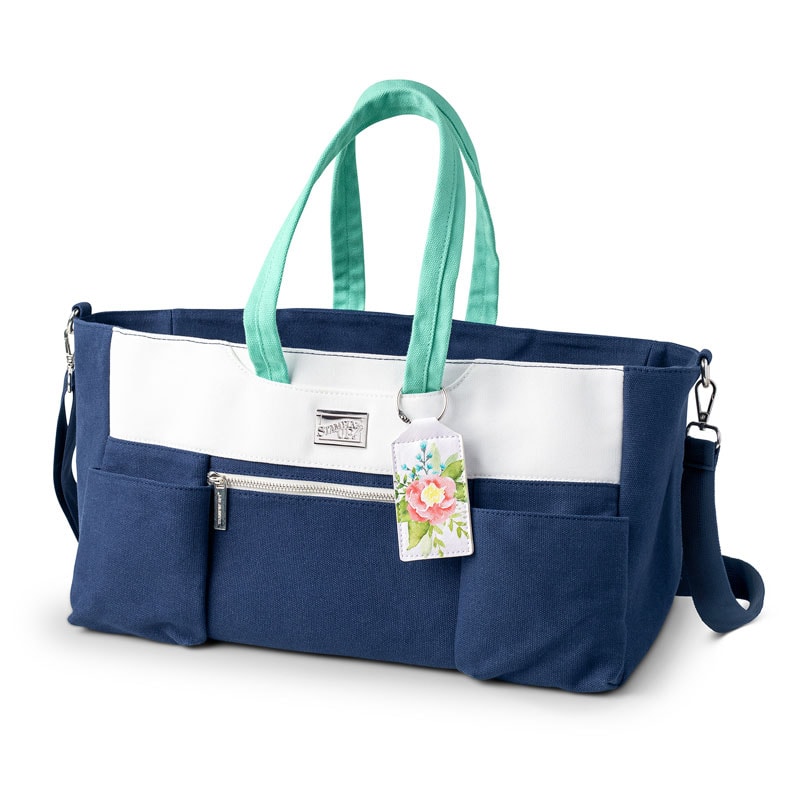
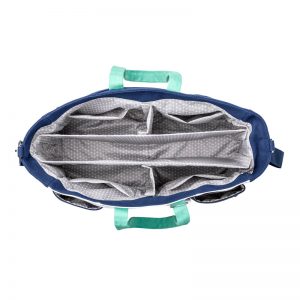
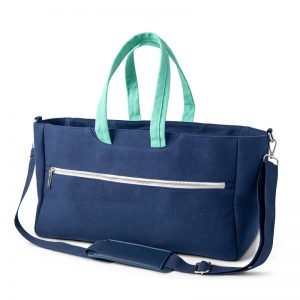
- For $$129 you get to choose $175 in product of your choice, and you get the new Craft & Carry Tote, and you get FREE shipping!
- CLICK HERE for the details!

Here’s a quick note from Candy:
Happy New Year and New Catalog! I just want to let you know that my blog posts may be sparse for a couple weeks. I’ve been in bed with a bad back since Christmas. I can only get up for short periods of time. So I haven’t been able to make new projects to share with you, which feels worse than the back pain! I will hopefully be up and at ’em very soon. But in the meantime, please don’t give up on me! I appreciate your support for my small business very, very much!
Here’s more cool stuff to check out:
Thanks for stopping by today, and Sweet Stamping!
Dec 30, 2018 | Cards, Gallery, New Products, Occasions |
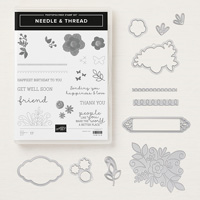
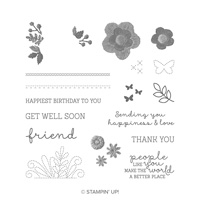
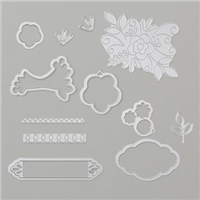
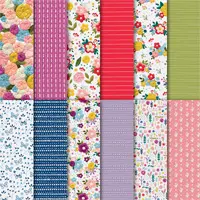
The new Needlepoint Nook suite in the 2019 Occasions catalog is beautiful. Nothing says handmade like stitchery! It reminds me of being a young girl and learning to sew and embroider with my mother, and to needlepoint with my aunt Edna. I’ve used the Needle & Thread stamp set and Needlepoint Elements Framelits Dies (buy together and save 10%) with the Needlepoint Nook Designer Series Paper to create this sweet friend card.
S
Here’s what I made:


S
Here’s what I did:
Cut and scored with my Stampin’ Trimmer:
- Balmy Blue card stock (CS) cut to 4-1/4″ x 11″, then scored in half at 5-1/2″
- Needlepoint Nook Designer Series Paper (DSP) cut to 4″ x 5-1/4″
- Very Vanilla CS cut to 3″ x 3-1/2″
- Petal Pink CS cut to 1-7/8″ x 3/4″
- Very Vanilla CS cut to 4″ x 5-1/4″ for the inside of the card base
Stamped with the Needle & Thread stamp set:
- large flower in Flirty Flamingo onto a scrap of Very Vanilla CS
- smaller flower in Berry Burst onto a scrap of Very Vanilla CS – once full strength and again without reinking the stamp
- leaves and tiny flowers in Old Olive, Berry Burst, and Flirty Flamingo inks onto a scrap of Very Vanilla CS
- NOTE: I colored the stamp with leaves and flowers using Stampin’ Write Markers
- butterflies in Balmy Blue ink onto the top right corner of the Very Vanilla CS layer
- sentiment in Old Olive ink onto the Petal Pink CS
- three little flowers in Flirty Flamingo ink onto the Very Vanilla CS for the inside of the card
Die cut using the Needlepoint Elements Framelits:
- stamped large flower, 2 small flowers, and leaf/flower cluster
- three leaf outlines from a scrap of Old Olive CS
- stitched design cut into the Very Vanilla CS layer
Assembled the card:
- burnished the fold in the card base with a Bone Folder
- DSP layer glued onto the front of the card base
- Very Vanilla CS layer glued onto the DSP layer
- leaves and flowers arranged and glued onto the Very Vanilla CS layer
- sentiment adhered onto the card front using Stampin’ Dimensionals
- large Very Vanilla CS glued onto the inside of the card base
Here are today’s colors:
You can click on each one to see all the products that come in that color!
Here’s what I used:
Click on these images for more details and to purchase.
S
Here’s the Year-End Closeout! Only 4 more days!
During the Year-End Closeout promotion, you can save on a selection of retiring and surplus items—while supplies last. Definitely place your orders sooner rather than later, because supplies are limited and the Year-End Closeout ends on January 2. After that, some of your favorite retiring items may be gone for good!
CLICK HERE to see all the Year-End Closeout items. S
Here’s how to get your copy of the new catalogs:
Just click on this button and I’ll send you the new catalogs, along with a list of the bundles, the Designer Series Paper coordinating colors, and a handmade card!
S
Here’s how to shop 2019 Occasions & Sale-a-bration items now!
- Become a Candy Heart!
- Join my team and you can order the new products right now, instead of having to wait another month!
- No selling required! I welcome Hobby Demos! (Hobby Demos join to get the discount for themselves.)
- CLICK HERE for the details!
S
Here’s more cool stuff to check out:
Thanks for stopping by today, and Sweet Stamping!
Dec 29, 2018 | Cards, Gallery, New Products, Occasions |
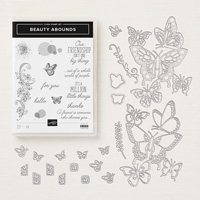
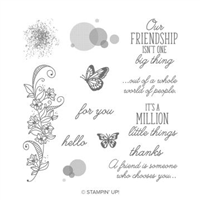
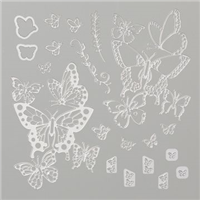
Here’s another sneak peek of new products from the 2019 Occasions catalog, which goes live in only 5 days! I used the Beauty Abound stamp set and Butterfly Beauty Thinlits Dies (get the bundle to save 10%) along with the Wood Textures Designer Series Paper to create this lovely friend card.
S
Here’s what I made:


S
Here’s what I did:
Cut and scored with my Stampin’ Trimmer:
- Early Espresso card stock (CS) cut to 4-1/4″ x 11″, then scored in half at 5-1/2″
- Wood Textures Designer Series Paper (DSP) cut to 4″ x 5-1/4″
- Powder Pink CS cut to 3″ x 1″
- Whisper White CS cut to 4″ x 5-1/4″ for the inside of the card base
Stamped with the Beauty Abounds stamp set:
- outer sentiment in Lovely Lipstick ink onto the Powder Pink CS
- small butterfly in Lovely Lipstick ink onto a scrap of Powder Pink CS
- inner sentiment in Lovely Lipstick ink onto the 4″ x 5-1/4″ Whisper White CS (Oops! I forgot to photograph the inside of the card. The sentiment is “…out of a whole world of people.”)
Die cut using the Butterfly Beauty Thinlits:
- small stamped butterfly
- large butterfly background shape from a scrap of Powder Pink CS
- large butterfly foreground shape from a scrap of Lovely Lipstick CS
- NOTE: I had no trouble cutting the butterflies using the Magnetic Platform on my Big Shot. If your butterflies don’t cut well, use the Precision Base Plate with the regular platform.
Assembled the card:
- burnished the fold in the card base with a Bone Folder
- DSP layer glued onto the front of the card base
- large Lovely Lipstick butterflies glued onto the large Powder Pink butterflies, then the whole thing glued onto the DSP layer
- NOTE: I recommend putting glue on just part of the large die cut and lining it up, then doing another small section. Otherwise the large delicate die cut can flop around on you.
- small butterfly glued onto the sentiment
- sentiment glued over the butterflies using Stampin’ Dimensionals
- Whisper White CS glued onto the inside of the card base
S
Here are today’s colors:
You can click on each one to see all the products that come in that color!
Here’s what I used:
Click on these images for more details and to purchase.
S
Here’s the Year-End Closeout! Only 4 more days!
During the Year-End Closeout promotion, you can save on a selection of retiring and surplus items—while supplies last. Definitely place your orders sooner rather than later, because supplies are limited and the Year-End Closeout ends on January 2. After that, some of your favorite retiring items may be gone for good!
CLICK HERE to see all the Year-End Closeout items. S
Here’s how to get your copy of the new catalogs:
Just click on this button and I’ll send you the new catalogs, along with a list of the bundles, the Designer Series Paper coordinating colors, and a handmade card!
S
Here’s how to shop 2019 Occasions & Sale-a-bration items now!
- Become a Candy Heart!
- Join my team and you can order the new products right now, instead of having to wait another month!
- No selling required! I welcome Hobby Demos! (Hobby Demos join to get the discount for themselves.)
- CLICK HERE for the details!
S
Here’s more cool stuff to check out:
Thanks for stopping by today, and Sweet Stamping!
Dec 28, 2018 | Cards, Gallery, New Products, Occasions |
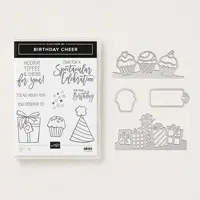
Today’s card is another one I made using the new Birthday Cheer bundle. You can see the first one here. I used a piece of the new How Sweet It Is Designer Series Paper for the background, and took the remaining colors from that paper pack. These new products will be available January 3 – that’s just 6 days away! The Layering Ovals Framelits Dies added the perfect base for the sentiment and stamped cupcake.

Birthday Cheer bundle © Stampin’ Up!

How Sweet It Is DSP © Stampin’ Up!
S
Here’s what I made:


S
Here’s what I did:
Cut and scored with my Stampin’ Trimmer:
- Whisper White Thick card stock (CS) cut to 4-1/4″ x 11″, then scored in half at 5-1/2″
- How Sweet It Is Designer Series Paper (DSP) cut to 4″ x 5-1/4″ (Coastal Cabana dots)
Stamped with the Birthday Cheer stamp set:
- sentiment in Melon Mambo ink onto a scrap of Whisper White CS
- cupcake in black Stazon ink beside the sentiment
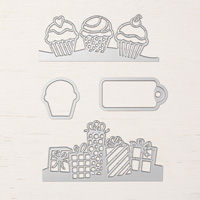
Die cut using the Detailed Birthday Edgelits:
- top edge of the DSP layer
Die cut using the Layering Ovals Framelits:
- sentiment and cupcake
- scrap of Melon Mambo CS
- scrap of Gorgeous Grape CS
Colored using Stampin’ Write Markers:
- cupcake in Granny Apple Green and Powder Pink
Assembled the card:
- burnished the fold in the card base with a Bone Folder
- stamped oval glued onto the Melon Mambo oval
- Melon Mambo oval glued onto the Gorgeous Grape oval
- Gorgeous Grape oval glued onto the DSP layer
- DSP layer glued onto the front of the card base
S
Here are today’s colors:
You can click on each one to see all the products that come in that color!
S
Here’s what I used:
Click on these images for more details and to purchase.
S
Here’s the Year-End Closeout!
During the Year-End Closeout promotion, you can save on a selection of retiring and surplus items—while supplies last. Definitely place your orders sooner rather than later, because supplies are limited and the Year-End Closeout ends on January 2. After that, some of your favorite retiring items may be gone for good!
CLICK HERE to see all the Year-End Closeout items. S
Here’s how to get your copy of the new catalogs:
Just click on this button and I’ll send you the new catalogs, along with a list of the bundles, the Designer Series Paper coordinating colors, and a handmade card!
S
Here’s how to shop 2019 Occasions & Sale-a-bration items now!
- Become a Candy Heart!
- Join my team and you can order the new products right now, instead of having to wait another month!
- No selling required! I welcome Hobby Demos! (Hobby Demos join to get the discount for themselves.)
- CLICK HERE for the details!
S
Here’s more cool stuff to check out:
Thanks for stopping by today, and Sweet Stamping!