Dec 7, 2020 | Cards, Christmas, Events, Gallery, Holiday, Parties |
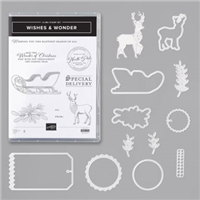
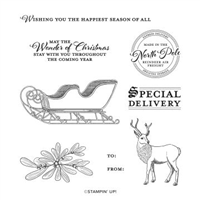
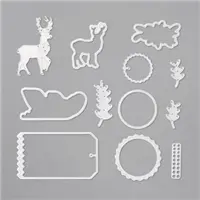
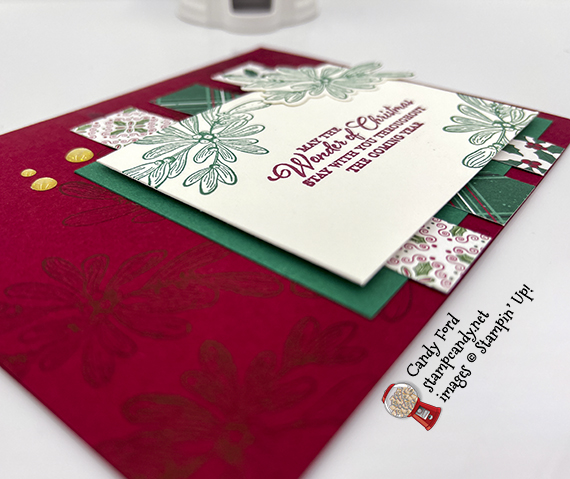
I hosted a Mystery Stamping Party on Facebook, and today I’m sharing my sample card for it. I used the Wishes & Wonder Bundle (Wishes & Wonder stamp set and North Pole Wonder Dies,) ‘Tis the Season Designer Series Paper, and Gold Glitter Enamel Dots.
Mark your calendar and tell your friends! To participate in my next free Mystery Stamping Party, join the Facebook group here. The next one will be Wednesday, 6 January 2021. I will post details in the group.
If you are reading this in email, some photos may appear blurry, or may not appear at all. Please click here to see the post on my blog.
S Wishes & Wonder Wishes & Wonder Wishes & Wonder Wishes & Wonder
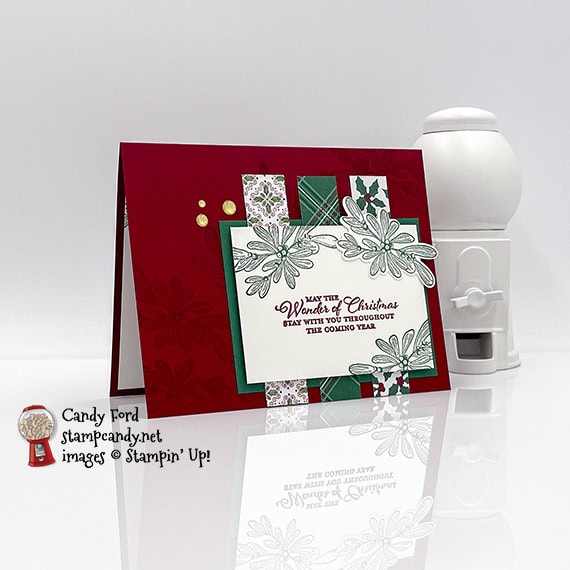
Here’s what I made:
S
Here’s what I did:
Cut and scored with my paper trimmer:
- Cherry Cobbler card stock (CS) cut to 5-1/2″ x 8-1/2″, then scored in half at 4-1/4″
- ‘Tis the Season Designer Series Paper (DSP) cut to 3/4″ x 3-3/4″ (3 strips, each a different pattern)
- Shaded Spruce CS layer cut to 3-3/4″ x 2-2/3″
- Whisper White Thick CS layer cut to 3-1/2″ x 2-1/2″
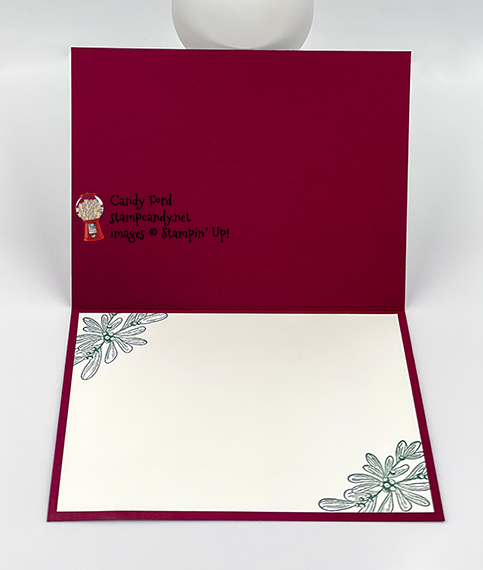
- Whisper White CS cut to 5-1/4″ x 4″ for the inside of the card base
Stamped with the Wishes & Wonder stamp set:
- sentiment in Cherry Cobbler ink onto the Whisper White Thick CS layer
- sprigs in Cherry Cobbler ink in a diagonal swath onto the front of the card base
- two sprigs in Shaded Spruce ink onto the same layer
- one sprig in Shaded Spruce ink onto a scrap of Whisper White Thick CS
- two sprigs in Shaded Spruce ink onto the Whisper White CS for the inside
Cut using the North Pole Wonder Dies:
- the one sprig that was on a scrap of Whisper White Thick CS
Assembled the card:
- burnished the fold in the card base with a Bone Folder
- Shaded Spruce CS layer glued onto the front of the card base, 1/4″ from the bottom and right edges
- 3 DSP strips glued over the Shaded Spruce CS layer, about 1/4″ apart, and the bottom ends even with the edge of the card base
- Whisper White Thick CS layer adhered over the DSP strips, and centered over the Shaded Spruce CS layer, using strips I cut from a Foam Adhesive Sheet
- die cut sprig glued onto the top right corner of the Whisper White Thick CS layer
- 3 Gold Glitter Enamel Dots applied onto the front of the card base using my Take Your Pick tool
- Whisper White CS glued onto the inside of the card base
S
Here are today’s main colors:
You can click on each one to see all the products that come in that color!
S
Here’s what I used:
Click on these images for more details and to purchase. If you are reading this post in email, the product images may not show up. Please click here to see the post on my blog.
Supply List. <— Click for a clickable and printable list of the products!
S
Here’s the new Curvy Celebrations offering:
Click the image to see it in my online store. Some of these products are available only through January 4, or while supplies last!

S
Request a new catalog:
I will be mailing them out in early December. Click the image below to request yours:


S
Here are some helpful links:
S
Thanks for stopping by today, and Sweet Stamping!

Apr 25, 2019 | Blog Hop, Cards, Decor, Gallery, Parties, Wedding |

It’s time for the APPT April 2019 Blog Hop! This month’s kit is called Sentimental Rose, and includes all you need to make 9 beautiful cards AND a box to put them in. Be sure to hop around to all the stops. You don’t want to miss any of the great alternative projects you can make with this month’s kit.
S
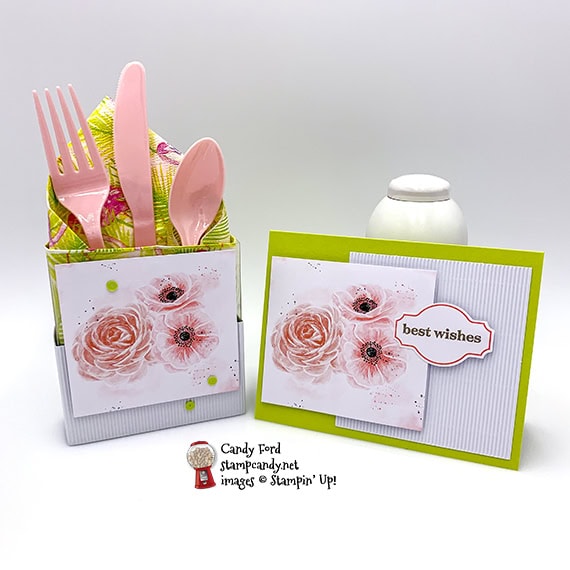
Here’s what I made:
A flatware/napkin holder and a card for a wedding shower. Since these were the only napkins I had with pink in them, I took the color (Lemon Lime Twist) from them for the projects. The Lemon Lime Twist card base and the Gingham Gala Adhesive Backed sequins are the only things you see that didn’t come in the kit. (I put the sequins on the box, but forgot to put them on the card before I took the photo. Oops!)
S
Here’s what I did:
Cut and scored with my Stampin’ Trimmer:
- Lemon Lime Twist card stock (CS) cut to 5-12″ x 8-1/2″, then scored in half at 4-1/4″
- acrylic box from the kit cut down from 5-1/4″ long to 4″ long – just cut off one end of the box
Stamped with the Sentimental Rose stamp set:
- sentiment in Gray Granite ink onto a die cut tag from the kit
Assembled the card:
- burnished the fold in the card base with a Bone Folder
- corrugated piece glued onto the front of the card base
- printed piece from the kit adhered over the corrugated piece using Stampin’ Dimensionals
- left half of sentiment glued onto the printed piece, and the right half adhered onto the corrugated piece using Stampin’ Dimensionals
- 3 Lemon Lime Twist sequins applied onto the card front (Oops! I forgot to put these on the card before I took the photos.)
Assembled the flatware holder:
- burnished the folds in the cut down acrylic box with a Bone Folder
- folded in the flaps on the bottom end to form the holder
- long corrugated piece wrapped around the bottom of the holder and adhered the ends together with the attached peel and stick adhesive (This helps the holder stand up.) If you feel the need, you can put a couple of glue dots under the back of the corrugated piece to hold it to the acrylic box.
- adhered a printed piece onto the corrugated piece and the acrylic holder using Stampin’ Dimensionals
- 3 Lemon Lime Twist sequins applied onto the front of the holder
- napkin and flatware inserted into holder
S
Here’s the APPT April 2019 hop:
Here are today’s colors:
You can click on each one to see all the products that come in that color!
S
Here’s what I used, other than what came in the kit:
Click on these images for more details and to purchase.
Supply List <– Click here for a clickable and printable list!
S
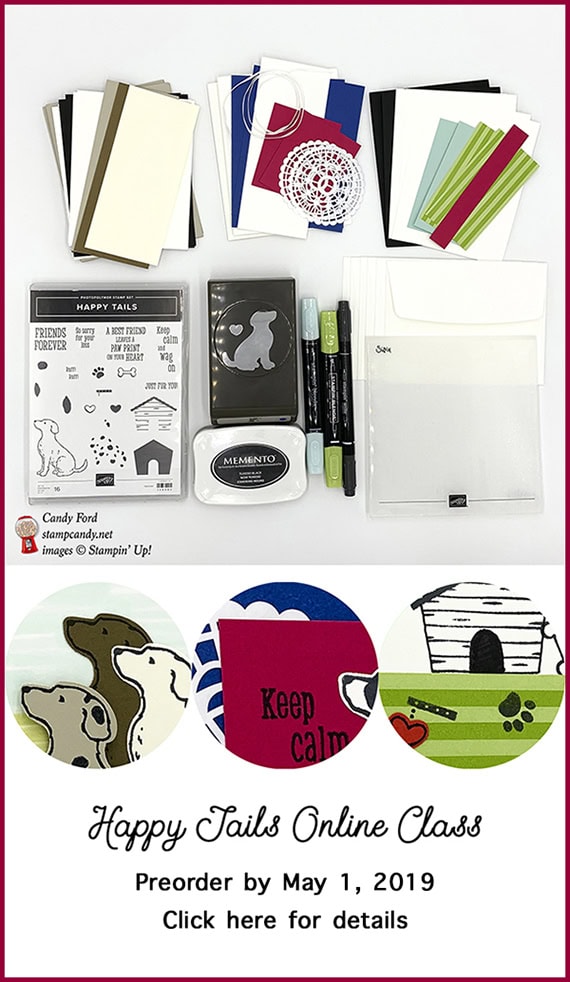
Back by popular demand!
Preorder the Happy Tails Online Class by May 1!
- Make 6 cards at home in your PJs!
- 2 each of 3 designs
- If you or someone you know is a dog lover, this class is for you!
- Limited spots available
Click on the image below for details:
S
Here are some helpful links:
S
Thanks for stopping by today, and Sweet Stamping!

Aug 8, 2018 | Cards, Gallery, Parties |
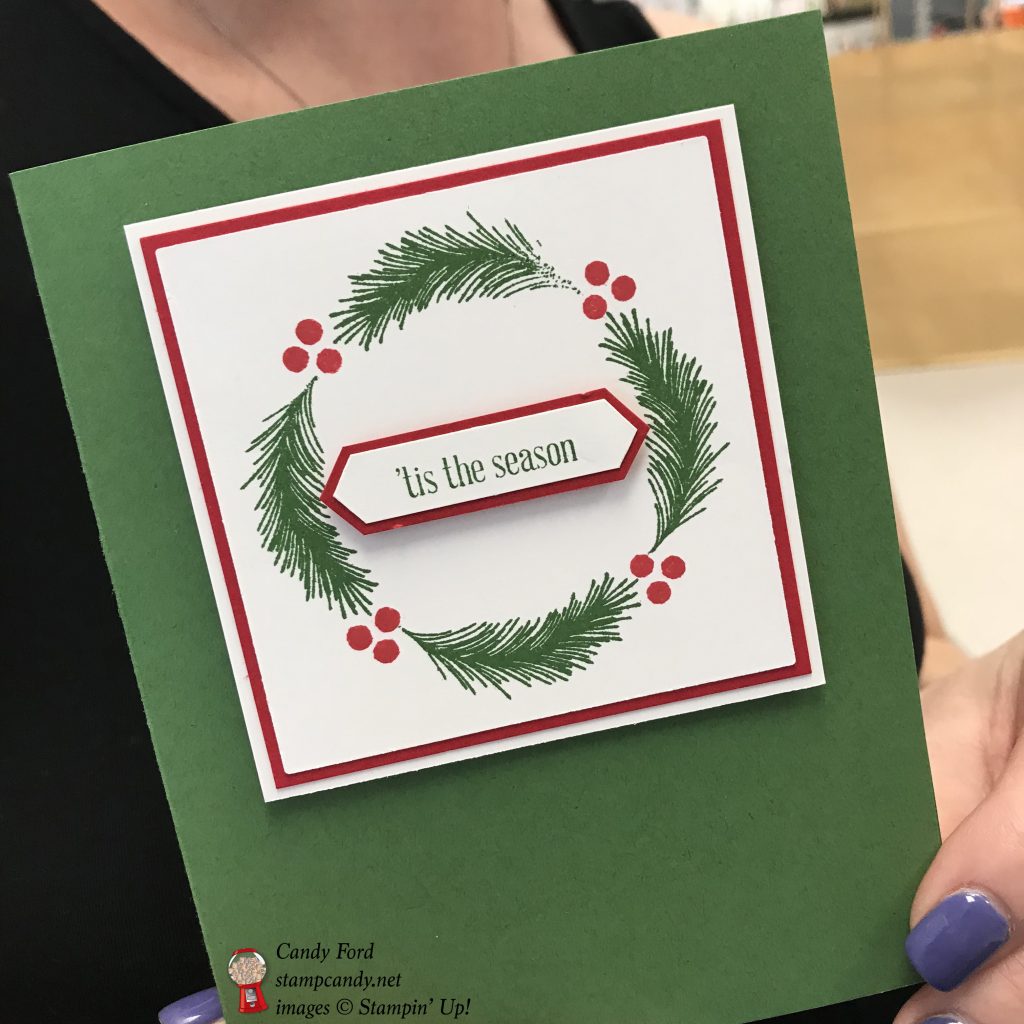
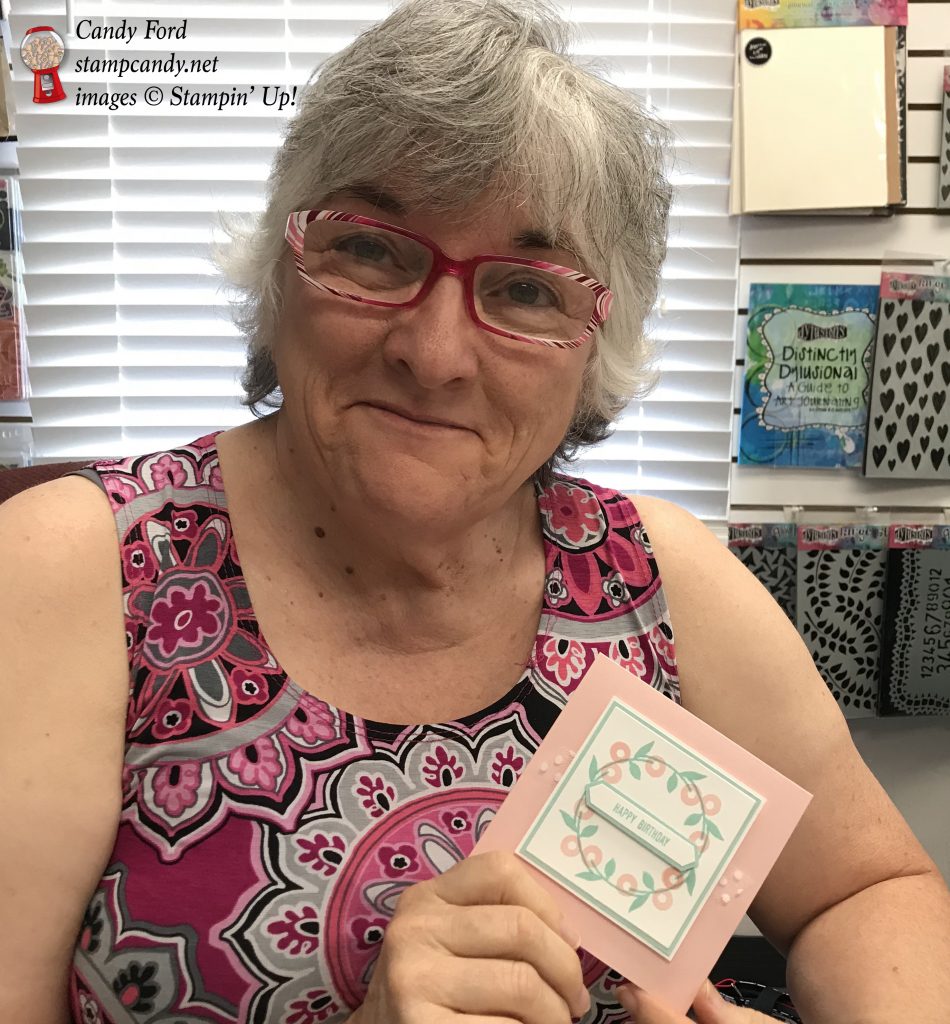
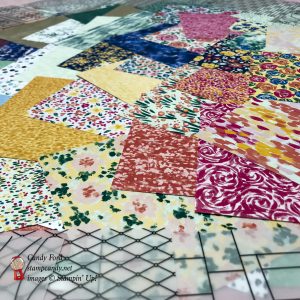
This Sunday, I had the pleasure of joining a lovely group of ladies for some stamping fun. They call themselves Stamp or Dye. They get together once a month, and I join them as often as I can. This month I provided the projects: wreath cards stamped using the Stamparatus.
Here’s what they made:
Here’s Emily with her holiday card in Garden Green and Real Red. Instead of stamping each image 8 times, she stamped each one 4 times to create a clean and simple design. She used the Mistletoe Season stamp set.

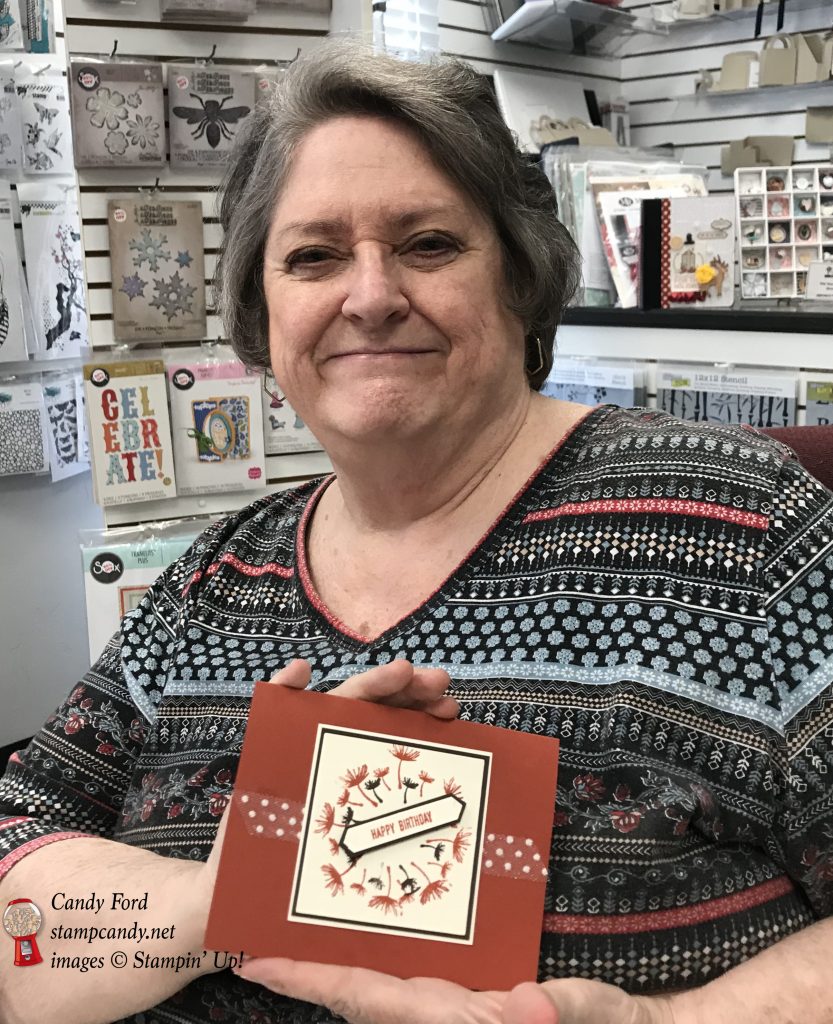
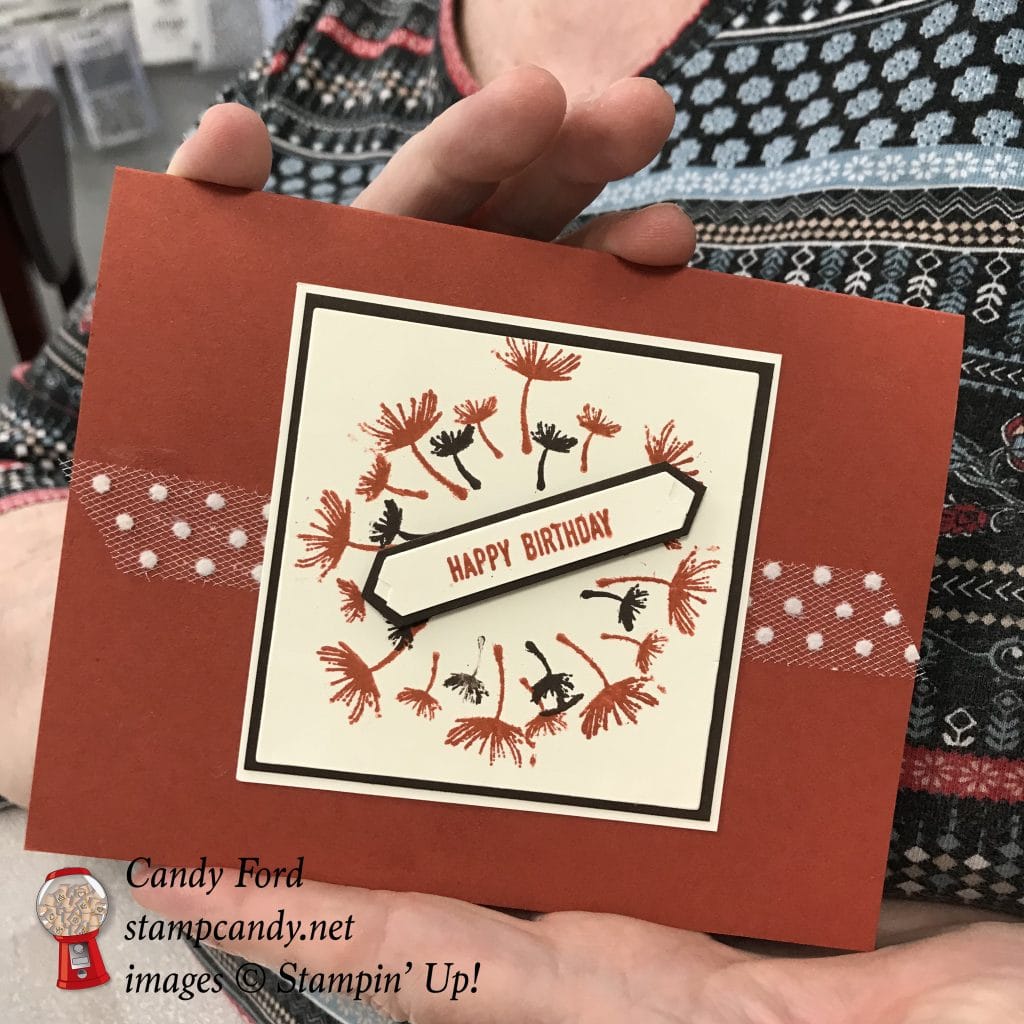
Here’s Jan with her Cajun Craze, Early Espresso, and Very Vanilla birthday card. She used the Balloon Celebration stamp set.
Here’s Karen with her Berry Burst and Lemon Lime Twist birthday card. She used the Jar of Love stamp set.
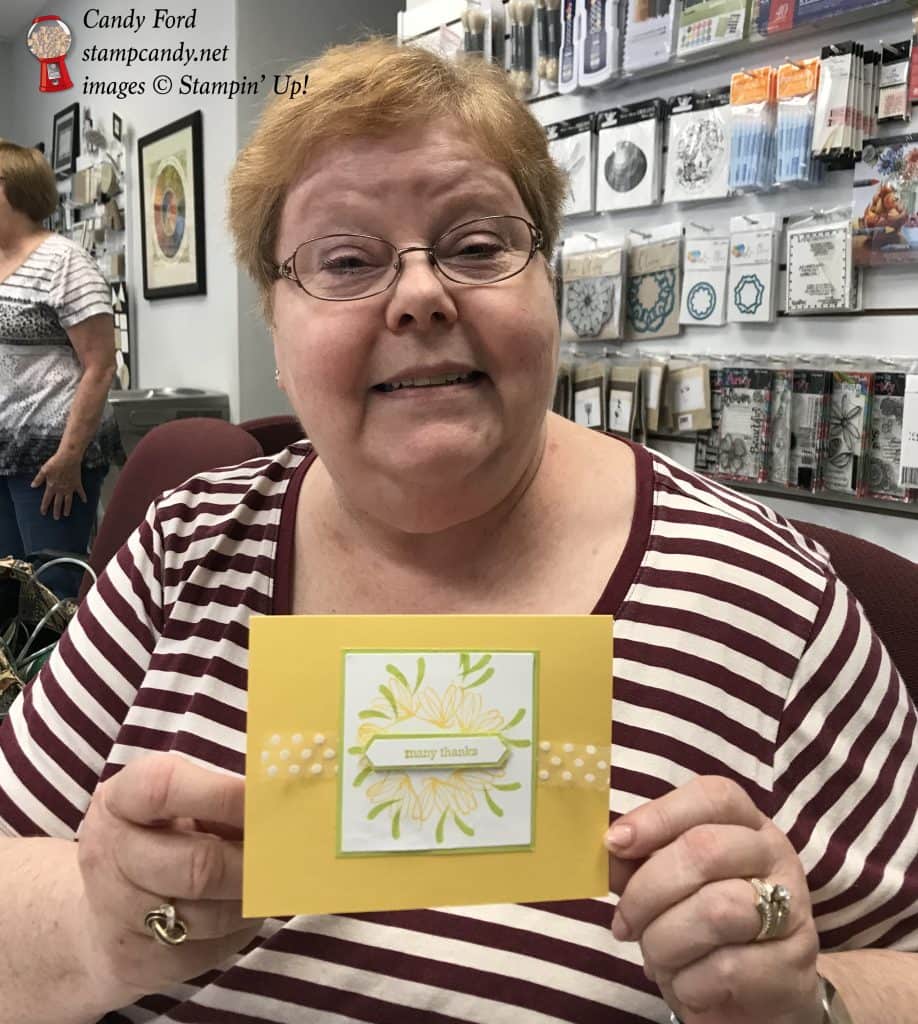
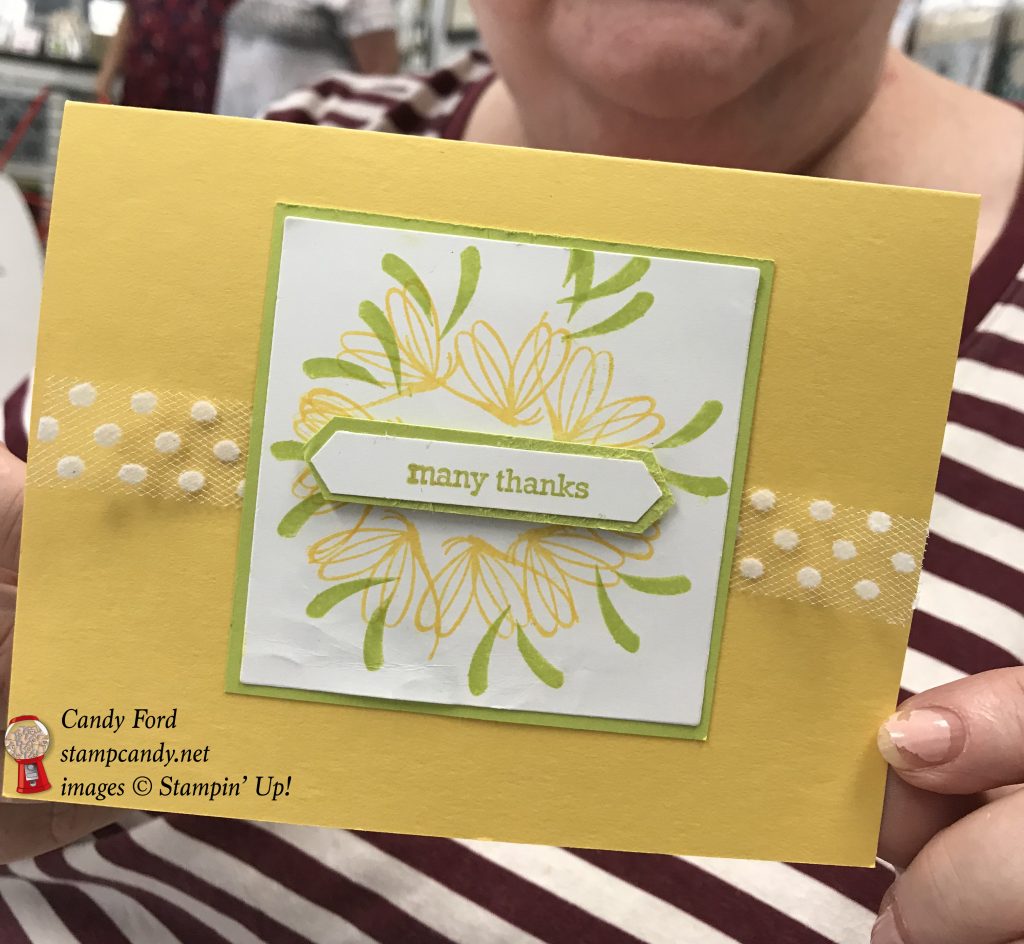
Here’s Marian with her Daffodil Delight and Lemon Lime Twist thank you card. She used the Peaceful Reflection stamp set.
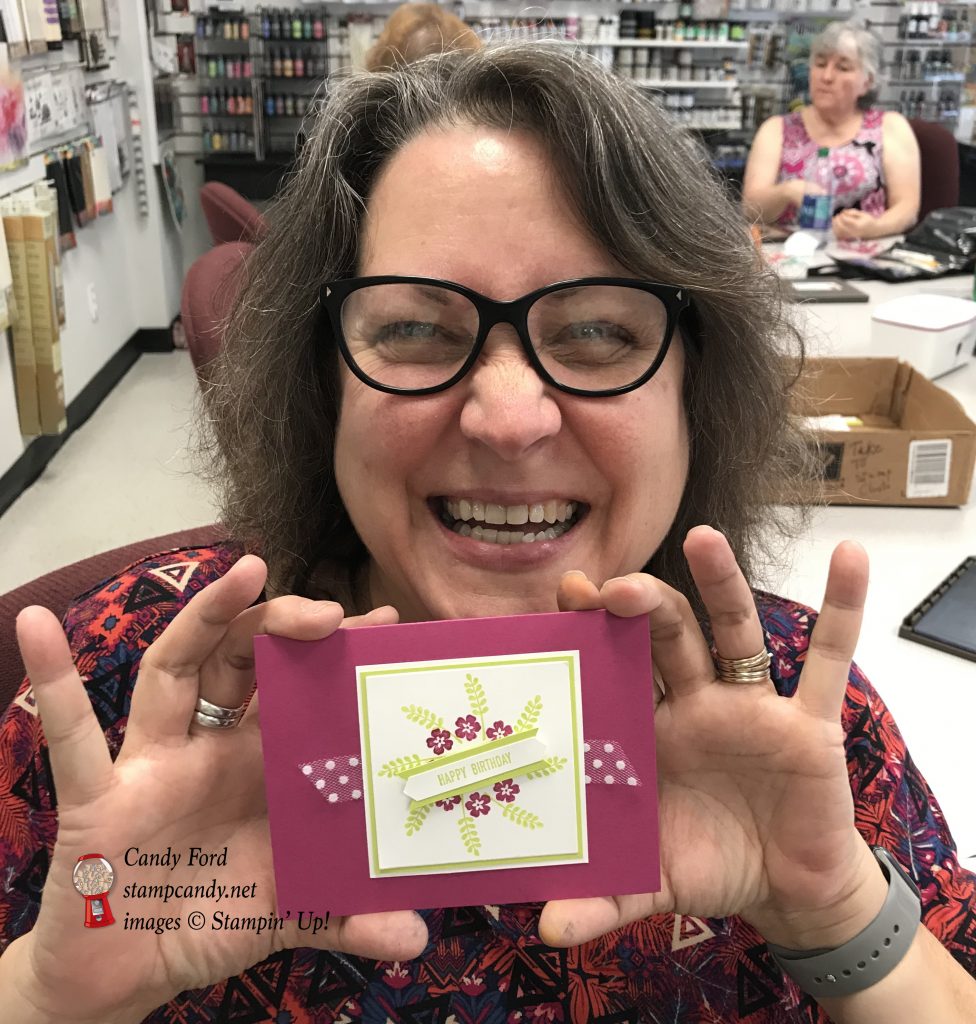
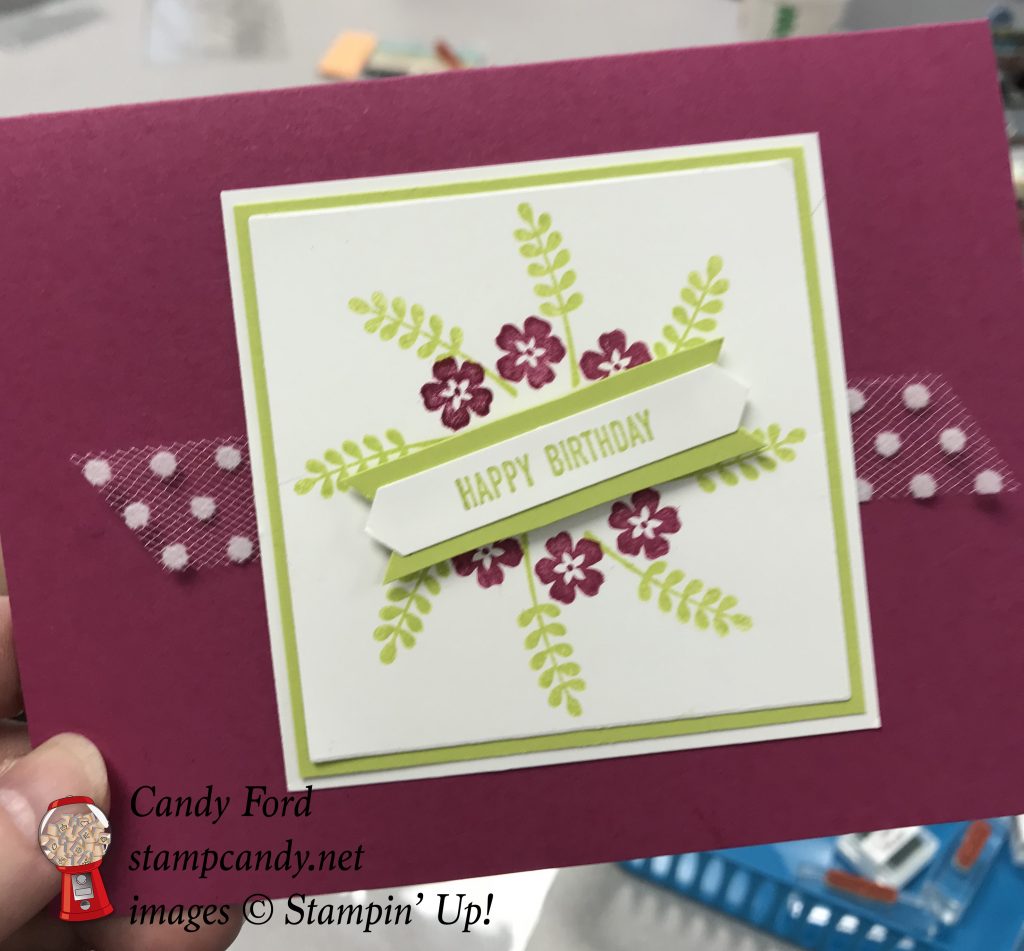
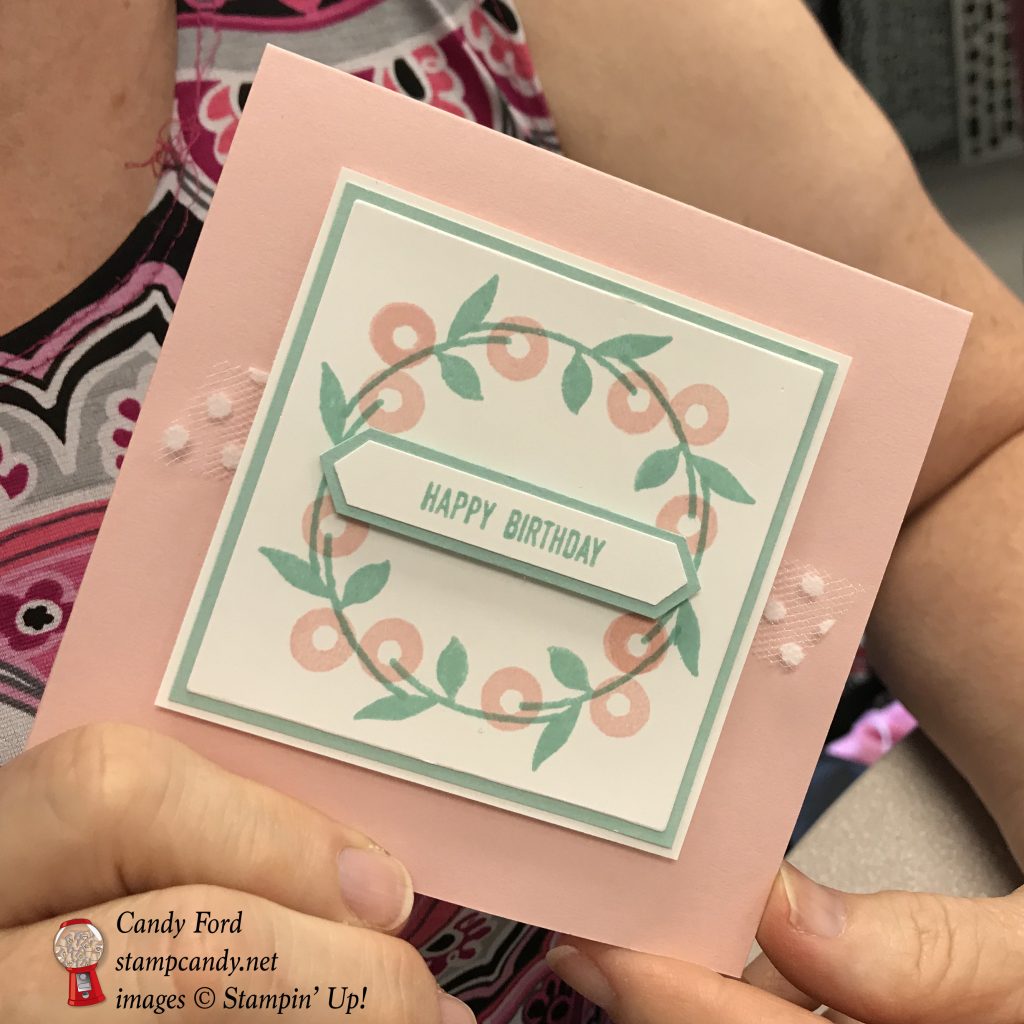
Here’s Patti with her Powder Pink and Pool Party birthday card. She used the Banners for You stamp set.
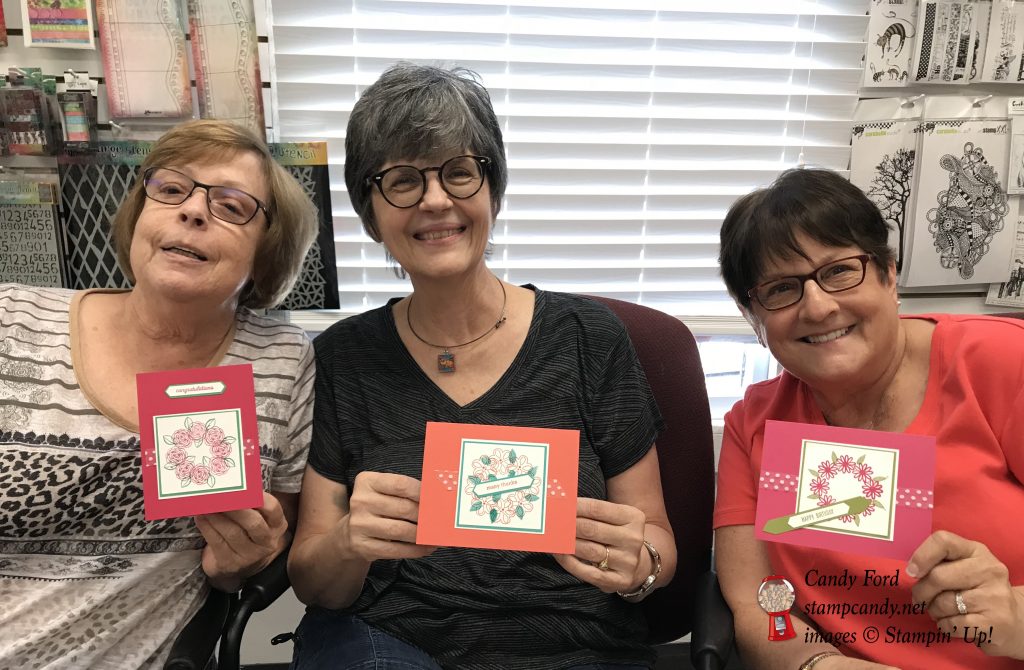
And here are Sharon, Linda, and Mary Beth with their cards. Sharon’s is Lovely Lipstick and Call Me Clover card, and she used the Happy Birthday Gorgeous stamp set. Linda’s is Calypso Coral and Bermuda Bay. Mary Beth’s is Melon Mambo and Old Olive (she said Old Olive is her favorite color.) Linda and Mary Beth used different stamps from the A Big Thank You stamp set.
Here’s what they did:
Cut and scored with my Stampin’ Trimmer:
- main color card stock (CS) cut to 5-1/2″ x 8-1/2″, then scored in half at 4-1/4″ for the card base
- Whisper White or Very Vanilla CS cut to 3-1/8″ x 3-1/8″
- secondary color CS cut to 3″ x 3″
- secondary color CS cut to 5″ x 1/2″
- Whisper White or Very Vanilla CS cut to 5″ x 1/2″
- Whisper White or Very Vanilla CS cut to 5-1/4″ x 4″ for the inside of the card
Stamped using the Itty Bitty Greetings stamp set:
- sentiment onto the Whisper White or Very Vanilla CS strip
Die cut using the Layering Squares Framelits:
- Whisper White or Very Vanilla CS to stamp the wreath on
Cut using the Classic Label Punch:
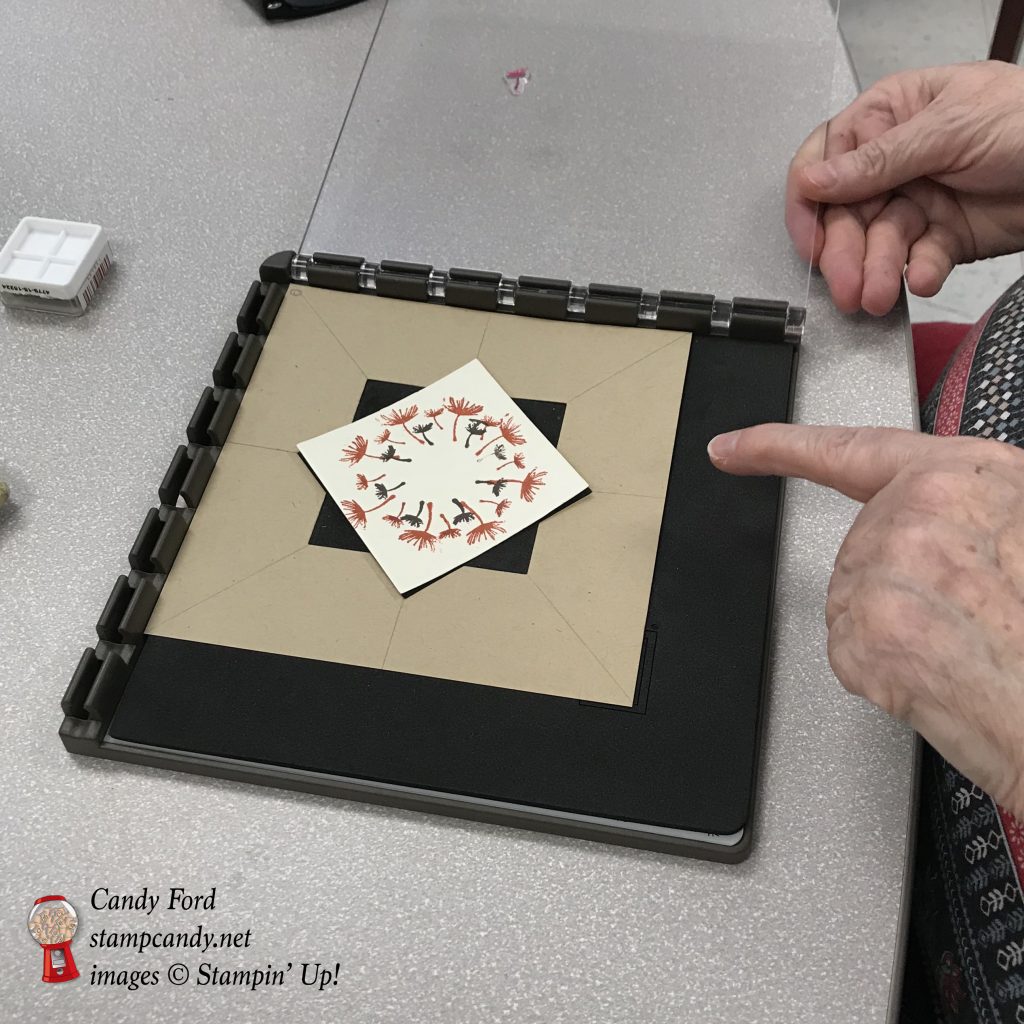
Stamped the wreath using a stamparatus:
- See my post here for directions.
- They all used different stamp sets. See them listed below.
Assembled the card:
- burnished the fold in the card base with a Bone Folder
- wreath glued onto the 3″ x 3″ secondary color CS layer
- 3″ x 3″ secondary color CS layer glued onto the Whisper White or Very Vanilla 3-1/8″ x 3-1/8″ CS layer
- Whisper White or Very Vanilla Polka Dot Tulle Ribbon adhered to the front of the card base using Snail or Tear & Tape
- Whisper White or Very Vanilla 3-1/8″ x 3-1/8″ CS layer glued onto the front of the card base, over the ribbon
- sentiment strip glued onto the secondary color CS strip, then the ends trimmed using Paper Snips
- 4″ x 5-1/4″ Whisper White or Very Vanilla CS glued onto the inside of the card base
Here’s what they used:
Click on these images for more details and to purchase.
Here are 4 amazing limited time offers:
1) Only 2 more days! Paper Pumpkin Sale, through August 10, 2018
- Subscribe between now and August 10
- Use promo code BLOOM0818
- Get 50% off your first kit
- CLICK HERE to subscribe

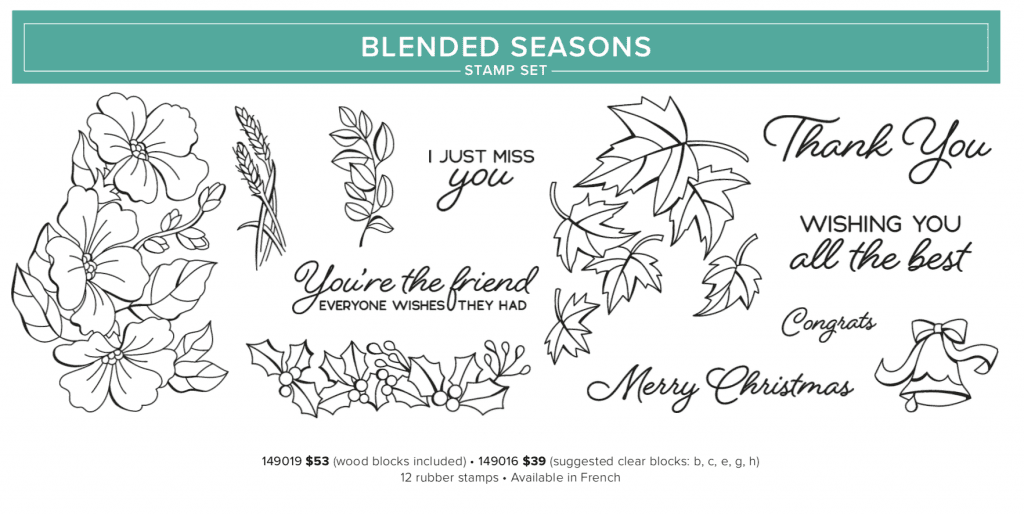
2) Color Your Seasons Special, August 1-31, 2018, While Supplies Last!
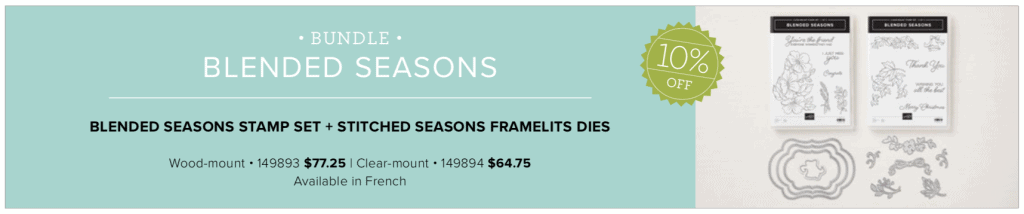
Stampin’ Up!’s® Blended Seasons Stamp Set, coordinating Framelits™ Dies, and Watercolor Pencils are perfect for every season of creating! Plus, save 10% when you buy the stamp set and Framelits in a bundle! But don’t wait—these exclusive products are only available until August 31 while supplies last. So get in the mood to create something full of colors and seasons!
Introducing the all-new, limited-time Color Your Season products:
- Blended Seasons Stamp Set, an exclusive 12-piece wood- or clear-mount stamp set with images for every season – #149019 @ $53 (wood blocks included); #149016 @ $39 (suggested clear blocks: b, c, e, g, h)
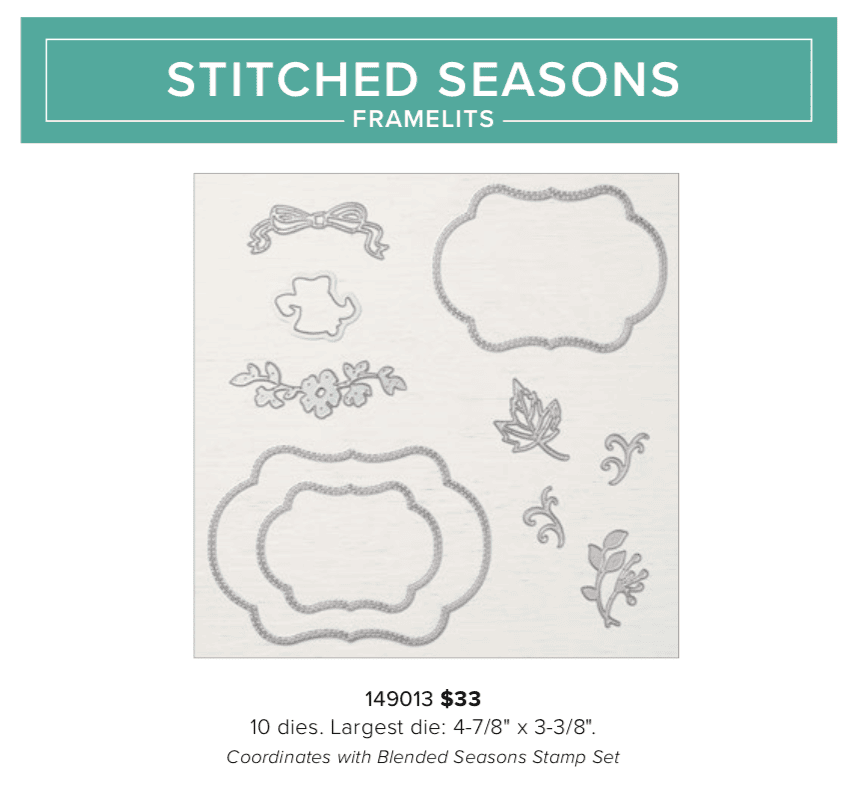
- Stitched Season Framelits Dies, a coordinating stitched die that includes stitching on both the positive and negative images! #149013 @ $33. Has10 dies. Largest die: 4-7/8″ x 3-3/8″.
- Save 10%! Blended Seasons BUNDLE – BLENDED SEASONS STAMP SET + STITCHED SEASONS FRAMELITS DIES – Wood-mount #149893 @ $77.25, Clear-mount #149894 @ $64.75
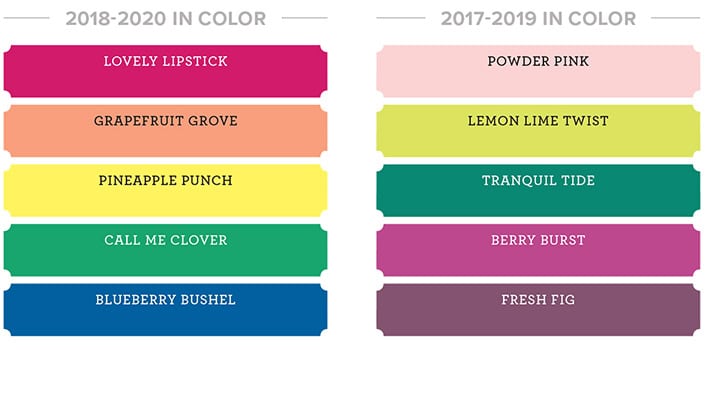
- Watercolor Pencils in 10 new colors! #149014 @ $12.50. Acid free, lignin free.10 pencils in Stampin’ Up! colors: Balmy Blue, Cajun Craze, Cherry Cobbler, Coastal Cabana, Crushed Curry, Flirty Flamingo, Garden Green, Gorgeous Grape, Granny Apple Green, Night of Navy
- Products available while supplies last until August 31, 2018 – while supplies last
- Items may be included as part of a new demonstrator’s Starter Kit.

3) Bonus Days are back!
- For every $50 you spend on an order in August, you will receive a $5 coupon to use in September!
- There is no limit to the number of coupons you may earn.
- An email address is required to participate; Bonus Days coupon codes can be delivered only via email.
- Bonus Days coupon codes may be redeemed for any product (excluding Starter Kits, demonstrator supply items, and Paper Pumpkin subscriptions.) Although new prepaid Paper Pumpkin codes may be discounted with Bonus Days coupon codes.

4) Buy 10 Stampin’ Ink pads in August and get one FREE!!
- Buy any 10 ink pads from me in August, I will give you another one FREE!
- Contact me to place your order, so I can add your FREE ink pad!
Here’s some more cool stuff you should check out:
Thanks for stopping by today, and Sweet Stamping!
May 28, 2018 | Food, Gallery, Gifts, Parties |
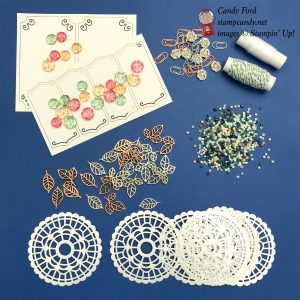
I wish I could remember where I first saw this idea. I think it’s been done many times, but not by me, so thought, you know, it was about time. You simply cut out a butterfly, dragonfly, or similar critter, and adhere a long skinny (wrapped) candy to the body. I cut these out of assorted colors of card stock, and I even cut one from a piece of Designer Series Paper. I do think the card stock ones hold up better. I used the Butterflies Thinlits Dies and Detailed Dragonfly Thinlits Dies.
Regarding colors, use whichever colors go with your particular party. I used the ones here because they were in the Designer Series Paper I used for other party projects.
Here’s what I made:


Here’s what I did:
Die cut using the Butterflies Thinlits:
- large butterflies from assorted card stock colors
Die cut using the Detailed Dragonfly Thinlits:
- large dragonflies from assorted card stock colors
NOTE: I used the Precision Base Plate with the Big Shot to get good, clean cuts from these detailed dies. Do not use this plate with Framelits Dies (open ones that cut around a shape.)
Assembled the treats:
- used Tear & Tape to adhere candies to the bodies of the butterflies and dragonflies
- I folded the Tear & Tape in half to fit onto the skinny bodies of the critters. I folded it in half first, then removed it from the backing.
- I used Smarties here. The long straws full of flavored sugar (I can’t remember what they’re called.) work well, too! Adhere the critters to one end of the straw, then they have a “handle.”
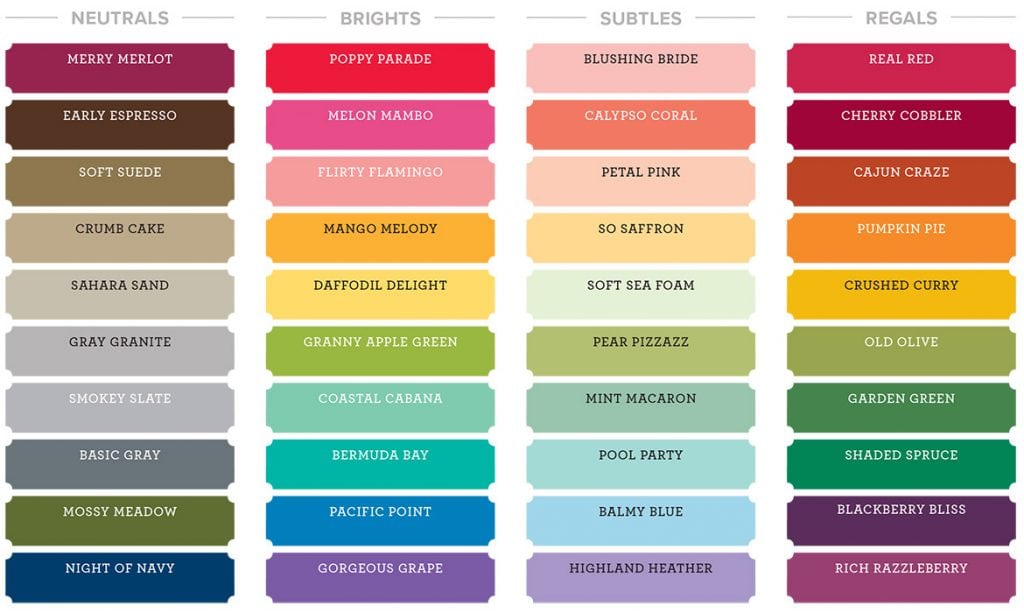
Here are today’s colors:
You can click on each one to see all the products that come in that color!
Here’s what I used:
Click on these images for more details and to purchase.
_________________________________________________________________________
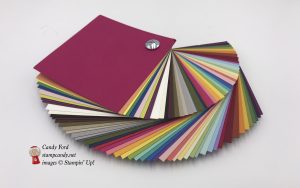
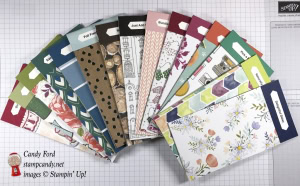
Swatch Books & Product Shares
Order by May 31 to receive them early- to mid-June.
Click here for details and to order!
Here’s some stuff you should know:
Thanks for stopping by today, and Sweet Stamping!
May 26, 2018 | Food, Gallery, Gift Wrap, Parties |
I always have bottled water at my events, and when I have time, I like to decorate the bottles. You can do this for any event. Today’s project is a bottle I decorated for a graduation party. The colors I used are Fresh Fig and Crushed Curry (garnet & gold) but of course you can use any colors you want. The Banners for You stamp set is perfect for this occasion, and for many others. And the Bunch of Banners Framelits Dies cut out the stamp set’s banners like a charm.
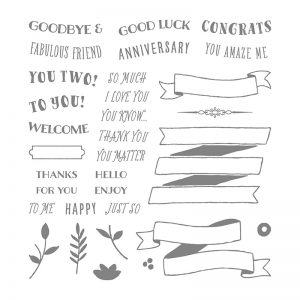
Banners For You stamp set © Stampin’ Up!
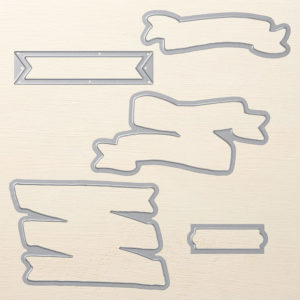
Bunch of Banners Framelits Dies © Stampin’ Up!
Here’s what I made:
How do you like the mortar board, complete with tassel?


Here’s what I did:
Cut and scored with my Stampin’ Trimmer:
- Crushed Curry card stock (CS) cut to 9″ x 3-1/2″
- Fresh Fig CS cut to 9″ x 3″
- Fresh Fig CS cut to 3″ x 3″
- Fresh Fig CS cut to 1-1/4″ x 5″, then scored 1/4″ from one of the long sides
Stamped with the Banners for you stamp set:
- banner in Crushed Curry ink onto a scrap of Very Vanilla CS
- sentiments in Fresh Fig ink on the banner
Die cut using the Bunch of Banners Framelits:
Assembled the project:
- burnished the fold in the Fresh Fig CS strip with a Bone Folder
- snipped all along the length, across the 1/4″ strip, up to the score line, using Paper Snips
- wrapped the strip around the top of the bottle to gauge the size (not too tight) then glued the ends together – do not adhere to the bottle or its cap.
- folded all the snipped bits in and glued them onto the center of the 3″ square piece of Fresh Fig CS
- tied a piece of gold ribbon onto a gold tassel, then adhered it to the top of the cap using Tear & Tape
- adhered a 1/4″ punched circle of Fresh Fig CS over the center of the top of the cap, over the end of the ribbon, using a Mini Glue Dot
- adhered the large piece of Crushed Curry CS around the bottle using Tear & Tape
- adhered the large piece of Fresh Fig CS on top of the Crushed Curry CS using Tear & Tape
- glued the banner onto the Fresh Fig CS
- NOTE: I used rubber bands to hold the banner on until the glue dried completely
- NOTE: Adhere the two large pieces of CS to the bottle separately. If you adhere them together, then wrap them around the bottle, they will pull apart.
Here are today’s colors:
You can click on each one to see all the products that come in that color!
Here’s what I used:
Click on these images for more details and to purchase.
Swatch Books & Paper Shares
Order by May 31 to receive them early- to mid-June. Click here for details and to order!
Here’s some information you should check out:
Thanks for stopping by today, and Sweet Stamping!
May 13, 2018 | Gallery, Gifts, Parties, Retiring Products |
Today I’m sharing a party favor or activity for a child’s birthday party. It’s a coloring book and watercolor pencils in a decorated stamp case. I used the Picture Perfect Party and Just Add Color Designer Series Papers (DSP) and the Crafting Forever stamp set to create this fun gift. All the colors I used were inspired by the Picture Perfect Party DSP.
Here’s what I made:


Here’s what I did:
Cut and scored with my Stampin’ Trimmer:
- Bermuda Bay card stock (CS) cut to 7-1/4″ x 4-1/4″, then scored at 1″ and 1-1/8″ from the left side, for the coloring book cover
- Peekaboo Peach CS cut to 6-1/8″ x 4-1/4″, then scored 1″ from the left side
- Berry Burst CS cut to 4-7/8″ x 4″
- Lemon Lime Twist CS cut to 11″ x 7″, for the stamp case cover insert
- Berry Burst CS cut to 5″ x 6-1/4″
- Whisper White CS cut to 3-7/8″ x 3″
- Picture Perfect Party Designer Series Paper (DSP) cut to 4-3/4″ x 6″
- Just Add Color DSP cut to 6″ x 4″ (6 different pieces)
Stamped with the Crafting Forever stamp set:
- jar of brushes in black ink onto the Whisper White CS layer
- creative sentiment in Bermuda Bay ink onto a scrap of Whisper White CS
Stamped with the Birthday Delivery stamp set:
- birthday sentiment in Bermuda Bay ink onto the Picture Perfect Party DSP
Die cut using the Stitched Shapes Framelits:
- creative sentiment with circle die
Die cut using the Layering Circles Framelits:
- a scrap of Lemon Lime Twist CS with a scalloped circle die
Assembled the project:
- Picture Perfect Party DSP layer glued onto the larger Berry Burst CS layer
- Berry Burst CS layer glued onto the Lemon Lime Twist CS case insert
- stamp case cover insert inserted into the stamp case cover (That looks odd but I’m not sure how else to say it.)
- Just Add Color DSP pieces stapled together at the left end
- burnished the folds in the Bermuda Bay CS book cover using a Bone Folder
- back piece of Just Add Color DSP glued onto the Bermuda Bay CS cover
- Peekaboo Peach CS glued to the underside of the front of the Bermuda Bay CS cover
- smaller Berry Burst CS layer glued onto the Peekaboo Peach CS
- Whisper White CS layer glued onto the Berry Burst CS layer
- creative sentiment glued onto the Lemon Lime Twist CS die cut circle, then glued onto the Whisper White CS layer
- Lemon Lime Twist ribbon tied around the left end of the book
- Watercolor Pencils and coloring book put inside the case
Here are today’s colors:
You can click on each one to see all the products that come in that color!
Here’s what I used:
Click on these images for more details and to purchase.
Here’s some stuff you should know:
Thanks for stopping by today, and Sweet Stamping!