Jan 26, 2019 | Cards, Gallery, Occasions |
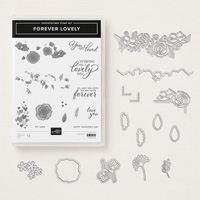
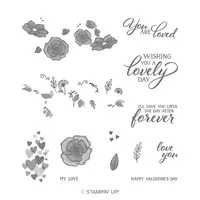
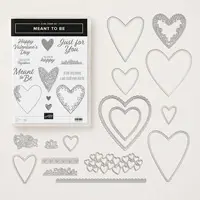
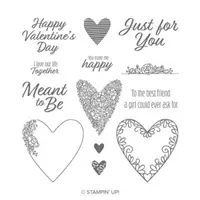
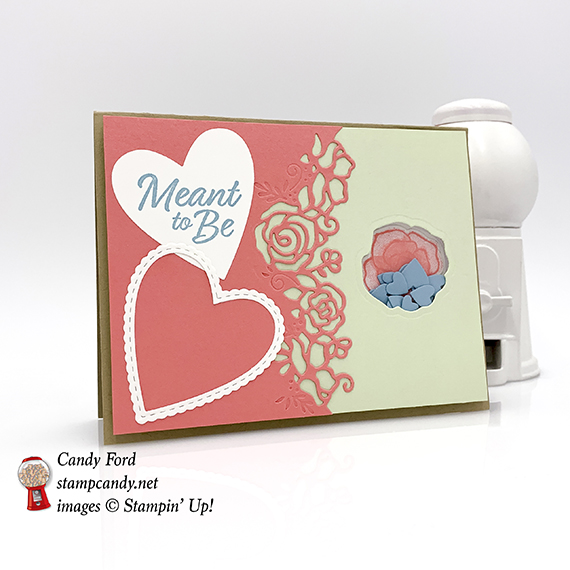
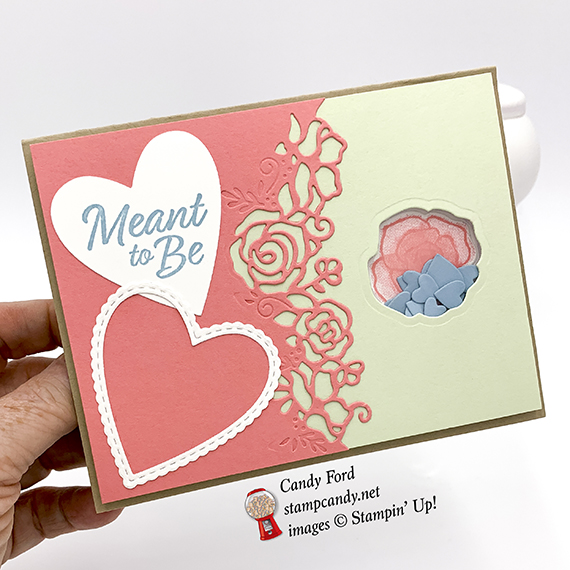
For today’s shaker card I combined two bundles from the Occasions Catalog: Forever Lovely and Meant To Be. These two bundles go together beautifully. Both contain hearts and flowers and lovely sentiments perfect for Valentine’s Day or any loving occasion. Take a look:


Here’s what I made:

S
Here’s what I did:
Cut and scored with my Stampin’ Trimmer:
- Crumb Cake card stock (CS) cut to 5-1/2″ x 8-1/2″, then scored in half at 4-1/4″
- Whisper White CS cut to 5″ x 3-3/4″
- Soft Sea Foam CS cut to 5-1/4″ x 4″
- Flirty Flamingo CS cut to 4″ x 4″
- clear Window Sheet cut to 2-1/2″ x 2-1/2″
- Whisper White CS cut to 5-1/4″ x 4″ for the inside of the card
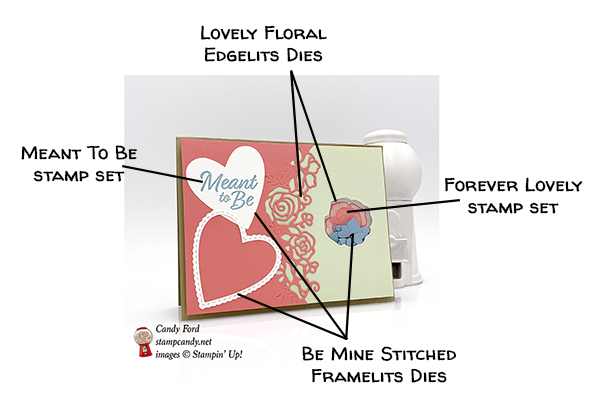
Stamped with the Forever Lovely stamp set:
- flower in Flirty Flamingo ink onto a scrap of Whisper White CS
Stamped with the Meant To Be stamp set:
- sentiment in Balmy Blue ink onto a scrap of Whisper White CS
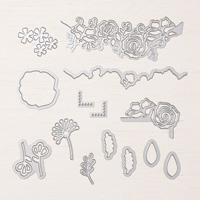
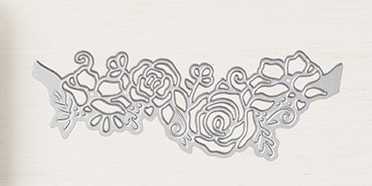
Die cut using the Lovely Flowers Edgelits:
- stamped flower
- used same flower die to cut a hole in the Soft Sea Foam CS layer
- right edge of the Flirty Flamingo CS layer with the edgelit die
- NOTE: When you first look at the edgelit die you might think the bottom edge (as shown below) cuts the edge, but it’s actually the top edge. Don’t ask how I figured that out. 😀
Die cut using the Be Mine Stitched Framelits:
- sentiment cut with a heart die that also cuts a lacy heart frame
- many little hearts from Balmy Blue CS using the multi-heart die (save the outline for another project)
Assembled the card:
- burnished the fold in the card base with a Bone Folder
- smaller Whisper White CS glued onto the front of the card base
- Soft Sea Foam CS layer laid on the front of the card base (without adhering it yet) and glued the flower through the die cut hole
- Window Sheet adhered to the back side of the Soft Sea Foam CS layer, covering the hole, using Tear & Tape
- Flirty Flamingo CS layer glued onto the Soft Sea Foam CS layer, lining up the left two corners
- NOTE: If you find that the Flirty Flamingo CS layer is too wide after die cutting the one edge, glue it onto the Soft Sea Foam CS layer where you want the die cut edge to be, then trim the excess off the left side.
- two hearts glued onto the Flirty Flamingo CS layer
- Foam Adhesive Strips applied onto the Whisper White layer around the flower, around all four edges, and some to fill in the empty space. I used 3 strips total. (Do not remove the backing from the Foam Adhesive Strips yet!)
- Used an Embossing Buddy to dust the inside edges of the shaker area. This helps prevent the hearts from sticking to the sides.
- Hearts laid inside the shaker area, careful that none overlap the Foam Adhesive Strip. Then removed the backing from all the Foam Adhesive Strips.
- Soft Sea Foam CS layer lined up and pressed down to adhere to the tops of the Foam Adhesive Strips.
- Whisper White CS glued onto the inside of the card base
Here are today’s colors:
You can click on each one to see all the products that come in that color!
Here’s what I used:
Click on these images for more details and to purchase.
Here’s some inventory information:
Sales for the following products have exceeded Stampin’ Up!’s forecast and are continuing strong, resulting in a significant number of backorders. Due to Chinese New Year and port congestion delays, estimated arrival is mid-March.
- Butterfly Duet Punch (item 148523)
- Cake Builder Punch (item 148525)
When you enter item numbers for either of these products on an order, you will receive a pop-up notification asking if you would like to be notified via email when they are back in stock. This will allow you to find out immediately when the status changes for these items and they are again available for purchase.
Thank you for your patience and understanding.
Important note: Both of these amazing punches will carry over into the 2019–2020 annual catalog.
S
Here are some helpful links:
Thanks for stopping by today, and Sweet Stamping!
Jan 25, 2019 | Cards, Challenges, Gallery, Occasions |
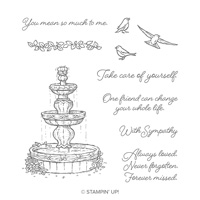
Today’s card is one I made for the Global Design Project color challenge this week. It’s a very subtle card with three soft colors on a field of Whisper White. I used the Flowing Fountain stamp set for the sentiment and the Be Mine Stitched Framelits Dies for the hearts. Look at the first two photos below. I made the card, then added another stamp to it. Which do you prefer, with or without the extra bird?
Here’s the GDP173 challenge:

Here’s what I made:

Here’s the same card with the extra bird:

S
Here’s what I did:
Cut and scored with my Stampin’ Trimmer:
- Whisper White thick card stock (CS) cut to 4-1/4″ x 11″, then scored in half at 5-1/5″
- Whisper White CS cut to 4″ x 5-1/4″
- Whisper White CS cut to 3-1/4″ x 3/4″, and the ends cut on the diagonal
Stamped with the Flowing Fountain stamp set:
- sentiment in Soft Sea Foam ink onto the Whisper White CS strip
- birds in So Saffron ink onto the Whisper White CS layer
Die cut using the Be Mine Stitched Framelits:
- heart background from a scrap of Petal Pink CS
Assembled the card:
- burnished the fold in the card base with a Bone Folder
- Whisper White CS layer glued onto the front of the card base
- die cut hearts glued onto the Whisper White CS layer
- sentiment glued over the die cut hearts

S
Here are today’s colors:
You can click on each one to see all the products that come in that color!
Here’s what I used:
Click on these images for more details and to purchase.
S
Here are some helpful links:
Thanks for stopping by today, and Sweet Stamping!
Jan 24, 2019 | Cards, Gallery, Occasions, Sale-A-Bration |
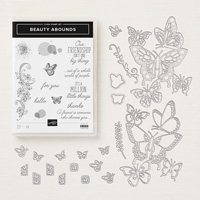
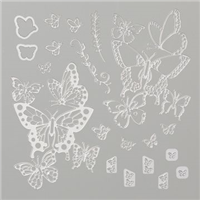
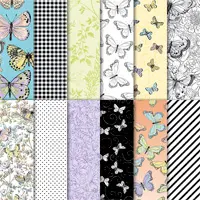
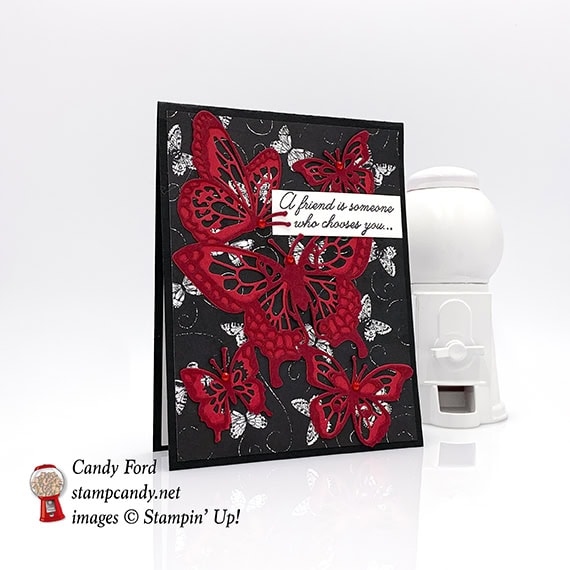
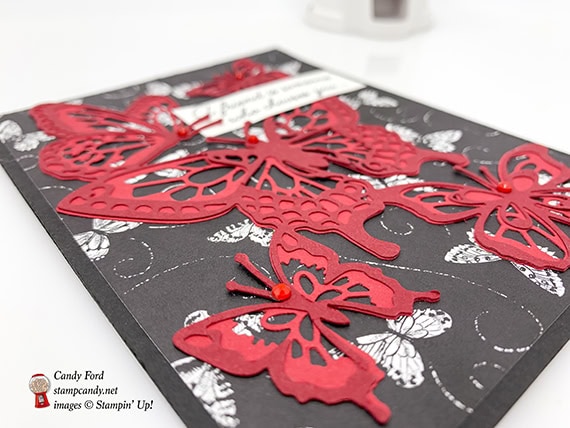
What’s black and white and red all over? Today’s card! I decided to go with a classic color combo for this friendship card made with the Beauty Abounds bundle from the new Occasions catalog and the Botanical Butterfly Designer Series Paper from the Sale-a-bration catalog. So the red butterflies would have some contrast, I cut the base from Real Red cardstock and the top layer from Cherry Cobbler cardstock.
Here’s what I made:
S
Here’s what I did:
Cut and scored with my Stampin’ Trimmer:
- Basic Black card stock (CS) cut to 4-1/4″ x 11″, then scored in half at 5-1/2″
- Botanical Butterfly Designer Series Paper (DSP) cut to 4″ x 5-1/4″
- trimmed front sentiment after it was stamped (see below) *
- Whisper White CS cut to 4″ x 5-1/4″ for the inside of the card base
Stamped with the Beauty Abounds stamp set:
- front sentiment in black ink onto a scrap of Whisper White CS, then trimmed it down using the Stampin’ Trimmer (see above) *
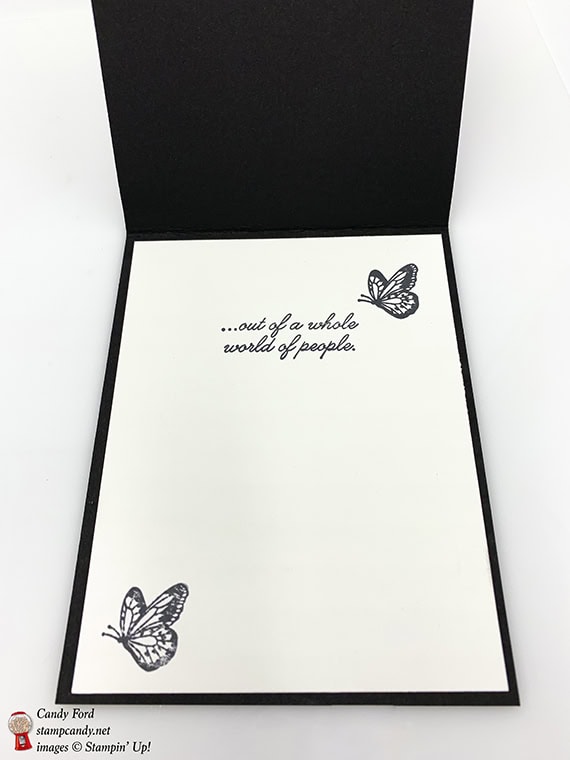
- inside sentiment in black ink onto the Whisper White CS for the inside of the card base
- 2 butterflies in black ink around the inside sentiment
Die cut using the Butterfly Beauty Thinlits:
- bottom butterfly layer cut from a scrap of Real Red CS
- top butterfly layer cut from a scrap of Cherry Cobbler CS
- NOTE: I used the Precision Base Plate with the Big Shot to cut these. I absolutely recommend you use the Precision Base Plate because these dies are very intricate.
Assembled the card:
- burnished the fold in the card base with a Bone Folder
- DSP layer glued onto the front of the card base
- top butterfly layer glued onto the bottom butterfly layer
- NOTE: I only applied glue to a small portion of the die cut, lined it up with the bottom layer, then applied glue to the next section, etc. If you try to glue the whole thing together at once, it’s more likely to get bits glued in the wrong place.
- butterfly “sandwich” glued onto the DSP layer
- Red Rhinestones applied to the heads of the 5 butterflies
- sentiment tucked under part of the butterflies and glued in place
- Whisper White CS glued onto the end of the card base
S
Here are today’s colors:
You can click on each one to see all the products that come in that color!
Here’s what I used:
Click on these images for more details and to purchase.
Here are some helpful links:
Thanks for stopping by today, and Sweet Stamping!
Jan 23, 2019 | Cards, Gallery, Occasions |
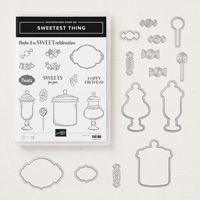
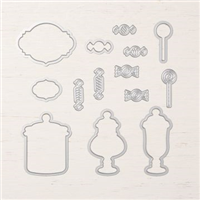
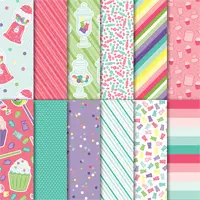
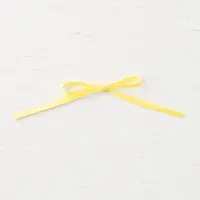
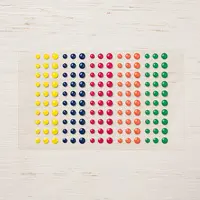
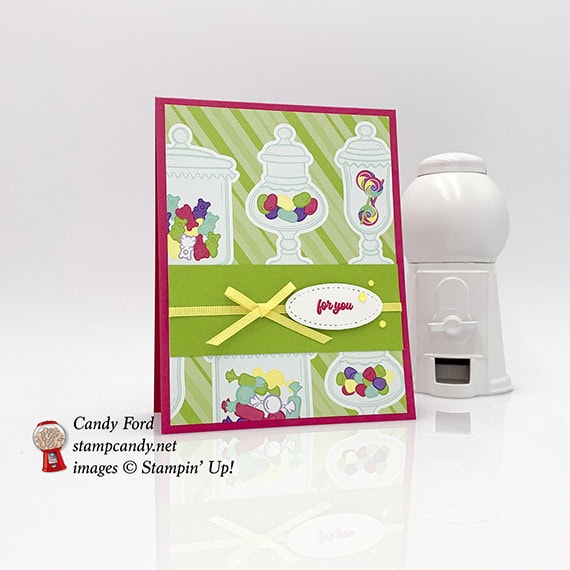
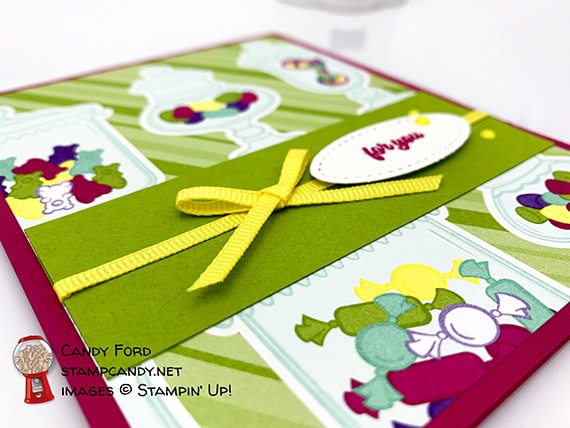
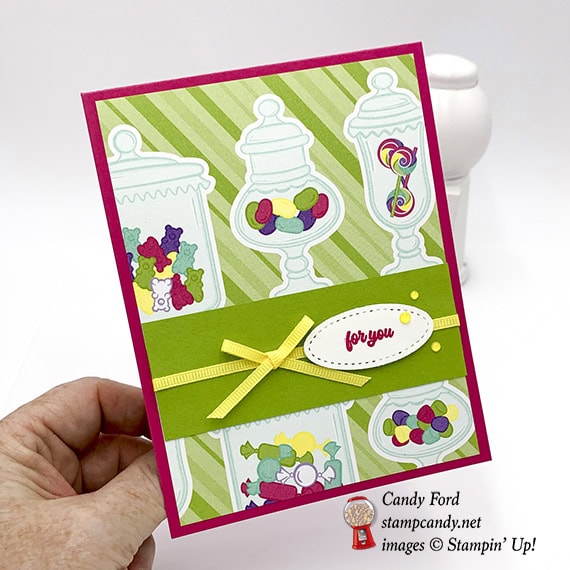
I am in love with the new Sweetest Thing bundle and coordinating products. The colors are bright and fun, and it’s all about candy! Today’s card is very simple. It used the How Sweet It Is Designer Series Paper, Stitched Shapes Framelits Dies, Happiness Blooms Enamel Dots, and a piece of skinny Pineapple Punch ribbon. Who wouldn’t enjoy receiving this?!
Here’s what I made:
Here’s what I did:
Cut and scored with my Stampin’ Trimmer:
- Melon Mambo card stock (CS) cut to 4-1/4″ x 11″, then scored in half at 5-1/2″
- How Sweet It Is Designer Series Paper (DSP) cut to 4″ x 5-1/4″
- Granny Apple Green CS cut to 4″ x 1-1/2″
- Whisper White CS cut to 4″ x 5-1/4″ for the inside of the card base
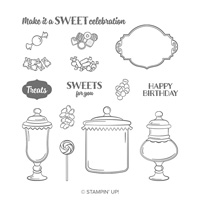
Stamped with the Sweetest Thing stamp set:
- sentiment in Melon Mambo ink onto a scrap of Whisper White CS
Die cut using the Stitched Shapes Framelits:
Assembled the card:
- burnished the fold in the card base with a Bone Folder
- DSP layer glued onto the front of the card base
- Pineapple Punch ribbon wrapped around the Granny Apple Green CS layer and the ends adhered onto the back
- Granny Apple Green CS layer glued onto the DSP layer
- bow tied with Pineapple Punch ribbon, then adhered onto the first piece of ribbon using a Mini Glue Dot
- sentiment adhered over ribbon using Mini Stampin’ Dimensionals
- 3 Pineapple Punch enamel dots applied onto/around the sentiment
- Whisper White CS glued onto the inside of the card base
Here are today’s main colors:
You can click on each one to see all the products that come in that color!
Here’s what I used:
Click on these images for more details and to purchase.
Here’s some info to check out:
Thanks for stopping by today, and Sweet Stamping!
Jan 22, 2019 | Cards, Gallery, Occasions |
The Birthday Statements stamp set is has two spectacular images perfect for coloring. I used an Aqua Painter to color the image on today’s card. That image is the star of the card, backed by the Tufted dynamic embossing folder.
Here’s what I made:


Here’s what I did:
Cut and scored with my Stampin’ Trimmer:
- Coastal Cabana card stock (CS) cut to 4-1/4″ x 11″, then scored in half at 5-1/2″
- Coastal Cabana CS cut to 4-1/8″ x 5-3/8″
- Watercolor paper cut to 3″ x 4-1/4″
- Whisper White CS cut to 4″ x 5-1/4″ for the inside of the card base
Stamped with the Birthday Statements stamp set:
- large image in black Stazon ink onto the Watercolor paper layer
Embossed using the Tufted Dynamic embossing folder:
Colored using an Aqua Painter:
- stamped image in Pineapple Punch, Gorgeous Grape, Melon Mambo, Granny Apple Green, and Coastal Cabana inks
Assembled the card:
- burnished the fold in the card base with a Bone Folder
- embossed Coastal Cabana CS layer glued onto the front of the card base
- Watercolor paper layer glued onto the embossed Coastal Cabana CS layer
- 3 Glitter Enamel Dots applied to the card front
- Whisper White CS glued onto the inside of the card base
Here are today’s colors:
You can click on each one to see all the products that come in that color!
Here’s what I used:
Click on these images for more details and to purchase.
S
Here are some helpful links:
Thanks for stopping by today, and Sweet Stamping!
Jan 21, 2019 | Cards, Gallery, Occasions |
Today’s project is a fun birthday card made with the Sweetest Thing stamp set and How Sweet It Is Designer Series Paper from the new How Sweet It Is suite (pages 14-15 in the 2019 Occasions catalog.) I used assorted Circle punches to cut card stock balloons, and Gorgeous Grape Mini Striped Ribbon to anchor them. I think the little Whisper White twine bow is the perfect finish.
Here’s what I made:


Here’s what I did:
Cut and scored with my Stampin’ Trimmer:
- Gorgeous Grape card stock (CS) cut to 8-1/2″ x 5-1/2″, then scored in half at 4-1/4″
- How Sweet It Is Designer Series Paper (DSP) cut to 4″ x 5-1/4″
- Whisper White CS cut to 4″ x 5-1/4″ for the inside of the card base
Stamped with the Sweetest Thing stamp set:
- sentiment in Gorgeous Grape ink onto a scrap of Whisper White CS
Cut using Circle Punch sizes 1/2″ up to 1-3/4″:
- sentiment
- assorted sizes from scraps of Whisper White, Melon Mambo, Pineapple Punch, Granny Apple Green, Coastal Cabana, and Gorgeous Grape CS
Assembled the card:
- burnished the fold in the card base with a Bone Folder
- DSP layer glued onto the front of the card base
- beginning with the sentiment, punched circles glued together, building out from the center
- 5 pieces of ribbon adhered onto the DSP layer using Tear & Tape, crossing in the middle
- twine tied around ribbon and tied in a bow
- circle cluster adhered over the tops of the ribbon using Stampin’ Dimensionals

S
Here are today’s colors:
You can click on each one to see all the products that come in that color!
Here’s what I used:
Click on these images for more details and to purchase.
S
Here’s more cool stuff to check out:
Thanks for stopping by today, and Sweet Stamping!